Windows 11 includes multiple technologies to connect to a wireless display, including Miracast and WiGig. Using Miracast or another wireless technology, you can wirelessly connect your Windows PC to a TV, projector, another PC, or another external display.
Once the connection is established, you can share or extend the content of your Windows PC to external displays, including a TV, projector, another PC, or any device that supports Windows display. This is the easiest way to display content on larger TVs or other devices from a Windows PC.
This gearupwindows article will guide you on enabling and using Wireless Display on a Windows 11 machine. Using this technology, you can connect other devices to your computer and project your PC screen.
How to Enable Wireless Display on Windows 11?
Wireless Display is an optional feature of Windows 11, which means it is not installed by default on your machine. You’ll need to install it on your computer to use this feature.
To enable Wireless Display on your Windows 11, do the following steps:-
Step 1. Open Settings.
To do that, you can use the Windows + I hotkey.
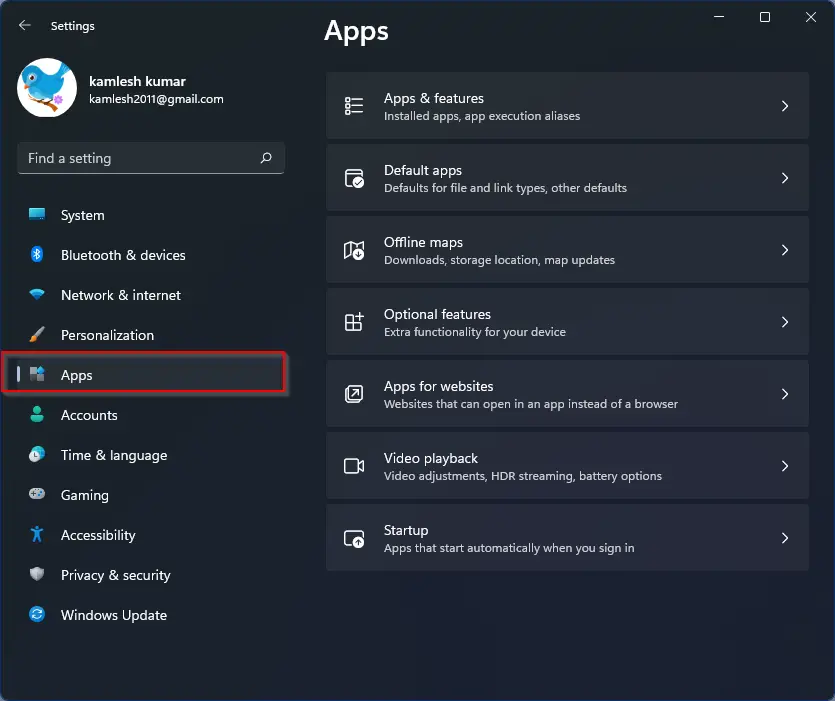
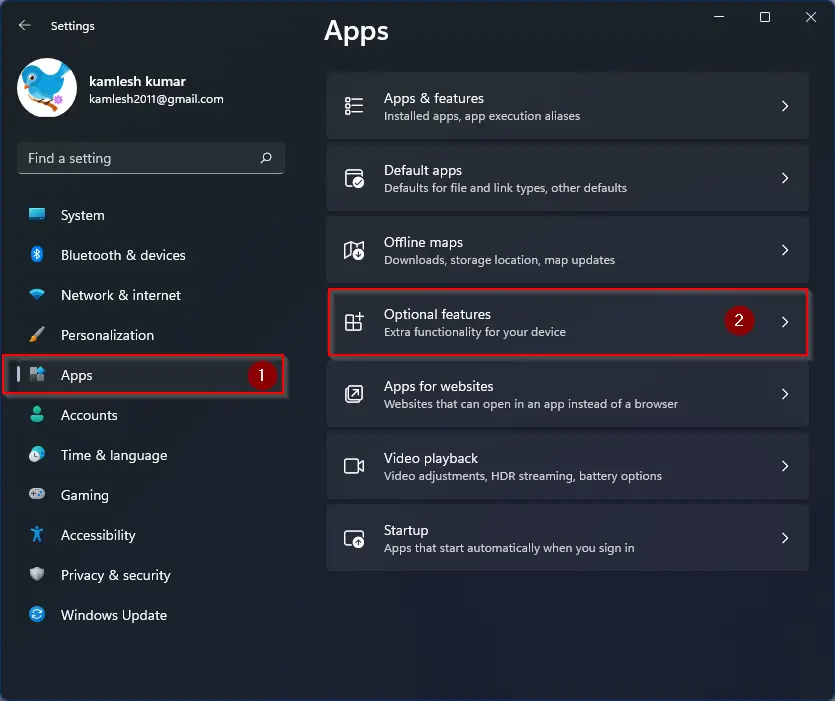
Step 2. On the Settings window, select Apps in the left panel.
Step 3. Then, click on Optional features on the right side of Apps.
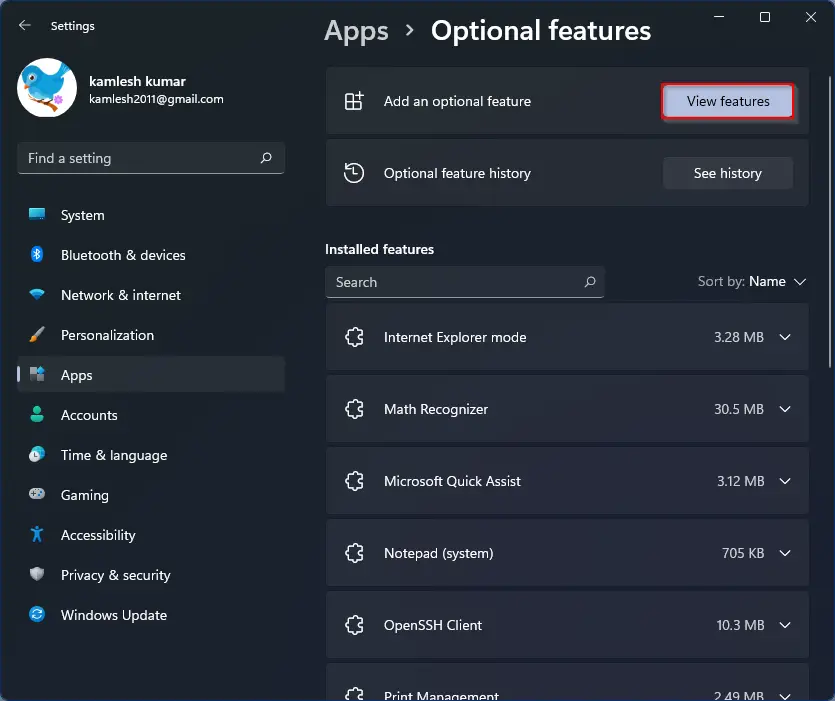
Step 4. After that, click on the View features button beside the “Add an optional feature” label.
Step 5. The “Add an optional feature” dialog box will appear on your computer when you’re done. Click on the search bar and type Wireless Display.
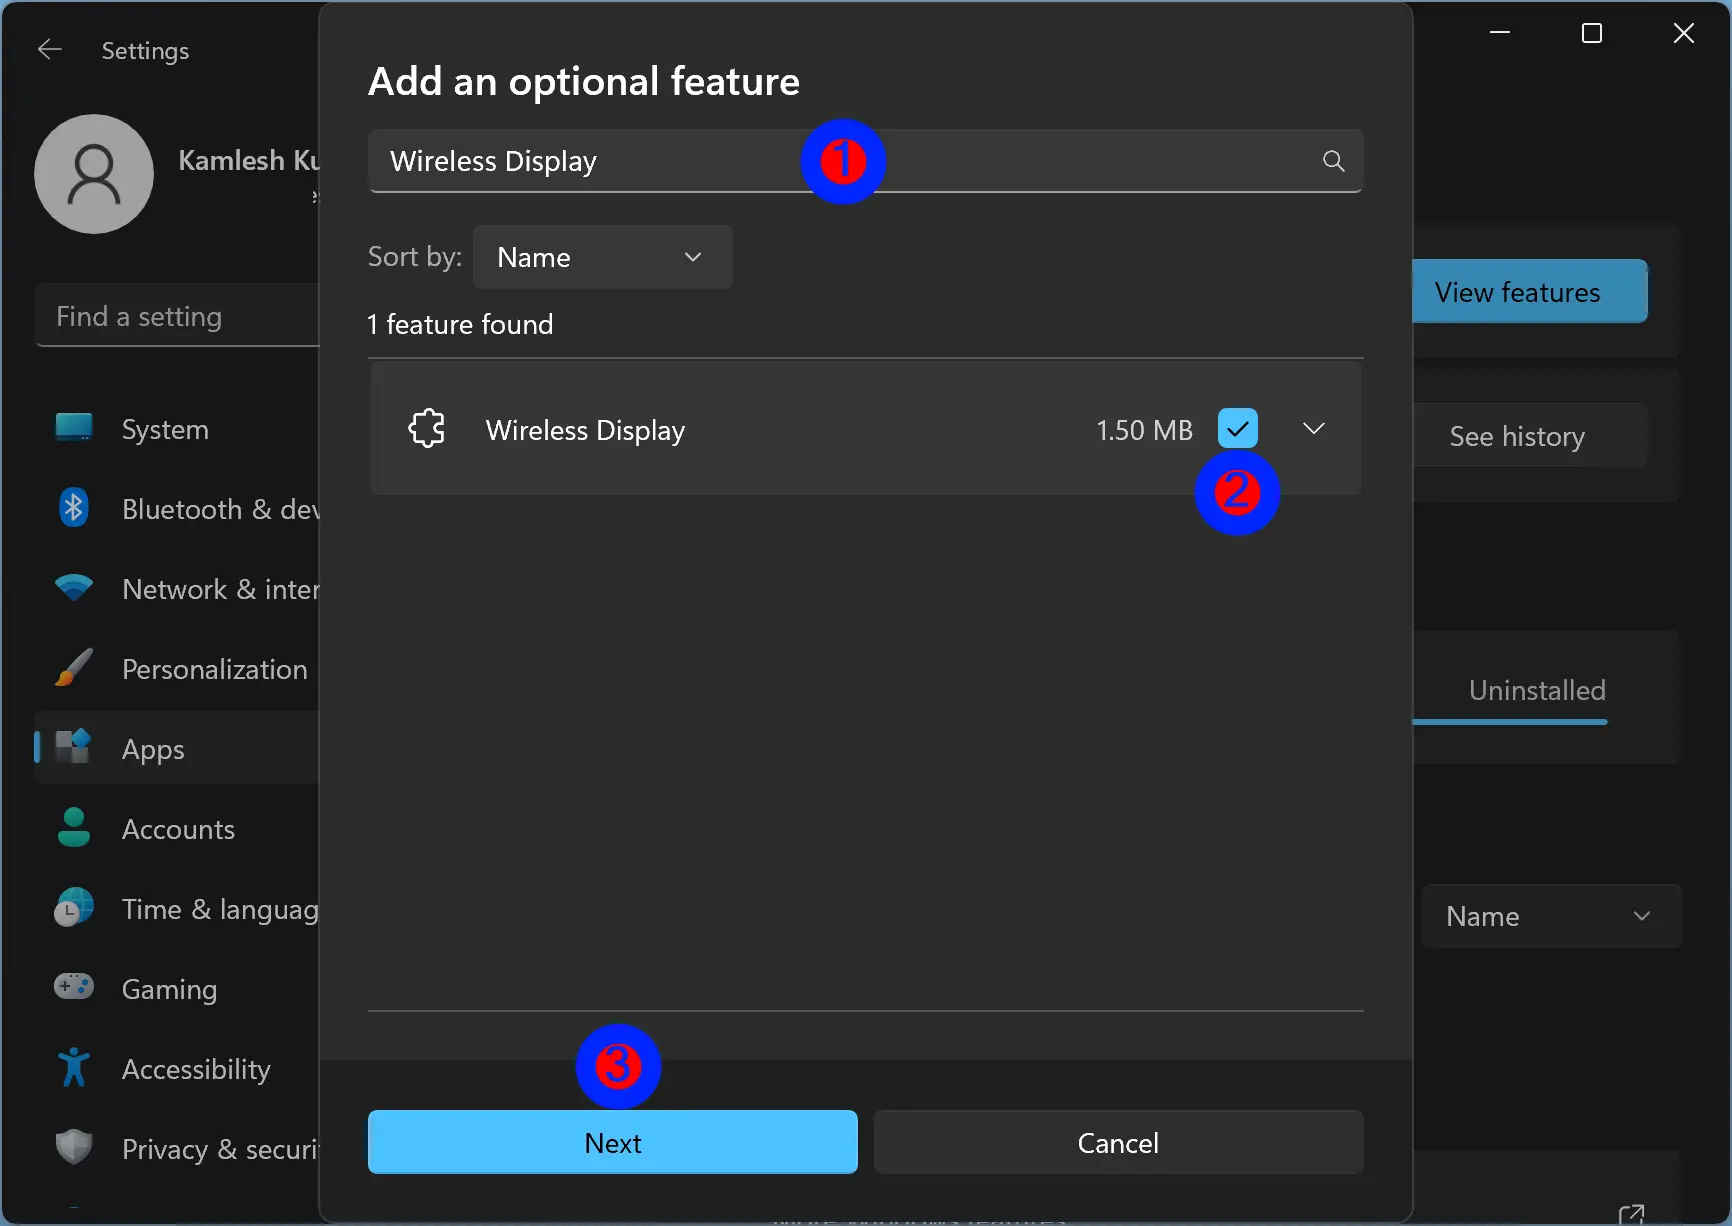
Step 6. Next, tick the checkbox next to Wireless Display.
Step 7. After that, click the Next button.
Step 8. Finally, click the Install button.
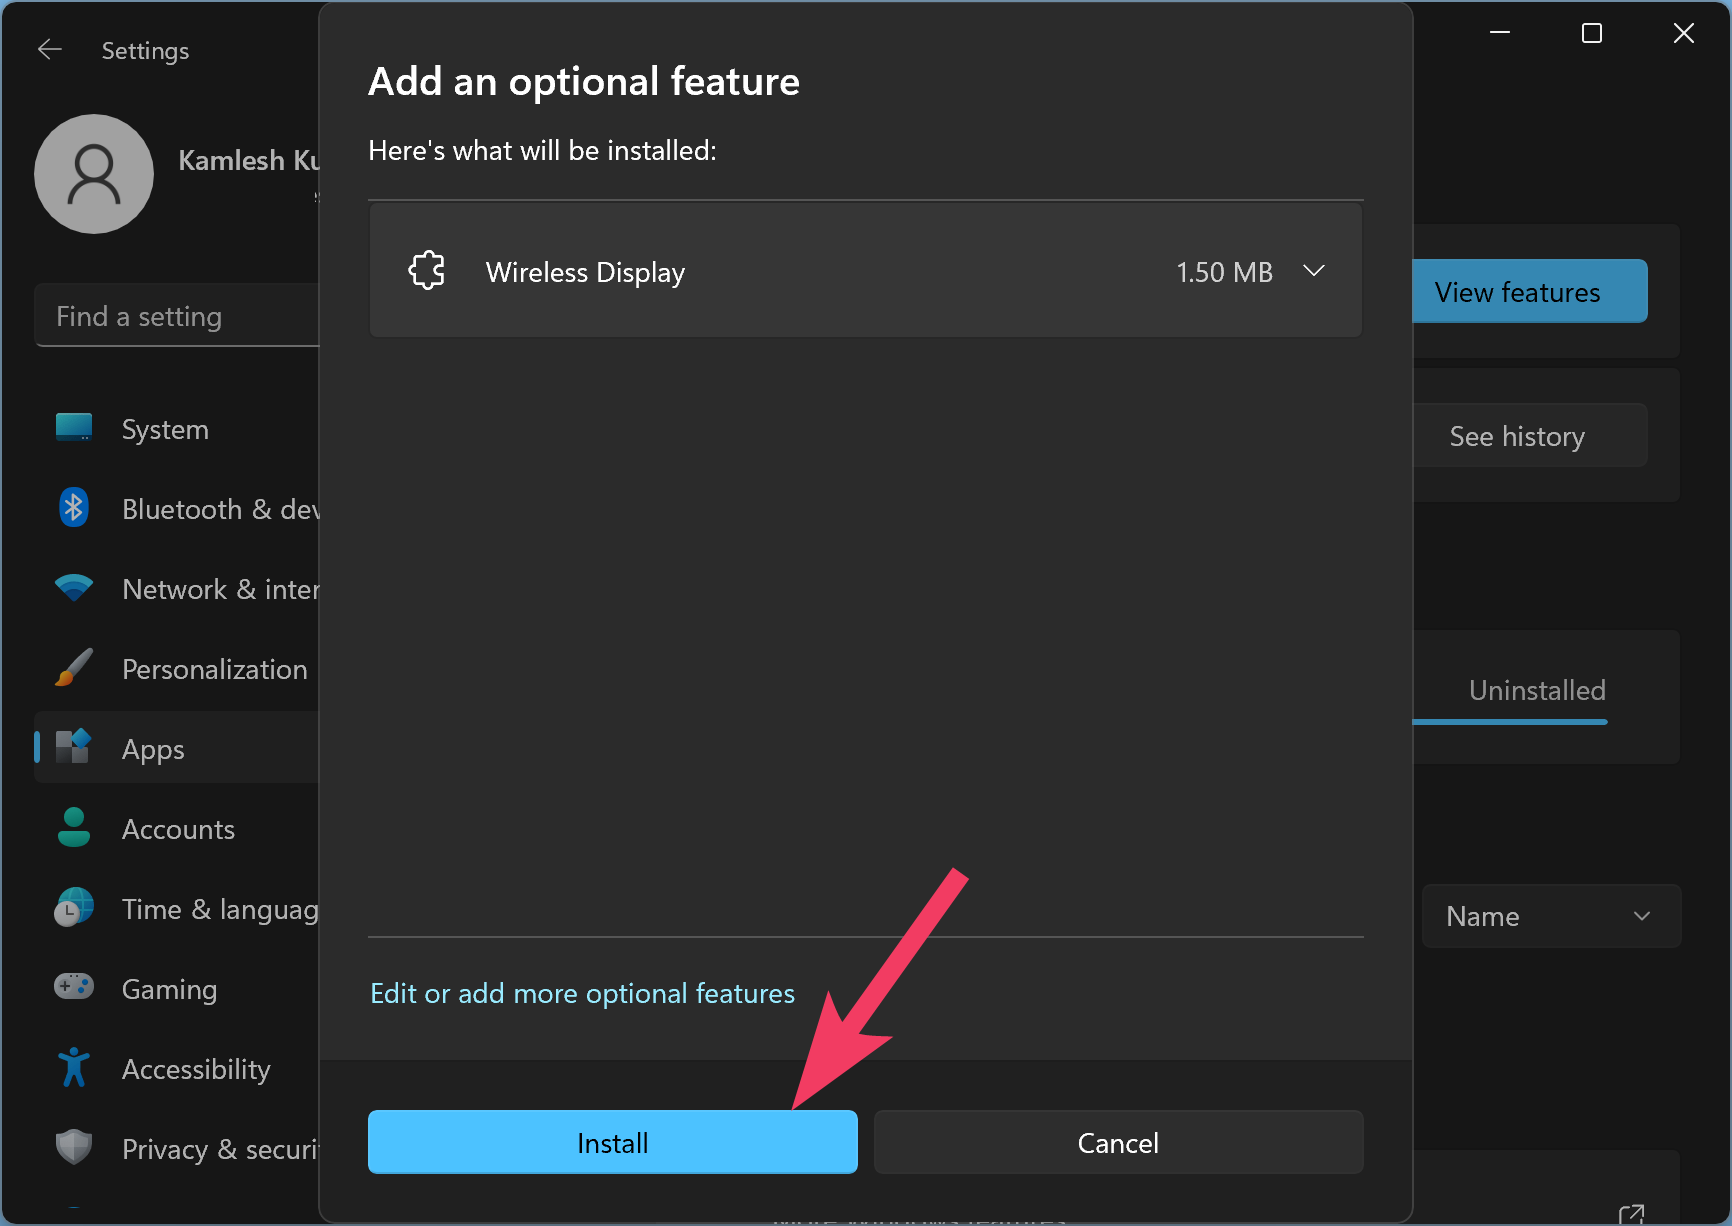
That’s it. Windows 11 will download “Wireless Display” and install it for you.
How to Connect to a Wireless Display in Windows 11?
If you want to connect your computer wirelessly to a TV, projector, another PC, and any device that supports Windows display, use the following steps:-
Step 1. First, turn on your TV, projector, or the device you want to display your content on.
Step 2. On your Windows 11 PC, turn on Wi-Fi.
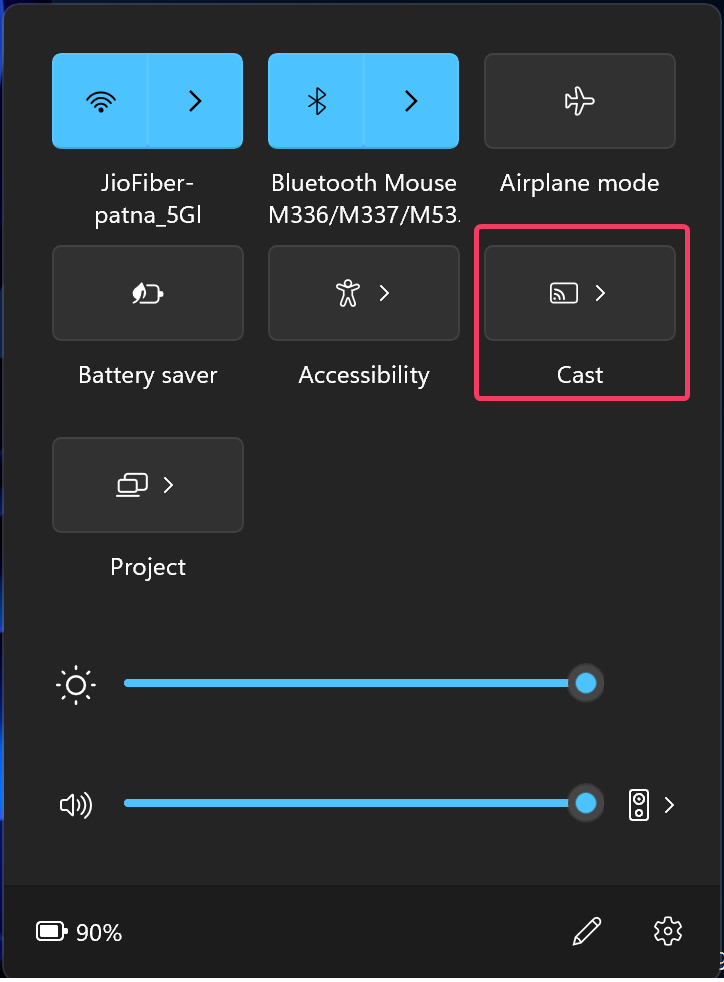
Step 3. Next, press Windows + K to open the Cast screen. Alternatively, open Quick Settings using Windows + A hotkey and select the Cast tile.
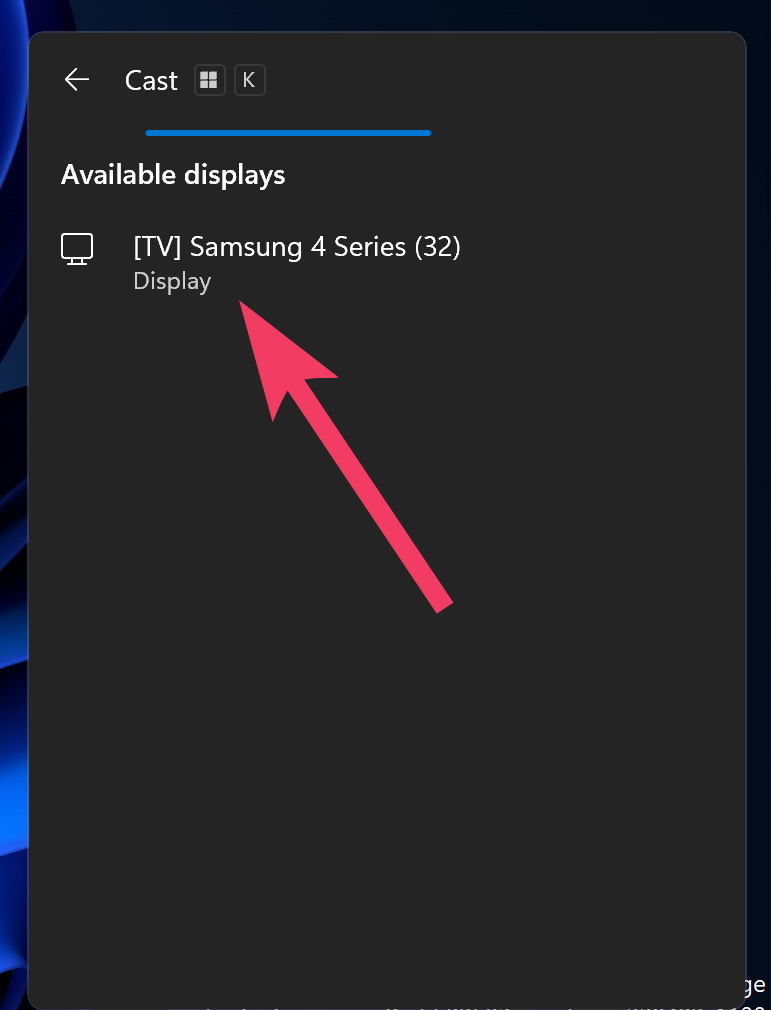
Step 4. When you’re done, available devices will appear. Click on the device in the list you want to connect.
Step 5. If necessary, allow the connection to a TV or projector.
When connected to the wireless display, you can check or uncheck “Allow mouse, keyboard, touch, and pen input from this device.” You may also select Duplicate, Extend, or “Second screen only” for how you want to project the display.
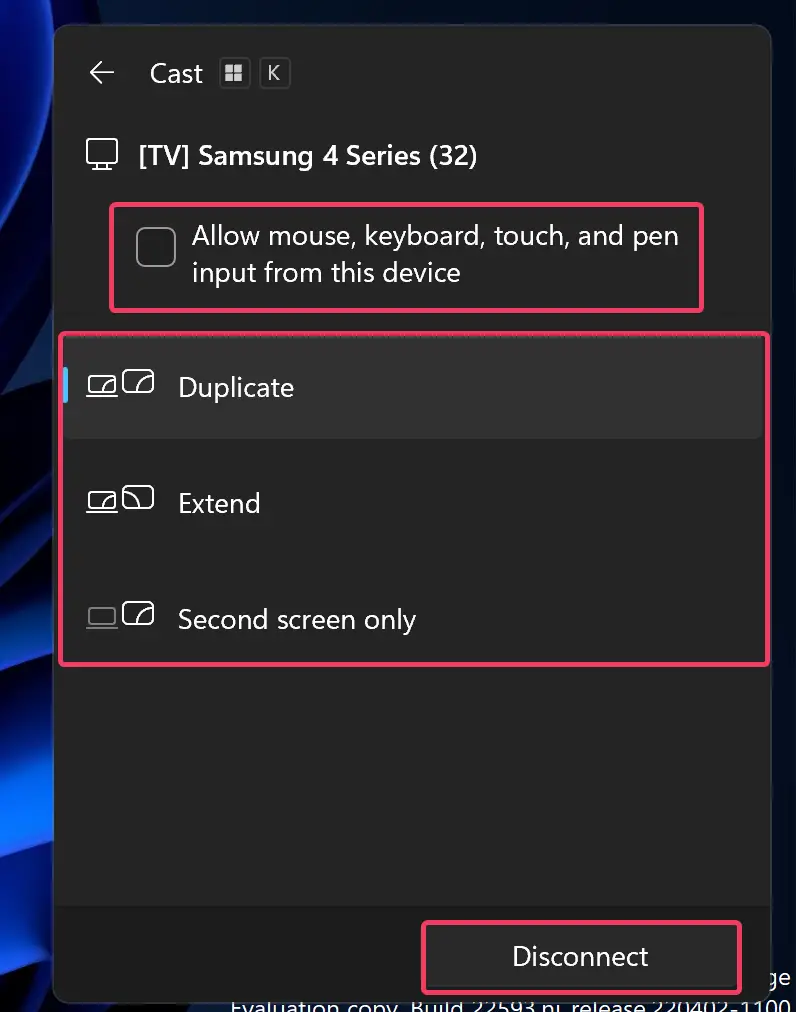
Just click the Disconnect button to terminate the connection.
Conclusion
In conclusion, Wireless Display is an excellent feature of Windows 11 that enables you to connect your PC to external displays wirelessly. With this technology, you can share or extend the content of your Windows 11 machine on a TV, projector, another PC, or any device that supports Windows display. In this article, we have explained the steps to enable and use Wireless Display on Windows 11. By following the instructions mentioned above, you can install the Wireless Display feature on your Windows 11 PC and connect to any compatible display wirelessly.
Awesome presentation! One of the best I’ve seen explaining functionality. Bravo!
Thanks Mike.