By default, Windows 11 does not show a delete confirmation message. That means when you try to delete a file or folder, it moves immediately to the Recycle Bin without asking you. This has its advantages and disadvantages. When you press the Delete button, Windows does not prompt for confirmation. This saves you time. But, sometimes, you might accidentally delete files you require, then you need to restore them from the Recycle Bin.
If you bother with this, you can enable the Delete confirmation dialog again on your Windows 11 PC. It is pretty easy, and you can do it. Here is how to do it.
How to Enable Delete Confirmation Dialog in Windows 11?
To enable the Delete confirmation dialog in Windows 11, do the following:-
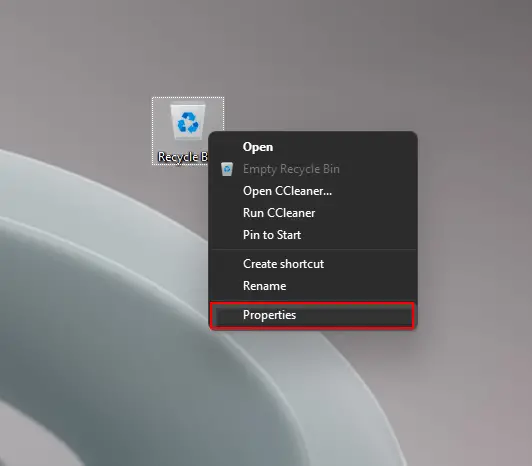
Step 1. At first, right-click on the Recycle Bin icon on the Windows 11 Desktop and select the Properties option.
Step 2. Now, Recycle Bin Properties window will appear. Select a drive in the “General” tab and then check the checkbox “Display delete confirmation dialog.”
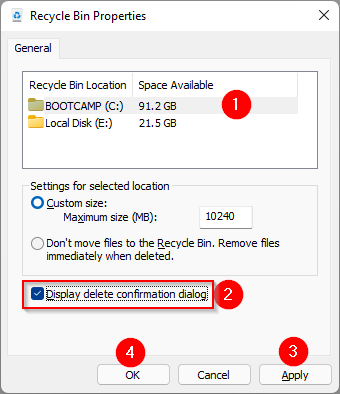
Step 3. After that, click the Apply button.
Step 4. Finally, hit the OK button to exit from the Recycle Bin Properties window.
Once you complete the above steps, when you try to delete a file or folder, Windows 11 PC will display a delete confirmation dialog box.
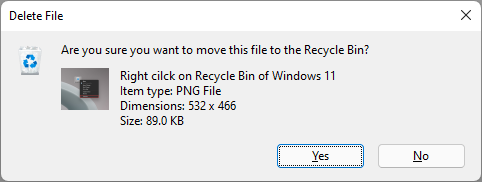
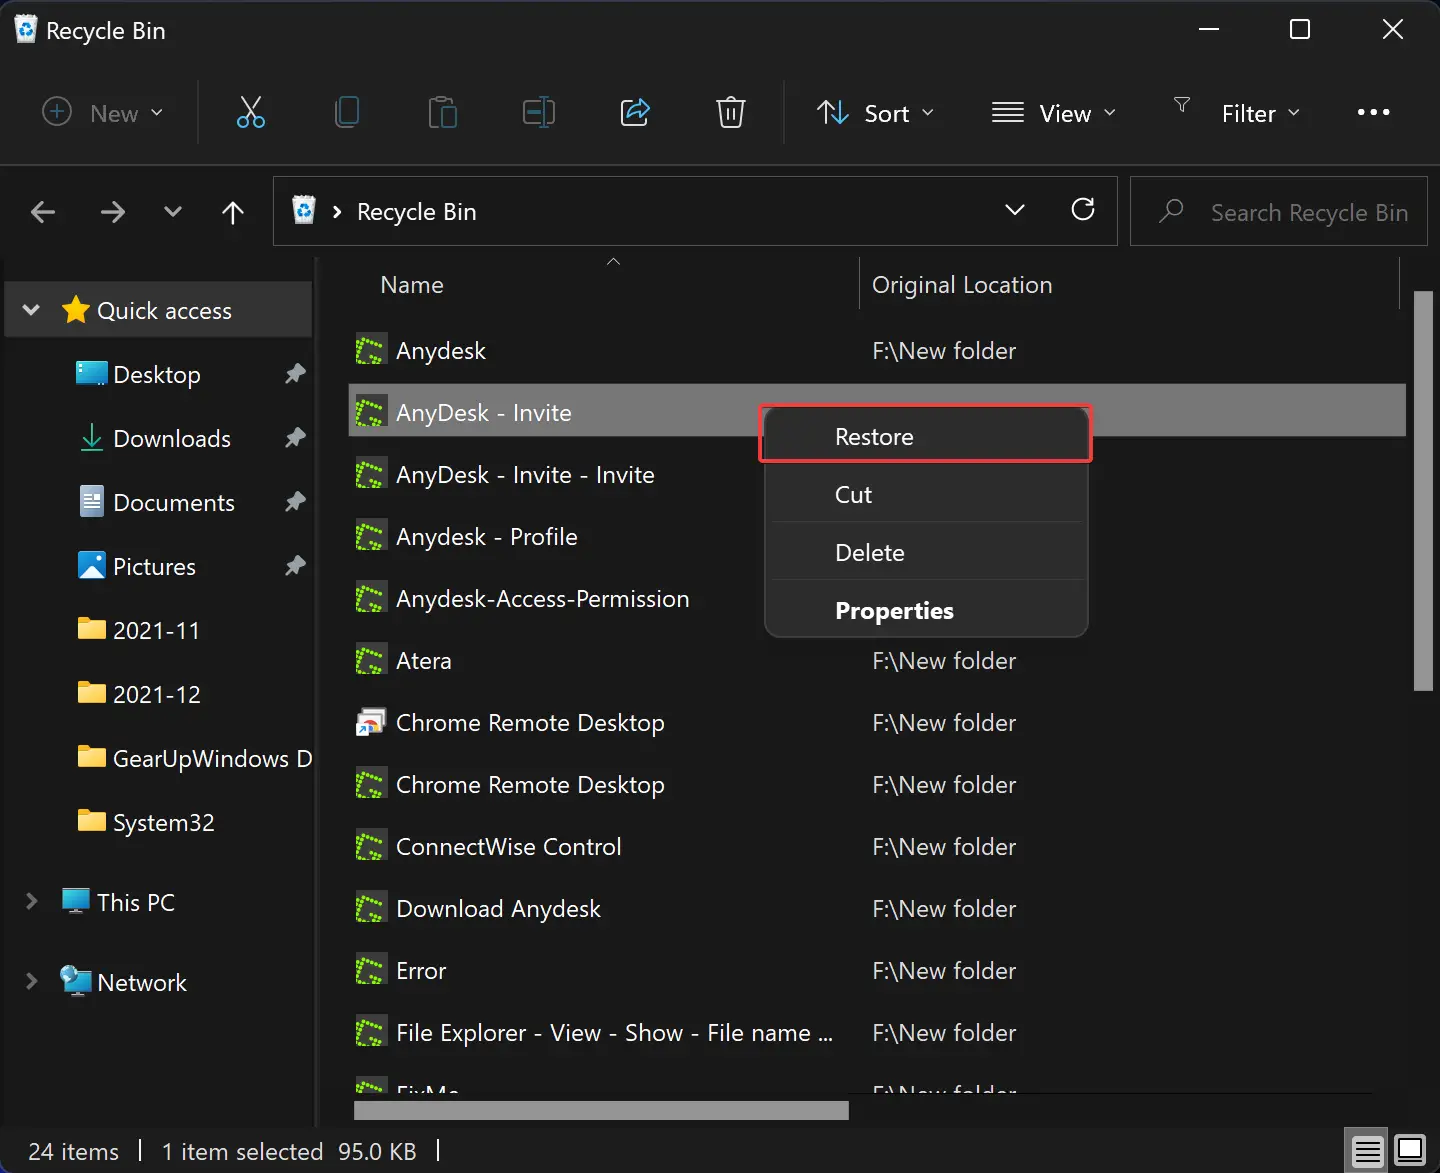
If you want to delete a file/folder, you must click the Yes button. Then file or folder will move to Recycle Bin. To restore a deleted file or folder from the Recycle Bin to its original location, open the Recycle Bin, right-click on the file or folder you want to restore to its original location, and then select the Restore option.
If you want to revert the change, you need to select the option “Don’t move files to the Recycle Bin. Remove files immediately when deleted.”
Quick Tips: If you don’t want to send any file or folder to Recycle Bin, select the item and press the Shift + Delete keys on the keyboard. The file or folder which you will delete, you can not restore from the Recycle Bin.
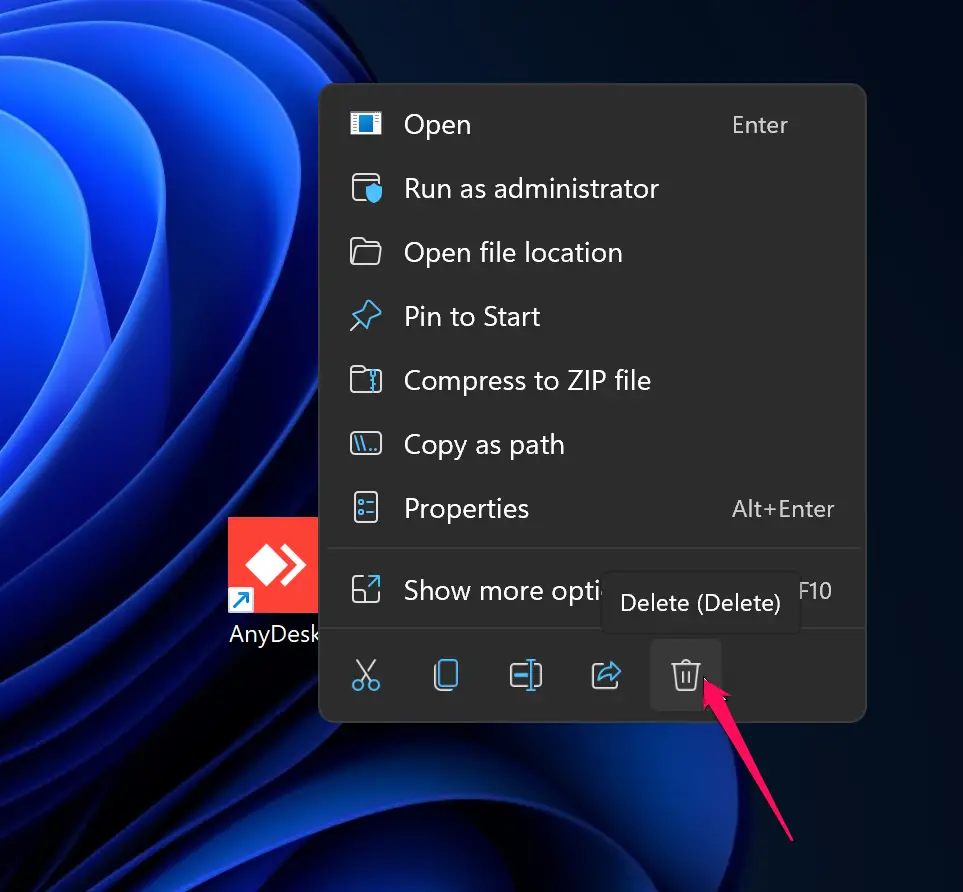
How to Delete a File or Folder in Windows 11?
Right-click on the file or folder you want to delete and click the Delete icon to remove it. If you have enabled the delete confirmation dialog, you will see the same. Then, you need to click the Yes button.
Alternatively, select the file or folder you want to delete and press the Delete key on the keyboard.
To permanently delete a file or folder, select it and press the Shift + Delete keys on the keyboard. The file or folder is deleted permanently, so you can not recover it from the Recycle Bin. However, one can still get it back using a third-party recovery tool.
Conclusion
In conclusion, enabling the delete confirmation dialog in Windows 11 is a simple process that can help prevent the accidental deletion of important files and folders. By following the steps mentioned above, users can restore the feature that prompts for confirmation before moving a file or folder to the Recycle Bin. Additionally, users can also permanently delete files or folders using the Shift + Delete keys. However, it is important to note that once deleted permanently, the files or folders cannot be recovered from the Recycle Bin and may require the use of a third-party recovery tool.