In today’s digital age, it’s crucial to ensure a safe and controlled online environment for children. Microsoft Edge comes to the rescue with its Kids Mode feature, designed specifically to provide a secure browsing experience for young users. By enabling Kids Mode, parents, and guardians can create a virtual playground where children can explore the web with confidence. In this user-friendly guide, we’ll walk you through the steps to enable Kids Mode in Microsoft Edge and empower your kids to enjoy a safer online journey.
How to Set up a Whitelist in Kids Mode?
Before enabling Kids Mode in Microsoft Edge, it’s important to create a whitelist of websites that your children are allowed to visit. Follow these simple steps to set up a safe and controlled browsing experience for your kids.
Step 1. Launch Microsoft Edge on your Windows 11 or 10 device. You can find the Edge browser icon in your taskbar or by searching in the Start menu.
Step 2. Type the following address in the Edge address bar and press Enter. This will take you to the Kids Mode settings page.
edge://settings/family
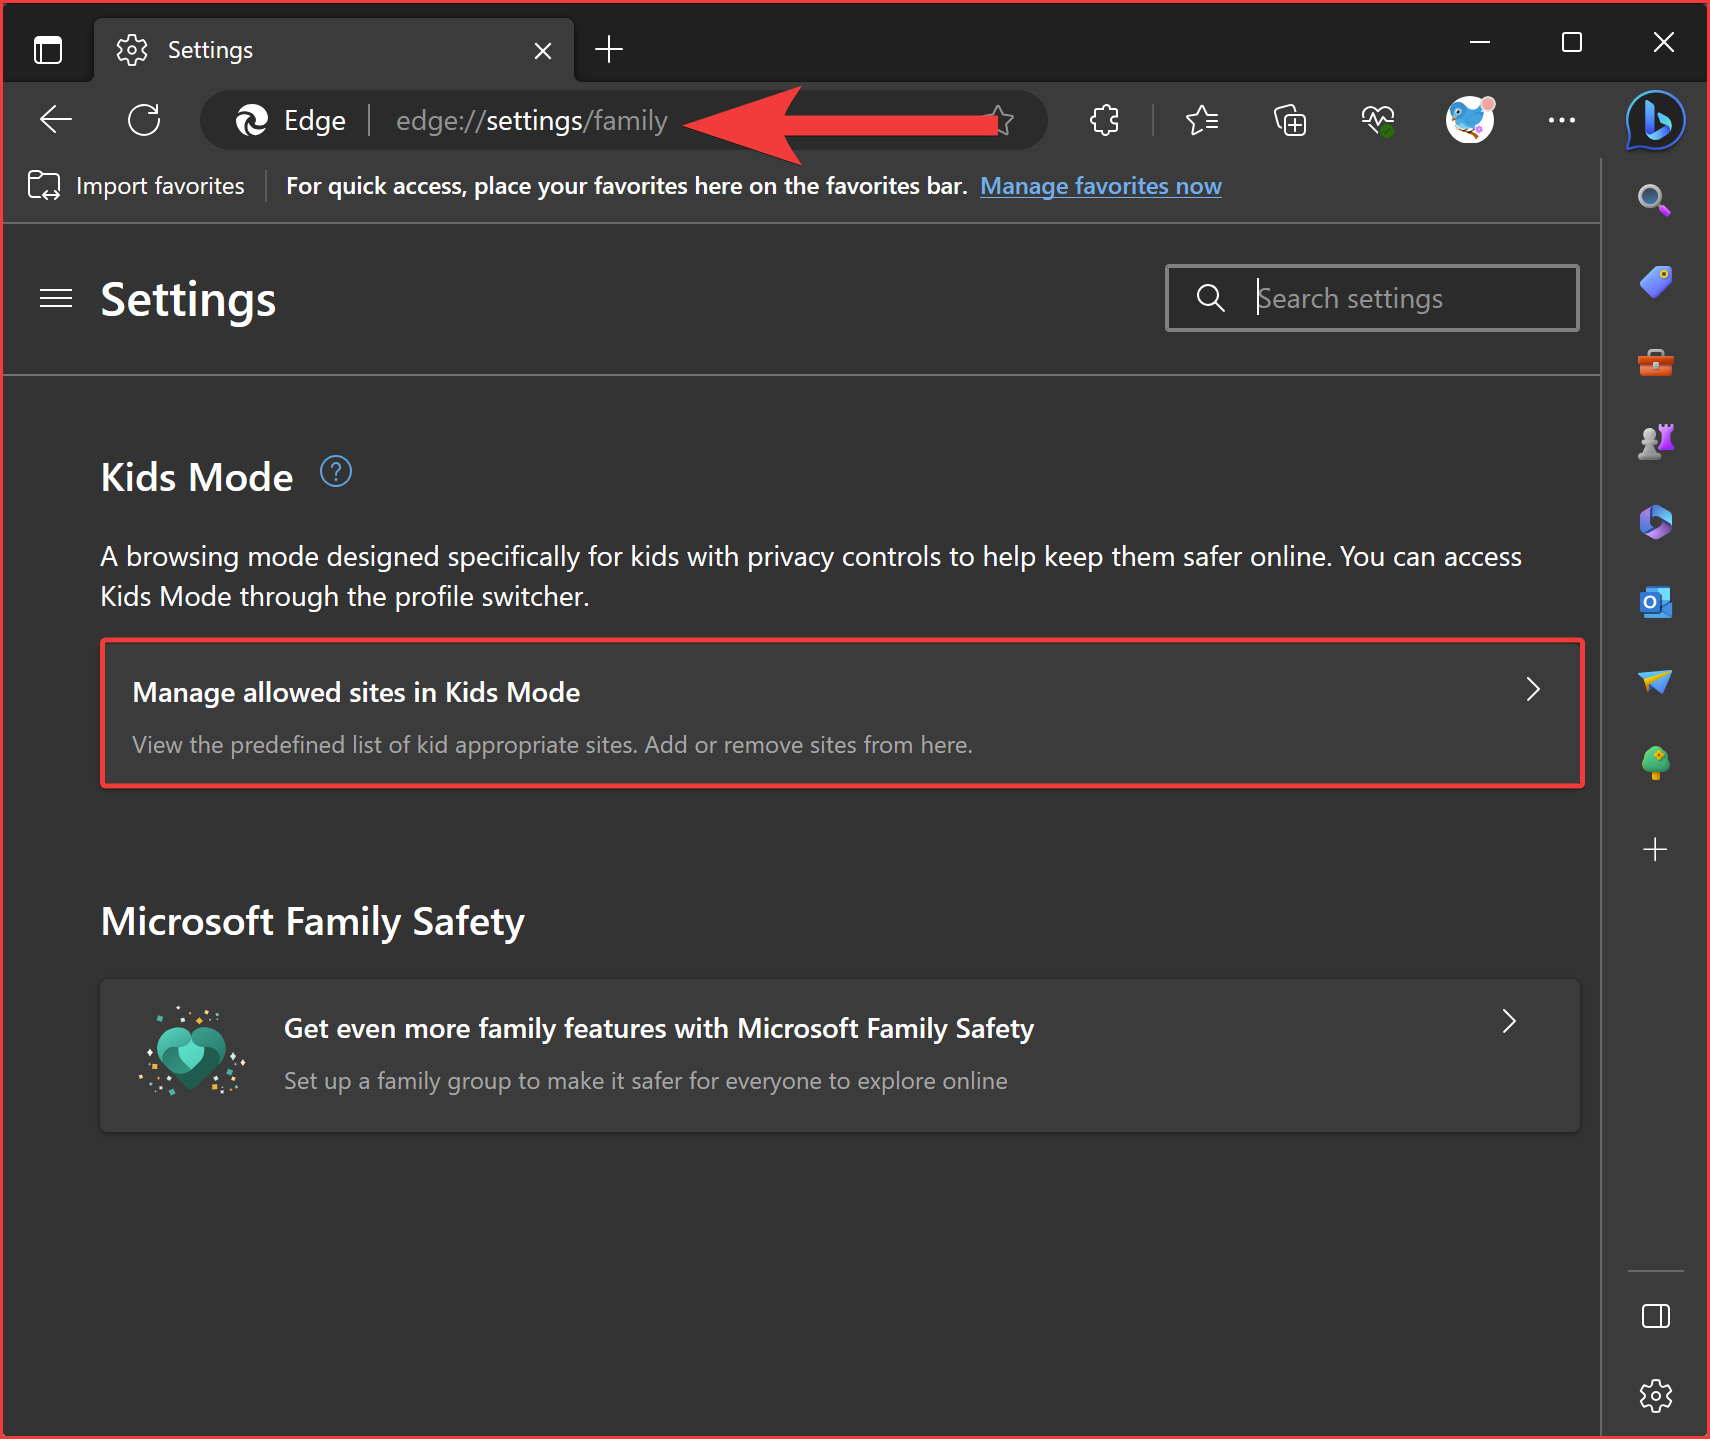
Step 3. On the Kids Mode settings page, locate and click on the “Manage allowed sites in Kids Mode” option. This will open up the website whitelist, where you can control the websites your child can access.
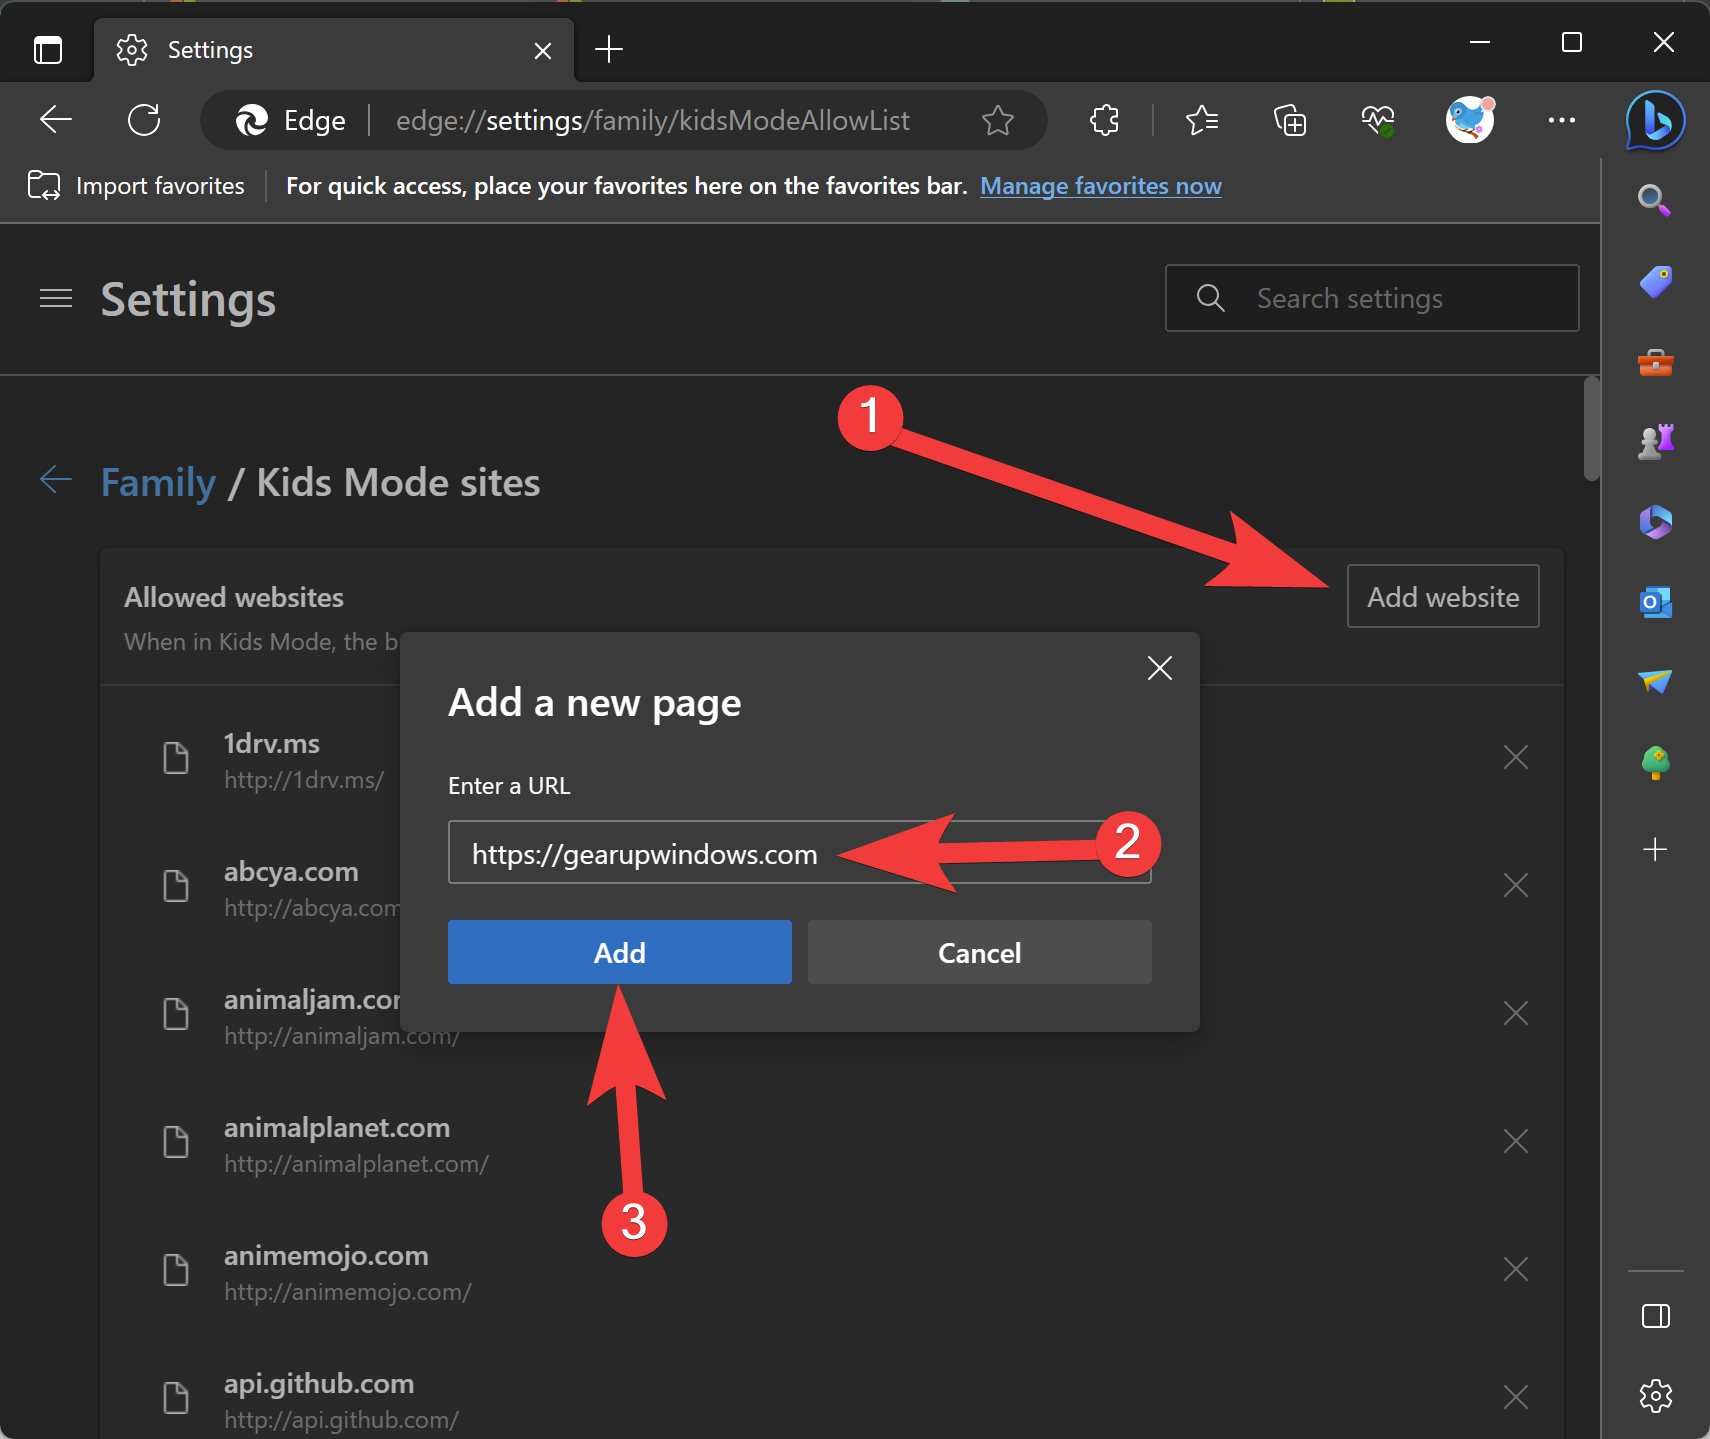
Step 4. To add a website to the whitelist, click the “Add website” button. Enter the URL of the website you wish to allow your child to access, and click Add. Repeat this step to add more approved websites. Kids Mode will block all websites that are not on this list, providing a safe browsing experience.
How to Enable Kids Mode in Microsoft Edge?
Follow these easy steps to turn on Kids Mode in Microsoft Edge:-
Step 1. In Microsoft Edge, click on the profile icon located in the top-right corner of the browser window. It resembles a person or your profile picture.
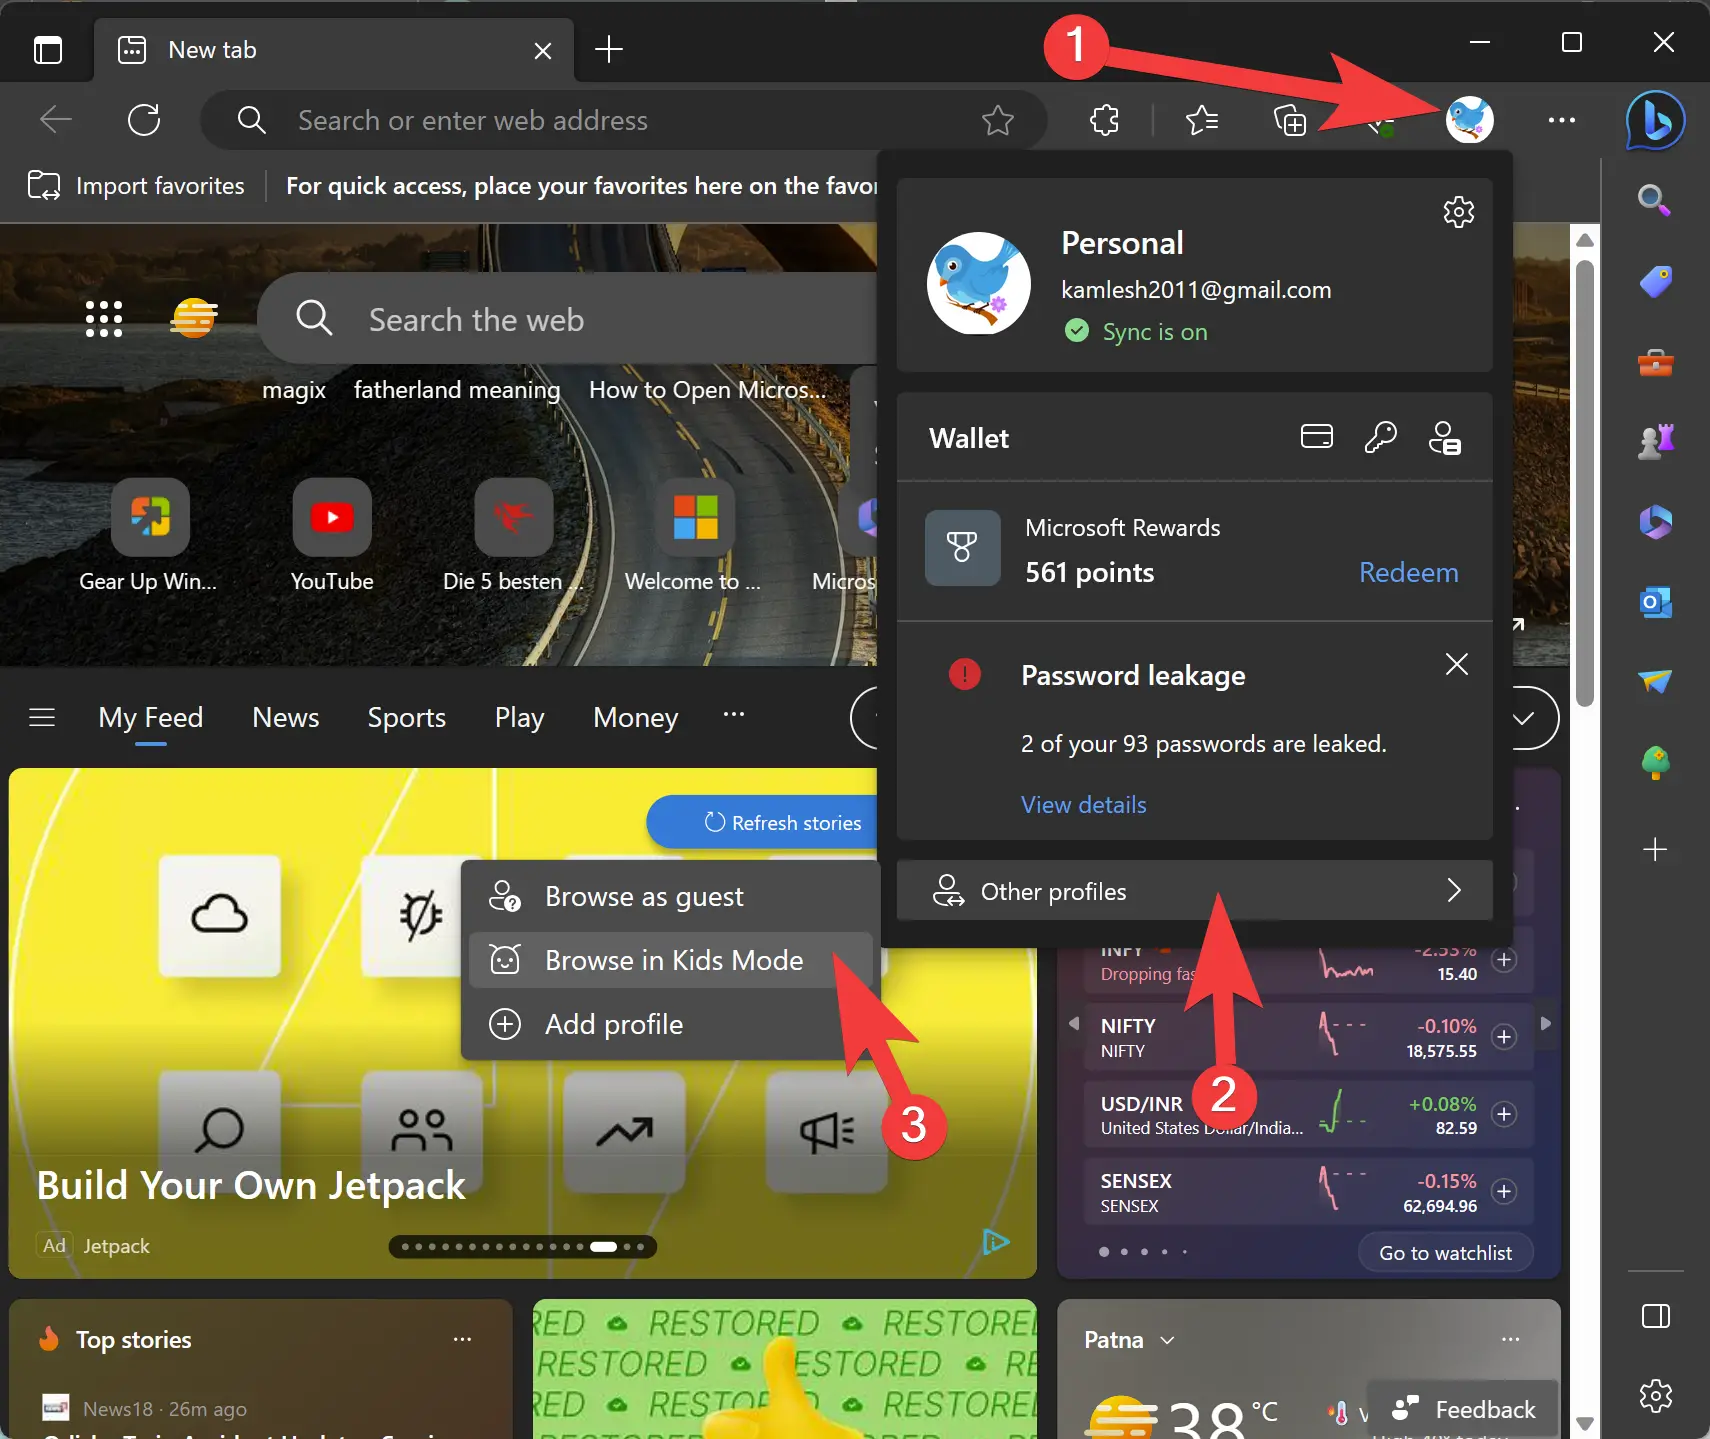
Step 2. From the drop-down menu, choose “Other profiles” and then select the “Browse in Kids Mode” option. This will initiate Kids Mode and open a whole new world of safe browsing for your child.
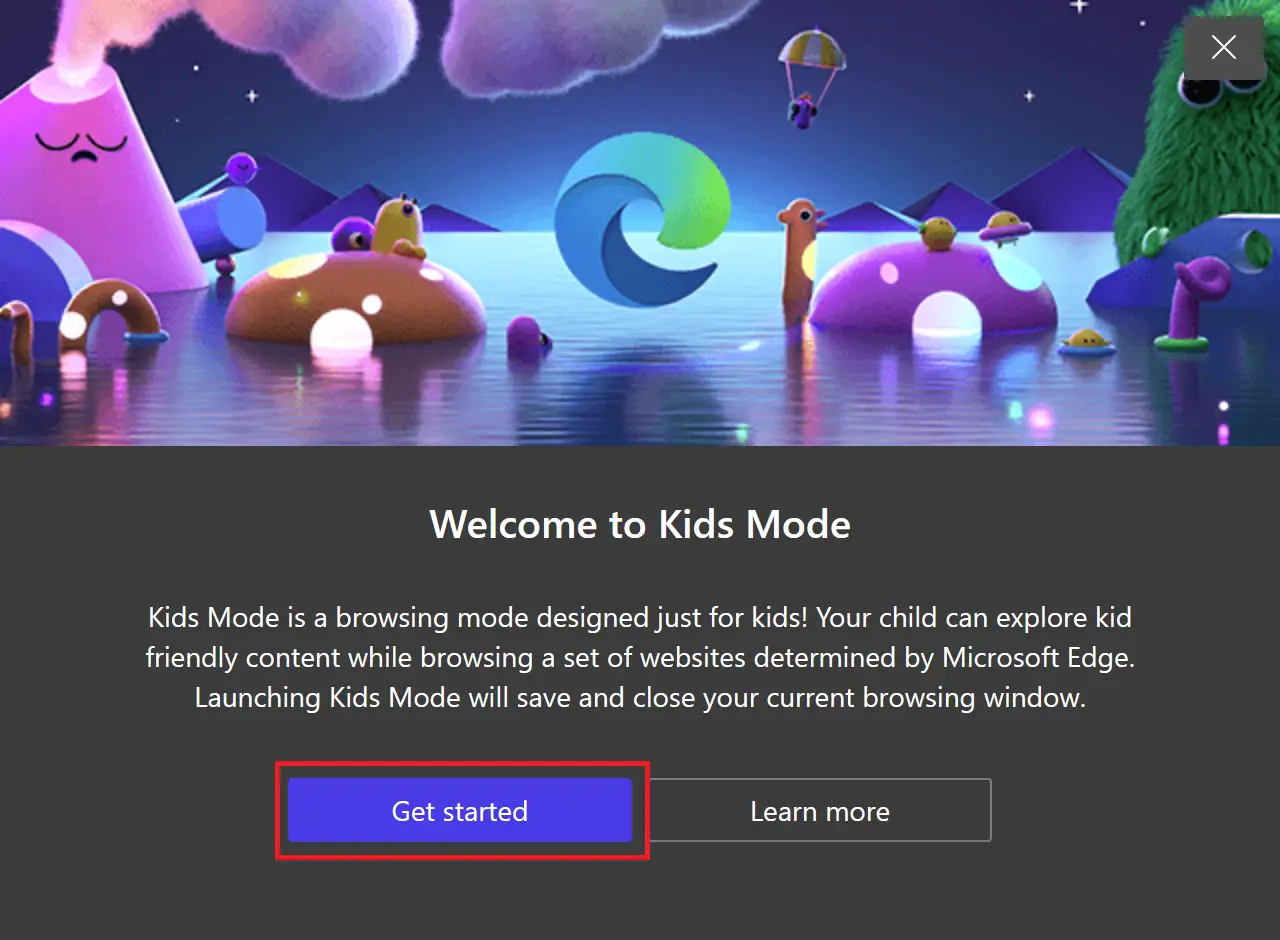
Step 3. A Welcome pop-up window will appear, providing a brief overview of Kids Mode. Click the “Get Started” button to proceed.
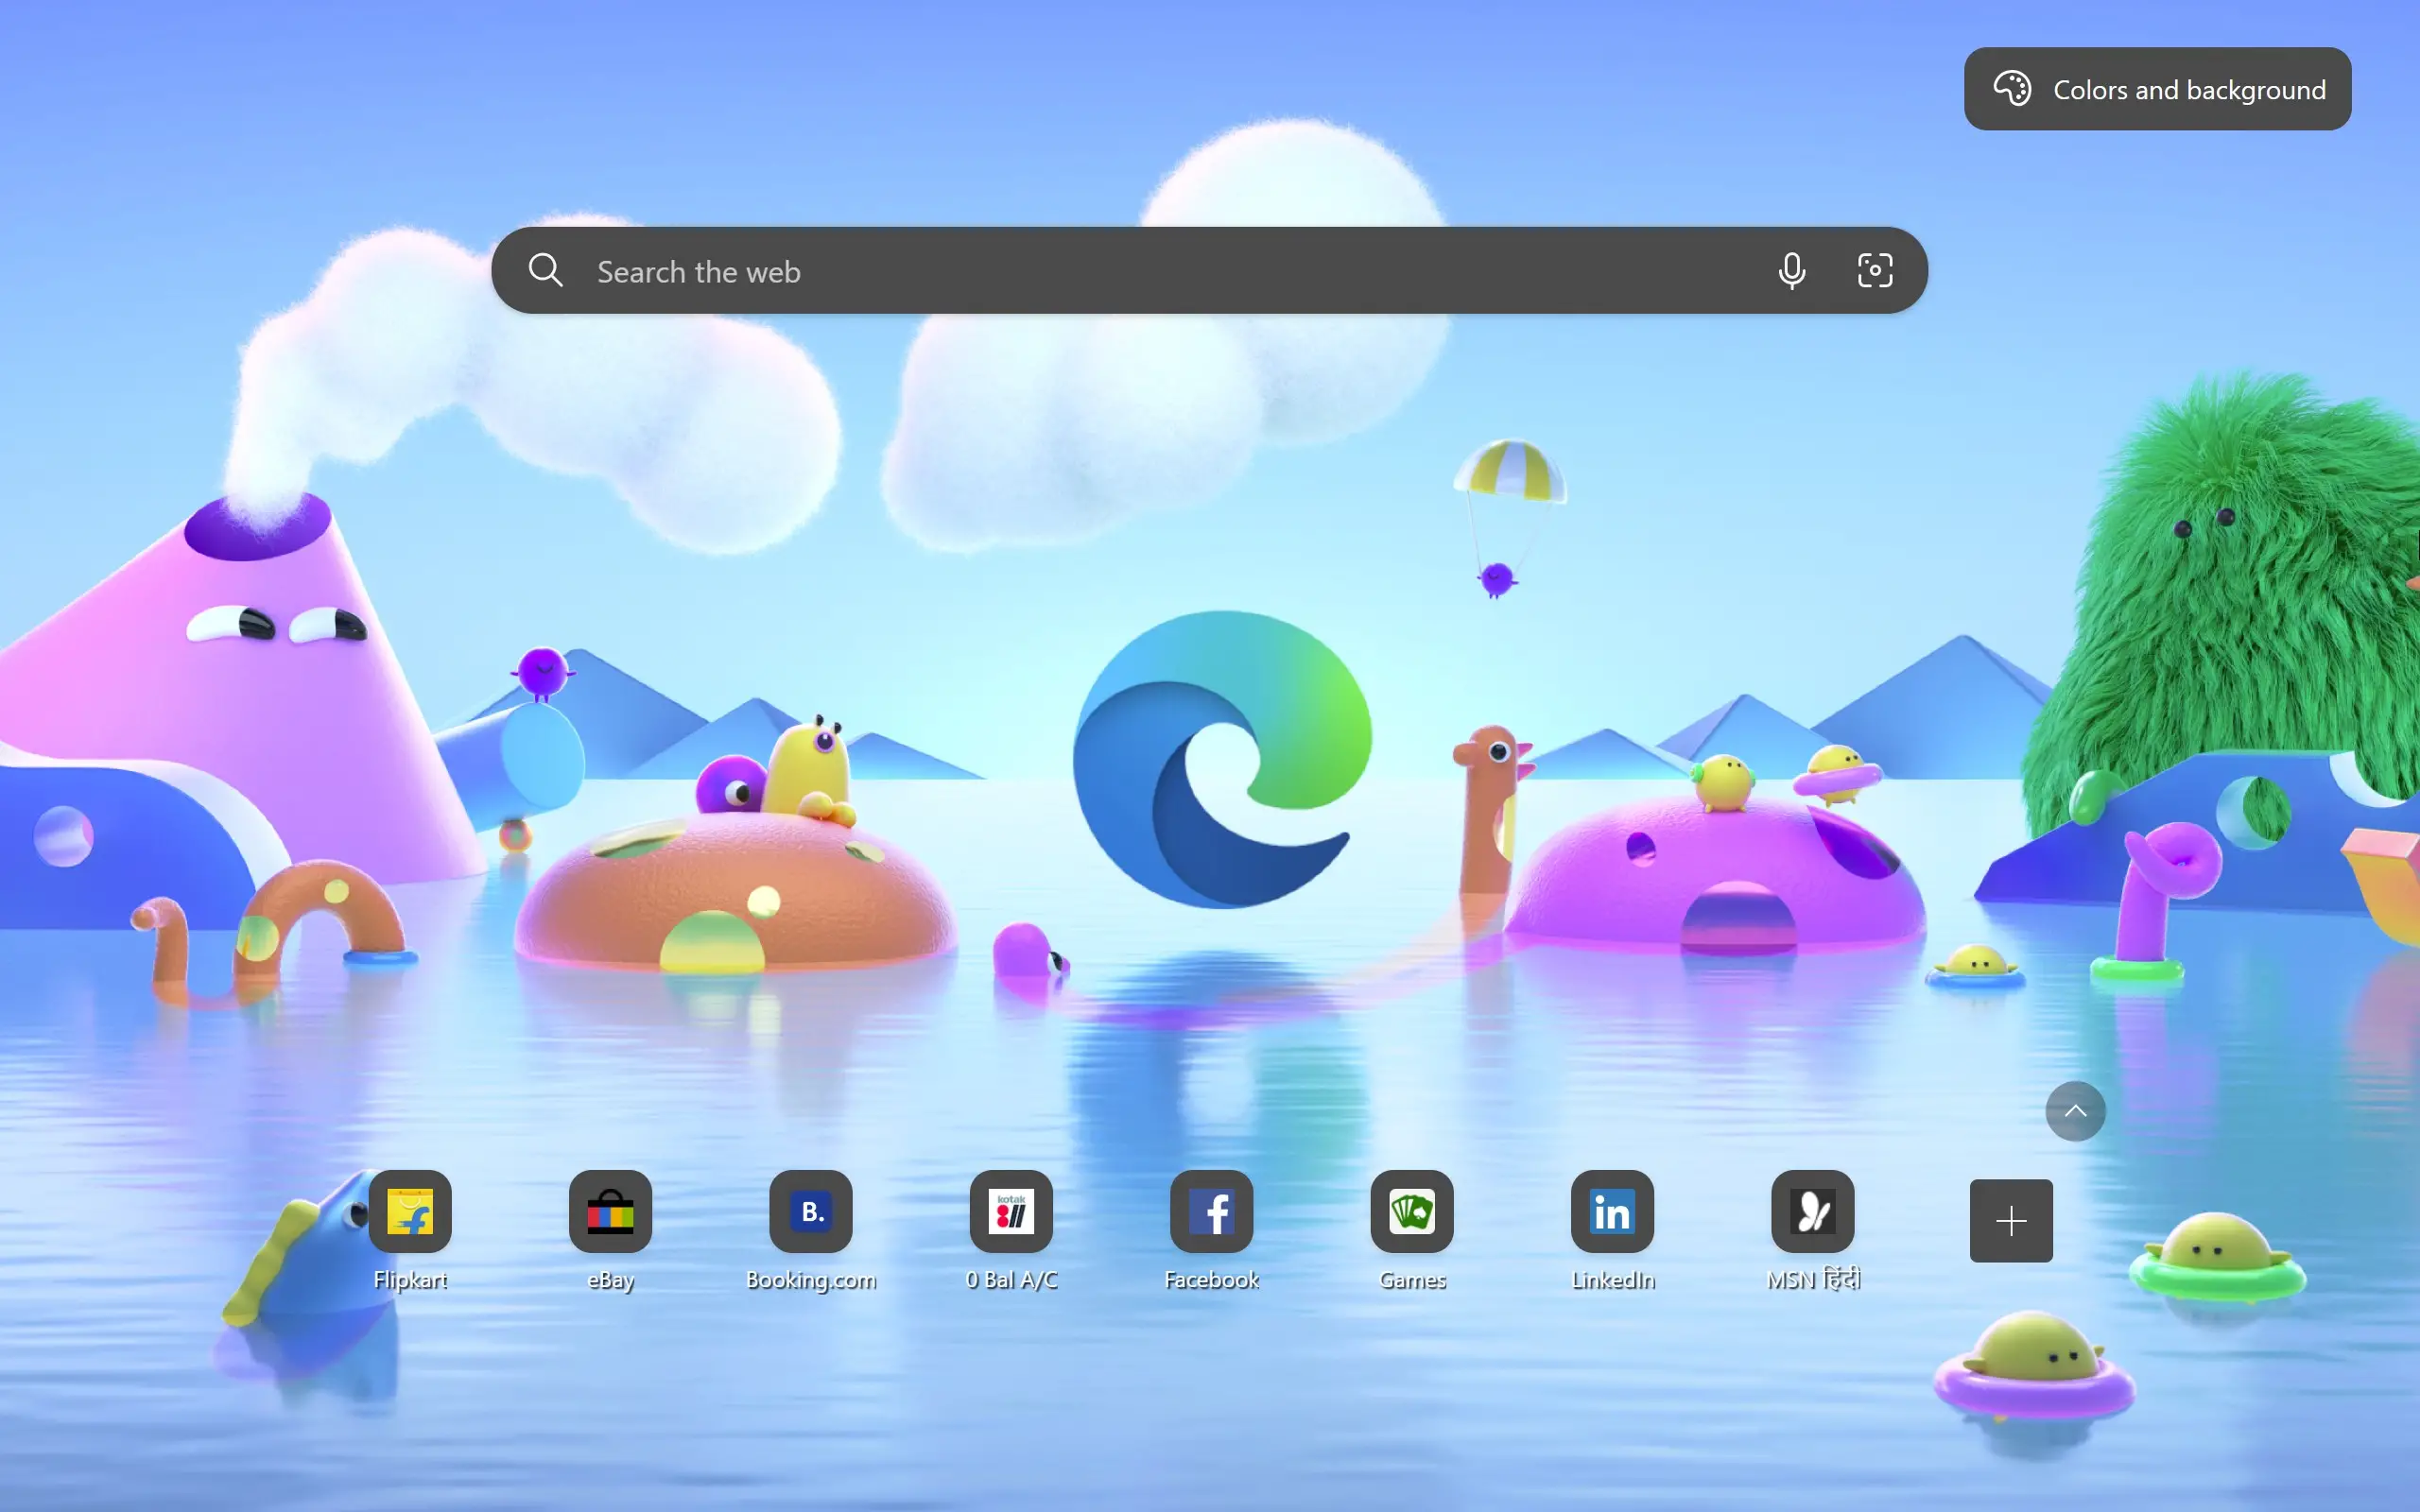
Step 4. With Kids Mode activated, your child can now enjoy a kid-friendly browsing experience within the protected environment of Microsoft Edge. The browser will display a colorful and engaging interface designed to appeal to young users.
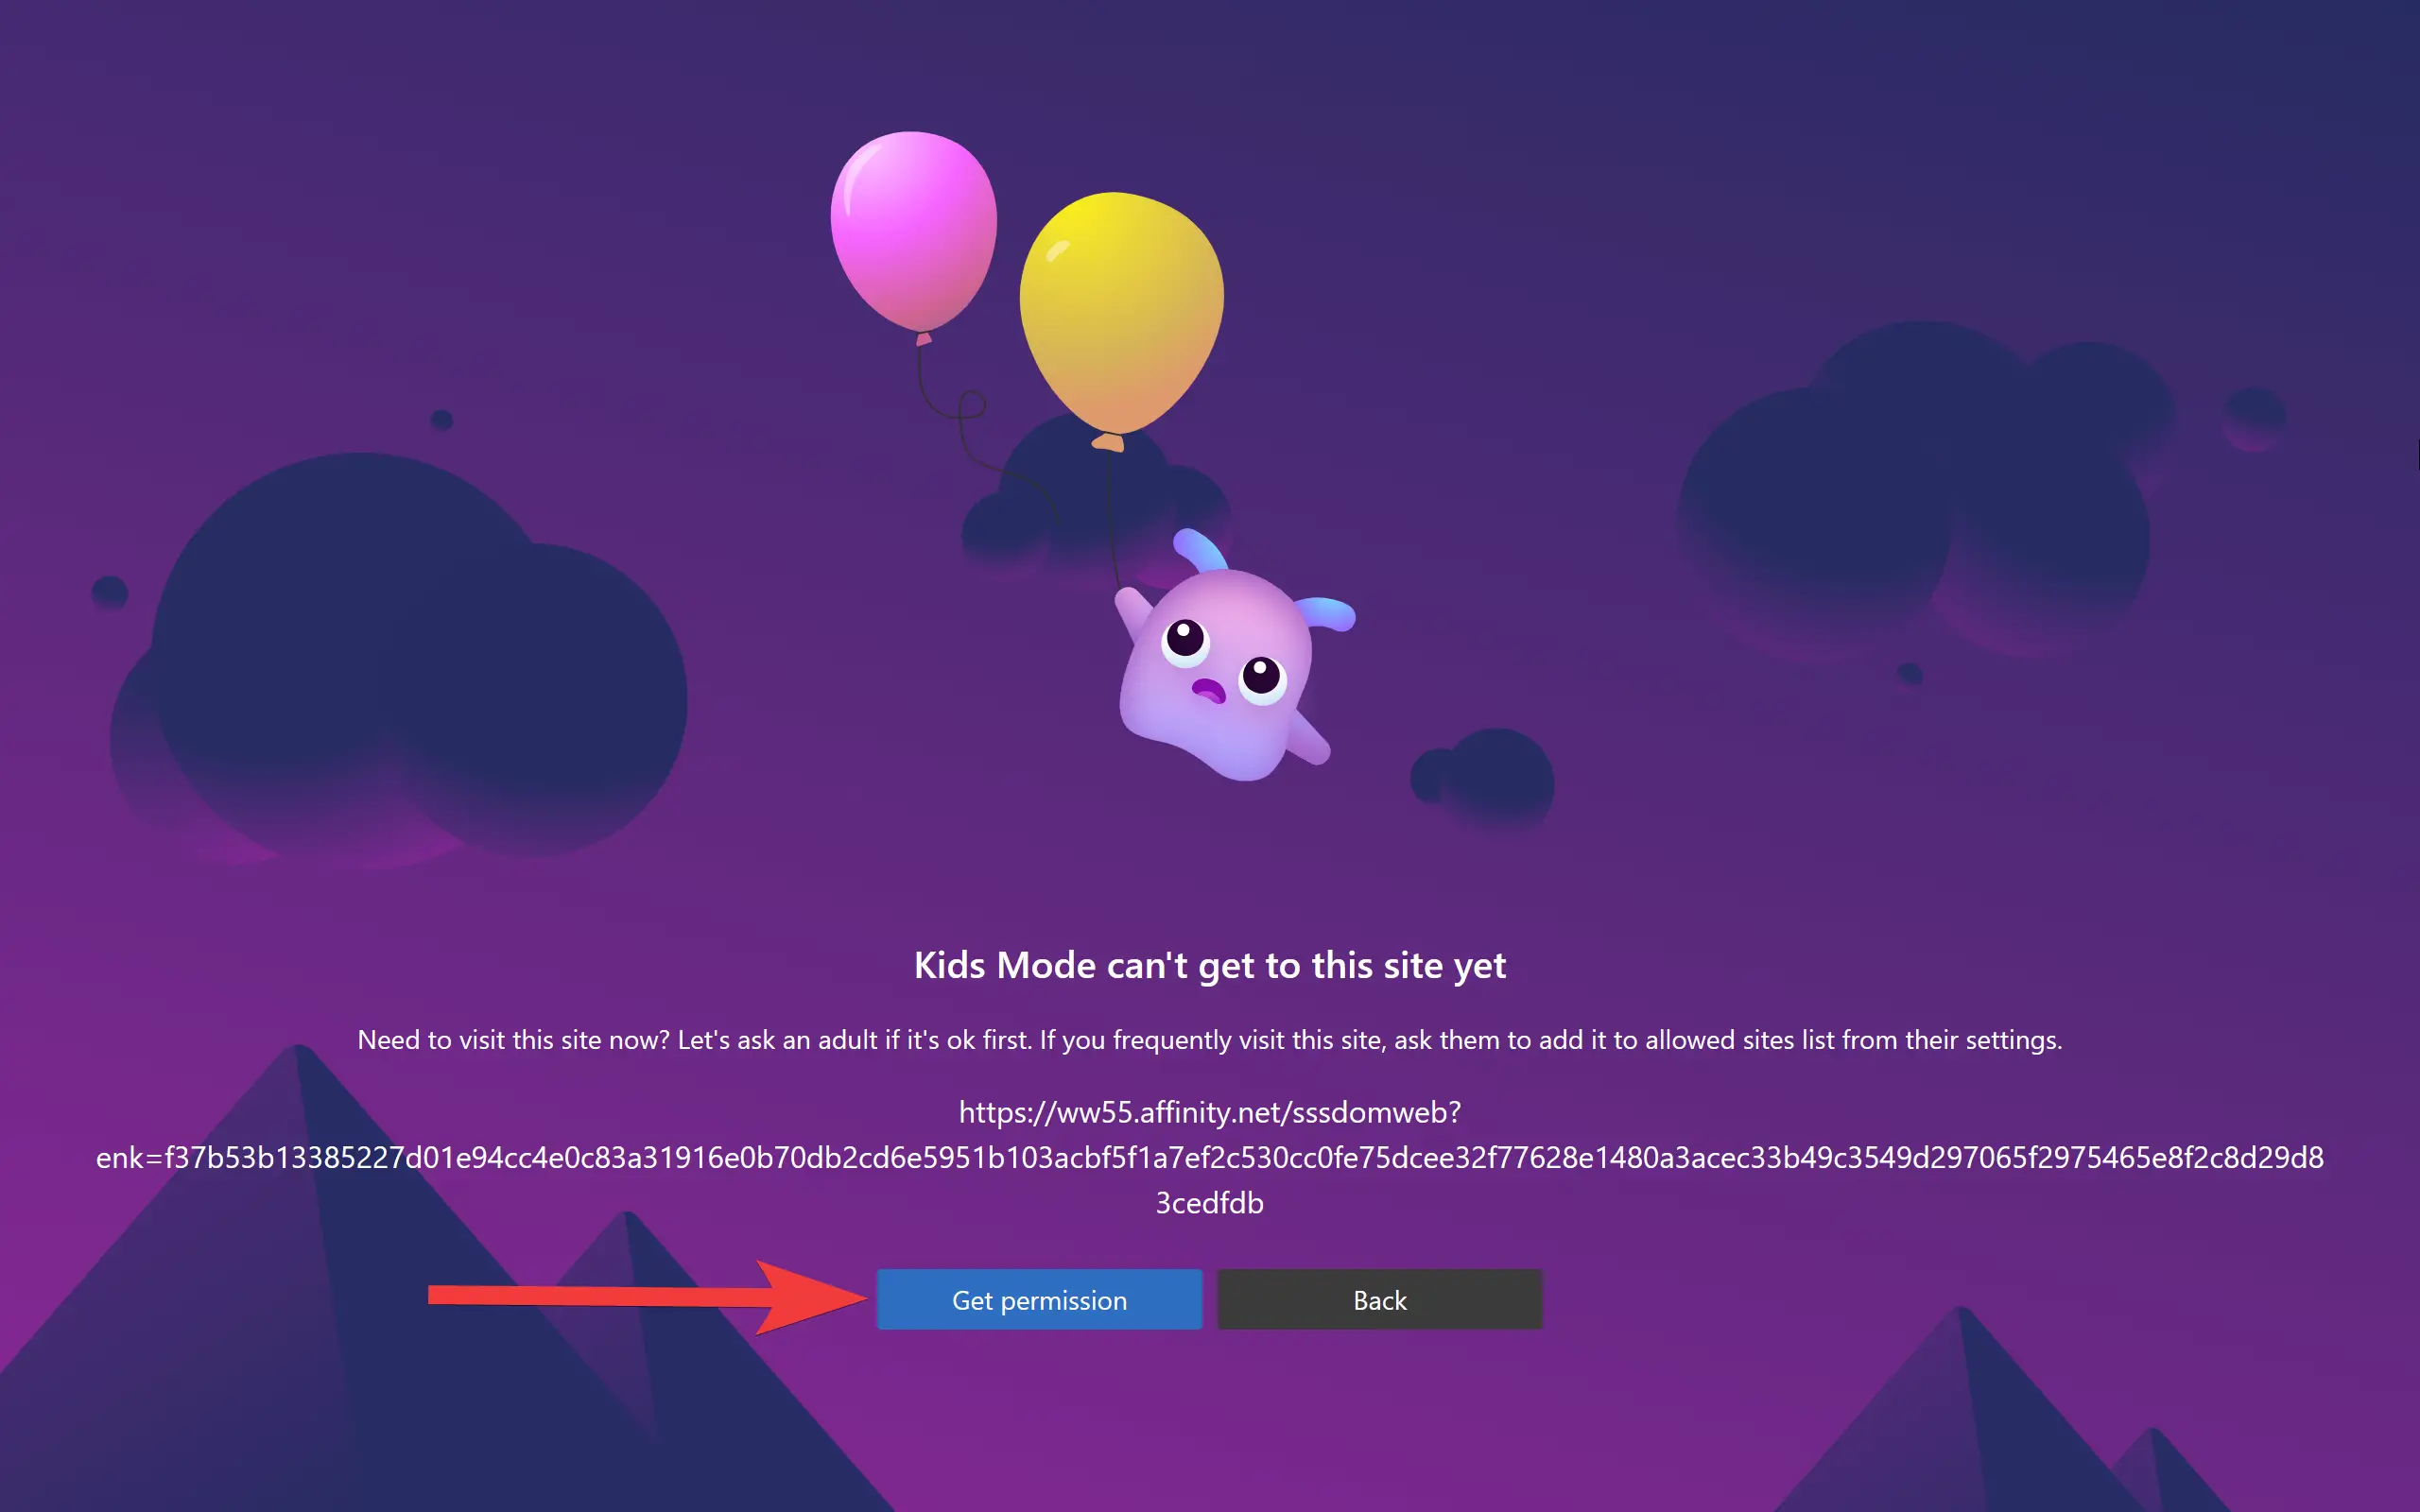
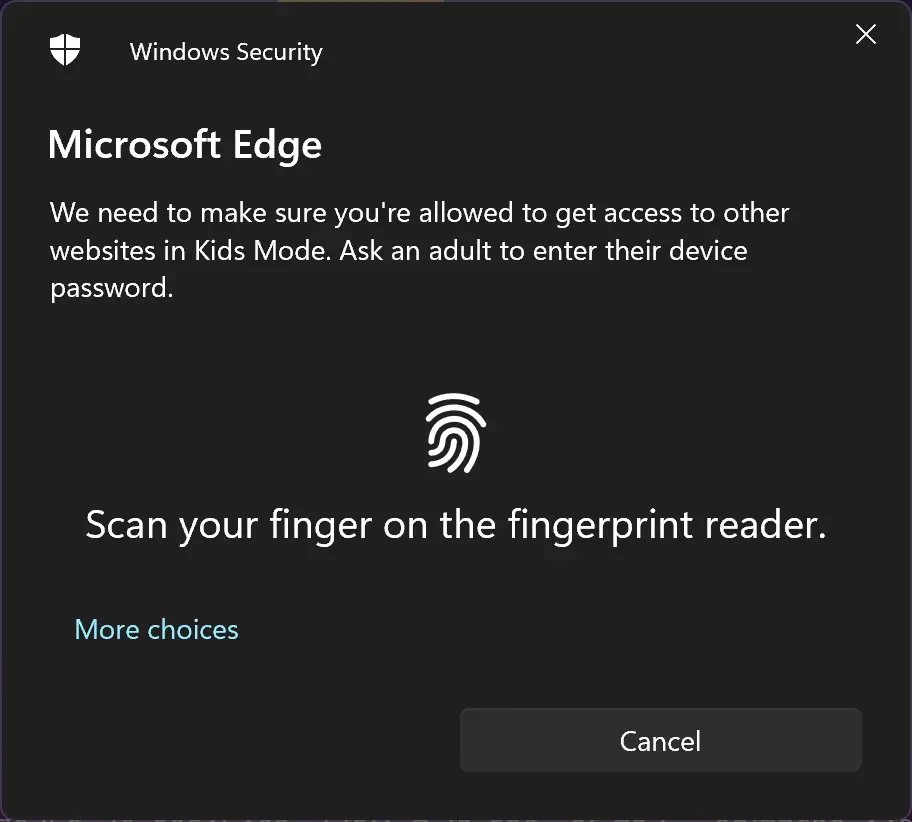
Step 5. If your child attempts to access a website that is not on the approved whitelist, the action will be blocked. However, they have the option to request your permission. You will be prompted to enter your Windows administrator password to allow temporary access to the blocked website.
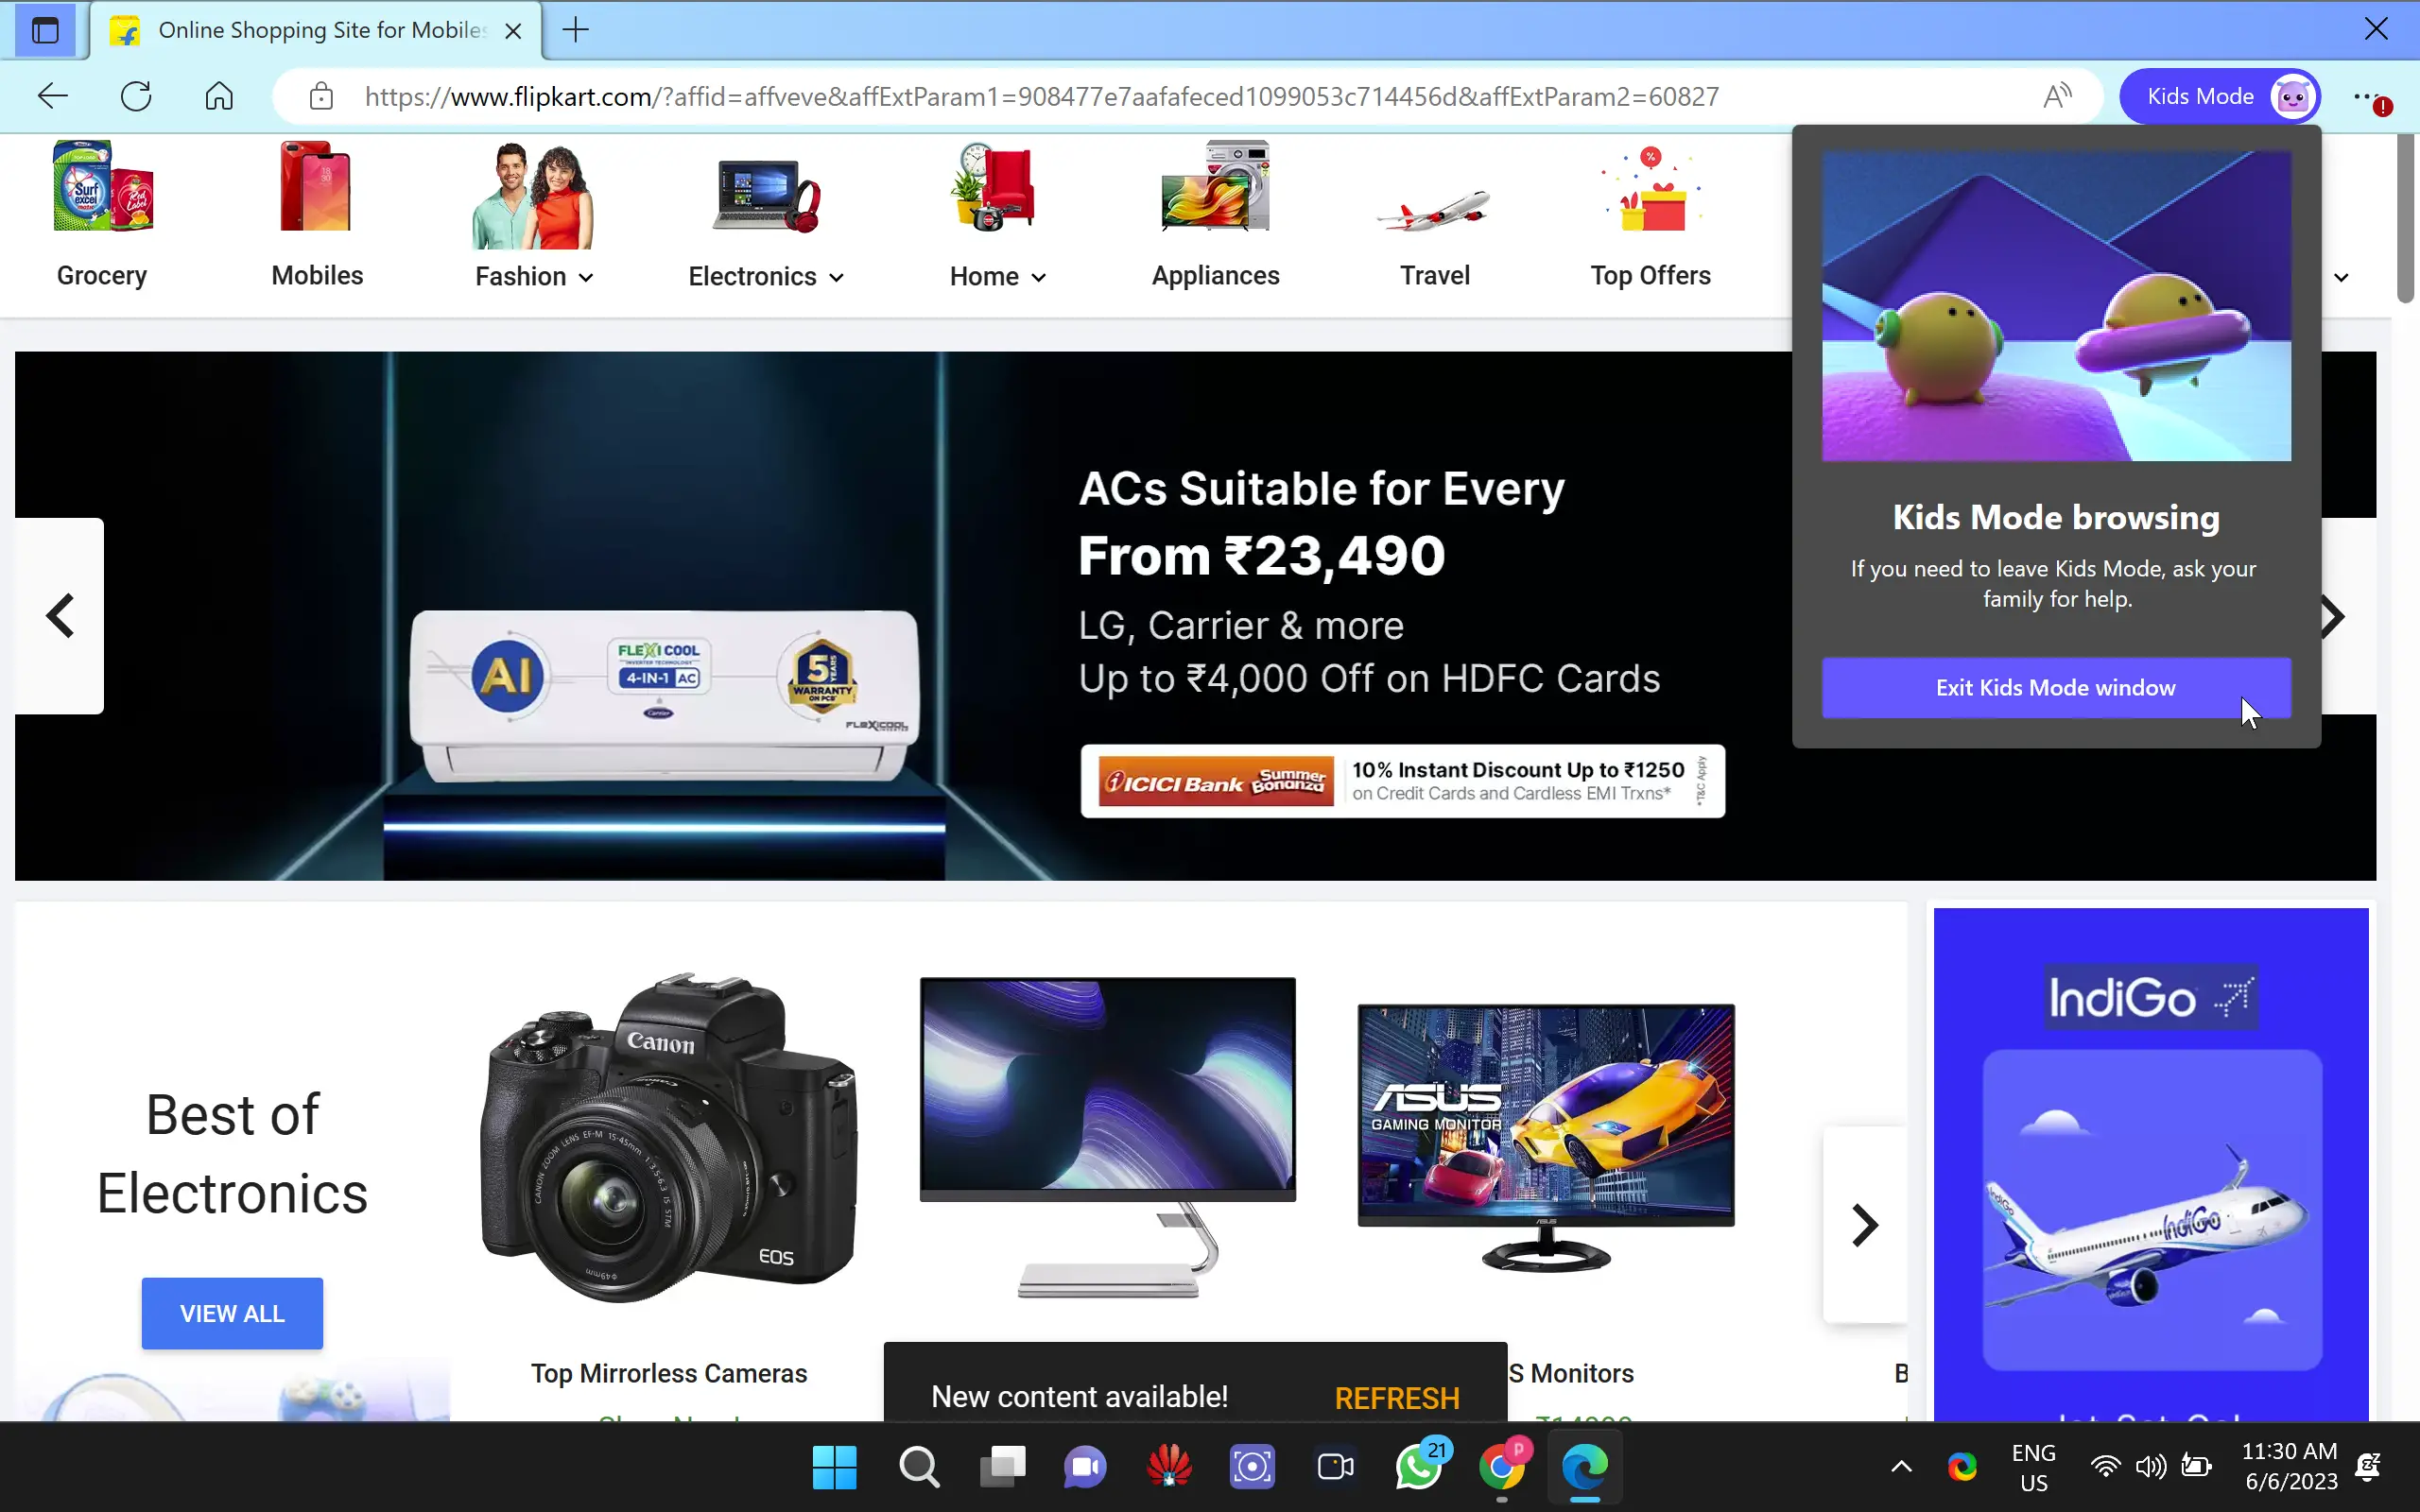
Step 6. To exit Kids Mode, simply move the cursor to the top of the window, and click on the Kids Mode banner located at the top-right corner of the browser window. Then click the “Exit Kids Mode window” button. Confirm your action by entering your Windows admin password when prompted.
Conclusion
Enabling Kids Mode in Microsoft Edge provides parents and guardians with a powerful tool to create a safer online environment for their children. By following the simple steps outlined in this user-friendly guide, you can set up a website whitelist and activate Kids Mode, ensuring your child’s web browsing experience is both enjoyable and secure. Remember, while Kids Mode helps protect children, it’s important to complement it with additional parental controls and ongoing supervision to foster a responsible and safe online journey for your little ones.