Windows 10 is renowned for its flexibility and user-friendly interface, offering multiple ways to interact with the system. Among these, PowerShell commands stand out as a powerful tool for system administration and automation tasks. However, did you know that you can execute PowerShell commands right from the Command Prompt? This integration allows users to harness the power of PowerShell within a familiar environment. In this guide, we’ll explore how to seamlessly execute PowerShell commands using the Command Prompt in Windows 10.
Understanding PowerShell and Command Prompt
Before delving into execution methods, let’s briefly differentiate between PowerShell and Command Prompt. Command Prompt, also known as CMD, is a command-line interpreter for Microsoft Windows operating systems, while PowerShell is a more advanced command-line shell and scripting language designed specifically for system administration. While both offer command-line interfaces, PowerShell provides more advanced capabilities, including access to .NET Framework and Windows Management Instrumentation (WMI), making it a preferred choice for many system administrators.
How to Execute PowerShell Commands in Command Prompt on Windows 10?
Executing PowerShell commands within Command Prompt is straightforward and can be achieved using the ‘powershell’ command followed by the desired PowerShell command or script. Here’s a step-by-step guide:-
Step 1. Launch Command Prompt.
To do that, press Win + R to open the Run dialog. Type ‘cmd‘ and press Enter, or search for Command Prompt in the Start menu and open it.
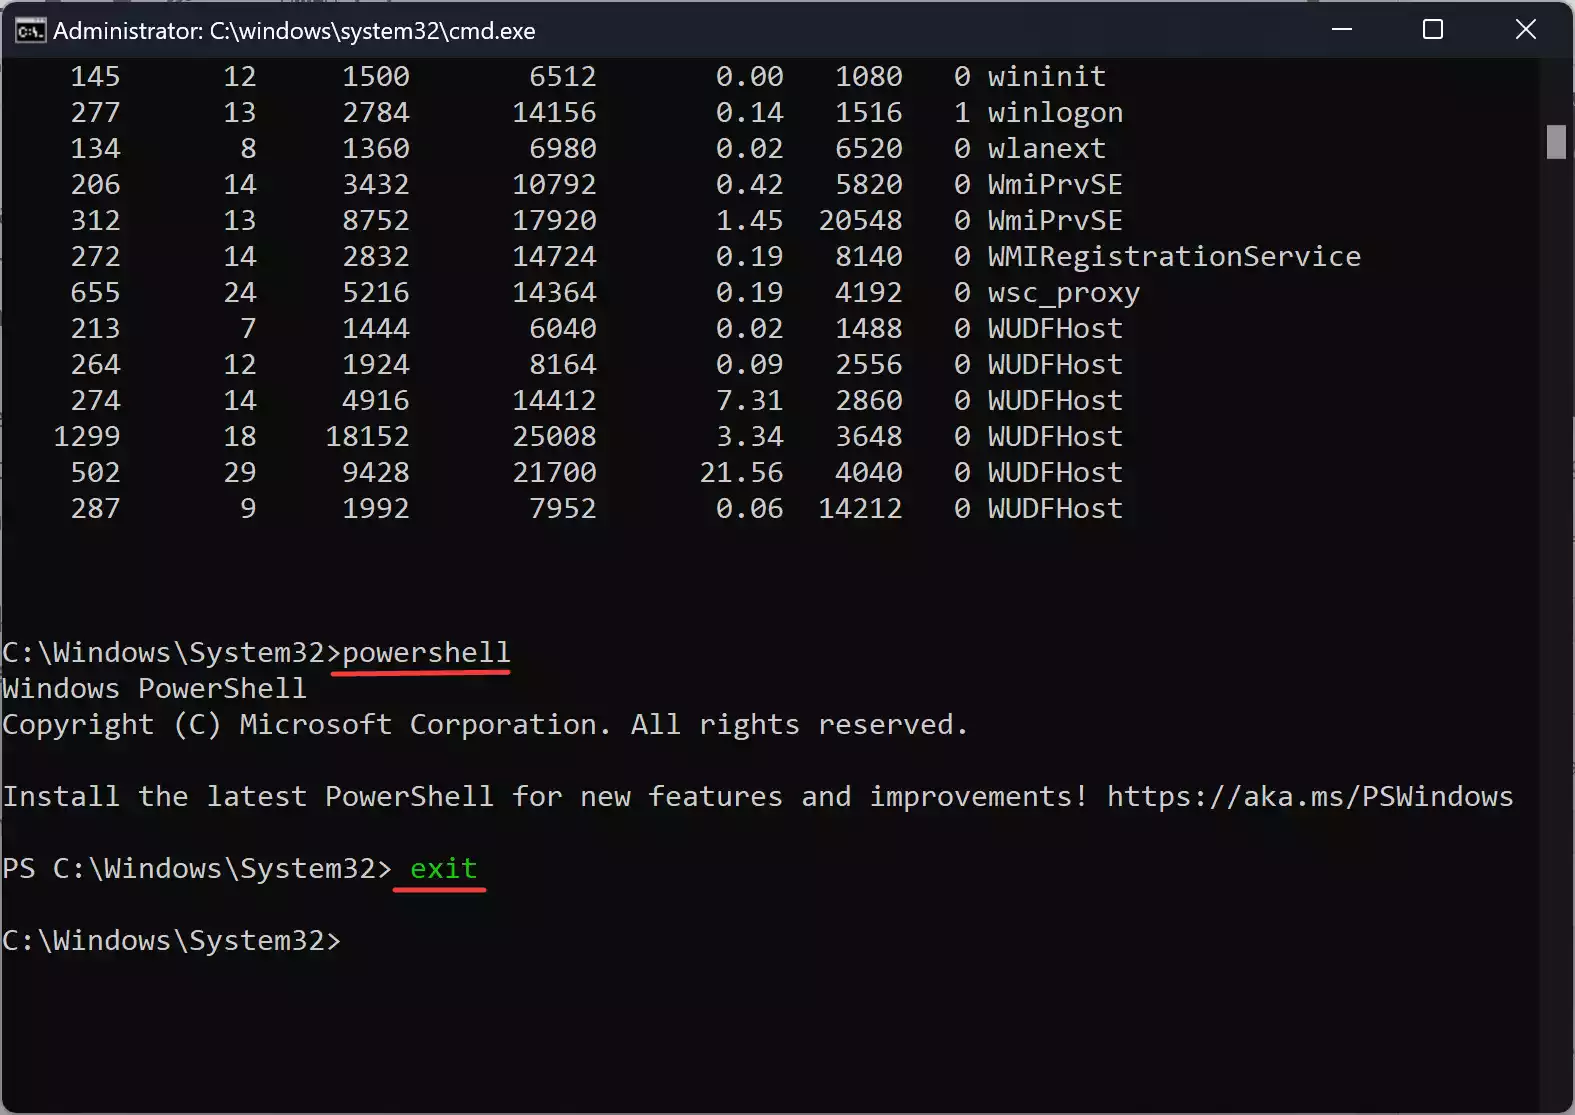
Step 2. In the Command Prompt window, type ‘powershell‘ and press Enter. This command initiates the PowerShell environment within the Command Prompt window, enabling seamless transition between the two interfaces.
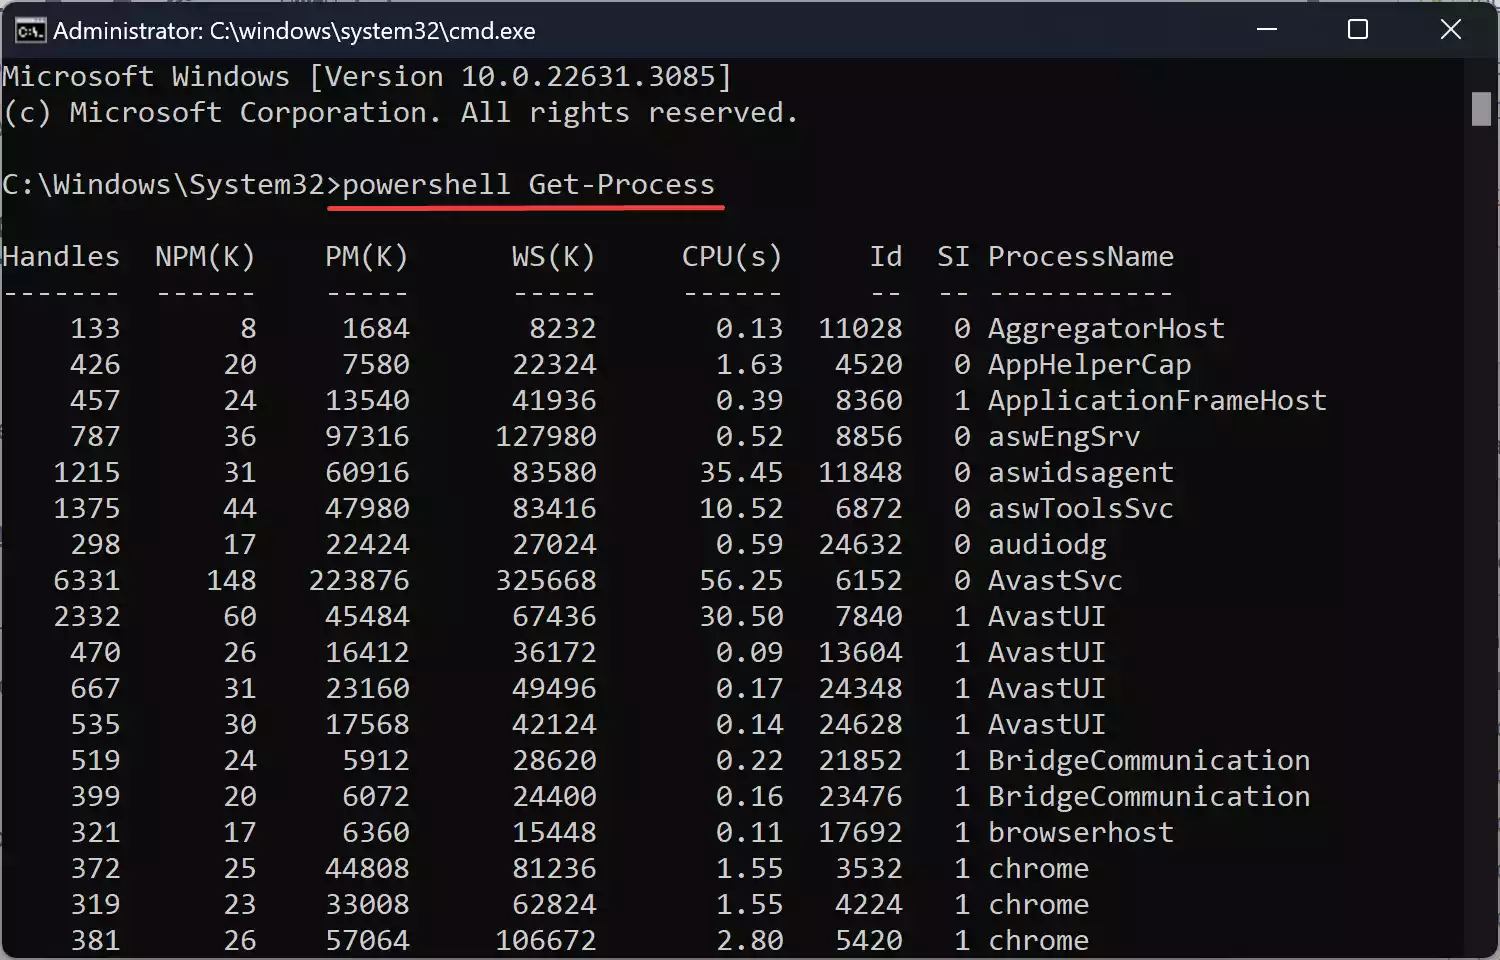
Step 3. Once in the PowerShell environment, you can execute commands as you would in a standard PowerShell session. For example, to list all processes running on your system, you can use the command ‘Get-Process‘ and press Enter. Similarly, you can run scripts or complex commands directly from the Command Prompt by prefixing them with ‘powershell‘.
Step 4. To exit the PowerShell environment and return to the Command Prompt, simply type ‘exit‘ and press Enter. This action closes the PowerShell session and returns you to the Command Prompt interface.
Benefits of Using PowerShell within Command Prompt
Integrating PowerShell within Command Prompt offers several advantages:-
1. Familiar Interface: Users accustomed to Command Prompt can leverage PowerShell’s capabilities without the need for extensive retraining or transitioning to a new environment.
2. Seamless Workflow: Switching between Command Prompt and PowerShell becomes effortless, allowing for a smoother workflow and increased productivity.
3. Enhanced Functionality: By combining the strengths of both interfaces, users gain access to a wide range of commands and functionalities for system administration and automation tasks.
Conclusion
Mastering the art of executing PowerShell commands within Command Prompt empowers users to leverage the advanced capabilities of PowerShell while retaining the familiarity of the Command Prompt interface. Whether you’re a system administrator, developer, or power user, integrating PowerShell into your Command Prompt workflow opens up a world of possibilities for managing and automating tasks on Windows 10 systems. So why wait? Dive in, explore, and unleash the power at your fingertips!
Also Read: How to Execute Command Prompt Commands in PowerShell on Windows 10?