Windows updates are crucial for maintaining system security and performance, but sometimes, users need more control over the update process. By default, Windows 11 allows a maximum pause of 5 weeks (35 days). However, with a little-known tweak in the Registry Editor, you can extend this pause period to any desired length. This gearupwindows article will guide you through the steps to leverage the Registry Editor and gain greater flexibility in managing Windows 11 updates.
How to Extend Windows 11 Update Pauses Beyond the Default Limit Using Registry Editor?
To pause Windows Update for any amount of time in Windows 11, follow these steps:-
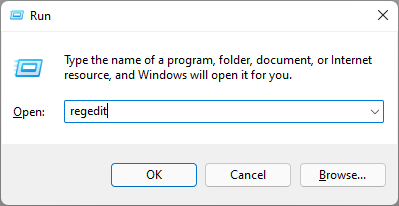
Step 1. Press `Win + R` to open the Run dialog, type `regedit,` and hit Enter. This opens the Registry Editor, a powerful tool that requires caution in use.
Step 2. Within the Registry Editor, navigate to the following key in the left sidebar:-
HKEY_LOCAL_MACHINE\SOFTWARE\Microsoft\WindowsUpdate\UX\Settings
This is the location where the necessary changes will be made.
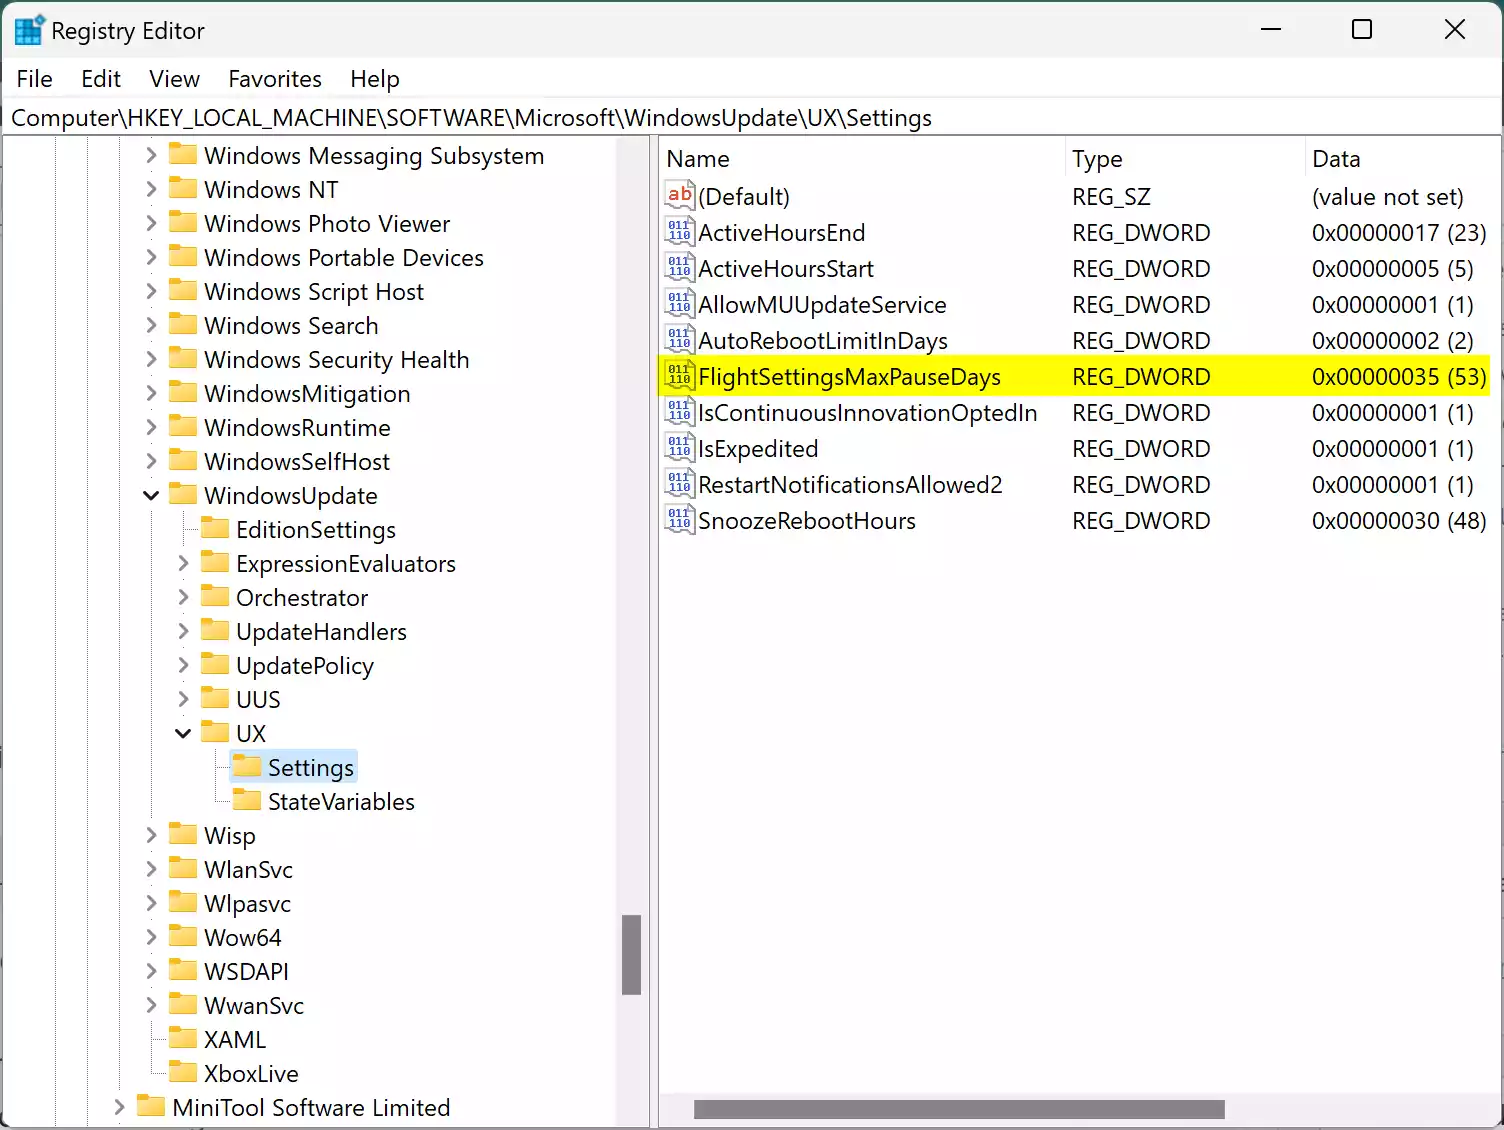
Step 3. On the right sidebar, you will find “FlightSettingsMaxPauseDays” REG_DWORD; double-click on it to change its “Value data.”
Note: If you don’t find “FlightSettingsMaxPauseDays” REG_DWORD, right-click on an empty space in the right pane and select “New” > “DWORD (32-bit) Value.” Name the new DWORD as `FlightSettingsMaxPauseDays.`
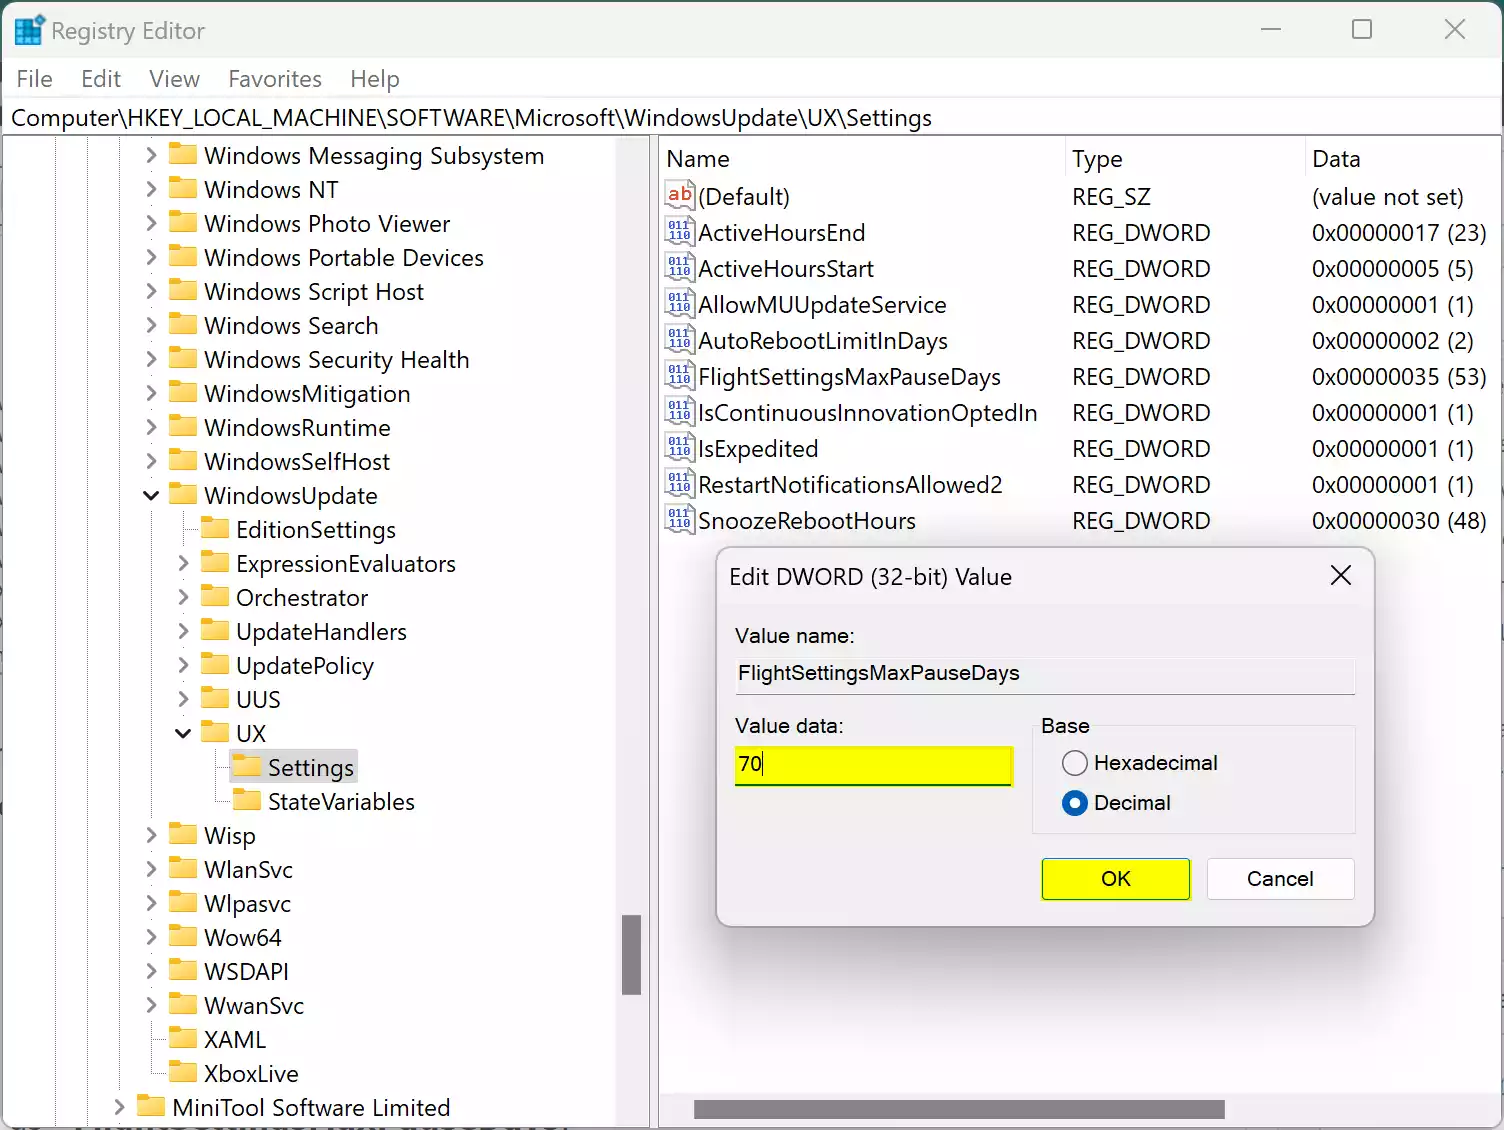
Step 4. In the “Edit DWORD Value” dialog, select Decimal and input the desired number of days. For instance, entering ‘105‘ would extend the pause to 15 weeks.
Step 5. Click OK to close the “Edit DWORD Value” dialog, then close the Registry Editor. It’s crucial to proceed with caution and ensure no unintended changes are made.
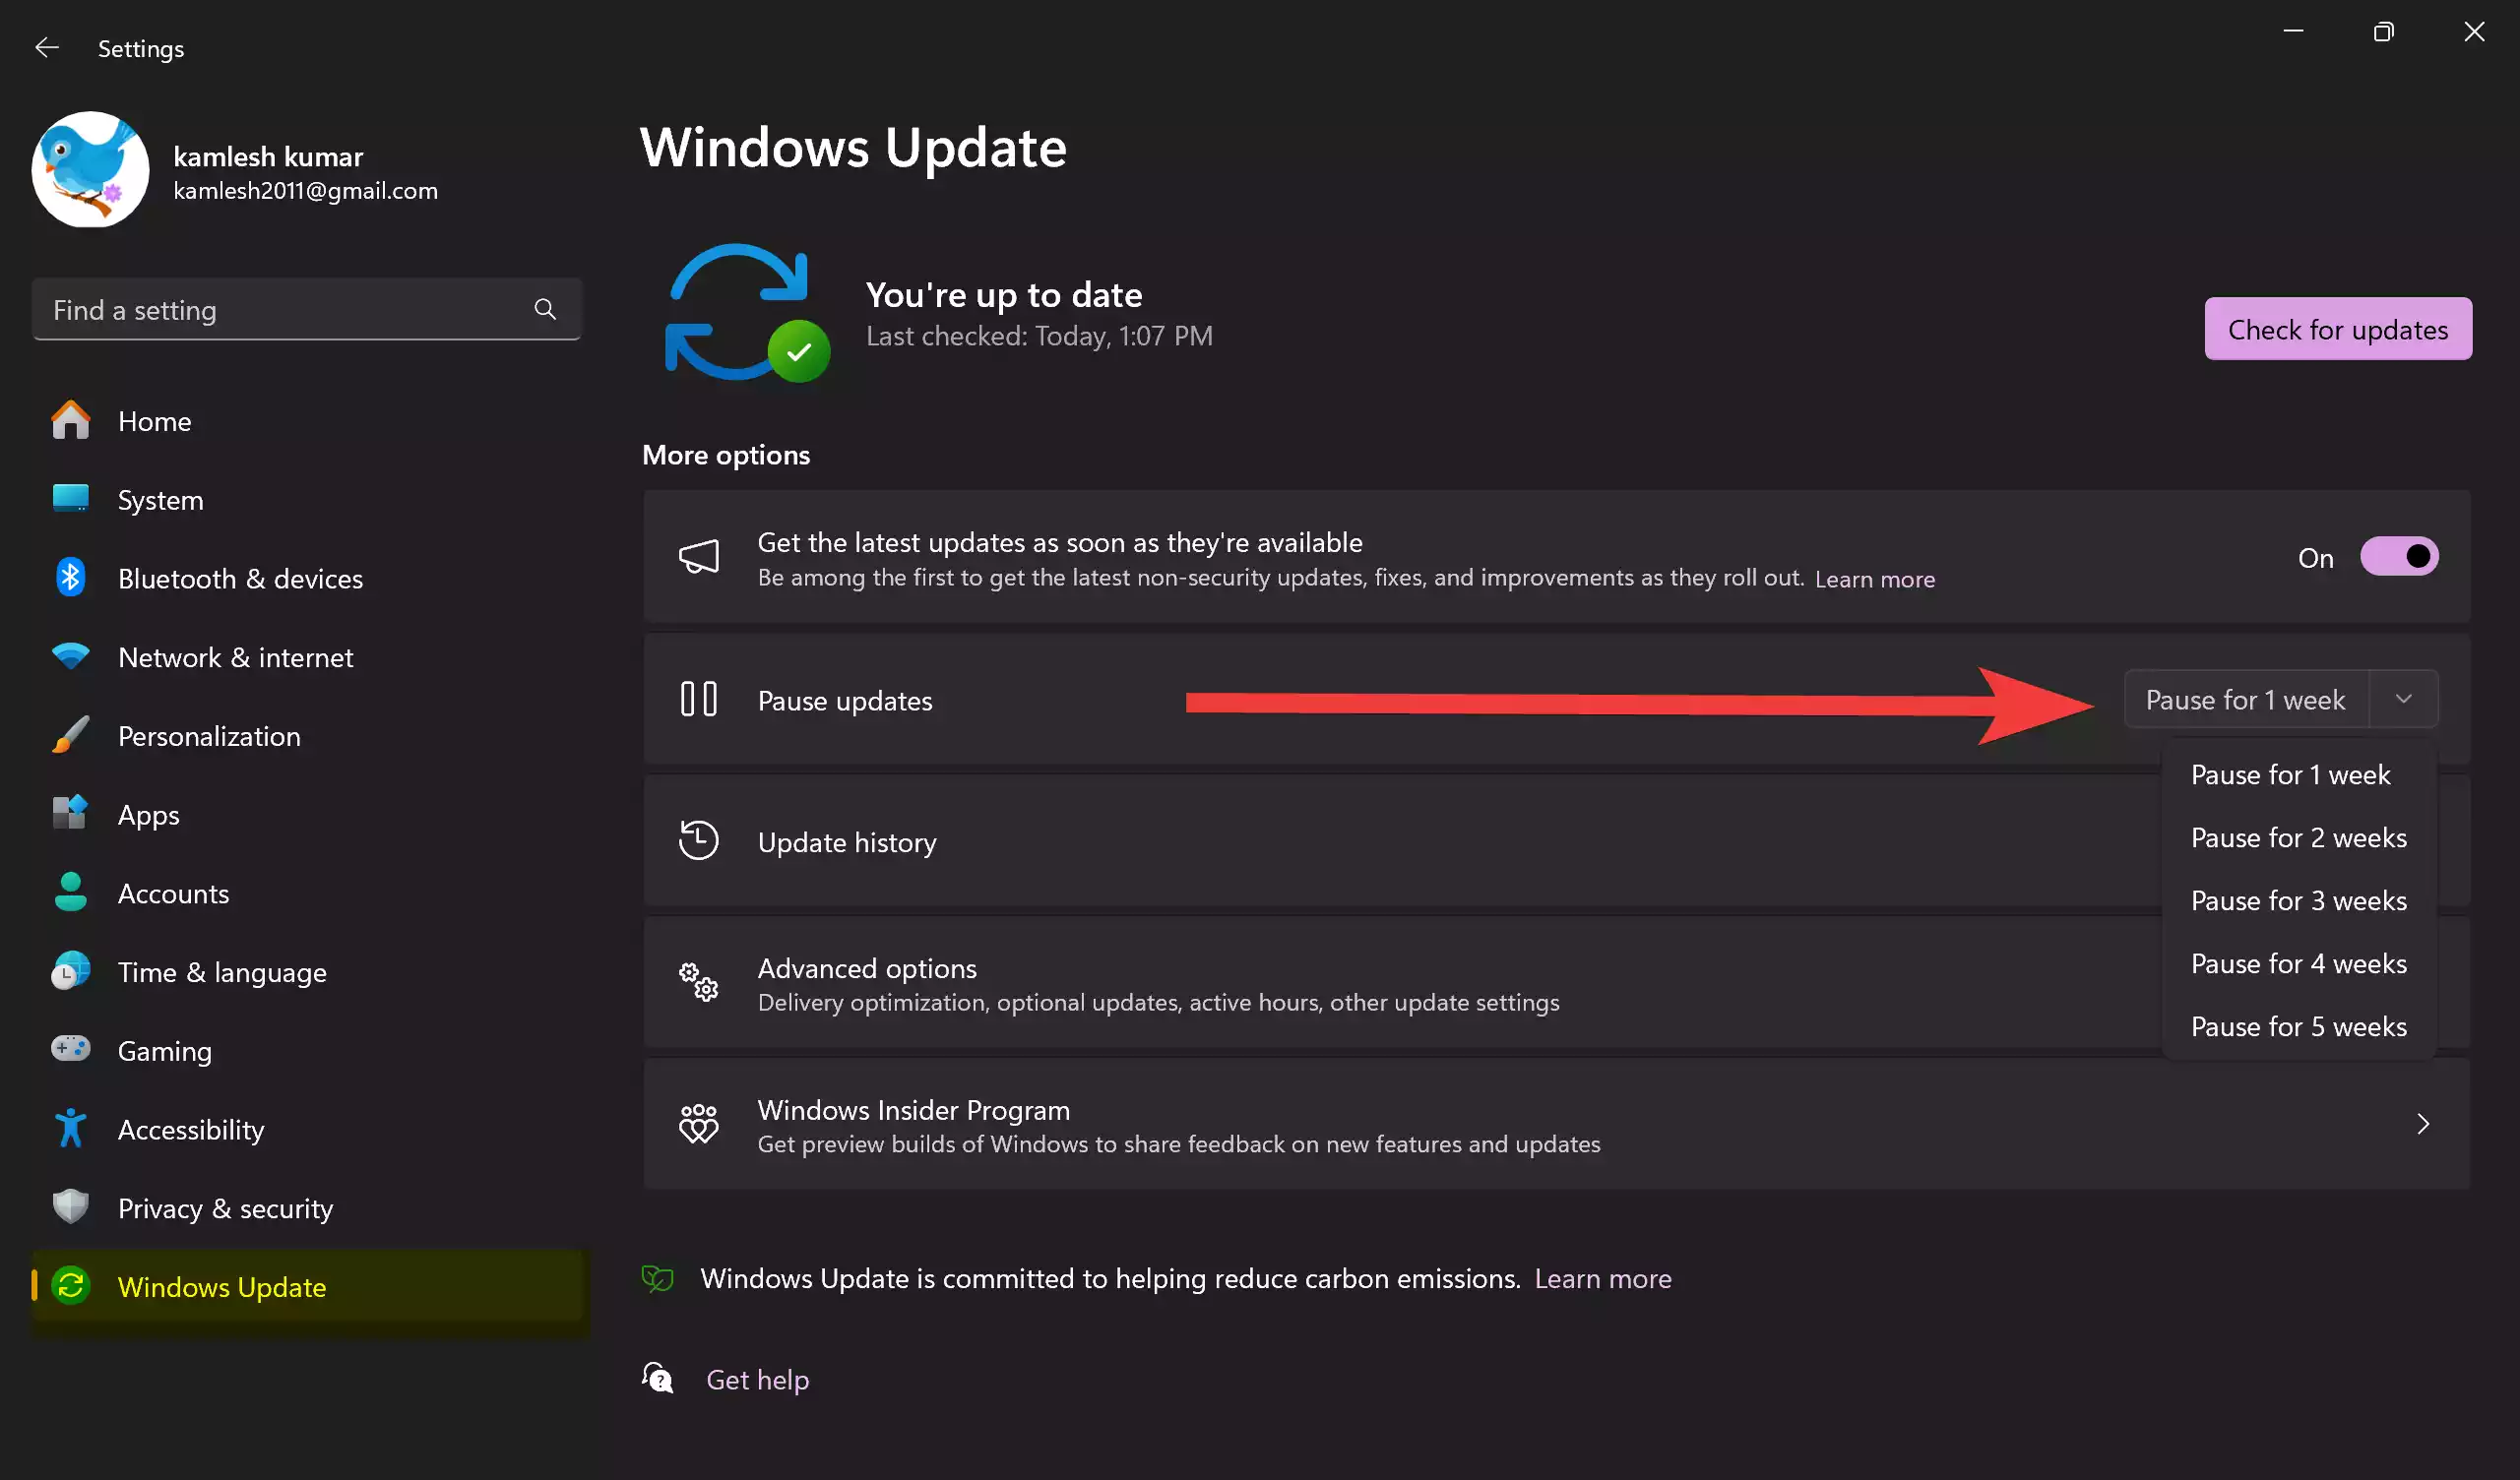
Step 6. Press `Windows + I` to open the Settings app, where you’ll see the changes reflected in the Windows Update settings.
Step 7. Navigate to `Settings > Windows Update` to access the update configuration.
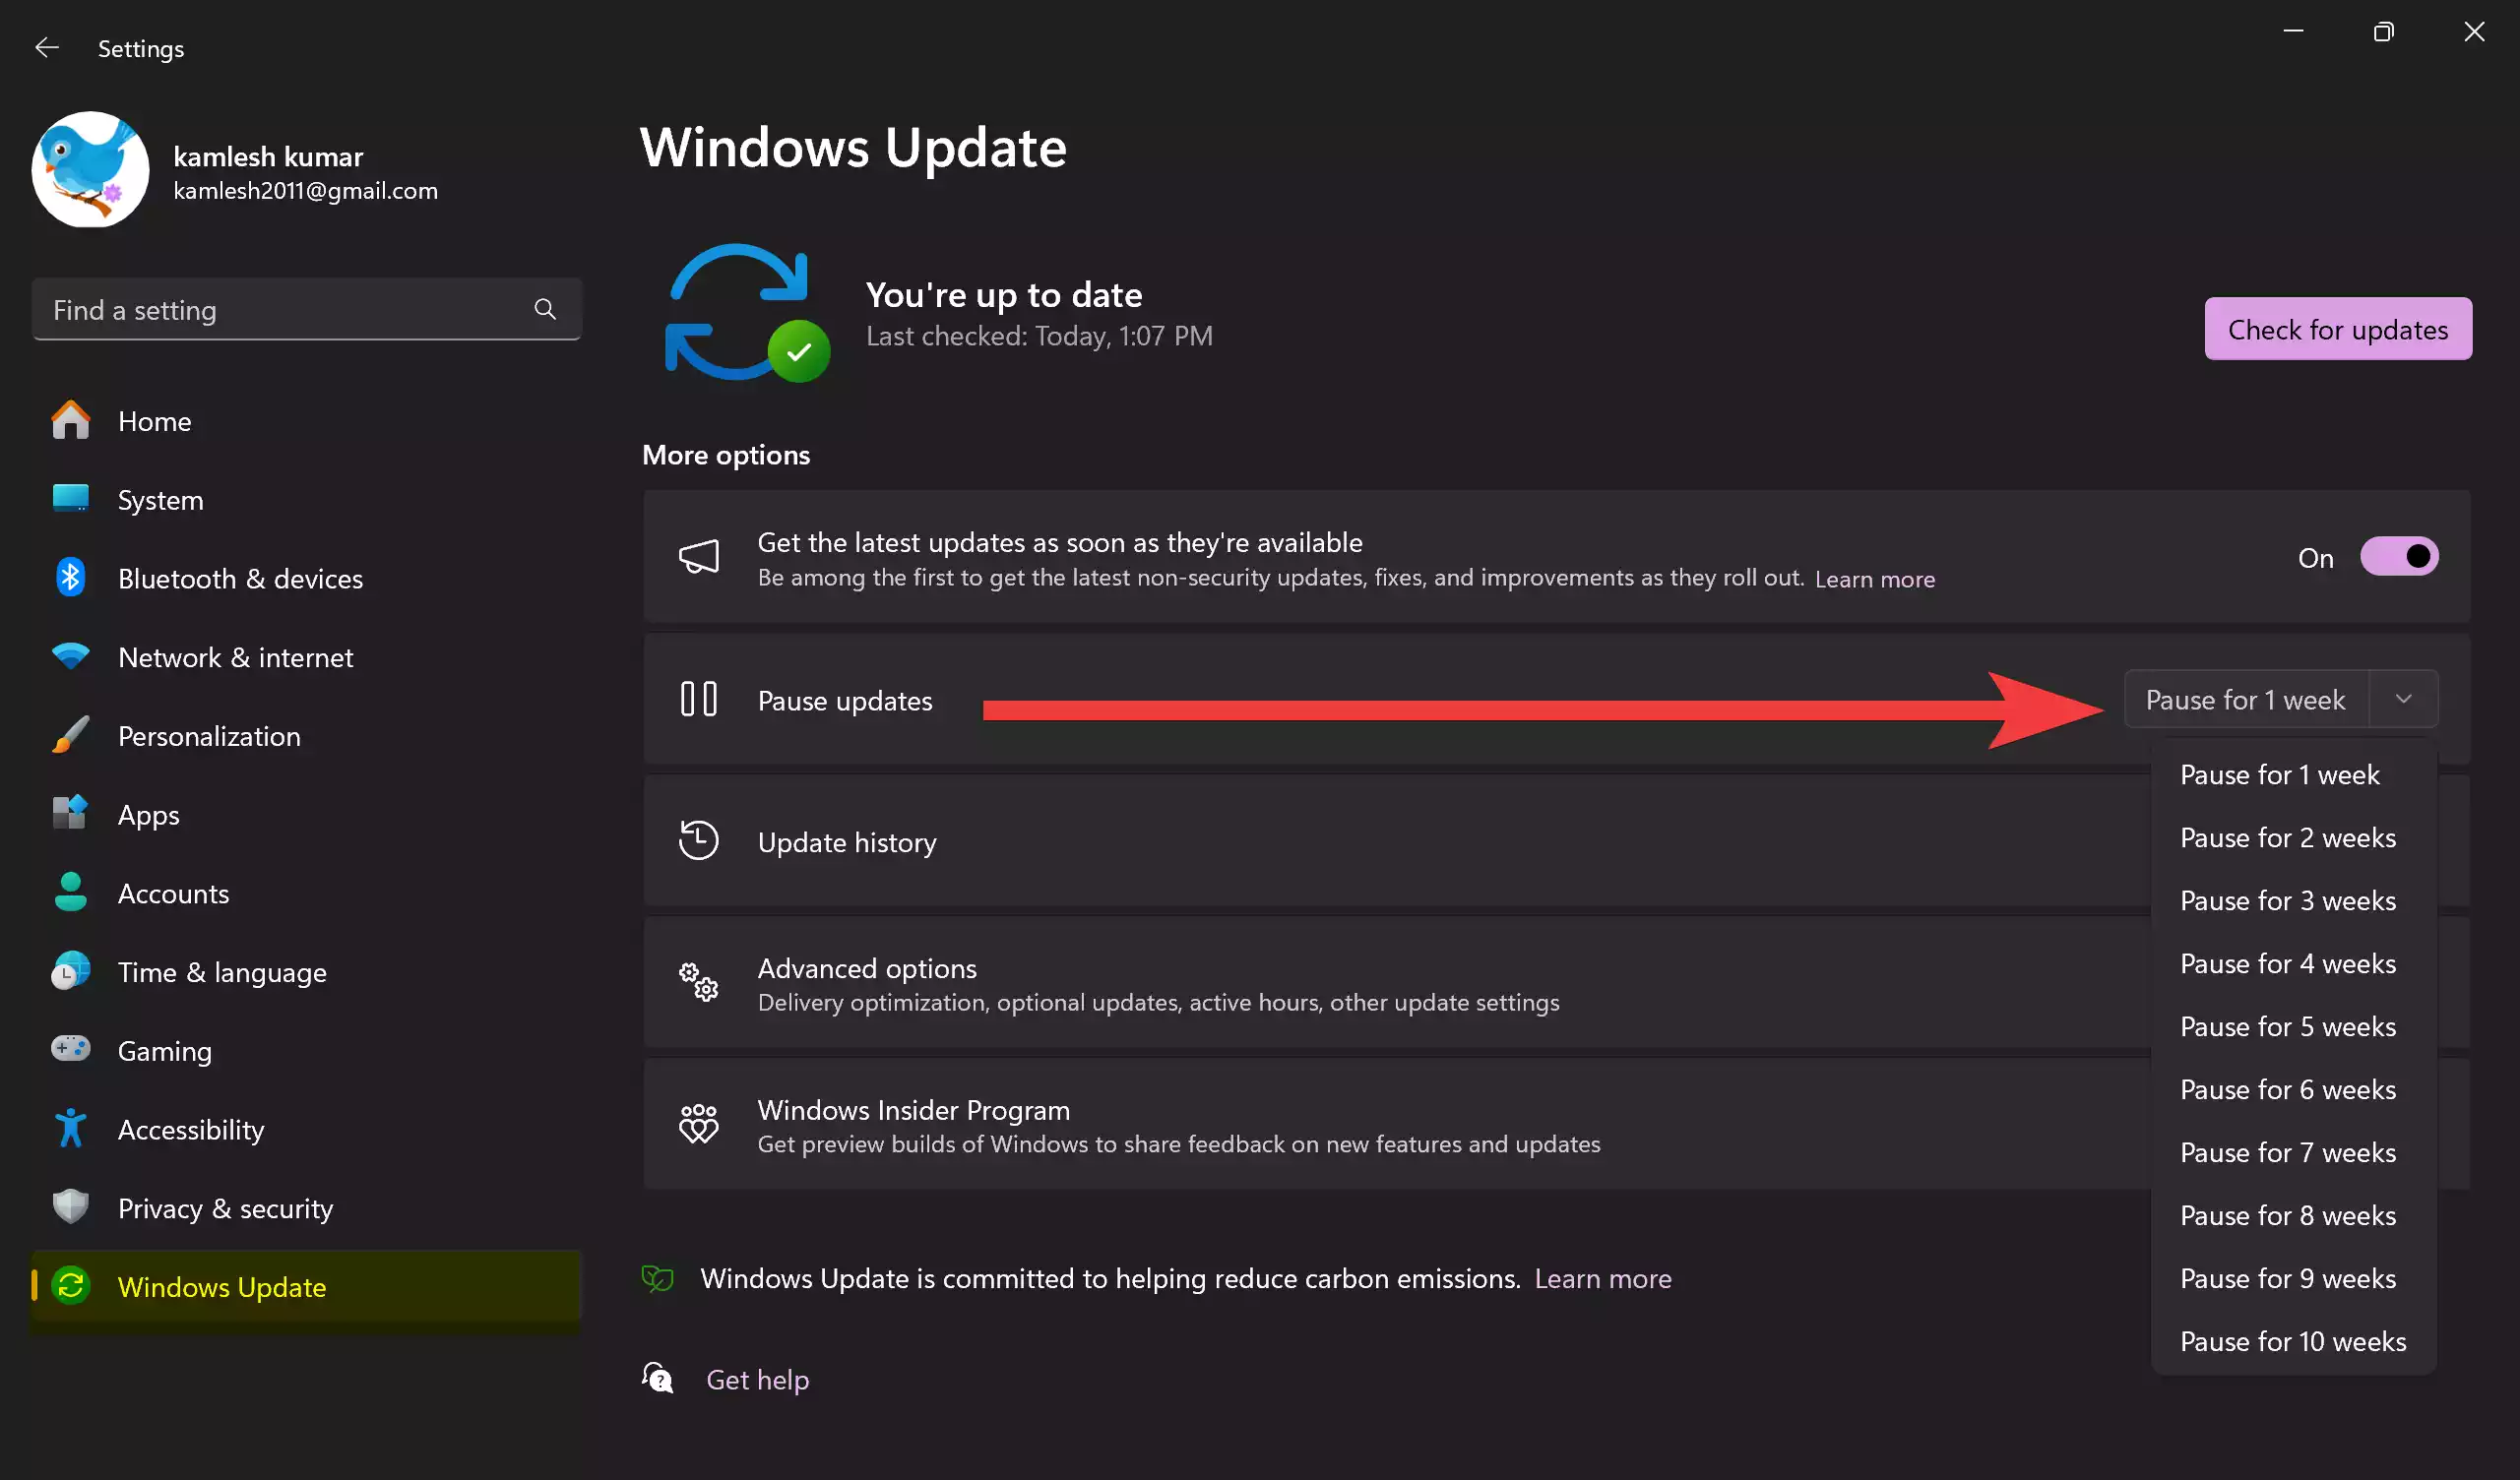
Step 8. Click the arrow on the right side of the “Pause updates” drop-down box. You will now notice an extended pause duration based on the value entered in the Registry.
Step 9. If circumstances change and you need to resume updates before the set duration expires, simply click the “Resume updates” button.
Conclusion
With this method, you can gain unprecedented control over the Windows 11 update process. Extending update pauses beyond the default limits allows users to tailor the update schedule to their specific needs. However, it’s important to exercise caution when dealing with the Registry Editor, as improper changes can lead to system instability. Always back up your system or create a restore point before making any modifications. Enjoy the newfound flexibility in managing your Windows 11 updates!
