Your hard disk is one of the most important components of your computer. It stores all your data, programs, and operating system files. If your hard disk fails, you could lose everything on your computer. That’s why it’s essential to monitor your hard disk health regularly and take preventive measures to avoid data loss.
Windows 11 has some built-in tools that can help you check your hard disk health and detect any potential problems. In this blog post, we will show you four ways to monitor your hard disk health on Windows 11.
How to Monitor your Hard Disk Health on Windows 11?
Method 1: Use the Settings App
The Settings app on Windows 11 has a new feature that lets you view the health report of your hard disks and volumes. This feature uses S.M.A.R.T. (Self-Monitoring, Analysis, and Reporting Technology) data to assess the status of your drives.
To use this feature, follow these steps:-
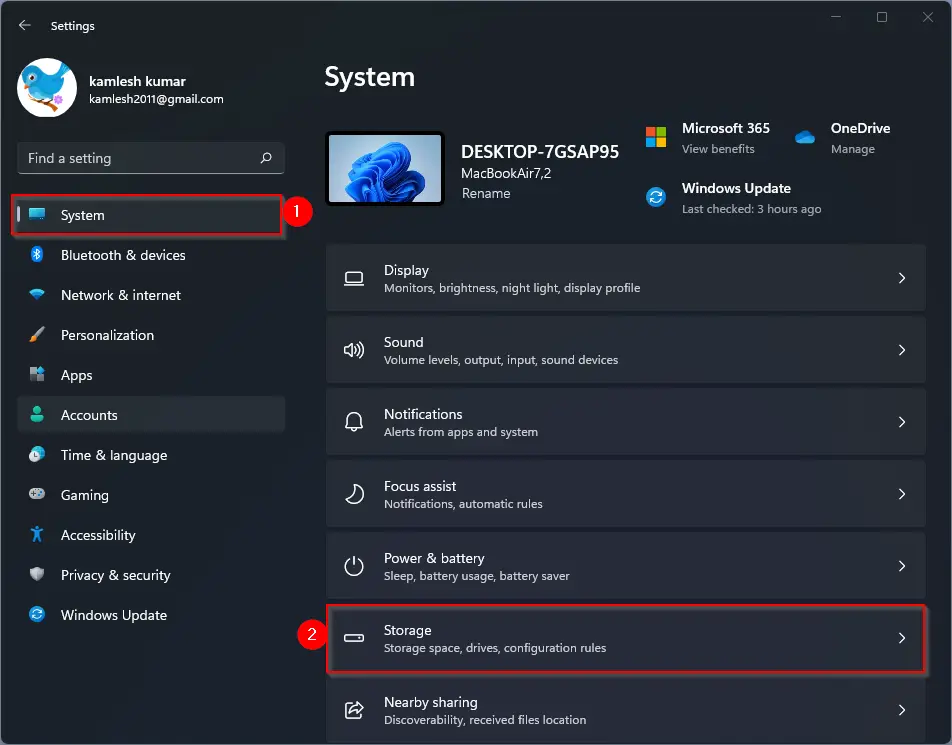
Step 1. Open the Settings app by pressing the Windows + I keys or clicking the Start button and selecting Settings.
Step 2. Click on System and then click on Storage.
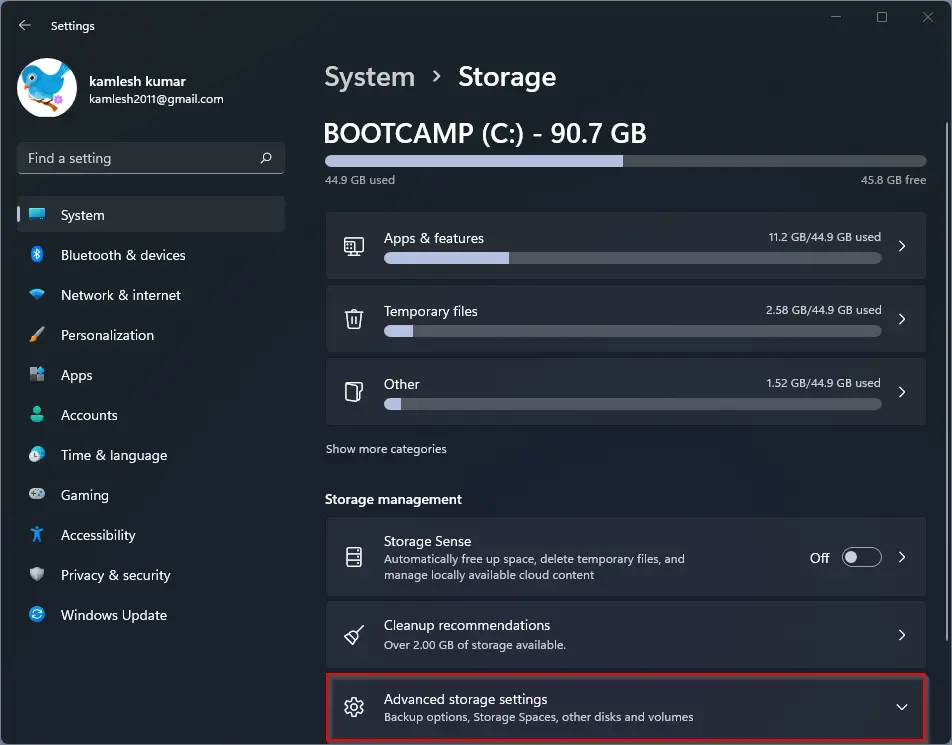
Step 3. Under the Storage management section, click on Advanced storage settings.
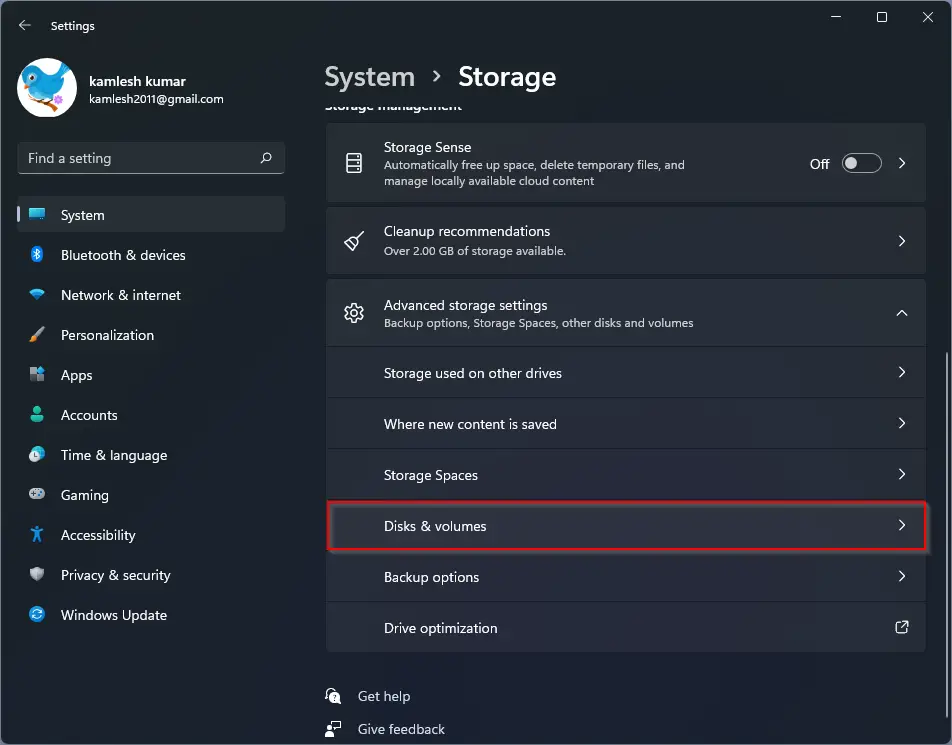
Step 4. Click on Disks & volumes.
Step 5. Select the hard disk that you want to check and click on the Properties button.
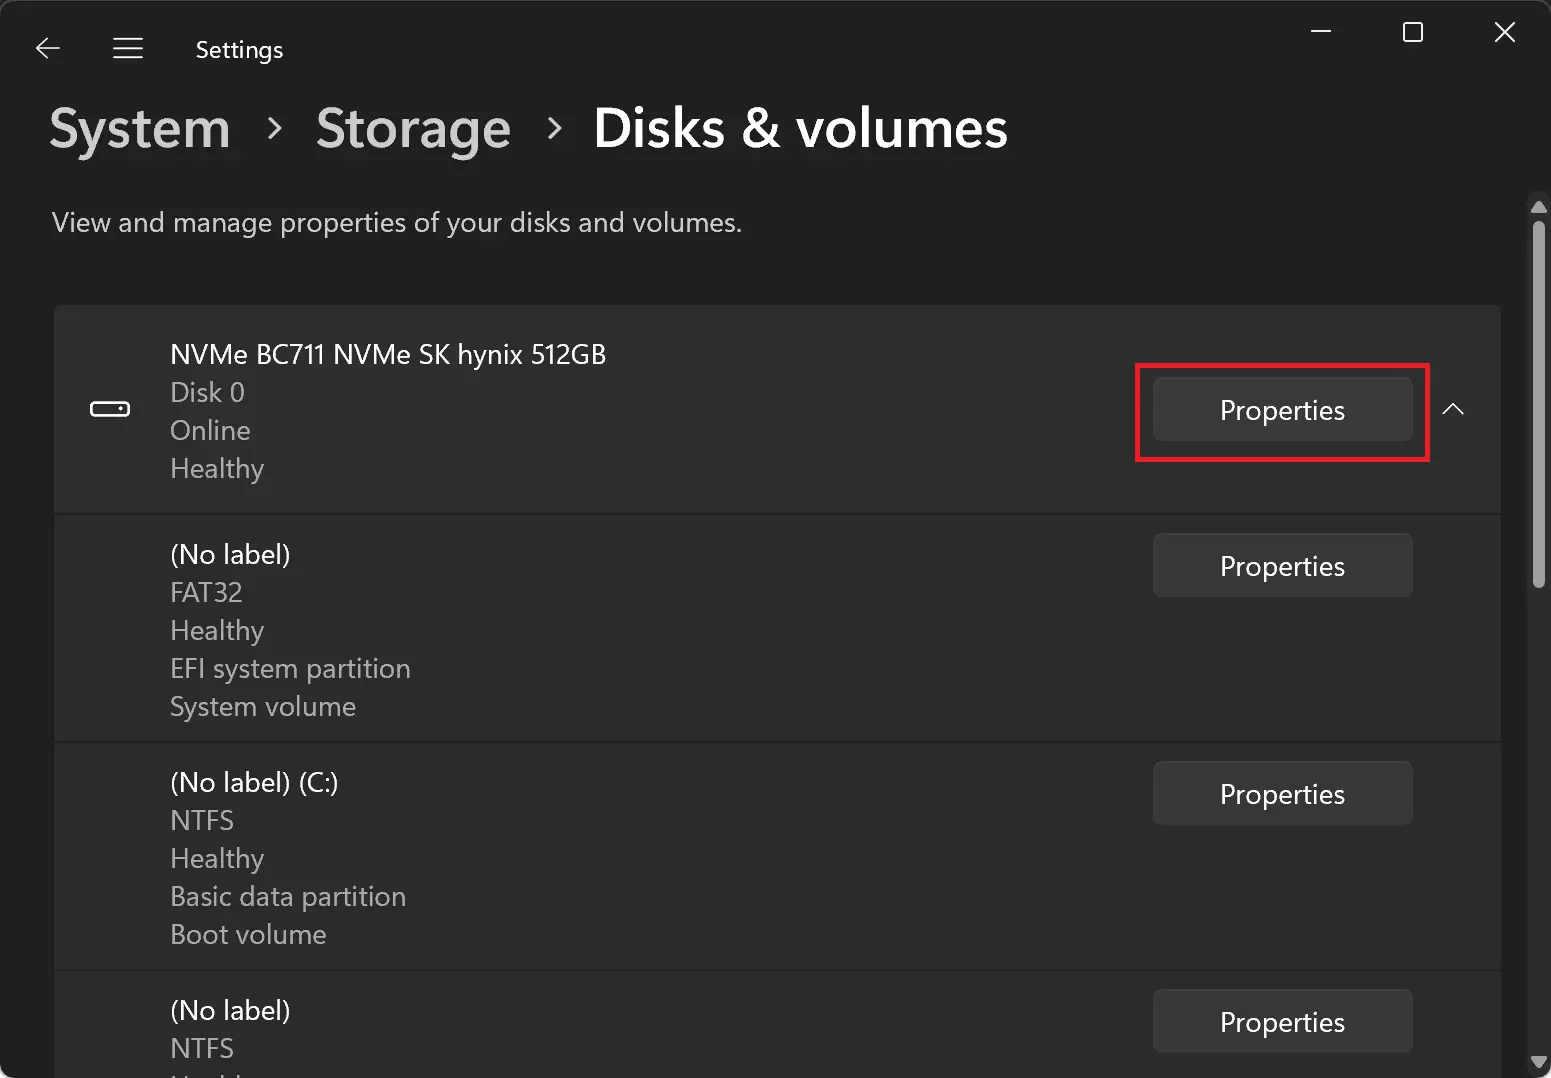
Step 6. On the following page, you will see a health report that shows the status of your drive (OK or Warning), its model name, serial number, firmware version, capacity, used space, free space, file system type, allocation unit size, partition style (MBR or GPT), and partition number.
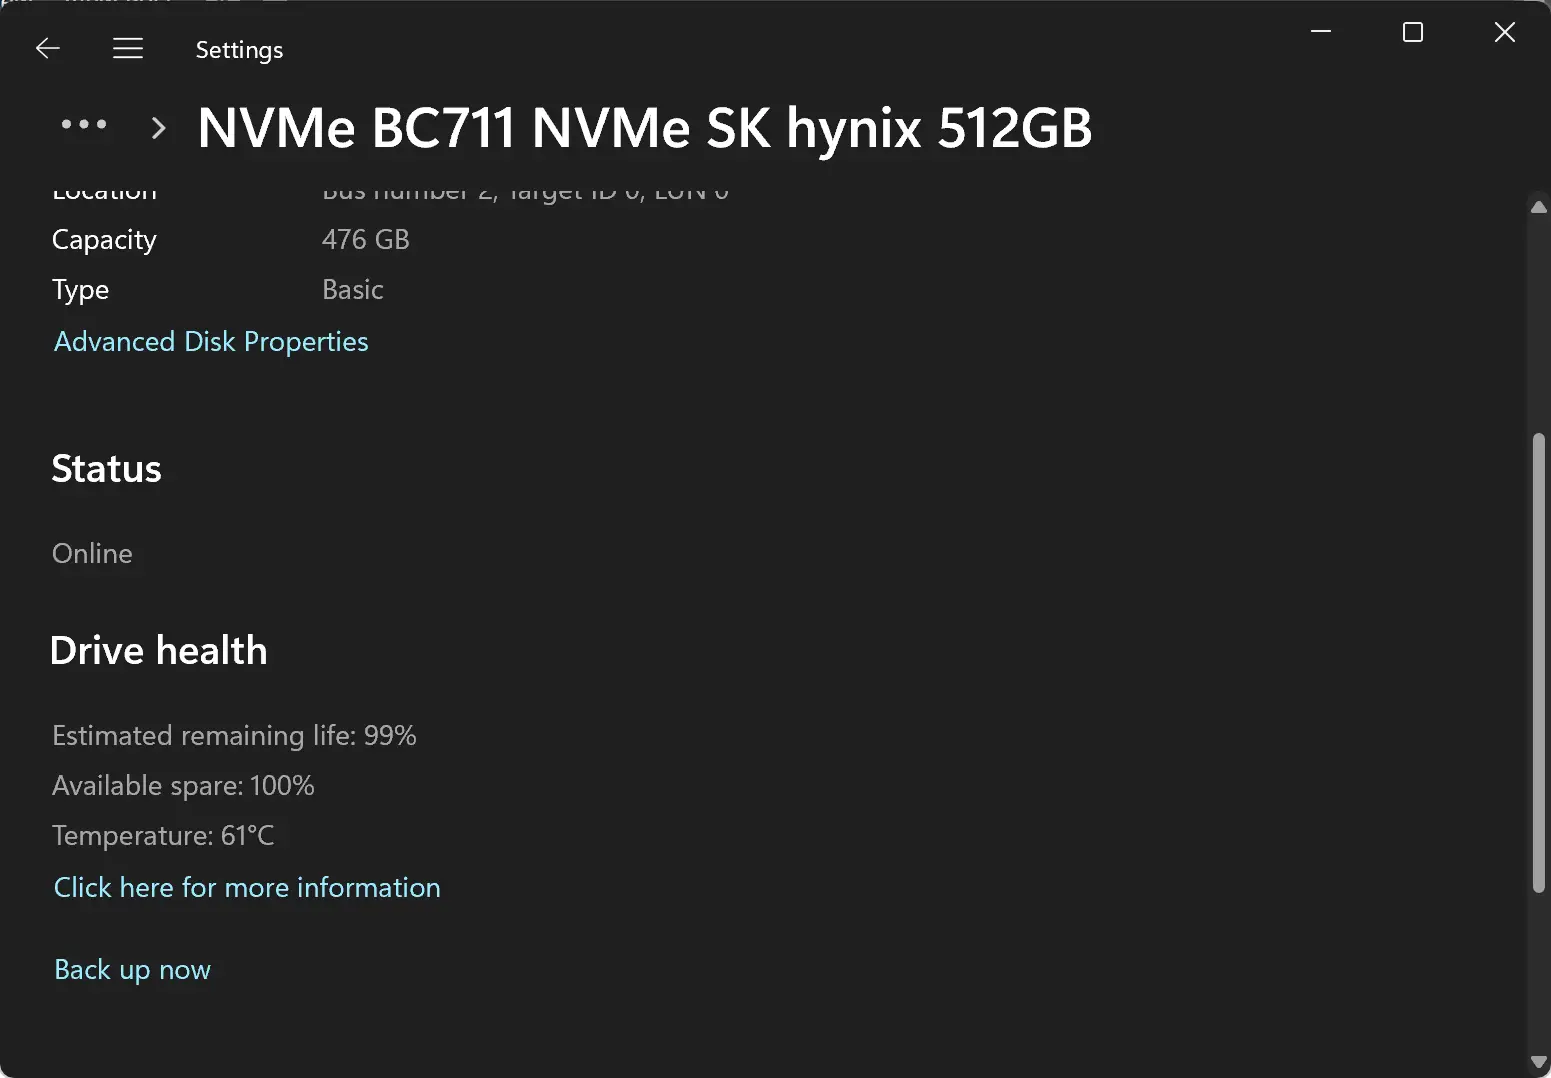
If you see a warning status for your drive, it means that there are some issues with your drive that could affect its performance or reliability. You should back up your data as soon as possible and consider replacing your drive.
Method 2: Use the Command Prompt
Another way to check your hard disk health on Windows 11 is to use the Command Prompt. You can use a command called WMIC (Windows Management Instrumentation Command-line) to query S.M.A.R.T. data from your drives.
To use this method, follow these steps:-
Step 1. Open the Command Prompt by pressing Windows + R keys or clicking the Start button and typing cmd. Then press Enter or click OK.
Step 2. In the Command Prompt window, type wmic and press Enter.
Step 3. In the WMIC interface, type diskdrive get status, and press Enter.
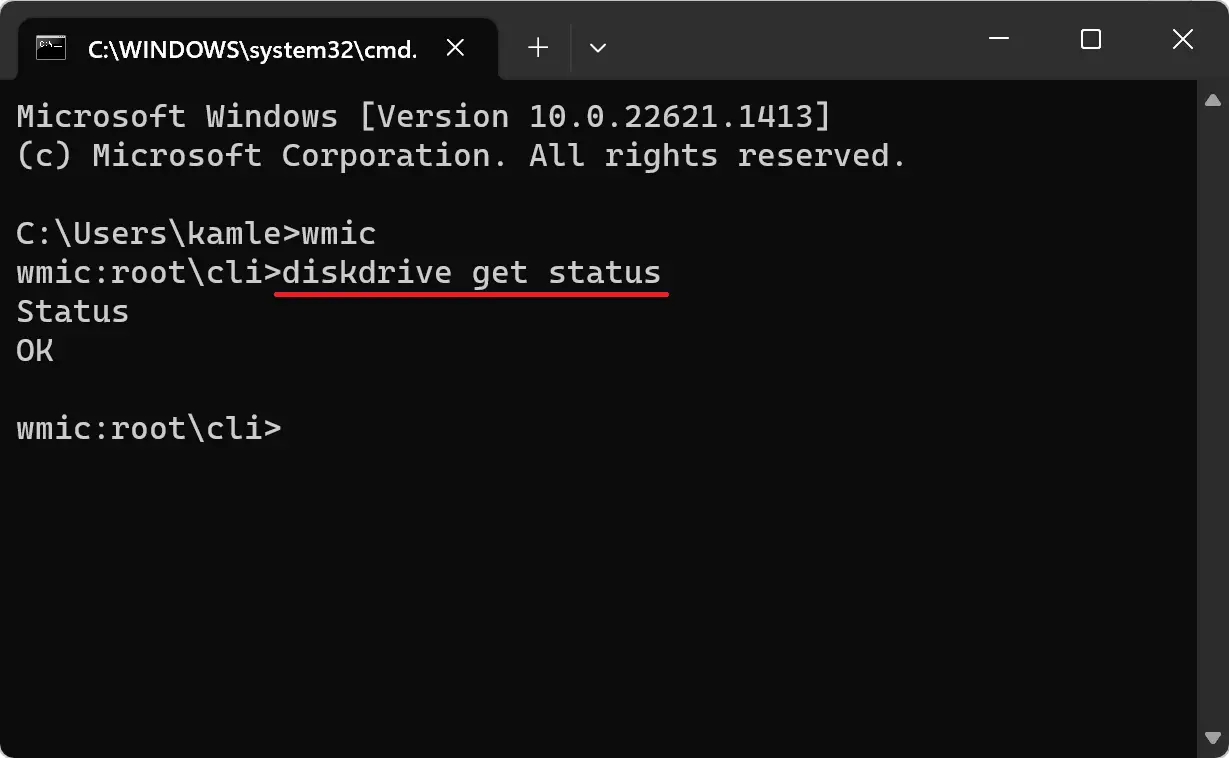
Step 4. You will see a list of all your drives with their statuses (OK or Pred Fail).
If you see Pred Fail for any of your drives, it means that they are predicted to fail soon based on S.M.A.R.T. data. You should back up your data as soon as possible and consider replacing your drive.
Conclusion
By regularly monitoring your hard disk health, you can detect potential problems before they turn into catastrophic failures. This will give you plenty of time to back up your data and replace your drive if necessary. Remember, prevention is always better than cure when it comes to protecting your data.