If you’re experiencing issues with Microsoft Excel on your Windows 11/10 computer, opening the software in Safe Mode can be a helpful troubleshooting step. Safe Mode allows Excel to launch with minimal features and settings, helping to identify and resolve any problems that may be affecting its normal operation. In this user-friendly guide, we’ll walk you through the steps to open Microsoft Excel in Safe Mode on Windows 11/10.

How to Open Microsoft Excel in Safe Mode on Windows 11/10?
Method 1: Open Microsoft Excel in Safe Mode via Run Command
Step 1. Before we can open Excel in Safe Mode, make sure to close any open Excel files or instances running on your computer. This ensures a clean start when launching Excel in Safe Mode.
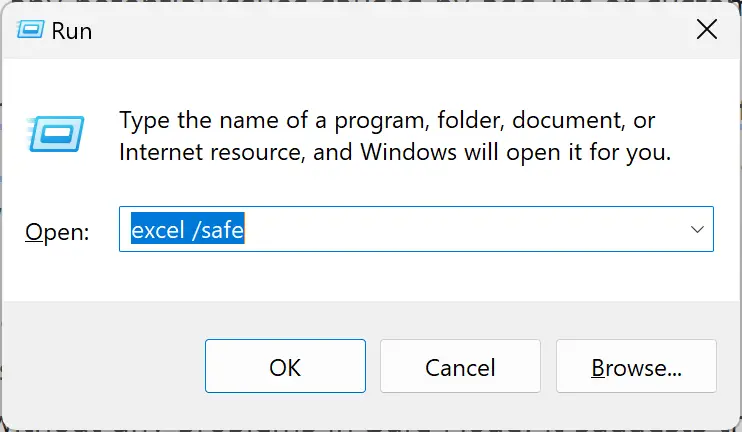
Step 2. Press the Windows key + R on your keyboard simultaneously to open the Run dialog box. Alternatively, you can click on the Start button and type “Run” in the search bar, then select the “Run” app from the search results.
Step 3. In the Run dialog box, type “excel /safe” (without quotation marks) and press Enter or click on the “OK” button. This command instructs Excel to open in Safe Mode, bypassing any potential issues caused by add-ins or custom settings.
Step 4. Once Excel launches, you will notice the words “Safe Mode” displayed in the program’s title bar. This indicates that Excel is running in Safe Mode, and you can now proceed with troubleshooting or testing its functionality.
While in Safe Mode, you can use Excel to troubleshoot any issues you were encountering before. Test its core features and functionality to see if the problem persists. If Excel operates without any problems in Safe Mode, it suggests that the issue may be related to add-ins or custom settings.
If Excel functions properly in Safe Mode, you can start identifying the cause of the problem. Begin by reviewing and disabling any recently installed add-ins or suspicious settings that might be interfering with Excel’s normal operation. By gradually re-enabling add-ins or reverting settings to their default state, you can isolate the specific cause and resolve the issue.
Method 2: Open Microsoft Excel in Safe Mode by Holding the CTRL Key
Step 1. Press and hold the CTRL key on your keyboard.
Step 2. Double-click the Microsoft Excel shortcut on your desktop or click its shortcut in the Start Menu or taskbar.
Step 3. A pop-up dialog will appear, stating, “You’re holding down the CTRL key. Do you want to start Excel in safe mode?”
Step 4. Release the CTRL key and click Yes.
Microsoft Excel will start in Safe Mode, isolating any add-ins or settings that might be causing issues.
Method 3: Create a Desktop Shortcut to Always Open Microsoft Excel in Safe Mode
Step 1. Right-click the Microsoft Excel shortcut on your desktop.
Step 2. Select Properties from the pop-up menu.
Step 3. In the Properties window, click inside the Target text box.
Step 4. Place the cursor after the last quotation mark and add a blank space followed by the parameter “/safe” (without quotes). The target path should look something like this:-
"C:\Program Files\Microsoft Office\root\Office16\EXCEL.EXE" /safe
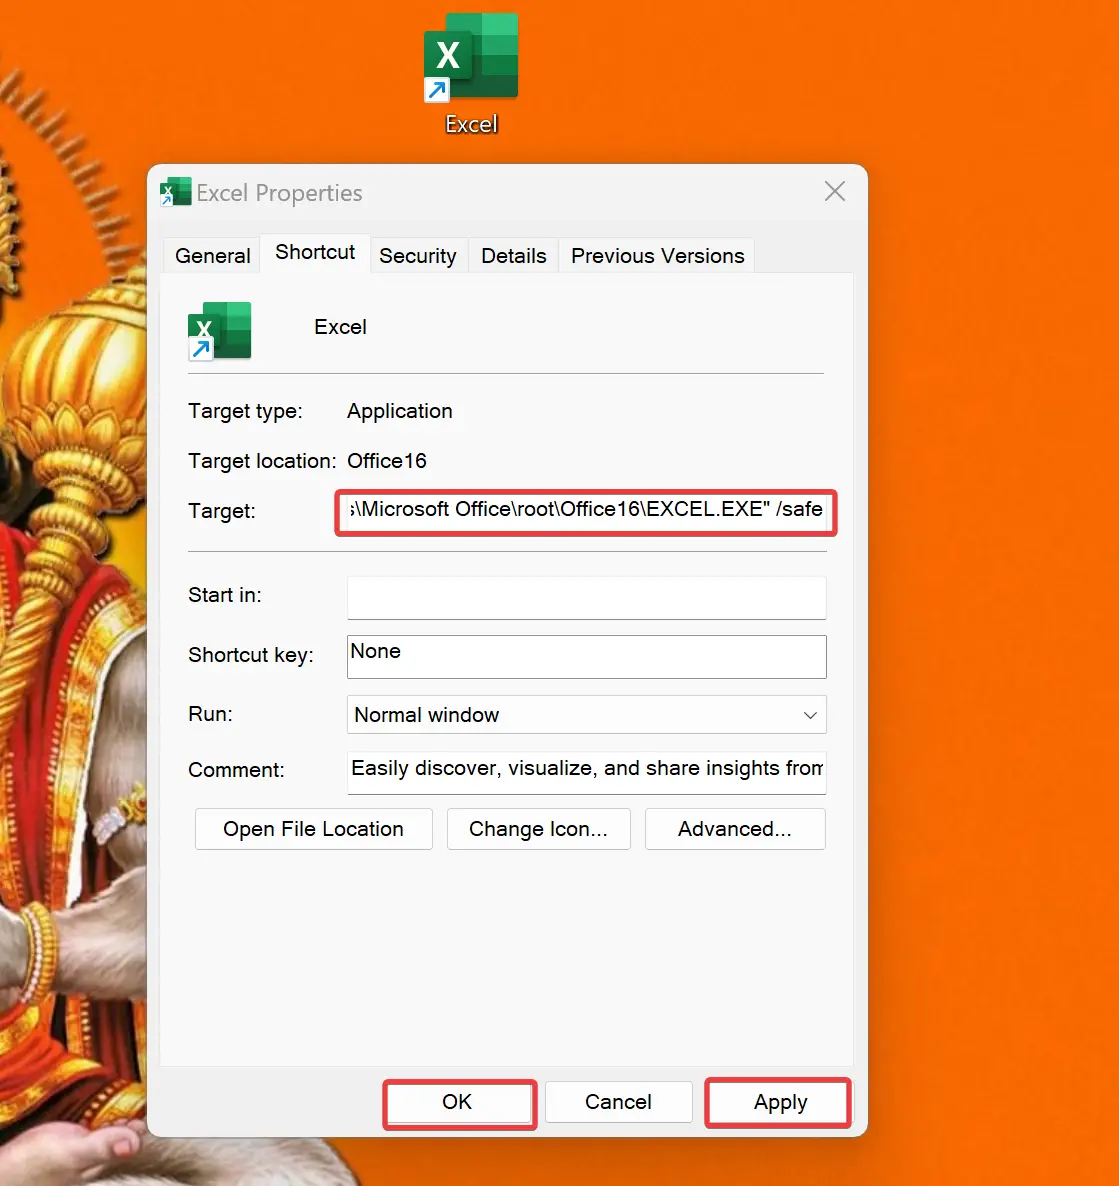
Step 5. Click Apply and then OK to save the changes.
Now, whenever you double-click the shortcut, Microsoft Excel will always start in Safe Mode.
Conclusion
Opening Microsoft Excel in Safe Mode is a valuable troubleshooting technique to address software-related issues in Windows 11/10. By following these user-friendly steps, you can quickly launch Excel in Safe Mode, allowing you to diagnose problems and resolve them effectively. Remember to close all Excel files before initiating Safe Mode and pay attention to the “Safe Mode” indicator in the title bar. Utilize this helpful approach to ensure smooth and reliable Excel performance on your Windows system.