
Imagine this scenario: You’ve left your Windows 11 or 10 PC at home, and you suddenly realize you forgot to lock it before you left. Or, perhaps you’ve misplaced your laptop, and you’re concerned about your data’s security. In such situations, Find My Device can be a lifesaver. This built-in feature in Windows allows you to remotely lock or unlock your PC, helping to protect your data and ensure your privacy. In this gearupwindows article, we’ll walk you through the steps to remotely lock or unlock your Windows 11 or 10 PC using Find My Device.
How to Enable Find My Device?
Before you can use Find My Device, you need to ensure it’s enabled on your Windows PC. Follow these steps:-
For Windows 11
Step 1. Click on the Start button and select the Settings gear icon to open Windows Settings. Alternatively, press the Windows + I keys on the keyboard to open the Settings app.
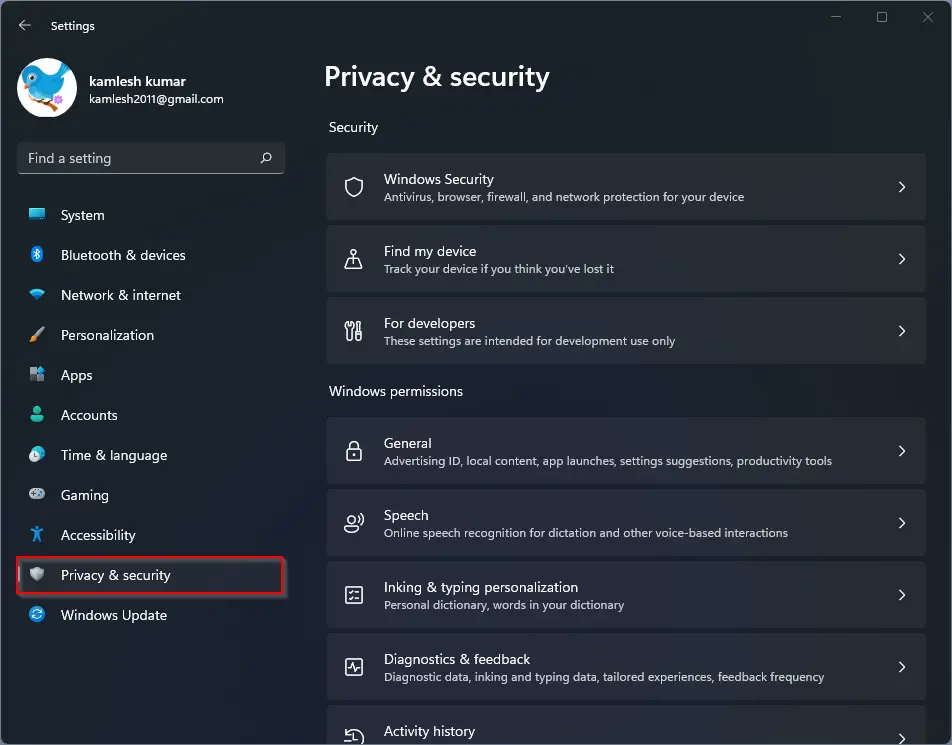
Step 2. On the Settings page, go to “Privacy & security” and select “Find My Device” from the left sidebar.
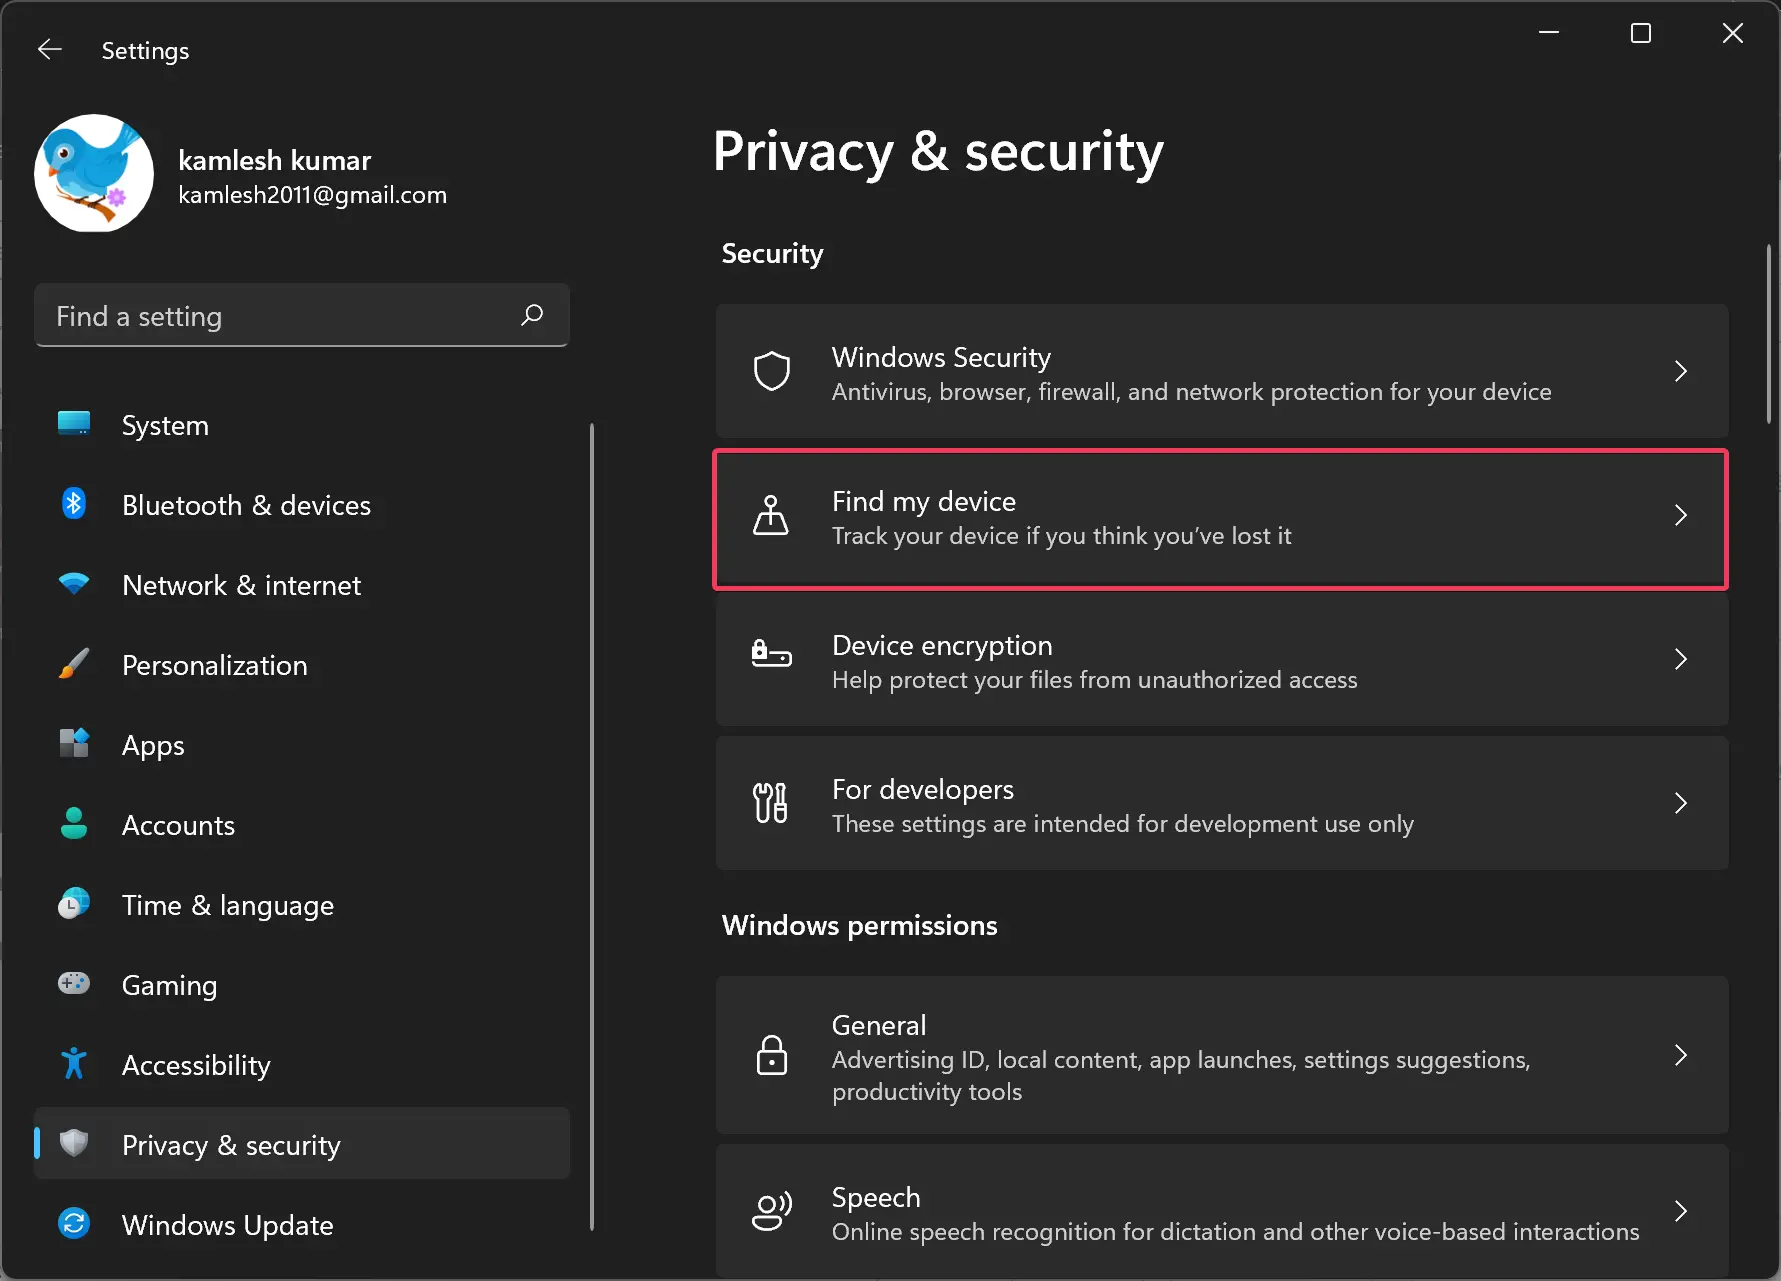
Step 3. On the right sidebar, under the “Security” section, click the “Find my device” tile.
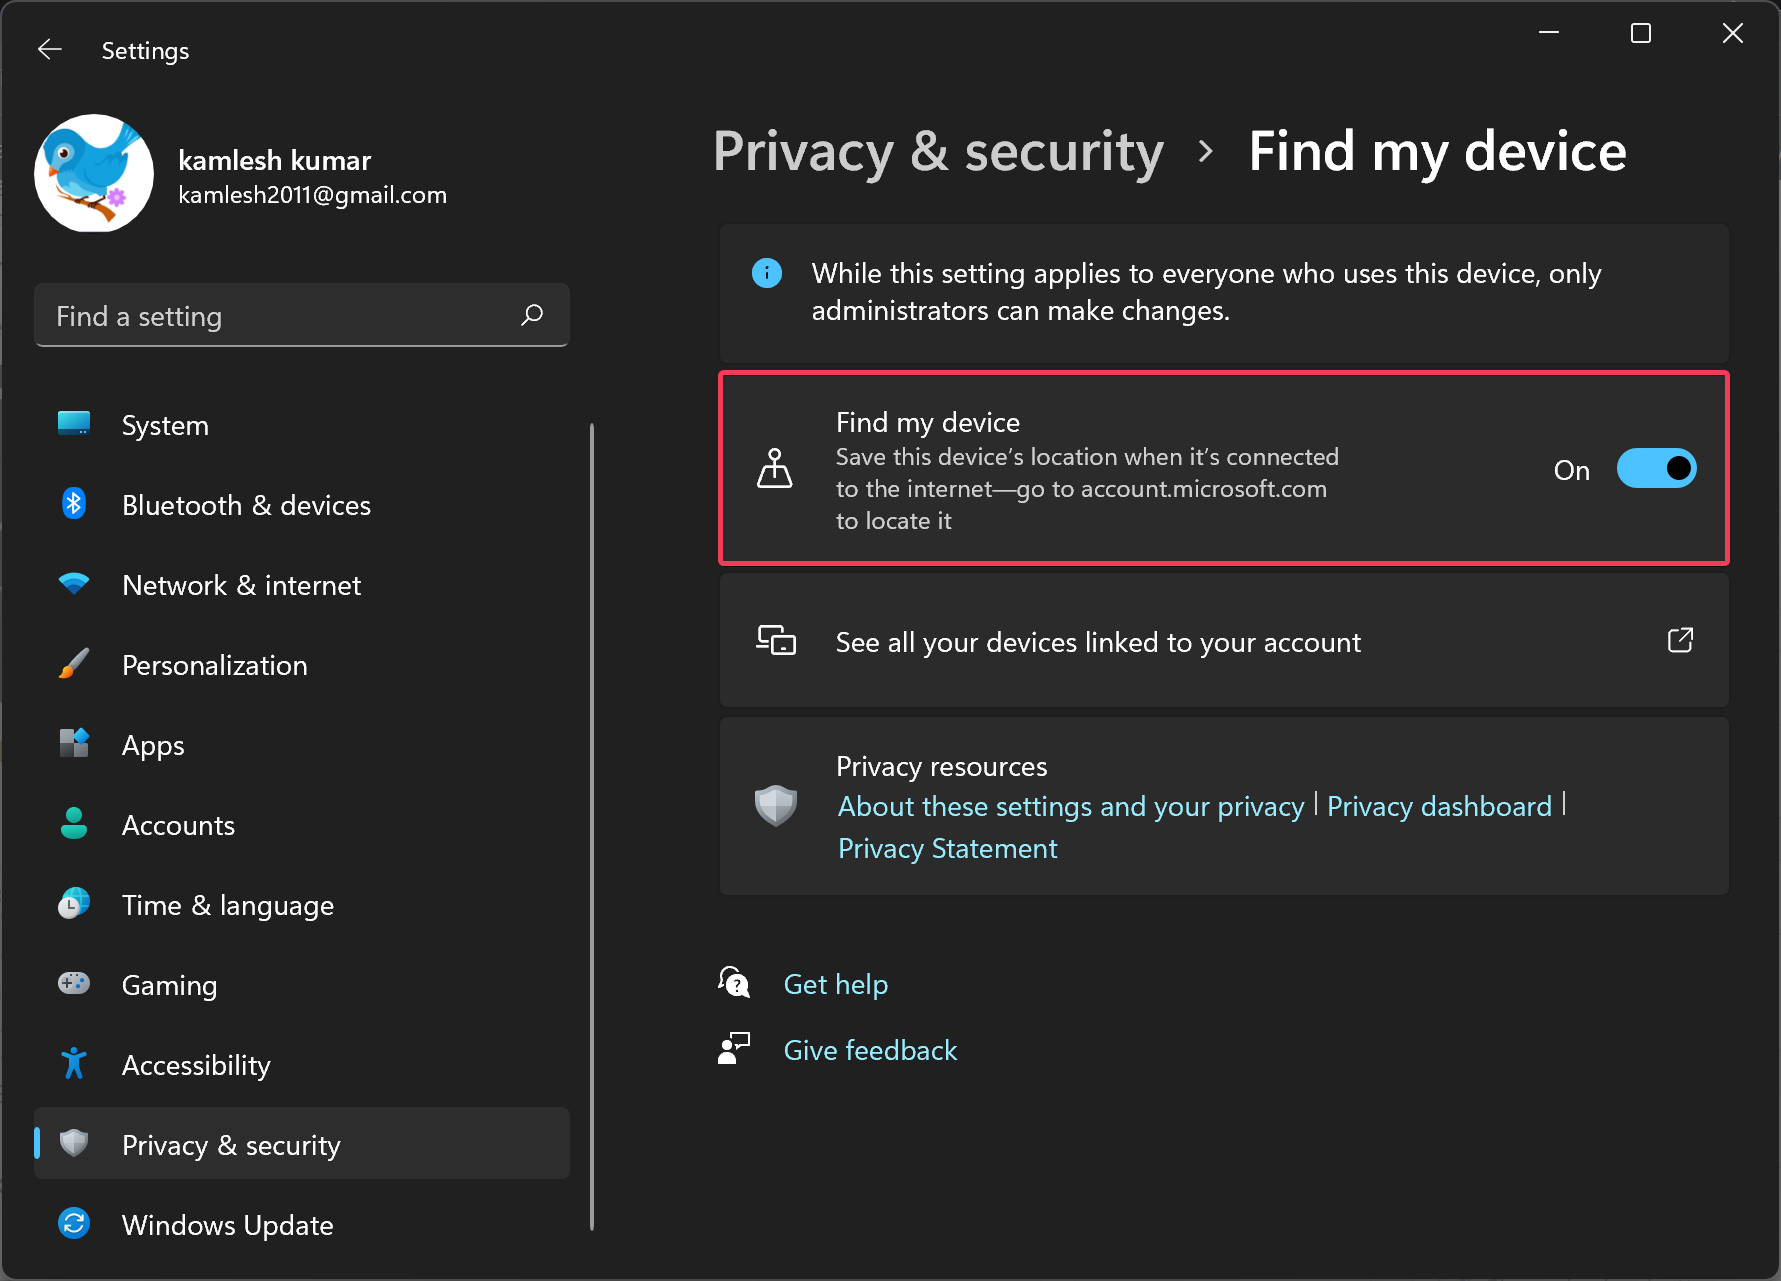
Step 4. Finally, toggle on the “Find My Device” option.
For Windows 10
Step 1. Click on the Start button and select the Settings gear icon to open Windows 10 Settings.
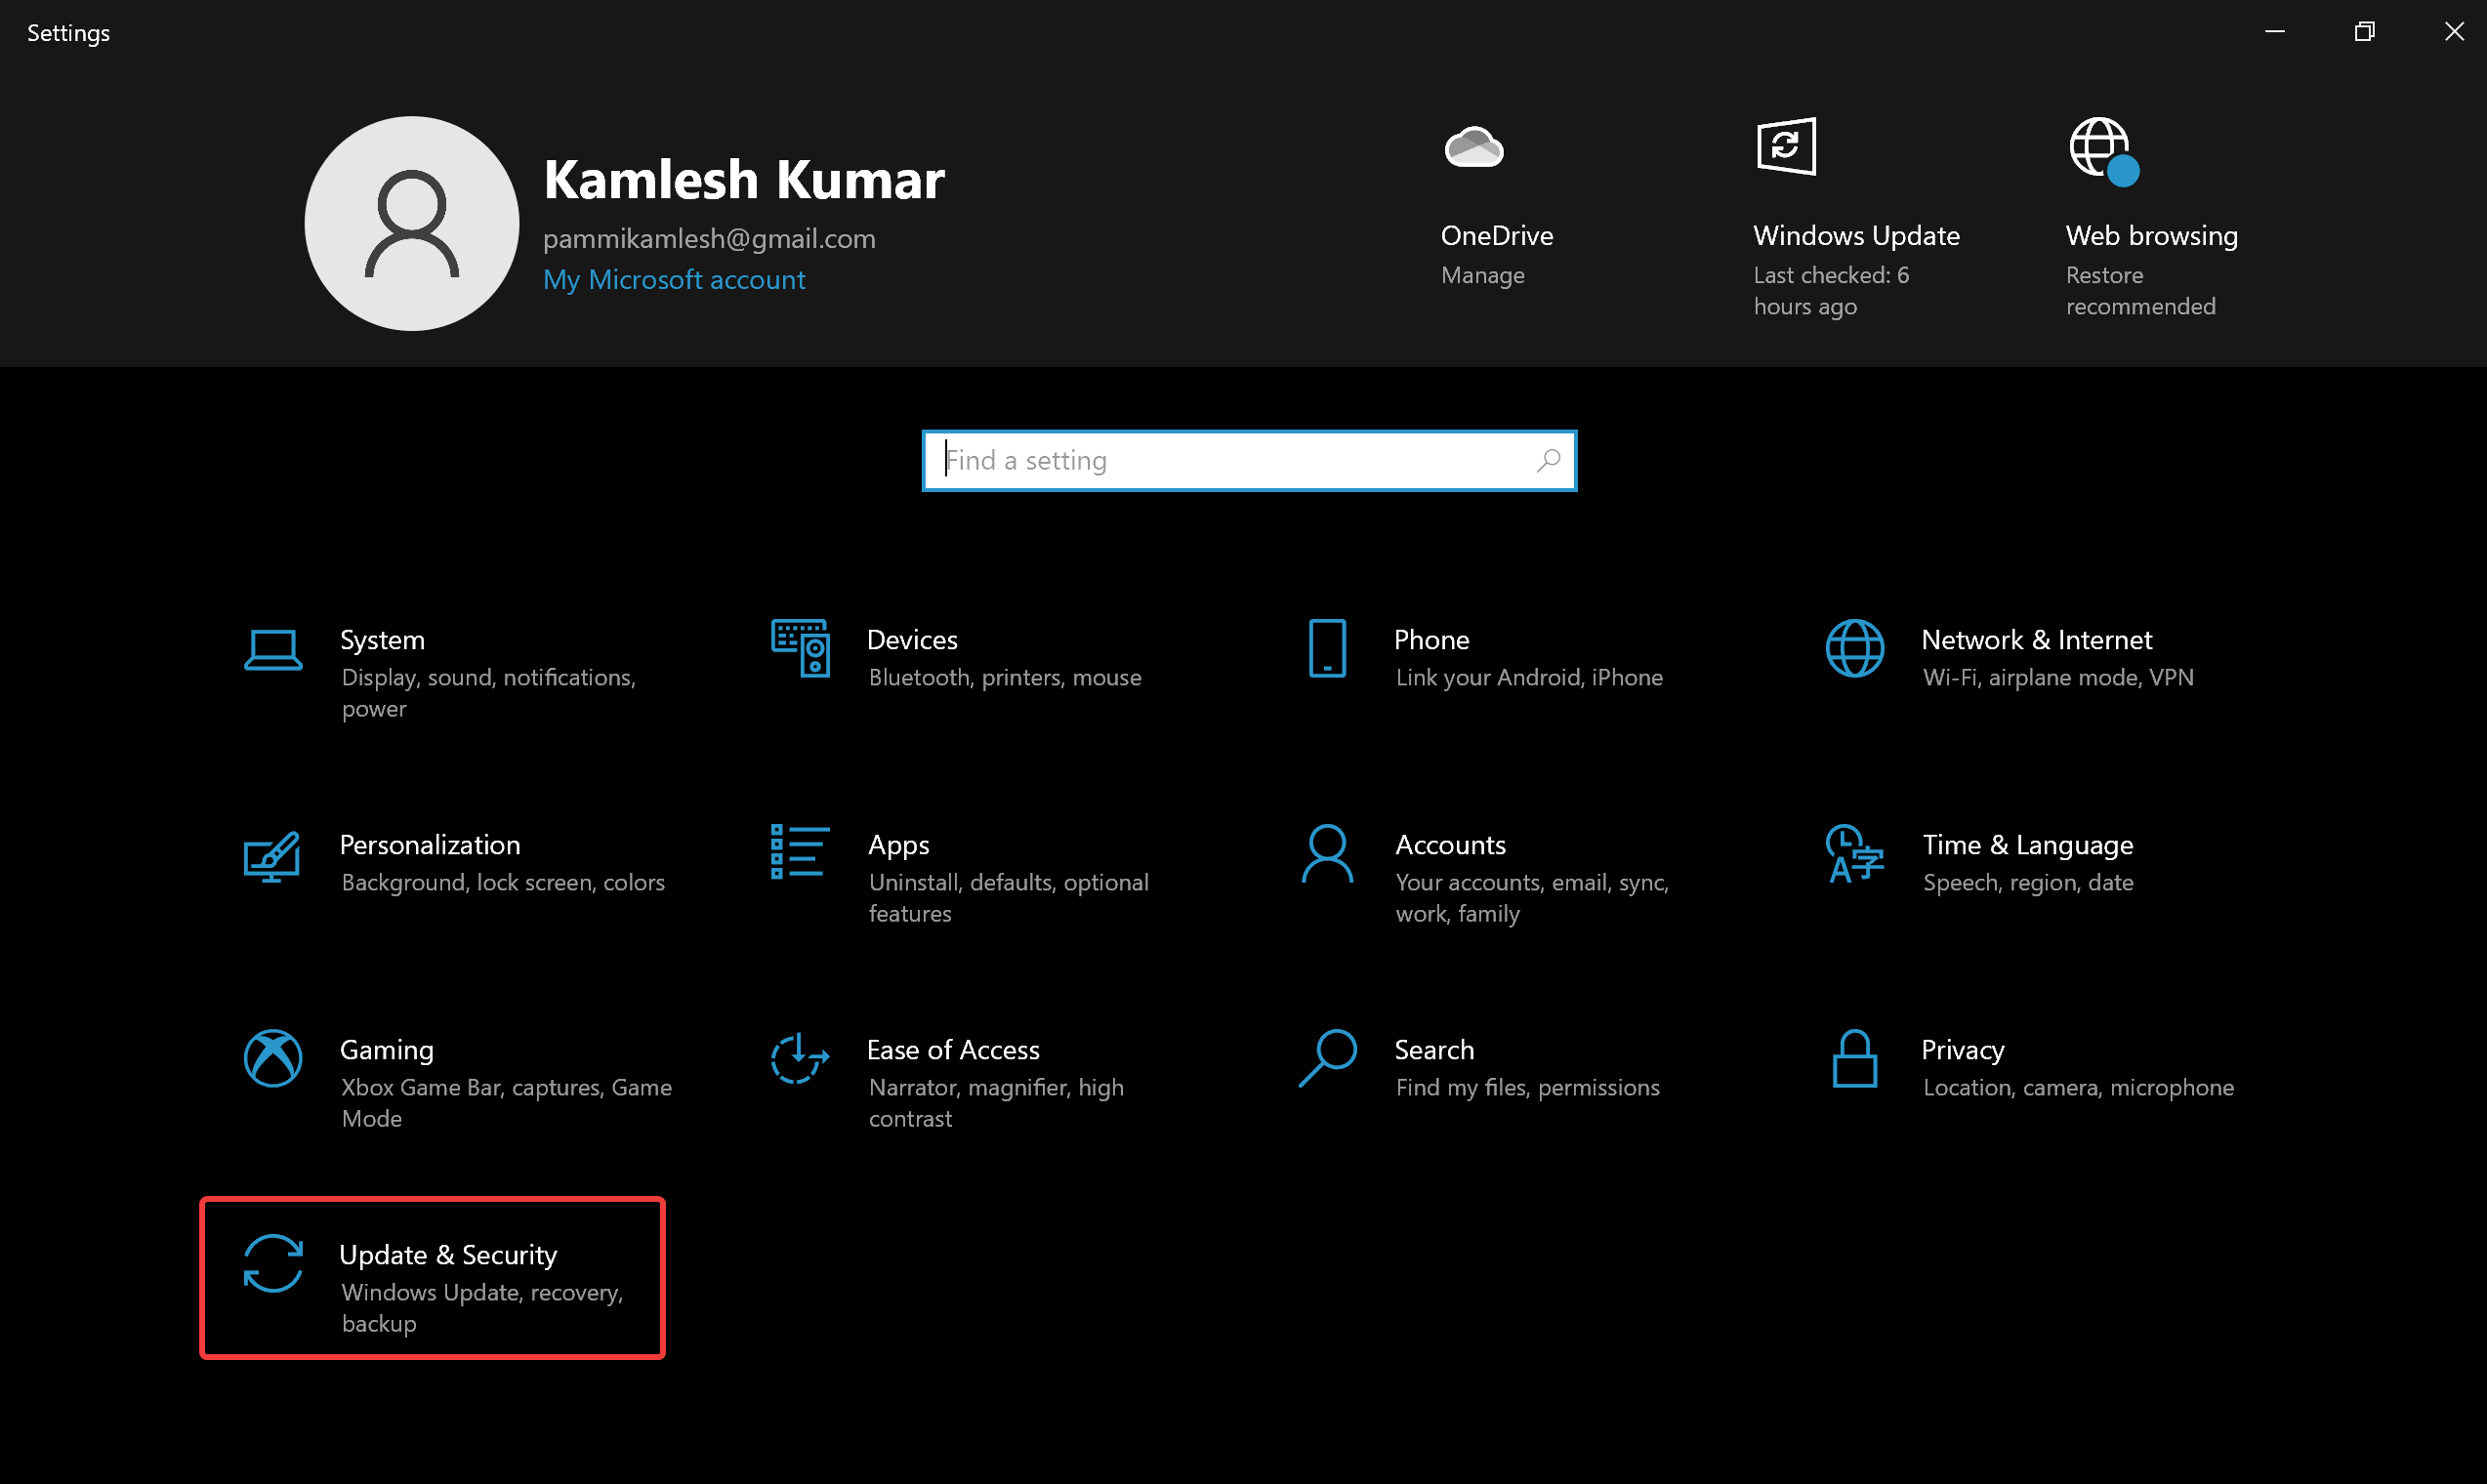
Step 2. Click on “Update & Security.”
Step 3. Select “Find my device” from the left sidebar.
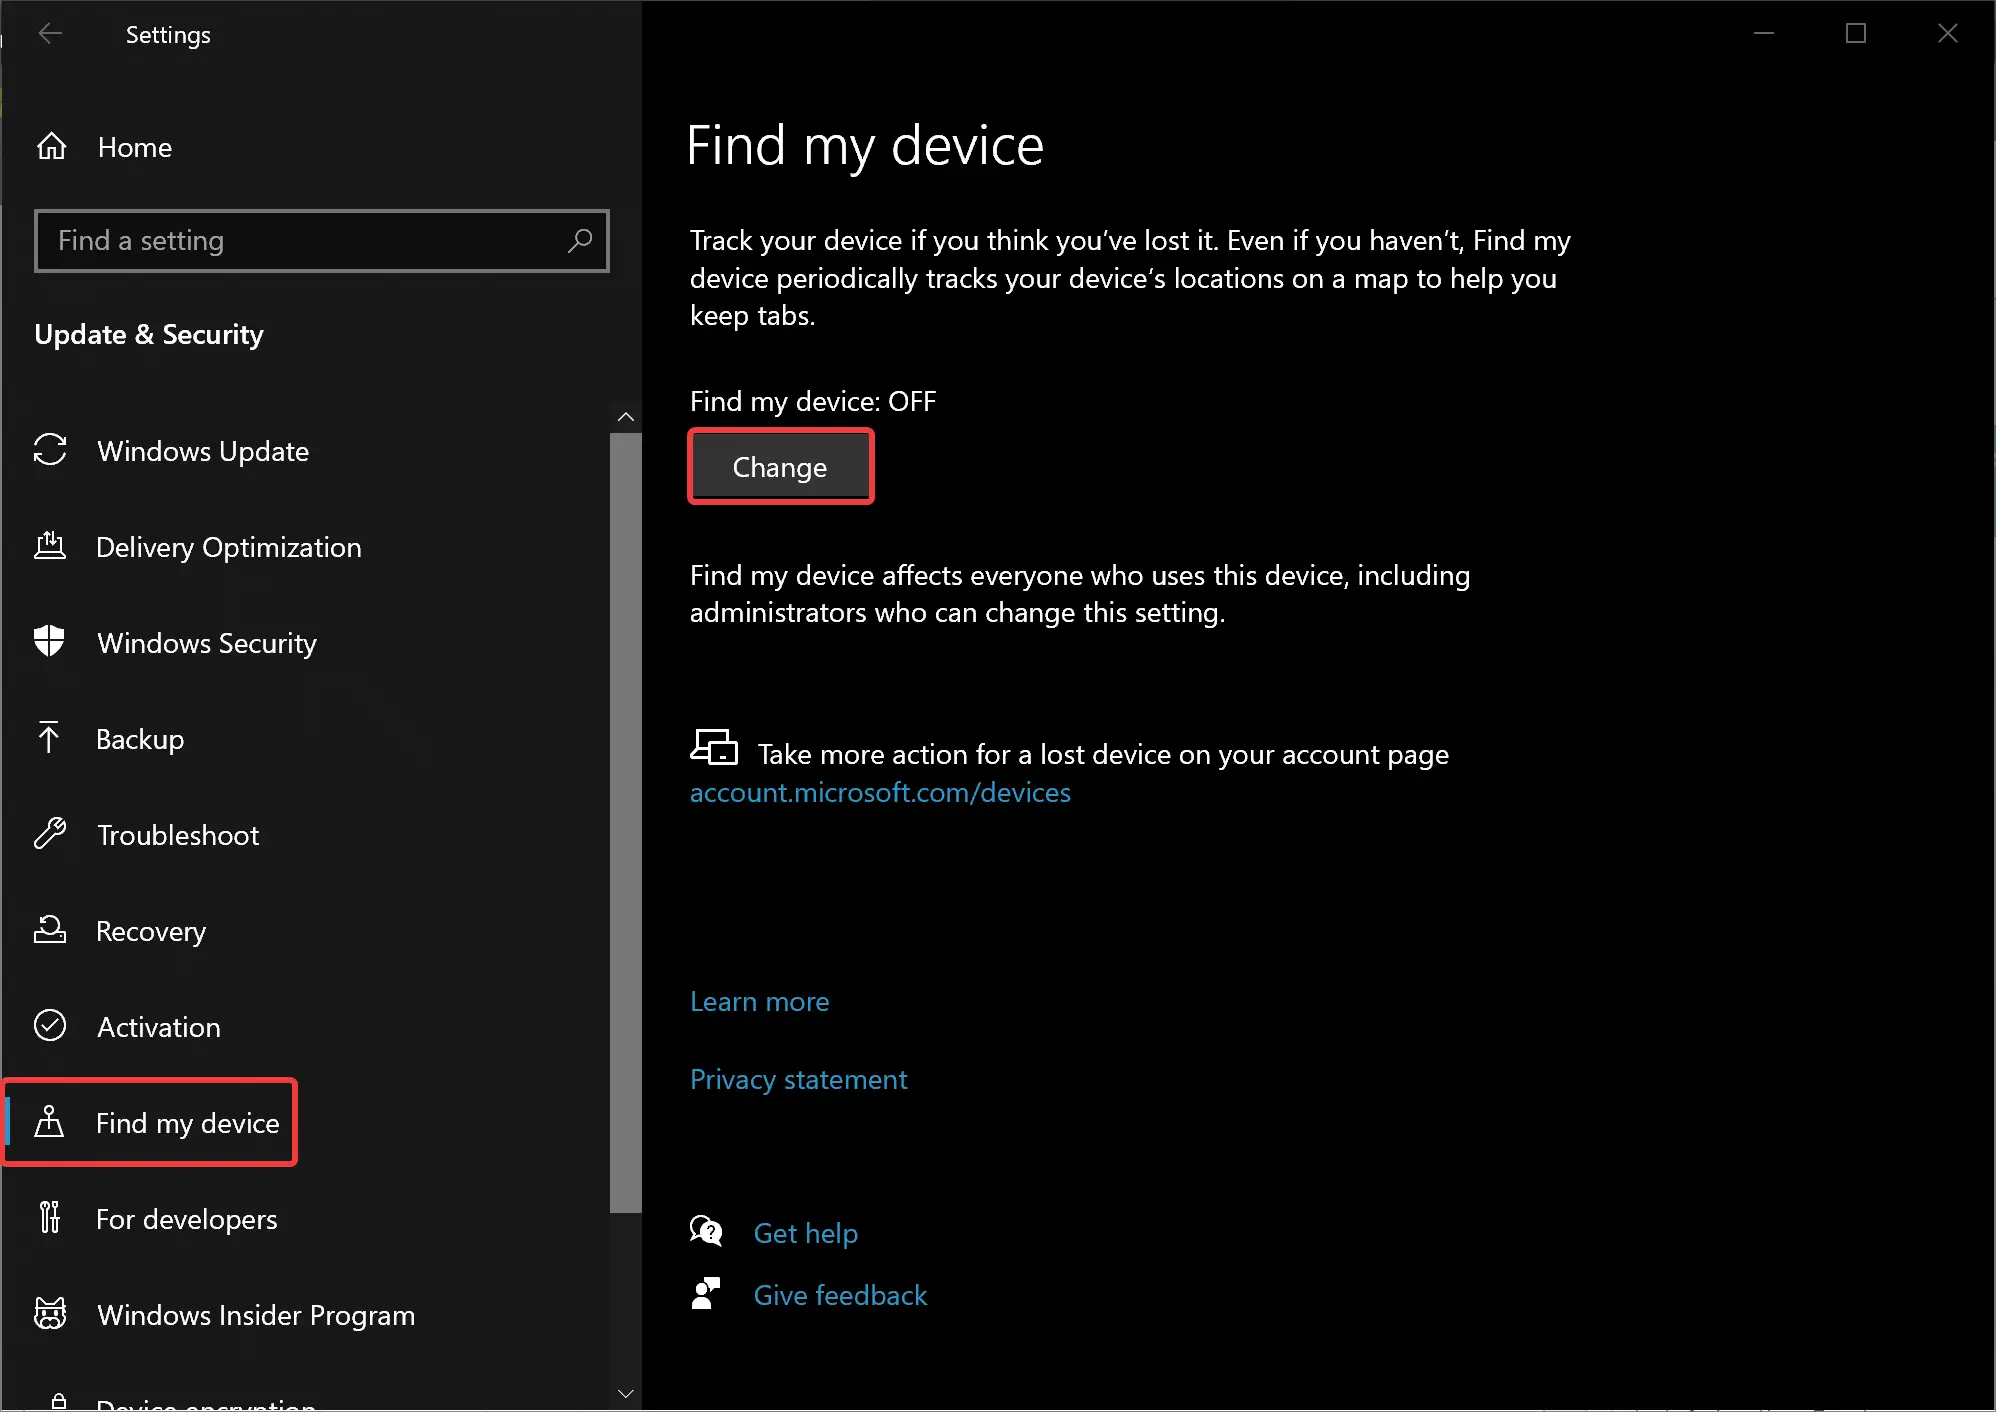
Step 4. On the right sidebar, click the “Change” button next to “Find my device: OFF.”
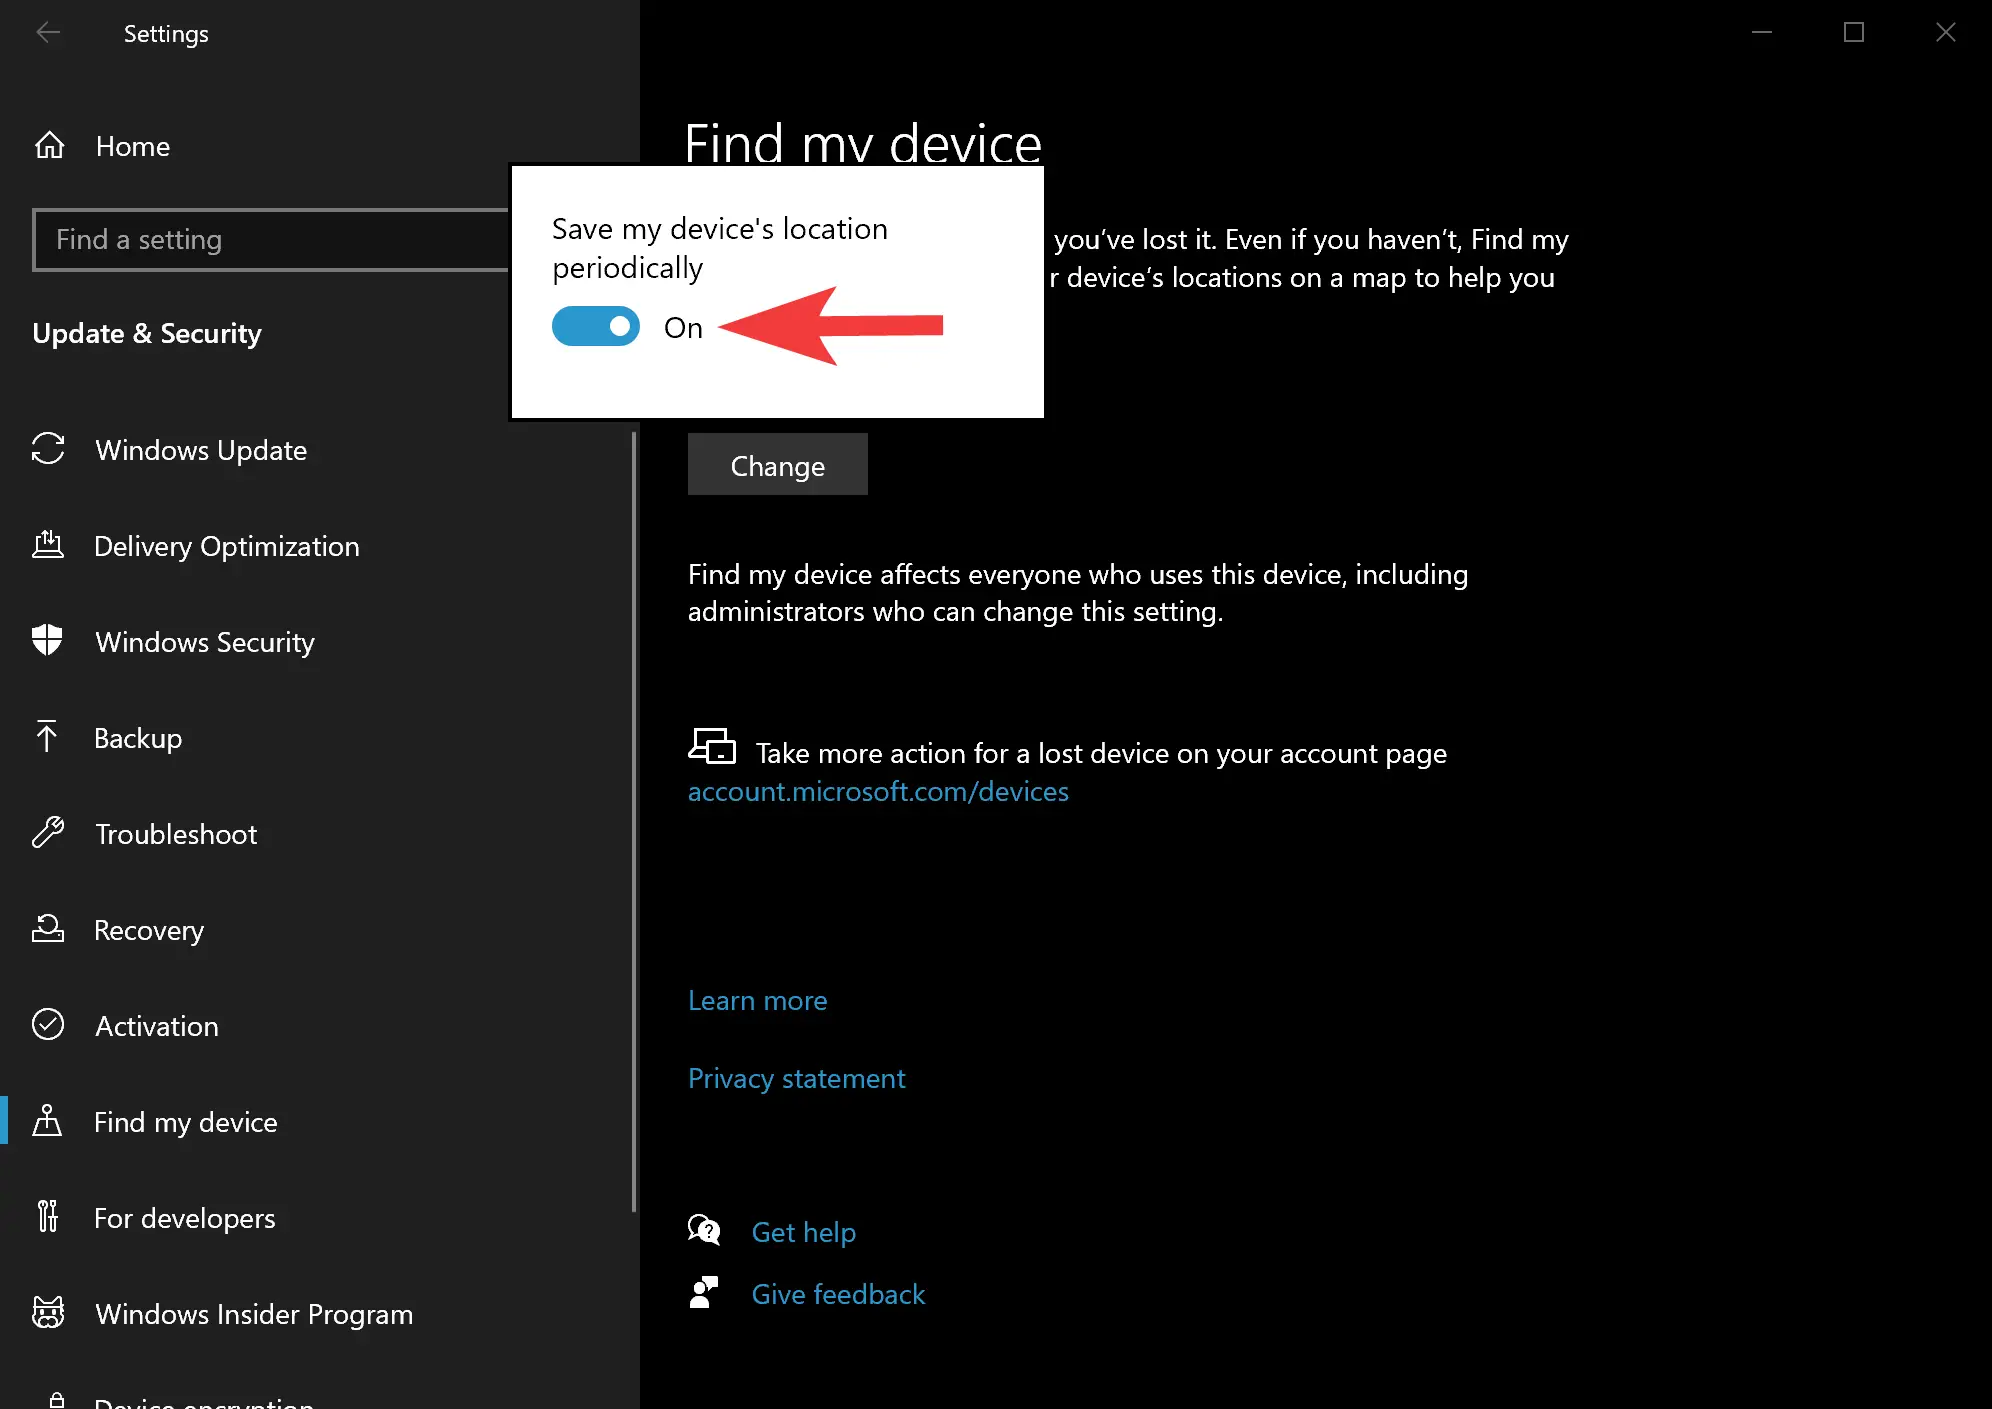
Step 5. Toggle on the “Save my device’s location periodically” option.
Sign in to Your Microsoft Account
Now that you have “Find My Device” enabled, follow these steps to remotely lock or unlock your Windows PC:-
Step 1. Open a web browser on any device (smartphone, tablet, or computer) and visit the Find My Device website at https://account.microsoft.com/devices.
Step 2. Sign in to the same Microsoft account that’s linked to your Windows PC.
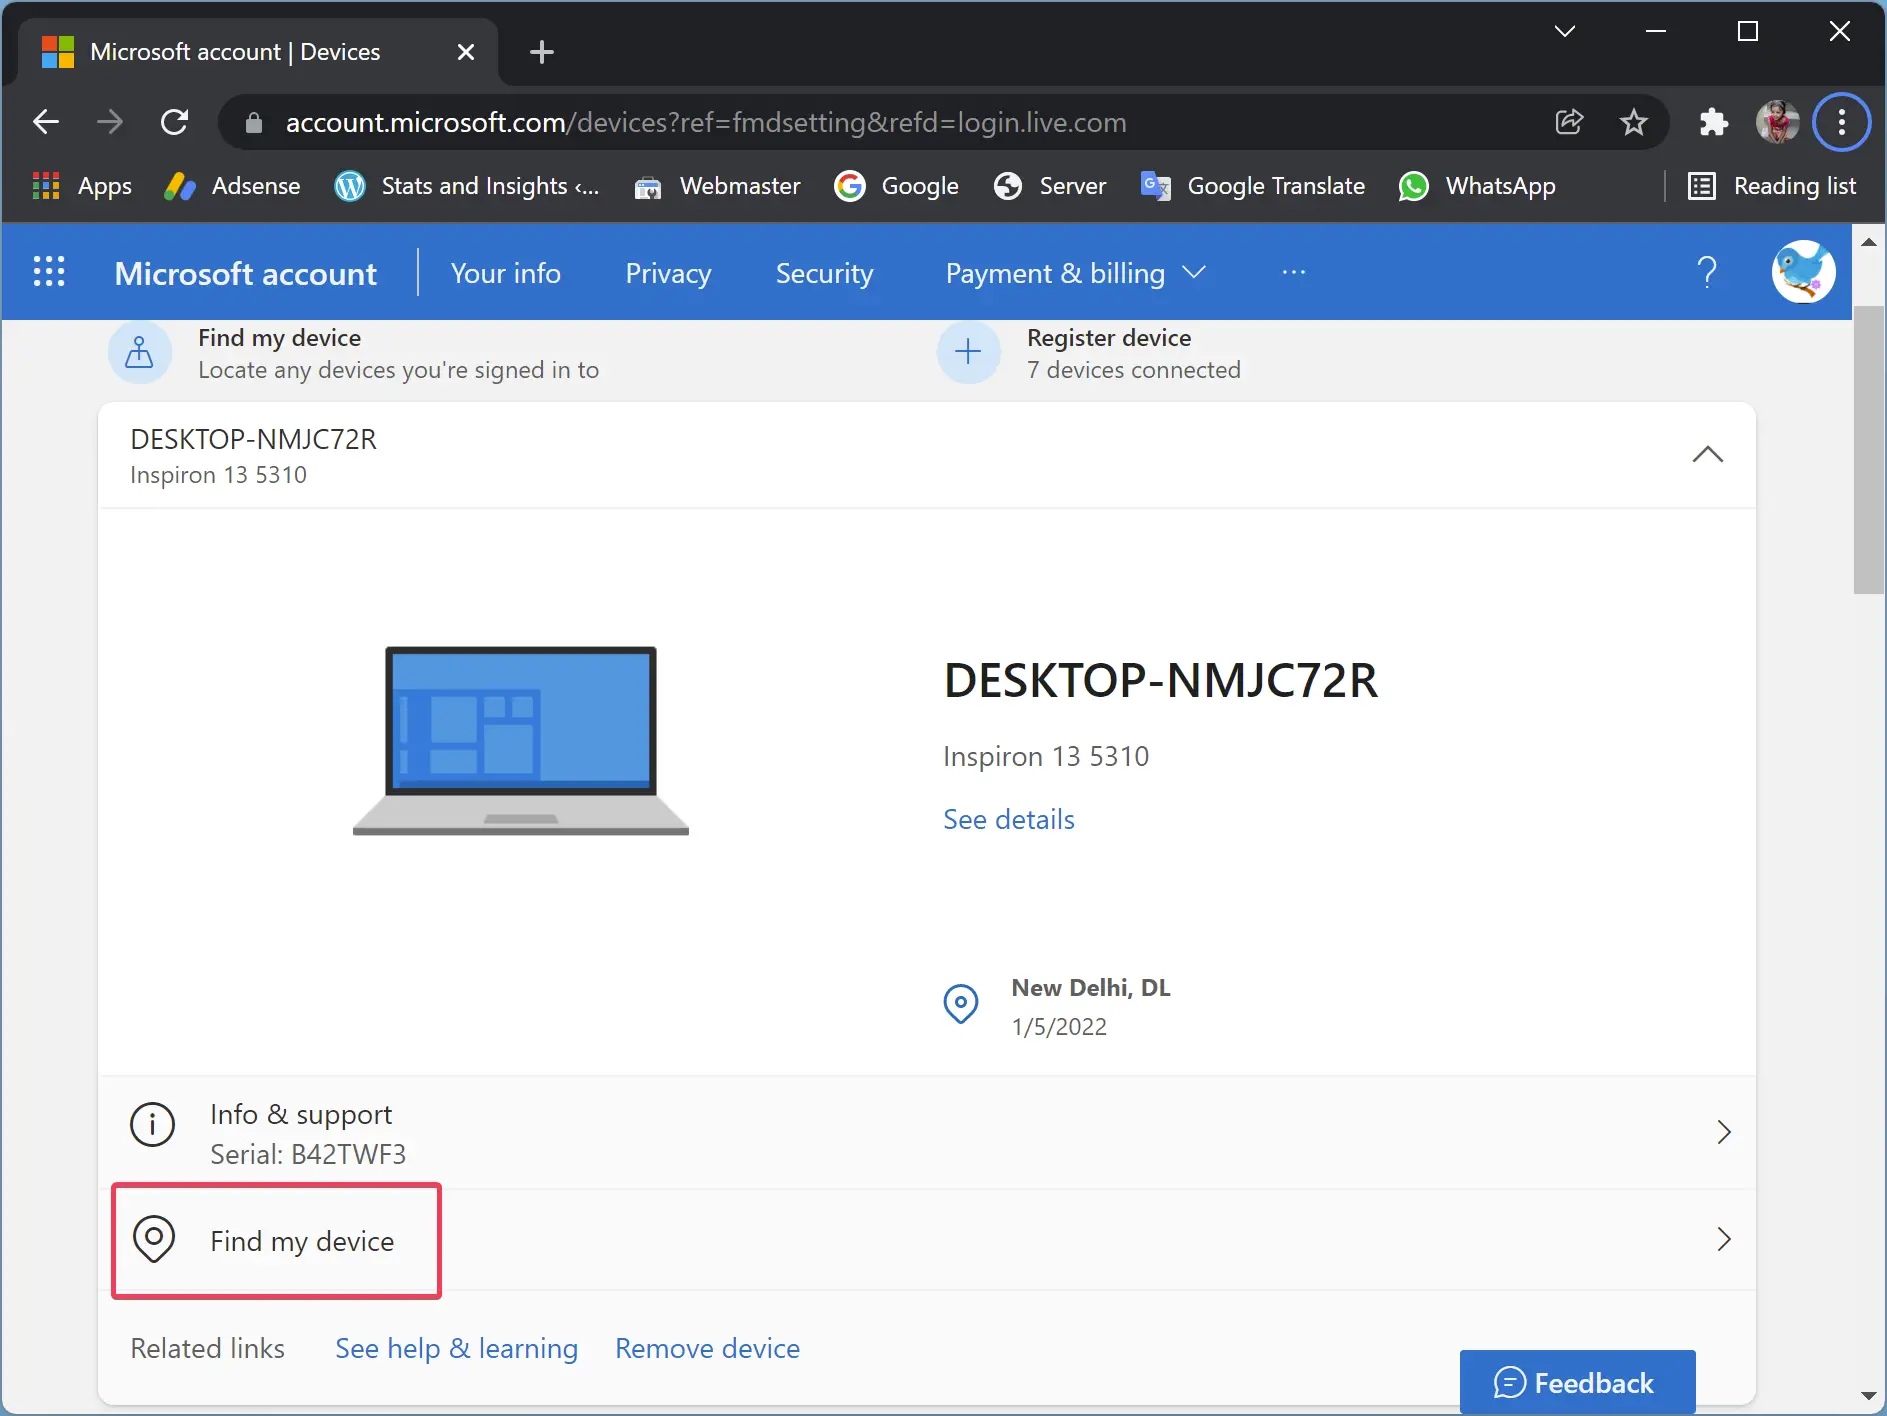
Step 3. Once signed in, you’ll see a list of devices associated with your Microsoft account. Select the Windows PC you want to manage. Then, select the “Find my device” option.
Step 4. You’ll now see your device’s location on a map and various options to the right, including “Lock.”

Step 5. If you’ve misplaced your PC or want to secure it, click on “Lock” on the Find My Device page.
Step 6. Add a message and a contact number to be displayed on the locked screen. This can be helpful if someone finds your PC and wants to return it to you.
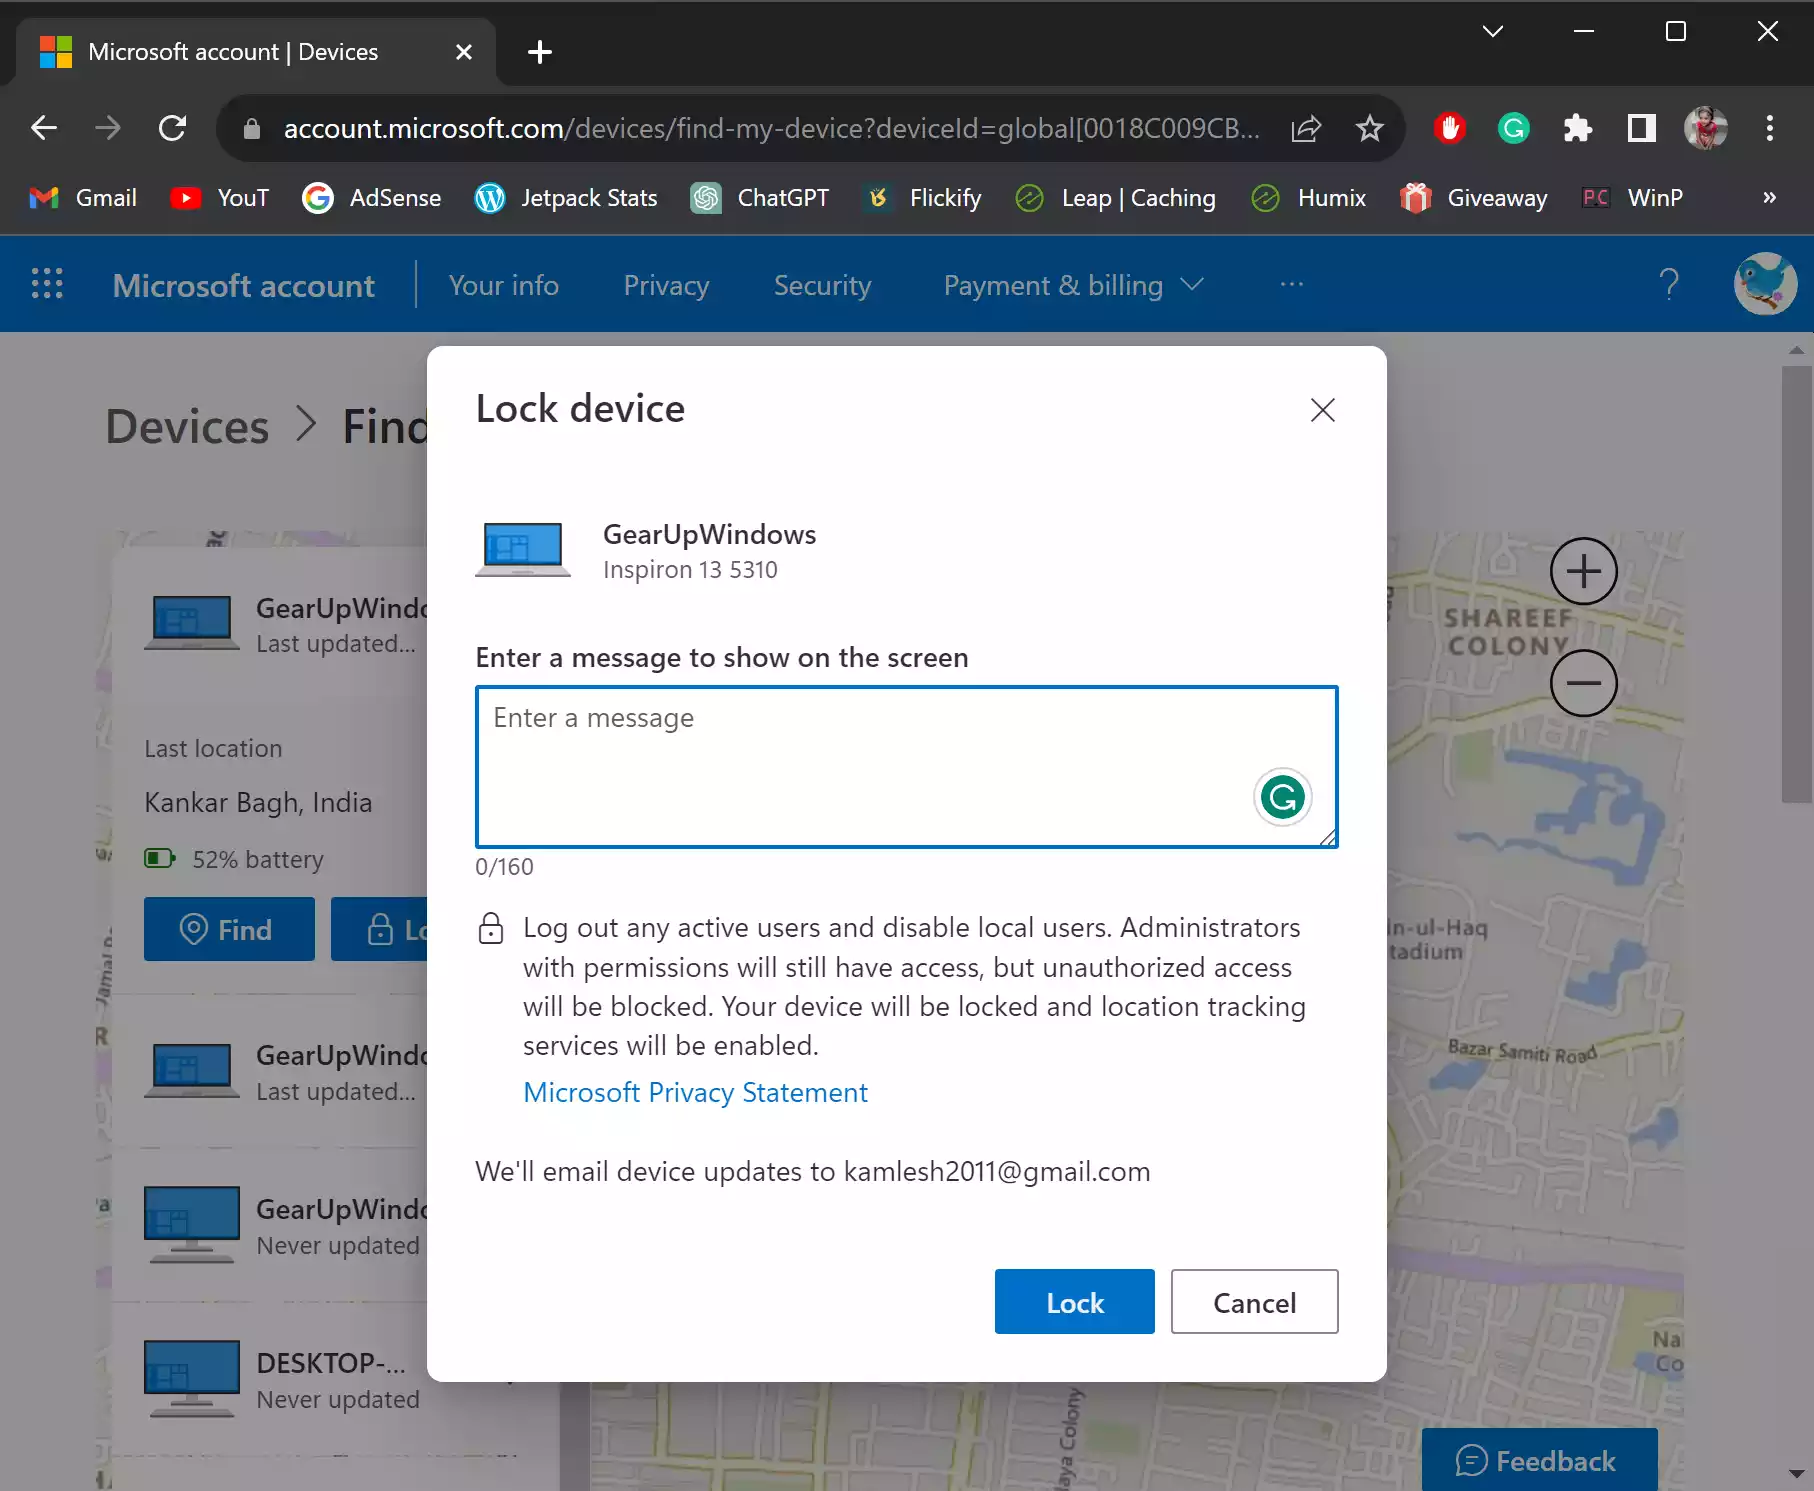
Step 7. Click “Lock.”
Your PC will now be locked remotely, and the message you set will be displayed on the login screen. This will also log out any active users and disable local users. Administrators with permissions will still have access, but unauthorized access will be blocked. Your device will be locked, and location tracking services will be enabled.
If you’ve successfully retrieved your PC or no longer need it to be locked, follow these steps to remotely unlock it:-
Step 1. Log in to the Find My Device website.
Step 2. Select your locked Windows PC.
Step 3. Click on “Unlock.”
Step 4. You’ll be prompted to enter the PIN or password you set for your device. Enter the PIN or password and click “Unlock.”
Your PC will now be remotely unlocked, and you can access it as usual.
Conclusion
Find My Device is a valuable feature for Windows 11 and 10 users that provides peace of mind when it comes to the security of your PC and data. Whether you’ve misplaced your device or want to ensure your data’s safety in case of theft, the ability to remotely lock and unlock your PC is a powerful tool at your disposal. By following the simple steps outlined in this guide, you can confidently use Find My Device to protect your Windows PC and keep your personal and work-related information secure.
