In the evolving landscape of digital creativity, the Photos app on Windows 11 has become a powerhouse for image editing. One standout feature is the ability to effortlessly remove or replace image backgrounds, offering users the opportunity to enhance their visuals with ease. In this comprehensive guide, we’ll walk you through the step-by-step process to achieve professional-looking background edits using the Photos app on Windows 11.
How to Remove Image Backgrounds in Photos App on Windows 11?
To remove the image background using the Photos app, follow these steps:-
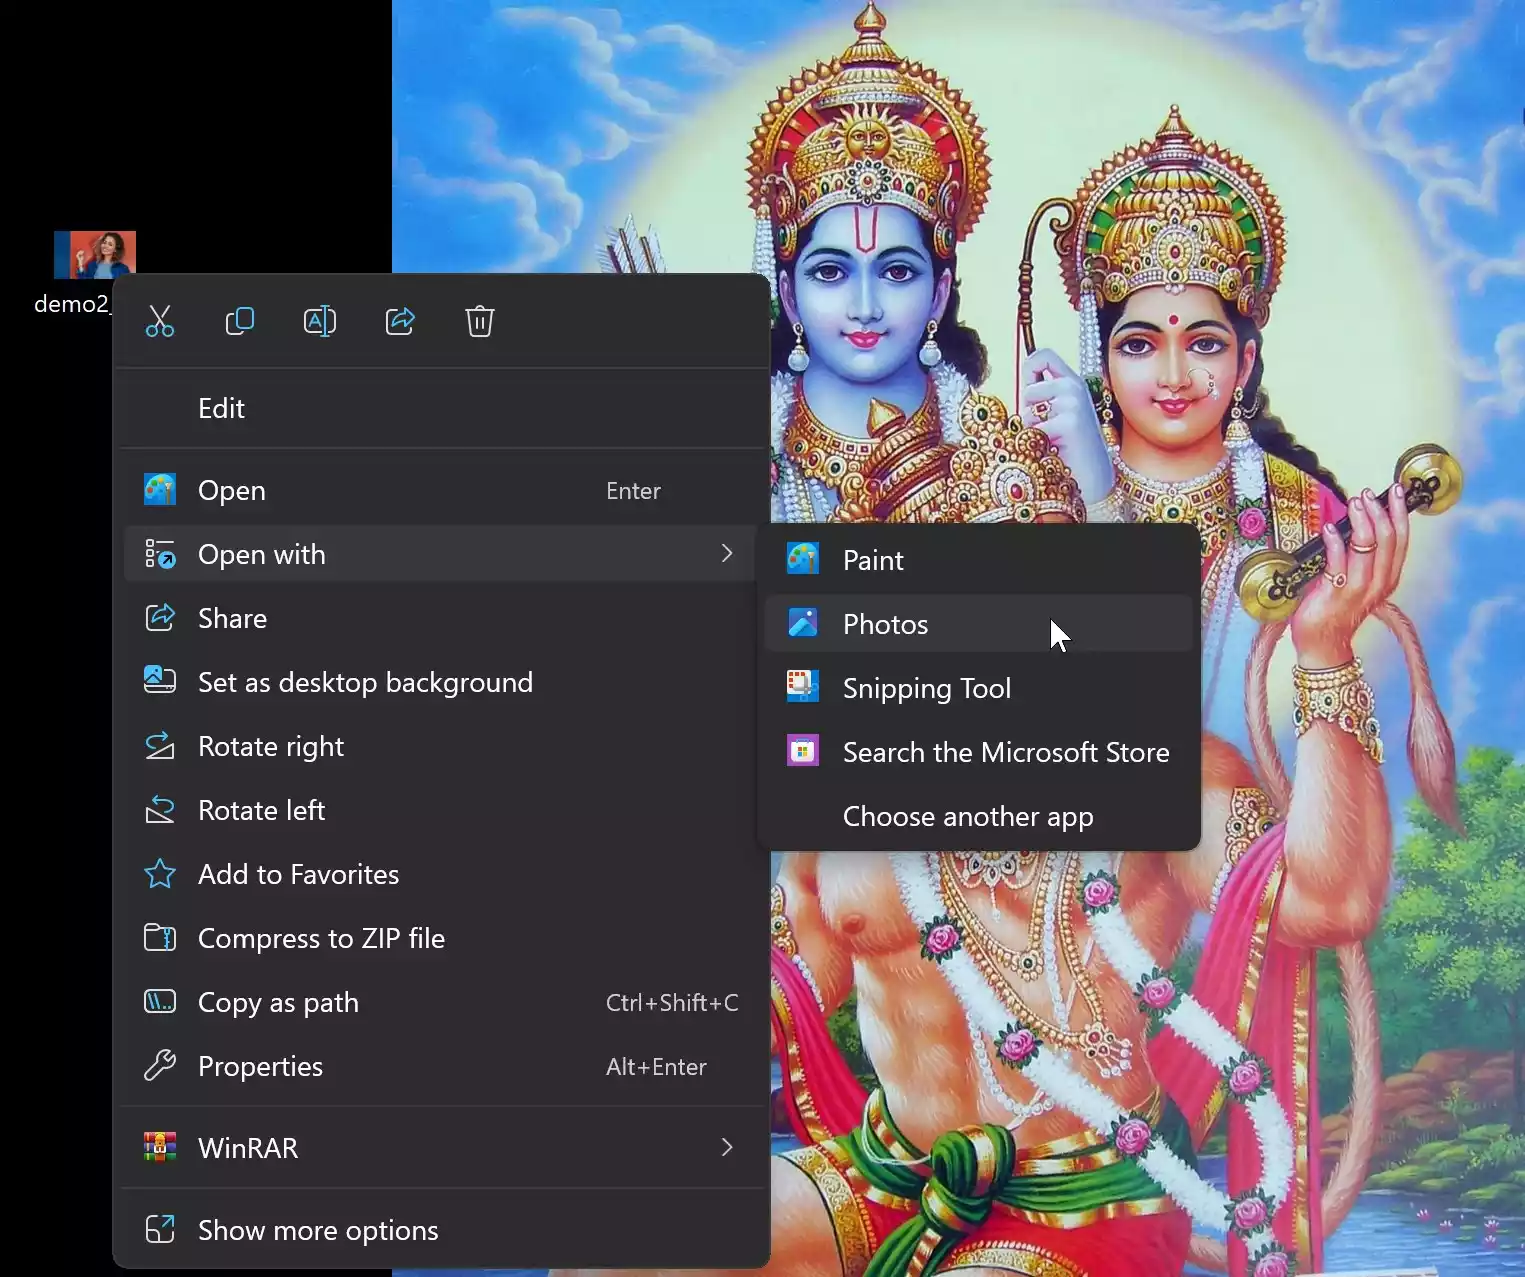
Step 1. Right-click on the image you want to edit, and select “Open with” > “Photos.”
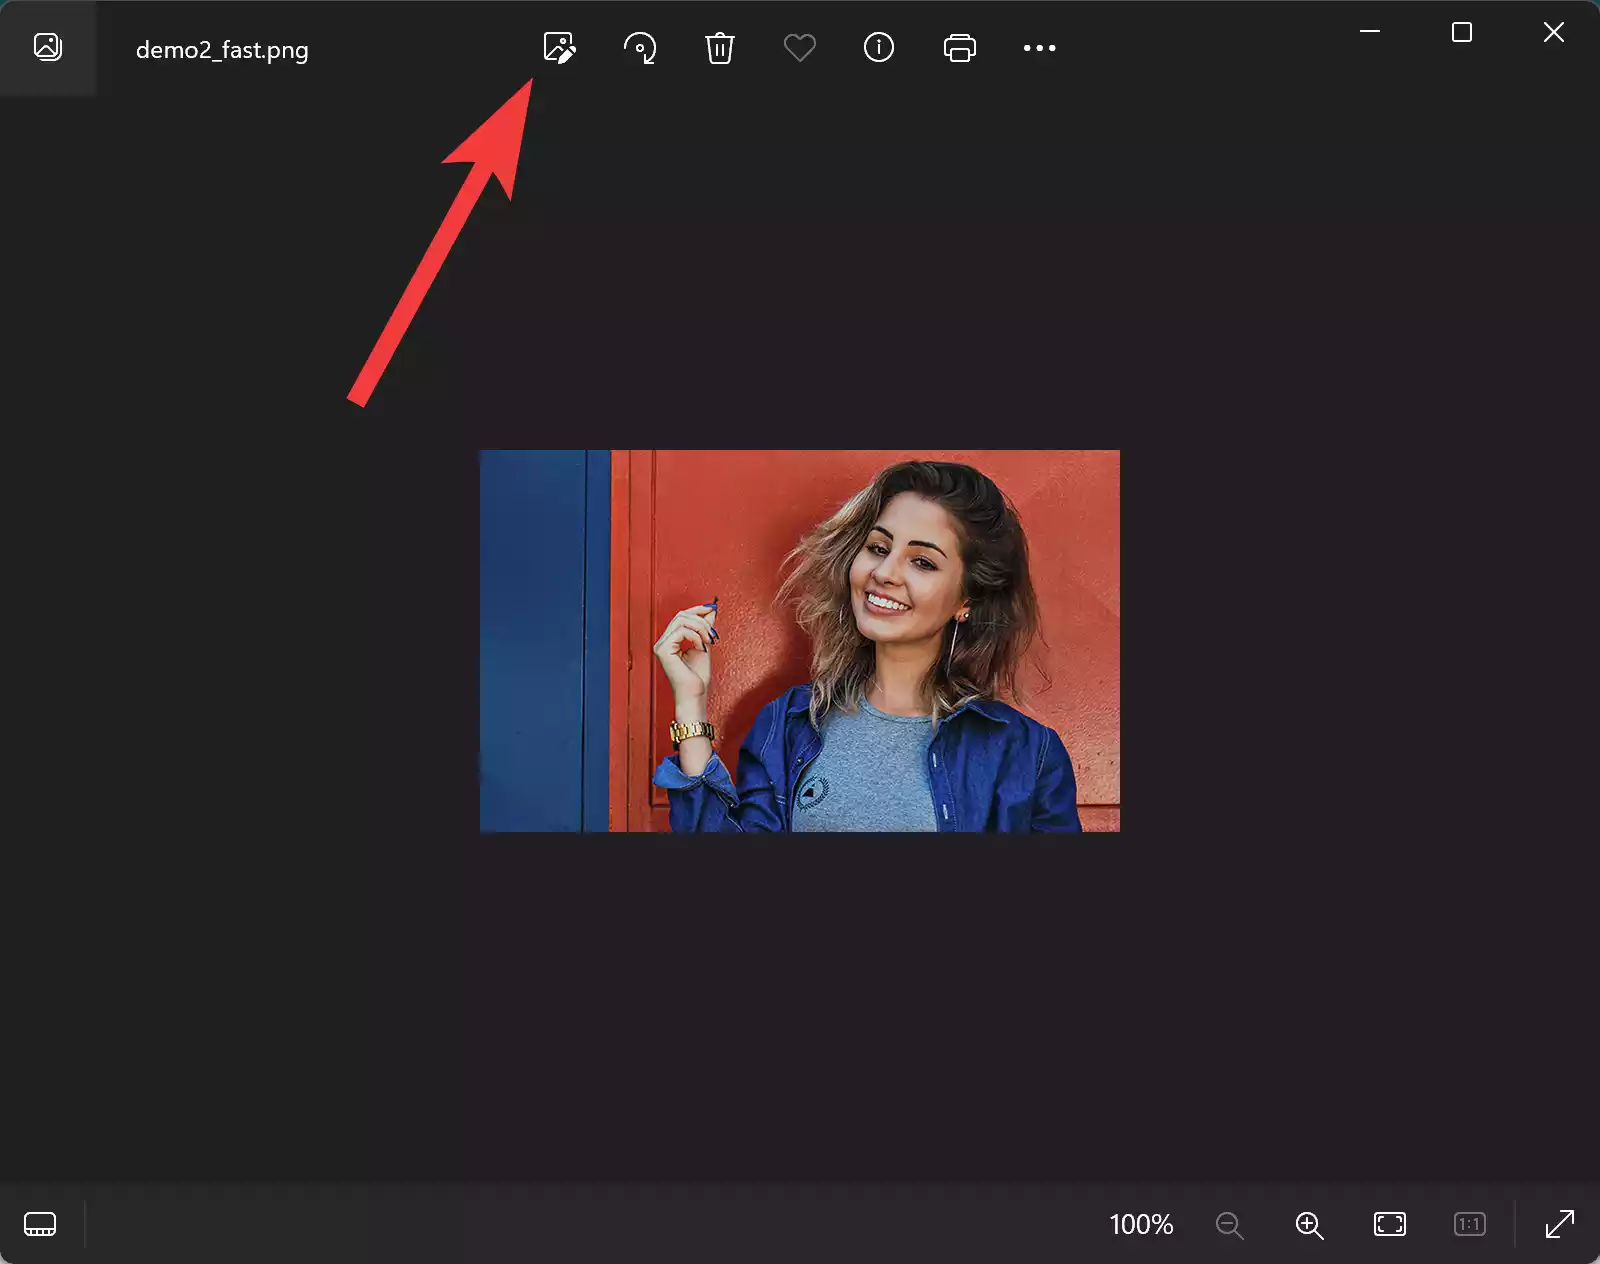
Step 2. Click on the “Edit image” button or press Ctrl + E on your keyboard.
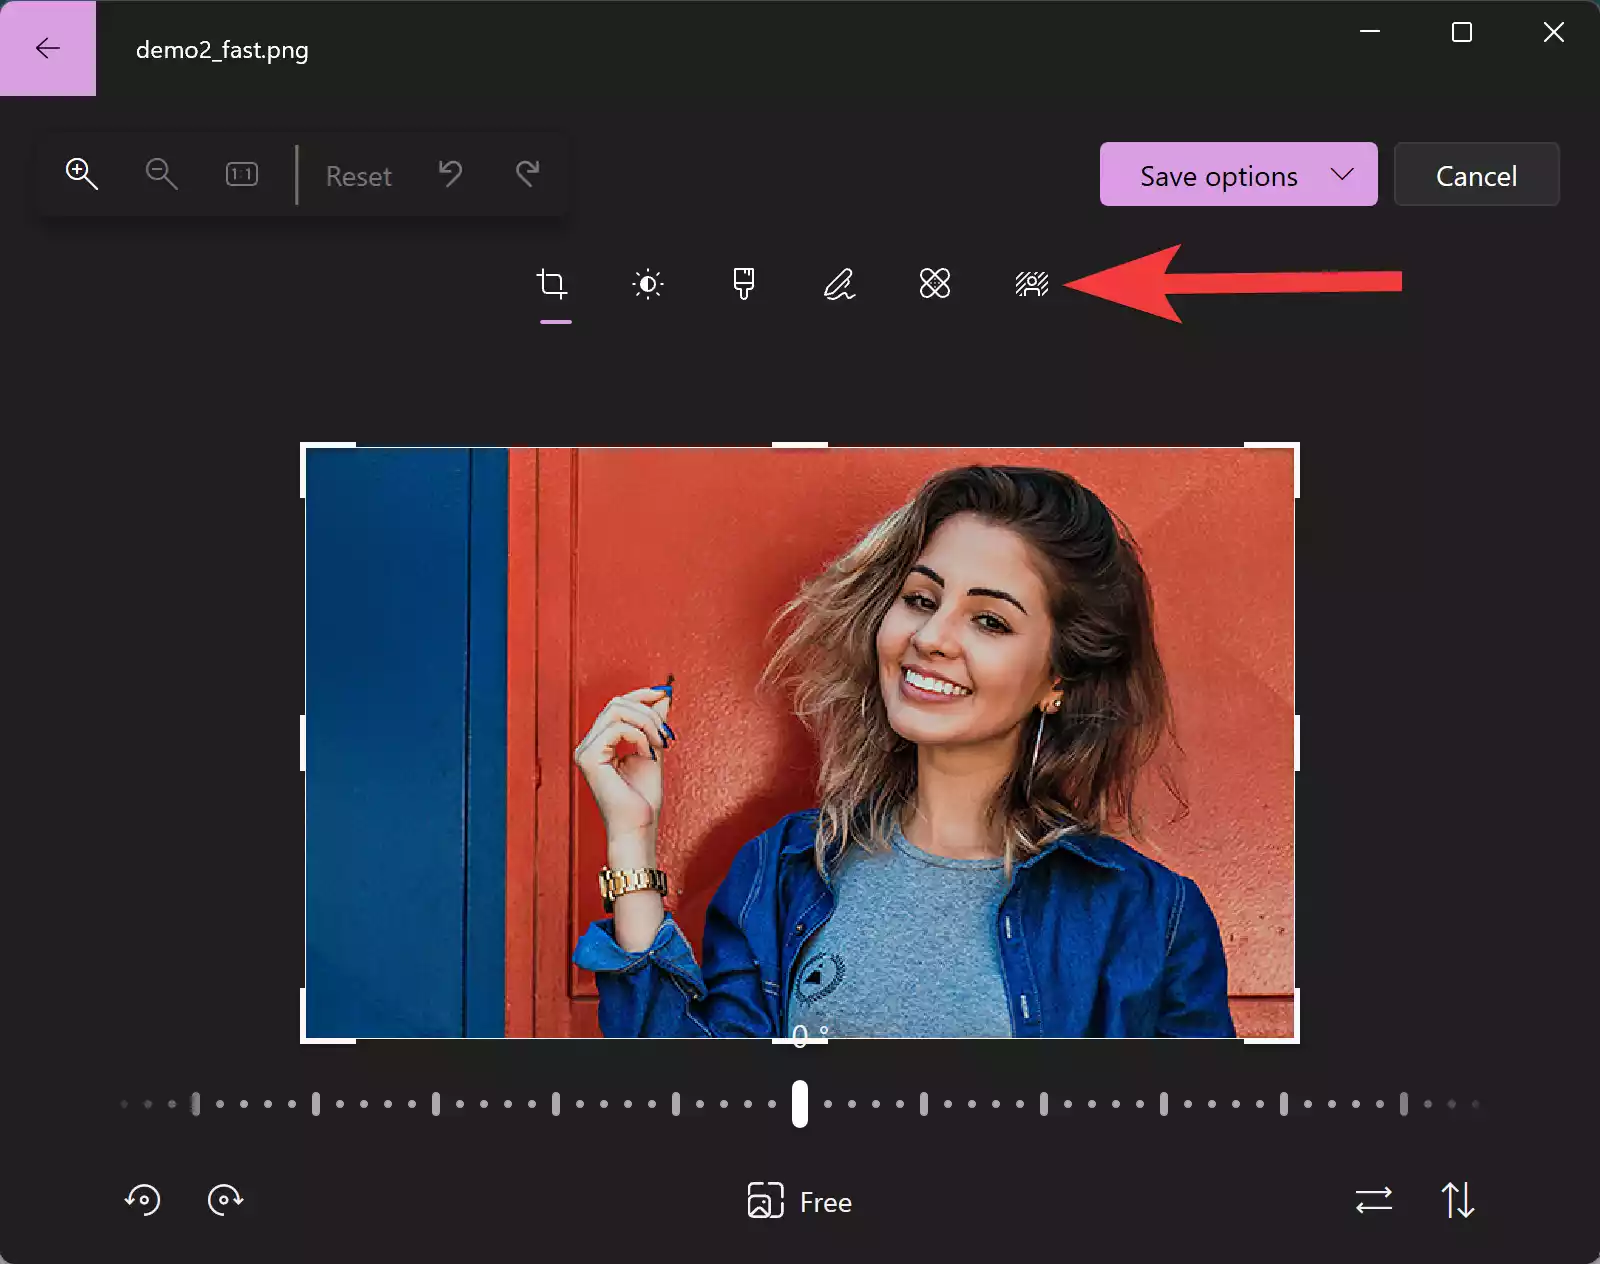
Step 3. In the editing interface, locate and click on the “Background” button in the command bar.
Step 4. Click on the “Remove” button to initiate the background removal process.
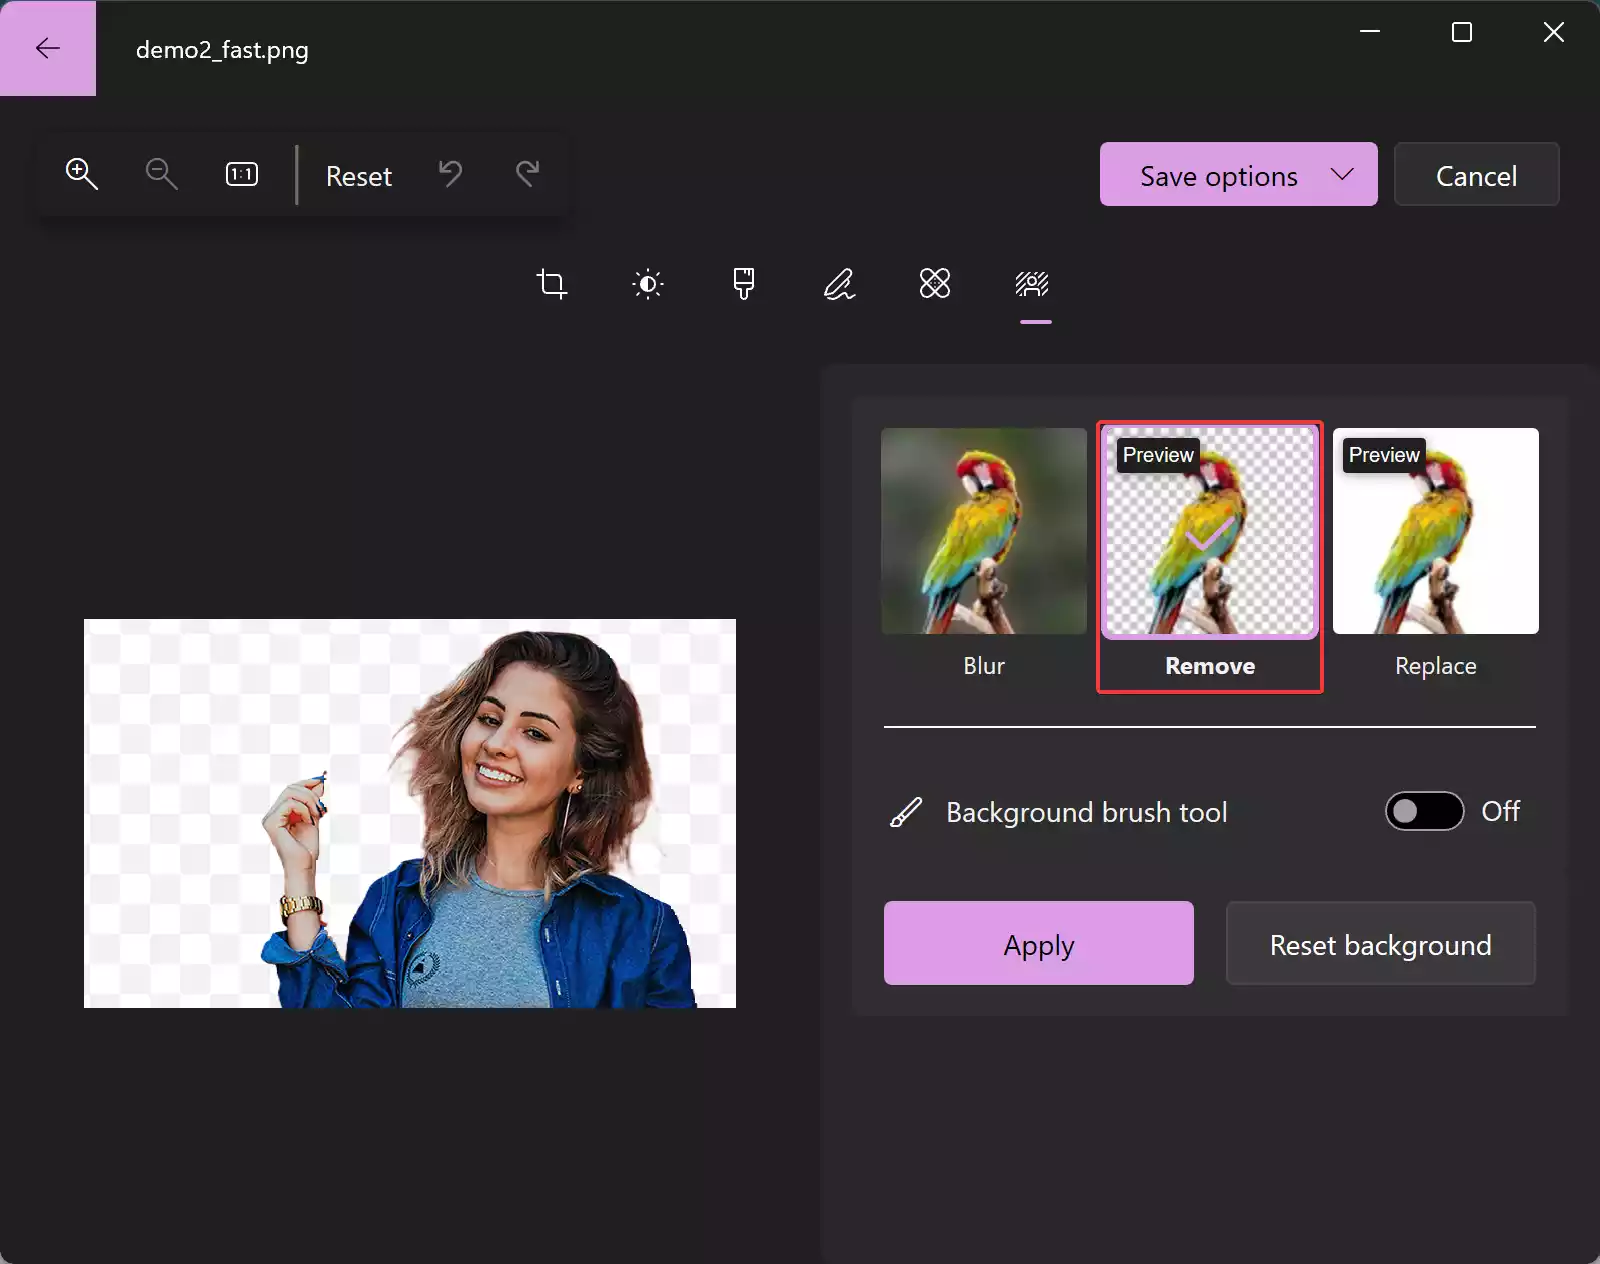
Step 5. Activate Background Brush Tool (Optional): Toggle on the “Background brush tool” if you want to manually refine the background removal.

Note: The “Subtract” option enables you to choose the part of the background you wish to preserve, while the “Add” option allows you to manually select the area of the background you want to remove.
Step 6. Use the brush tool to either subtract or add areas to the background, giving you precise control over the removal process.
Step 7. Fine-tune the brush size and softness settings according to your editing needs.
Step 8. Once satisfied, click on the “Apply” button to execute the background removal.
Step 9. Click on the “Save options” button and choose “Save as copy” to preserve your original image.
How to Replace Image Backgrounds in Photos App on Windows 11?
To replace the image background using the Photos app on Windows 11, follow these steps:-
Step 1. Right-click on the image you want to edit, and select “Open with” > “Photos.”
Step 2. Click on the “Edit image” button or press Ctrl + E on your keyboard.
Step 3. In the editing interface, locate and click on the “Background” button in the command bar.
Step 4. Select the “Replace” button to initiate the background replacement process.
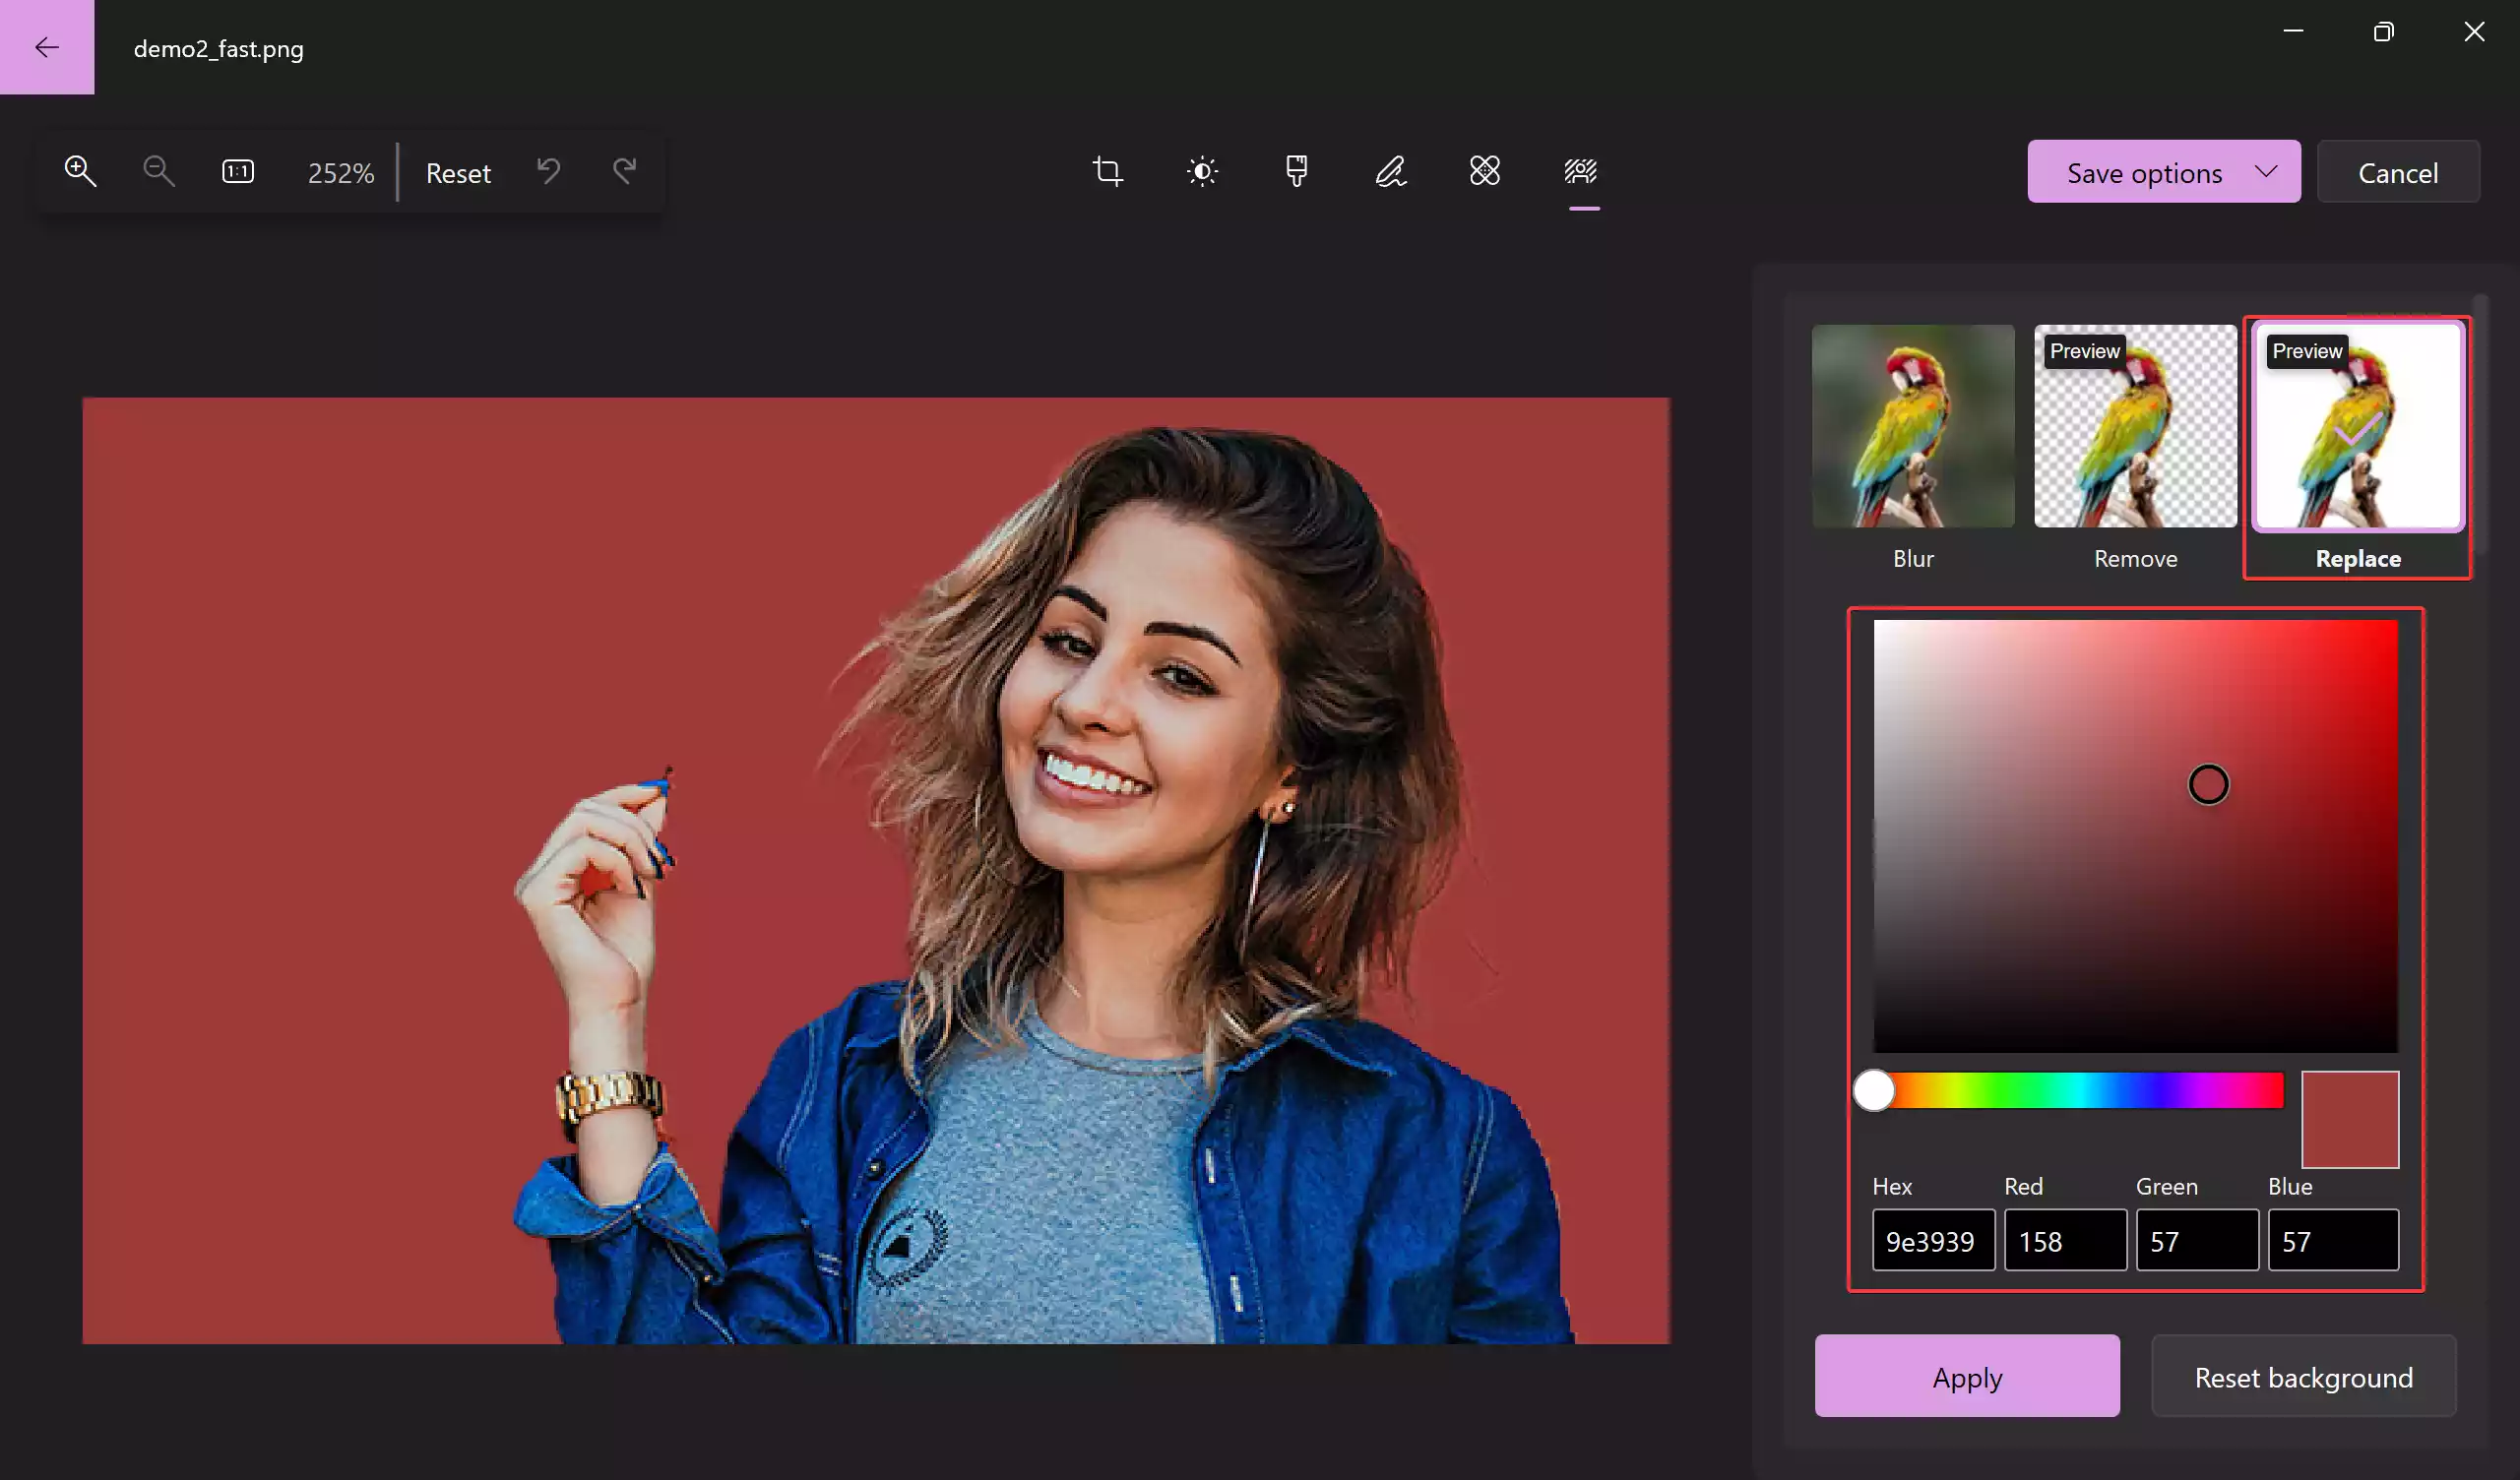
Step 5. Pick the desired color to replace the existing background.
Step 6. Activate Background Brush Tool (Optional): Toggle on the “Background brush tool” for manual adjustments.
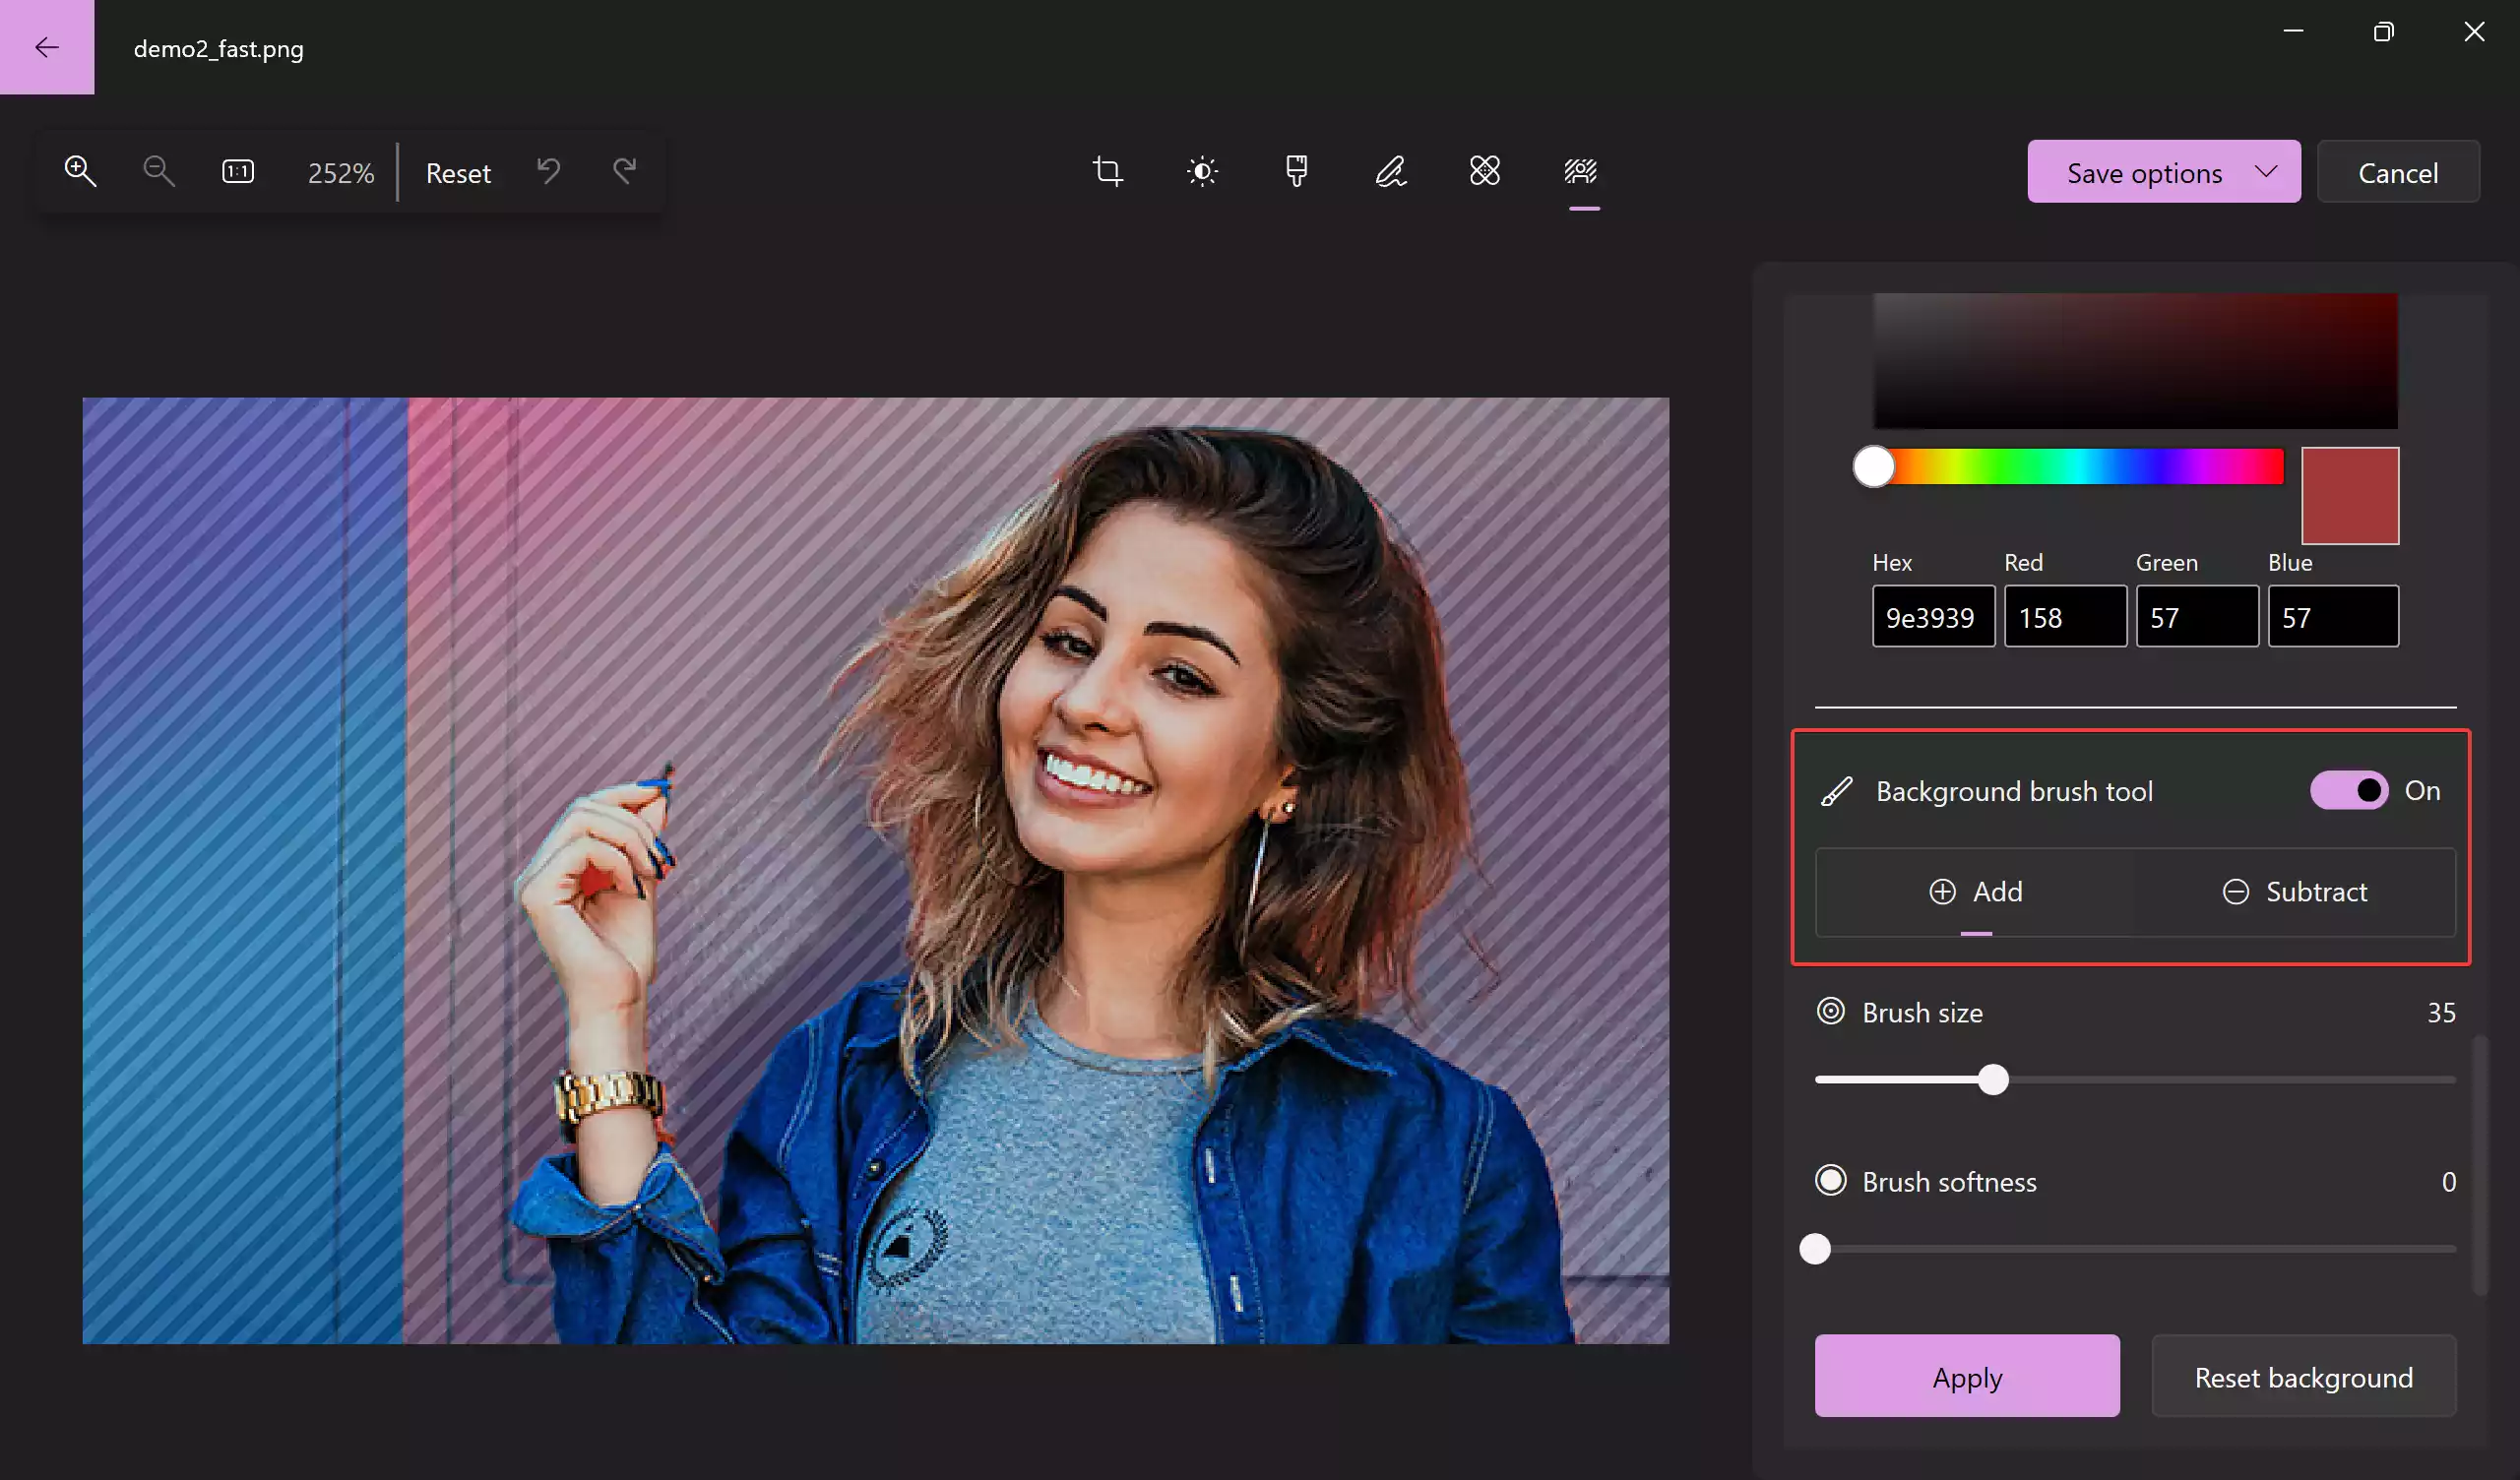
Step 7. Use the brush tool to subtract or add areas for precise background replacement.
Step 8. Fine-tune brush size and softness settings according to your needs.
Step 9. Click on the “Apply” button to execute the background replacement.
Step 10. Press the “Save options” button and choose “Save as copy” to retain your original image.
Conclusion
With the Photos app on Windows 11, removing or replacing image backgrounds has never been more accessible. This step-by-step guide equips you with the knowledge to unlock the full potential of background edits, allowing you to elevate your visual content with professional flair. Experiment, create, and transform your images effortlessly using the powerful background editing features of the Photos app on Windows 11.
