Windows Terminal is a powerful command-line interface tool in Windows 11 that allows users to access various command-line applications in a single window. Sometimes, due to customization or changes made, you may want to reset Windows Terminal to its default settings. In this user-friendly guide, we will walk you through the step-by-step process of resetting Windows Terminal to its default settings in Windows 11.
How to Reset Windows Terminal to Default Settings in Windows 11?
Method 1: Reset Windows Terminal to Default Settings using Terminal (Admin)
Step 1. To begin, open the Windows Terminal as an administrator.
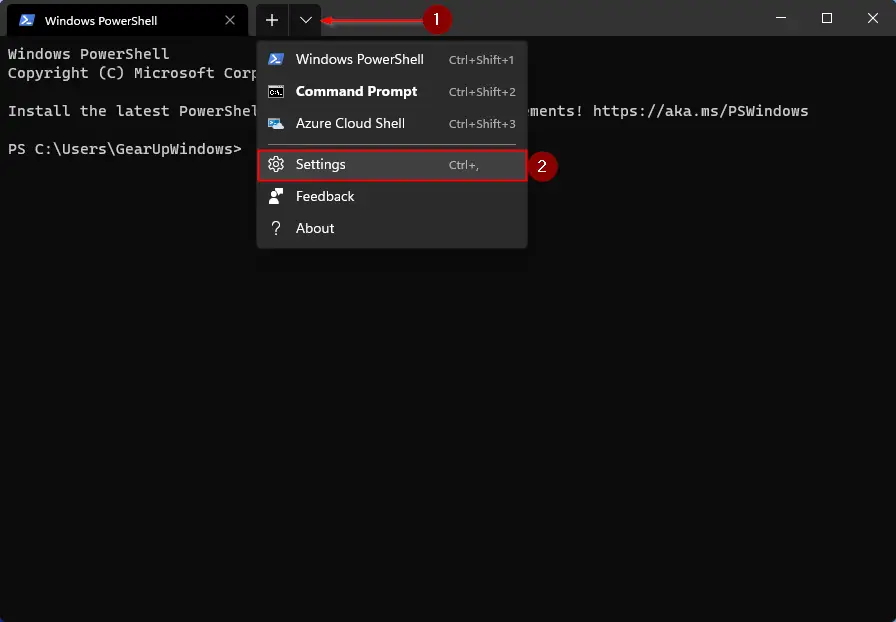
Step 2. Once Windows Terminal is open, locate the downward arrow icon (^) in the menu bar at the top. Click on this arrow to reveal a drop-down menu. From the menu, select the “Settings” option.
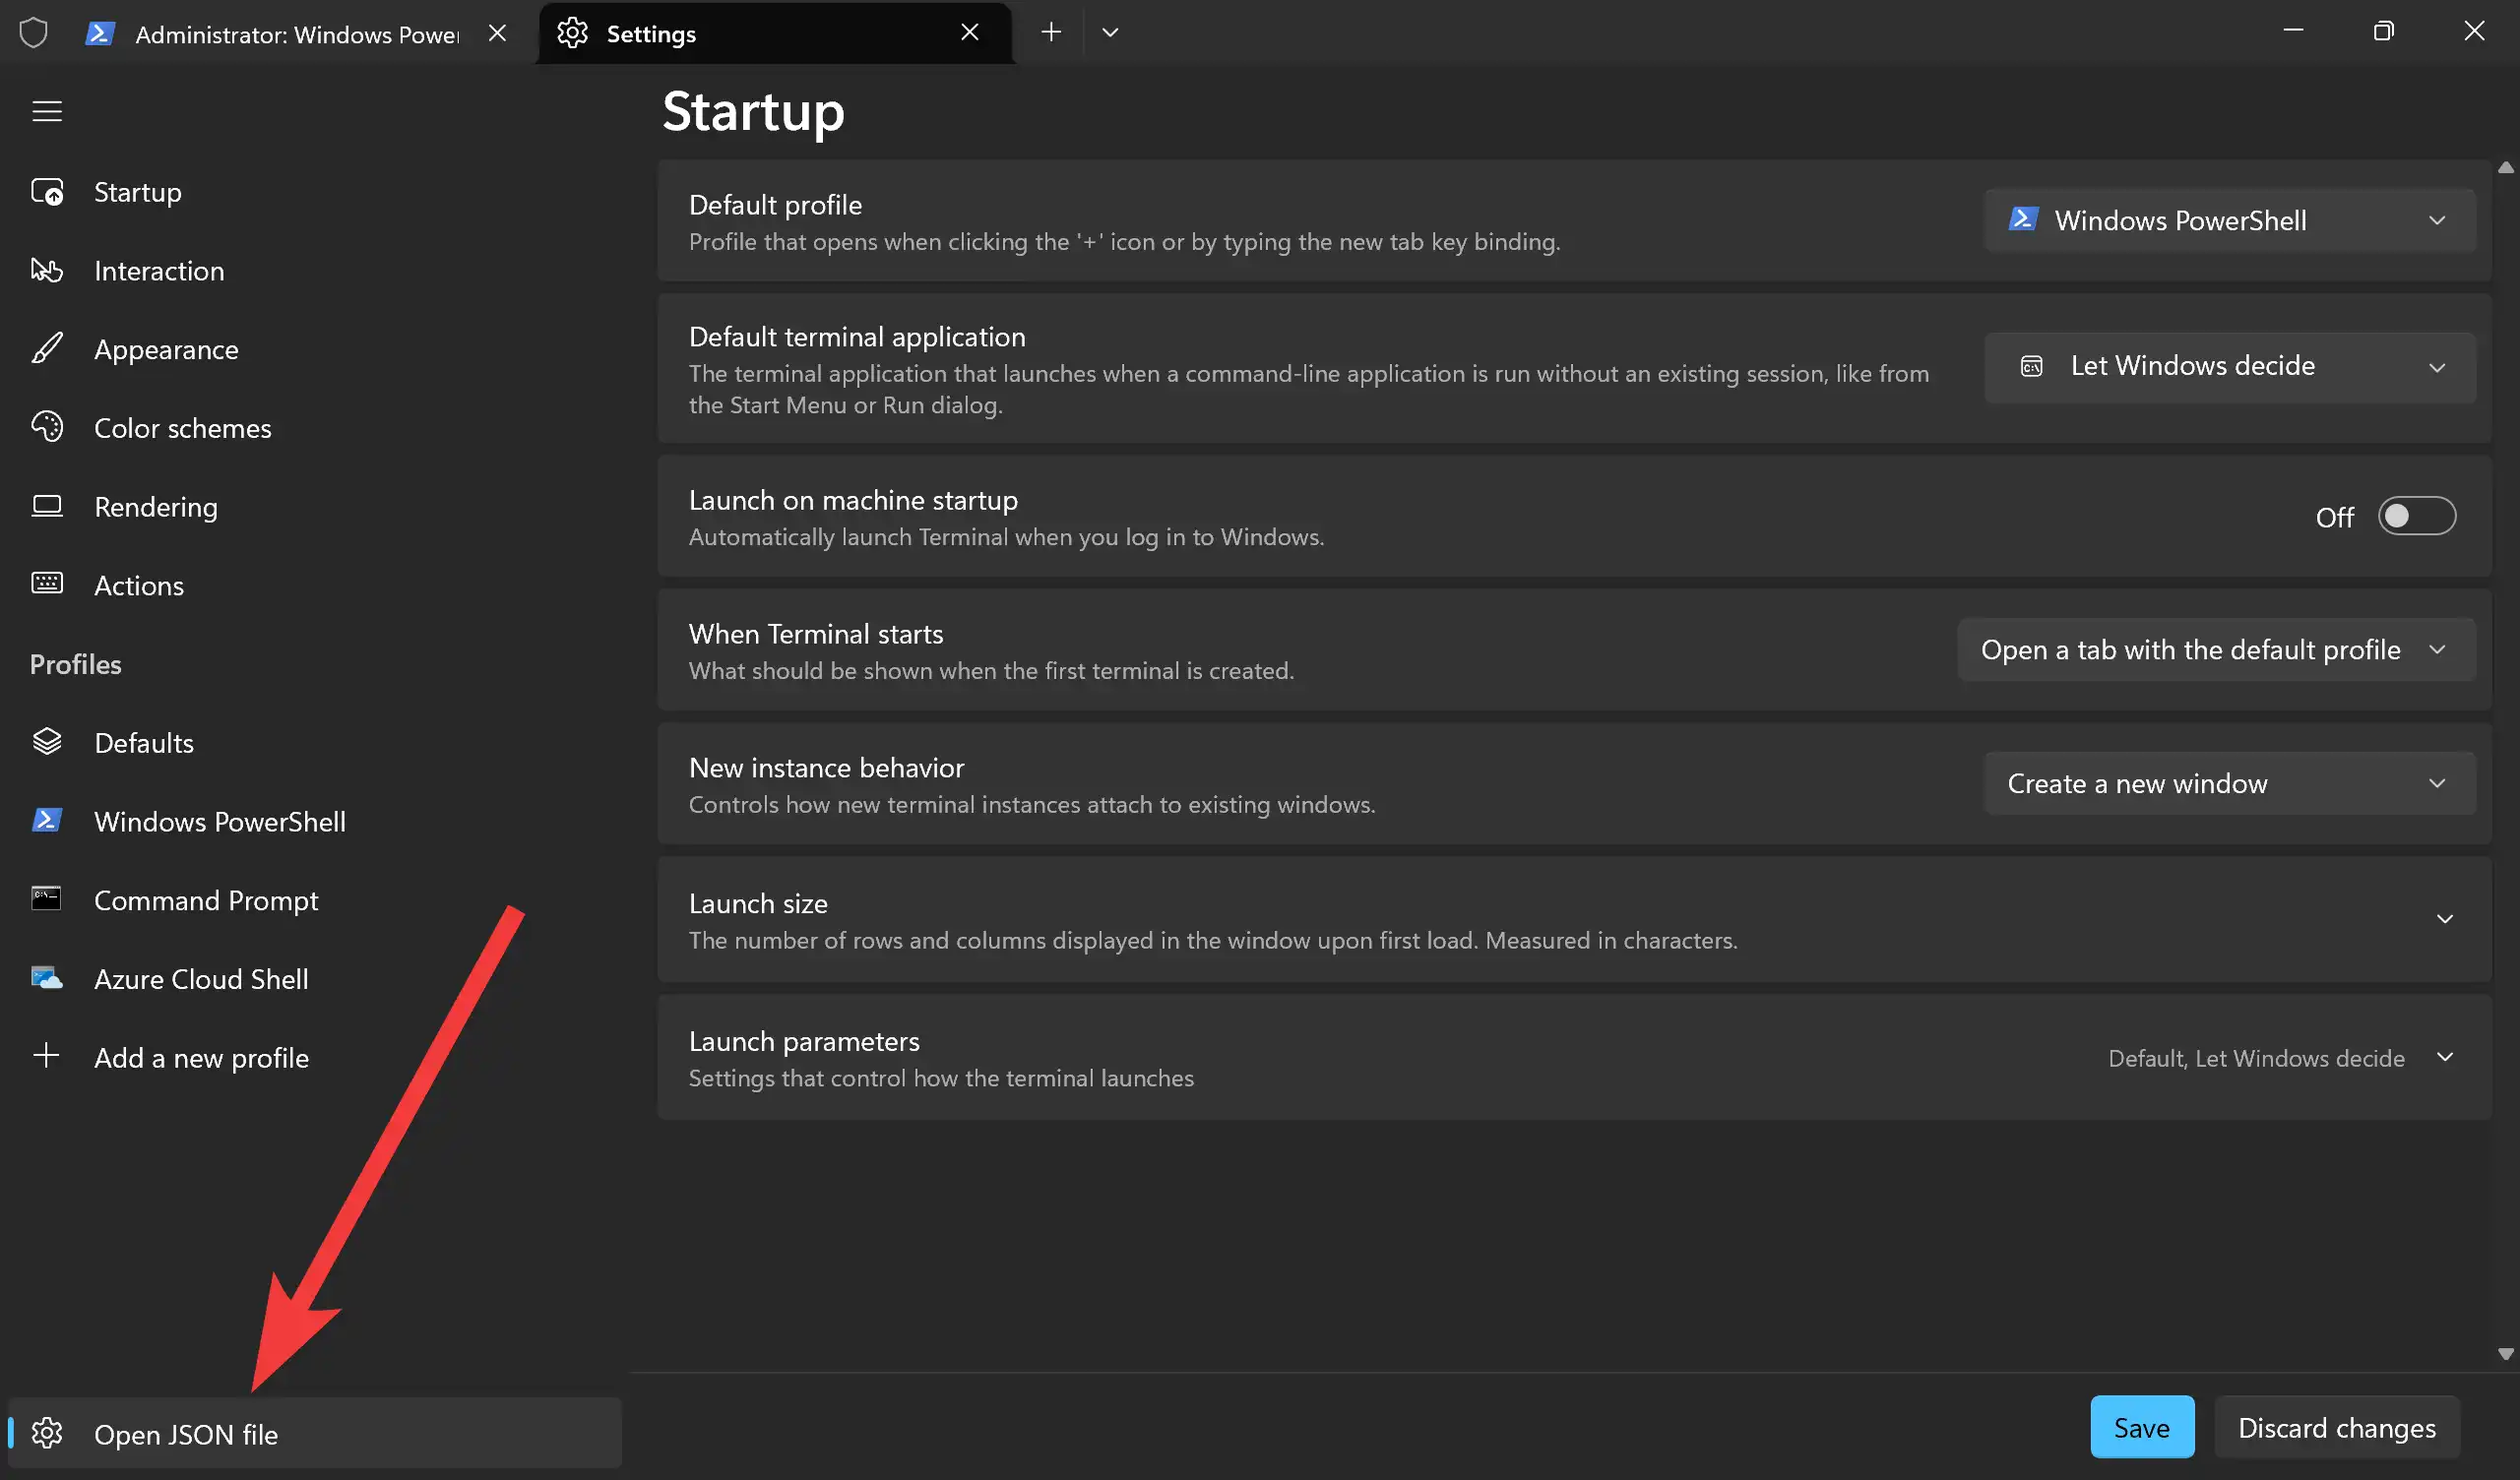
Step 3. After clicking on the “Settings” option, a new window will open, displaying the “Open JSON file” option at the bottom of the left navigation pane. Click on this option to open the settings.json file. This file contains all the customization settings for Windows Terminal. Make sure to create a backup of this file before proceeding with the reset process in case you want to revert to your previous settings later.
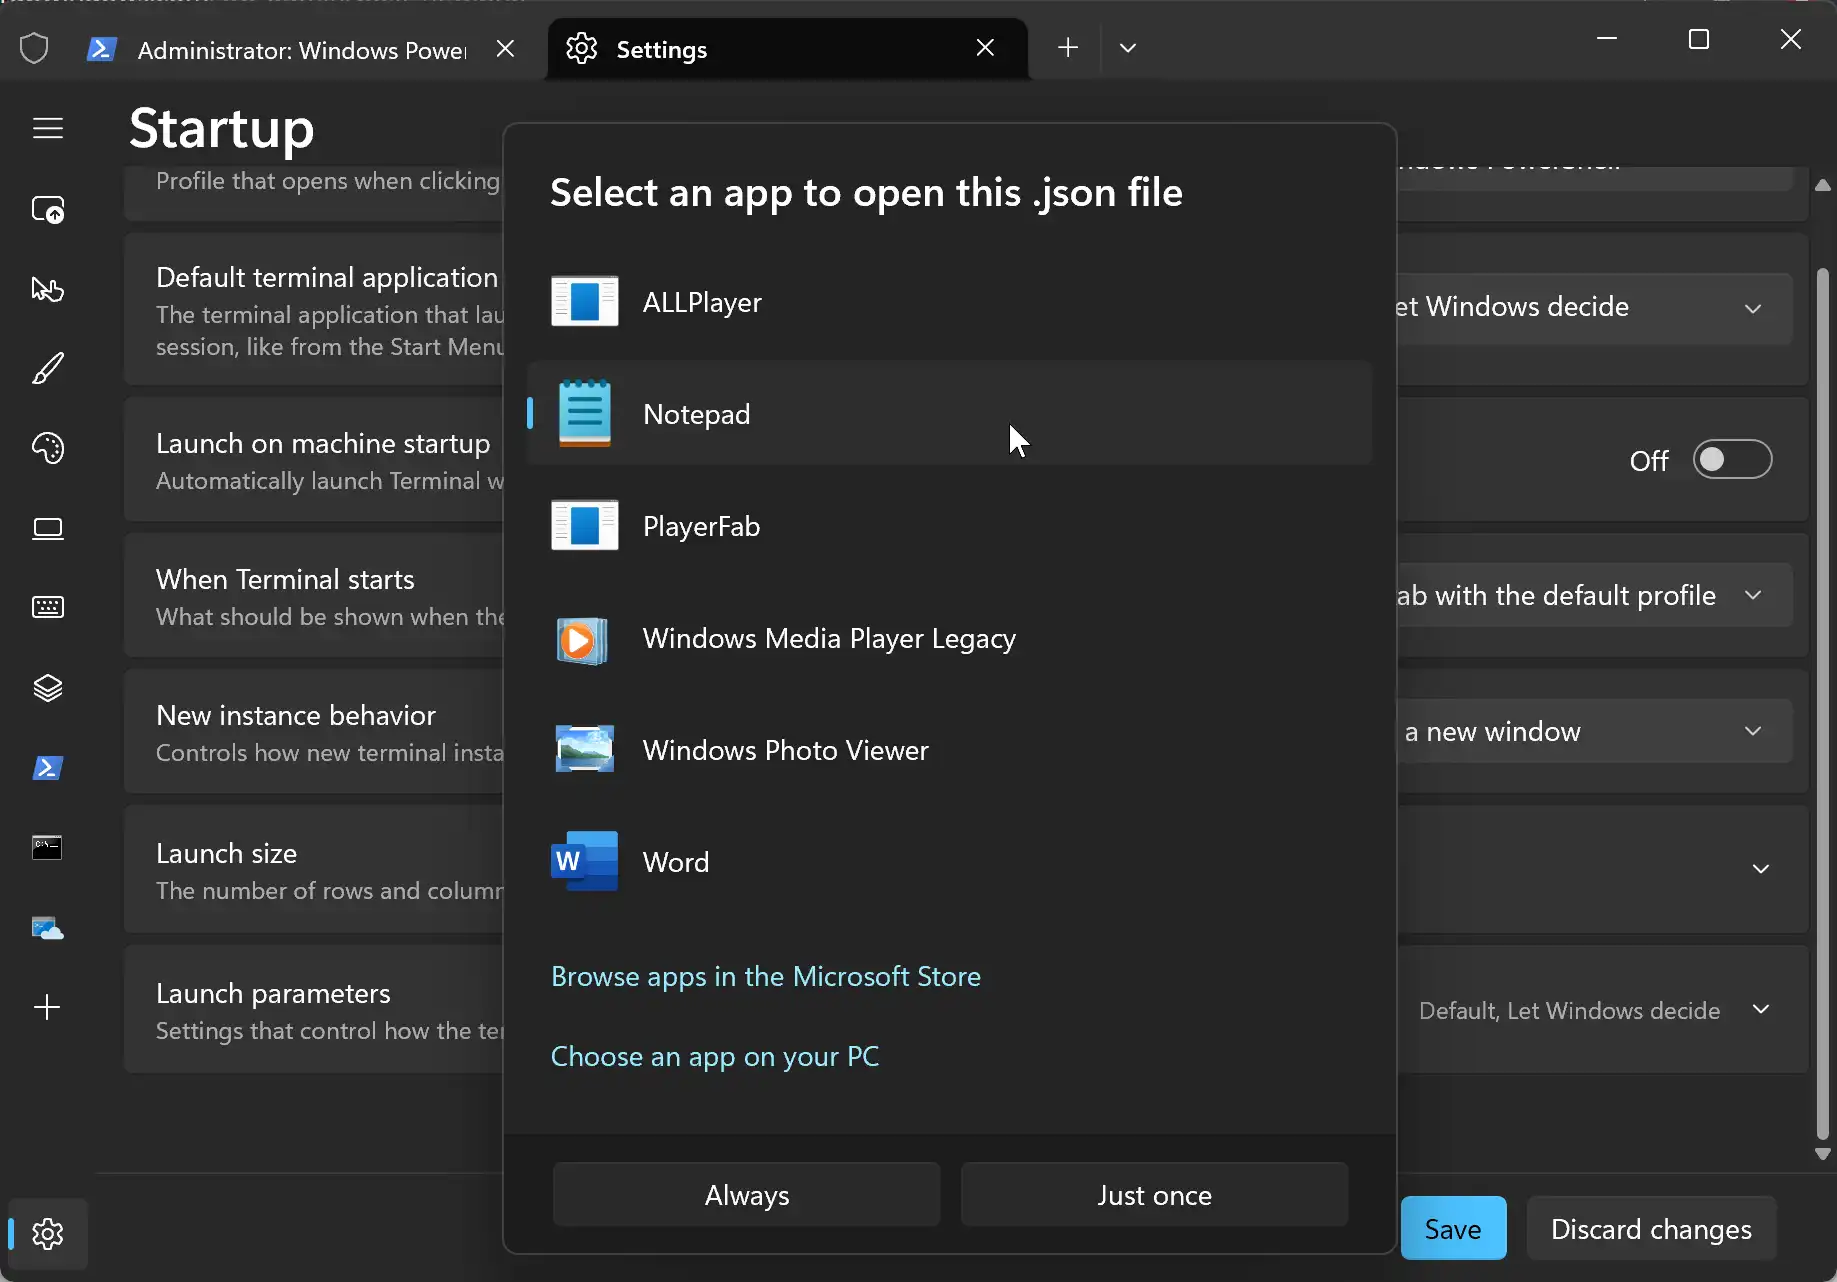
Step 4. When you will click on the “Open JSON file” option, a pop-up window will open. Choose “Notepad” in the drop-down list and then click on the “Always” or “Just once” button to open this file in a Notepad window.
Step 5. When Notepad opens, press Ctrl + A to select everything within the Notepad file and delete them.
Step 6. After removing the settings.json file contents, press Ctrl + S to save the file. Windows Terminal will now automatically create a new settings.json file with the default settings.
Method 2: Reset Windows Terminal to Default Settings through File Explorer
Step 1. To begin, press the Windows key + R to bring up the Run command box.
Step 2. Type the following path and press Enter:-
%LocalAppData%\Packages\Microsoft.WindowsTerminal_8wekyb3d8bbwe\LocalState
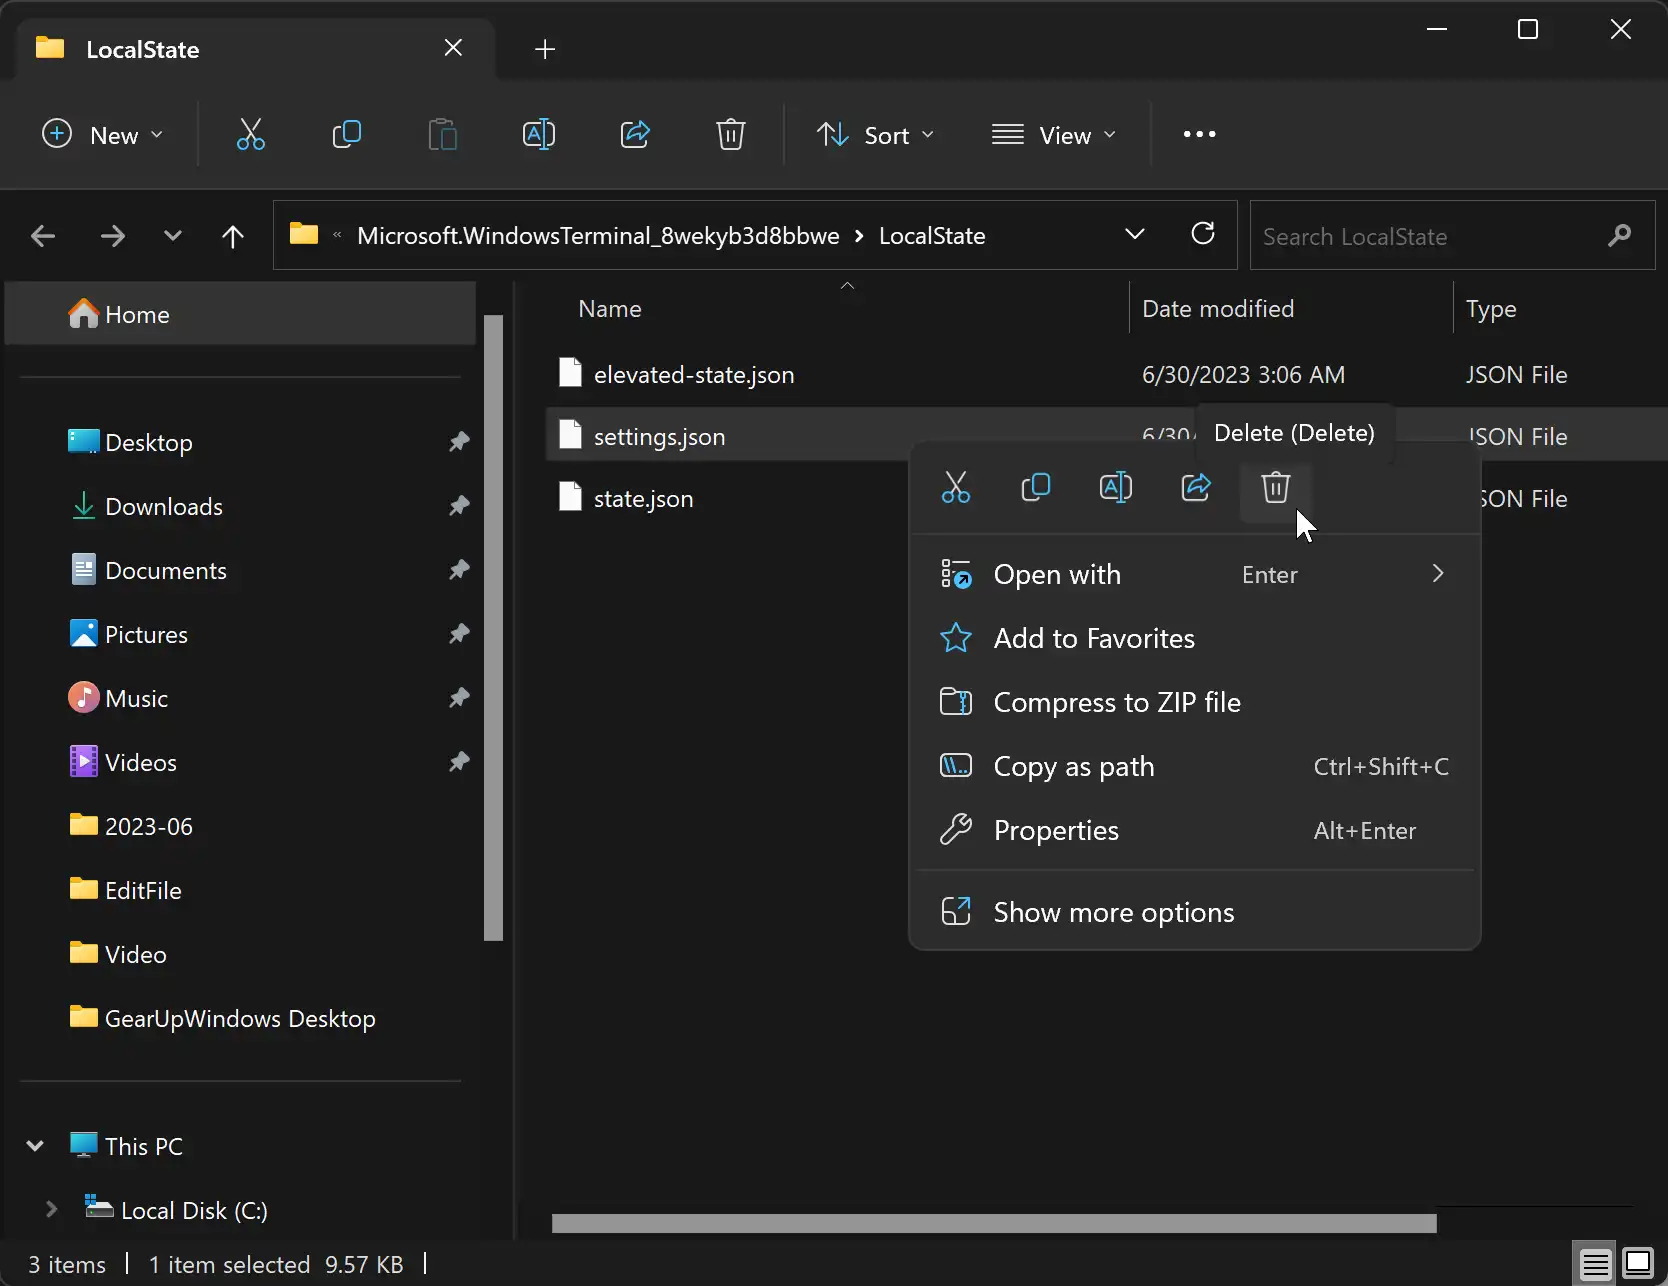
Step 3. When you’re done, File Explorer will open and take you to the location where the settings.json file is stored. Just delete the settings.json file and it will reset Windows Terminal back to its default settings.
After deleting the settings.json file, when you will open the Windows Terminal app, it will automatically create a new settings.json file with the default settings.
Conclusion
In conclusion, Windows Terminal is a powerful command-line interface tool in Windows 11, offering users the ability to access multiple command-line applications in a single window. However, there may come a time when you want to reset Windows Terminal to its default settings due to customization or changes made. This user-friendly guide has provided two methods to help you achieve this.
Method 1 involves resetting Windows Terminal using the Terminal app as an administrator. By opening the settings.json file, deleting its contents, and saving the file, Windows Terminal will automatically create a new settings.json file with the default settings.
Method 2 allows you to reset Windows Terminal through File Explorer. By navigating to the location of the settings.json file and deleting it, Windows Terminal will reset to its default settings.
Choose the method that suits you best and follow the provided steps carefully. Remember to back up the old settings.json file if you wish to retain your previous configurations.
By resetting Windows Terminal to its default settings, you can start fresh and customize it according to your preferences. Enjoy the powerful command-line capabilities of Windows Terminal in Windows 11 with a clean slate!