Windows 11 is packed with innovative features, including the powerful PowerShell command-line interface. But did you know that you can harness the capabilities of PowerShell right within Command Prompt? This seamless integration allows you to leverage the advanced functionality of PowerShell commands while working within the familiar environment of Command Prompt. In this gearupwindows guide, we’ll walk you through the steps to run PowerShell commands in Command Prompt on Windows 11, empowering you to take your command-line skills to the next level.
How to Run PowerShell Commands in Command Prompt on Windows 11?
Follow these steps to execute PowerShell commands in Command Prompt on Windows 11:-
Step 1. To begin, open Command Prompt or Command Prompt (Admin) on your Windows 11 system.
Step 2. Once Command Prompt is open, you can start running PowerShell commands directly within it. The syntax for running PowerShell commands in Command Prompt is straightforward. Simply type “powershell” followed by the PowerShell command you want to execute.
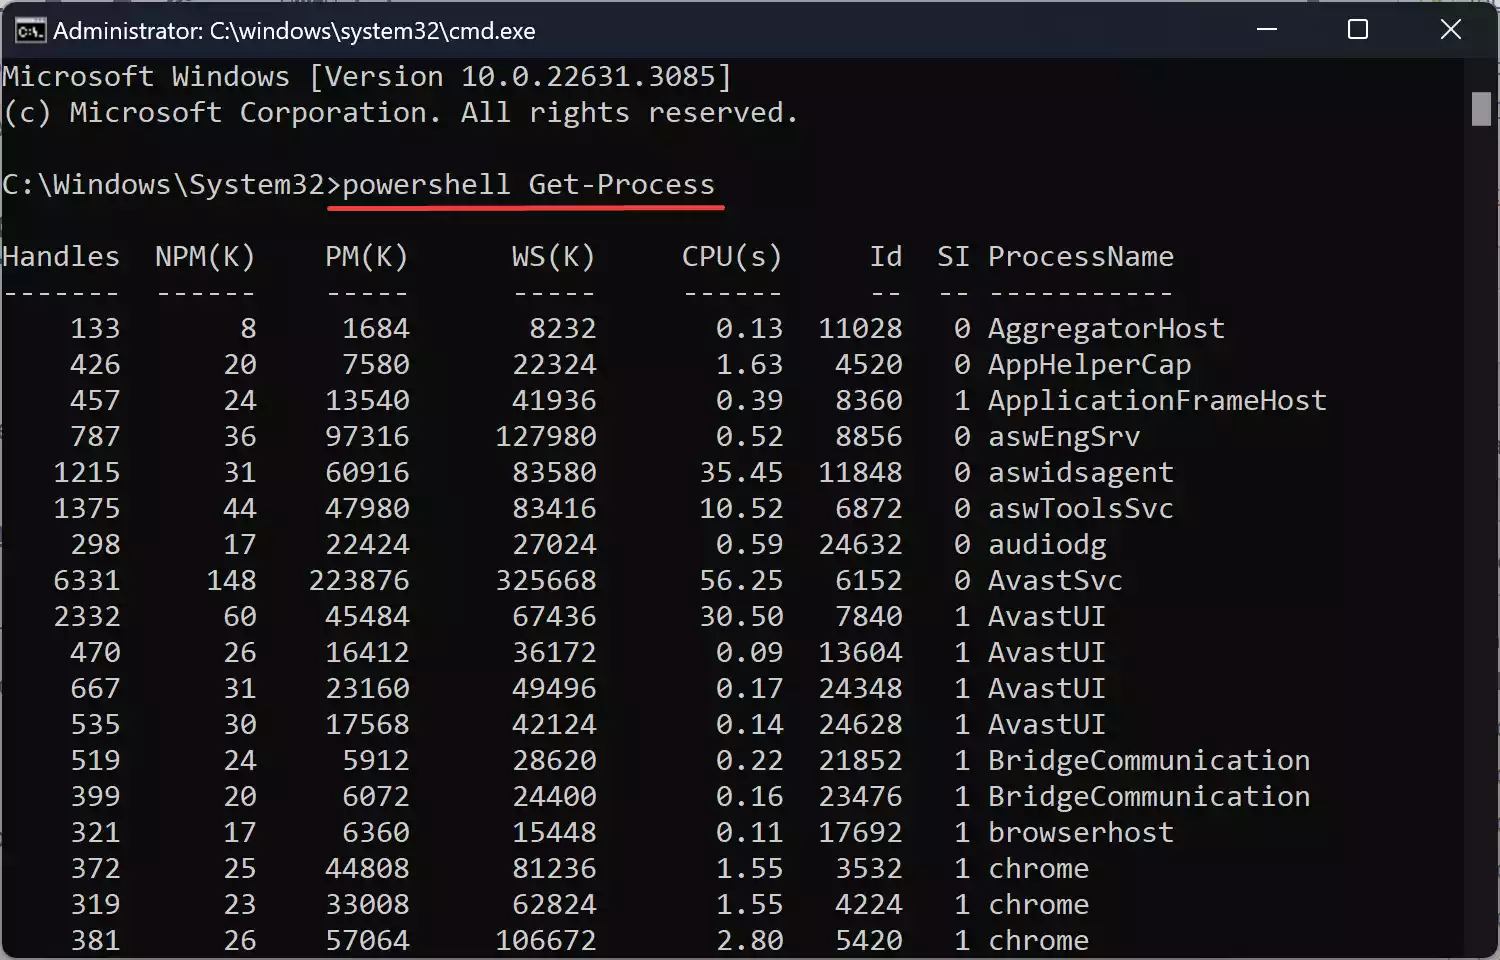
For example, if you want to list all the processes running on your system using a PowerShell command, you would type:
powershell Get-Process
And then press Enter.
Step 3. Running PowerShell commands in Command Prompt opens up a world of possibilities. PowerShell offers a vast array of commands for system administration, scripting, automation, and more. Whether you’re managing files, configuring system settings, or troubleshooting issues, PowerShell provides the tools you need to get the job done efficiently.
For example, you can use PowerShell commands to manage Windows services, query system information, manipulate files and directories, and perform network diagnostics. The versatility of PowerShell commands combined with the simplicity of Command Prompt makes for a powerful combination that can streamline your workflow and increase productivity.
Step 4. One of the key benefits of running PowerShell commands in Command Prompt is the seamless integration between the two interfaces. You can easily switch between Command Prompt and PowerShell commands within the same session, allowing you to leverage the strengths of both environments as needed.
Alternate Method
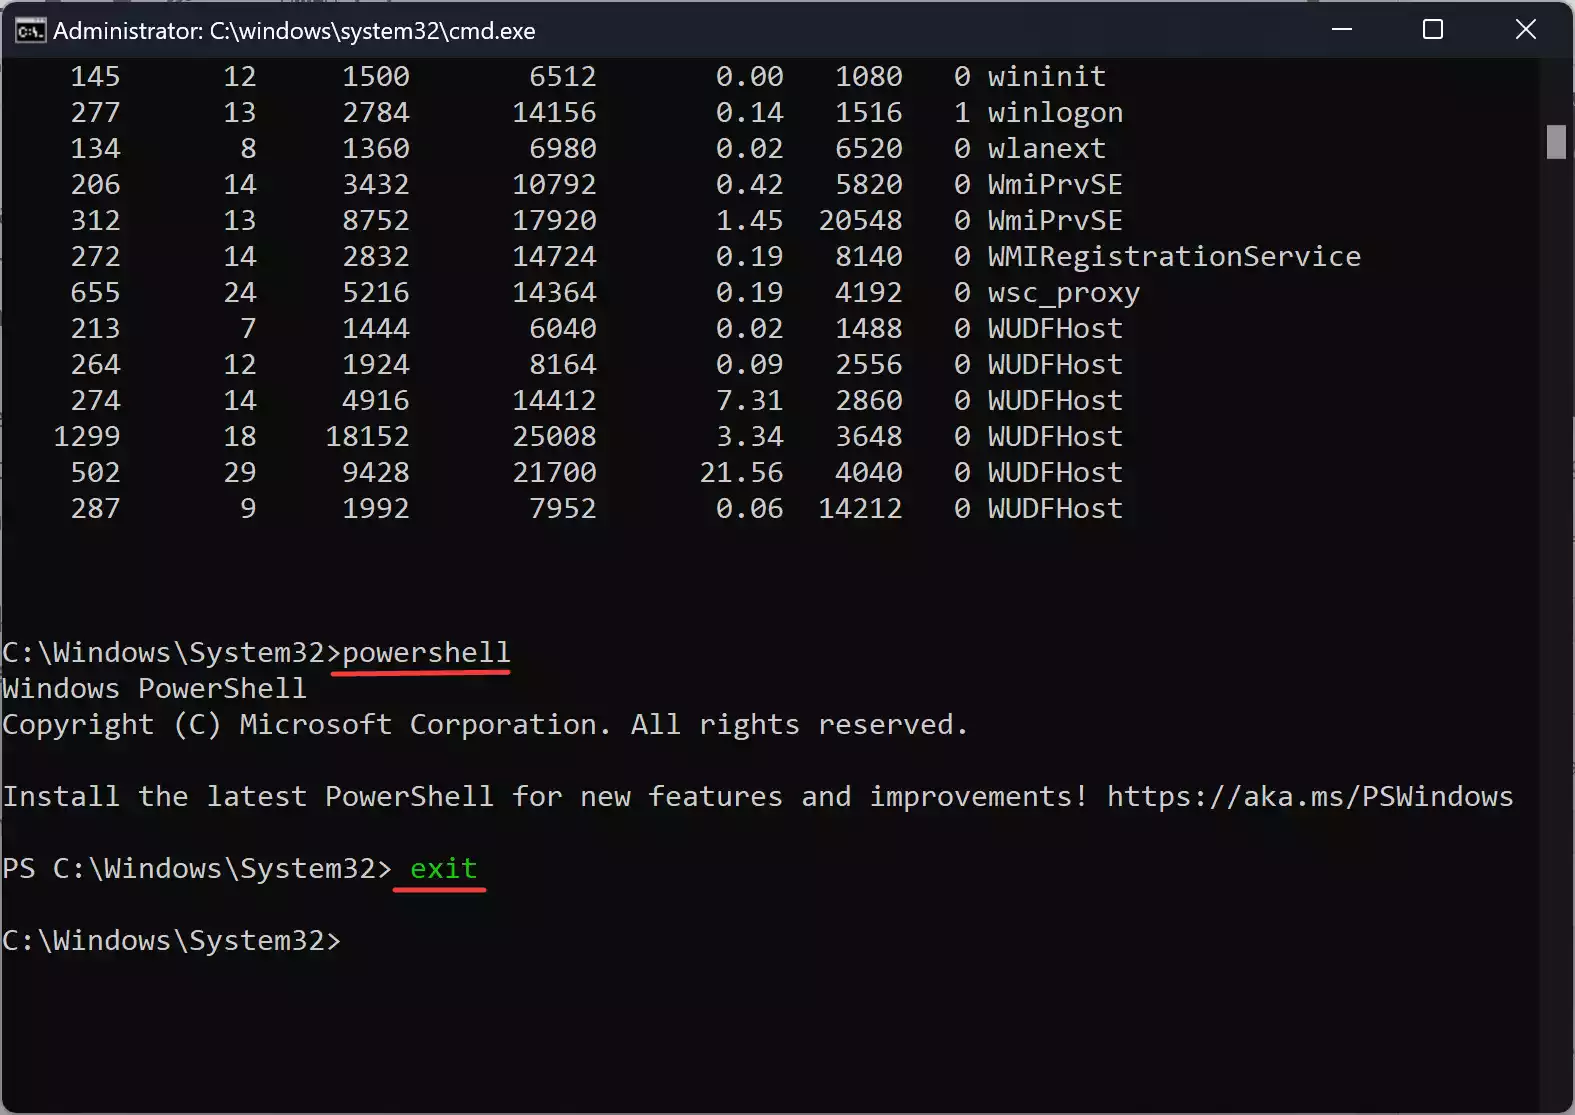
Once Command Prompt is open, you can switch to PowerShell mode by simply typing “powershell” and pressing Enter. This command tells Command Prompt to change its prompt to that of PowerShell, enabling you to enter and execute PowerShell commands directly within the Command Prompt window.
With the prompt switched to PowerShell mode, you can now enter as many PowerShell commands as you’d like. Whether it’s managing system resources, querying data, or automating tasks, you can leverage the full range of PowerShell commands within the Command Prompt environment.
For example, you can use commands like “Get-Process” to list all running processes, “Get-Service” to retrieve information about system services, or “Get-ChildItem” to display the contents of a directory. Simply type the desired PowerShell command and press Enter to execute it.
After running your PowerShell commands, you may want to return to Command Prompt mode to execute traditional Command Prompt commands or tasks. To do this, simply type “exit” and press Enter. This command will exit PowerShell mode and return you to the default Command Prompt prompt.
Conclusion
With Windows 11, Microsoft has made it easier than ever to harness the power of PowerShell commands within the familiar environment of Command Prompt. By following the simple steps outlined in this guide, you can run PowerShell commands directly within Command Prompt and take advantage of the advanced functionality and capabilities that PowerShell has to offer. So, why wait? Start exploring the possibilities today and unlock the full potential of your Windows 11 system!
Also Read: How to Run Command Prompt Commands in PowerShell on Windows 11?