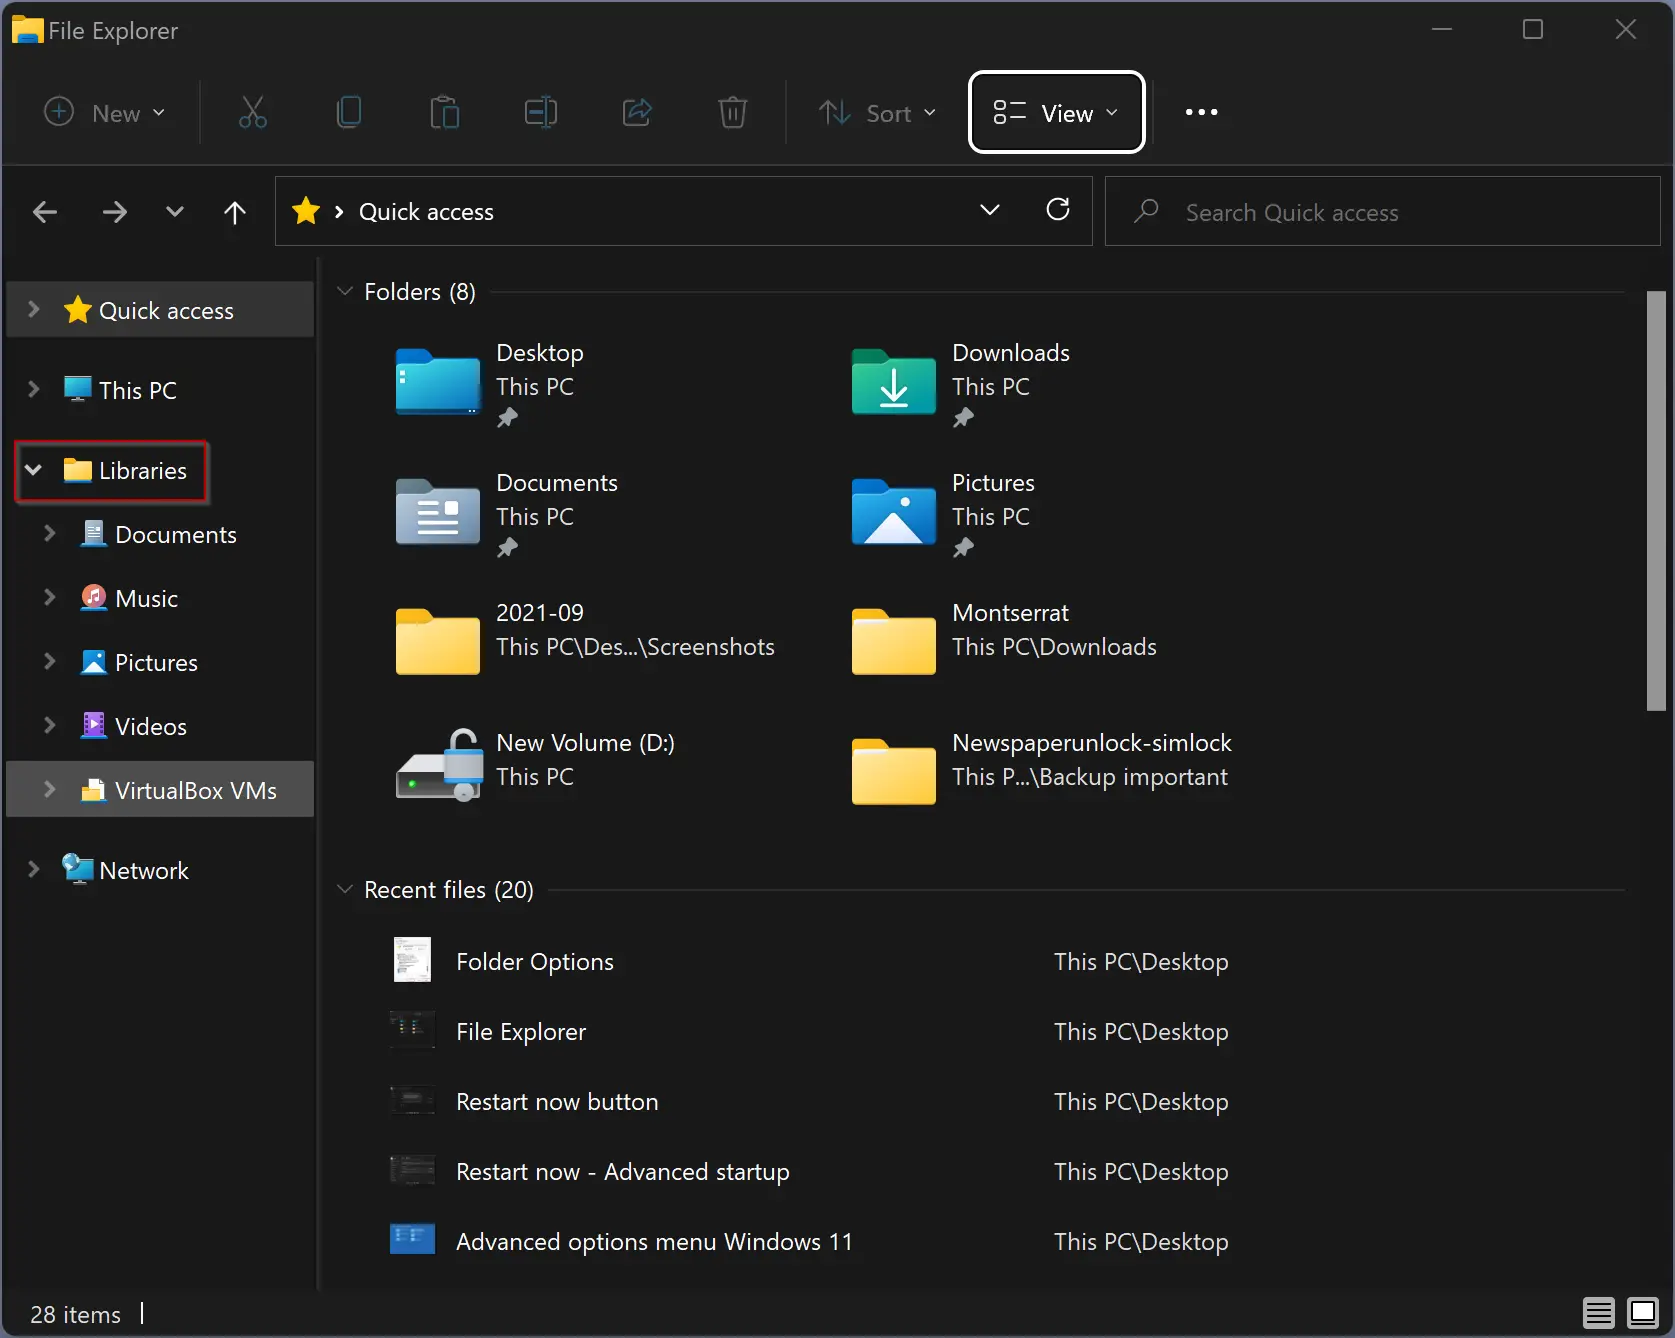
Libraries is a Windows 11 system folder that is hidden by default. This folder allows users to include several folders stored on the local computer or remote storage location to browse and access them from a single place. This is a handy place to have important folders that you want to access quickly. Instead of navigating through File Explorer to find your important folders, you can aggregate content from multiple storage locations into a single folder (Libraries), so you quickly and easily find them.
When you include a folder in the libraries folder, it doesn’t physically move or occupy more storage on your hard disk in any way. Folders aren’t duplicated, and you will not lose physical storage. It simply gives you quick access to the content from a unified location. That means if you include the 100GB folder in the Libraries folder, it will not copy the 100GB storage in the Libraries folder.
Moreover, Camera Roll, Documents, Music, Pictures, Saved Pictures, and Videos folders automatically get included in the Libraries folder when you enable this feature. You can see the libraries folder on your computer located at %AppData%\Microsoft\Windows\Libraries.
How to Show or Hide the Libraries folder on Windows 11 File Explorer using Folder Options?
By default, the Libraries folder is hidden on Windows 11. To bring back the Libraries folder in File Explorer, you must navigate to Folder Options. Here is how to do it.
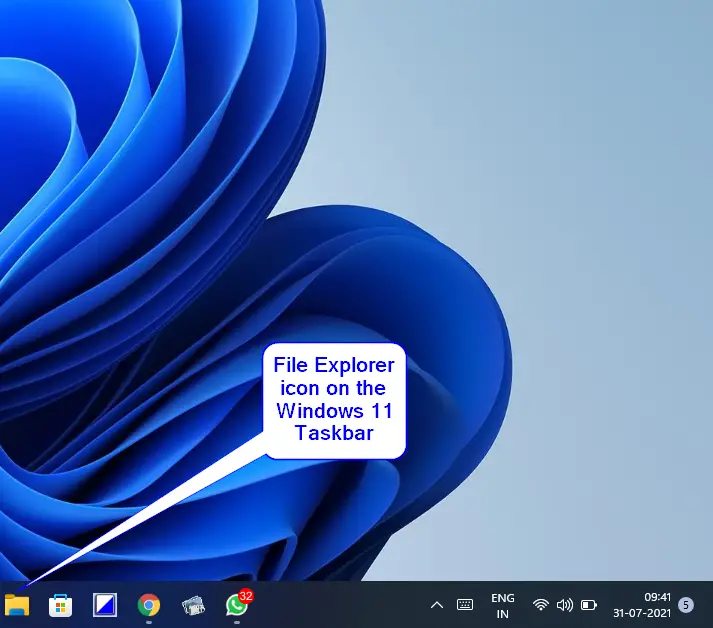
Step 1. First, open File Explorer by pressing the Windows + E keys from the keyboard or clicking on its icon on the taskbar.
Step 2. When File Explorer opens, click the ellipse (three dots) on the taskbar menu and select Options from the pop-up menu that appears.
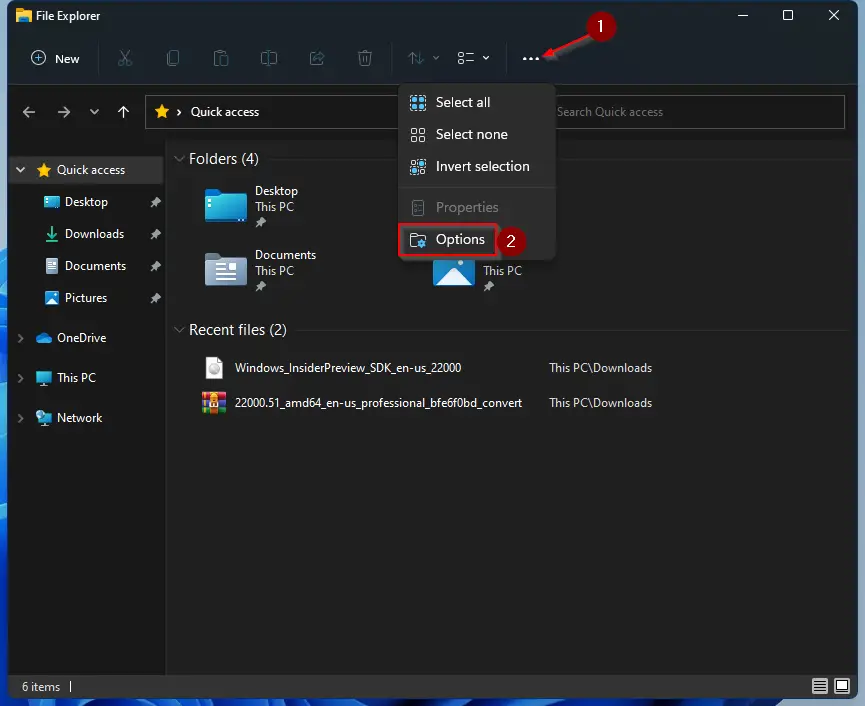
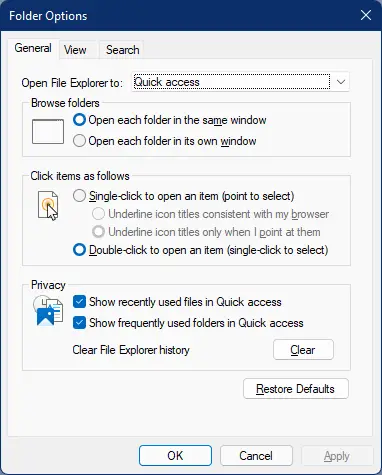
Step 3. Once you’re done, the Folder Options opens.
Step 4. Navigate to the View tab in the “Folder Options” window and then scroll down to find the Navigation pane section under Advanced settings.
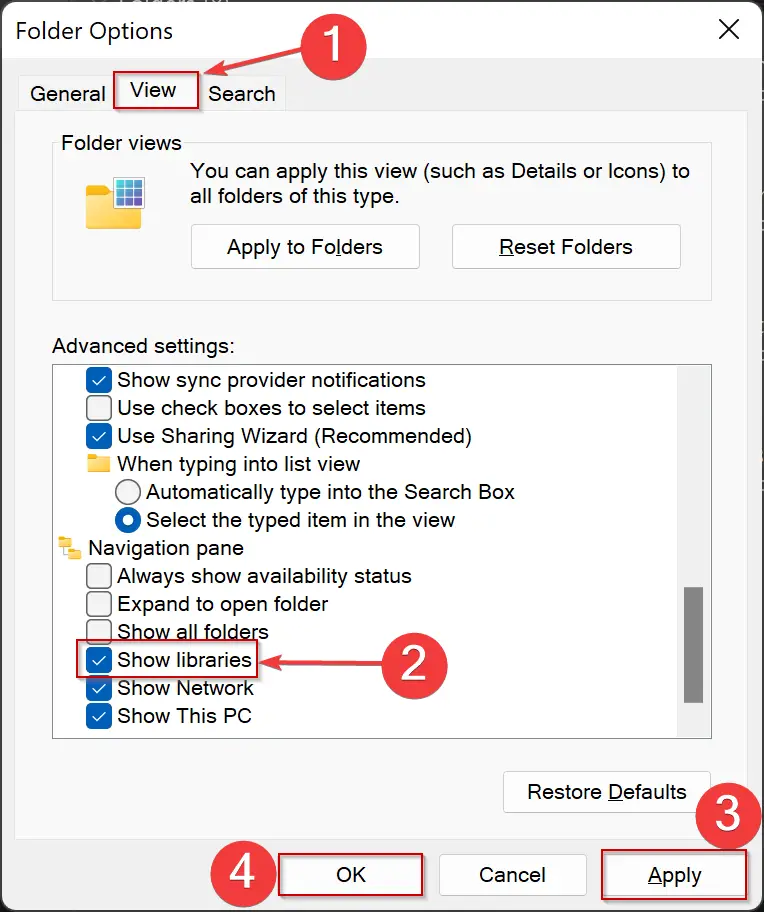
Step 5. Check the option Show libraries.
Step 6. Click Apply.
Step 7. Click OK.
Now, the Libraries folder will appear in File Explorer in the left navigation panel.
If you want to hide the Libraries folder from the File Explorer, repeat the above steps, and in step 5, uncheck the option Show libraries.
That’s it. According to your wish, you can show or hide the Libraries folder in File Explorer.
How to Add Folders to the Libraries on Windows 11?
After enabling the Libraries folder, you can add or remove folders from the Libraries. To add a folder in the Libraries folder, do the following steps:-
Step 1. Open File Explorer and navigate to the folder you want to add to the Libraries.
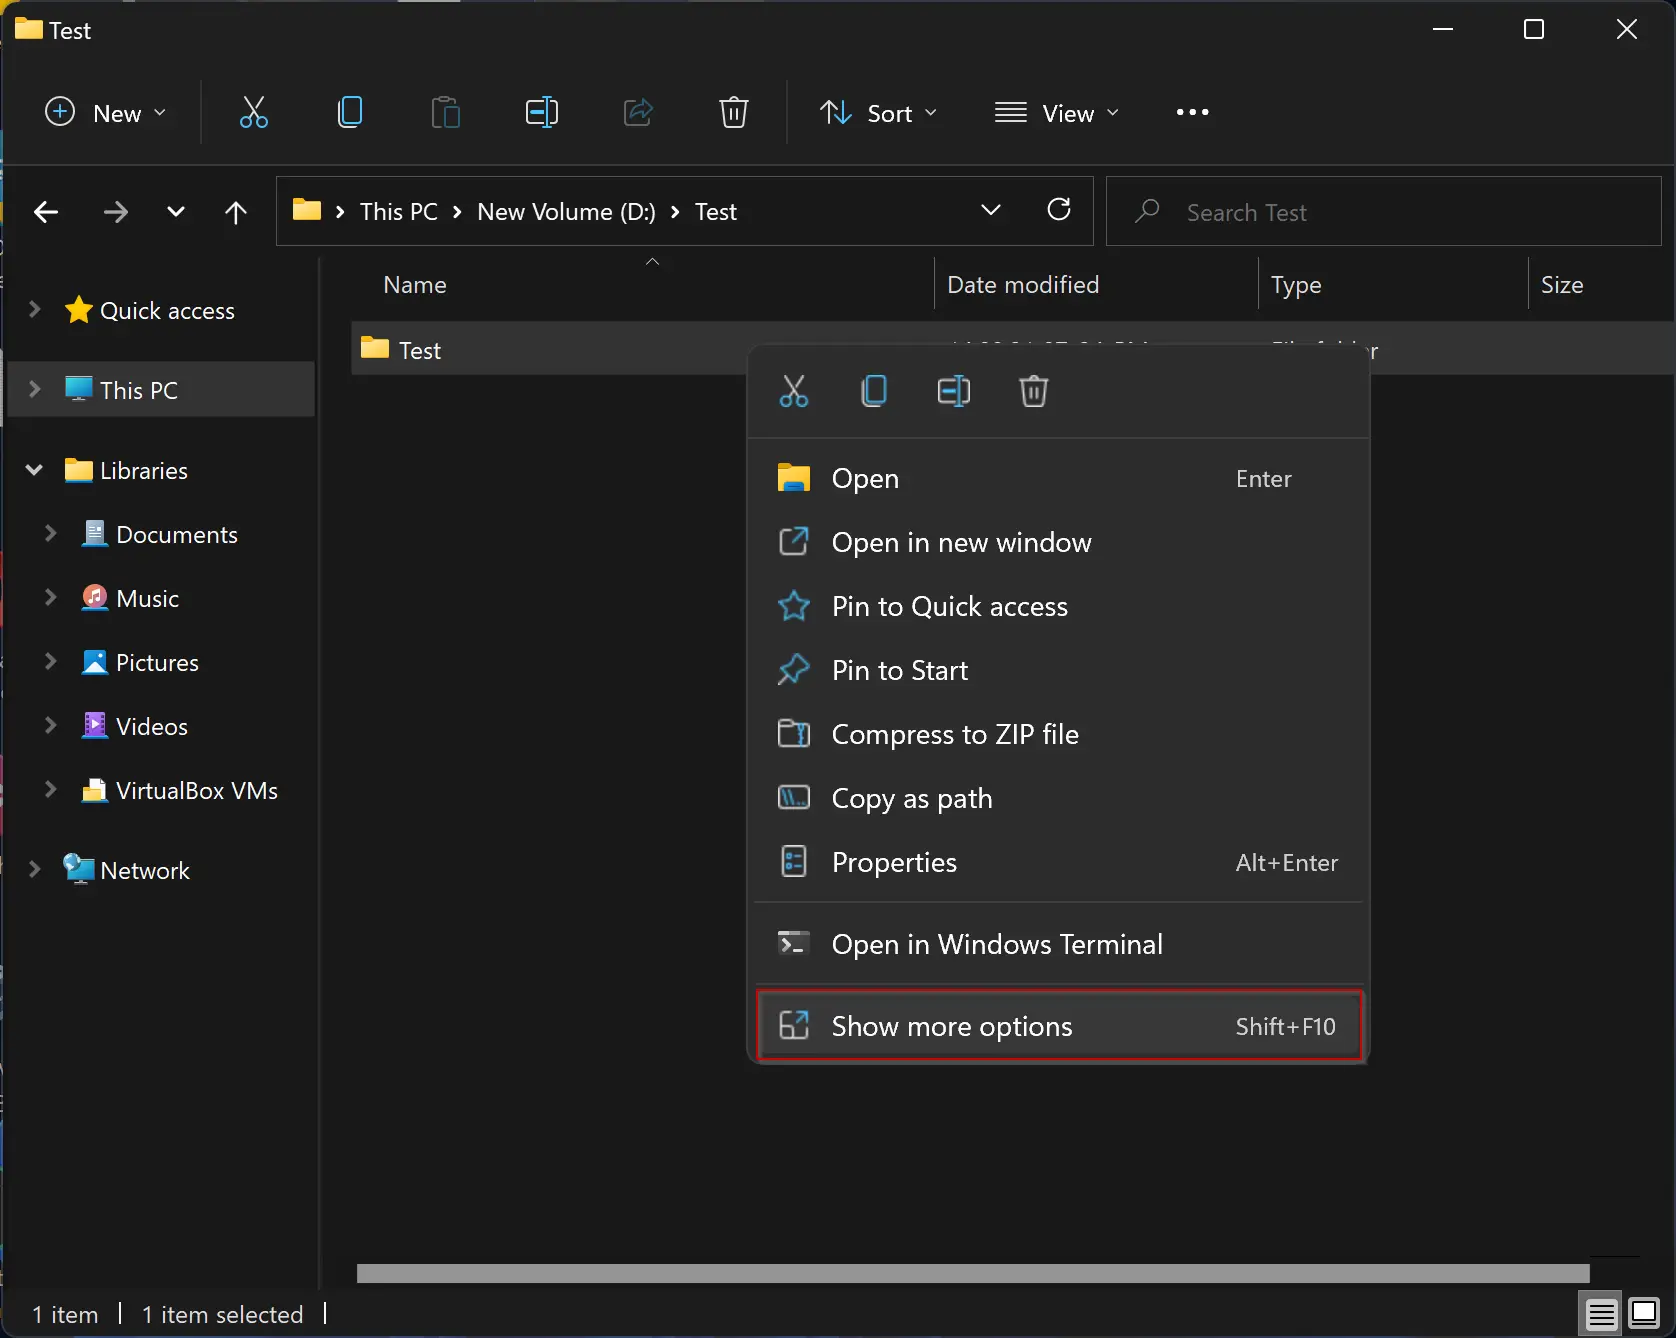
Step 2. Right-click on the folder and select Show more options.
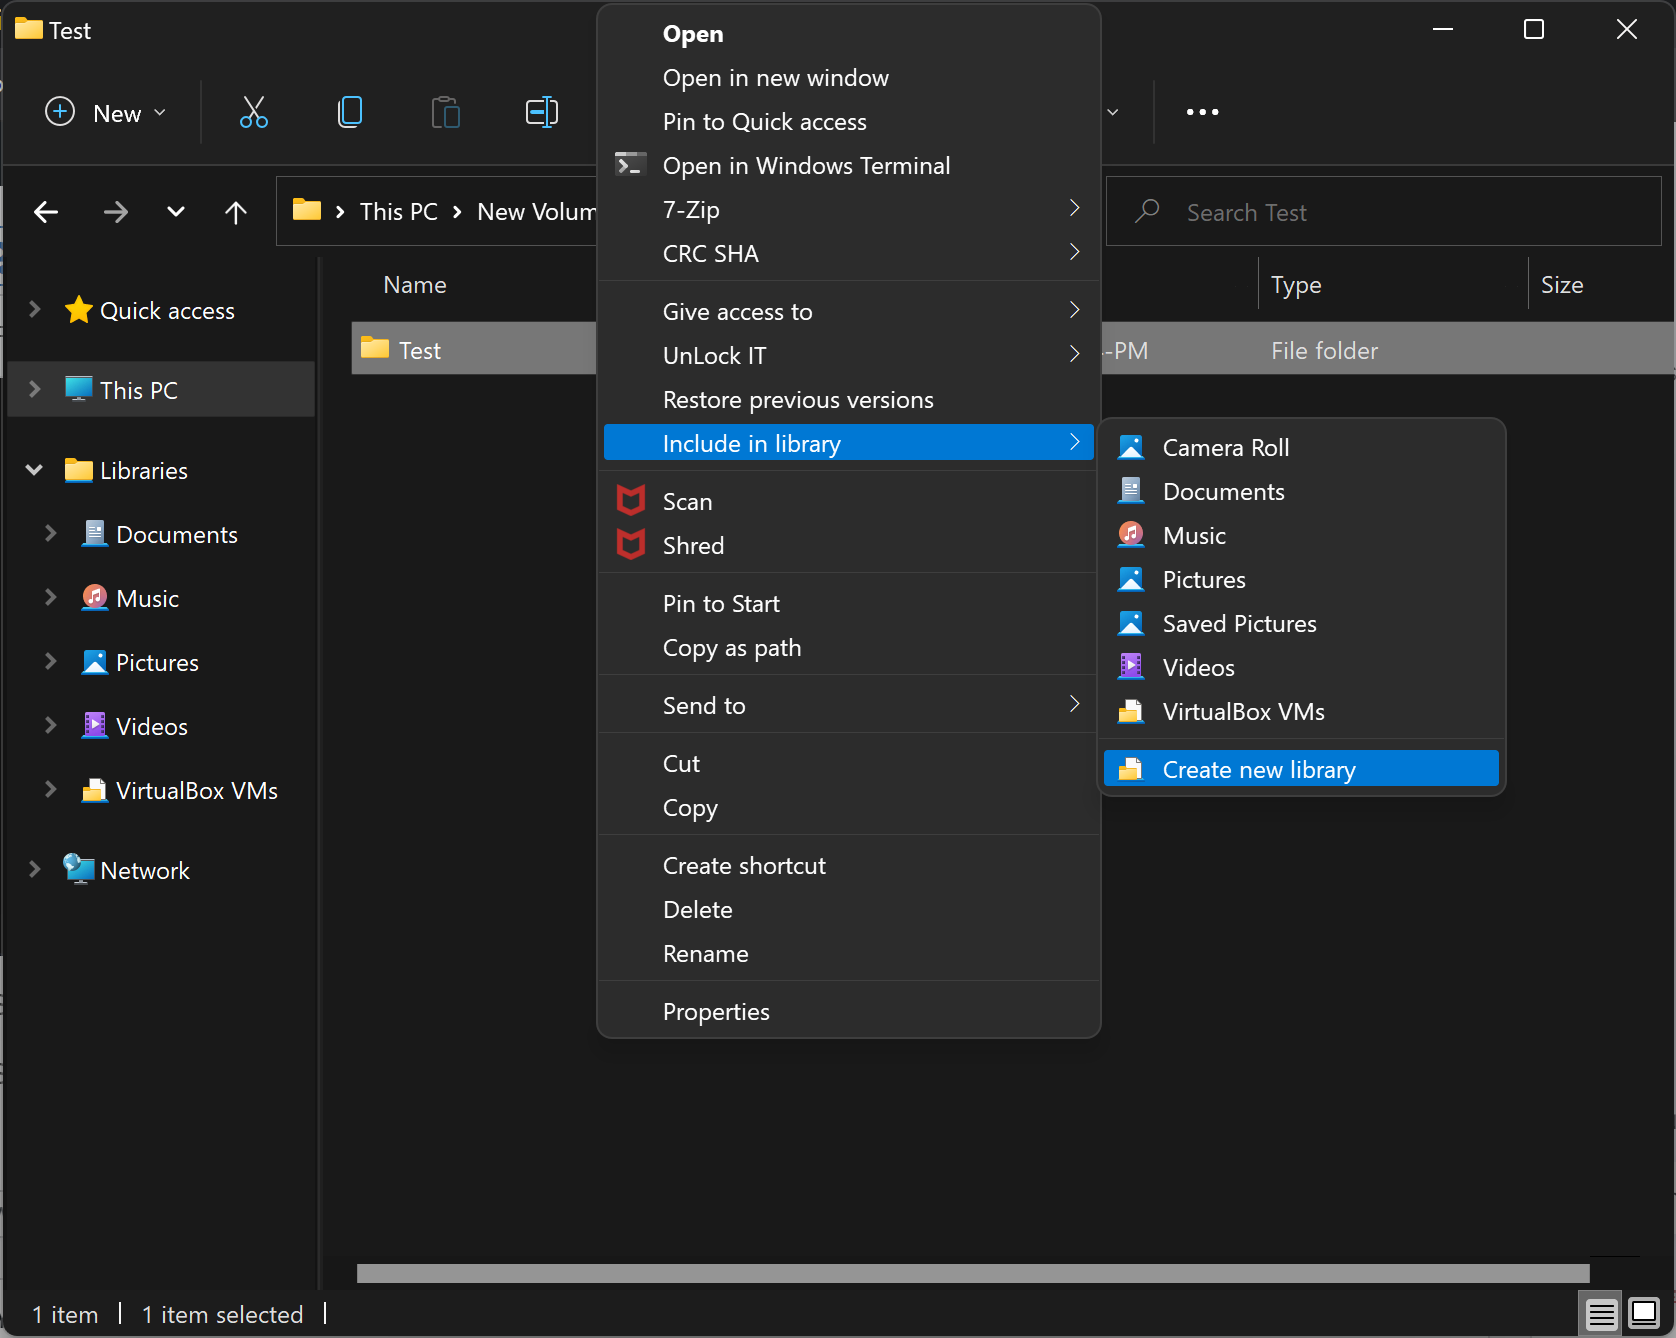
Step 3. On the more option context menu, select Include in library and then either select the existing folder or click Create new library.
Now, the chosen folder will appear in the Libraries folder. If you want to remove any folder from the Libraries folder in Libraries, right-click on them and select the Delete icon.
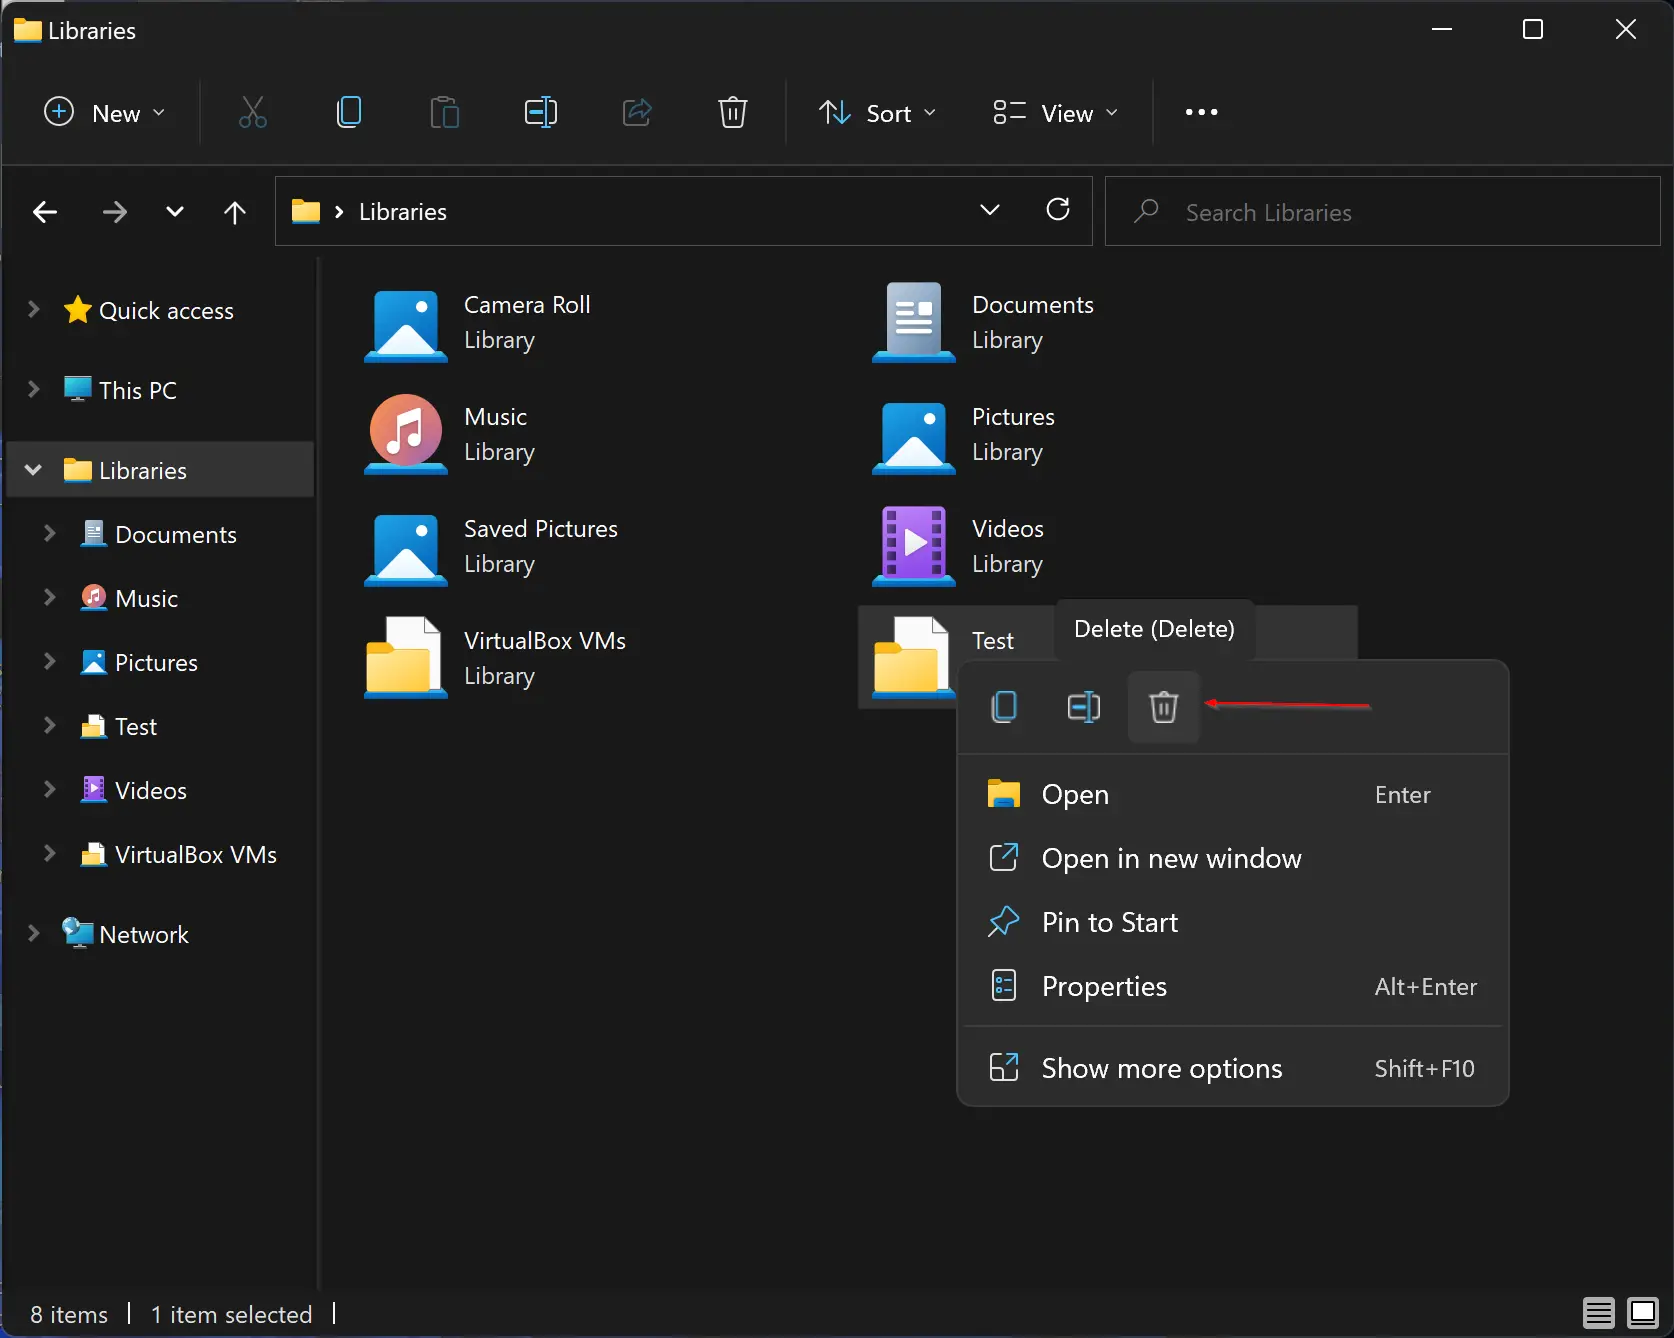
Please note that if you remove a folder from the Libraries folder, it will be removed from the Libraries folder only (just like deleting a shortcut icon); your folder will remain safe in its original place.
How to Add or Remove the Libraries folder using File Explorer in Windows 11?
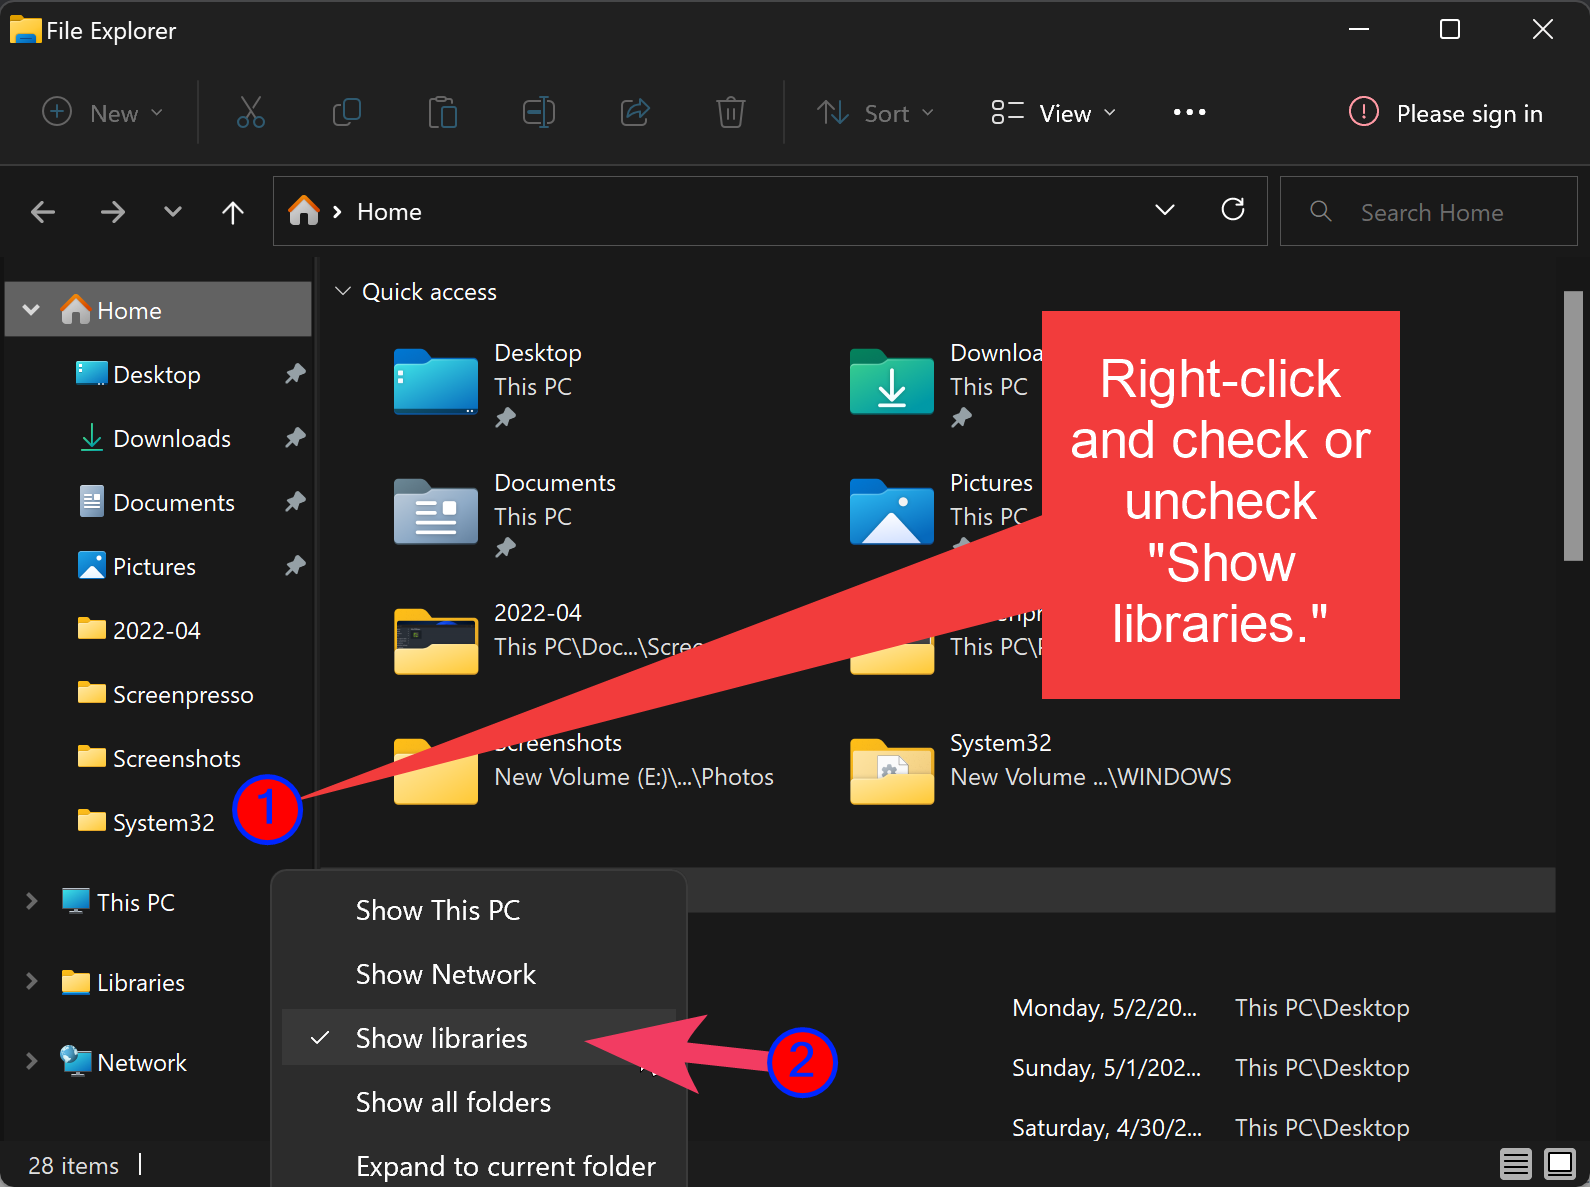
It is also possible to add or remove the Libraries folder on Windows 11 File Explorer Navigation Pane using File Explorer. To show or hide the Libraries folder using File Explorer, do the following:-
Step 1. First, press the Windows + E hotkey to open File Explorer.
Step 2. Then, right-click inside the navigation pane and check or uncheck the option Show libraries to add or remove Libraries from File Explorer.
How to Hide or Unhide the Libraries folder using Registry Editor in Windows 11?
If you prefer to use Registry Editor to modify different settings in Windows 11, use the following steps to hide or unhide Libraries:-
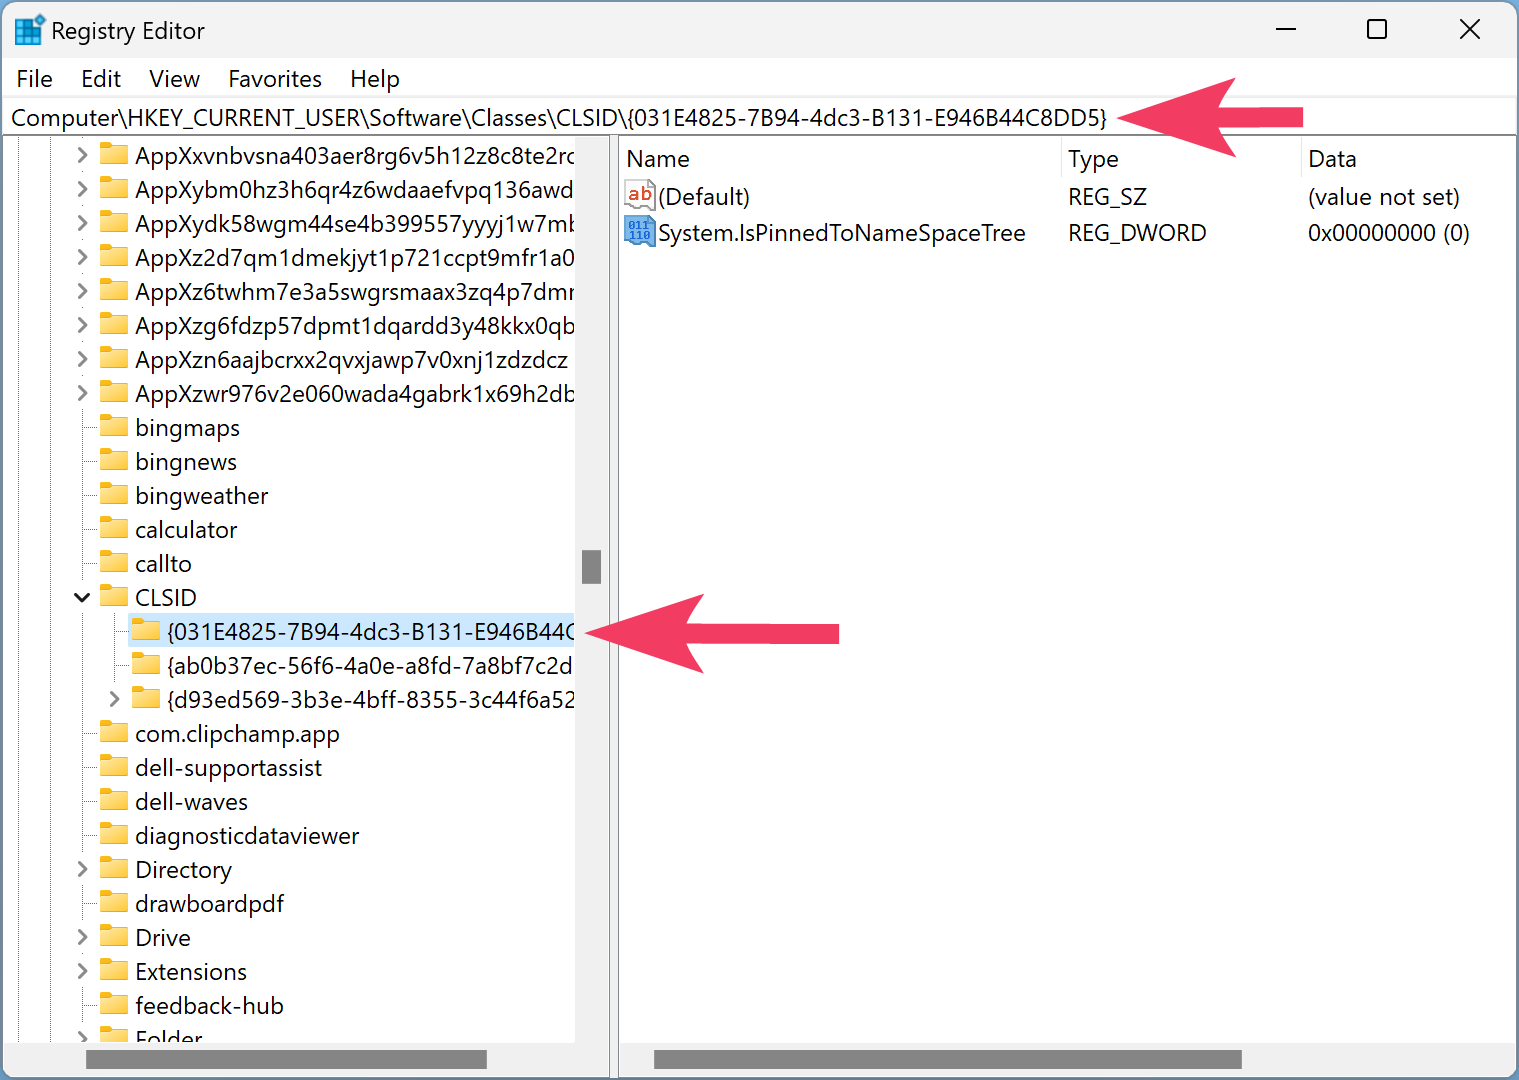
Step 1. Very first, open Registry Editor.
Step 2. After that, navigate to the following key on the left side of Registry Editor:-
HKEY_CURRENT_USER\Software\Classes\CLSID\{031E4825-7B94-4dc3-B131-E946B44C8DD5}
Step 3. Next, on the right-hand side, double-click on the System.IsPinnedToNameSpaceTree REG_DWORD and set “Value data” to 1.
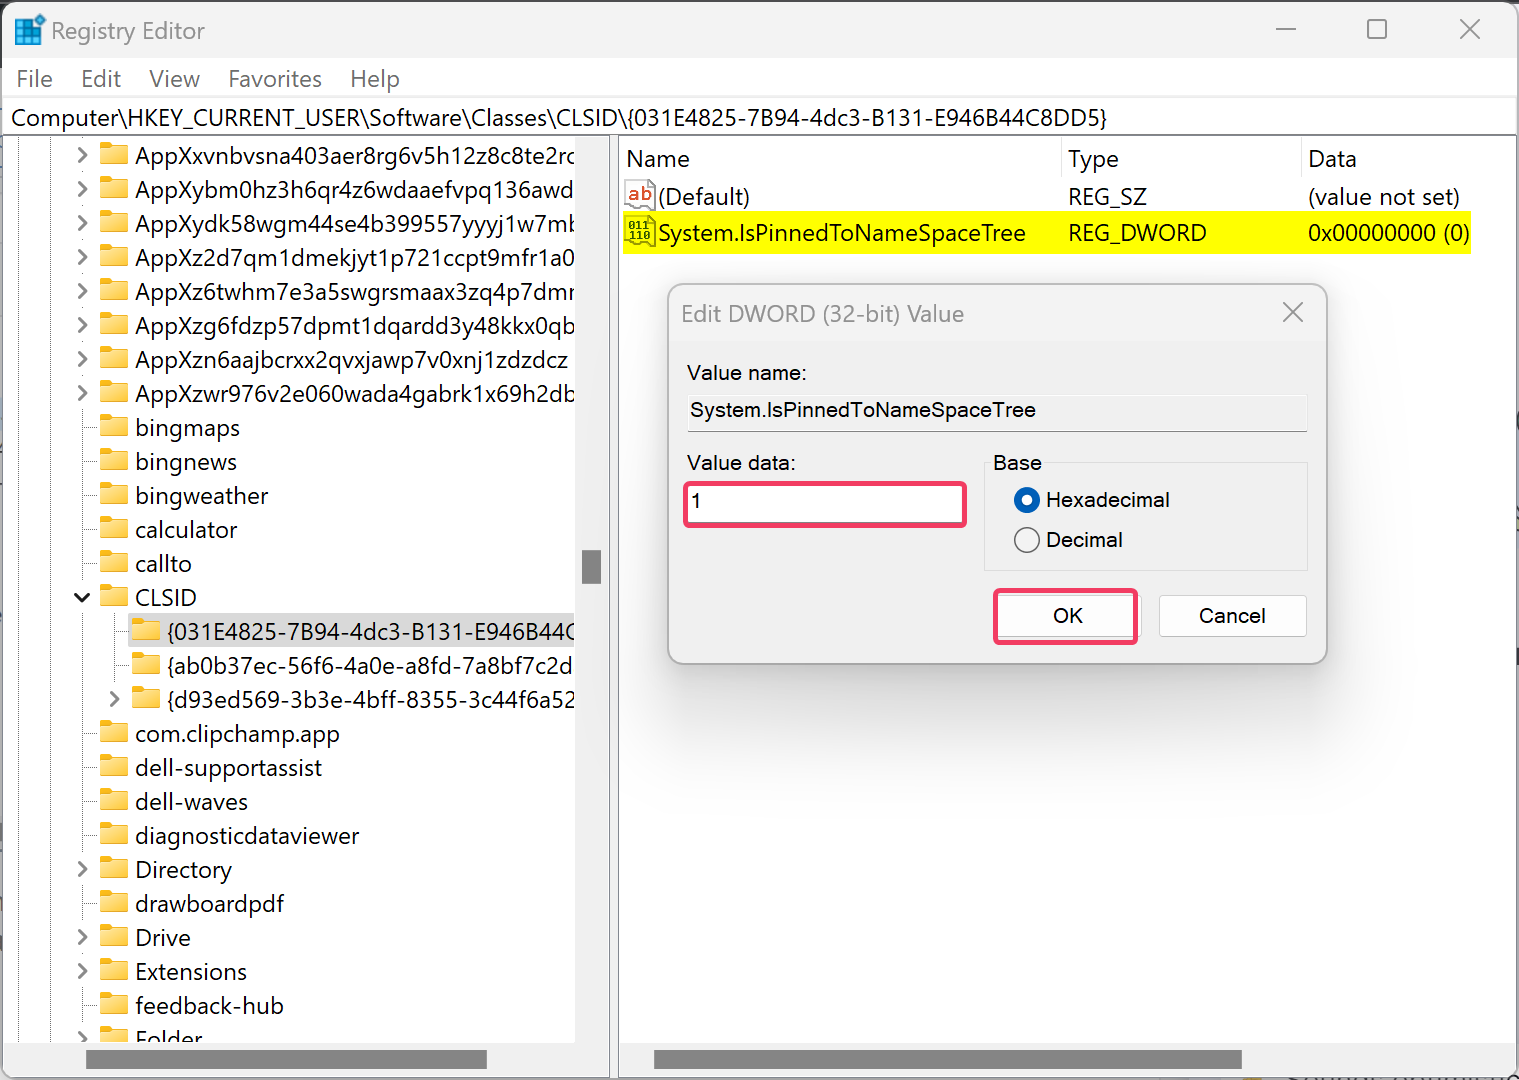
Step 4. Finally, click the OK button.
Once you complete the above steps, Libraries will appear in the File Explorer navigation pane.
If you want to remove the Libraries from File Explorer, repeat the above steps, and in step 3 above, set the “Value data” to 0.
Conclusion
In conclusion, the Libraries folder in Windows 11 is a useful feature that allows users to access multiple folders from a single location without physically duplicating or moving any files. By default, the Libraries folder is hidden in Windows 11, but users can easily show or hide it using the Folder Options in File Explorer or by modifying the registry using Registry Editor. Users can also add or remove folders from the Libraries folder by right-clicking on them and selecting the relevant options. Overall, the Libraries folder is a convenient tool for organizing and accessing important files and folders quickly and easily in Windows 11.