Microsoft Excel is a powerful spreadsheet tool used by millions of people worldwide for various tasks, including data analysis, financial modeling, and project management. Sorting data in Excel is a fundamental skill, and one common requirement is sorting data by date. Whether you’re managing a list of appointments, financial transactions, or any other data with date values, Excel offers versatile tools to help you organize your information effectively. In this gearupwindows article, we will delve into the various methods to sort data by date in Microsoft Excel.
How to Sort by Date in Microsoft Excel?
Method 1: Basic Sorting
Step 1. Open your Excel workbook and navigate to the worksheet containing the data you want to sort.
Suppose you have a simple Excel sheet with a list of transactions and their corresponding dates.

Step 2. Click on any cell within the column that contains your date data. This will help Excel understand which column you intend to sort.
Step 3. Go to the “Data” tab in the Excel ribbon.
Step 4. In the “Sort & Filter” group, you will find the “Sort Oldest to Newest” and “Sort Newest to Oldest” buttons. Click on your preferred option.
- “Sort Oldest to Newest” will arrange your data in ascending order (oldest dates first).
- “Sort Newest to Oldest” will arrange your data in descending order (newest dates first).
Your data will now look like this:-

Method 2: Custom Sorting
If you have date values in a format that Excel doesn’t recognize as dates, you can use custom sorting to sort them correctly.
Step 1. Open your Excel workbook and navigate to the worksheet containing the data you want to sort.

Imagine you have a similar dataset, but the date column is in the format “dd/mm/yyyy.”
Step 2. Click on any cell within the column that contains your date data. This will help Excel understand which column you intend to sort.
Step 3. Go to the “Data” tab in the Excel ribbon.
Step 4. Click the “Sort” button in the “Sort & Filter” group.
Step 5. In the Sort dialog box, you can specify the order you want. Make sure to select “Cell Values” in the “Sort On” dropdown menu and then choose either “Oldest to Newest” or “Newest to Oldest.”
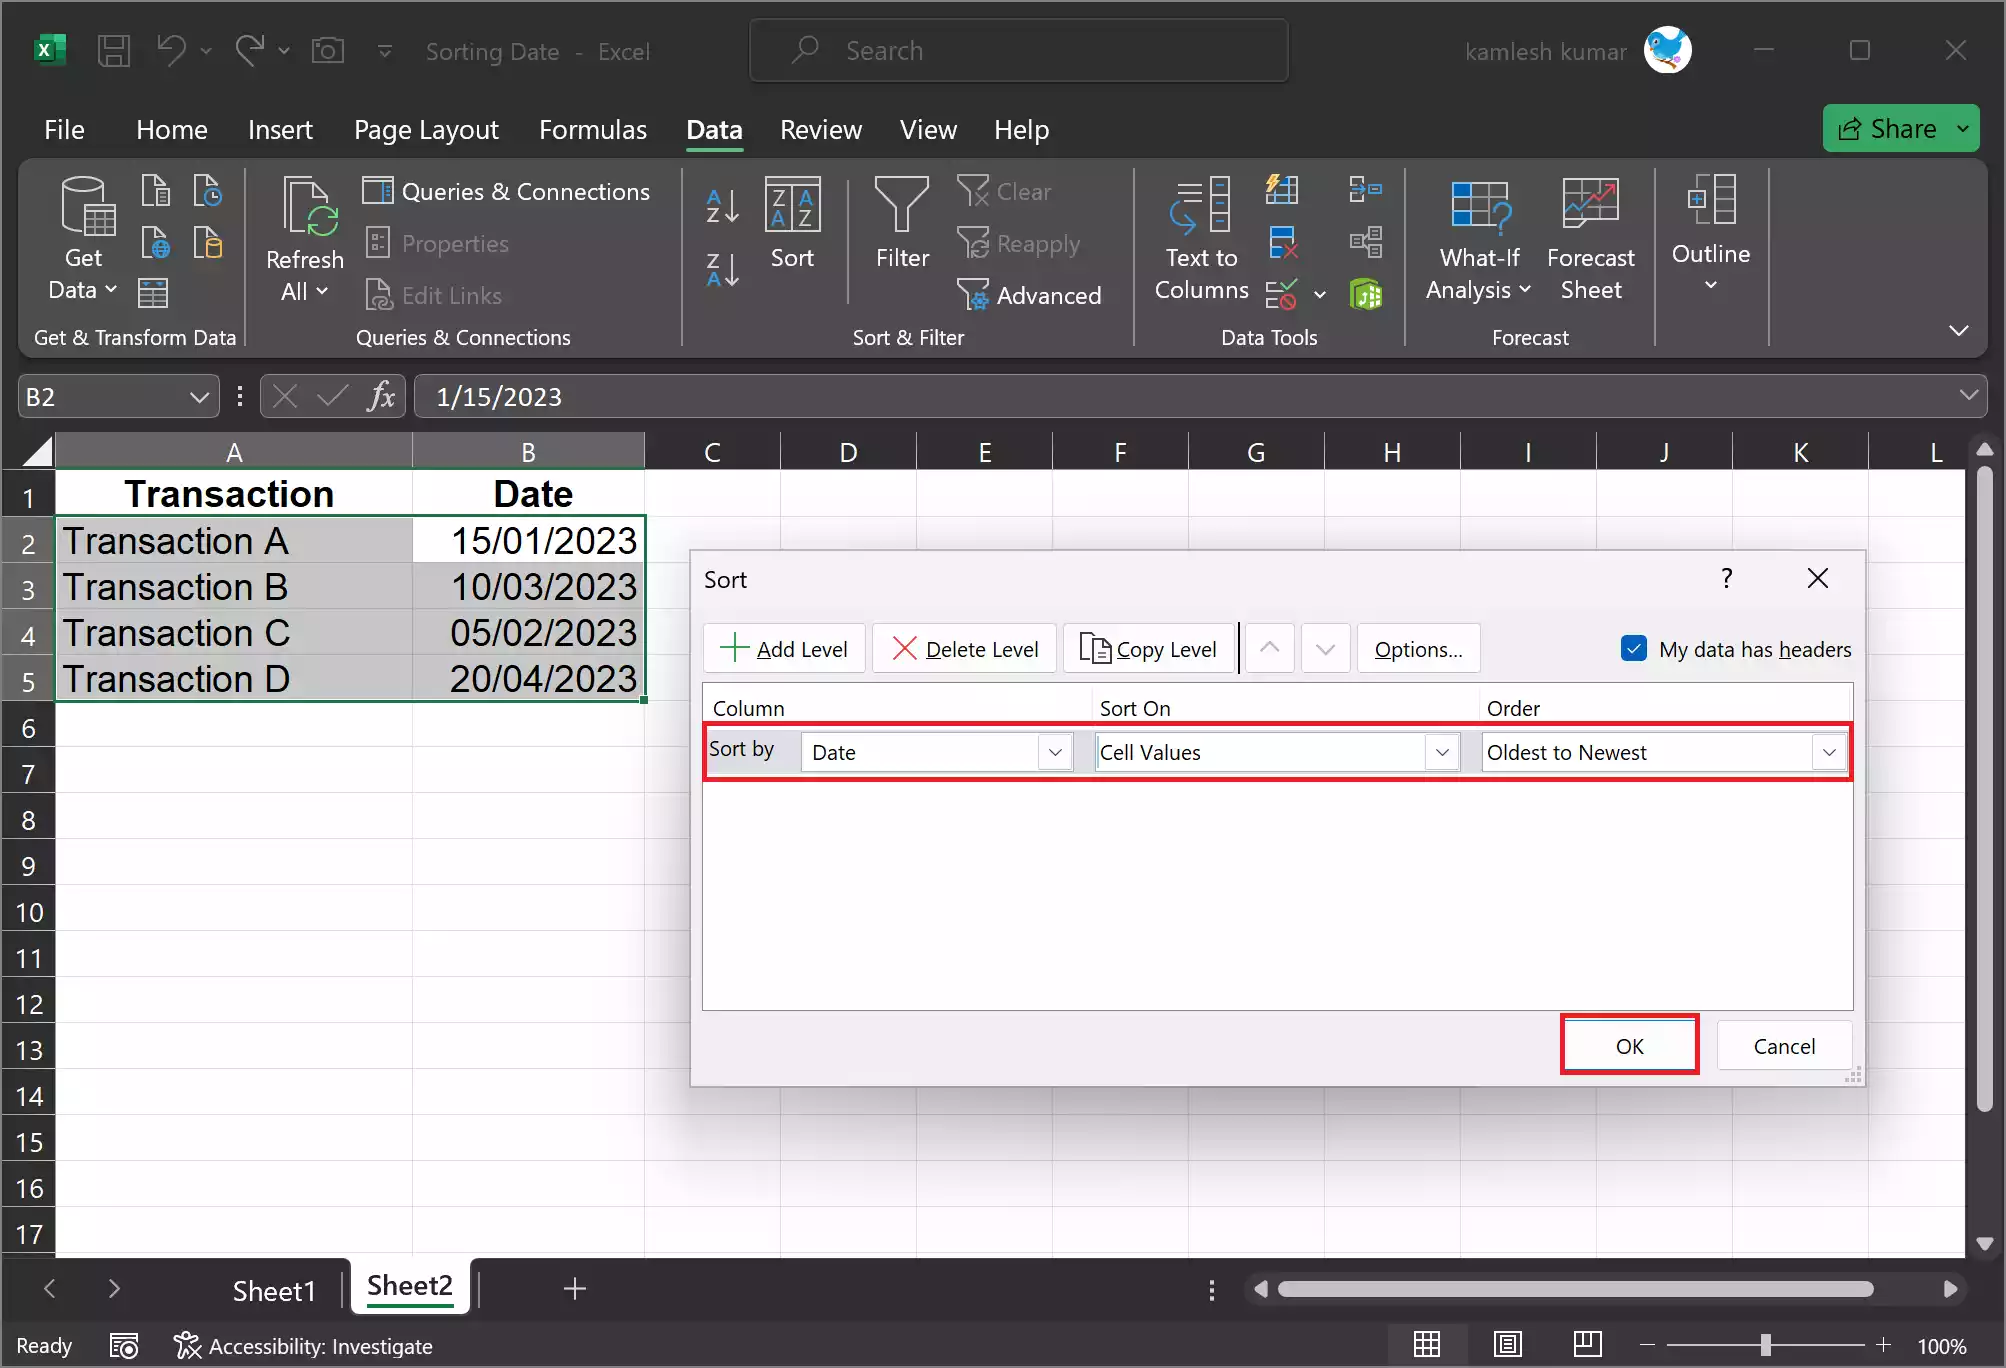
Step 4. Click “OK” to sort the data based on your custom criteria.
Method 3: Sorting by a Helper Column
Sometimes, you may want to sort data based on specific criteria other than the date itself, such as sorting by month or year. In such cases, you can create a helper column and sort by that column.
Step 1. Insert a new column next to the column with your date data. This will be your helper column.
Suppose you have a dataset with dates, and you want to sort by month. In this case, you can create a helper column.

Step 2. Enter a formula in the first cell of the helper column that extracts the part of the date you want to sort by. For example, if you want to sort by month, you can use the formula `=MONTH(B2)`, where B2 is the cell with the date you want to extract the month from.
Step 3. Drag the fill handle of the first cell down to fill the helper column with the formula for all the rows.
Step 4. Select any cell within the helper column. This will help Excel understand which column you intend to sort.
Step 5. Go to the “Data” tab in the Excel ribbon.
Step 6. In the “Sort & Filter” group, you will find the “Sort Oldest to Newest” and “Sort Newest to Oldest” buttons. Click on your preferred option.
Method 4: Advanced Sorting Options
Excel also offers advanced sorting options to help you sort data by date more precisely. These options include sorting by multiple columns and custom lists.
Step 1. Open your Excel workbook and navigate to the worksheet containing the data you want to sort.
Step 2. Click on any cell within the column that contains your date data. This will help Excel understand which column you intend to sort.

Step 3. Go to the “Data” tab in the Excel ribbon.
Step 4. Click the “Sort” button in the “Sort & Filter” group, and then choose “Custom Sort.”
Step 5. In the “Sort” dialog box, you can specify multiple levels of sorting. For instance, you can sort by date and then by another column by clicking the “Add Level” button.
Step 6. You can also create custom lists for sorting. If you have specific categories for dates, this option can be quite handy.
Step 7. Click “OK” to apply your custom sorting settings.
Conclusion
Sorting data by date in Microsoft Excel is a fundamental skill for managing and analyzing your data effectively. Whether you need a basic sort, custom sorting, or want to sort by criteria like month or year, Excel provides a range of tools to help you achieve your desired outcome. By following the methods outlined in this guide, you’ll be well-equipped to sort your data by date in various ways, making your Excel projects more organized and insightful.
