Microsoft Excel is a powerful spreadsheet program that allows you to organize and manipulate data in a variety of ways. One of the most fundamental and useful features in Excel is the ability to sort data. Sorting data helps you make sense of your information, making it easier to analyze, compare, and draw insights. In this article, we will walk you through the process of sorting data in Microsoft Excel, from the basics to more advanced techniques.
Basic Sorting
Step 1. Start by opening Microsoft Excel and loading the spreadsheet containing the data you want to sort.
Step 2. Click on the cell within the column by which you want to sort the data. This cell will be your reference point for sorting.
Step 3. Sort Ascending: To sort the data in ascending order, go to the “Data” tab in the ribbon at the top of the Excel window. Under the “Sort & Filter” group, you will find the “Sort A to Z” option. Click on it.

Step 4. Sort Descending: To sort the data in descending order, go to the “Data” tab in the ribbon at the top of the Excel window. Under the “Sort & Filter” group, you will find the “Sort Z to A” option. Click on it.
Step 5. Custom Sorting: If your data doesn’t fit into the typical alphabetical or numerical order, you can create a custom sort. To do this, go to the “Sort” option under the “Data” tab and choose “Custom List.” In the dialog box that appears, you can specify the sort order and criteria.
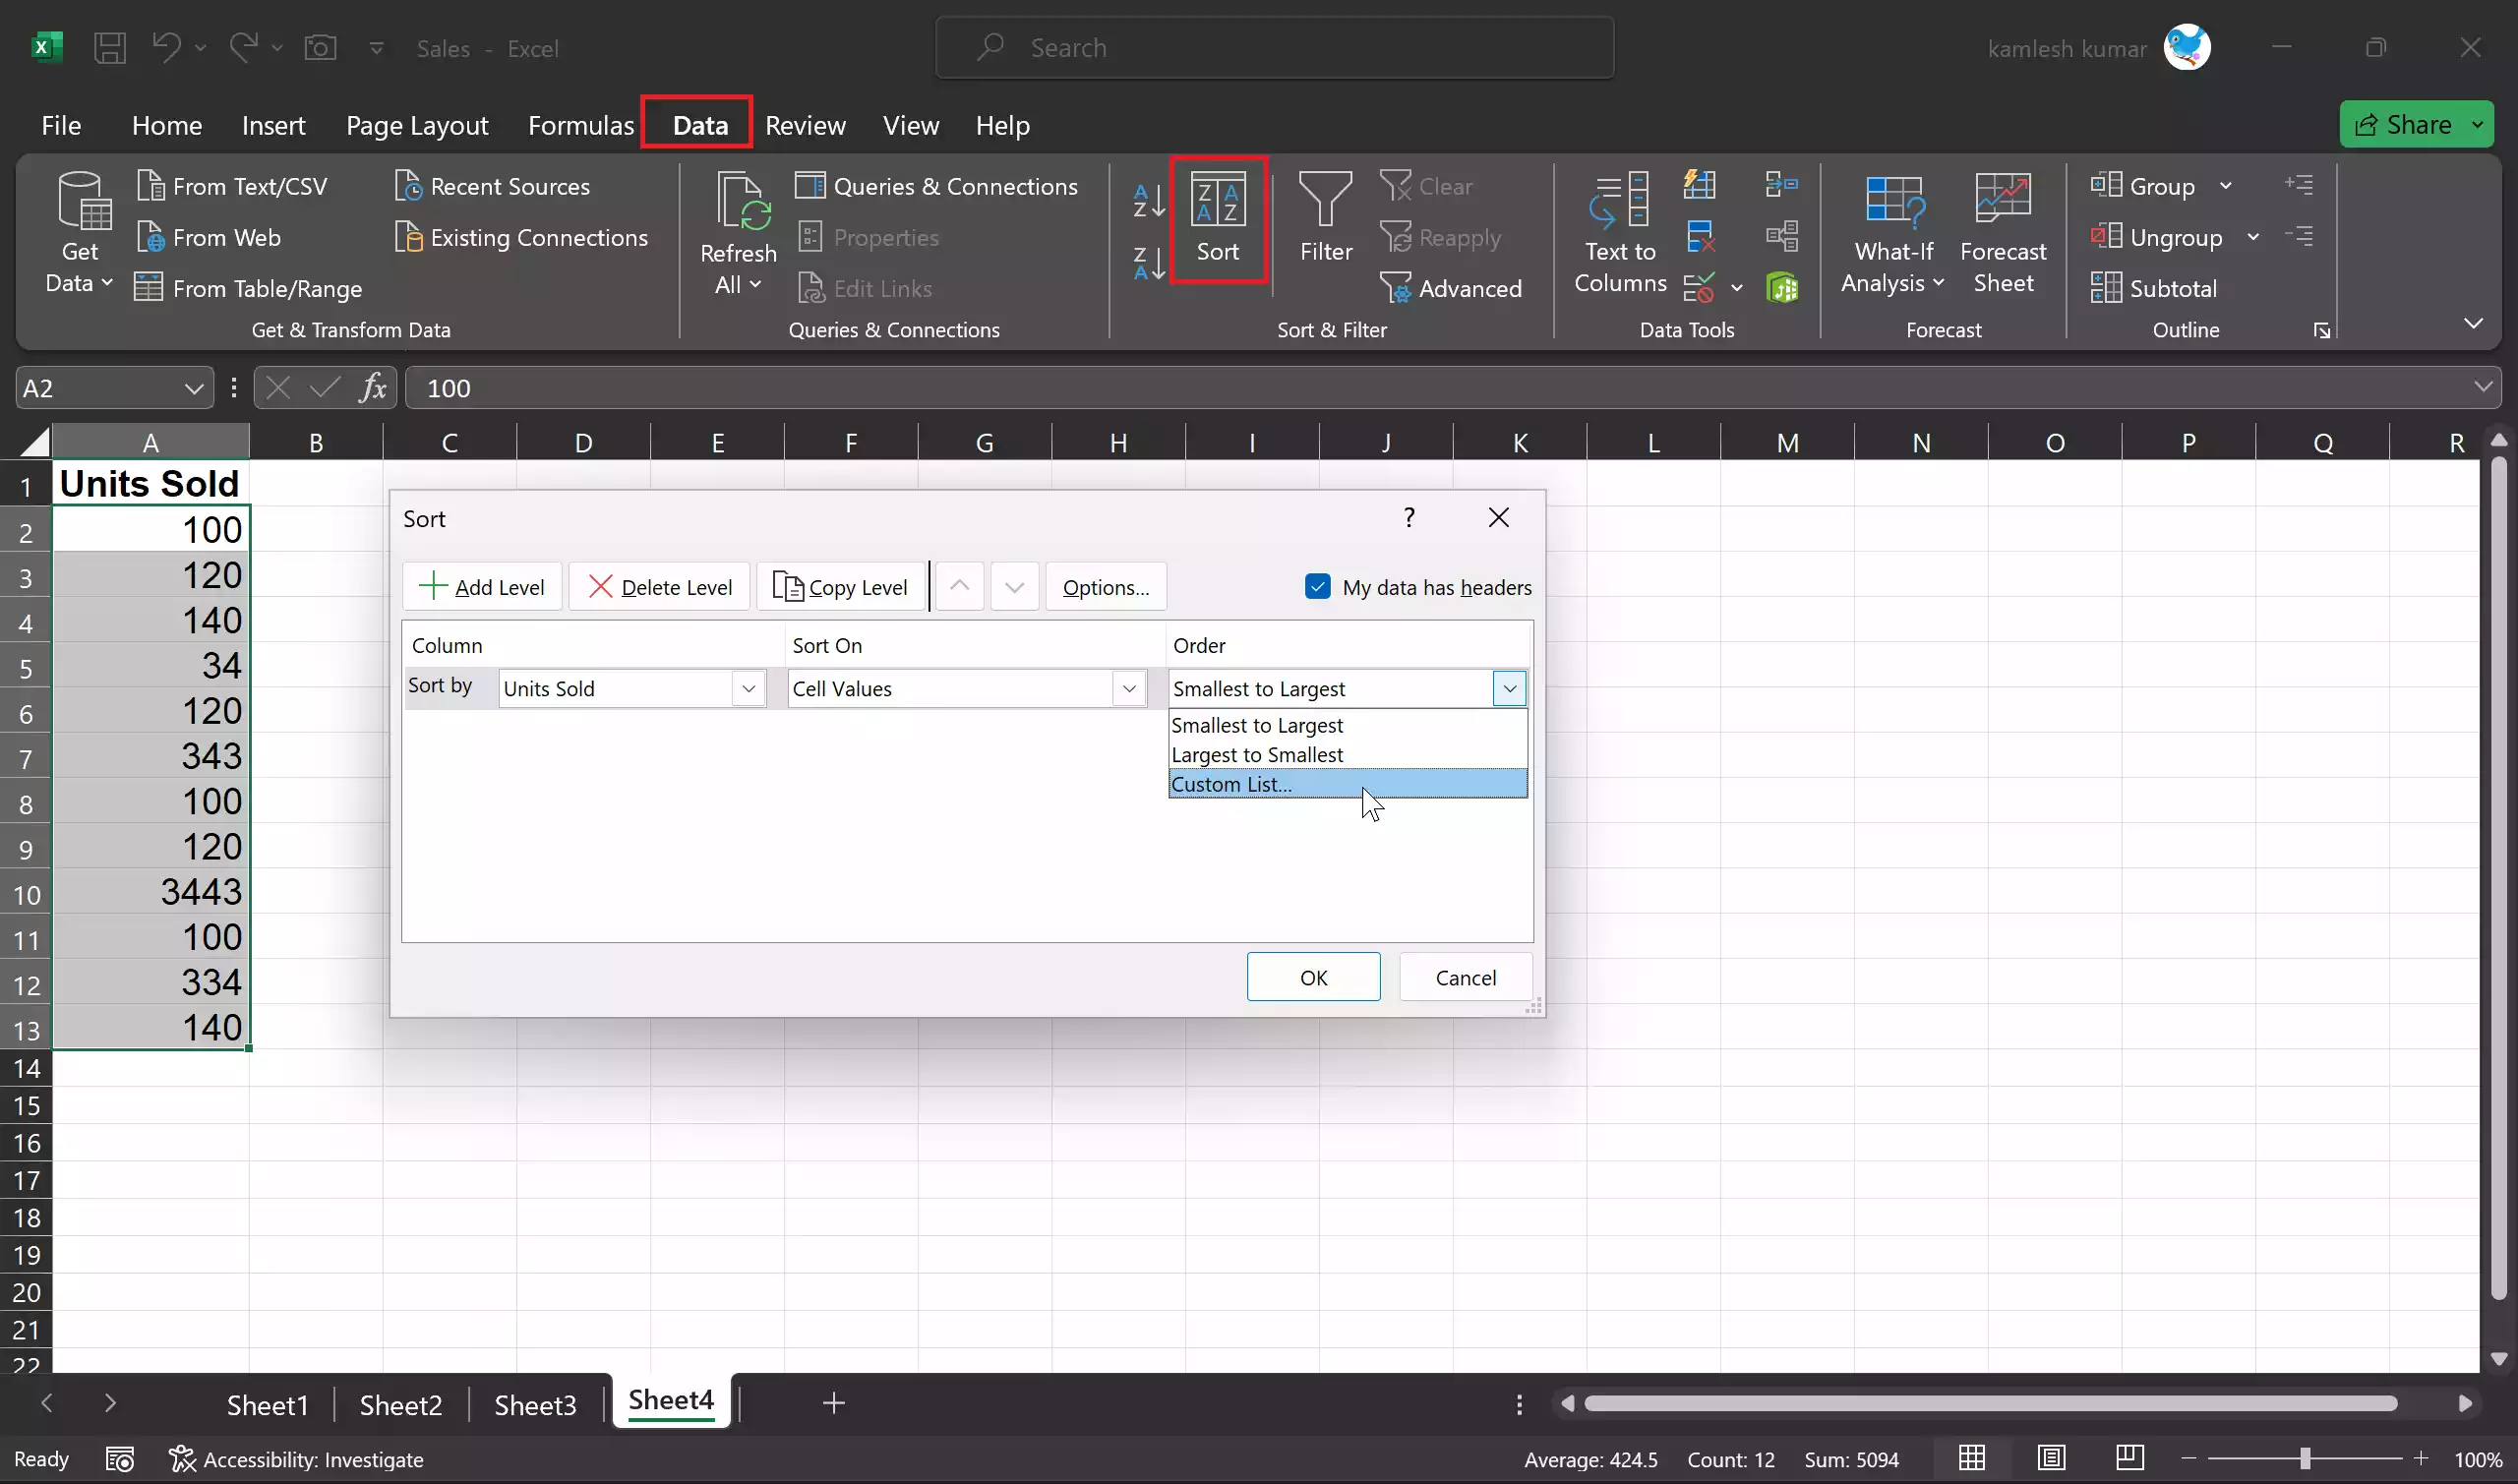
Sorting by Multiple Columns
Sometimes, you may need to sort data based on multiple criteria, such as first sorting by one column and then by another. Excel makes it easy to accomplish this.
Step 1. Highlight the range of cells containing your data.
Step 2. Go to the “Data” tab and select “Sort” from the “Sort & Filter” group. This will open the Sort dialog box.

Step 3. Primary Sort Key: In the Sort dialog box, define your first sorting criteria by selecting the column you want to sort by in the “Sort by” dropdown menu. You can choose to sort in ascending or descending order.
Step 4. Secondary Sort Key: To add a secondary sort criterion, click the “Add Level” button. Select the second column you want to sort by and set the order.
Step 5. Continue Adding Levels: If you need more sorting levels, click “Add Level” again and repeat the process.
Step 6. Sort Options: You can choose to sort by cell color, font color, or cell icon by selecting these options in the “Sort On” dropdown menu. This can be especially useful when you have color-coded data.
Step 7. Finally, click “OK” to apply the multiple-level sort.
Sorting with Filters
Excel also offers a filtering option, which allows you to sort and view specific subsets of your data based on certain criteria.
Step 1. Highlight the range of cells containing your data.
Step 2. Go to the “Data” tab and click the “Filter” button in the “Sort & Filter” group. This will add filter arrows to the header row of your data.

Step 3. Filter by Criteria: Click on the filter arrow in the header of the column by which you want to sort the data. You can then choose specific criteria to filter by.
Step 4. Sort with Filter: Once you’ve filtered the data to your desired criteria, you can sort it by selecting the column and using the sorting options as described in the basic sorting section.
Step 5. Clear Filter: To remove the filter and see all your data again, simply click the filter arrow in the column and select “Clear Filter.”
Sorting Tips
– Ensure data consistency: Before sorting, make sure that your data is formatted consistently, especially when sorting by numbers or dates.
– Backup your data: If you are working on important data, consider making a copy of the worksheet before sorting, just in case something goes wrong.
– Be aware of merged cells: Sorting data in a column with merged cells can lead to unexpected results. Unmerge cells before sorting.
– Check for hidden rows or filters: Hidden rows and filters can impact the sorting order, so it’s essential to review and adjust these settings if necessary.
– Use Excel tables: Creating Excel tables (Insert > Table) automatically enables sorting and filtering with headers, making the process more intuitive.
– Experiment with sorting options: Excel offers various sorting options, including sorting by cell color, font color, or cell icon. These can be handy for certain data analysis tasks.
Conclusion
In conclusion, sorting data in Microsoft Excel is a fundamental skill for anyone working with spreadsheets. Whether you need to organize a list of names, analyze sales data, or manage large datasets, Excel’s sorting capabilities can help you streamline your work and gain valuable insights from your information. By mastering basic and advanced sorting techniques, you can become more proficient in data manipulation and analysis, ultimately improving your efficiency and decision-making abilities in both professional and personal tasks.
