Microsoft Word is a powerful tool for creating written content, but even the most skilled writers can make mistakes. That’s where the built-in spell check and proofreading features come to the rescue. In this comprehensive guide, we will walk you through the process of using these tools effectively to ensure your documents are free of errors and typos.
Spell Check in Microsoft Word
Step 1. Launch Microsoft Word and open the document you want to proofread.
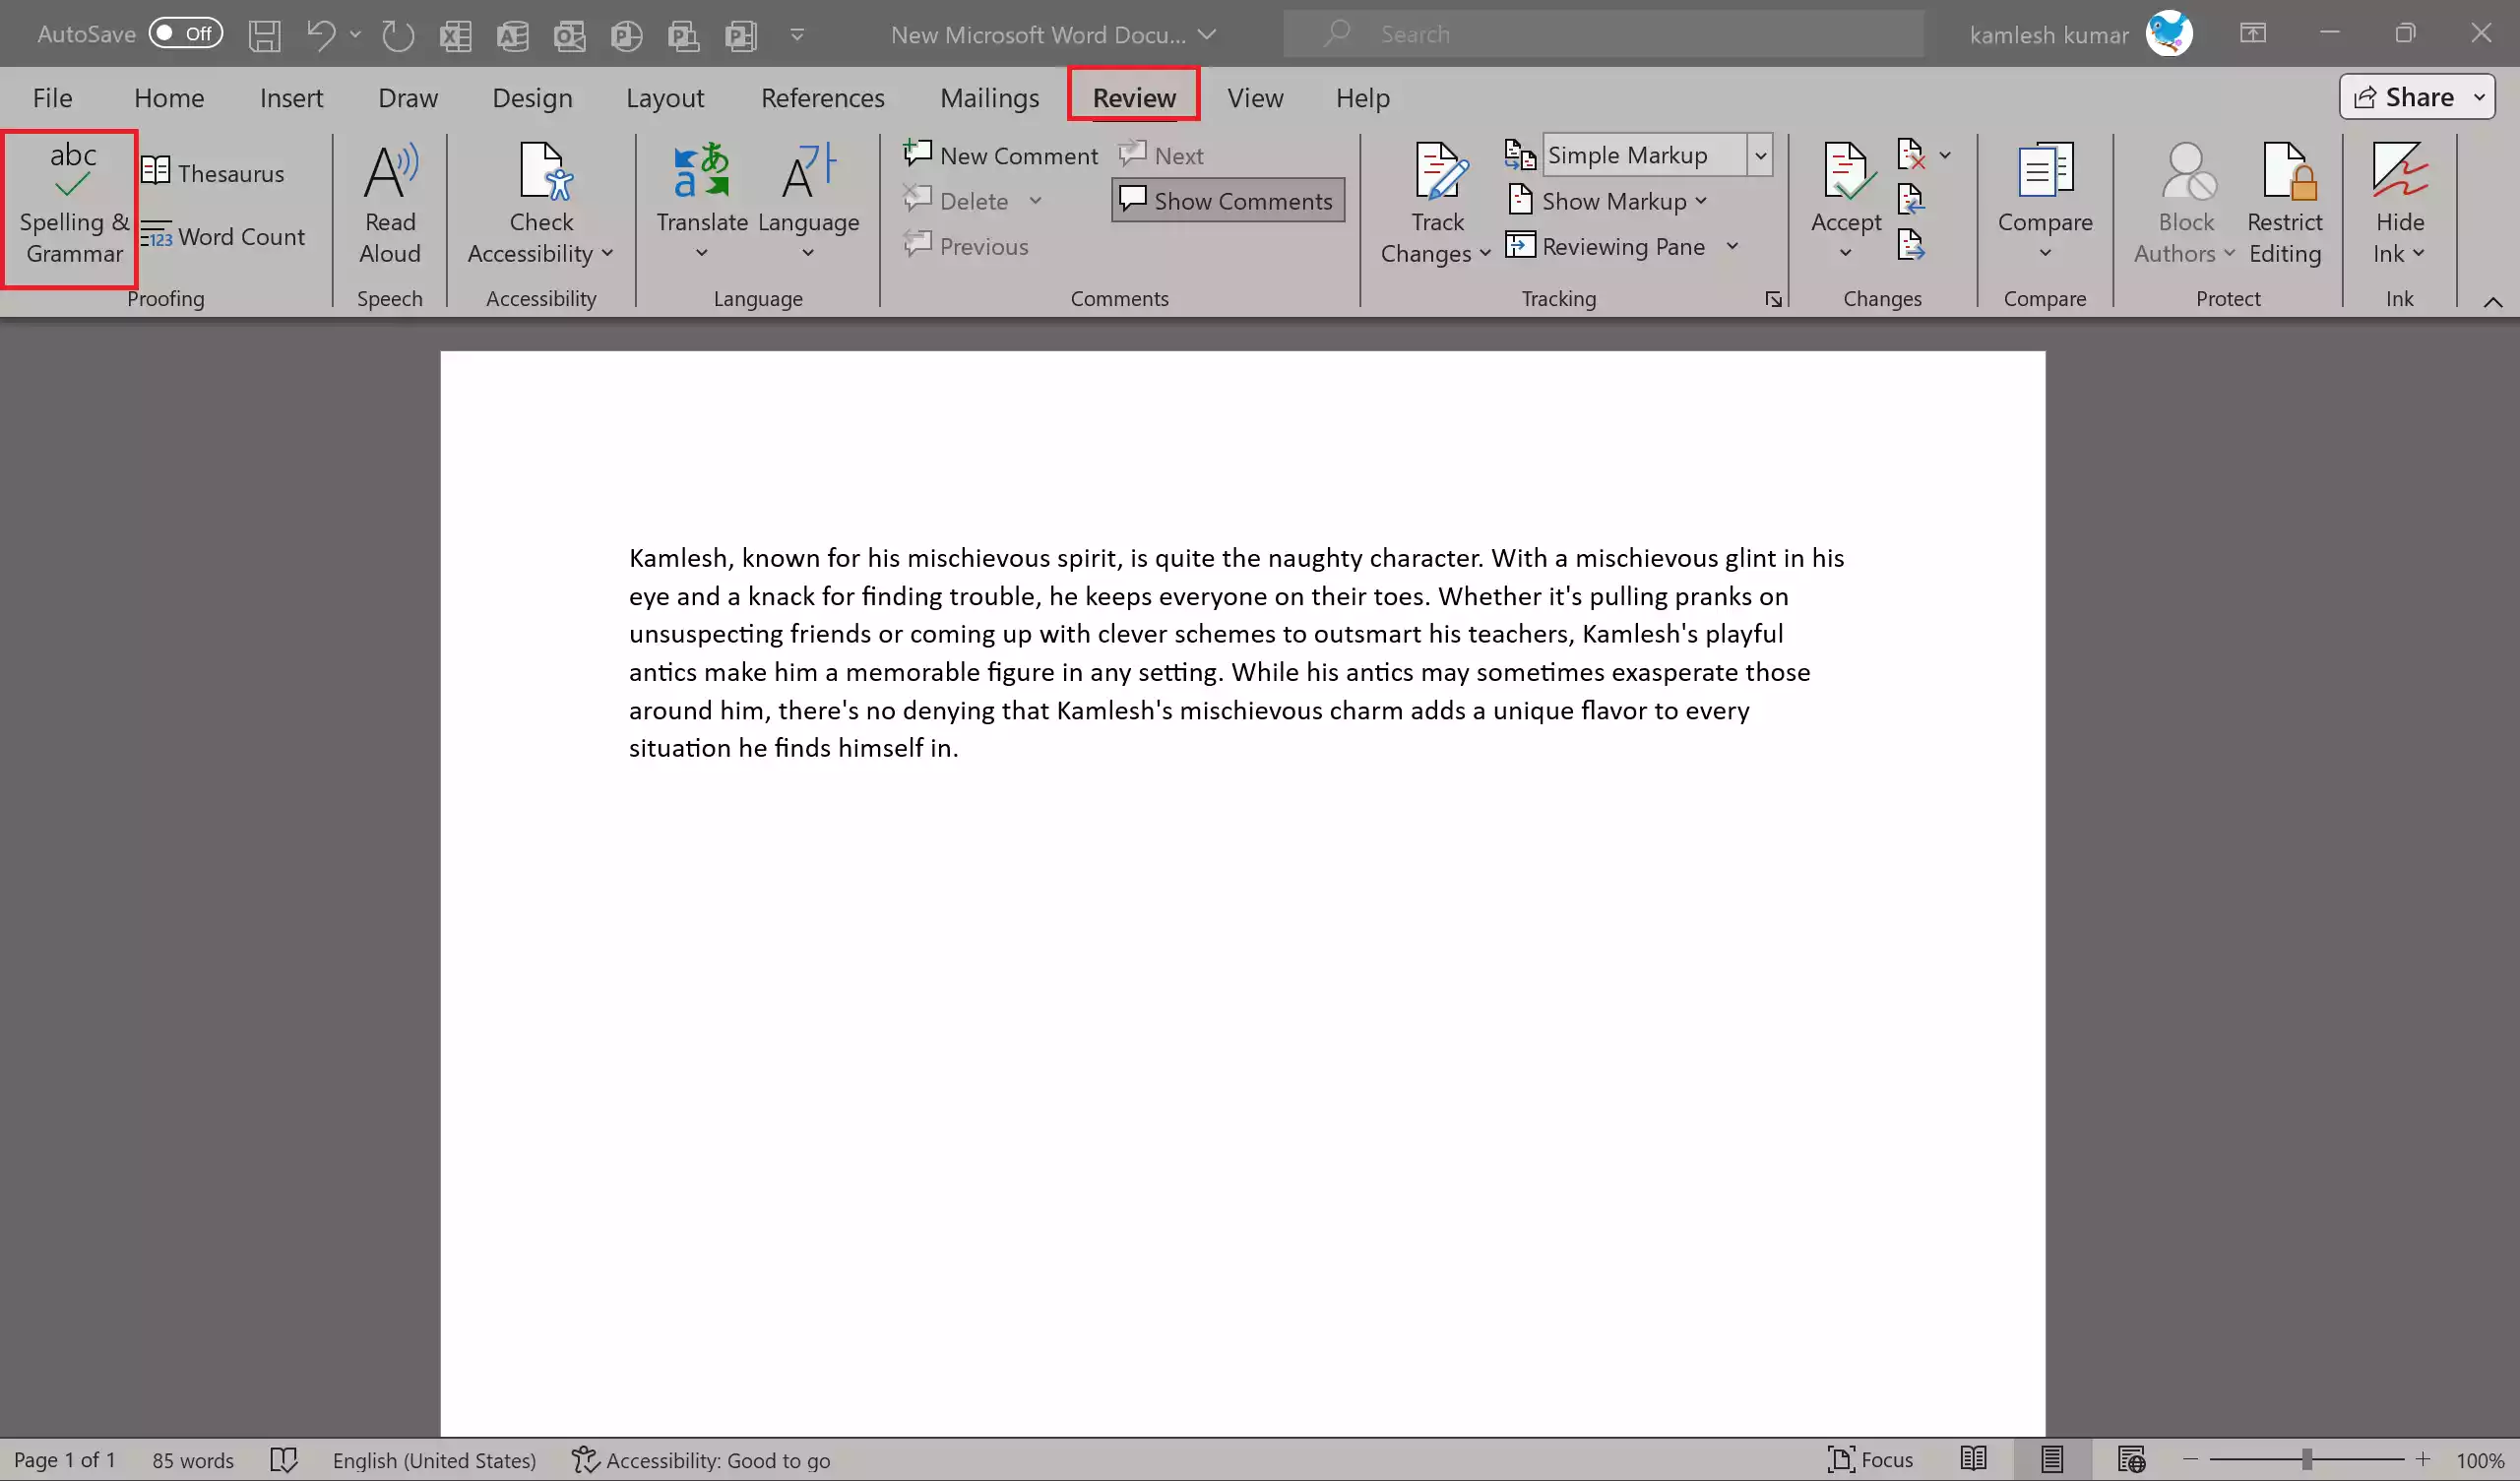
Step 2. Go to the “Review” tab on the Word ribbon.
Step 3. In the “Proofing” group, click on “Spelling & Grammar.”
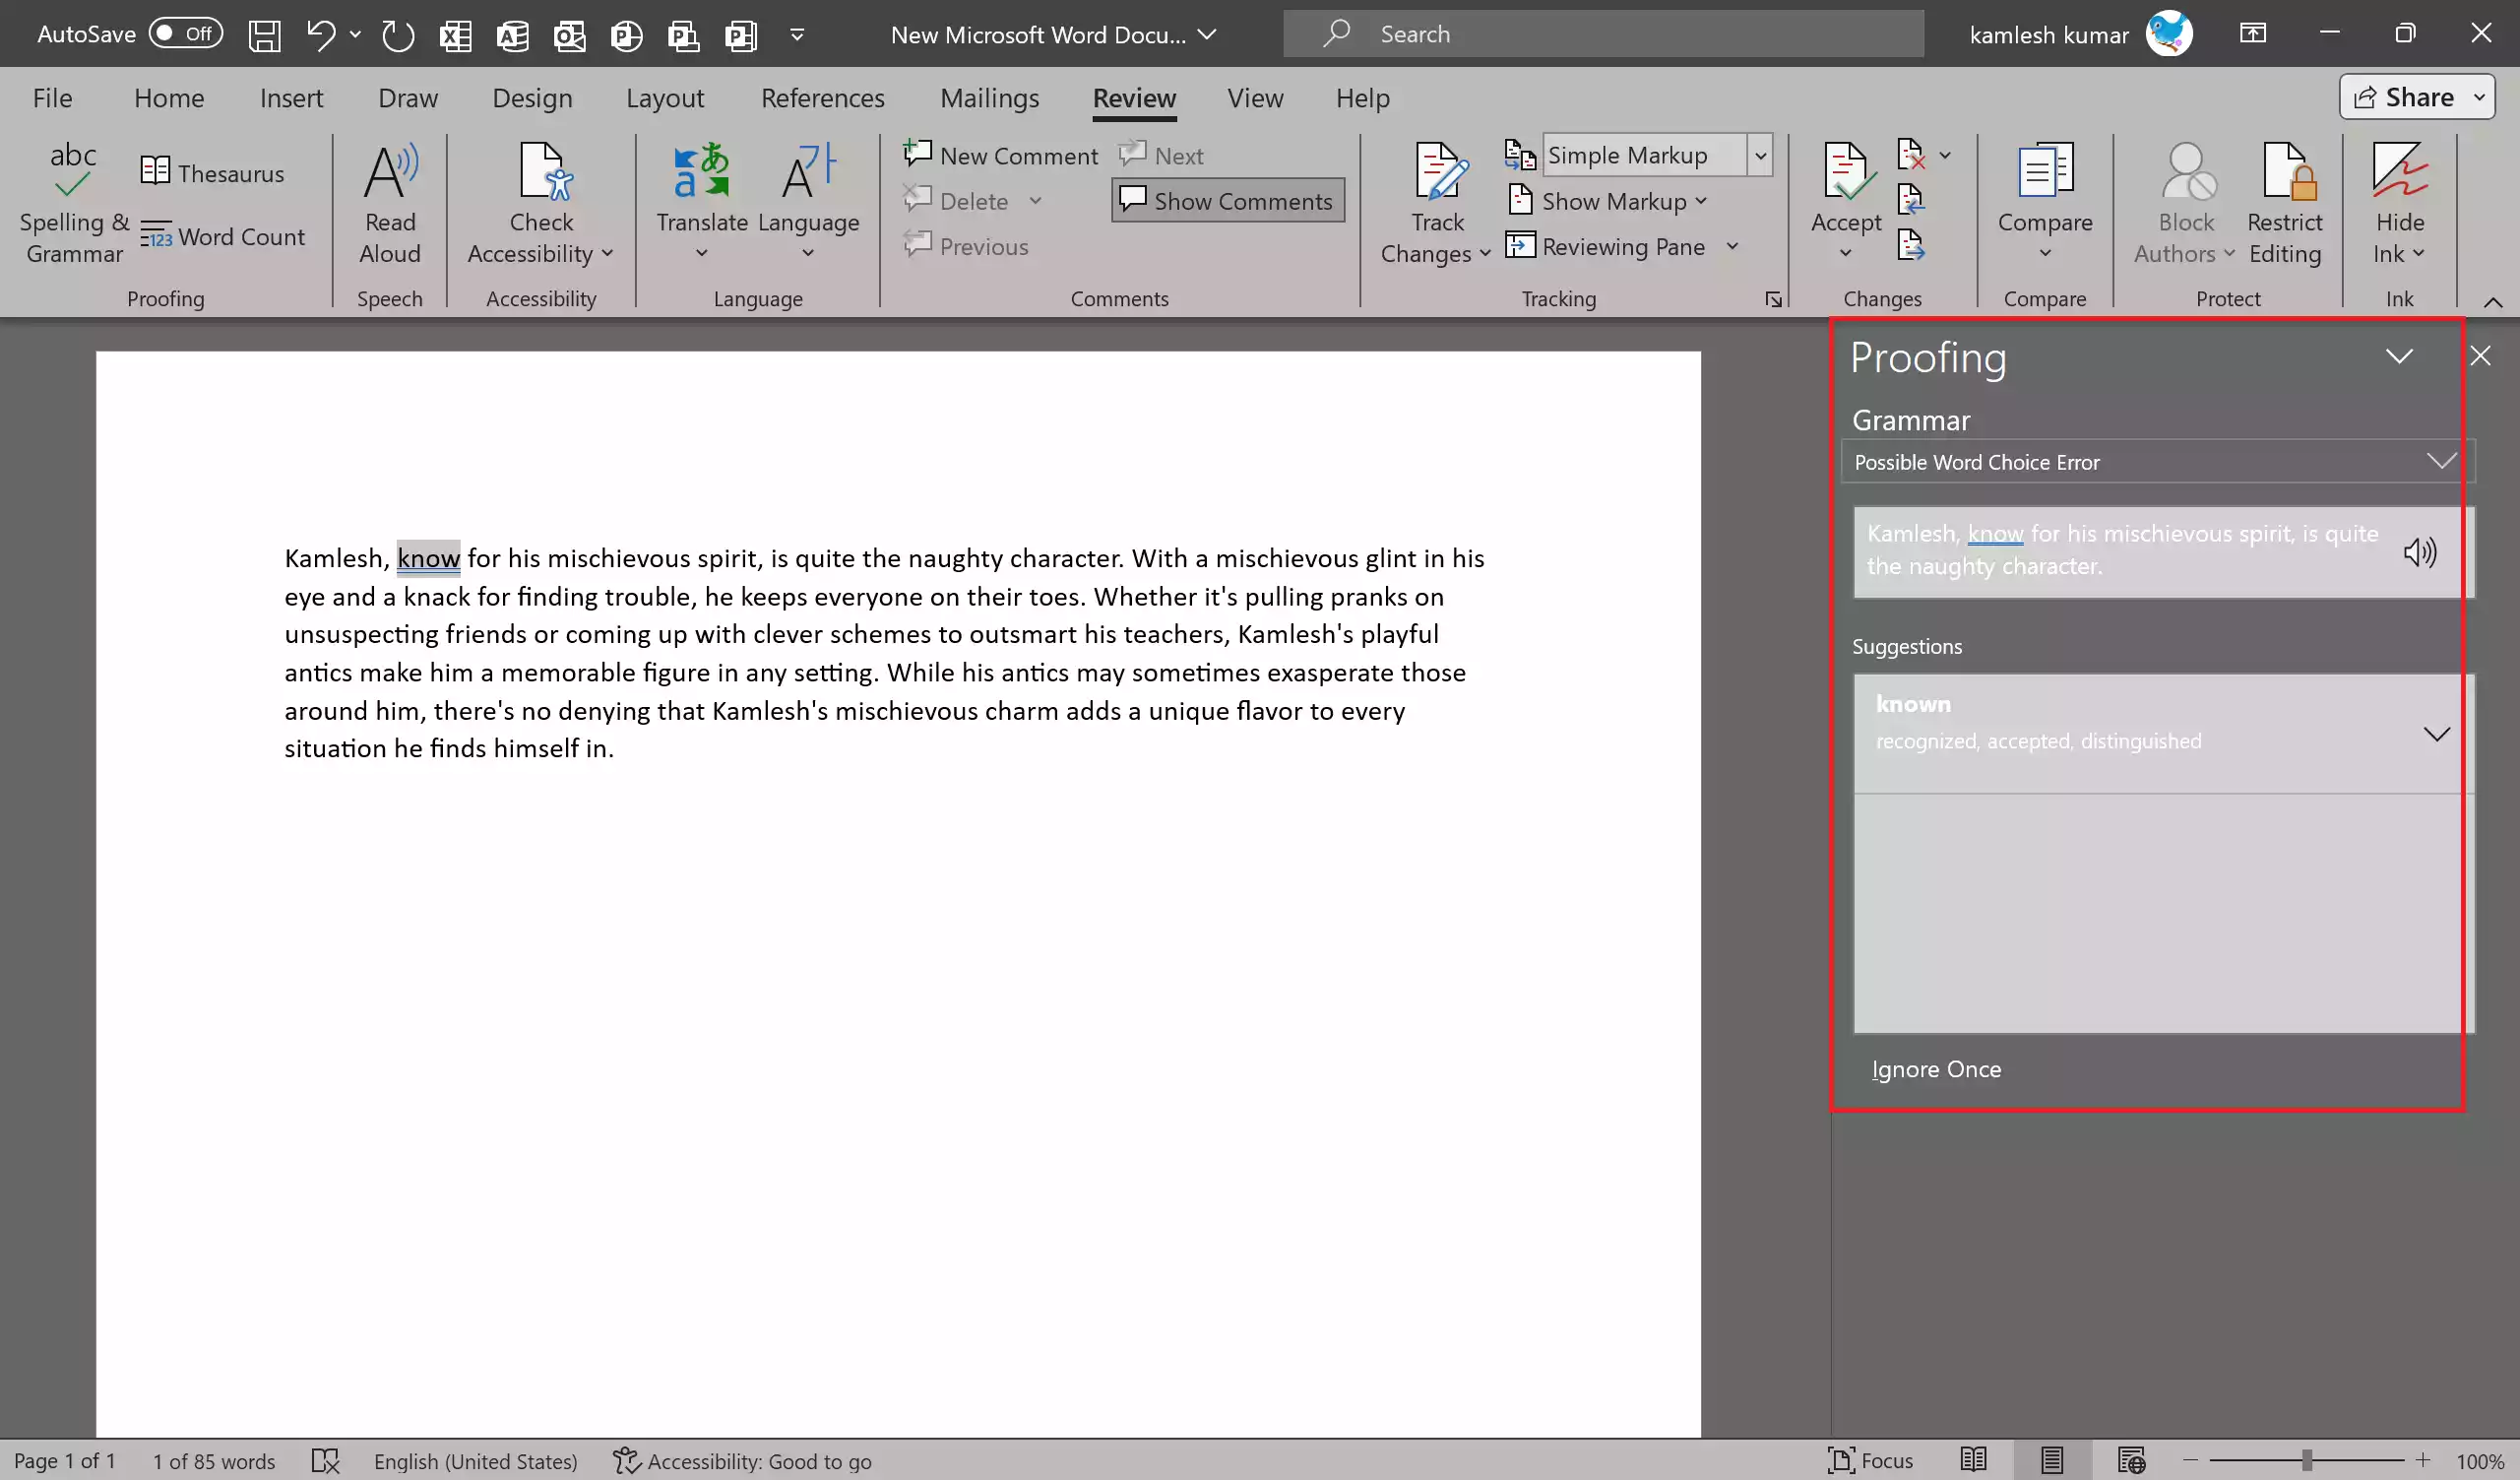
Step 4. Word will start scanning your document for spelling and grammar errors. If it finds any, it will highlight them.
Step 5. A pop-up window will appear on the right side of the screen with suggested corrections. You can accept the suggestion or ignore it to skip it.
Step 6. For some errors or unique words, Word may not have suggestions. In such cases, manually correct the errors by typing the correct word in the document.
Step 7. If Word flags a correctly spelled word as an error (such as place or person name), you can add it to the dictionary to prevent future warnings.
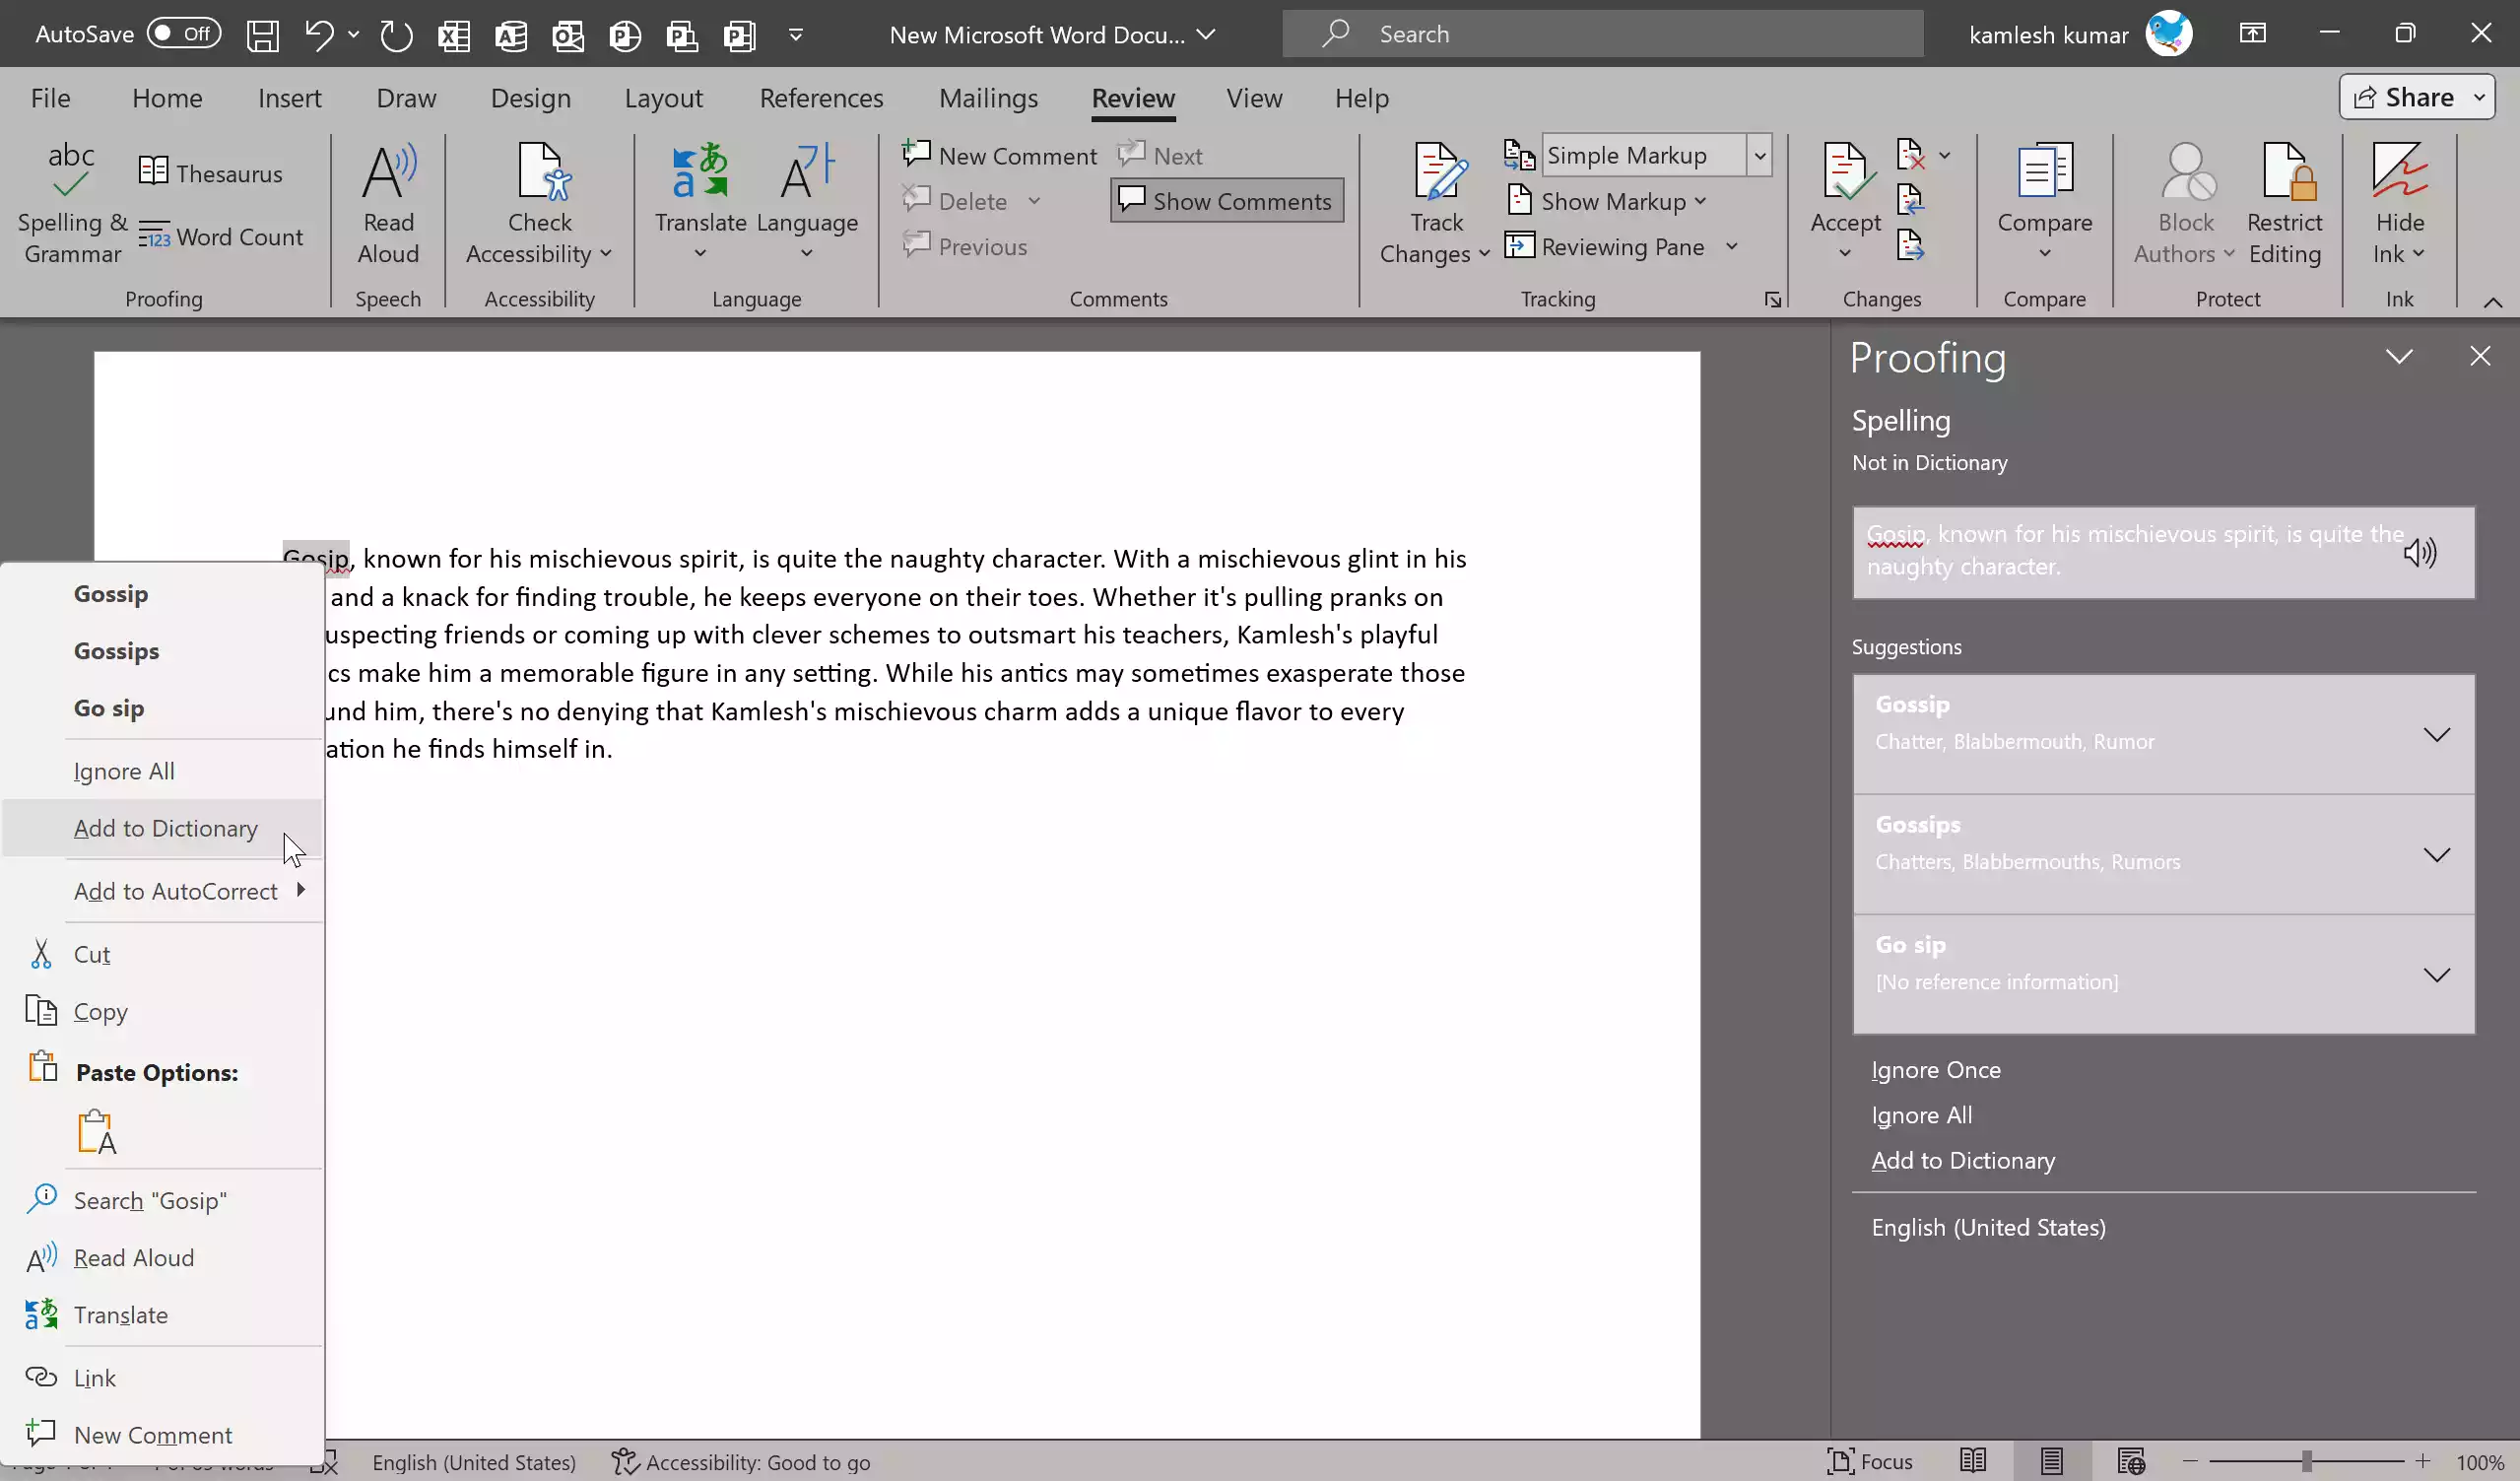
Step 8. Right-click on the word and select “Add to Dictionary” in the context menu.
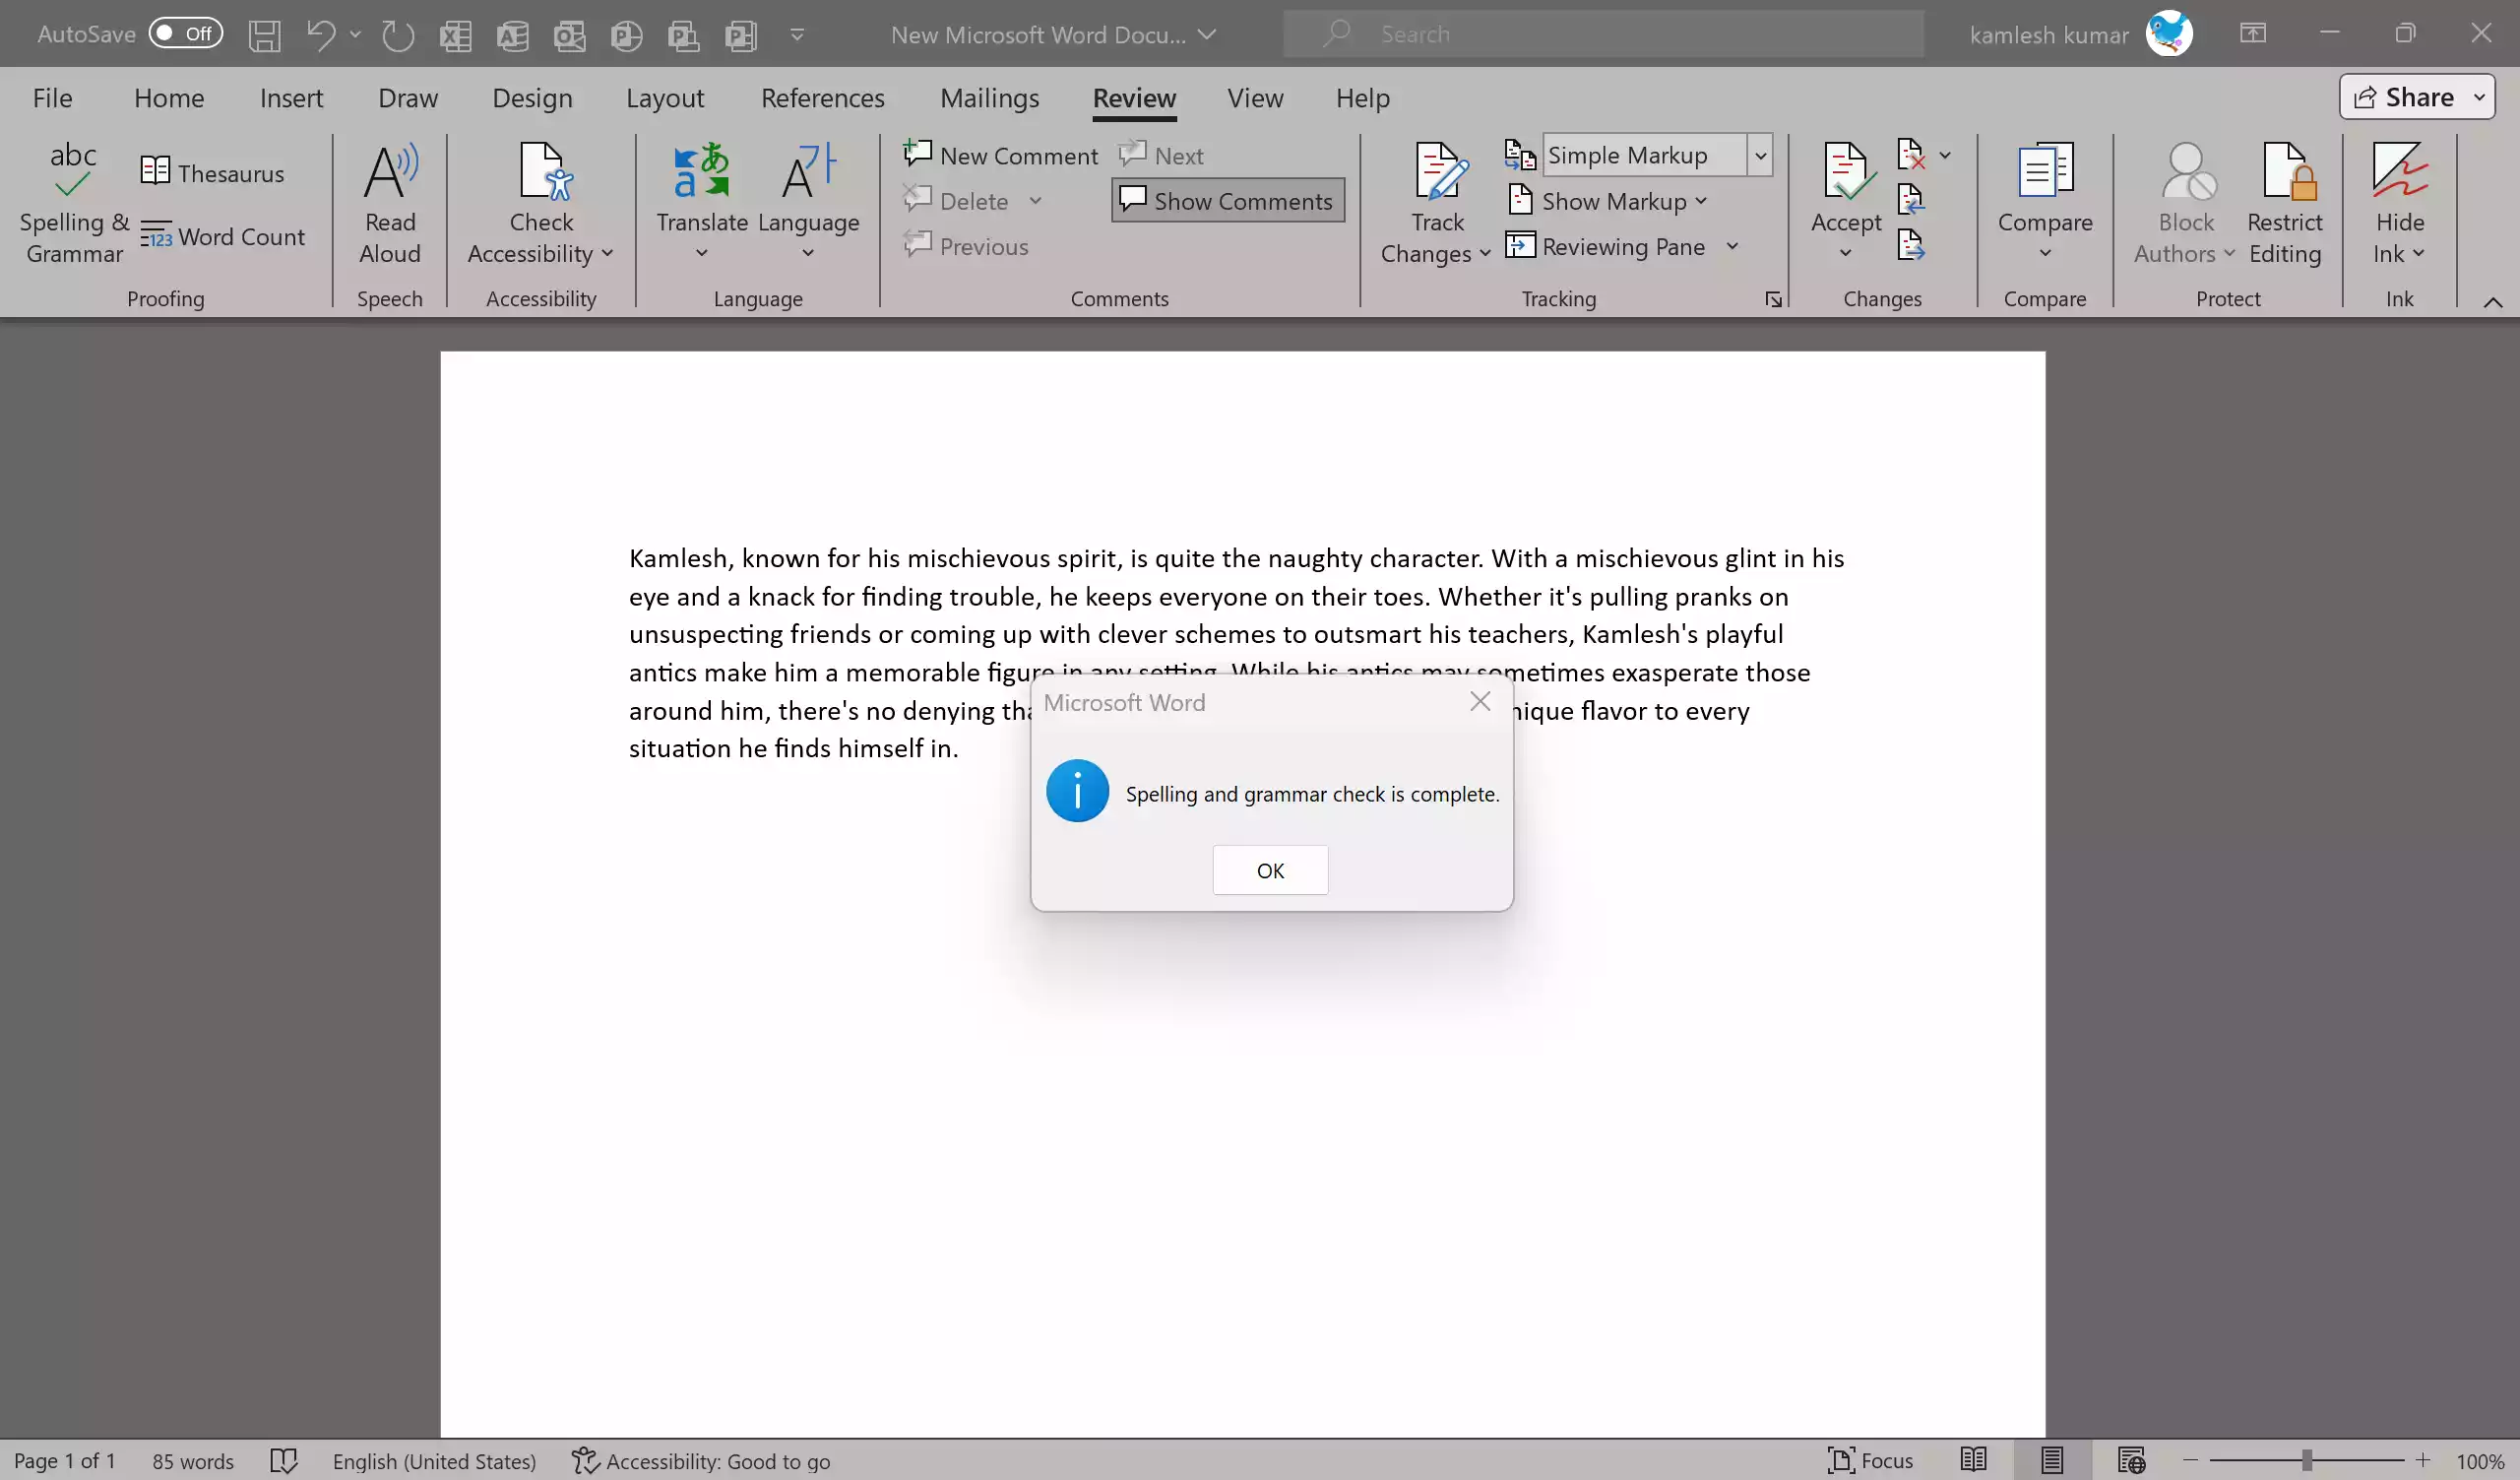
Step 9. Word will continue scanning your document until it reaches the end.
Step 10. Once it completes the spell check, a message will appear indicating that the check is complete. Click “OK.”
Grammar Check and Proofreading
Step 1. While the spelling check also checks basic grammar, you can enable more advanced grammar checking.
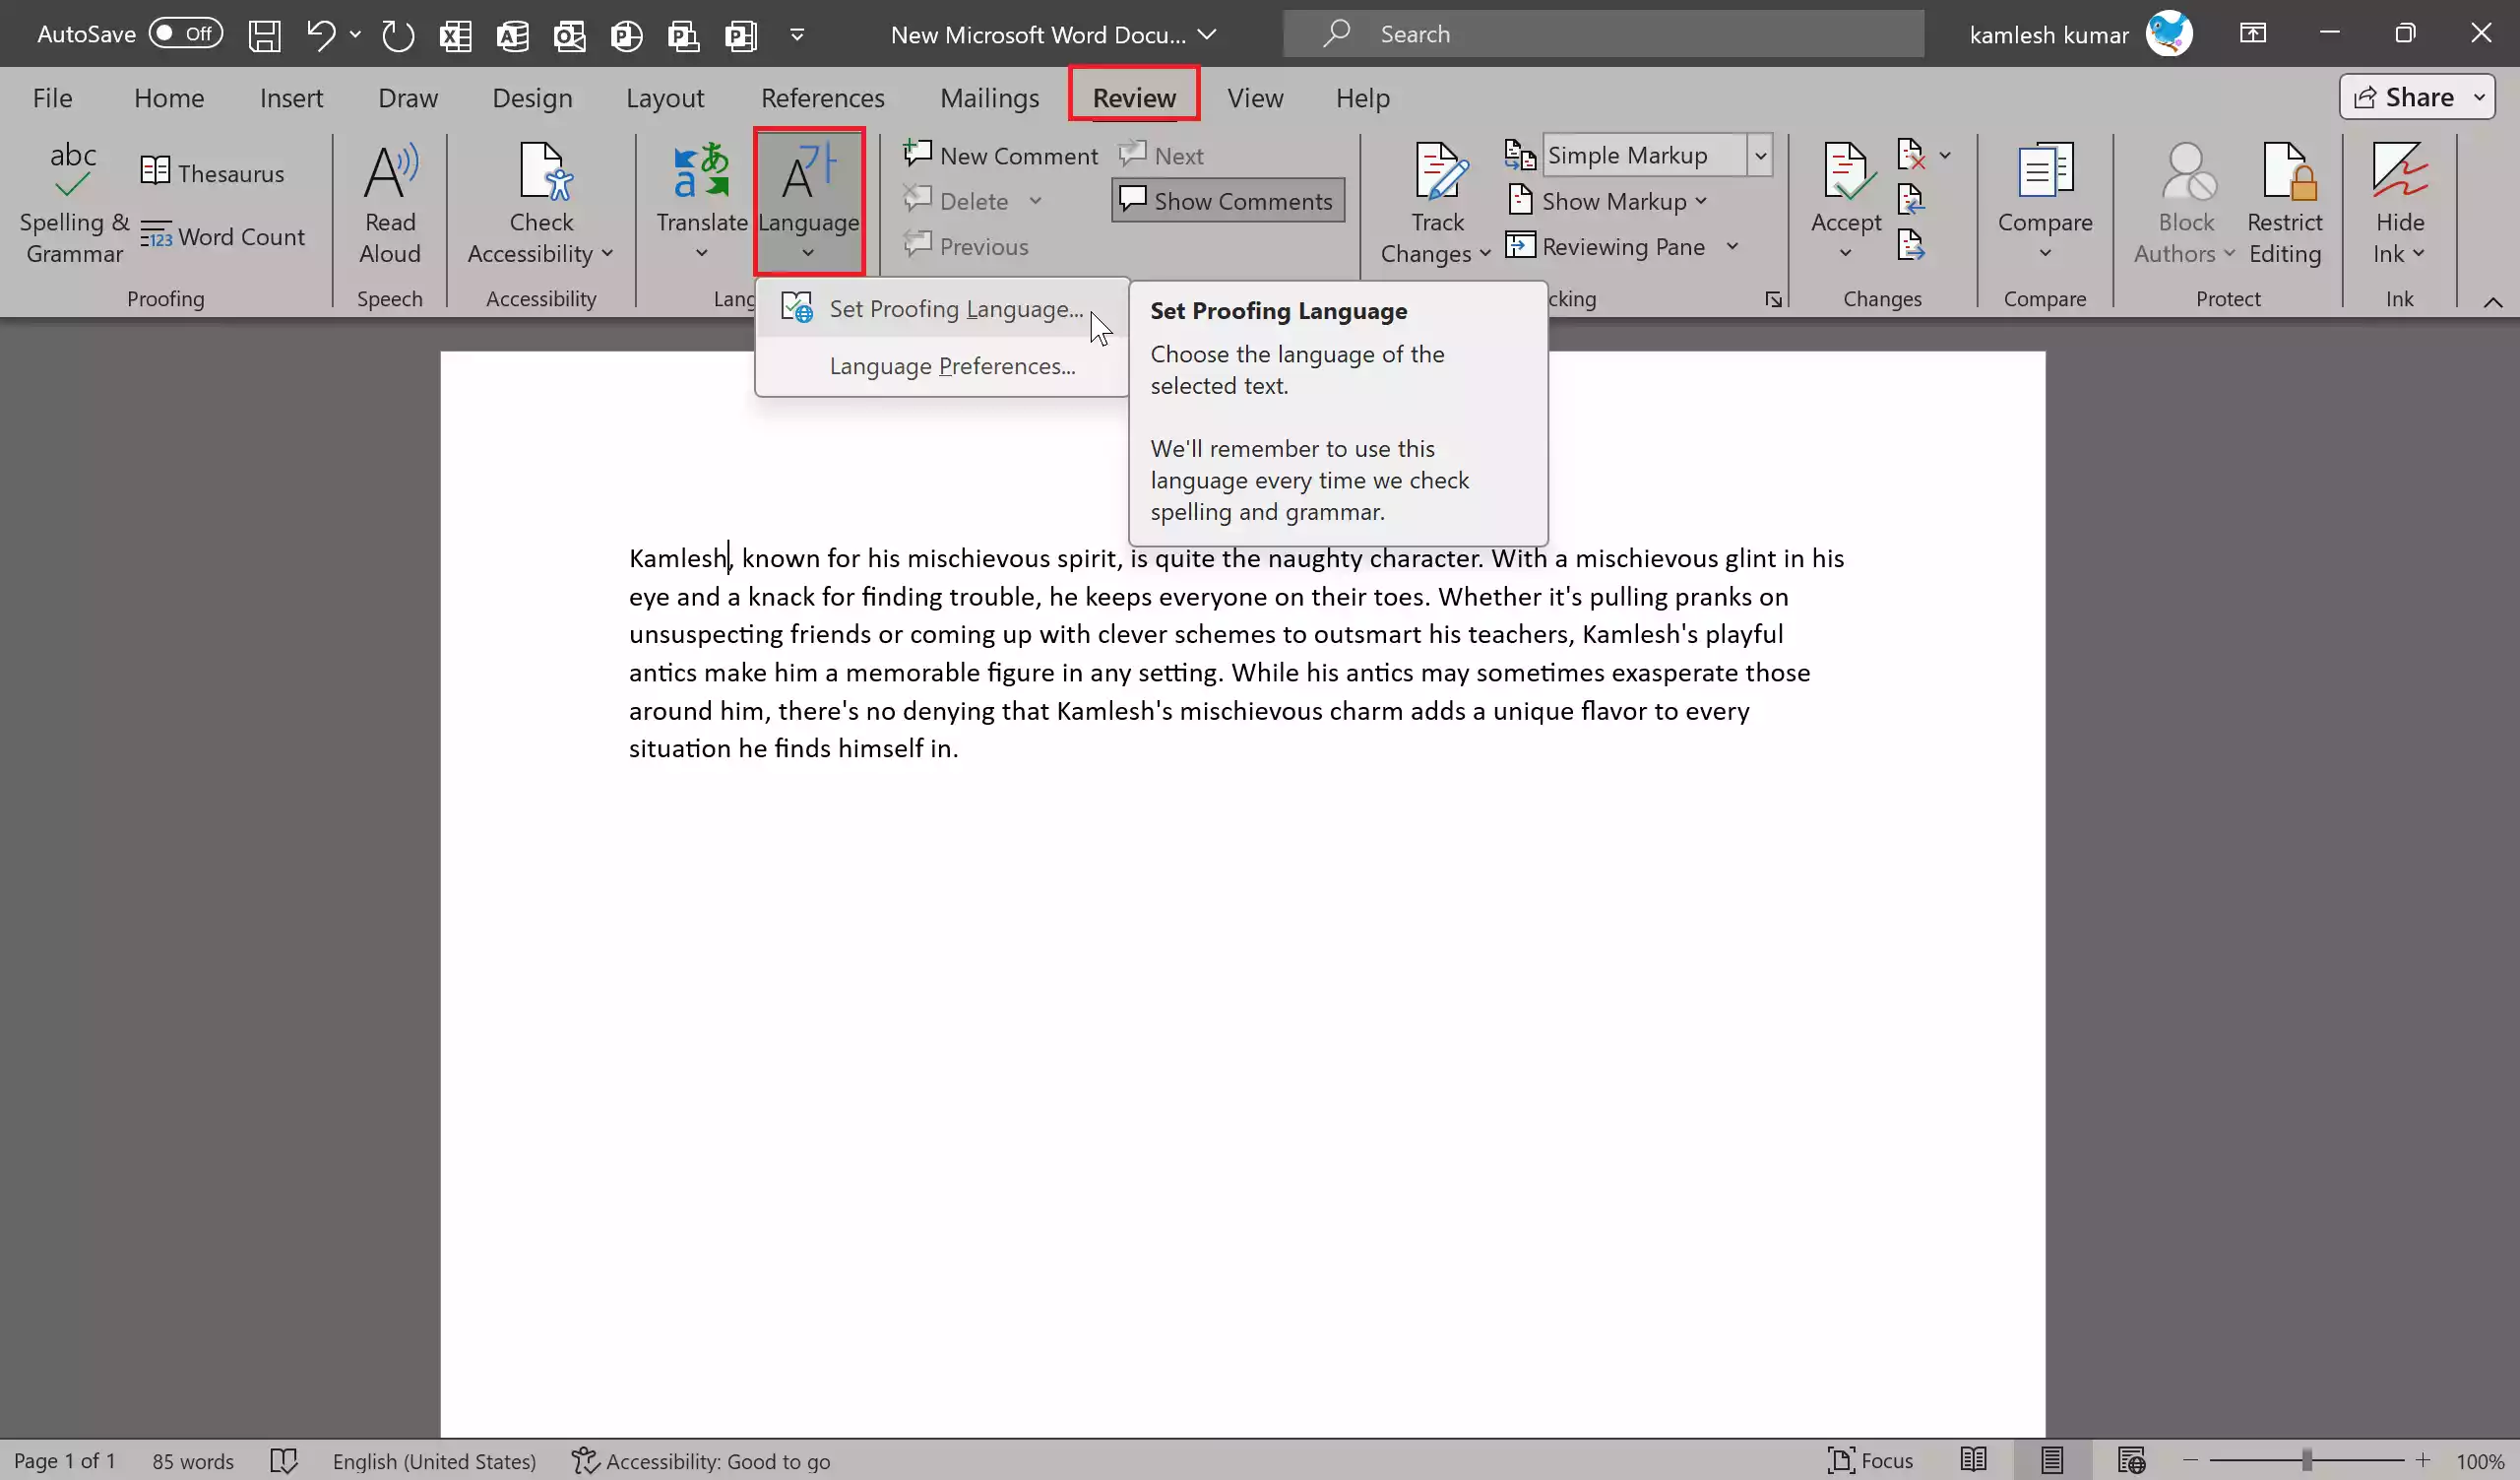
Step 1. In the “Review” tab, click on “Language” in the “Language” group and select “Set Proofing Language.”
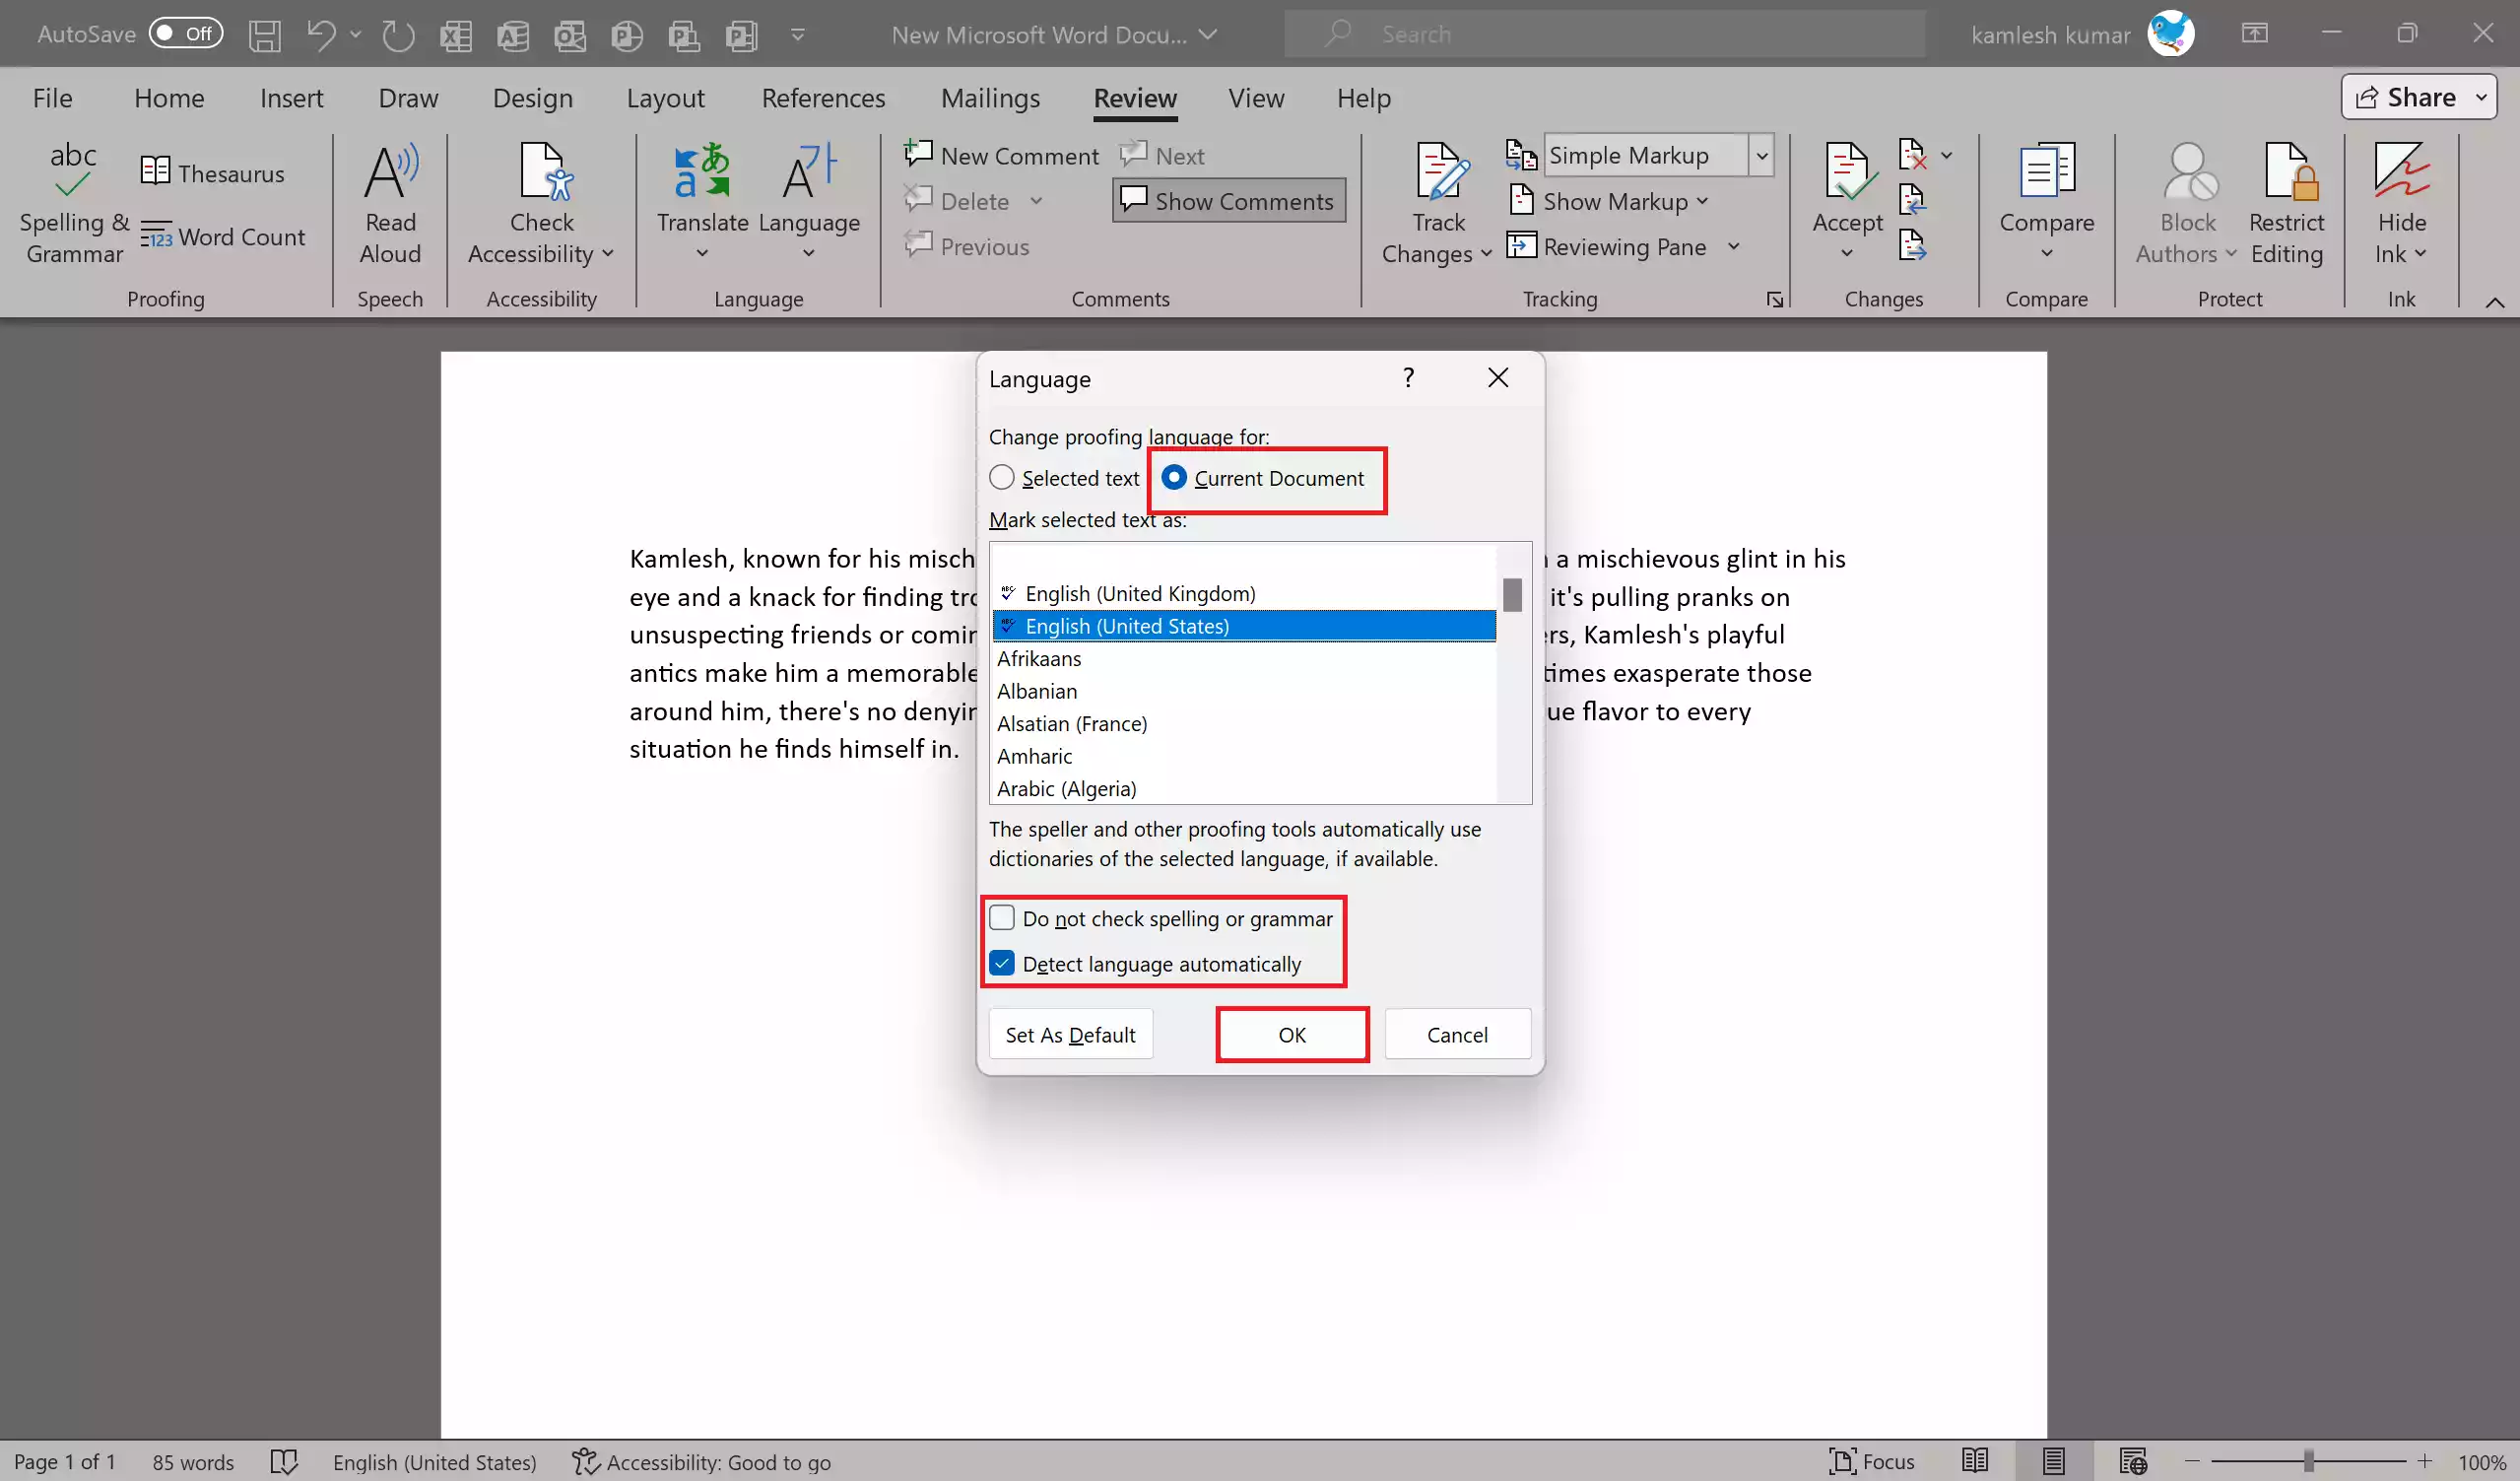
Step 2. Check the box that says “Current Document,” Detect language automatically,” and uncheck the box “Do not check spelling or grammar ” and click “OK.”
Step 3. Run the grammar check just like the spell check by clicking “Spelling & Grammar” in the “Review” tab.
Step 4. Word will analyze your document for more complex grammatical errors and provide suggestions.
Step 5. As with spelling, Word will display suggestions for grammar improvements in a pop-up window.
Step 6. You can accept or ignore these suggestions as needed.
Customize Proofreading Options
Step 1. To customize the proofreading process, go to “File” > “Options.”
Step 2. In the Word Options dialog, select “Proofing” on the left.
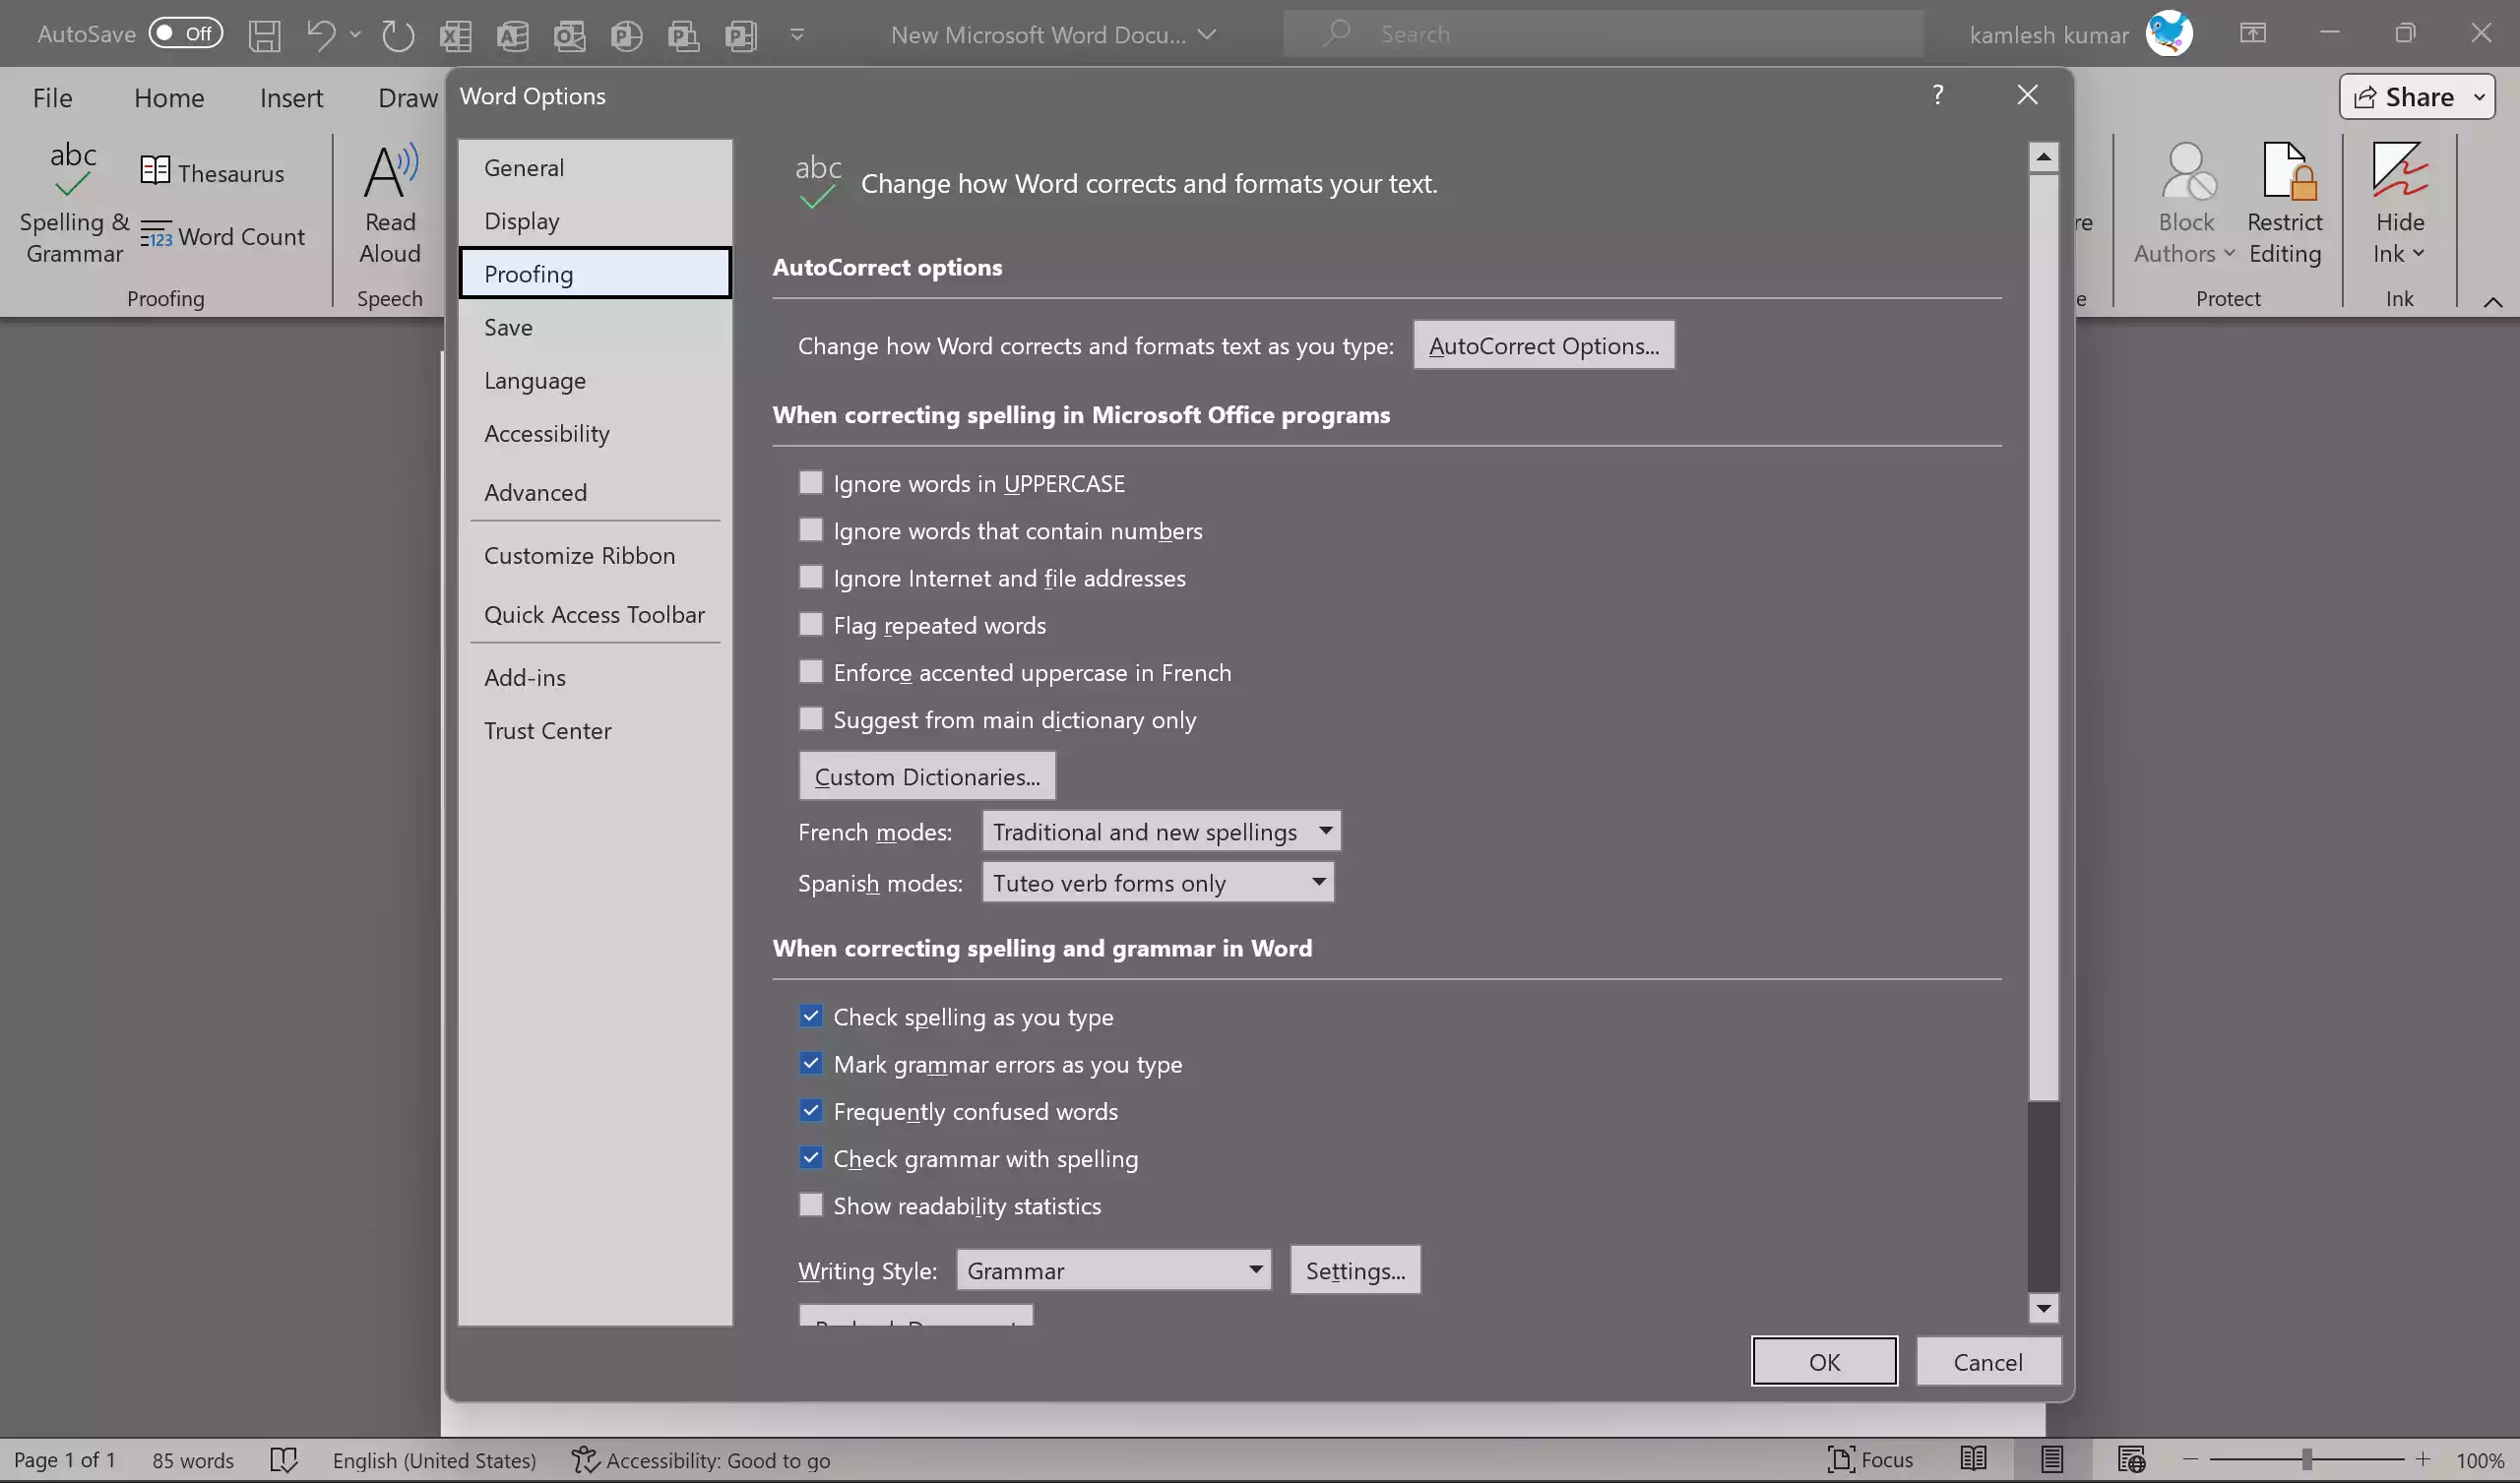
Step 3. Here, you can configure settings like auto-correct options, style and grammar preferences, and language settings.
Final Manual Review
While Microsoft Word’s spell and grammar check features are incredibly helpful, they may not catch every mistake. It’s essential to perform a final manual review of your document to catch context-related errors, formatting issues, and other non-linguistic elements.
Conclusion
Spell checking and proofreading are critical steps in the document creation process, ensuring that your work is free from embarrassing errors and maintains a professional appearance. With Microsoft Word’s built-in tools and the guidance provided in this article, you can confidently create error-free documents that communicate your message effectively.