Microsoft Word is a versatile word processing software that allows you to create and format text documents with ease. Formatting text in Word is essential for making your documents visually appealing and structurally organized. In this guide, we’ll walk you through the essential steps to format text in Microsoft Word.
Basic Text Formatting
Changing Font Style and Size
Step 1. Open your Microsoft Word document.
Step 2. Select the text/texts you want to format or place your cursor where you want to start typing.
Step 3. Go to the “Home” tab in the Word ribbon.
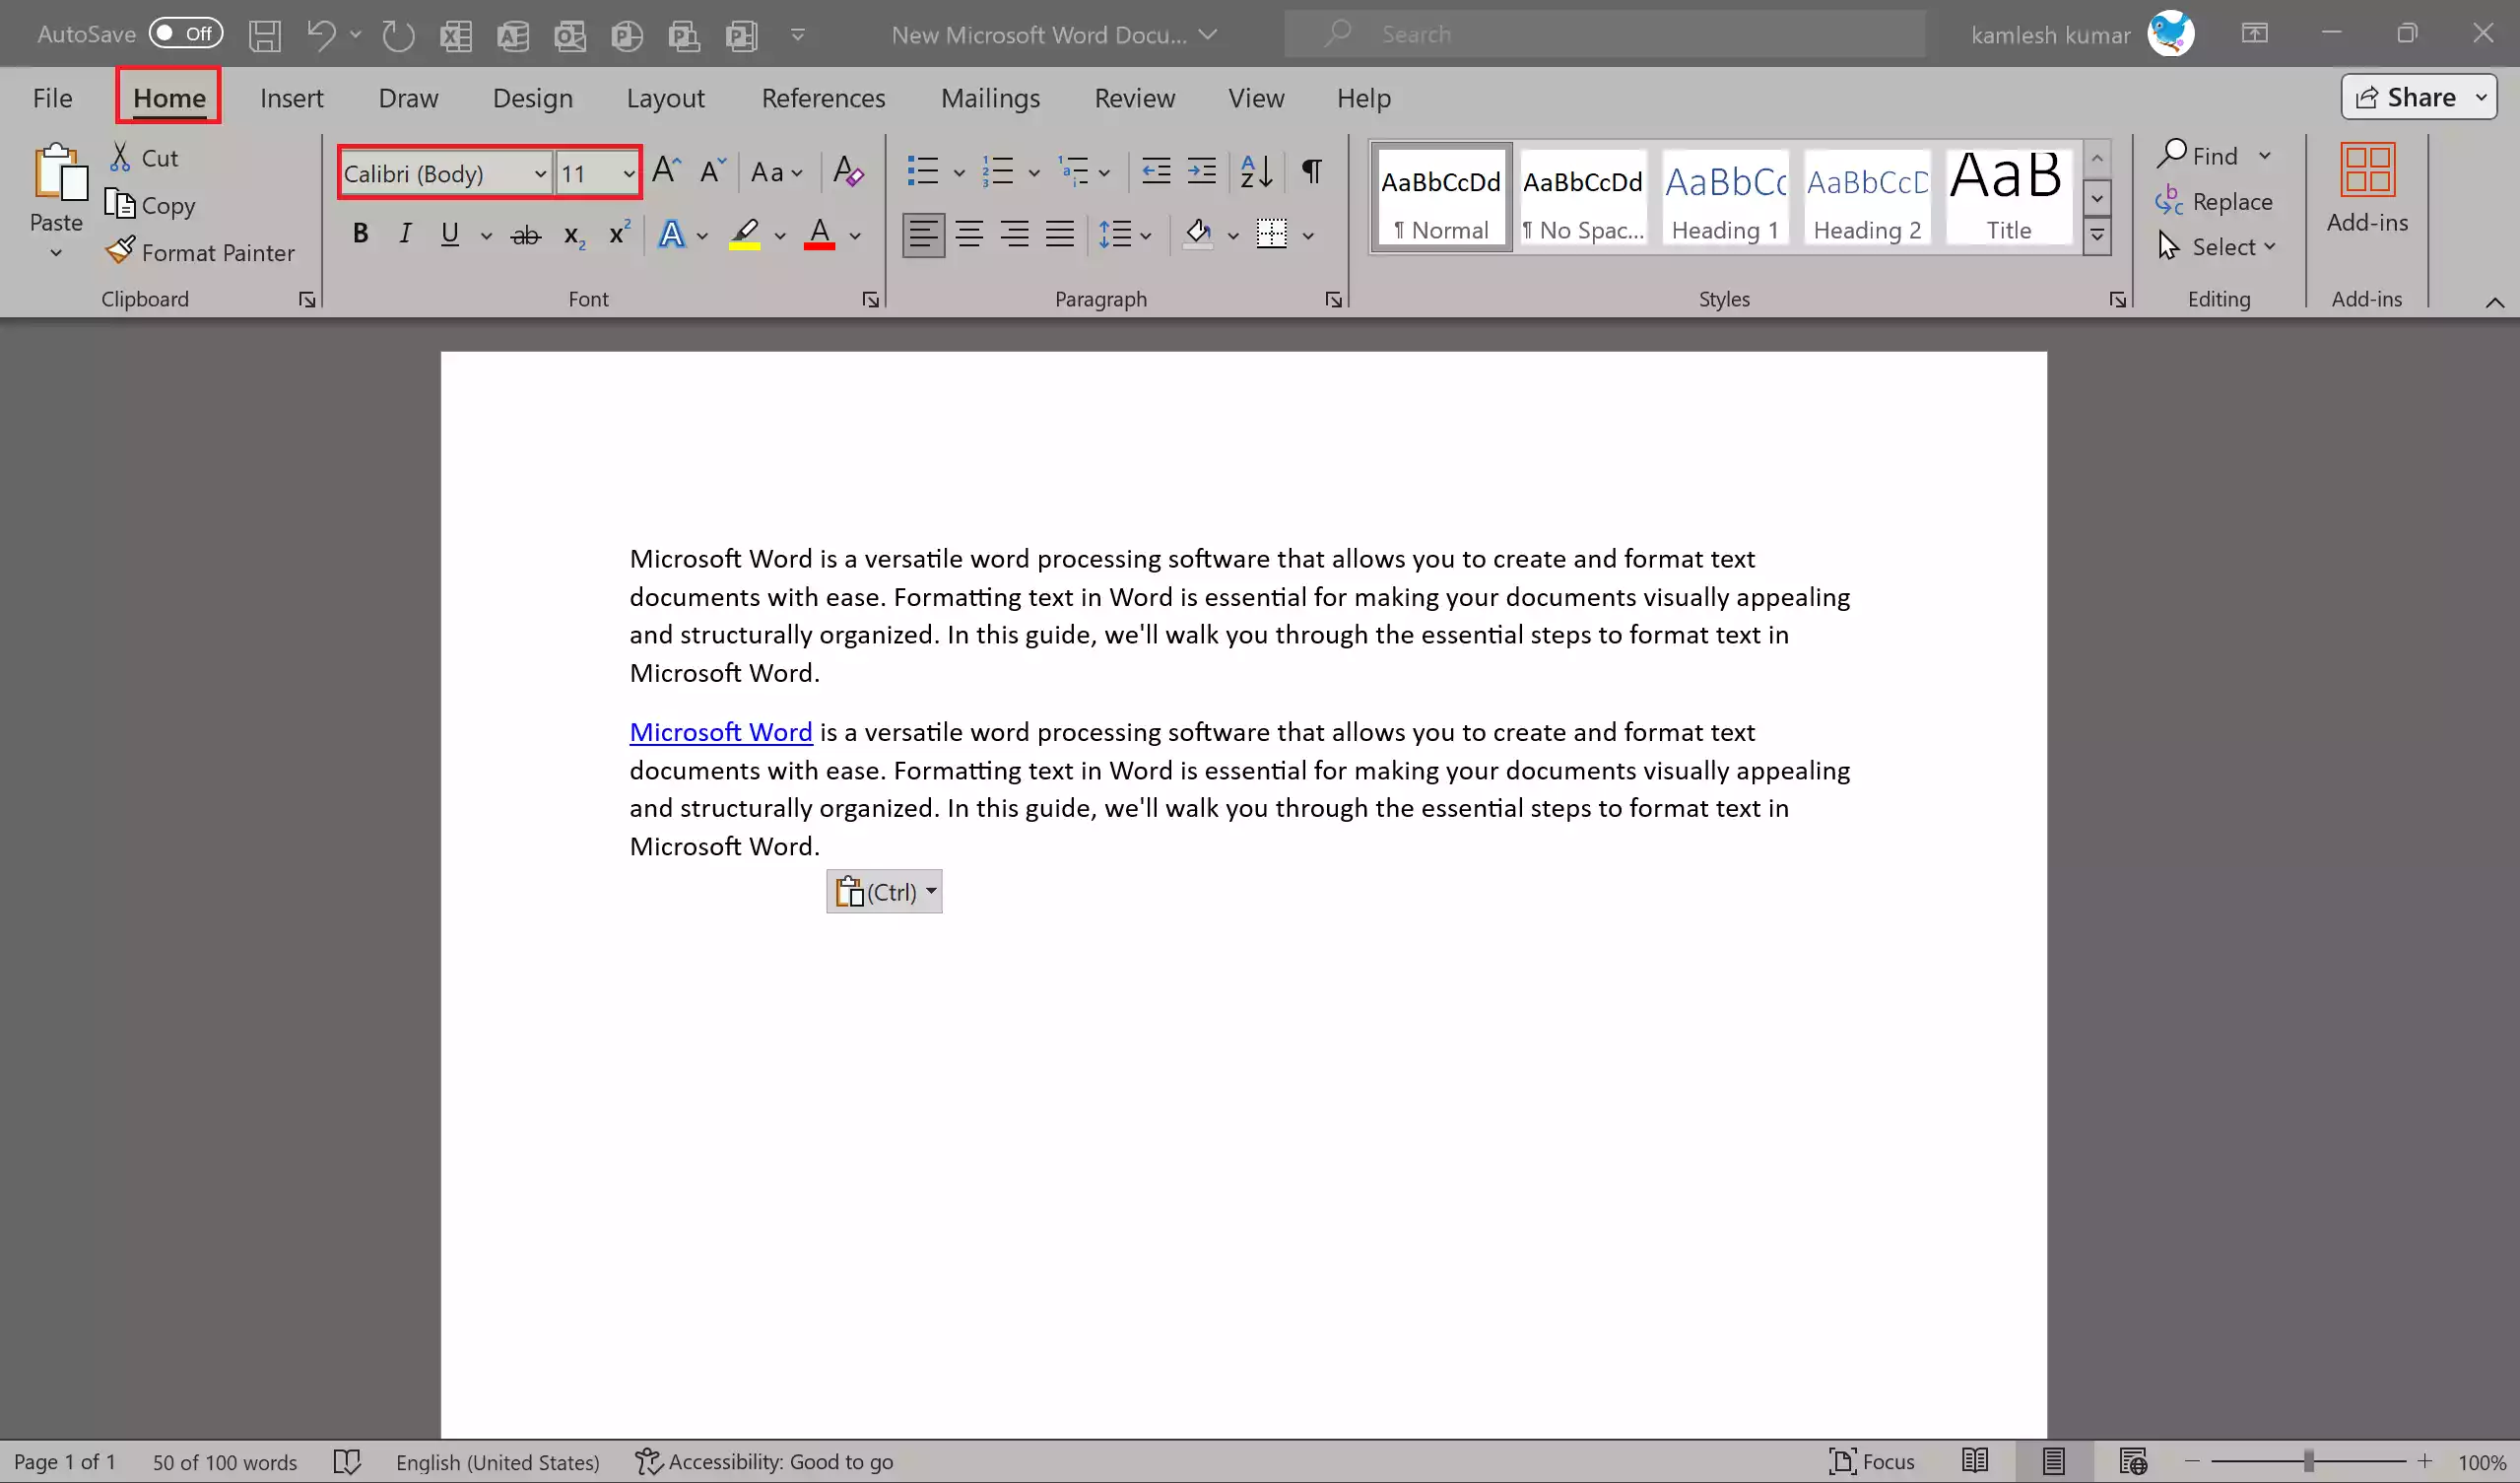
Step 4. In the “Font” group, you’ll find options to change the font style and font size. Click the respective drop-down menus to choose your desired options.
Bold, Italic, and Underline
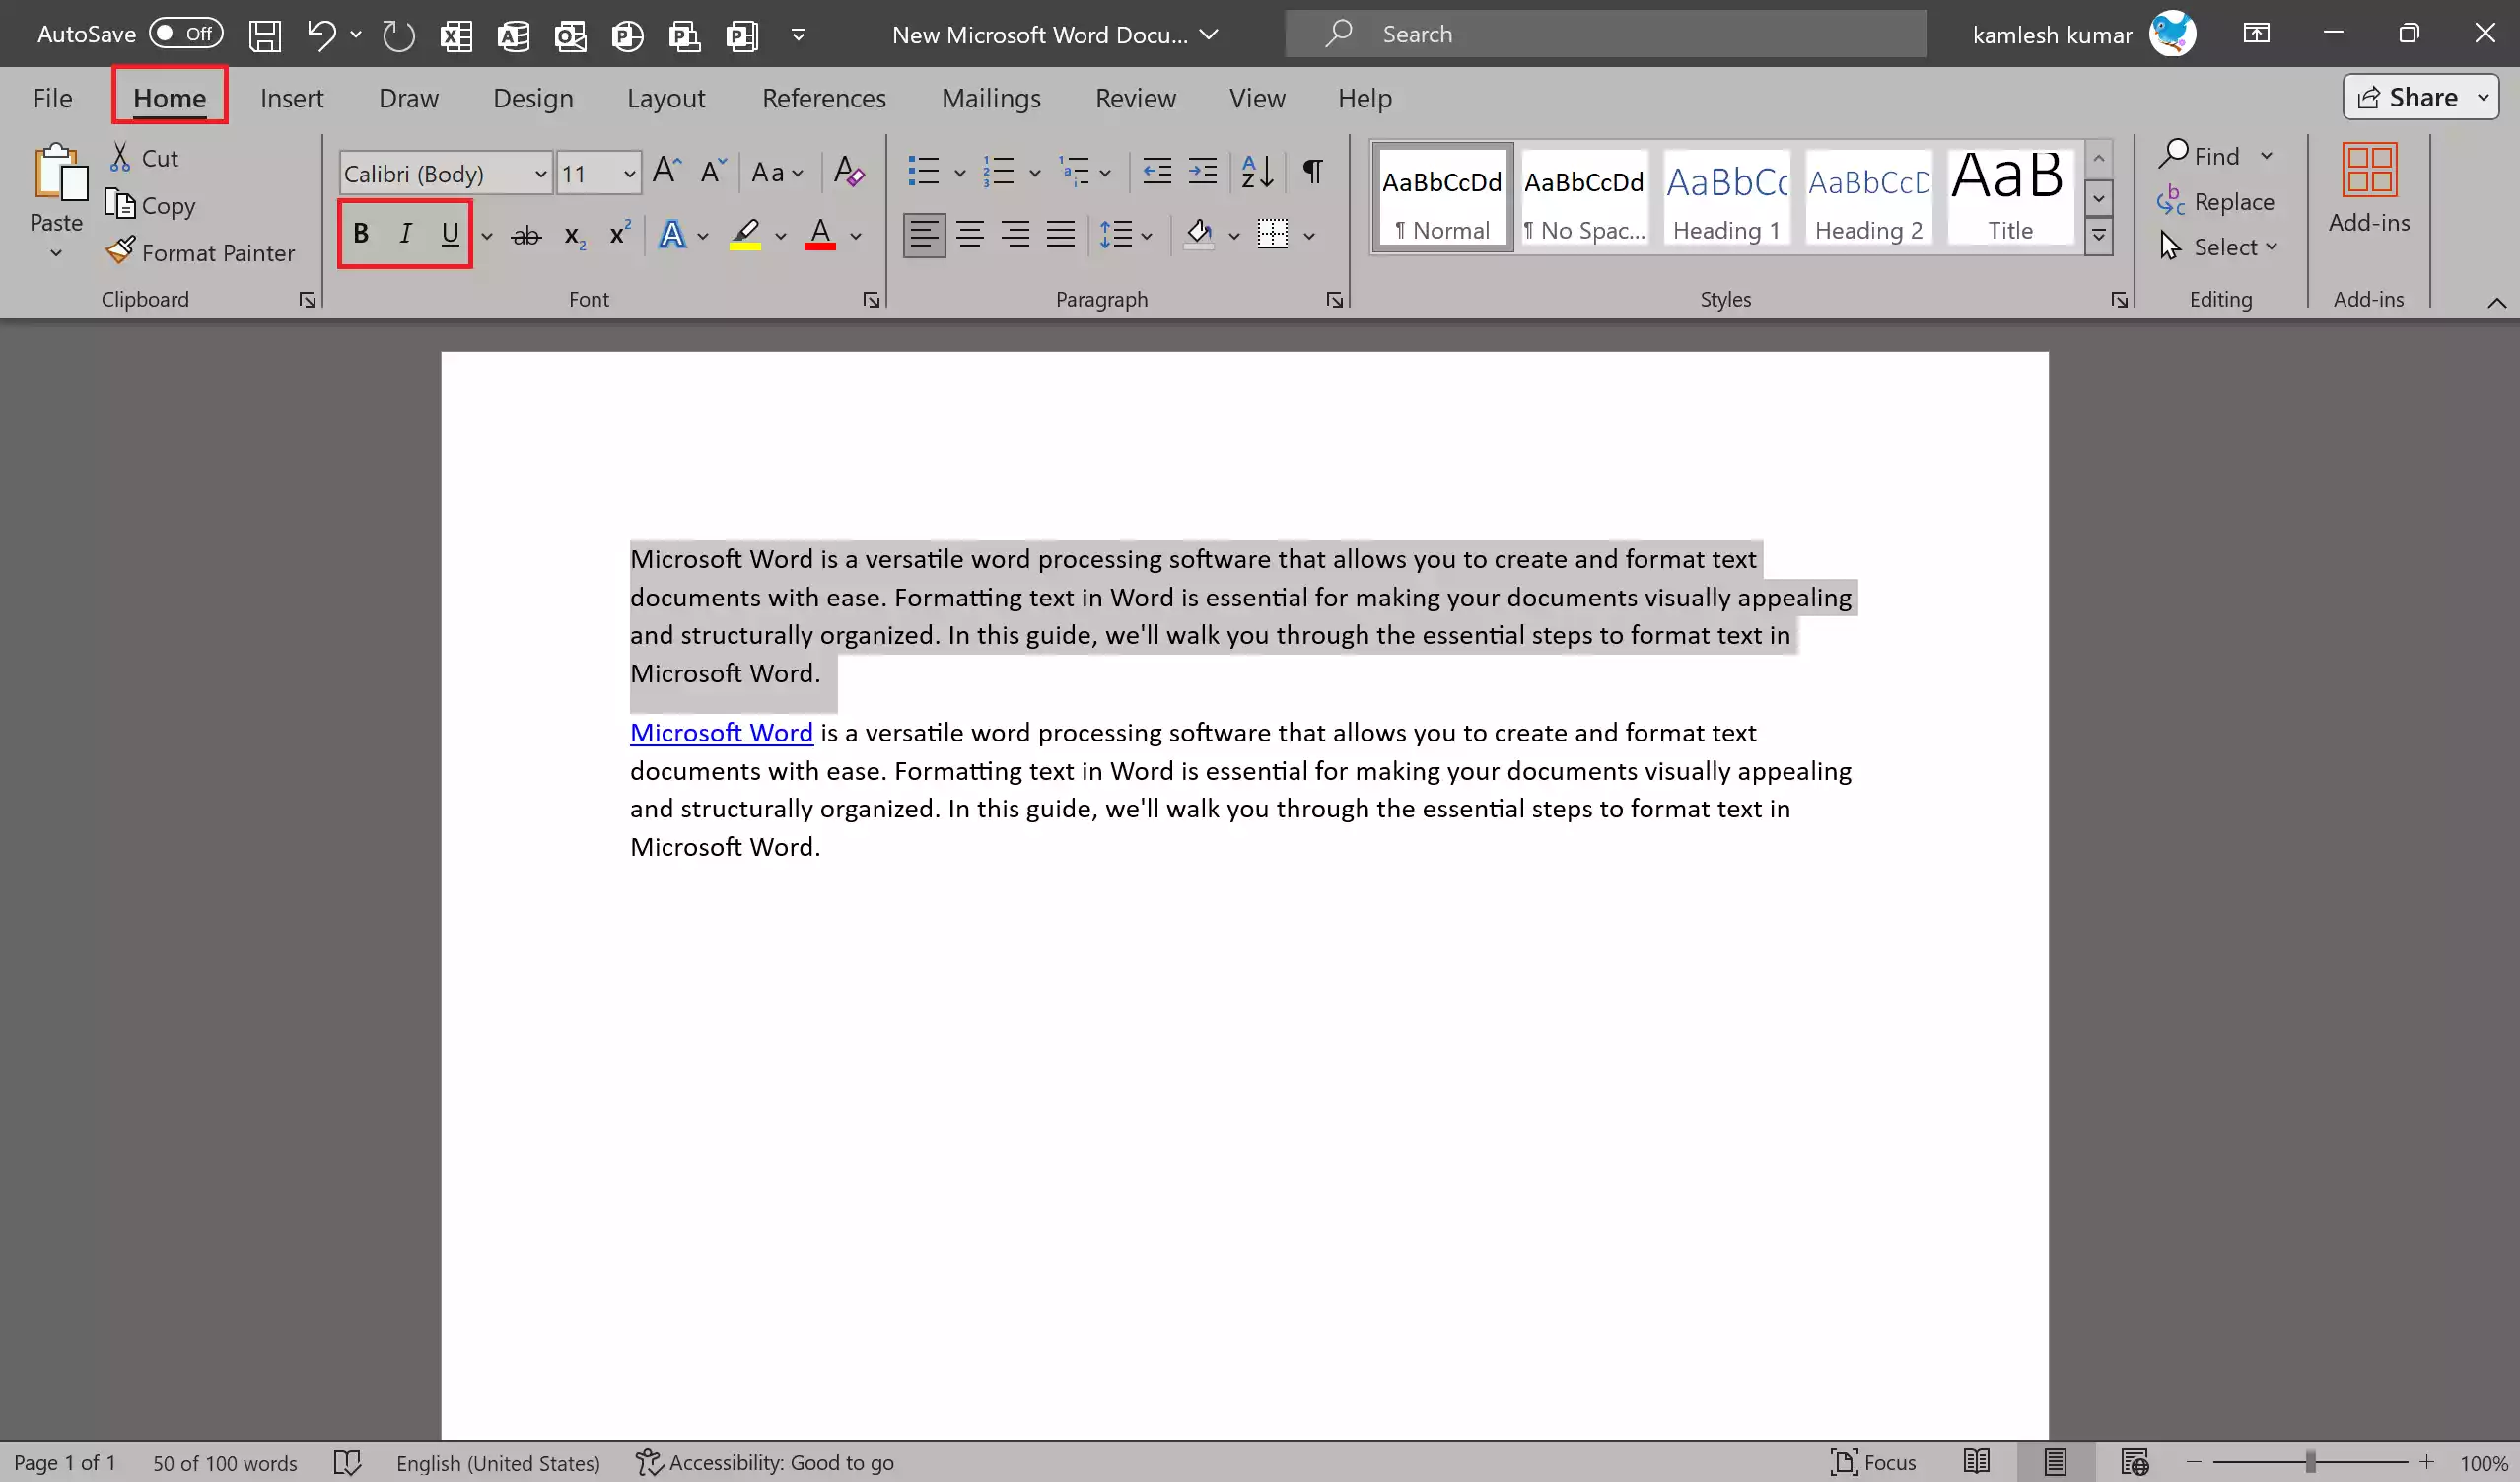
Step 1. Select the text(s) you want to format.
Step 2. In the “Font” group on the “Home” tab, you’ll see buttons for bold (B), italic (I), and underline (U). Click these buttons to apply the desired formatting.
Text Color and Highlight
Step 1. Select the text(s) you want to modify.
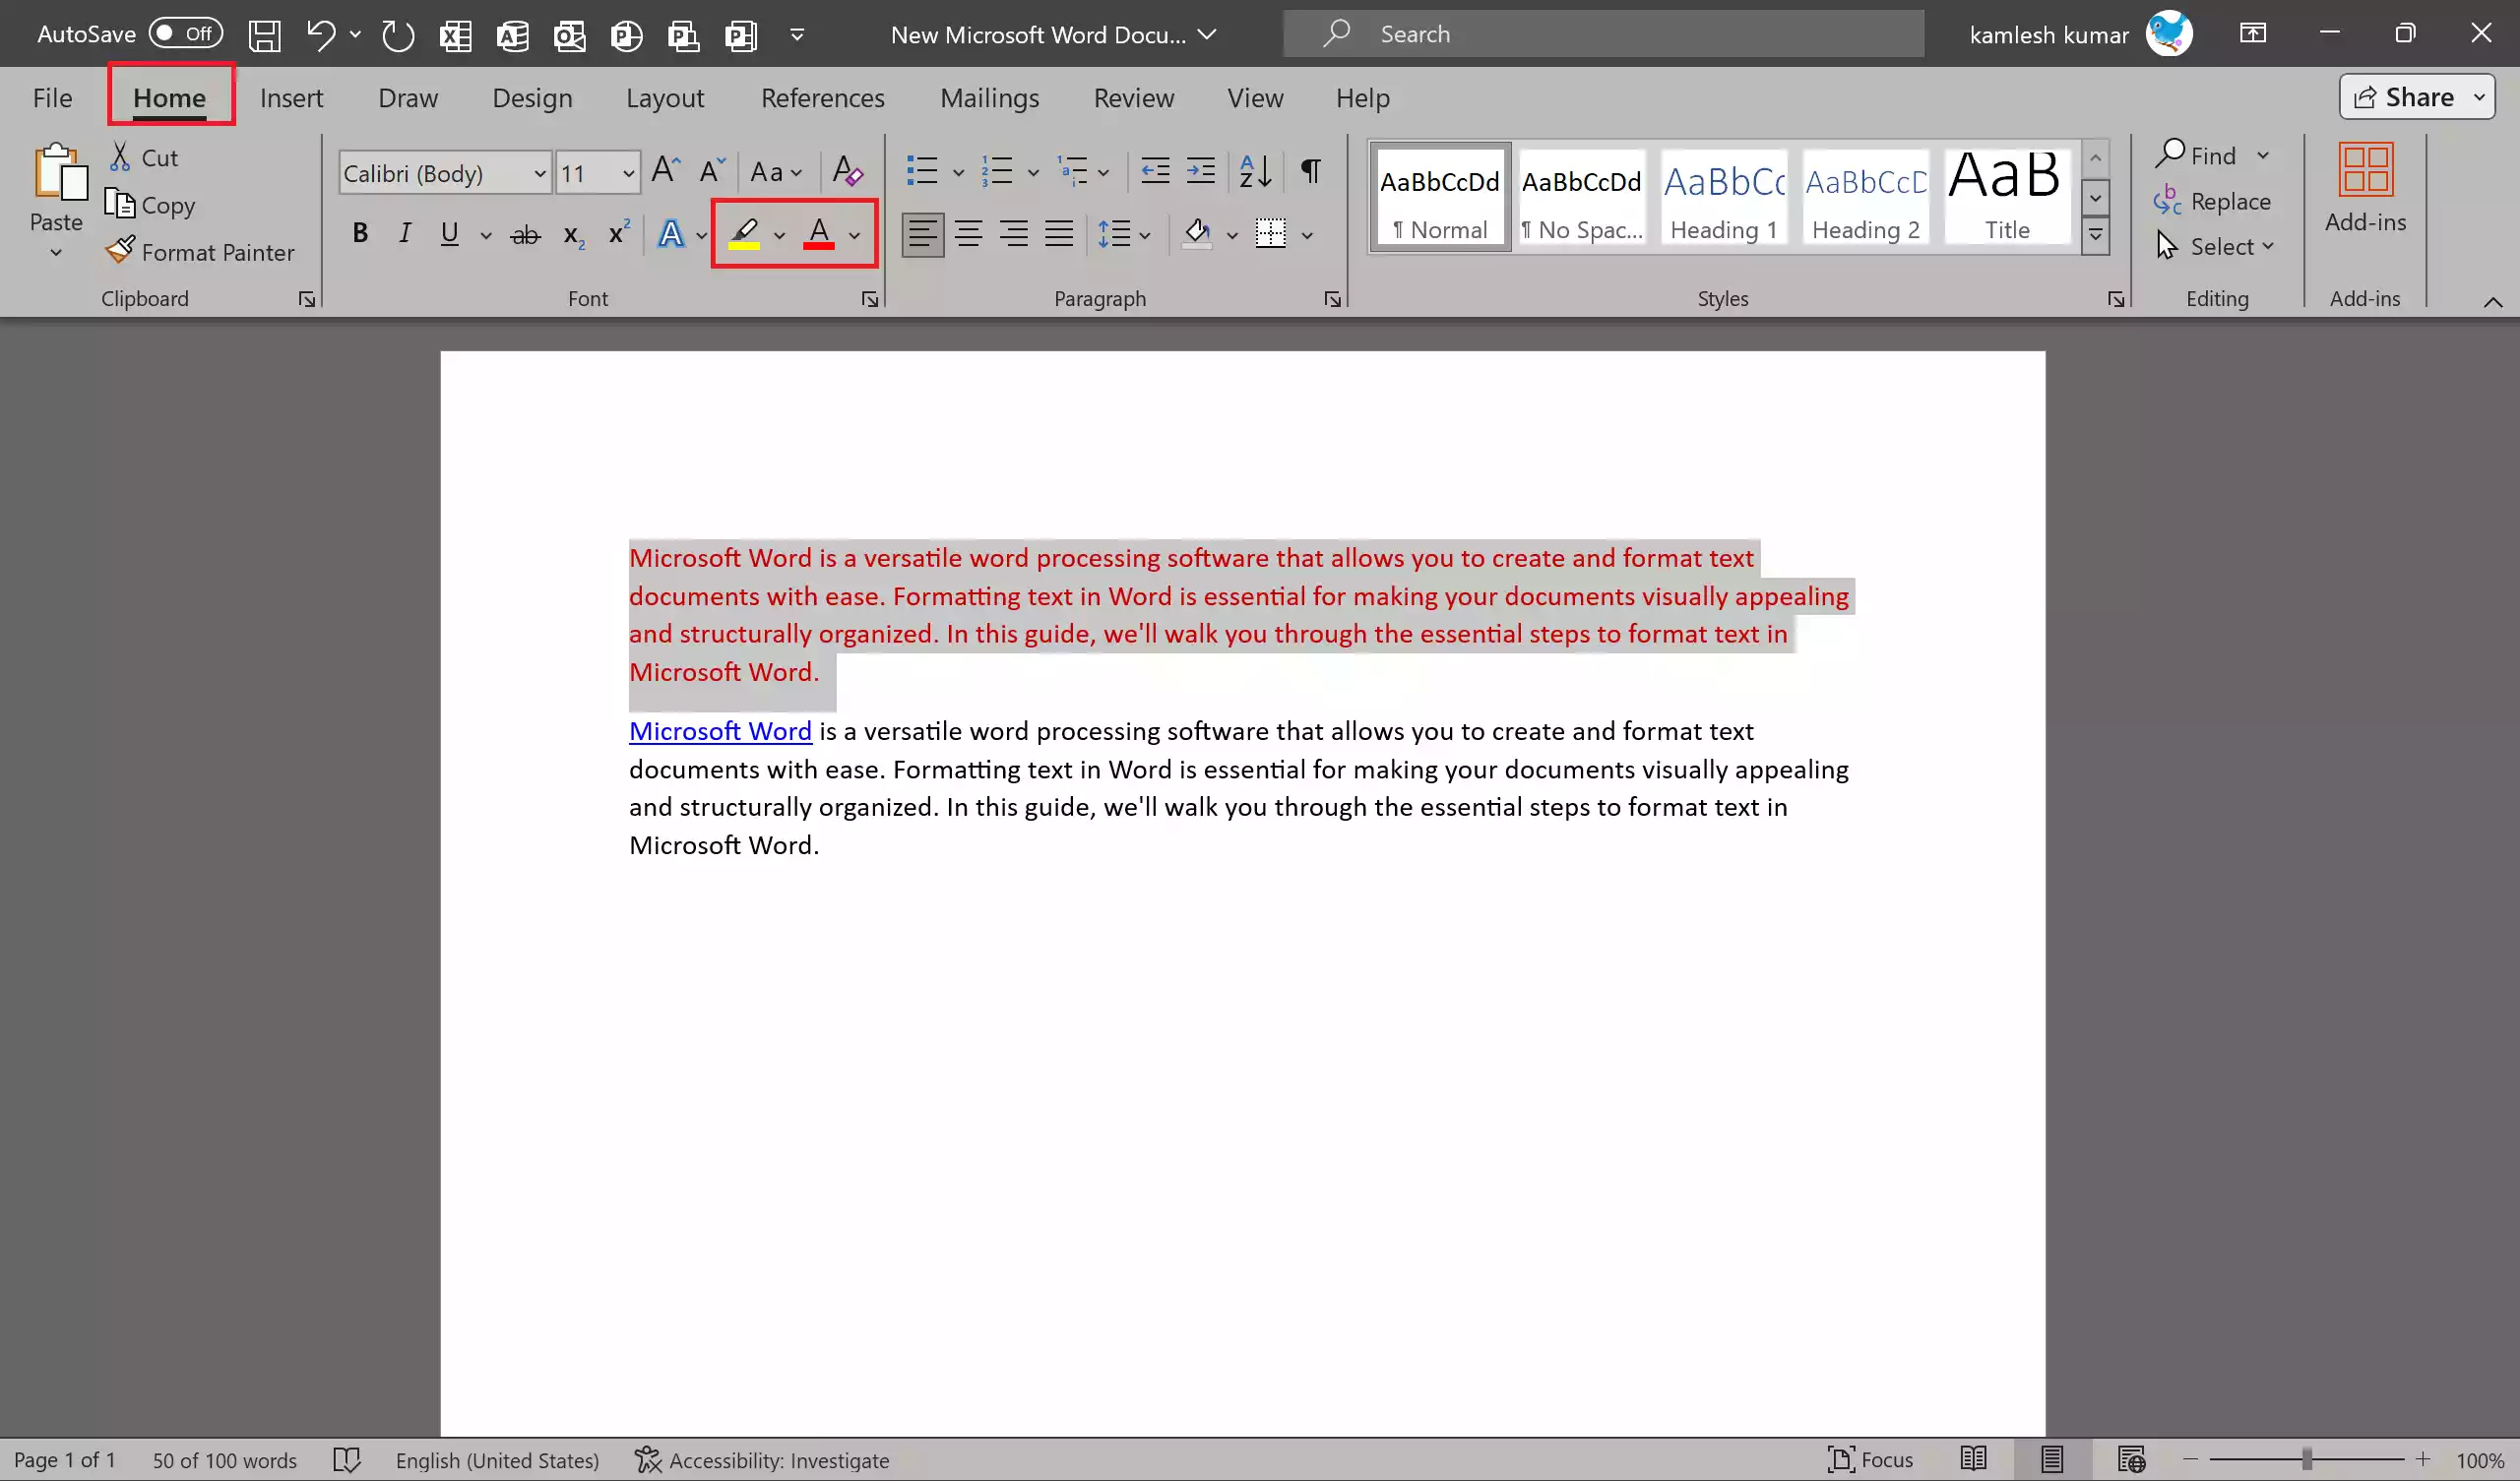
Step 2. In the “Font” group, you’ll also find options to change text color and highlight color. Click the respective buttons to choose colors.
Paragraph Formatting
Alignment
Step 1. Select the paragraph or paragraphs you want to align.
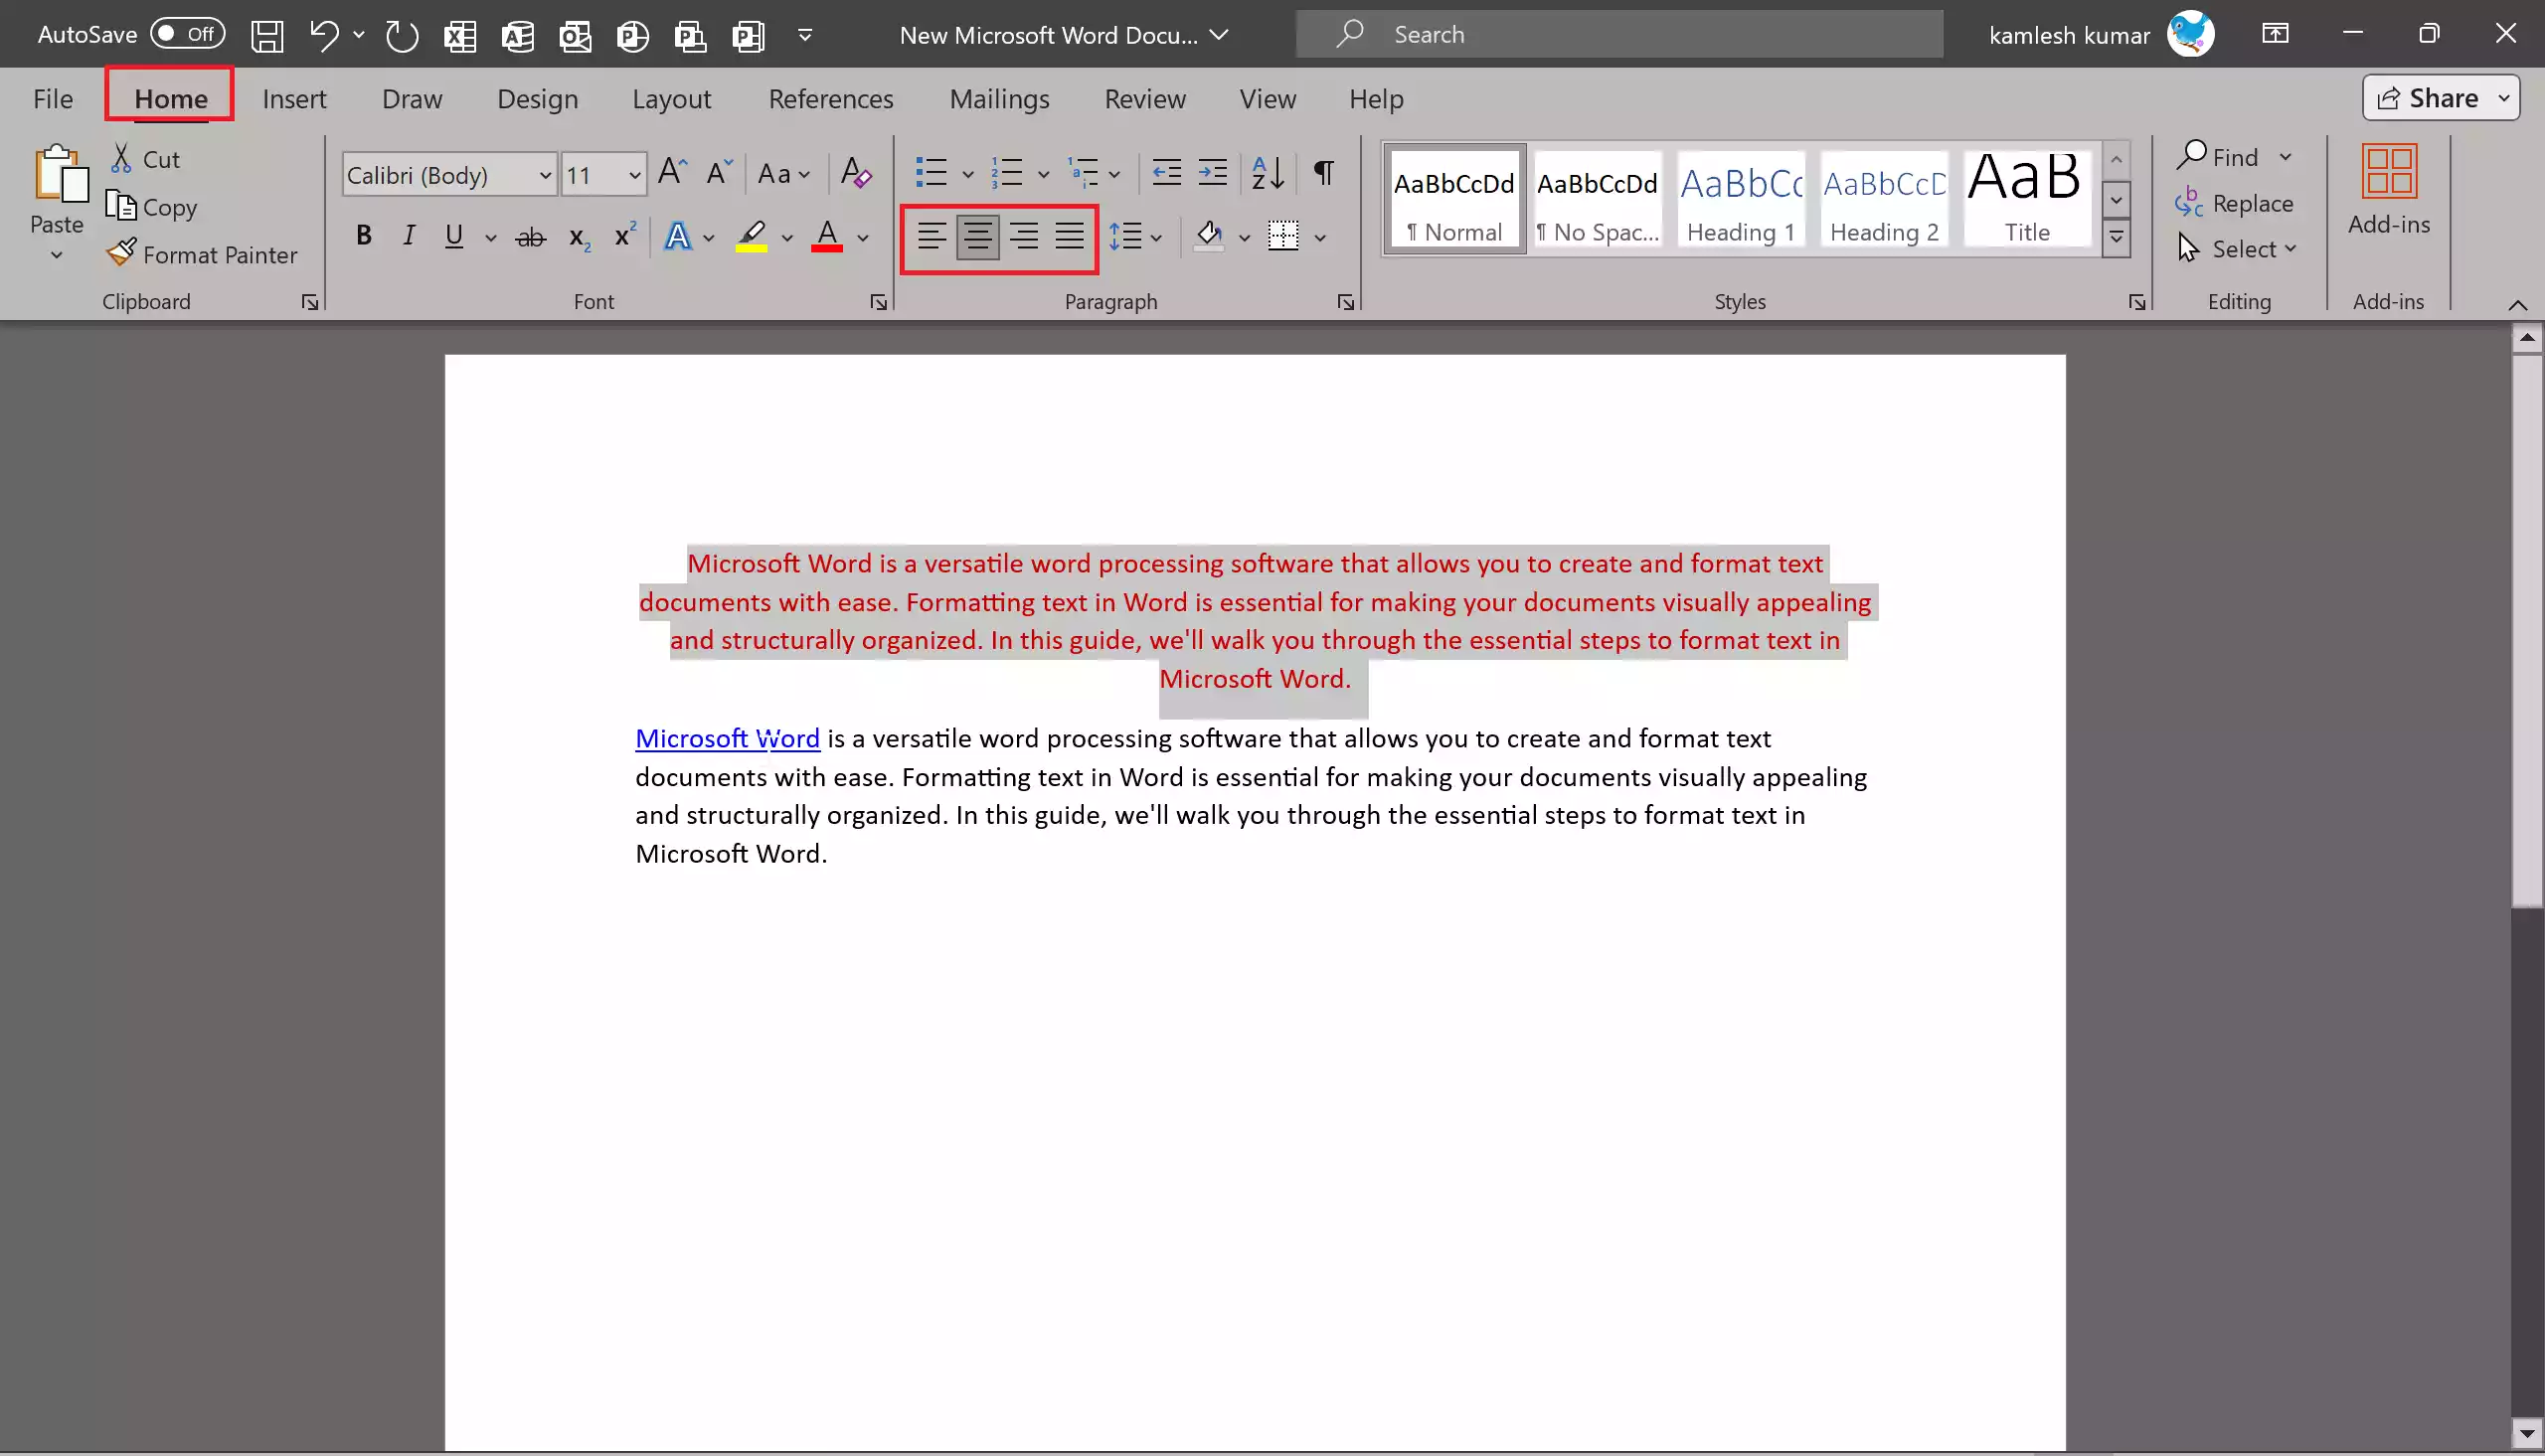
Step 2. In the “Paragraph” group on the “Home” tab, you’ll find alignment options: left-align, center, right-align, and justify. Click the desired alignment option.
Line Spacing
Step 1. Select the text you want to adjust the line spacing for, or click anywhere within a paragraph.
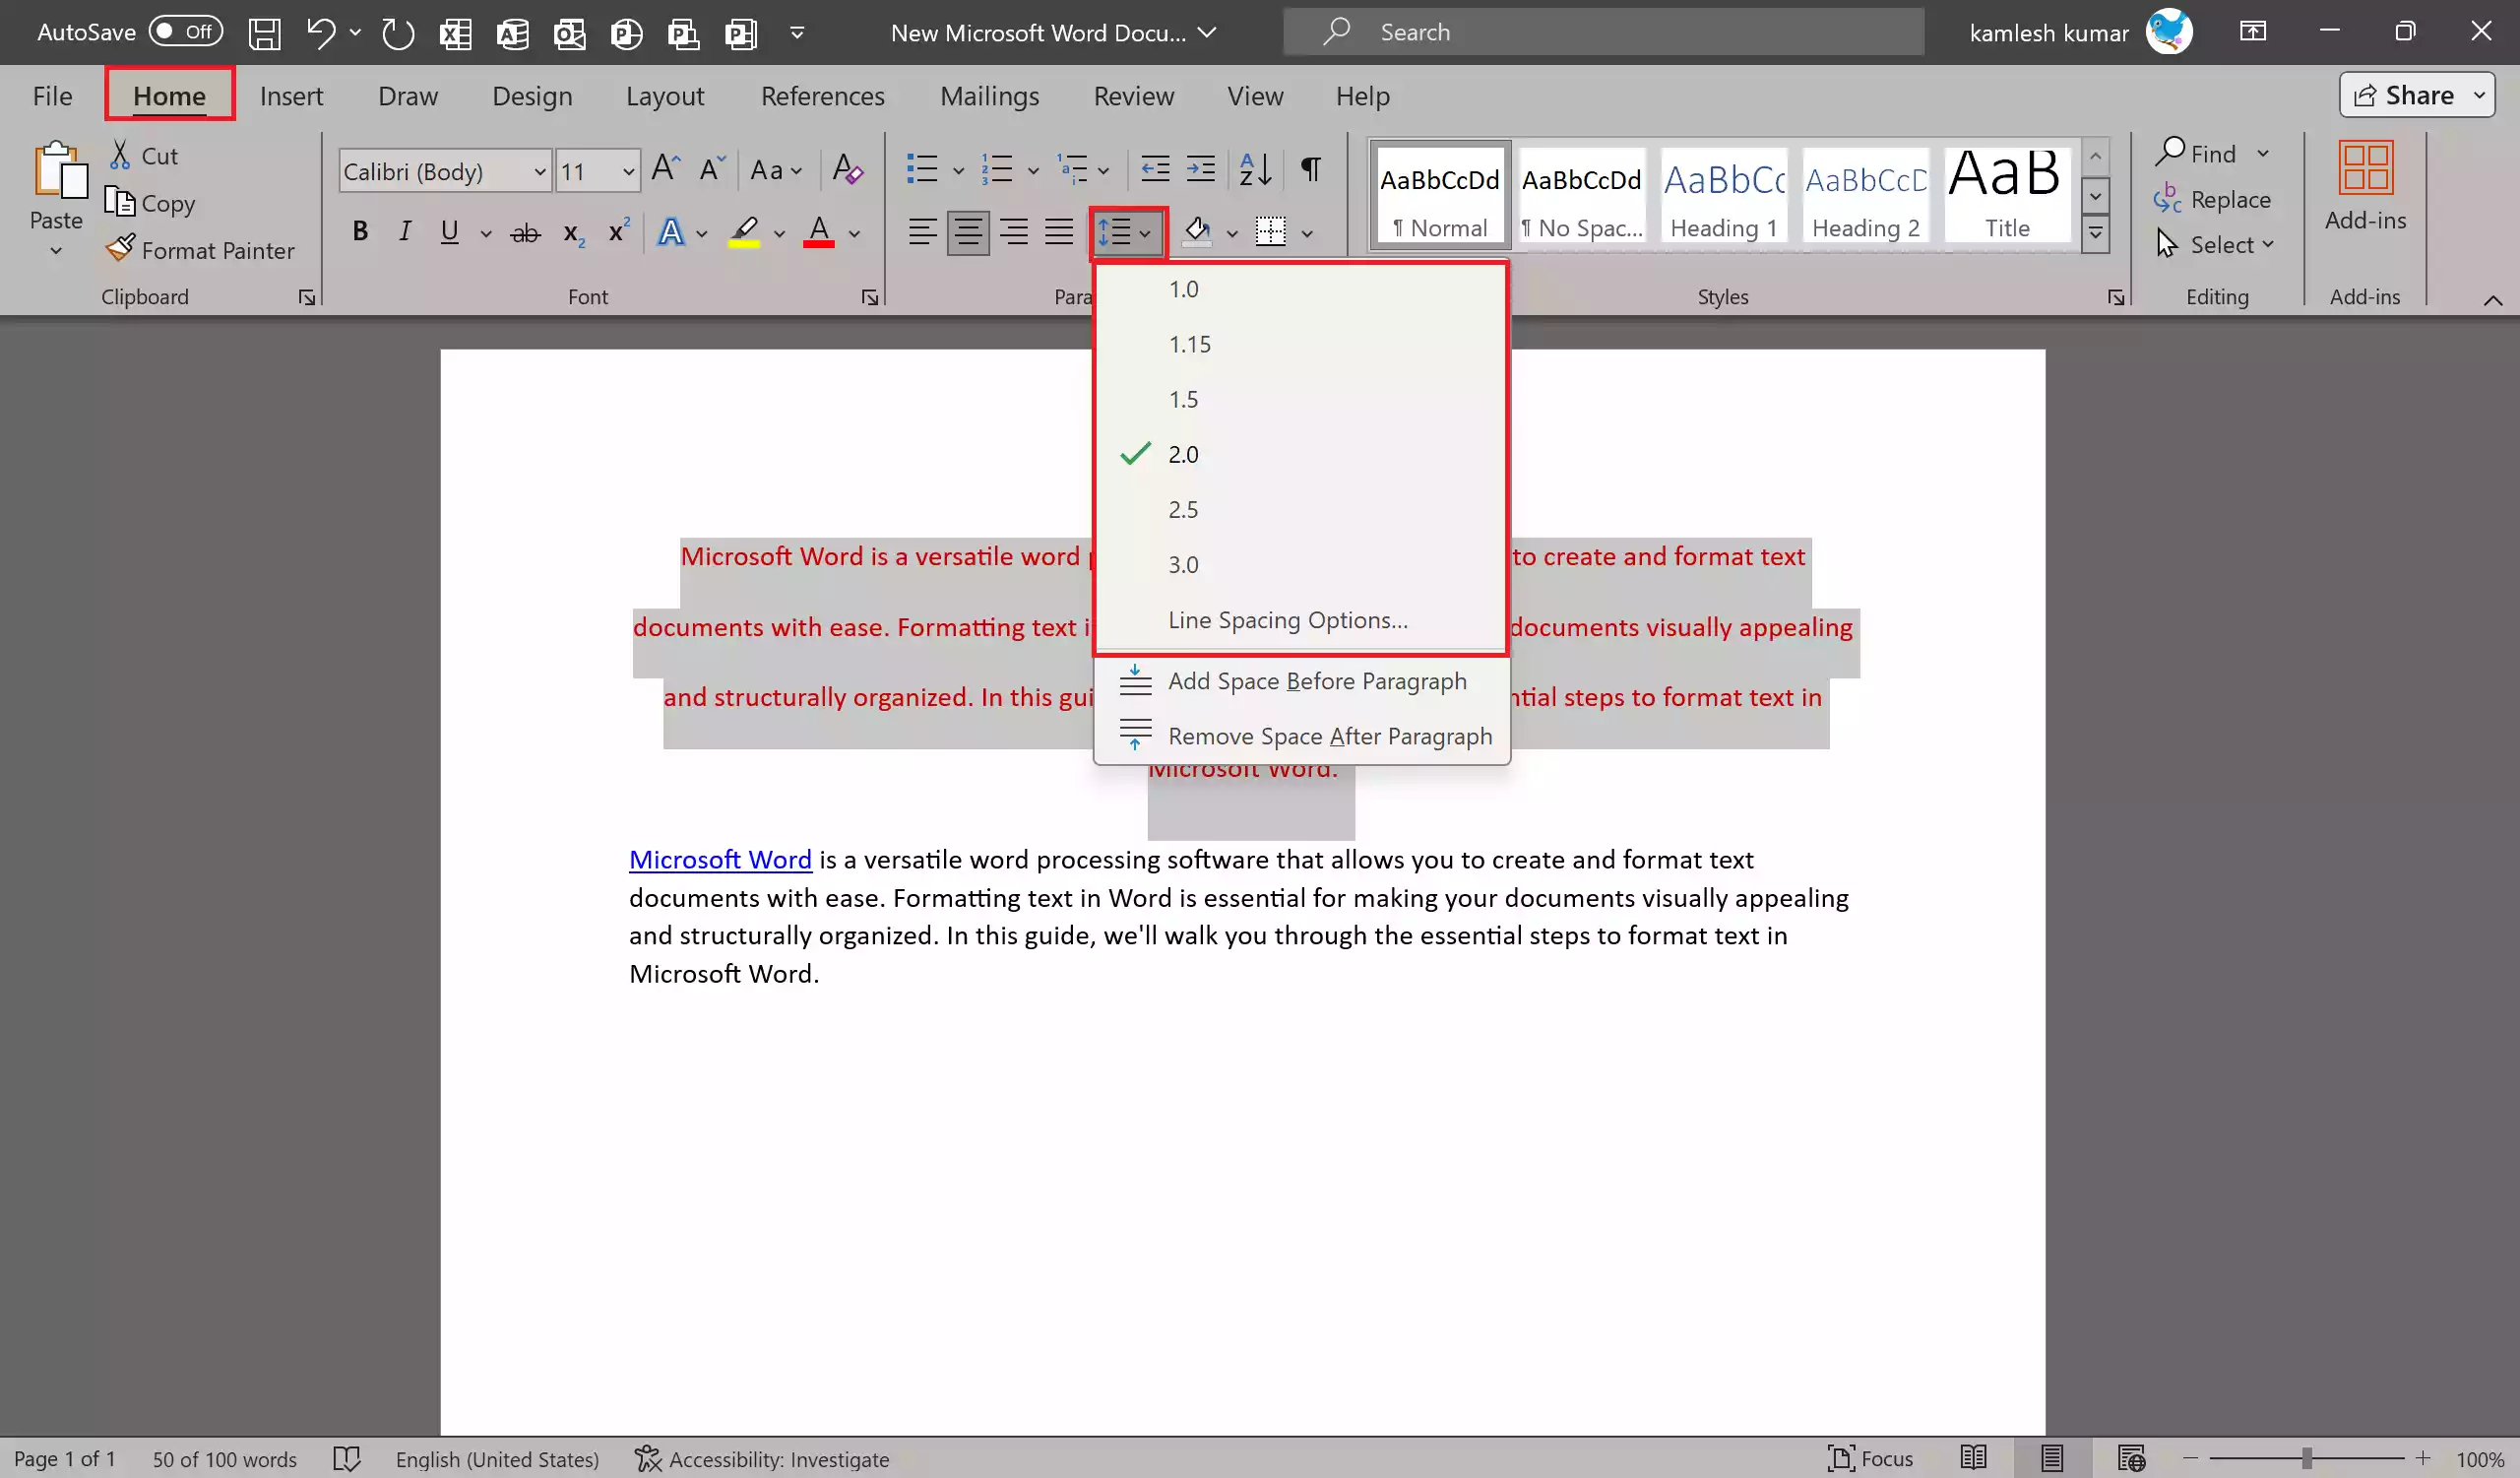
Step 2. In the “Paragraph” group of the “Home” tab, click the “Line and Paragraph Spacing” button. Choose from options like single spacing, 1.5 spacing, or double spacing. You can also customize line spacing by selecting “Line Spacing Options.”
Paragraph Indentation
Step 1. To indent the first line of a paragraph, select the paragraph or click anywhere within the paragraph.
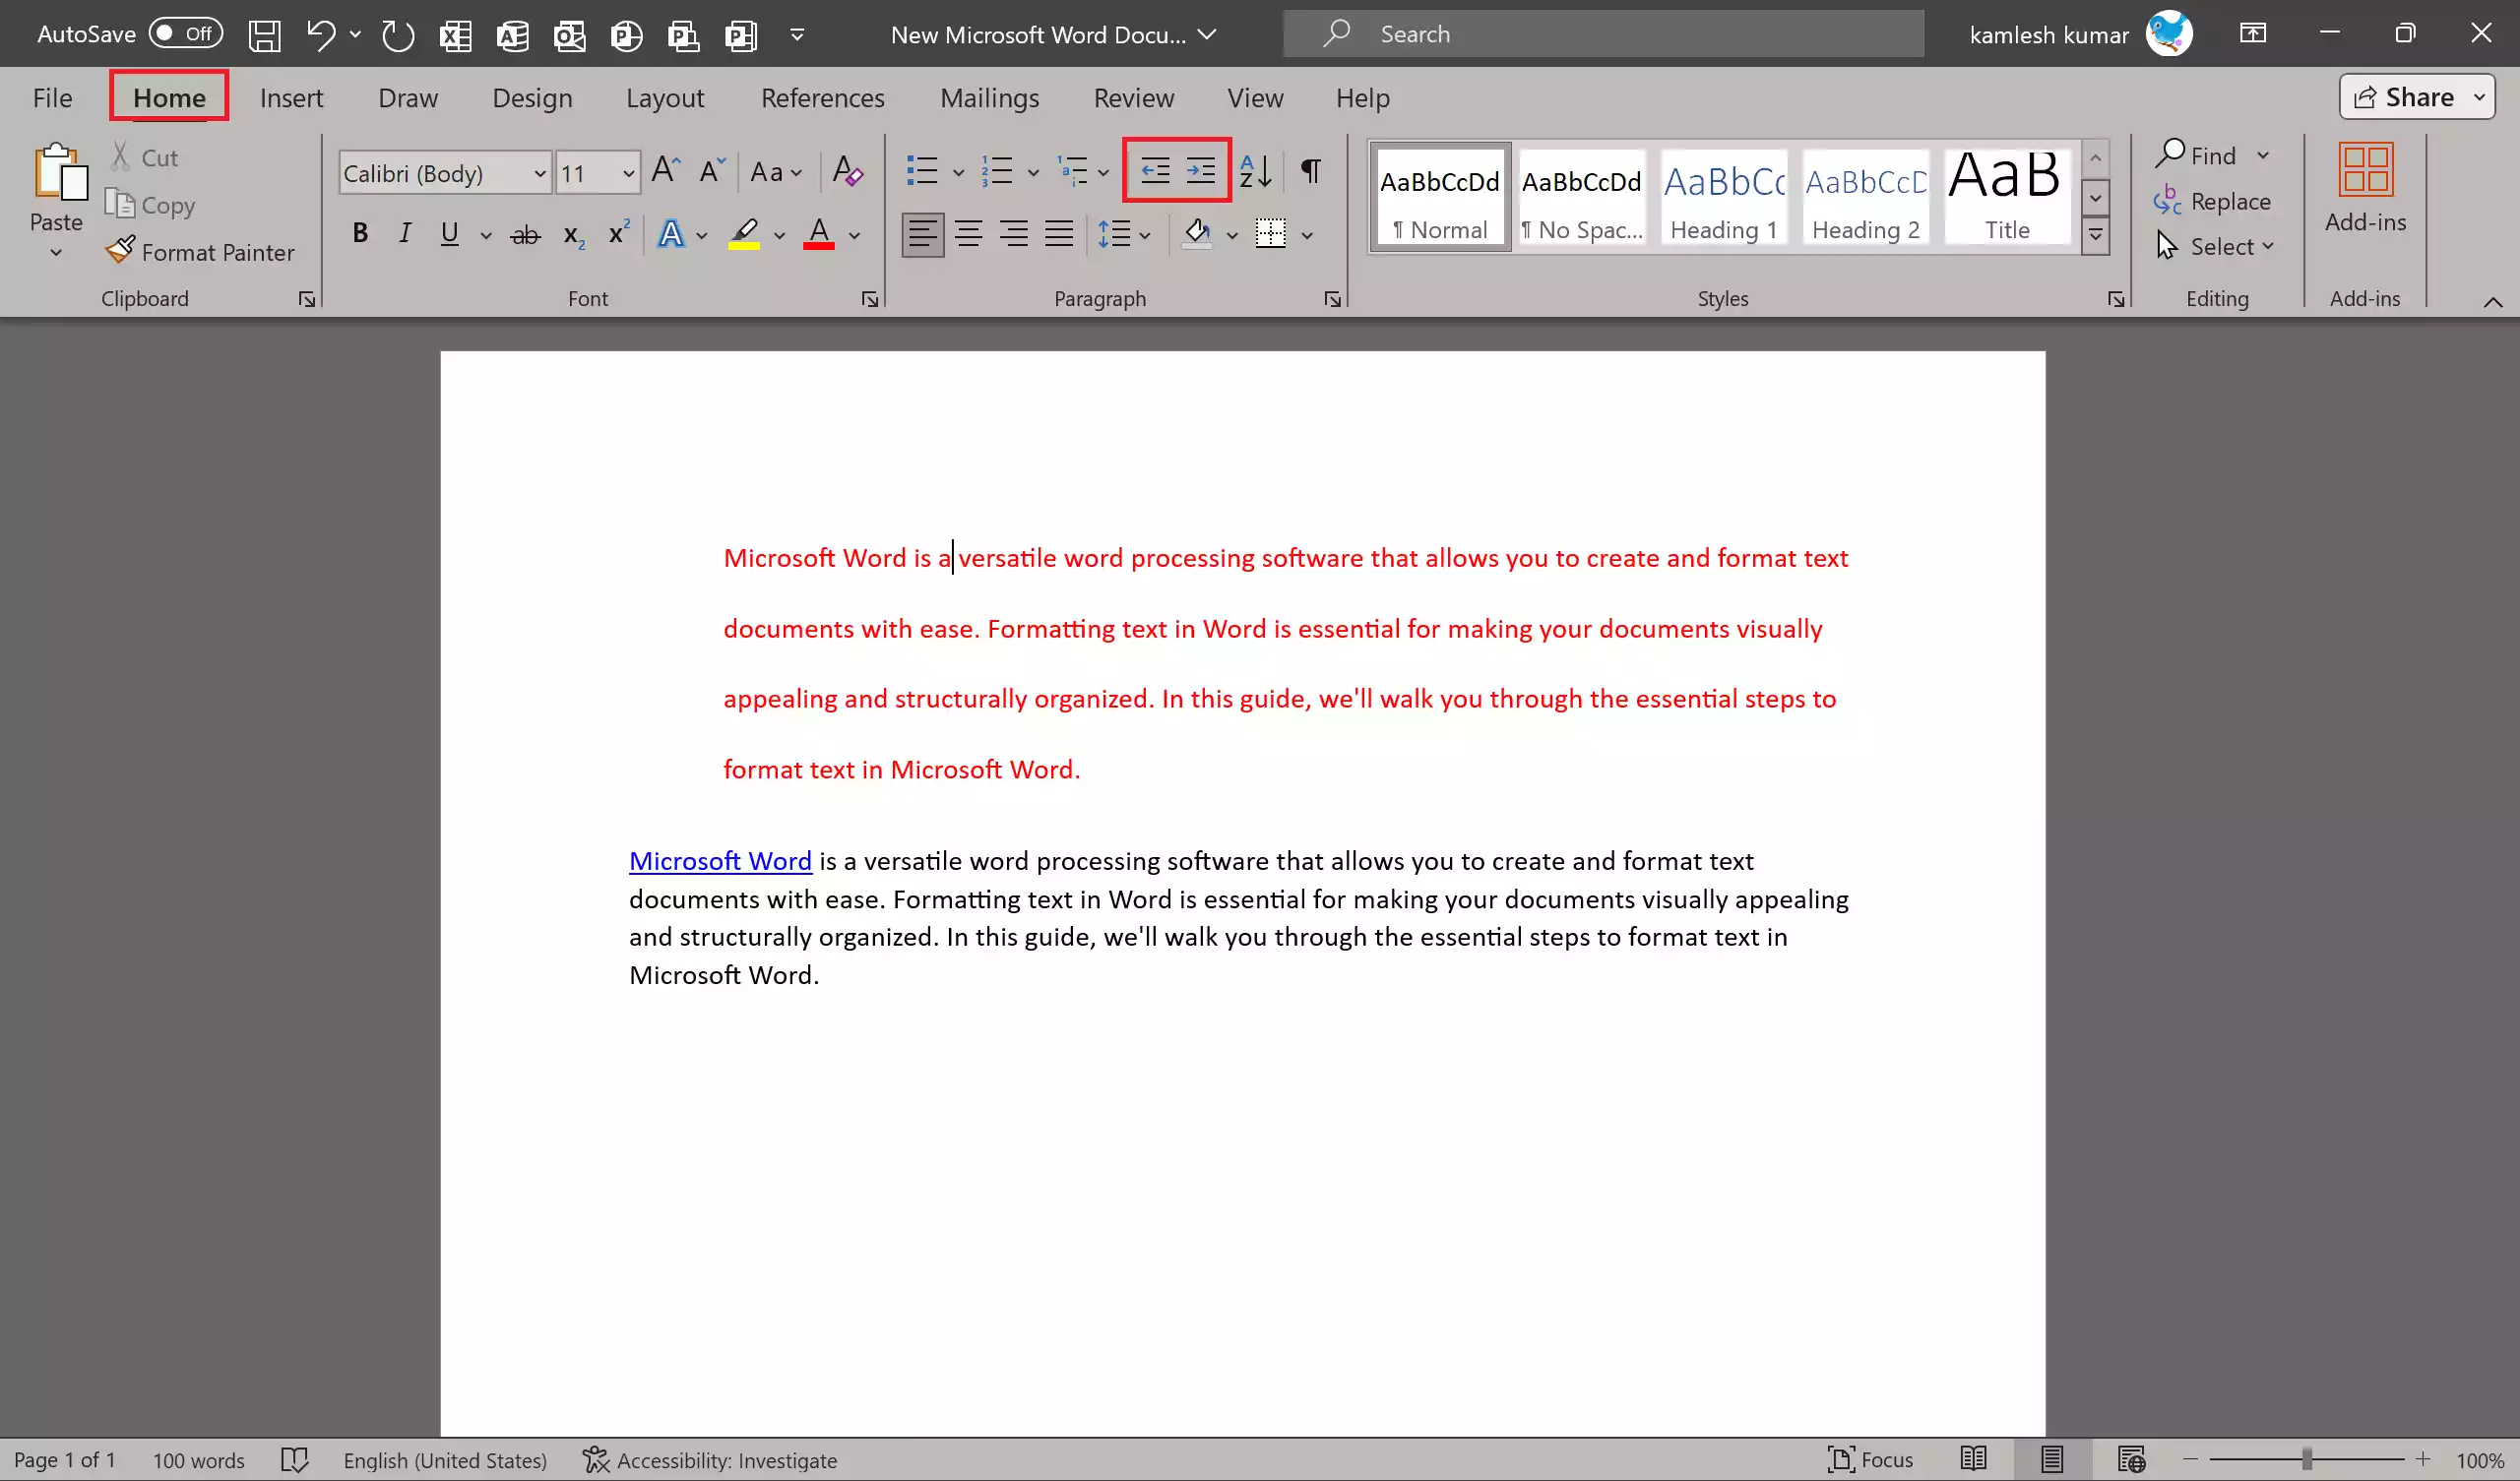
Step 2. In the “Paragraph” group of the “Home” tab, click the “Increase Indent” or “Decrease Indent” button to adjust the indentation.
Bulleted and Numbered Lists
Creating Lists
Step 1. Select the text(s) you want to turn into a list or start a new line.
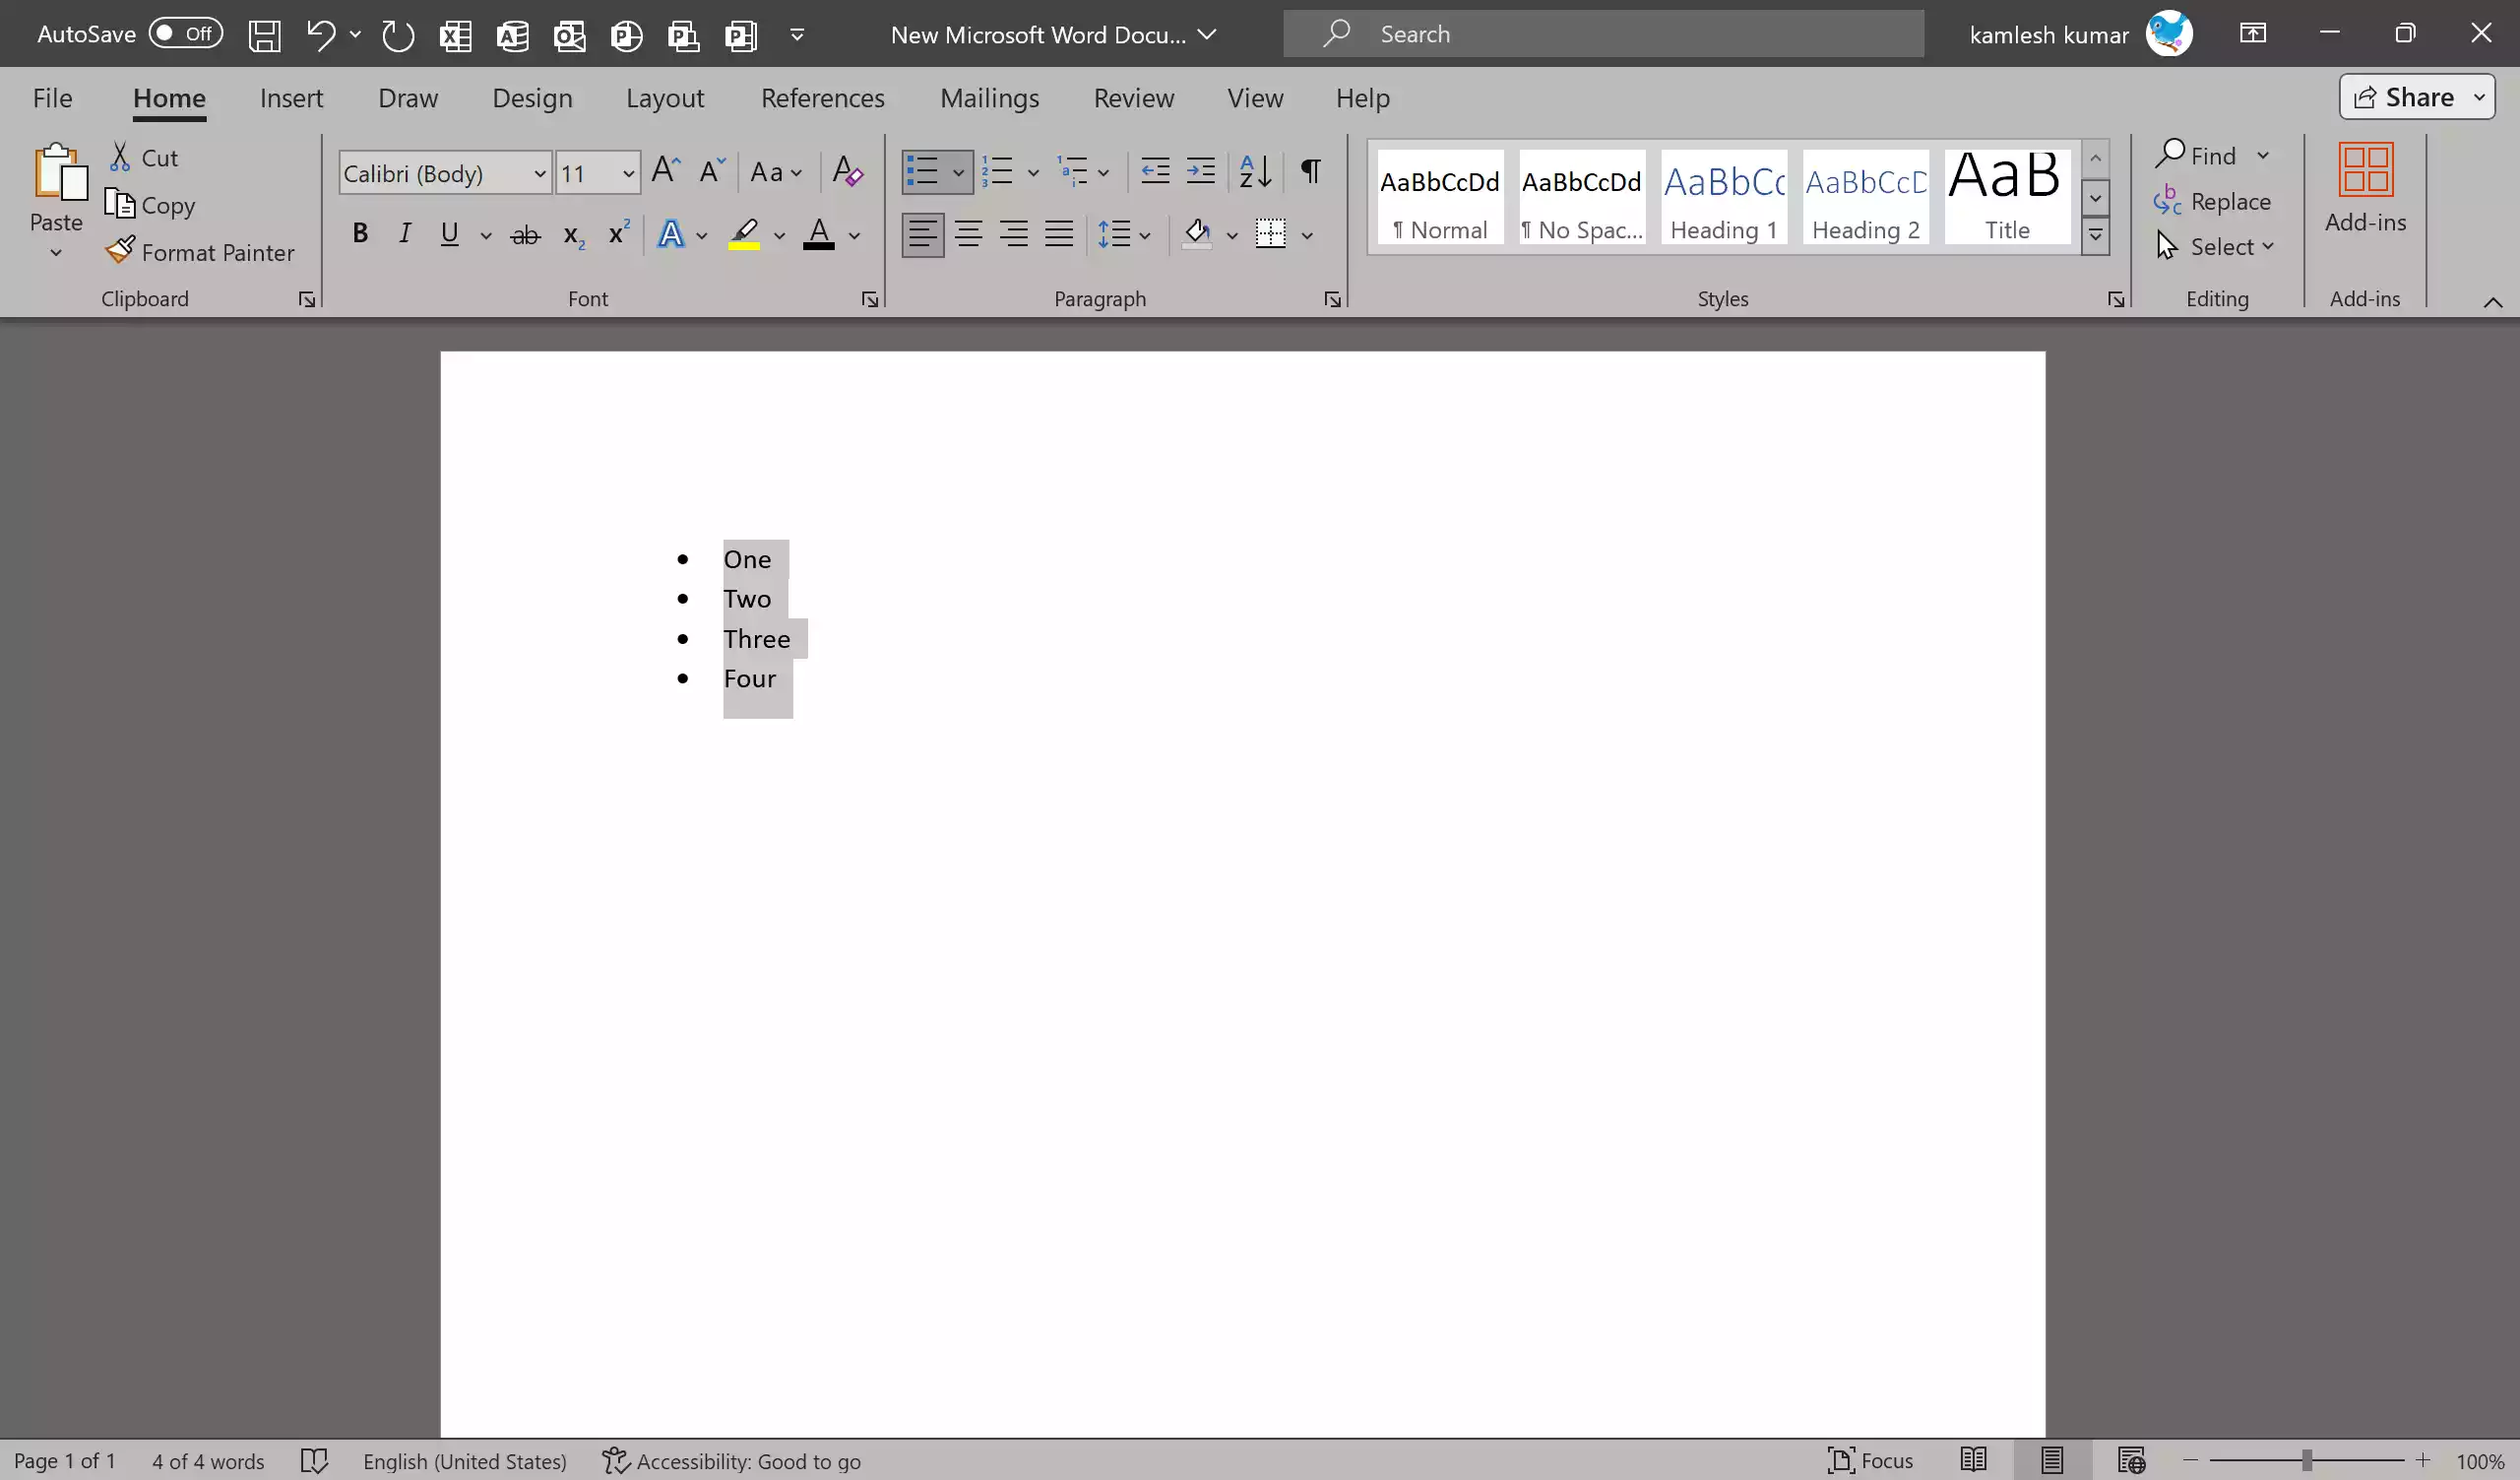
Step 2. In the “Paragraph” group on the “Home” tab, click the “Bullets” or “Numbering” button to create a bulleted or numbered list.
Customizing Lists
Step 1. After creating a list, right-click on a bullet or number to access list customization options.
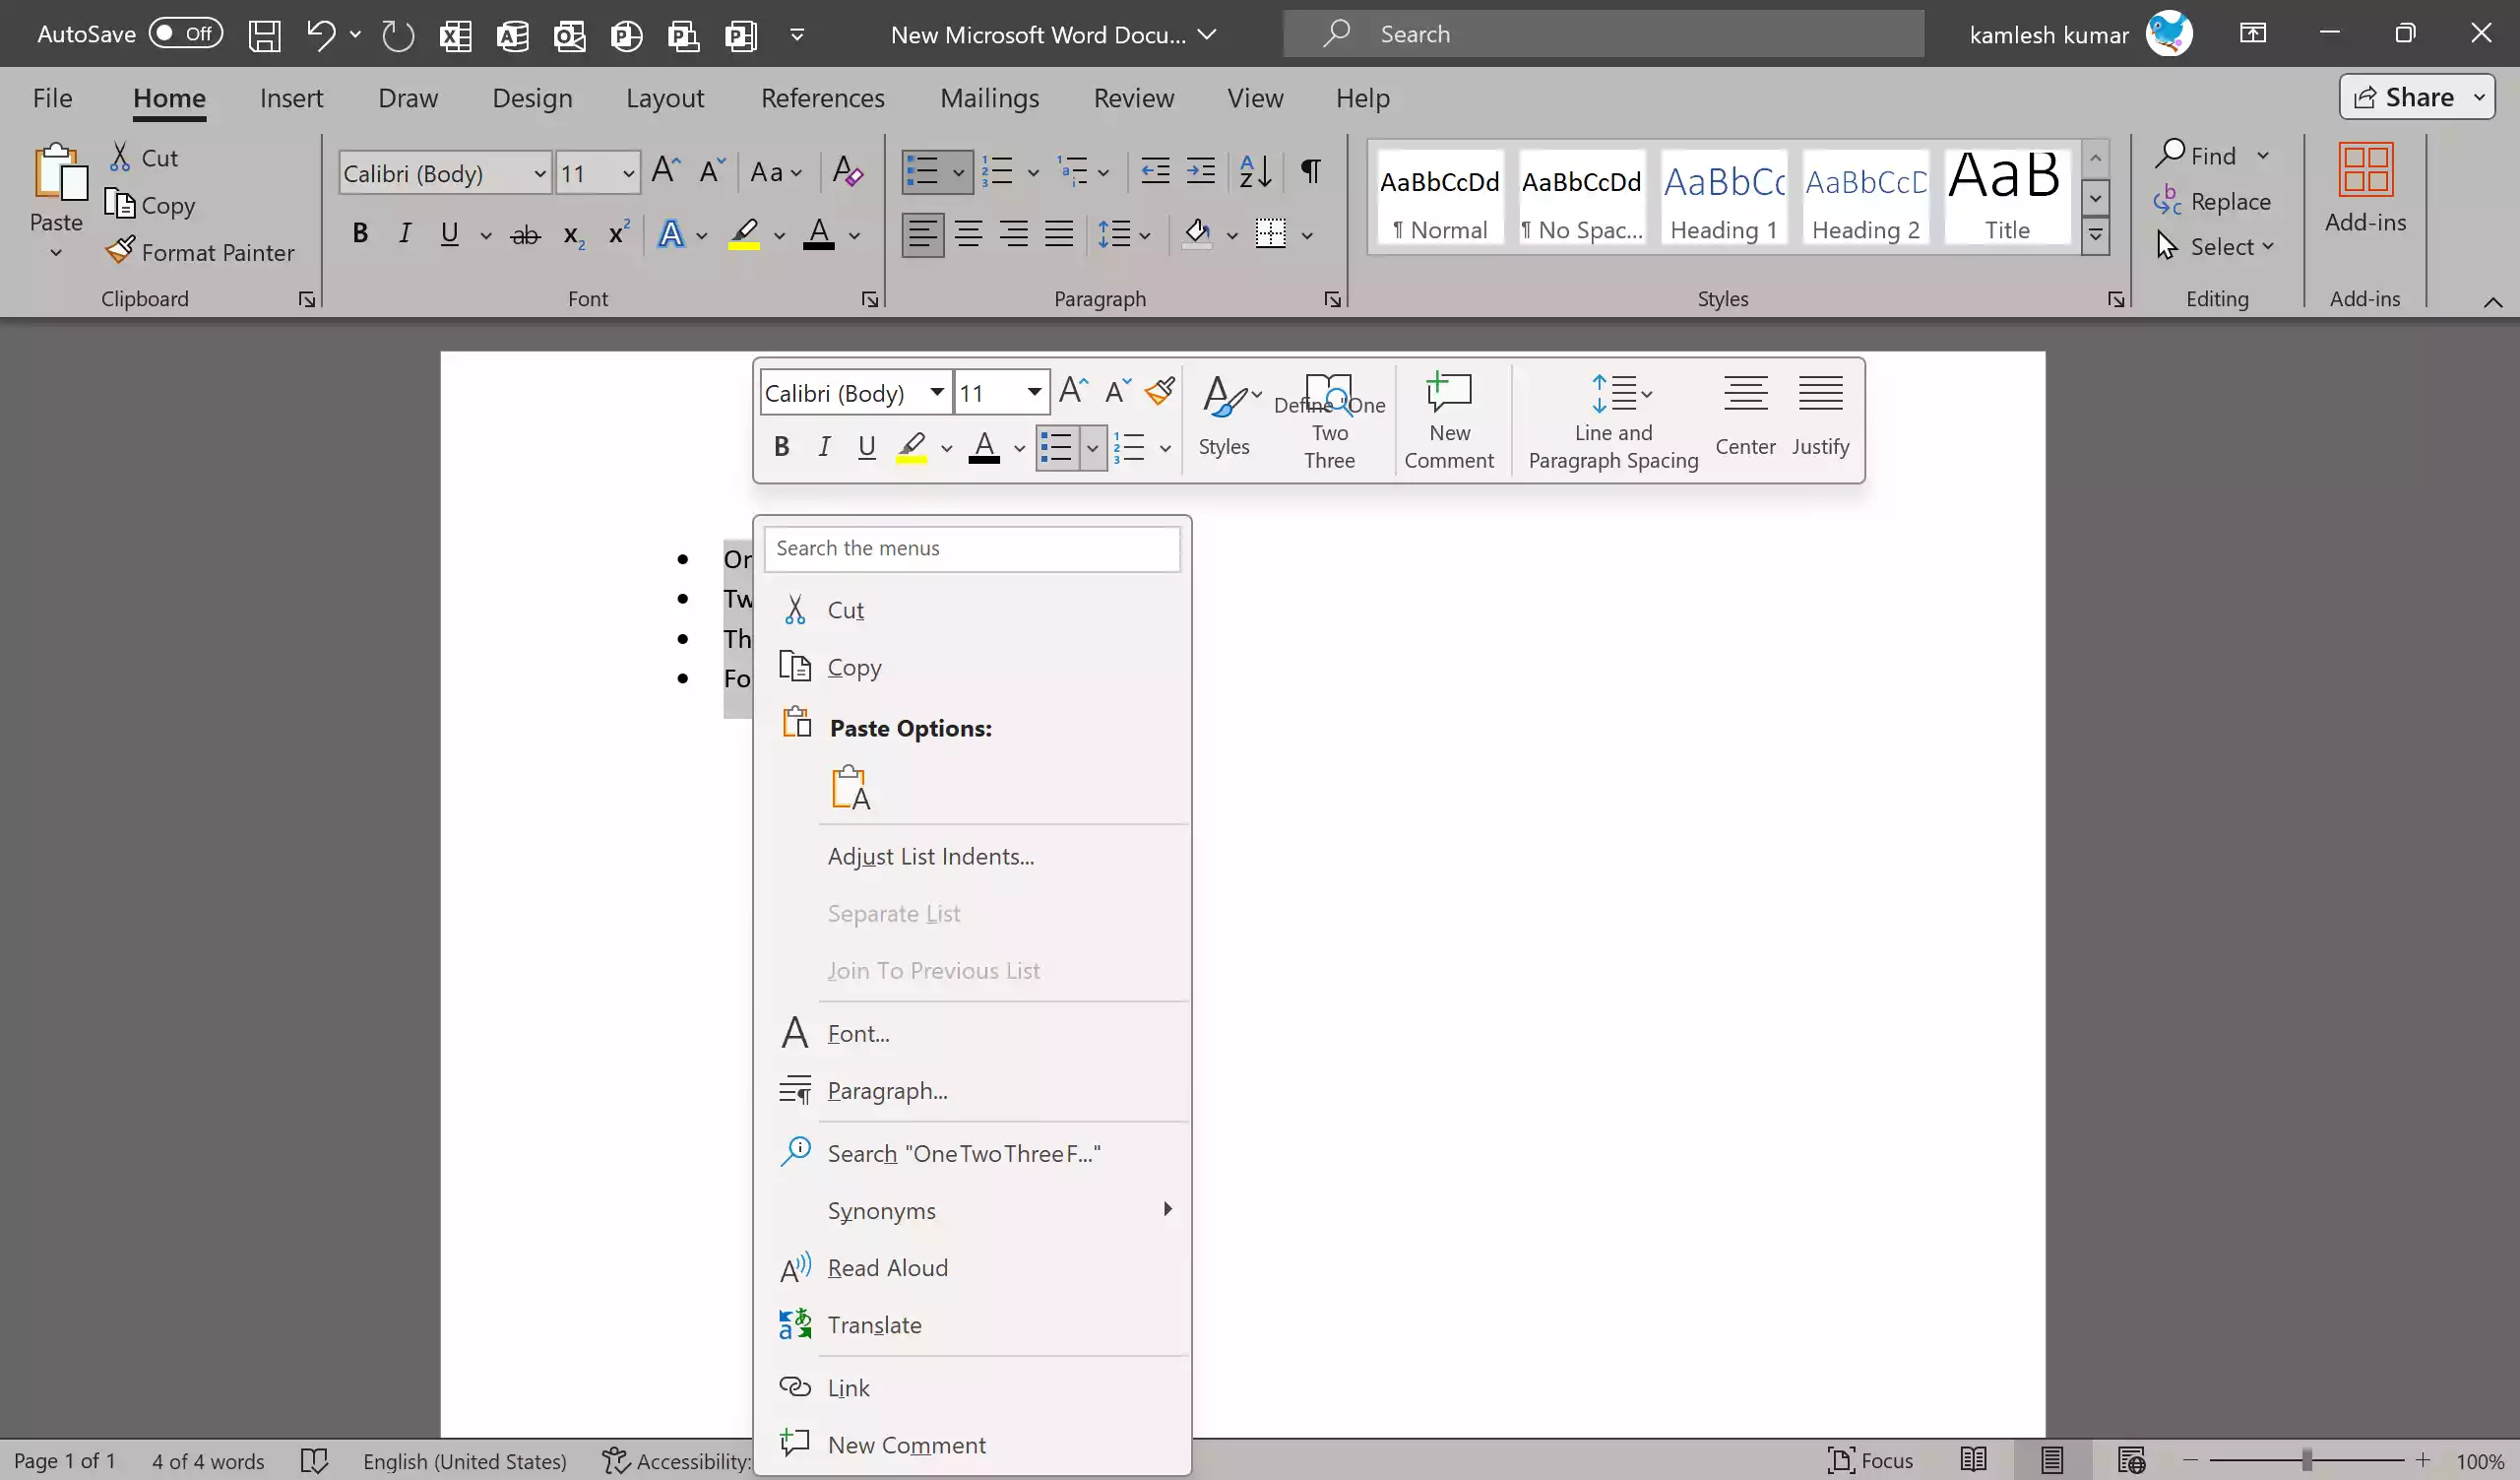
Step 2. You can change bullet styles, numbering formats, and more.
Advanced Text Effects
Text Effects
Step 1. Select the text you want to apply special effects to.
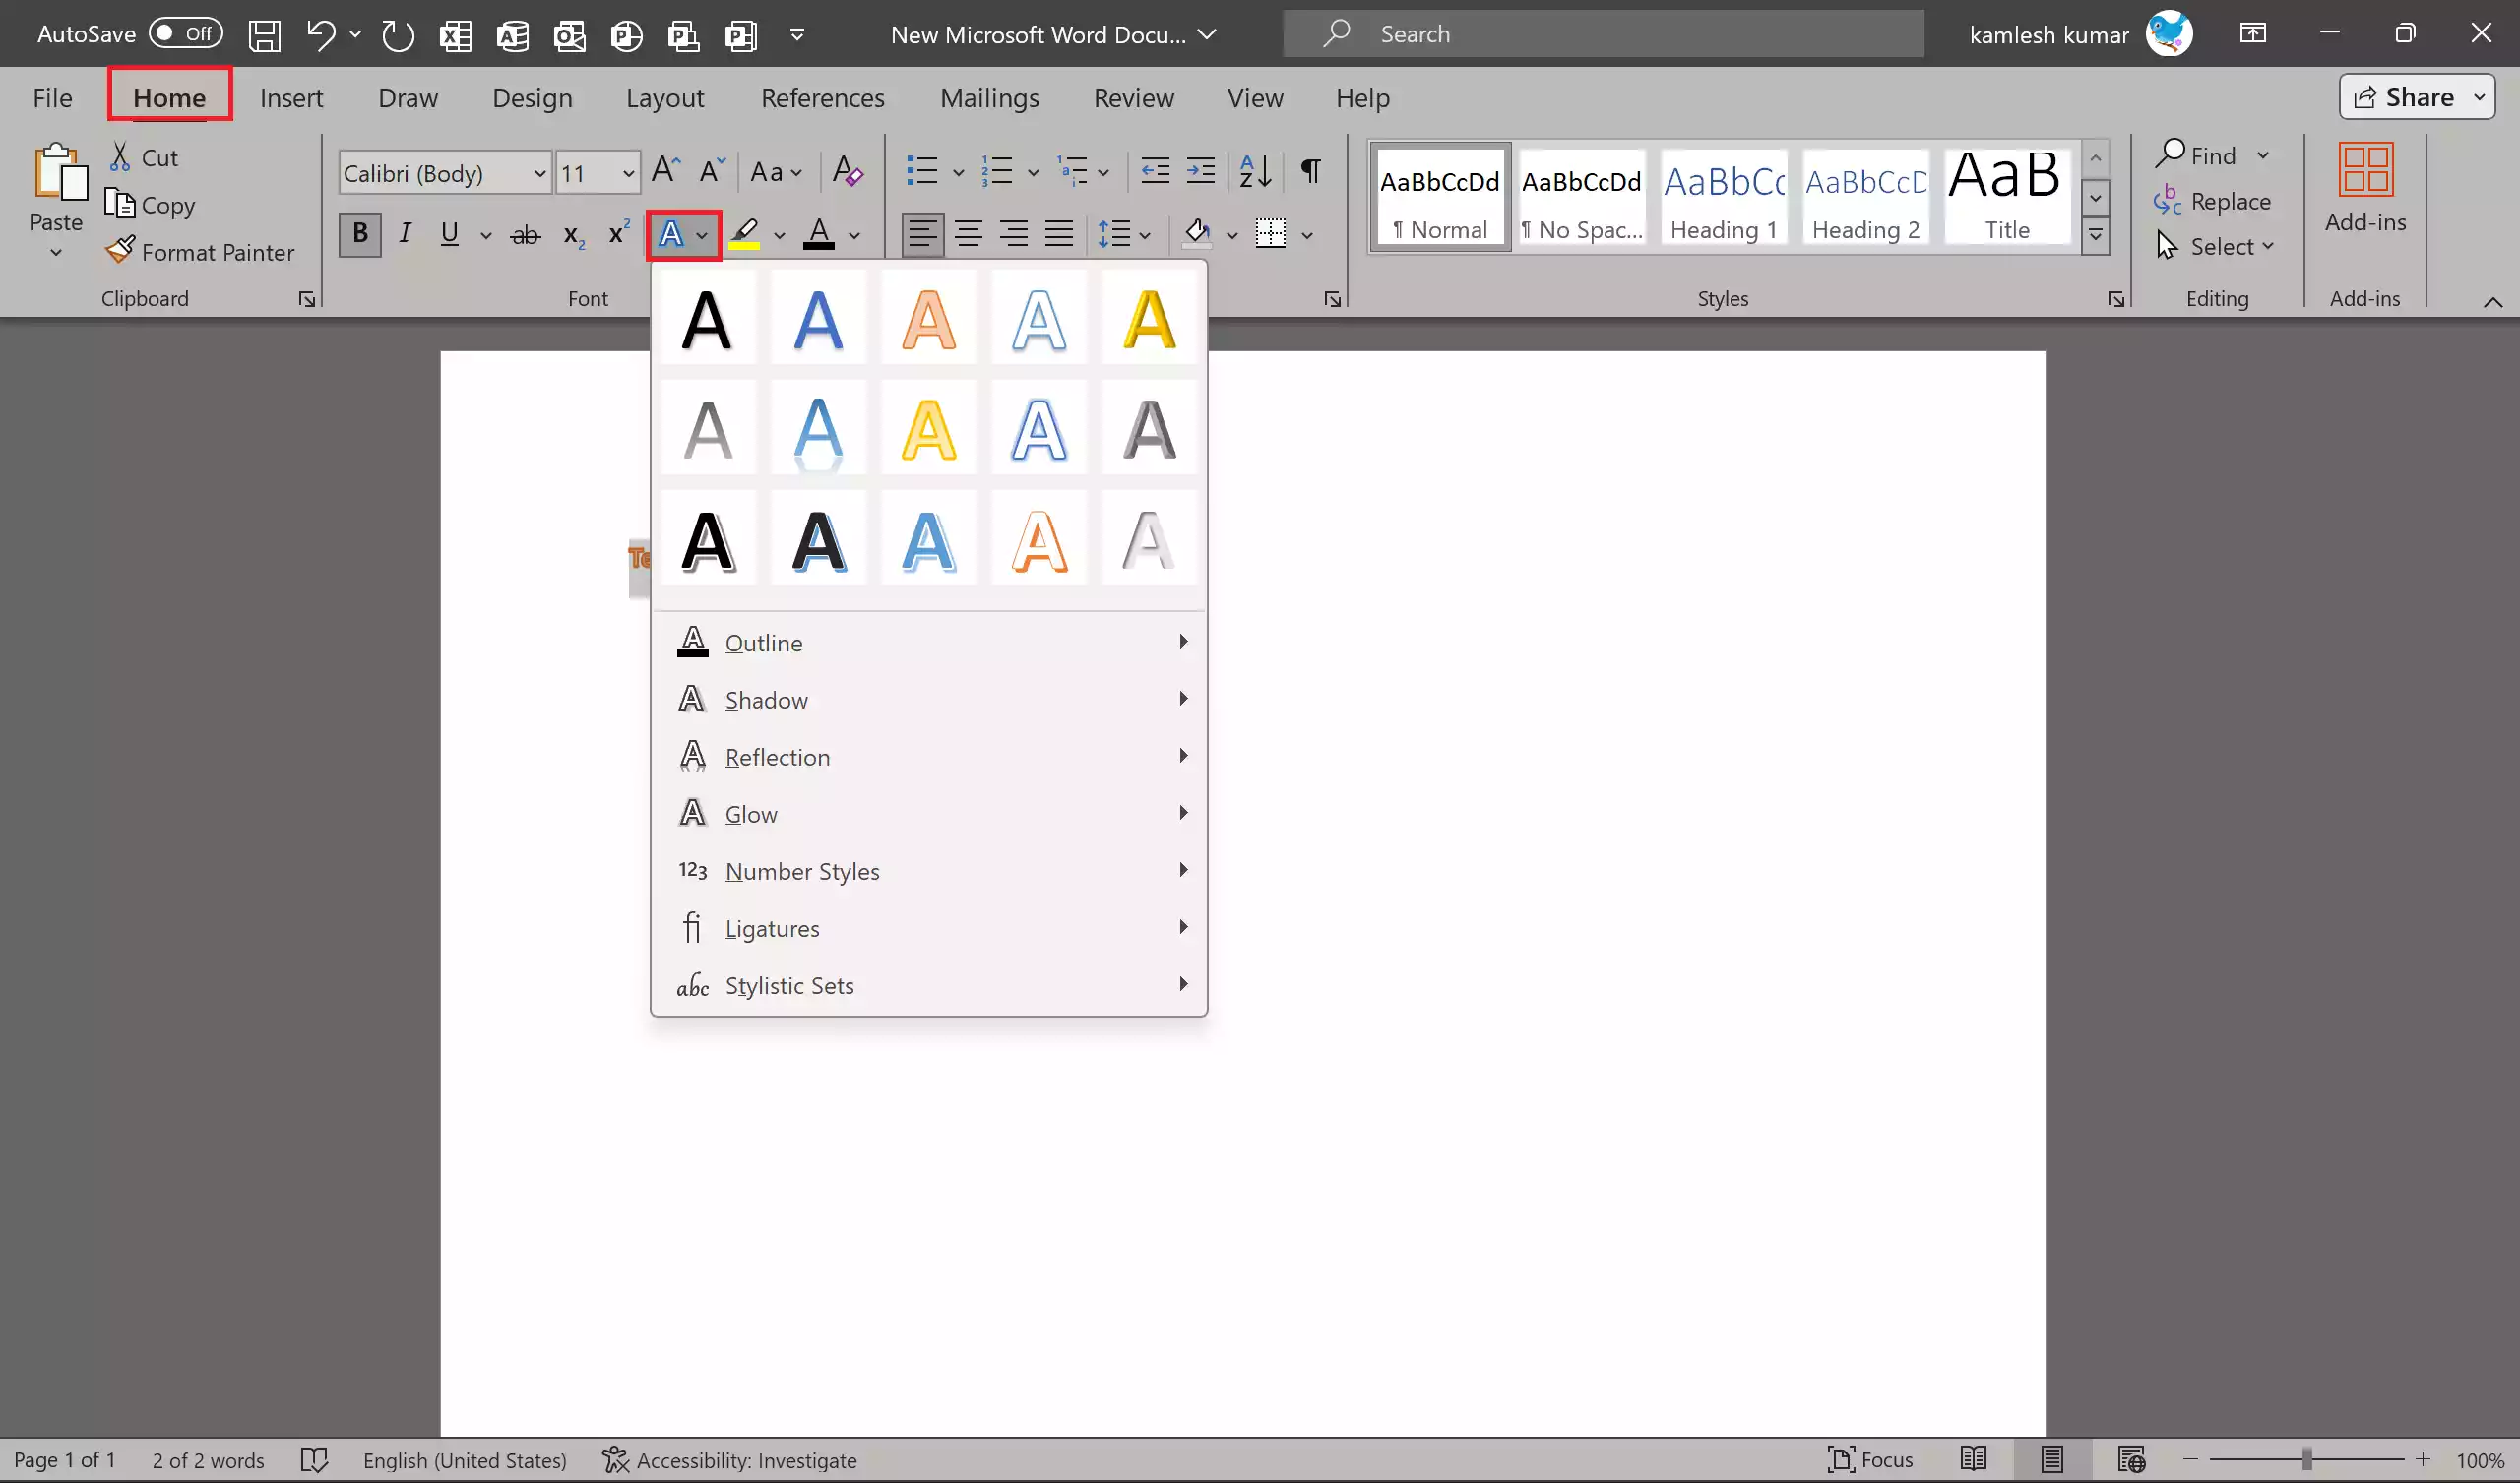
Step 2. In the “Font” group, click the “Text Effects and Typography” button (Aa) to open the Text Effects and Typography menu. Here, you can add various effects like shadow, reflection, and glow to your text.
WordArt
Step 1. To create stylized text with gradients, outlines, and more, go to the “Insert” tab.
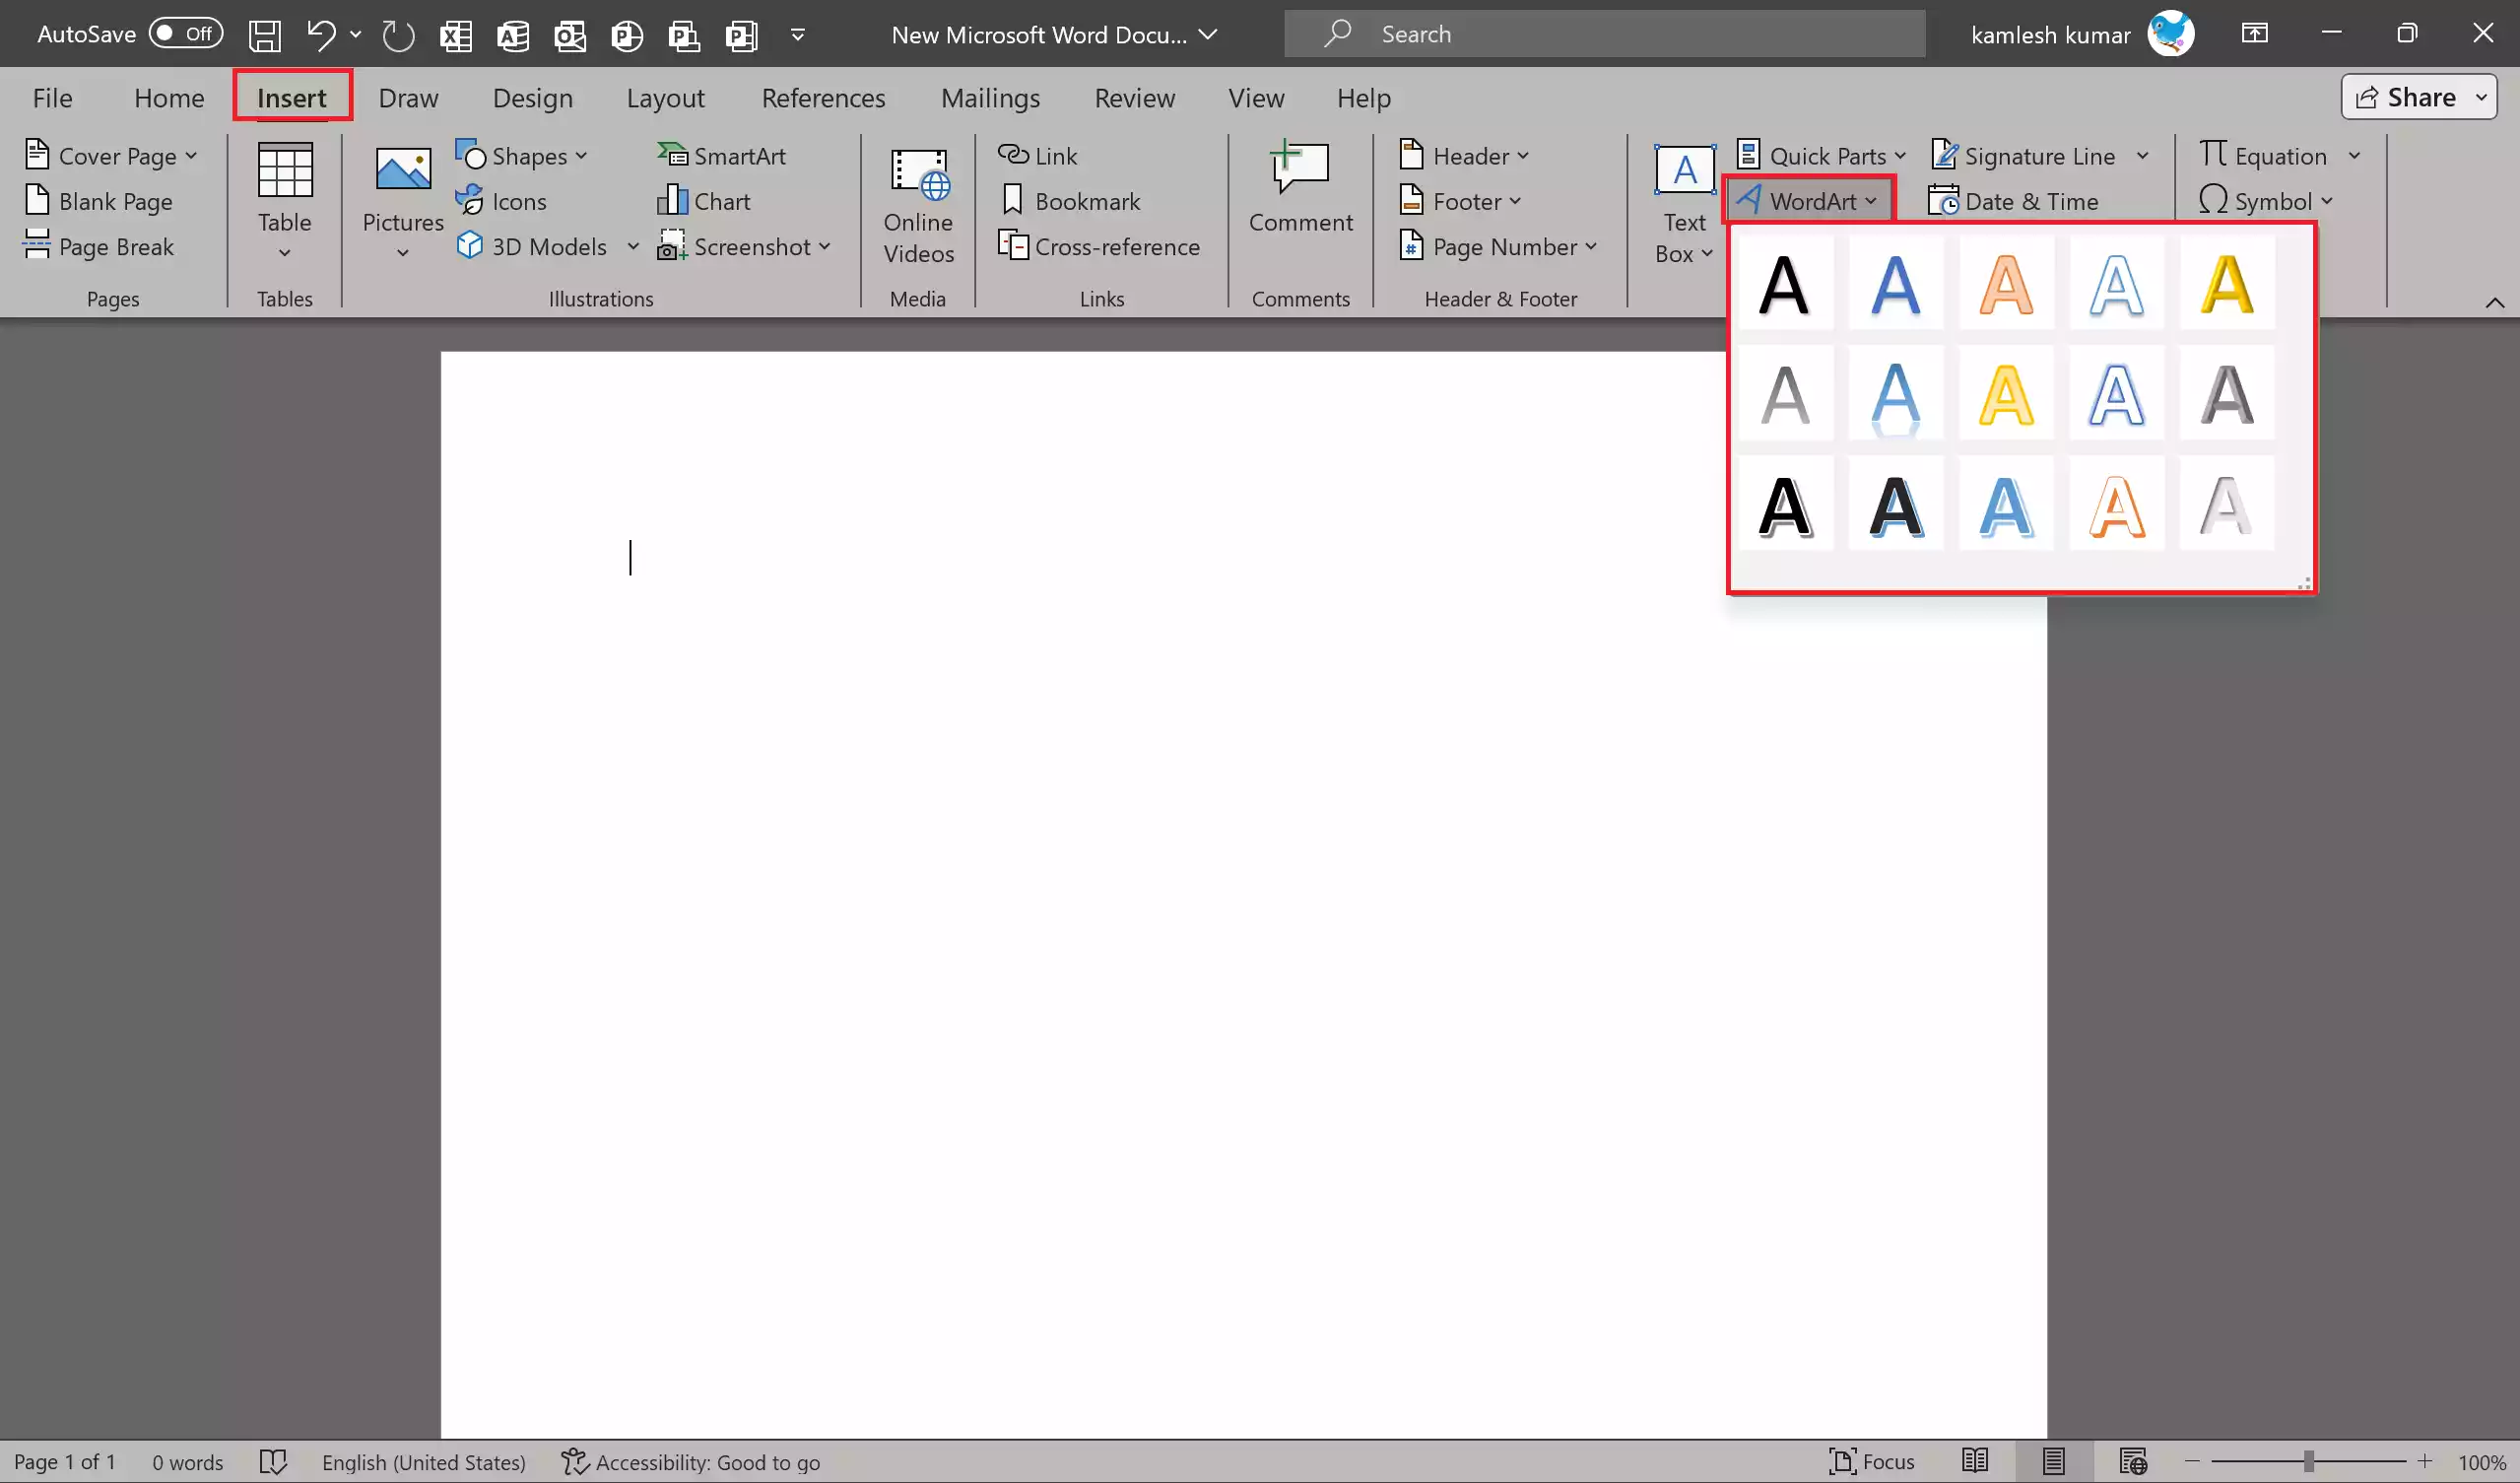
Step 2. Click “WordArt” and choose a style. Type your text, and then use the “Drawing Tools” in the “Shape Format” tab to customize it further.
Clear Formatting
If you want to remove formatting from the selected text(s):-
Step 1. Select the formatted text.
![]()
Step 2. In the “Font” group on the “Home” tab, click the “Clear All Formatting” button (an eraser icon) to return the text to its default formatting.
By following these steps, you can easily format text in Microsoft Word to create professional and visually appealing documents. Word offers a wide range of formatting options to suit your document’s needs, whether it’s a simple letter, a report, or a creative project.