By default, most Windows 11 PC goes into sleep mode after a certain period of inactivity to conserve battery power. If, for some reason, you want to keep your PC awake at all times or you do not want to use the sleep mode, this article from Gearupwindows will guide you. Using built-in options, you can stop your Windows 11 computer from going to sleep mode, which means no third-party software is required.
How to Make Windows 11 PCs Never Go to Sleep?
Using Windows 11 Settings app, you can quickly stop your PC from going into sleep mode. For that, do the following recommended steps:-
Step 1. First, launch the Settings app by pressing Windows + I on your keyboard. Alternatively, right-click on the Start button on the taskbar, and from the list menu that appears, choose Settings.

Step 2. When Windows Settings opens, select the System category in the left sidebar.
Step 3. After that, on the right sidebar, choose Power & battery.
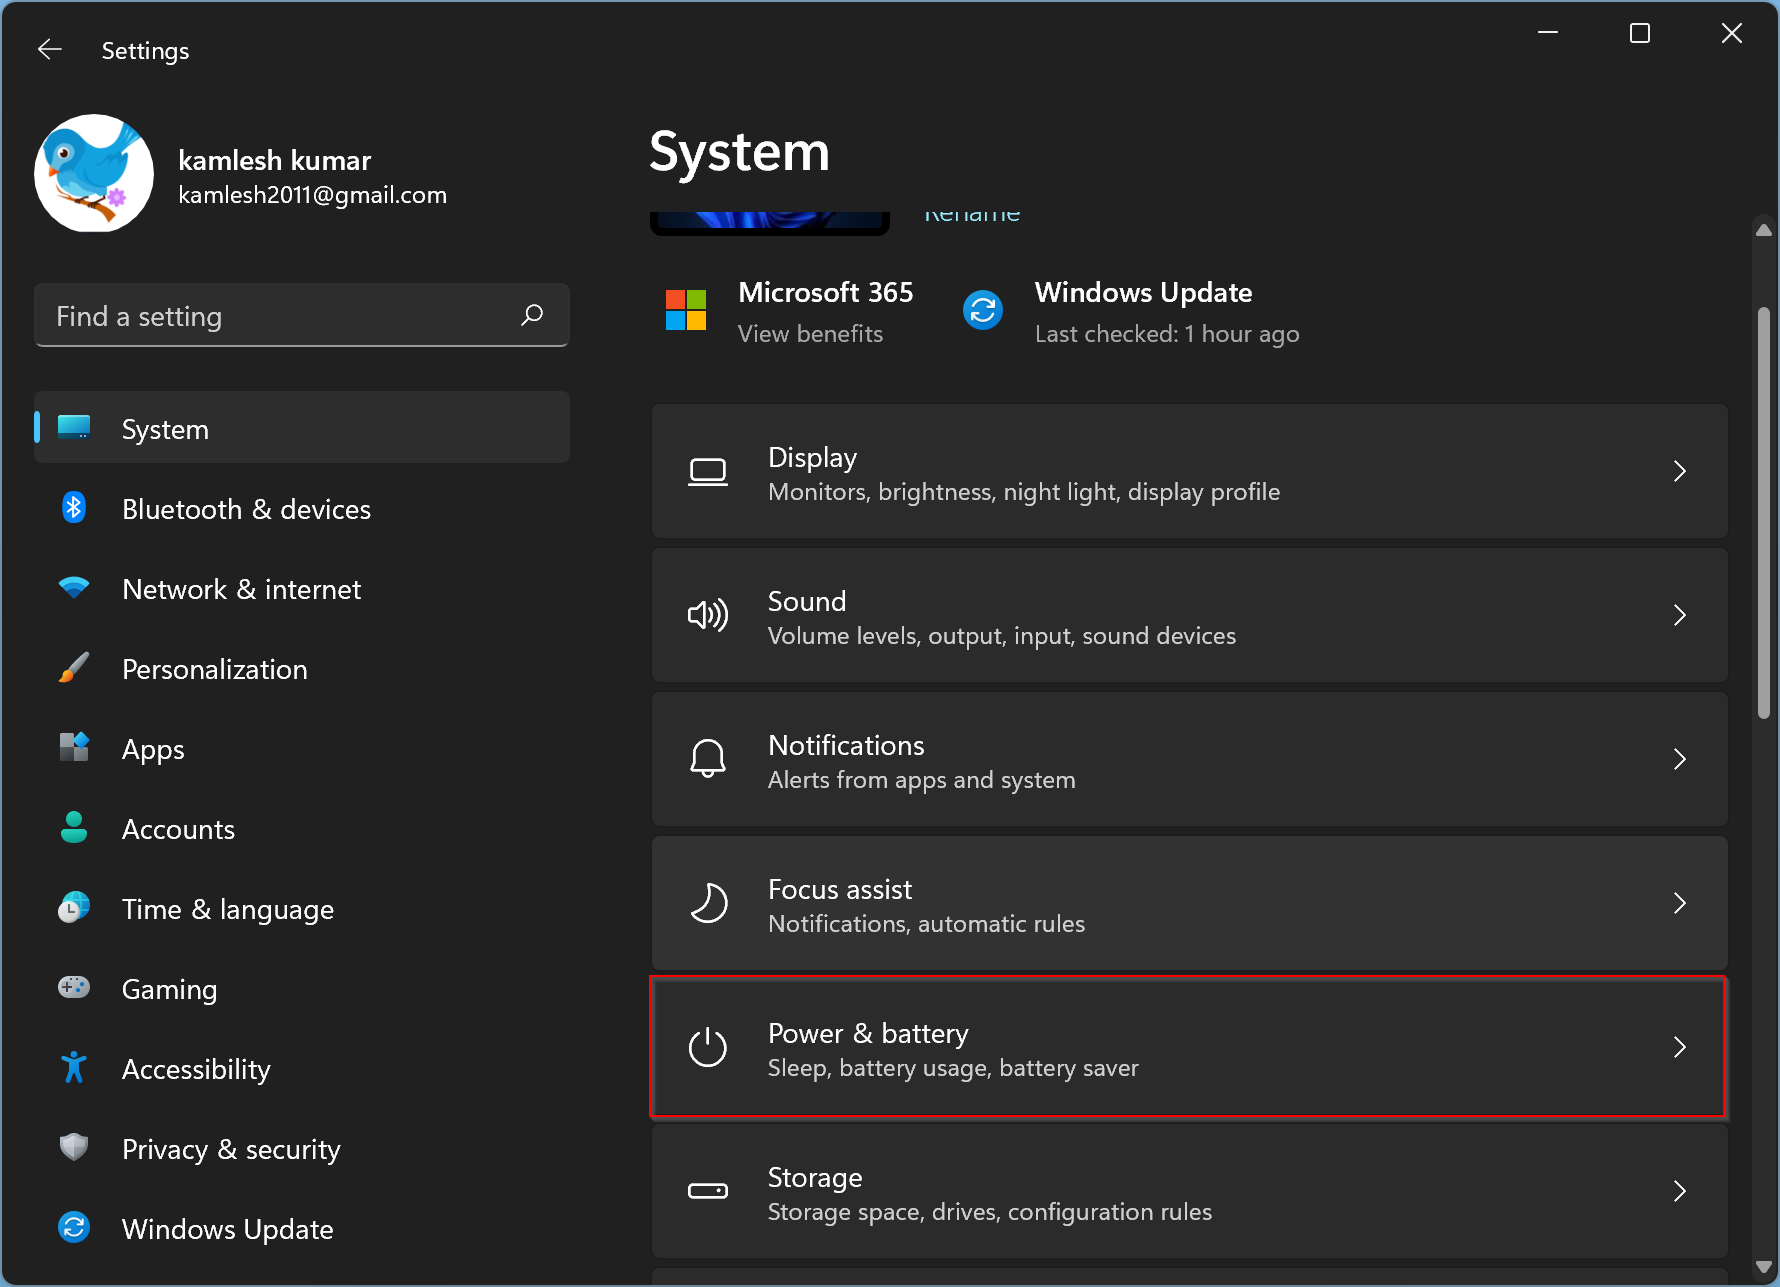
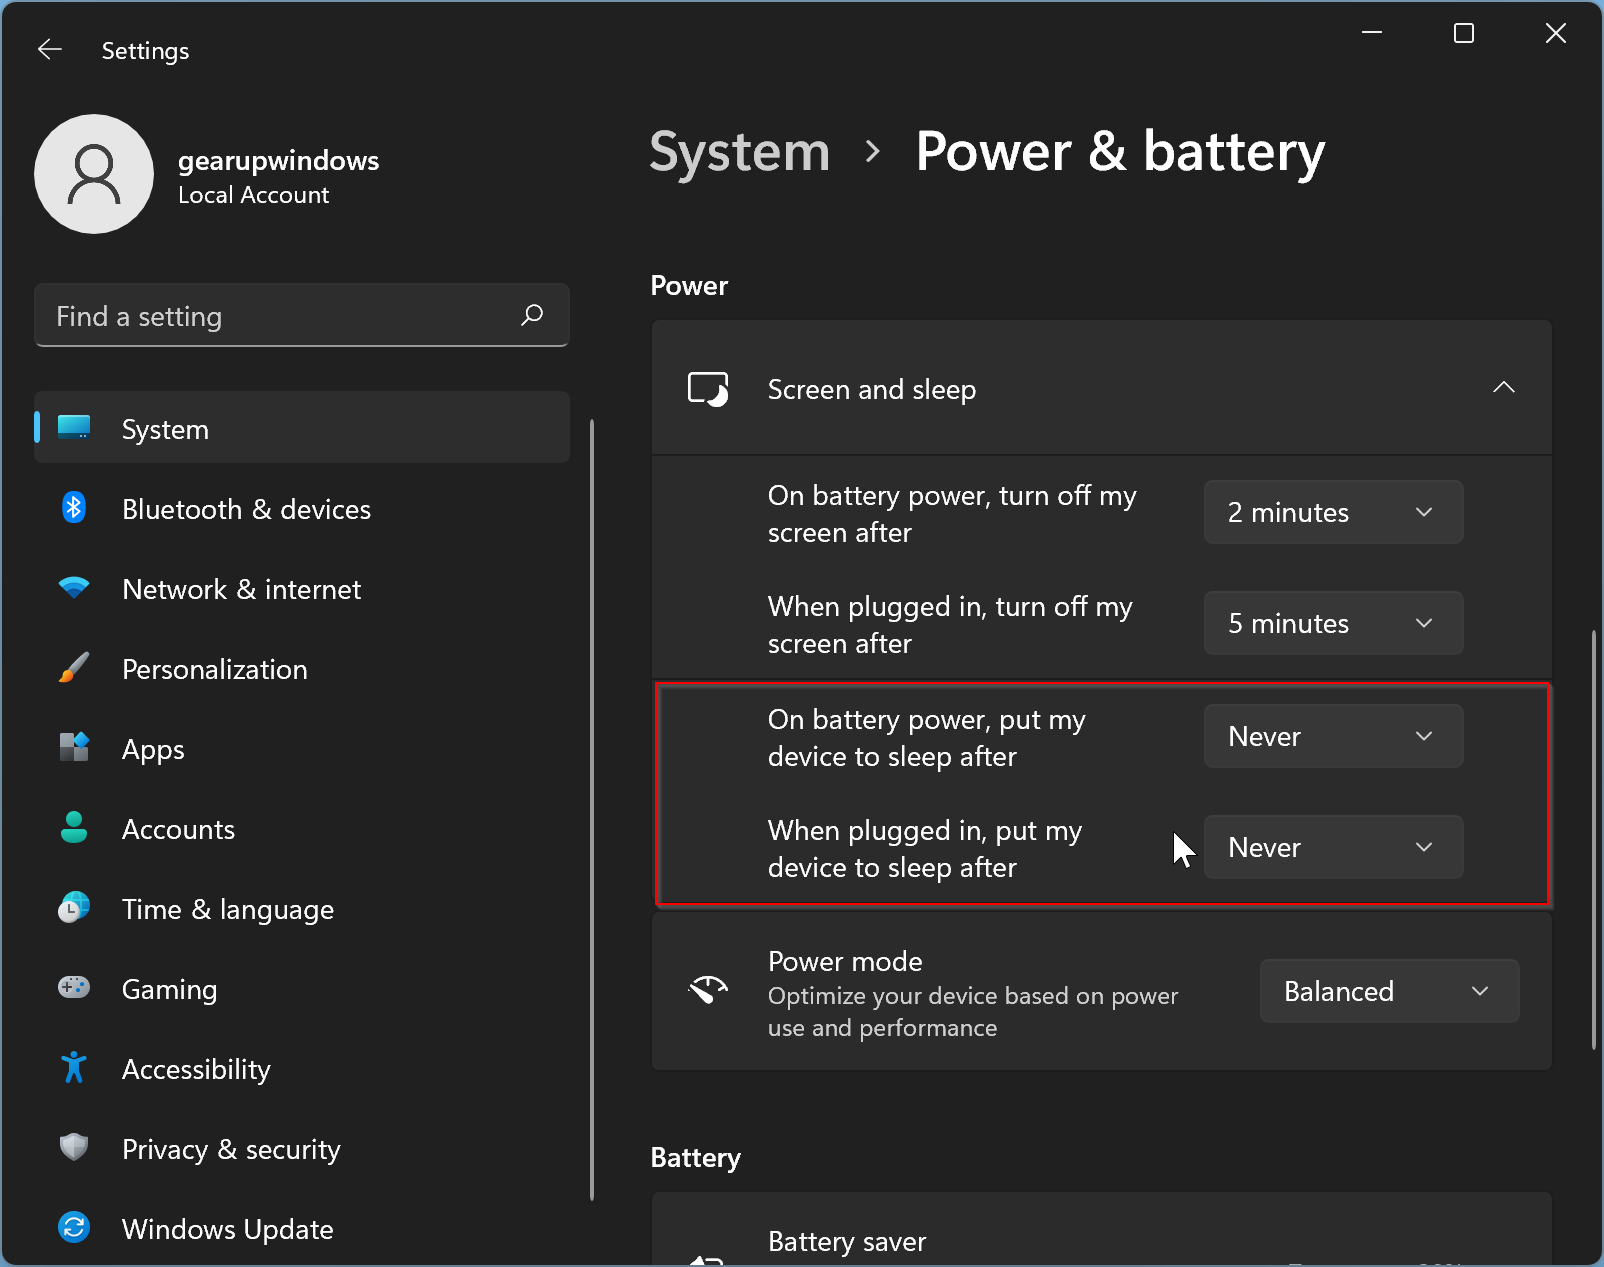
Step 4. Then under the Power section, click the Screen and sleep header to expand it.
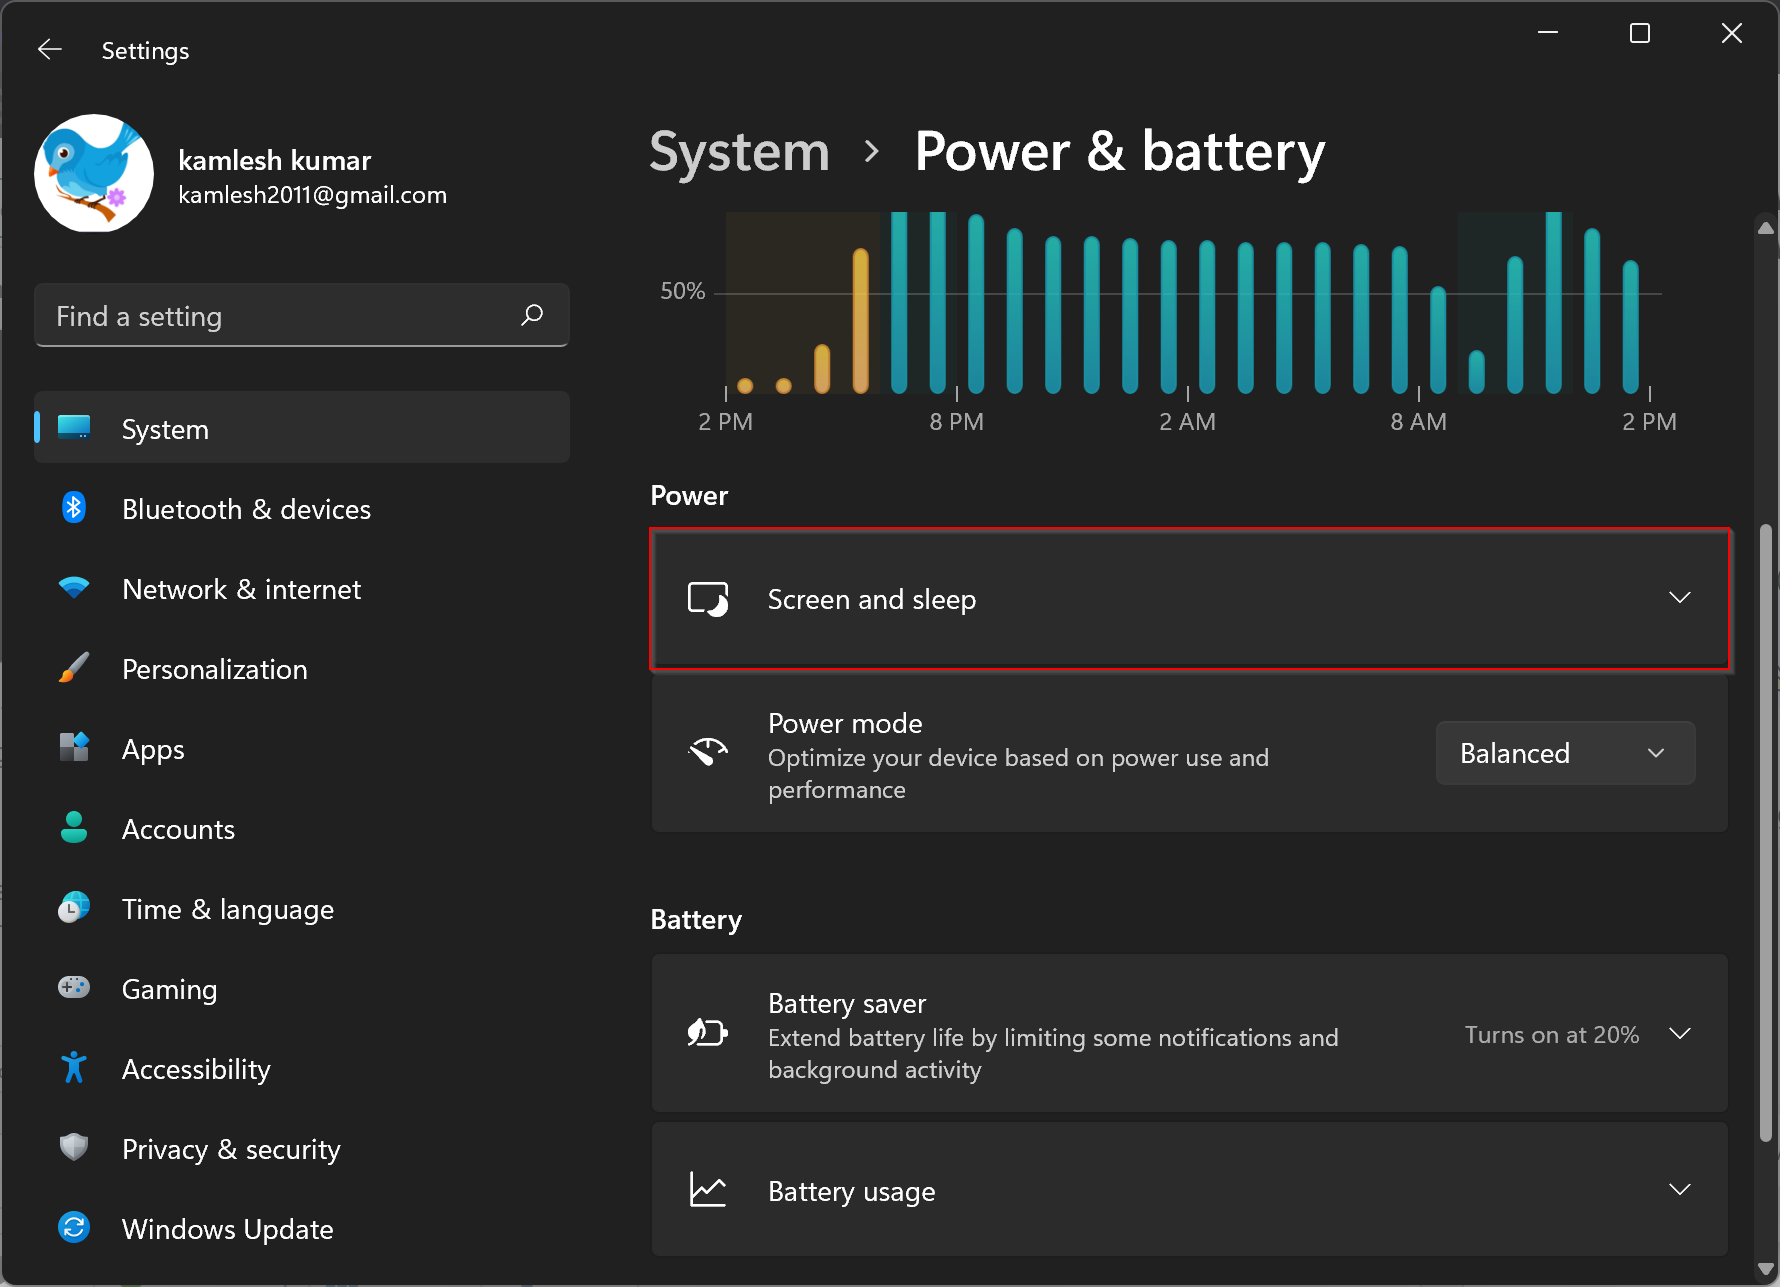
Step 5. Now, you will have two settings that are related to sleep. If a battery powers your device, you will see two options. Otherwise, you will find a single option for sleep mode. Select Never from the drop-down menu of the following options:-
- On battery power, put my device to sleep after,
- When plugged in, put my device to sleep after.
When you’re done, you can close the Settings app. After that, your Windows 11 PC will never go to sleep mode. If you change your mind and want to enable sleep mode, repeat the above steps and select any other value than Never in the drop menu of sleep options.
Conclusion
By default, Windows 11 is designed to put the PC into sleep mode after a certain period of inactivity to save power. However, if you don’t want your PC to go into sleep mode or want to keep it awake all the time, this article from Gearupwindows provides a simple solution. Using the built-in options in Windows 11 Settings, you can easily turn off sleep mode without needing any third-party software.
The steps to disable sleep mode on your Windows 11 PC are straightforward and easy to follow. Simply launch the Settings app, navigate to the Power & battery section, and select the Screen and sleep option. From there, choose “Never” from the drop-down menu under the sleep options. Once you have made this change, your PC will no longer go into sleep mode.
If you ever change your mind and want to enable sleep mode again, you can simply follow the same steps and choose a different option from the drop-down menu. With these simple steps, you can keep your PC awake and running without any interruptions.
I tried this several times and it doesn’t work for my laptop. Thanks anyway.