The Snipping Tool is a convenient screen-capturing software that comes pre-installed with Windows 11, enabling you to capture and annotate screenshots effortlessly. If you encounter any issues with the Snipping Tool or wish to start anew, this guide will walk you through the straightforward steps to uninstall and reinstall it on your Windows 11 PC.
How to Uninstall Snipping Tool in Windows 11?
To remove the Snipping Tool from your Windows 11 PC, follow these simple steps:
Step 1. Open the Settings app by clicking on the Start menu and selecting the gear icon or pressing the Windows key + I on your keyboard.
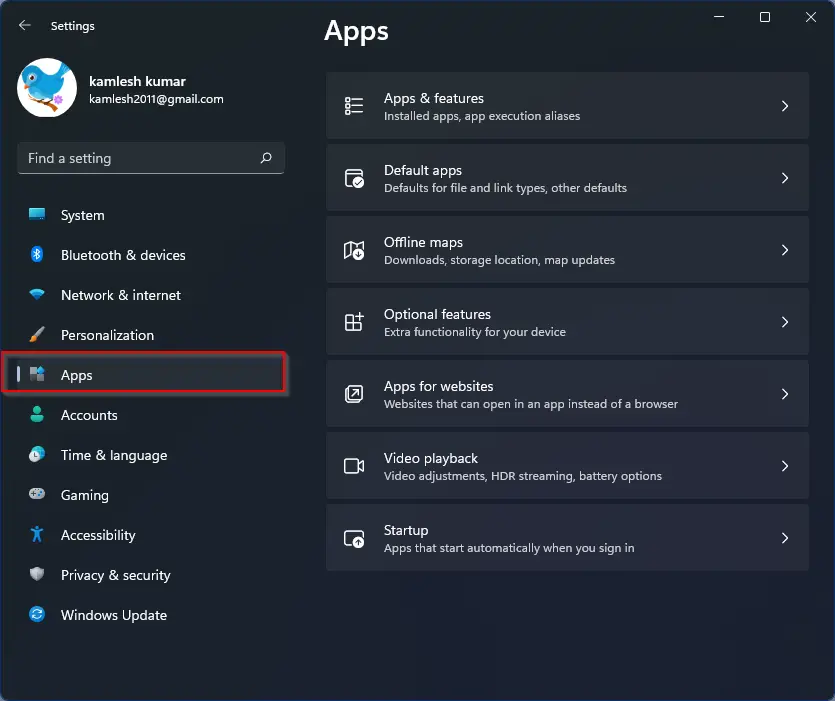
Step 2. In the Settings app, click on the “Apps” category in the left-hand pane.
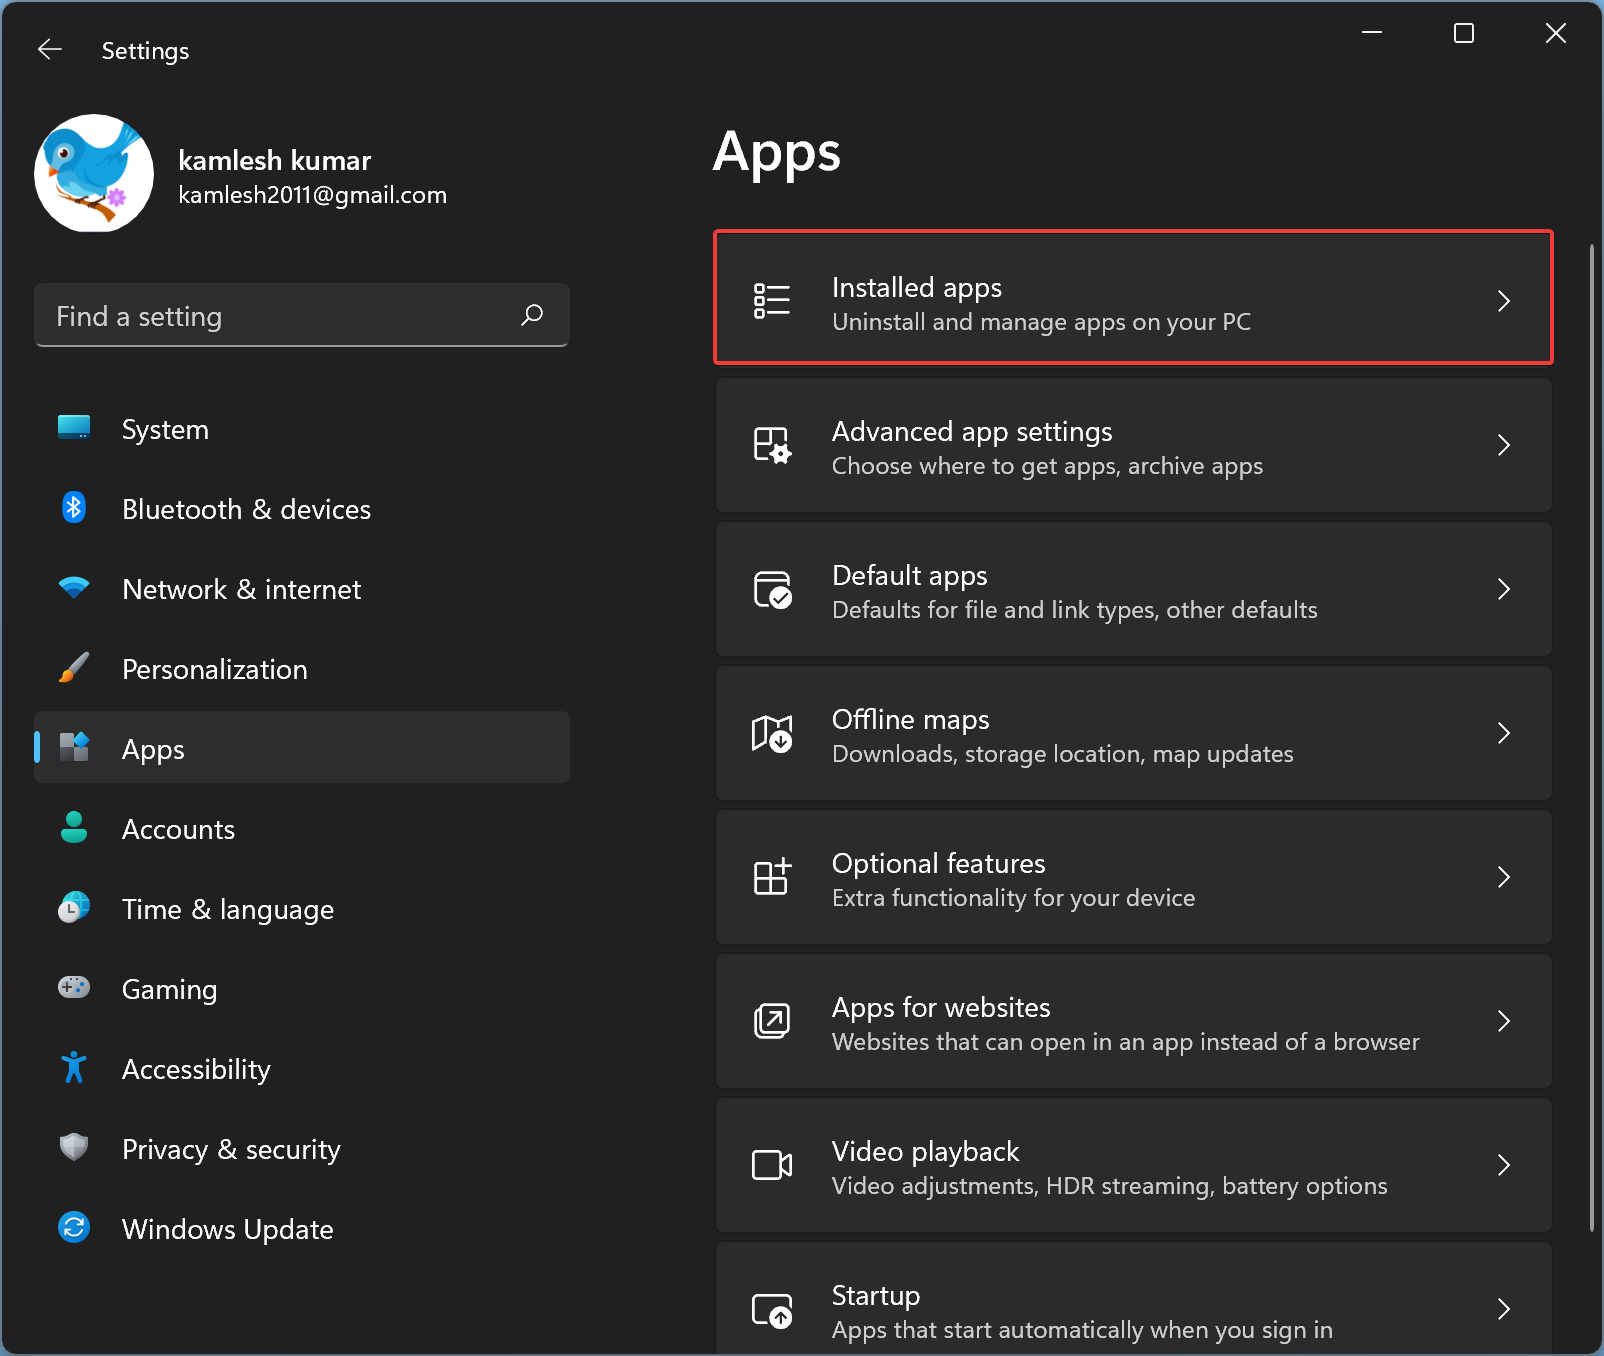
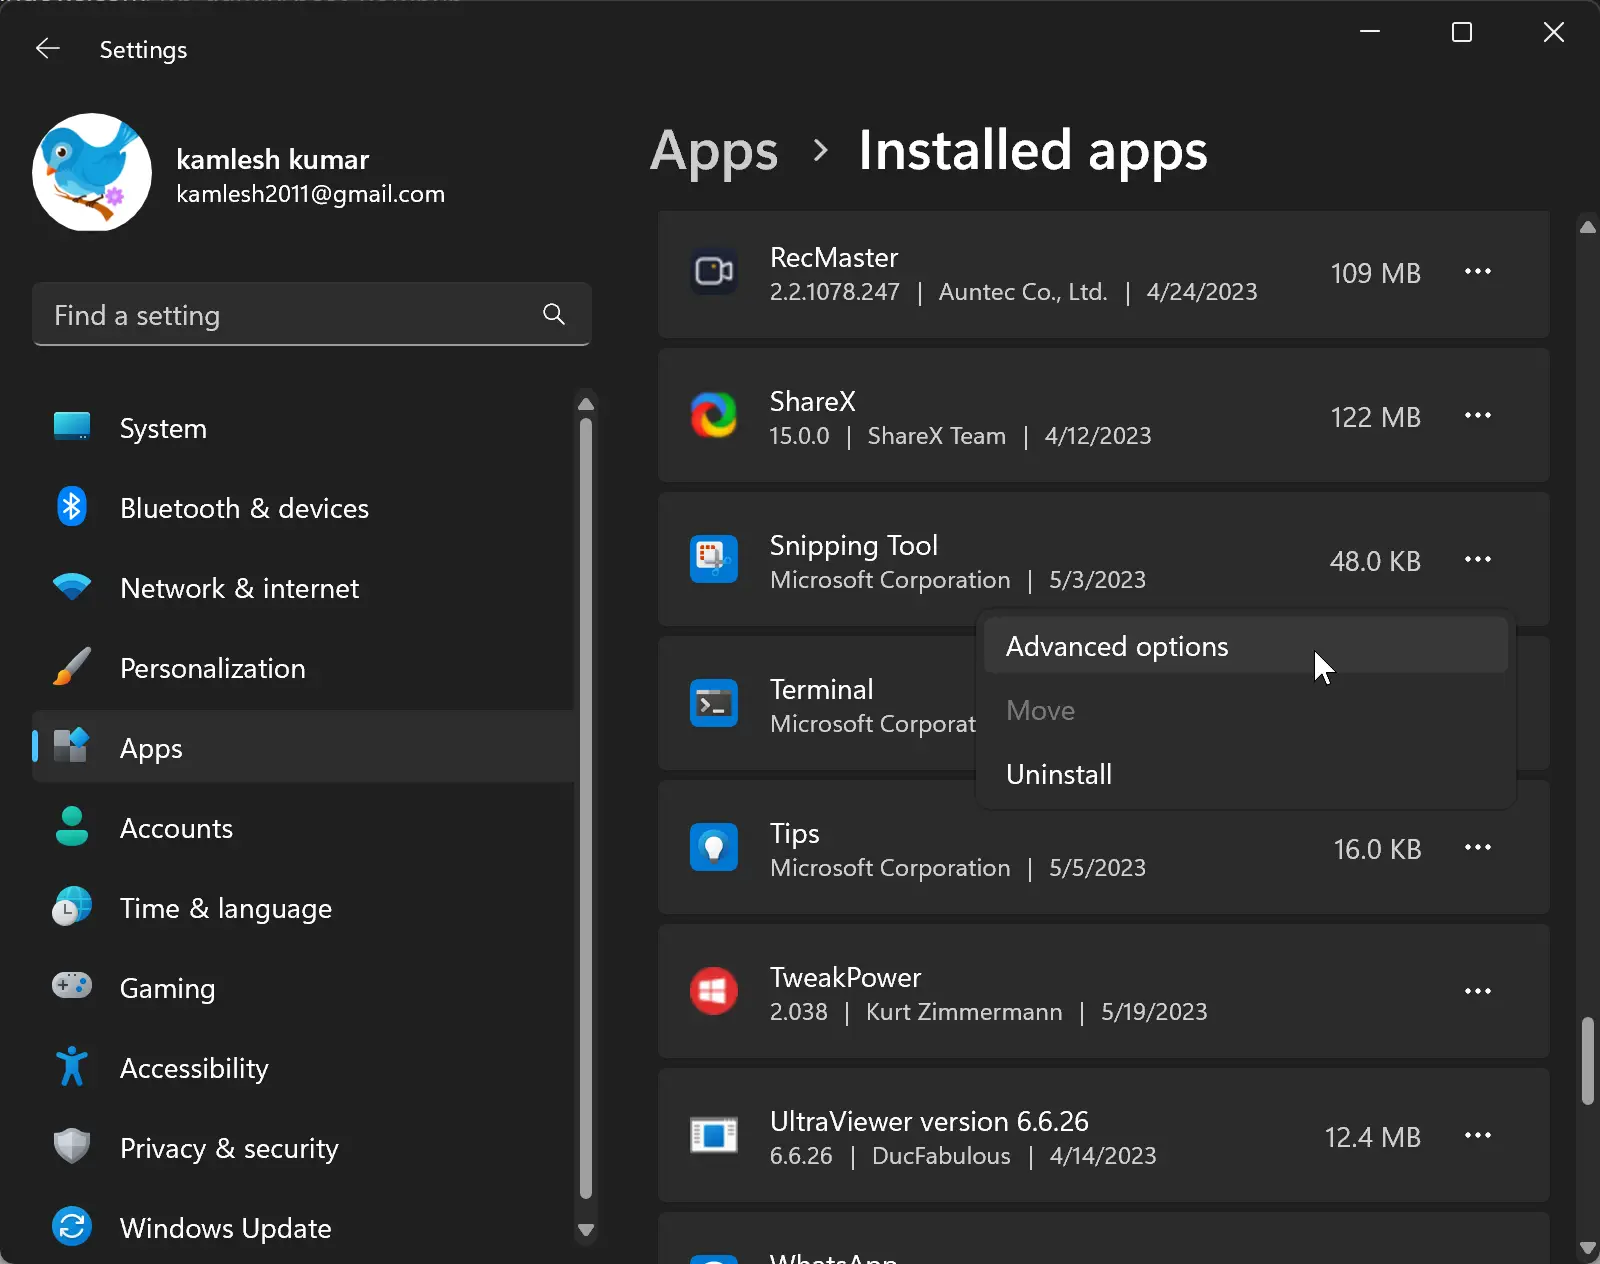
Step 3. Select the “Installed apps” tab on the right-hand side.
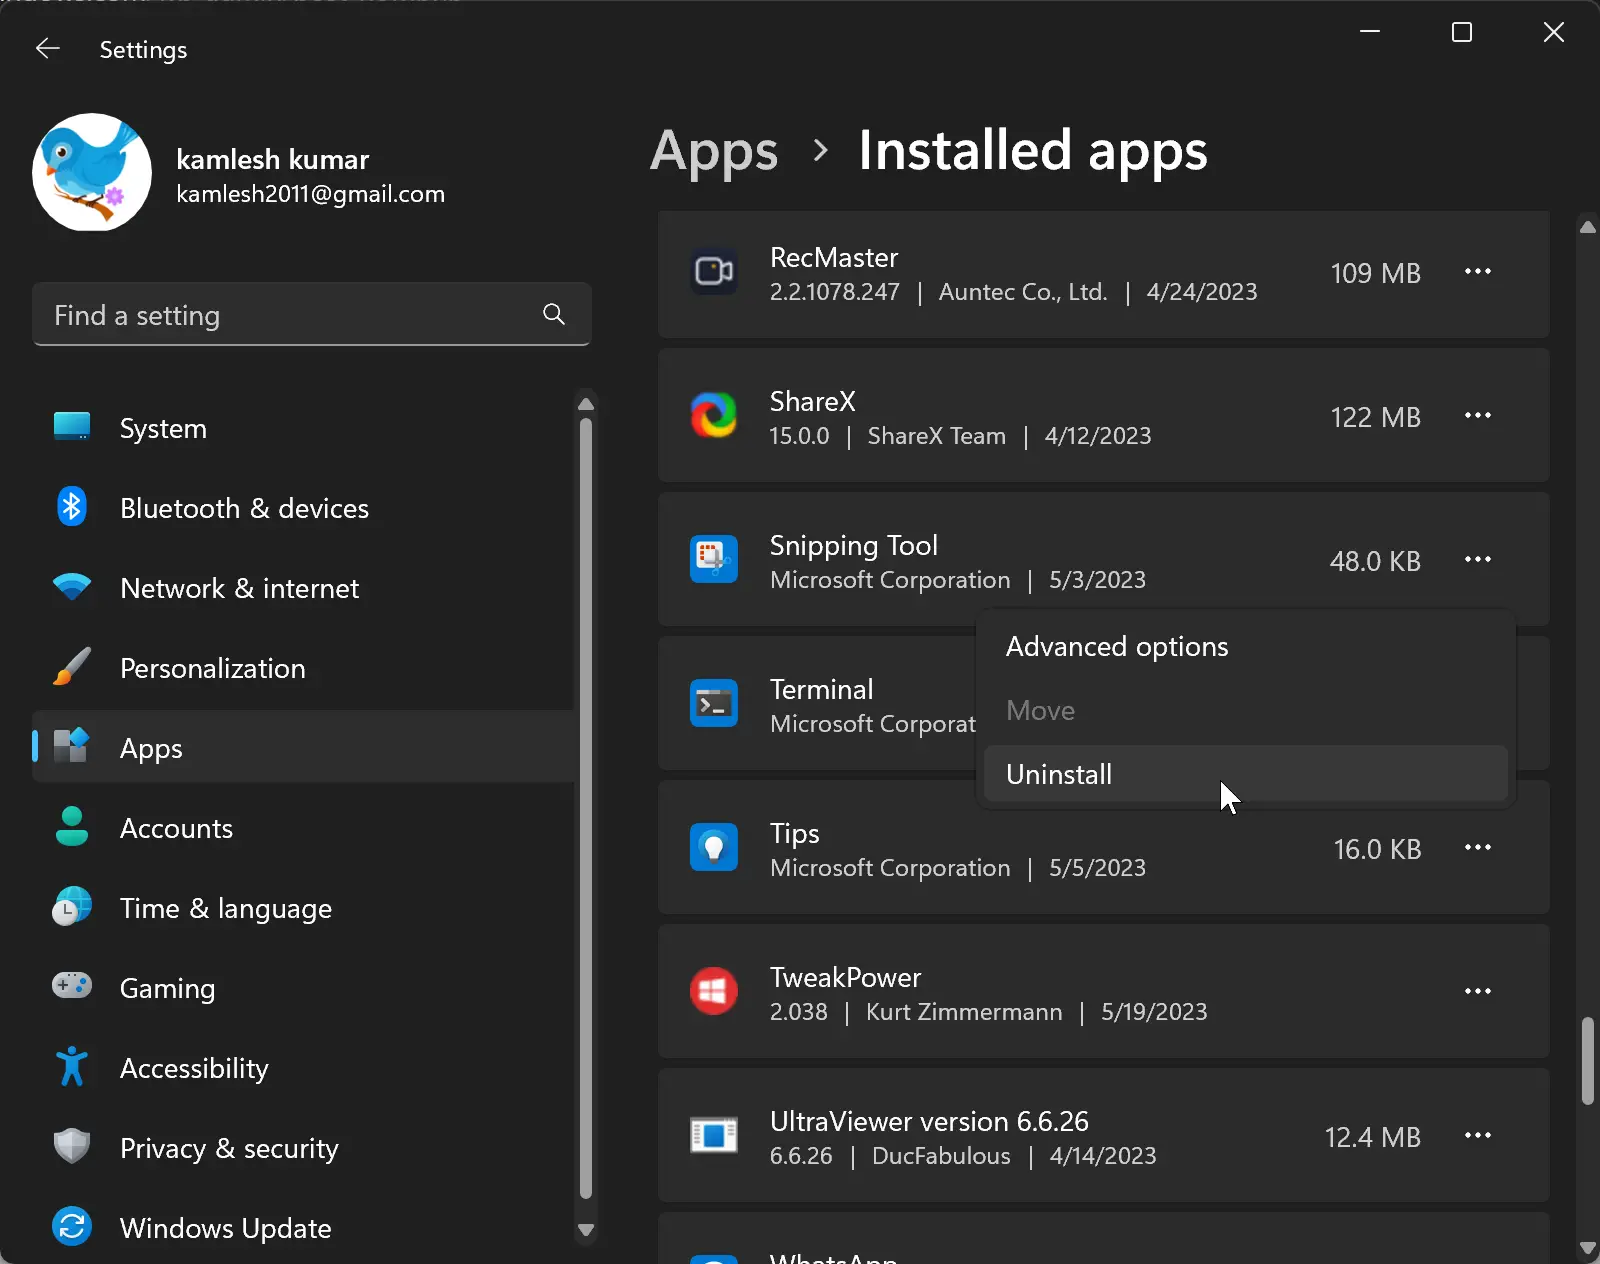
Step 4. Scroll down and locate the Snipping Tool in the list of installed apps.
Step 5. Click the three dots menu next to it and select the Uninstall option.
Step 6. In the small pop-up window that appears, click the Uninstall button to remove the Snipping Tool from your Windows 11 machine.
How to Reinstall the Snipping Tool?
If you ever need to reinstall the Snipping Tool on your Windows 11 PC, follow these steps:-
Step 1. Open the Microsoft Store app by clicking on the Start menu and searching for “Microsoft Store.”
Step 2. In the Microsoft Store, use the search bar to search for “Snipping Tool.”
Step 3. Find the official Snipping Tool app from Microsoft in the search results and click on it.
Step 4. Click the “Get” or “Install” button to initiate the download and installation process.
Wait for the installation to complete. Once finished, the Snipping Tool will be reinstalled on your Windows 11 PC.
How to Reset or Repair Snipping Tool in Windows 11?
If you encounter any issues with the Snipping Tool, you can try resetting or repairing it using these steps:-
Step 1. Open the Settings app by clicking on the Start menu and selecting the gear icon or pressing the Windows key + I on your keyboard.
Step 2. Navigate to the “Apps” category on the left-hand side.
Step 3. Select the “Installed apps” tab on the right-hand side.
Step 4. Scroll down and find the Snipping Tool in the list of installed apps.
Step 5. Click the three dots menu next to it and select the Advanced options option.
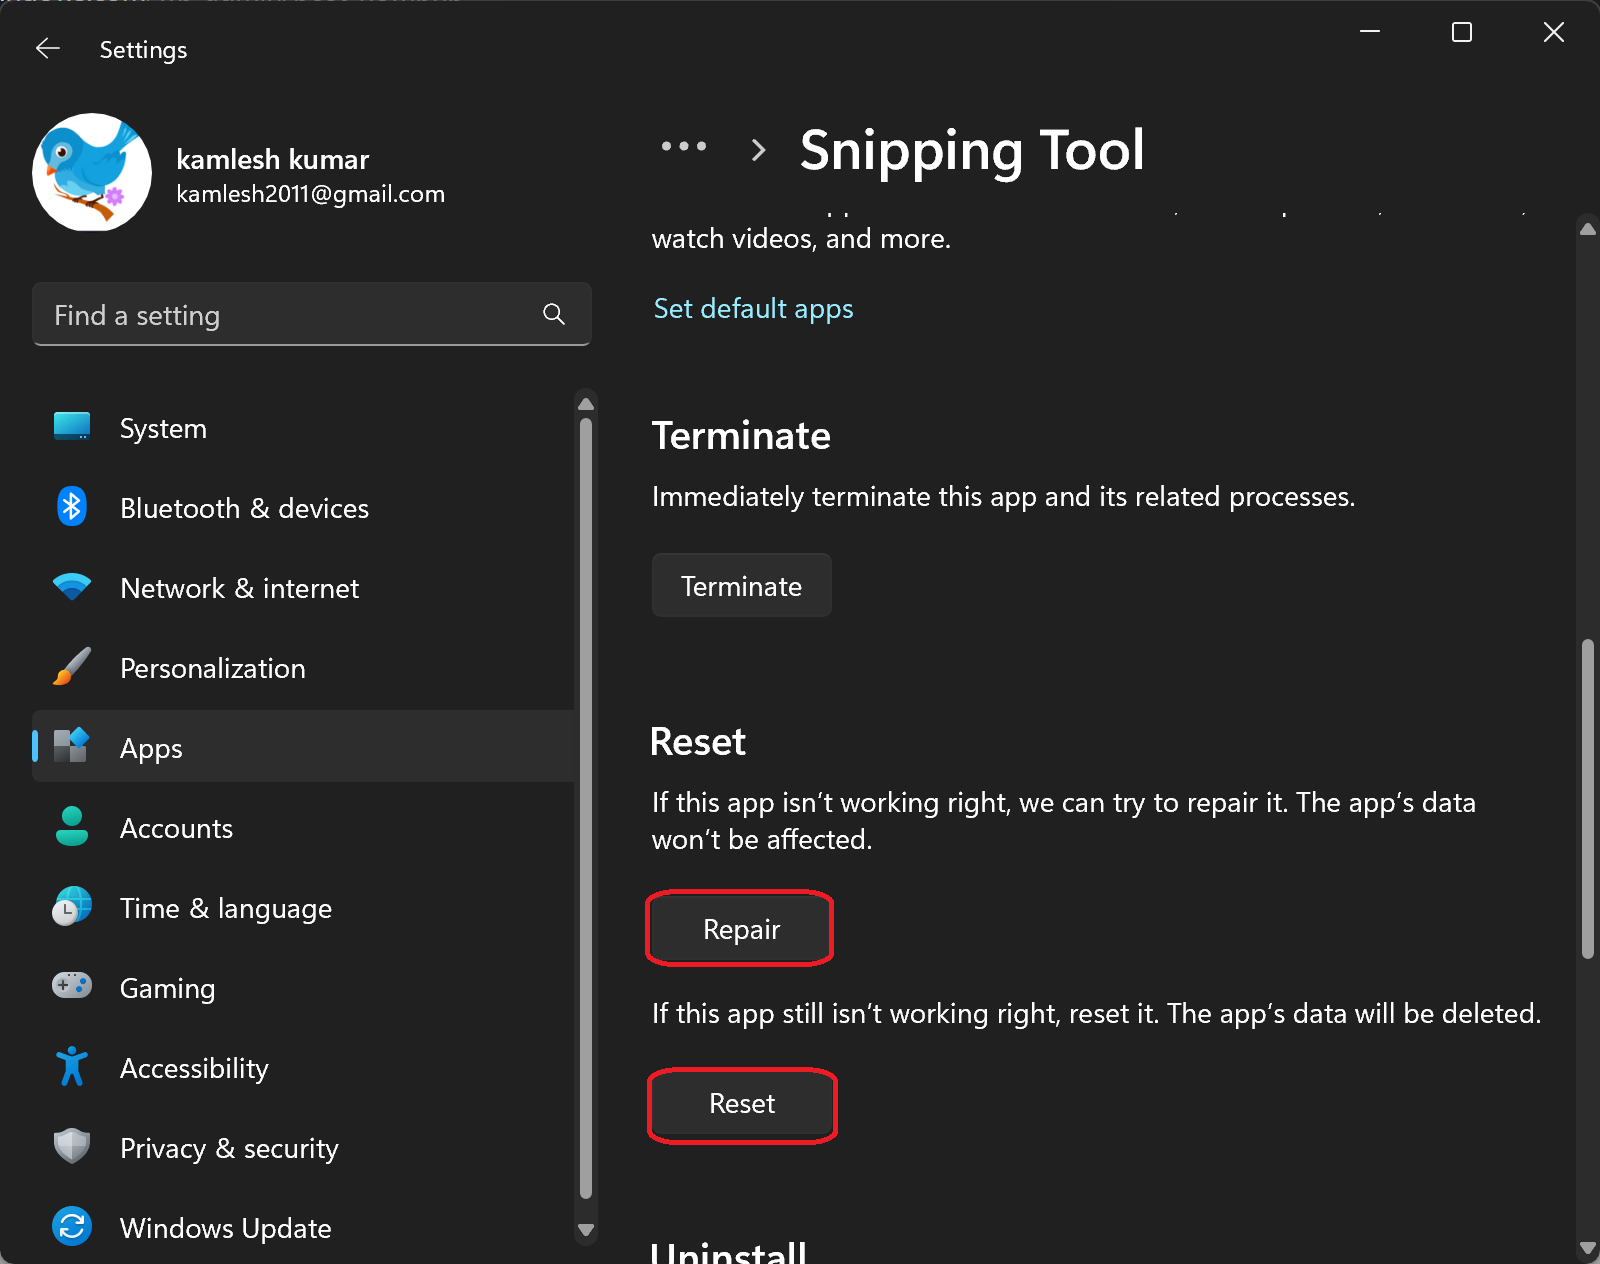
Step 6. In the Advanced options, you’ll find options to Reset and Repair the Snipping Tool. Click on the respective button to perform the desired action.
Conclusion
By following these straightforward steps, you can effortlessly uninstall or reinstall the Snipping Tool in Windows 11. Whether you need to troubleshoot issues or start with a fresh installation, the Snipping Tool remains a valuable tool for capturing and annotating screenshots on your Windows 11 PC.