Microsoft Excel is a powerful spreadsheet software that is widely used for data analysis, financial modeling, and a variety of other tasks. One of the most commonly used functions in Excel is the IF function, which allows you to make logical comparisons and perform different calculations based on the results. In this article, we will explore the ins and outs of using the IF function in Excel.
Understanding the IF Function
The IF function in Excel is a logical function that enables you to perform different actions based on a specified condition. It follows a simple syntax:-
=IF(logical_test, value_if_true, value_if_false)
– `logical_test`: This is the condition that you want to evaluate. It can be any logical expression that results in either `TRUE` or `FALSE`.
– `value_if_true`: This is the value or calculation that Excel will return if the logical_test is `TRUE`.
– `value_if_false`: This is the value or calculation that Excel will return if the logical_test is `FALSE`.
The IF function is extremely versatile and can be used for a wide range of applications, from basic data filtering to complex financial modeling.
Basic Usage of the IF Function
Let’s start with a simple example. Suppose you have a list of test scores in column A, and you want to categorize them as either “Pass” or “Fail” based on a passing score of 60.
Step 1. In an empty cell, type the following formula:-
=IF(A1 >= 60, "Pass", "Fail")

Step 2. Press Enter.
This formula will check if the value in cell A1 is greater than or equal to 60. If it is, it will display “Pass”; otherwise, it will display “Fail.”
You can then copy and paste this formula for other cells in the column to quickly categorize all the test scores.
Nesting IF Functions
The IF function can be nested, allowing you to create more complex conditions. You can use multiple IF functions to evaluate different criteria and return different results based on those criteria.
Suppose you want to categorize test scores as “High Pass,” “Pass,” “Fail,” or “Incomplete” based on the following criteria:-
– High Pass: Scores greater than or equal to 90.
– Pass: Scores between 60 and 89.
– Fail: Scores less than 60.
– Incomplete: Empty cells.
You can achieve this using nested IF functions:
=IF(ISBLANK(A1), "Incomplete", IF(A1 >= 90, "High Pass", IF(A1 >= 60, "Pass", "Fail")))
![]()
In this formula, the `ISBLANK` function checks if the cell is empty. If it is, it returns “Incomplete.” If not, it proceeds to the next IF function to determine whether it’s a “High Pass,” “Pass,” or “Fail” based on the test score.
Using IF with Text
The IF function is not limited to numerical values; it can also be used with text values. For instance, you can use it to categorize items in a list as “In Stock” or “Out of Stock.”
=IF(B1 = "In Stock", "Available", "Out of Stock")
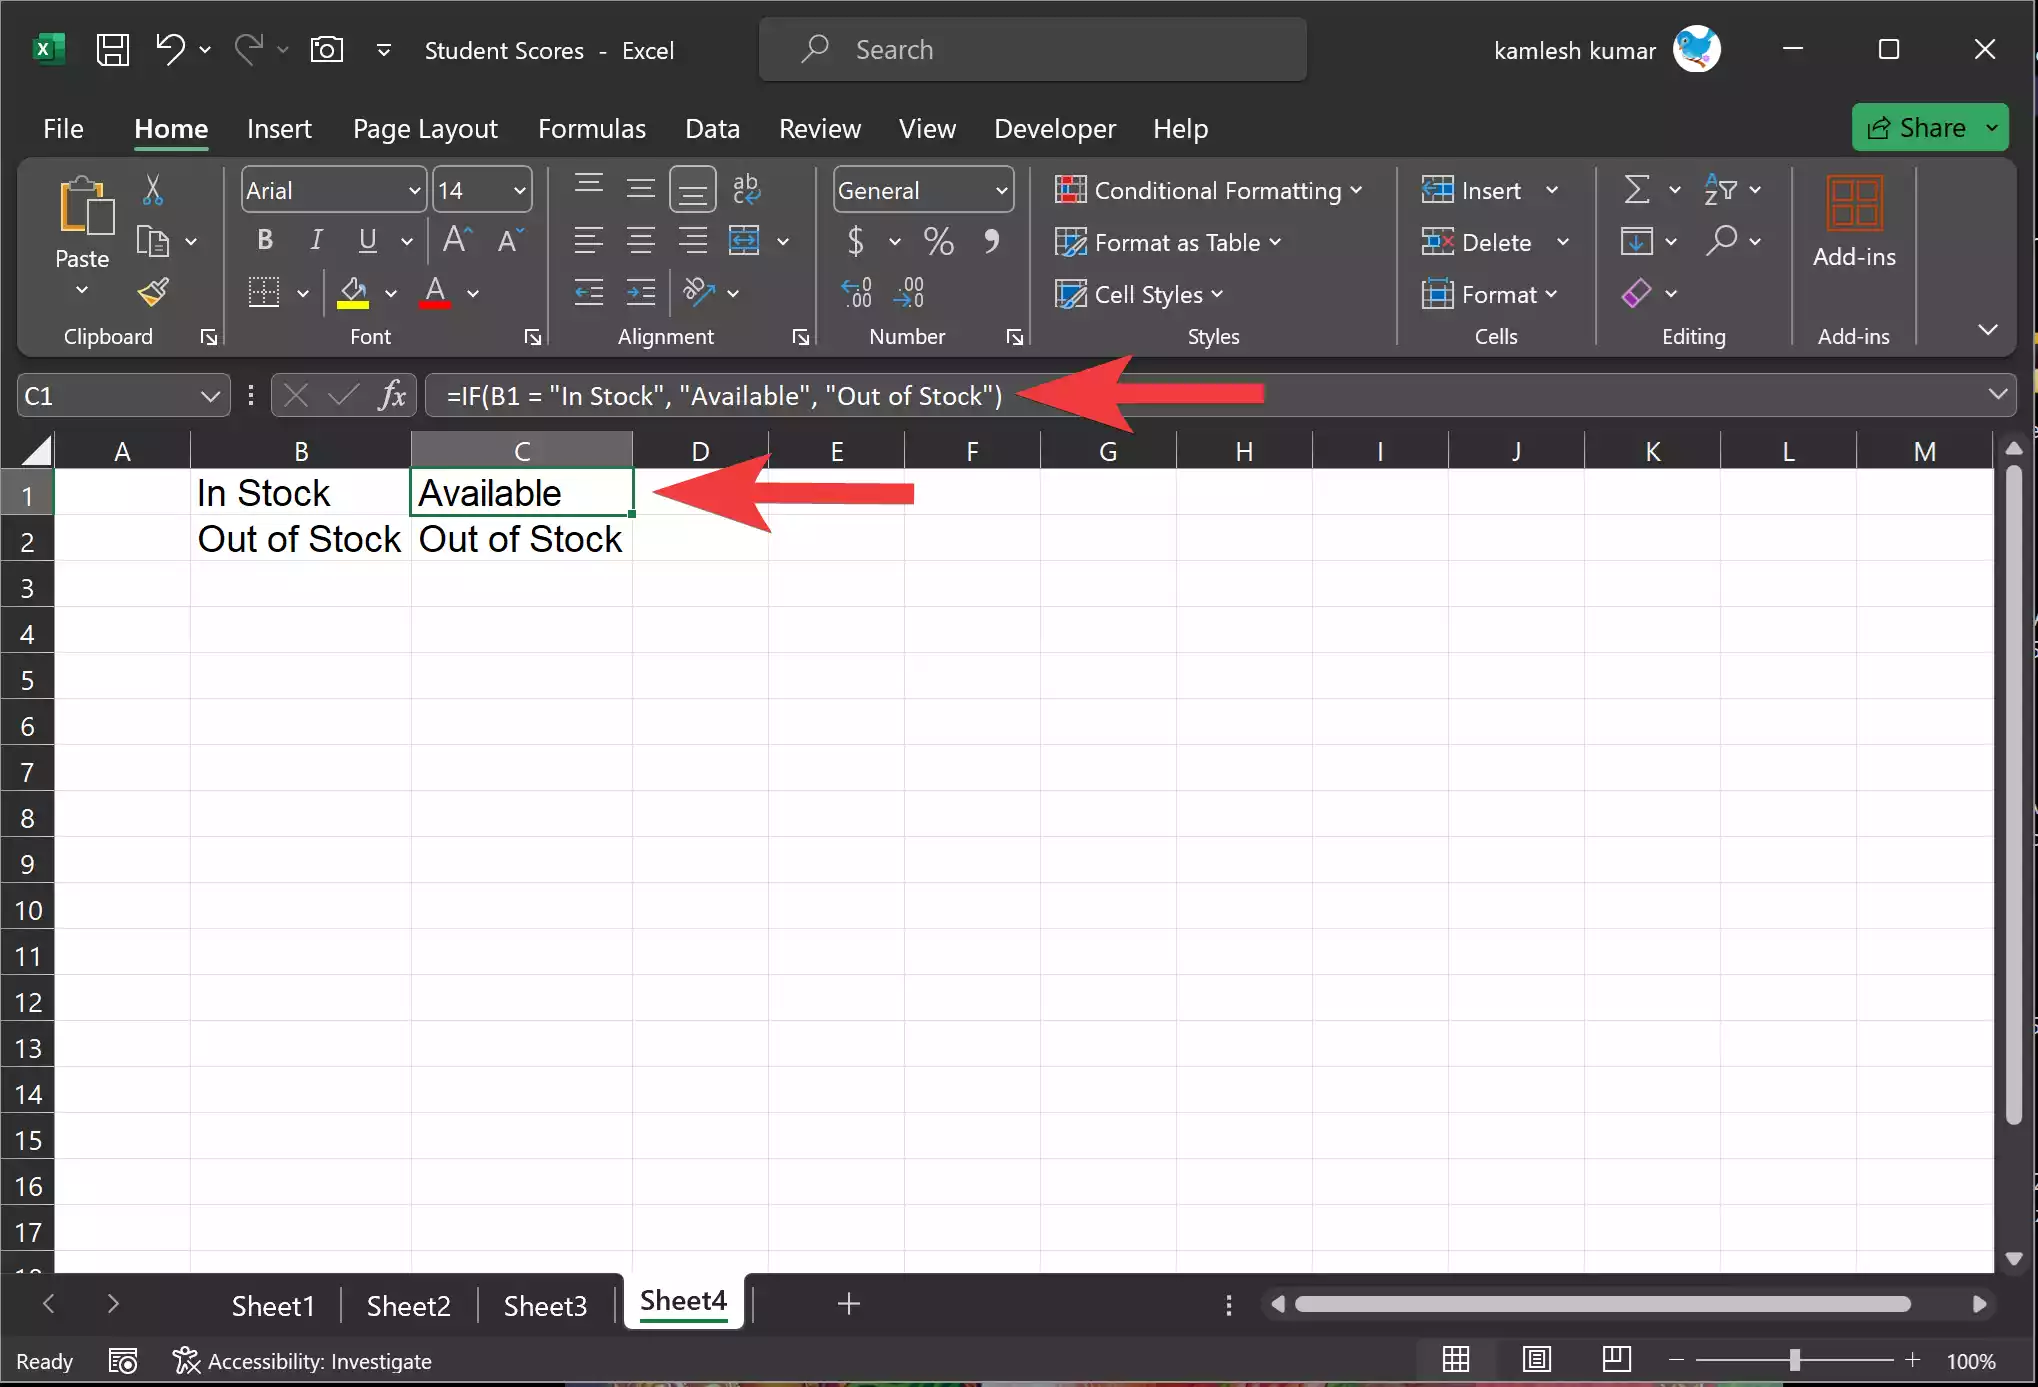
In this example, if cell B1 contains the text “In Stock,” the formula will return “Available.” Otherwise, it will return “Out of Stock.”
Handling Errors with IFERROR
When using the IF function, you may encounter errors, such as division by zero. You can handle these errors using the `IFERROR` function. Here’s how you can use it:-
=IFERROR(A1 / B1, "Error: Division by Zero")

In this formula, Excel will attempt to divide the value in cell A1 by the value in cell B1. If the division results in an error, it will display “Error: Division by Zero” instead of the error message.
Using IF with Dates
You can also use the IF function to work with dates. For example, you may want to determine if a project is overdue based on its due date.
=IF(TODAY() > DueDate, "Overdue", "On Time")
In this formula, the `TODAY()` function retrieves the current date, and the IF function checks if the due date is in the past. If it is, it returns “Overdue”; otherwise, it returns “On Time.”
Suppose you are managing a project with various tasks, and you want to check whether a task is overdue or not based on its due date. You have the task due dates in column A and the current date in cell B1.
Step 1. First, enter the due date of a task in cell A1, and in cell B1, enter the current date.
Step 2. In an adjacent cell, you can use the IF function to check if the task is overdue or on time. For this example, let’s say we want to display “Overdue” if the due date is earlier than the current date and “On Time” if it’s not.
The formula would look like this:-
=IF(A1 < B1, "Overdue", "On Time")
In this formula:-
– `A1` refers to the due date of the task.
– `B1` is the cell containing the current date.
– The IF function checks if the due date (A1) is less than the current date (B1). If this condition is true, it returns “Overdue”; otherwise, it returns “On Time.”
Step 3. Copy and paste this formula to other cells in the column to check the status of other tasks.
Let’s say the due date in cell A1 is “10/15/2023,” and the current date in cell B1 is “10/10/2023.” The formula will return “Overdue” because the due date is earlier than the current date.

Using the IF function with dates is a helpful way to automate the process of tracking task deadlines, project schedules, or any other date-related comparisons in Excel. It can save you time and ensure that you stay on top of your tasks and projects.
Conclusion
The IF function in Microsoft Excel is a powerful tool for making logical comparisons and performing actions based on specified conditions. Whether you’re categorizing data, handling errors, or making decisions based on various criteria, the IF function is an essential tool for data analysis and modeling. With its versatility and flexibility, you can efficiently manage and analyze your data in countless ways, making Excel a valuable asset for professionals in various fields.
