In the bustling world of technology, knowing the precise specifications of your laptop is crucial for troubleshooting, upgrading, or simply understanding its capabilities. One fundamental piece of information is the laptop model name, which encompasses a variety of details such as the manufacturer, series, and specific model. In Windows 10, discovering this information is a straightforward process, whether you’re a seasoned tech enthusiast or a novice user. This gearupwindows article will guide you through several methods to view or determine your laptop model name in Windows 10.
Why You Need to Know Your Laptop Model Name?
Knowing your laptop model name is crucial for various reasons. Firstly, it enables you to seek accurate technical support or troubleshoot issues effectively, as different laptop models may have unique hardware configurations or software requirements. Additionally, understanding your laptop’s model facilitates the process of finding compatible accessories, drivers, and software updates, ensuring smooth functionality and optimal performance. Whether you’re upgrading components, seeking assistance, or simply staying informed about your device, knowing your laptop model name empowers you to make informed decisions and maintain your laptop with confidence.
How to View or Know a Laptop Model Name in Windows 10?
To find your Laptop Model name in Windows 10 PC, you can use either method:-
Method 1: Through System Information
Step 1. Press the Windows key on your keyboard or click on the Start button, usually located in the bottom left corner of your screen.
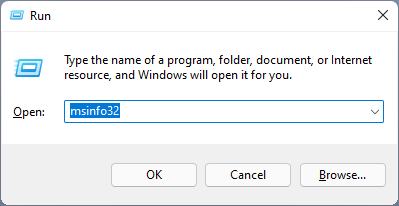
Step 2. In the search bar, type “System Information” and press Enter. Alternatively, you can access it by pressing the Windows key + R to open the Run dialog, then typing “msinfo32” and hitting Enter.
Step 3. Once the System Information window opens, you’ll see a wealth of details about your system. Look for the “System Model” entry under the “System Summary” section. This line will display your laptop’s model name.
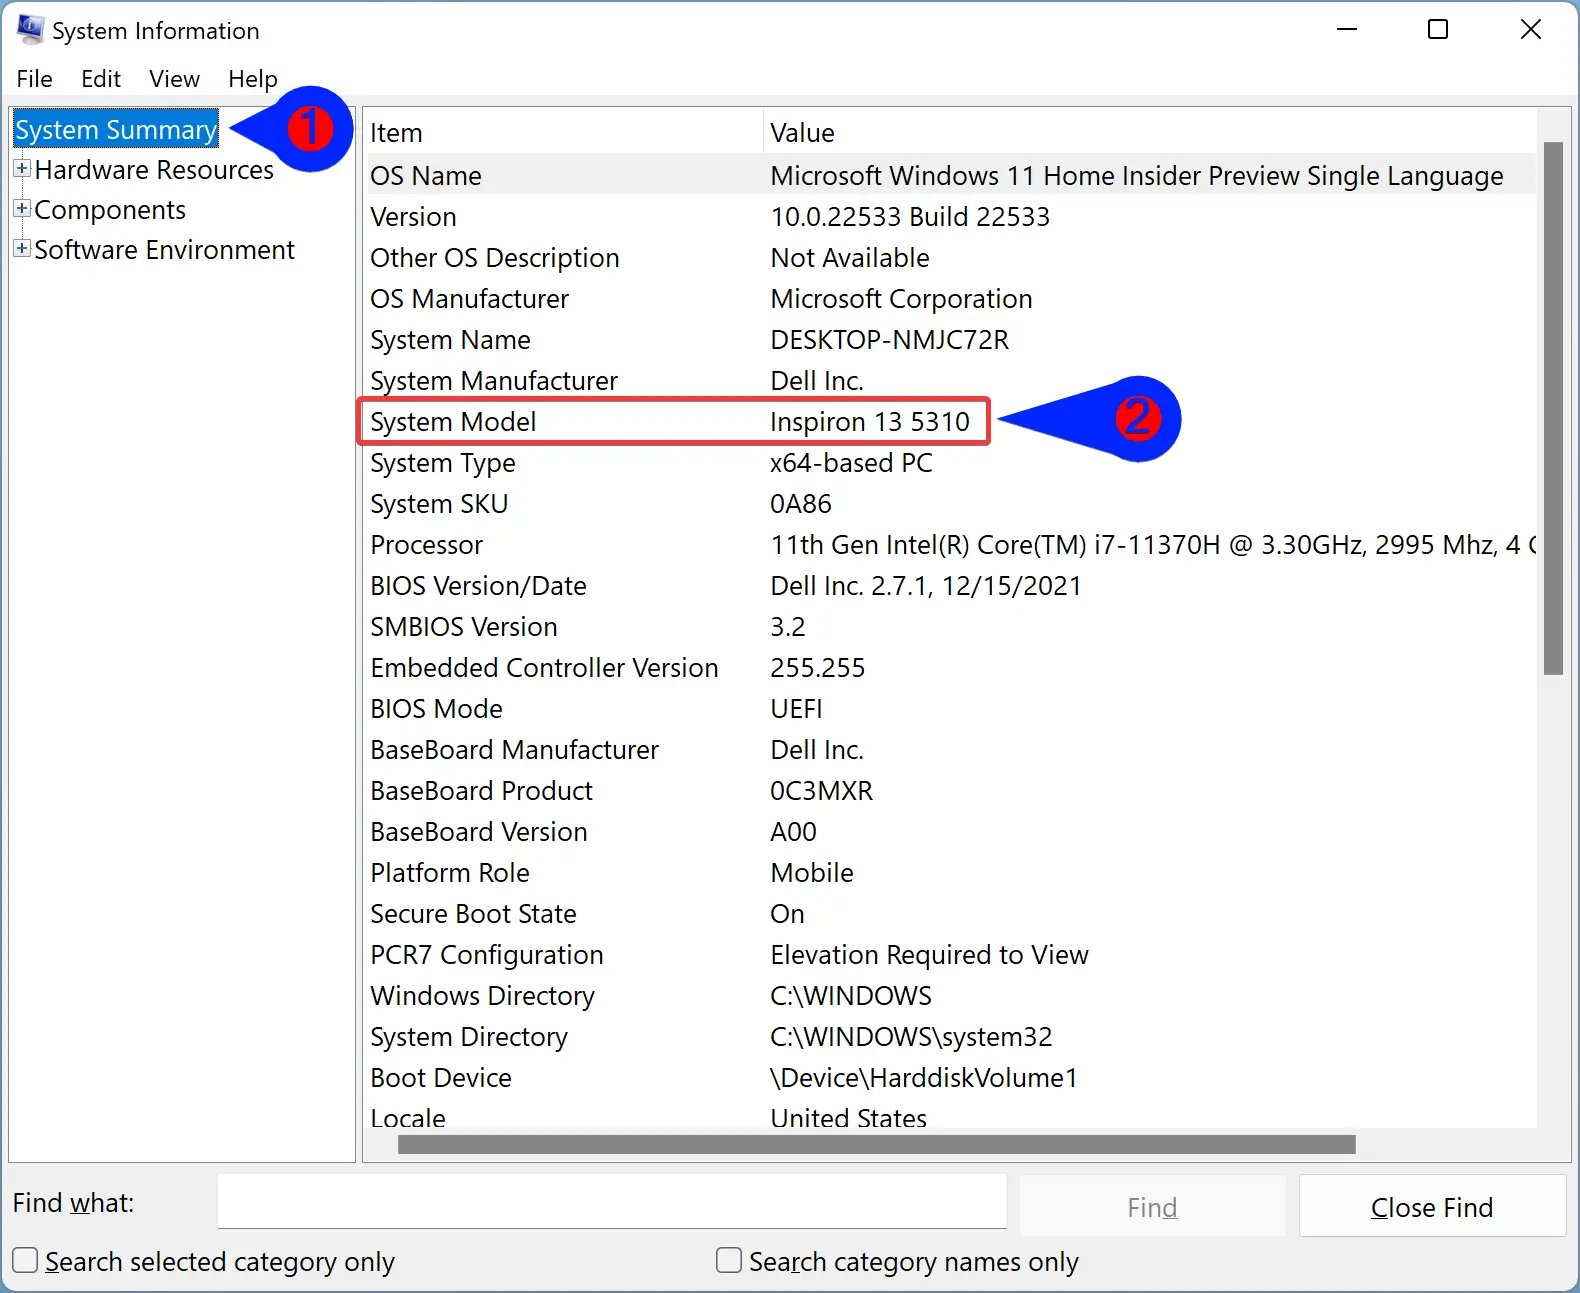
Step 4. Note down the model name for future reference or use.
Method 2: Using Command Prompt
Step 1. Open Command Prompt by typing “cmd” in the Windows search bar and selecting “Command Prompt” from the results.
Step 2. In the Command Prompt window, type the following command: `wmic csproduct get name.`
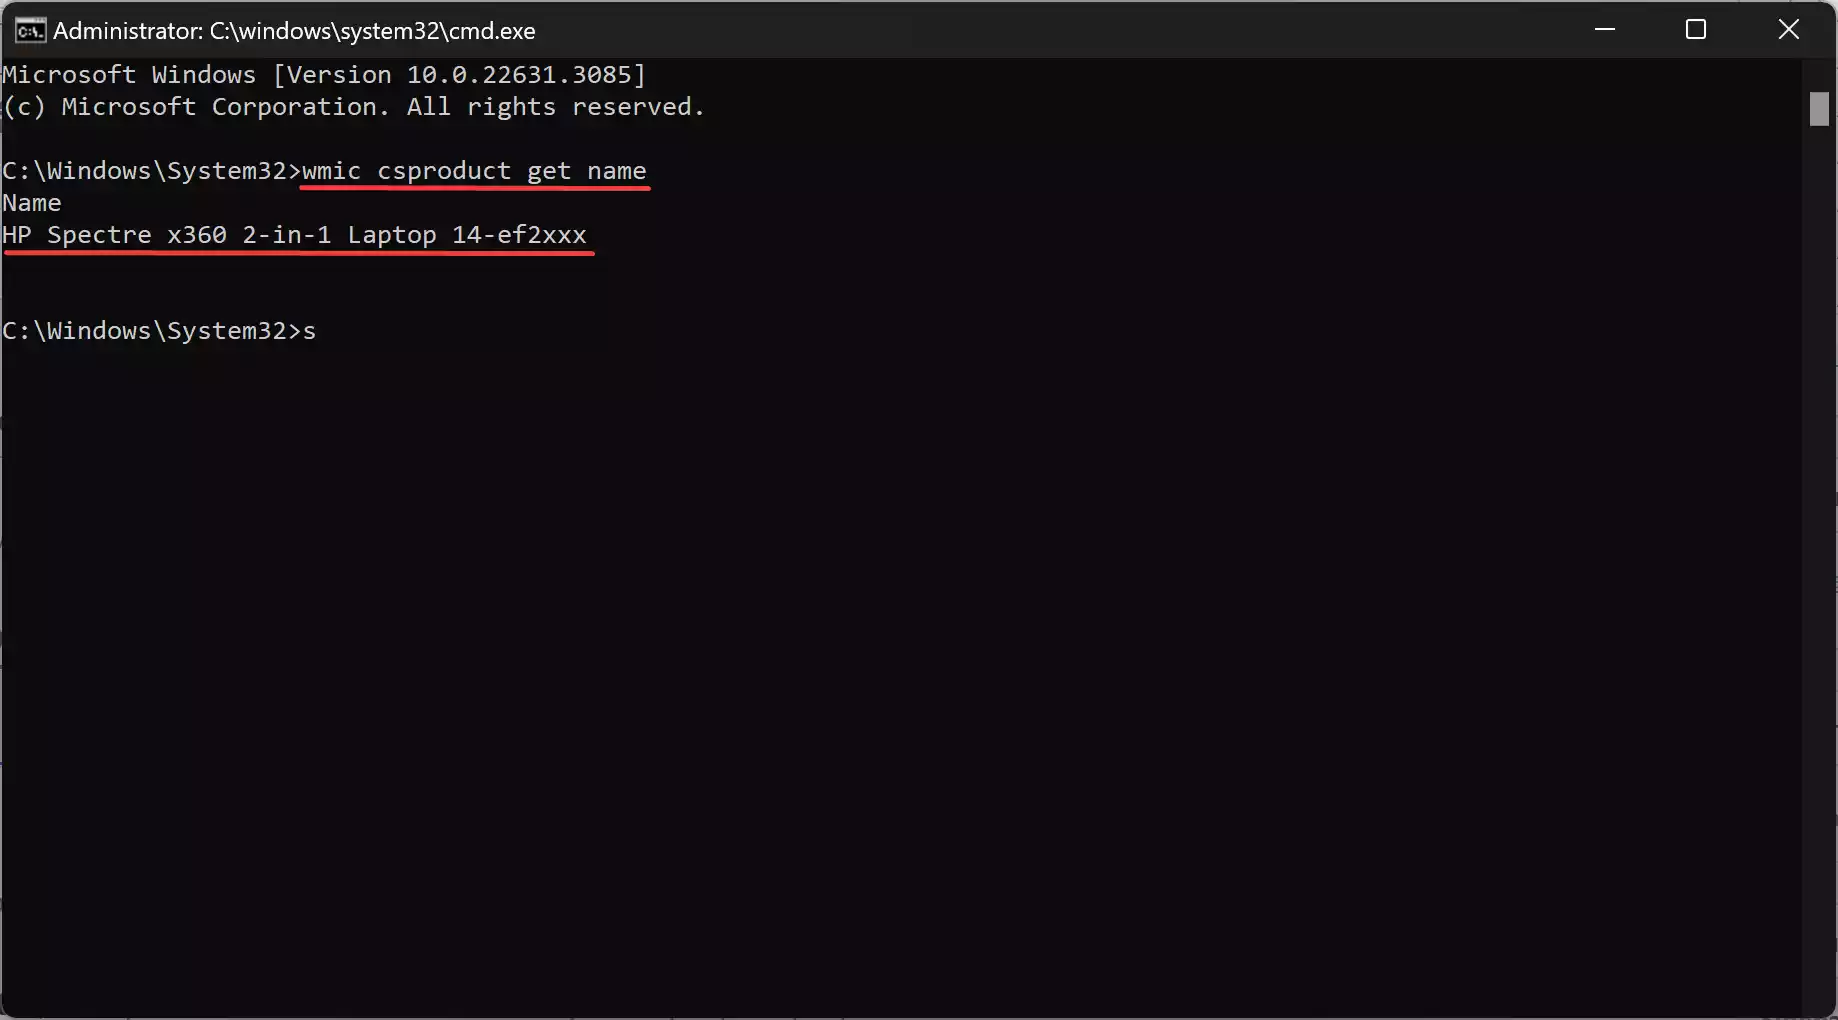
Step 3. Press Enter, and you’ll see the model name of your laptop displayed in the next line.
Step 4. Make a note of the model name shown.
Method 3: Through Windows PowerShell
Step 1. Open Windows PowerShell from the Start menu or by searching for it using the Windows search bar.
Step 2. Within the PowerShell window, type the following command and hit Enter:-
Get-CimInstance -ClassName Win32_ComputerSystem | Select-Object Model
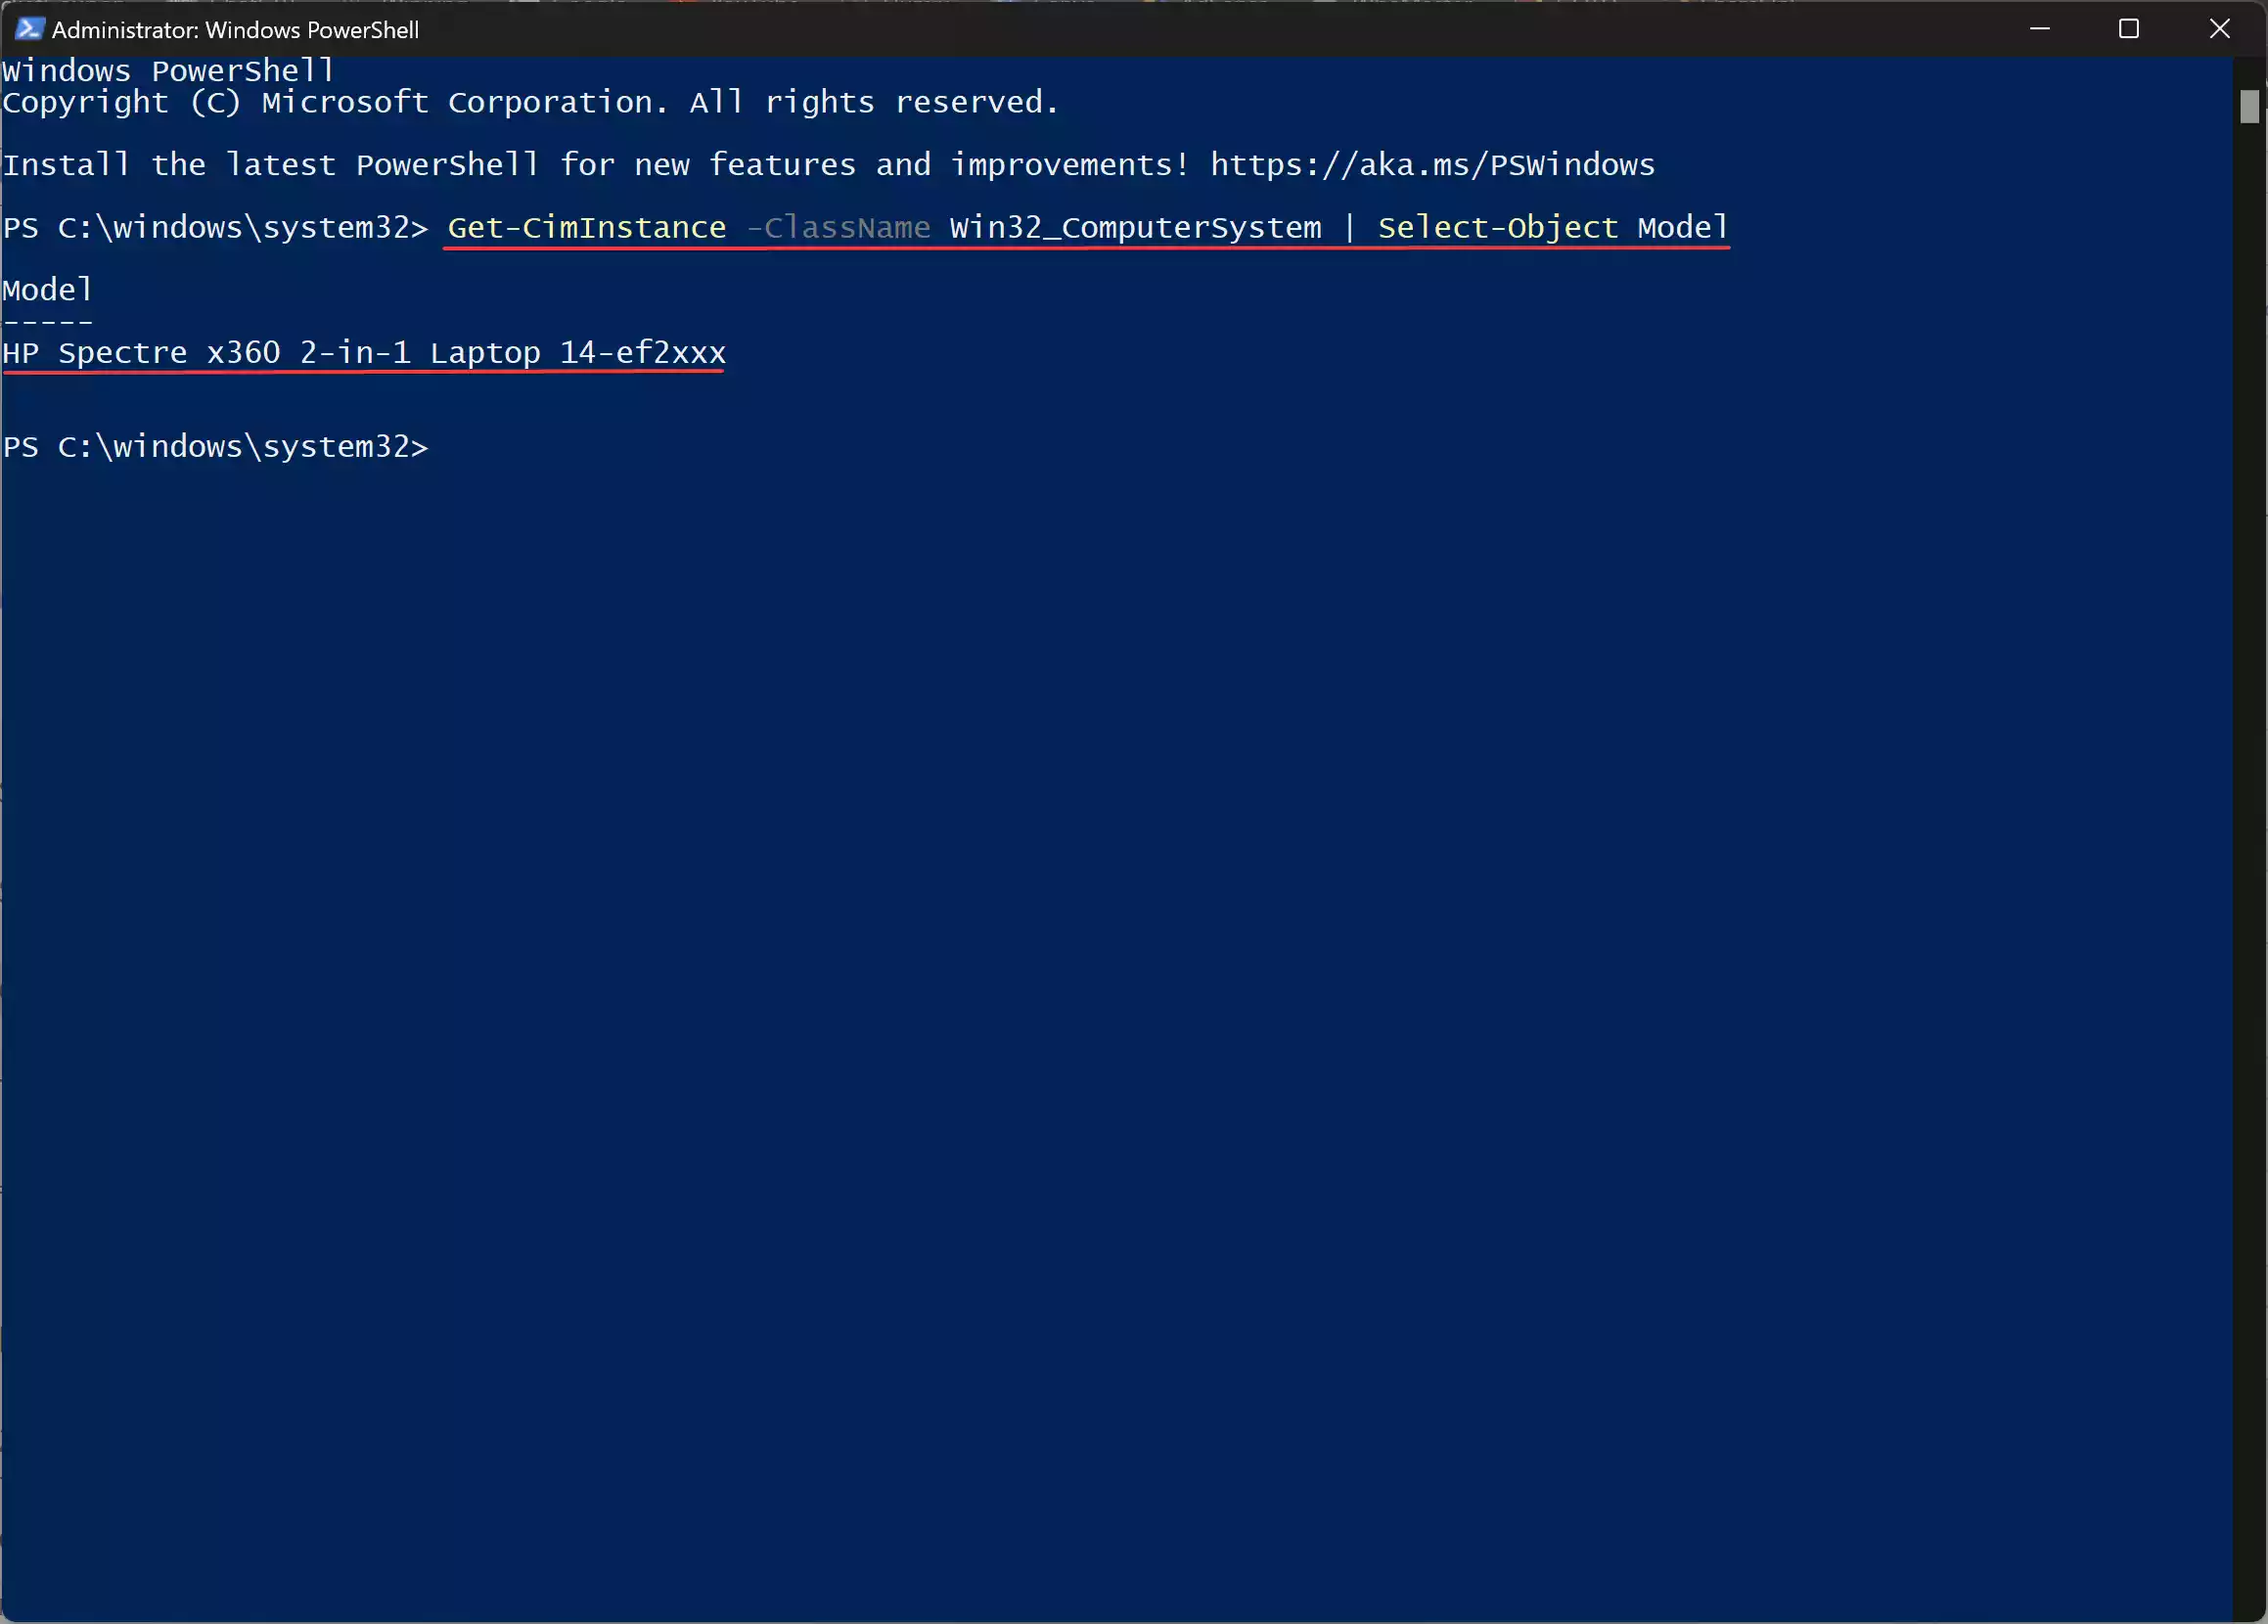
This command will display the model name of your laptop.
Method 4: Checking the Sticker on Your Laptop
If the above methods aren’t feasible or accessible, especially in cases where the laptop is not functioning correctly, you can always resort to the tried-and-tested method of checking the sticker on your laptop. Most laptops come with a sticker on the bottom or back panel that contains vital information, including the model name and serial number.
Conclusion
Knowing your laptop’s model name in Windows 10 is essential for various purposes, from seeking technical support to purchasing compatible hardware upgrades. With the methods outlined in this article, you can quickly and effortlessly find this information, regardless of your level of technical expertise. Whether you prefer navigating through system settings or using command-line utilities, Windows 10 offers multiple avenues to uncover your laptop’s model name, ensuring you stay informed and empowered in managing your device.
