When you start typing long texts in a Cell in Excel spreadsheet, they may overlap with the next Cell to the right and may be unclear to read. Wrap text is a powerful Excel tool that automatically arranges lengthy texts within the Cell in multiple lines. Although you can expand a column’s width sideways to fit texts in your cell, unfortunately, this can lead to vast spreadsheets that are hard to navigate. That’s why you should use the Wrap Text tool in Excel. Using the wrap text function, you can make the cell automatically display the entire text within the limited column width. Wrap text is helpful when you want to show long text on multiple lines in a single cell.
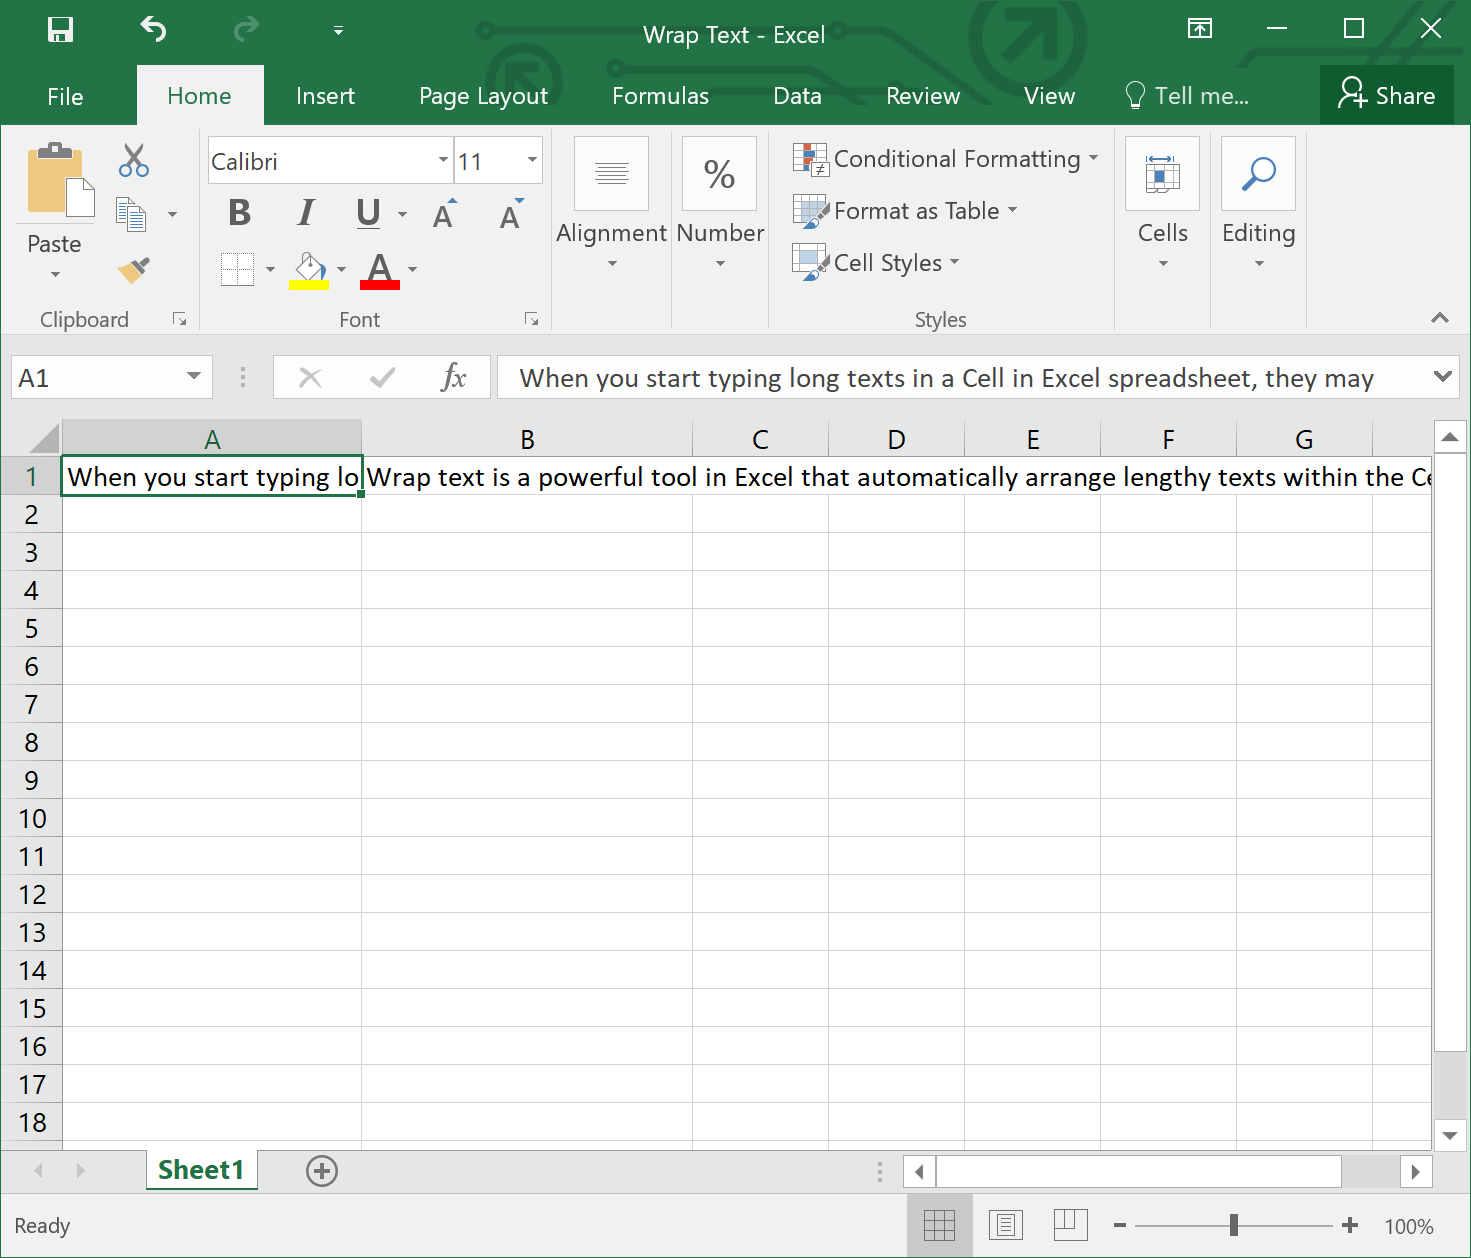
For example, we have copied and pasted the first two lines of this post in Cell A1 and B1. You can see in the below screenshot that it has spread in several cells, and the whole texts are not visible. We can expand the column’s width to fit texts, but it will be unmanageable when we use multiple columns to represent our data. So, here we can use the Wrap Text function to serve the texts within the cells.
In this gearupwindows article, you will learn how to use the Wrap Text function in Microsoft Excel.
How to Wrap Text in Microsoft Excel?
This method allows you to wrap your text automatically in cell(s), so you don’t need to manually expand the column’s width.
Step 1. Open the Excel worksheet.
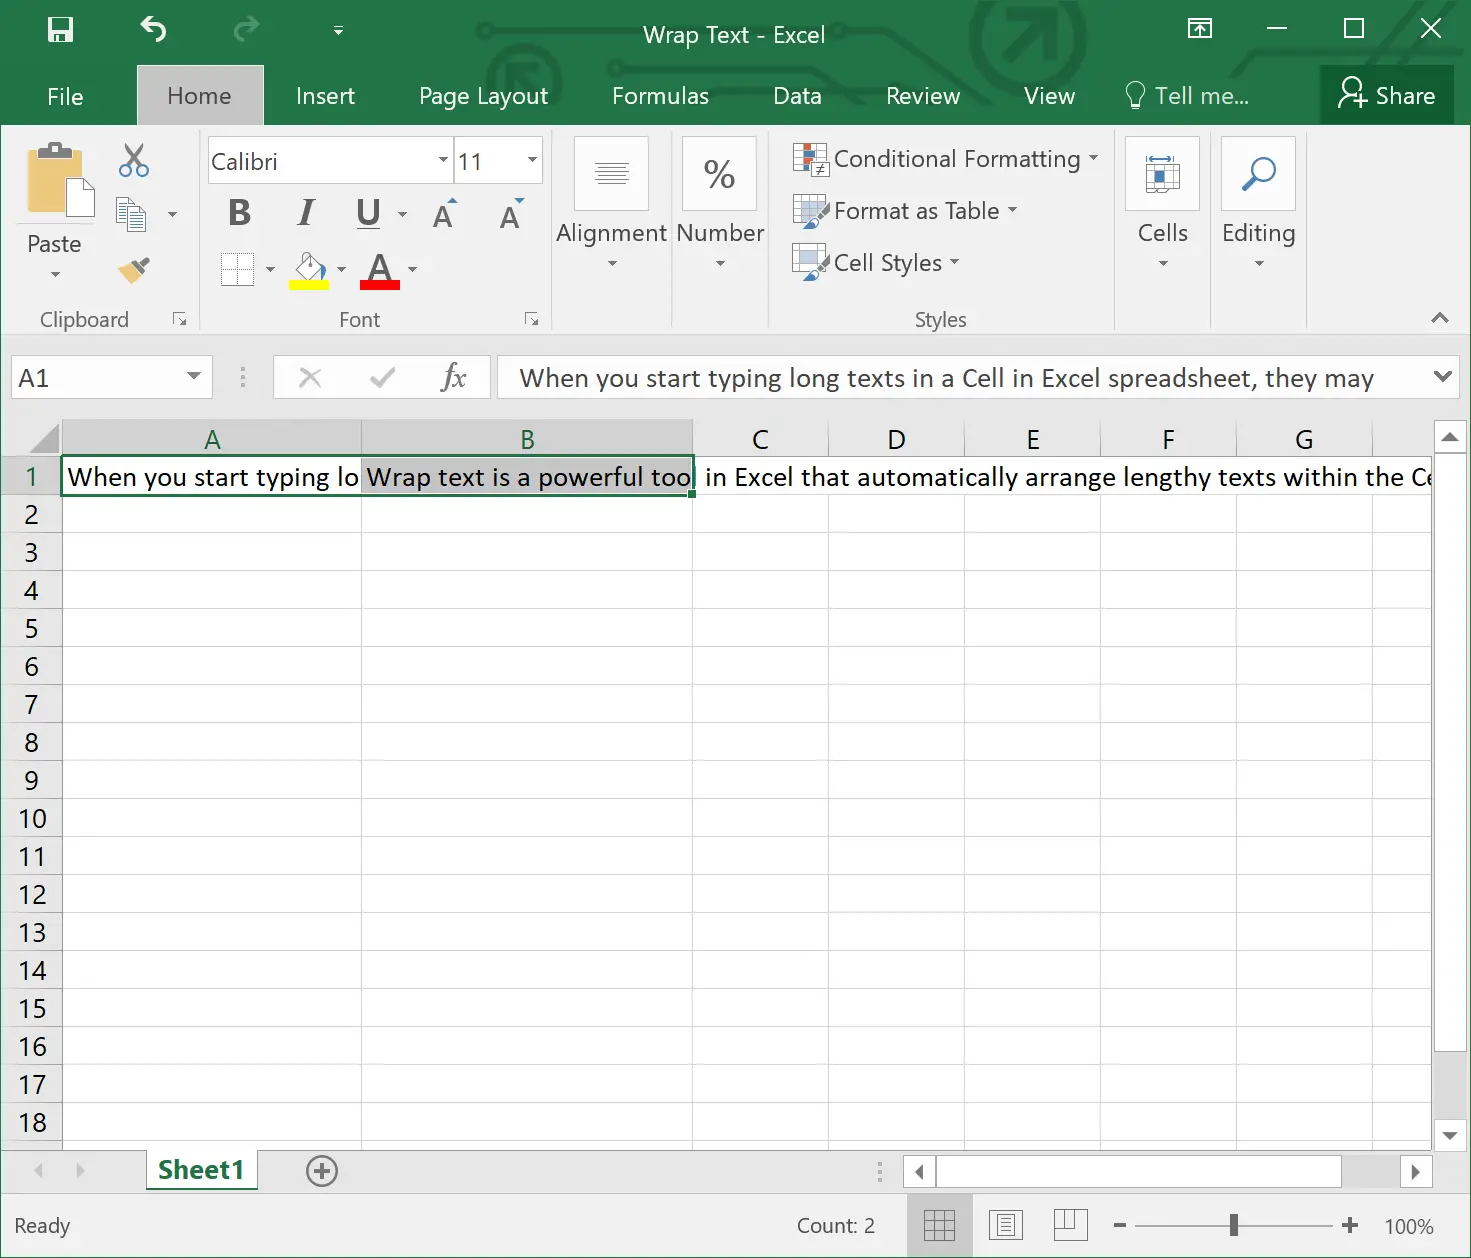
Step 2. Populate the cell you want to wrap the texts. To do that, click on the cell to select it. You can also choose multiple cells if you apply wrap text on several cells simultaneously. For example, we have chosen Cell A1 and B1.
Step 3. On the Home tab, in the Alignment group, click the Wrap Text.
Alternatively, after selecting the cell(s), press the Alt + H + W keyboard shortcut.
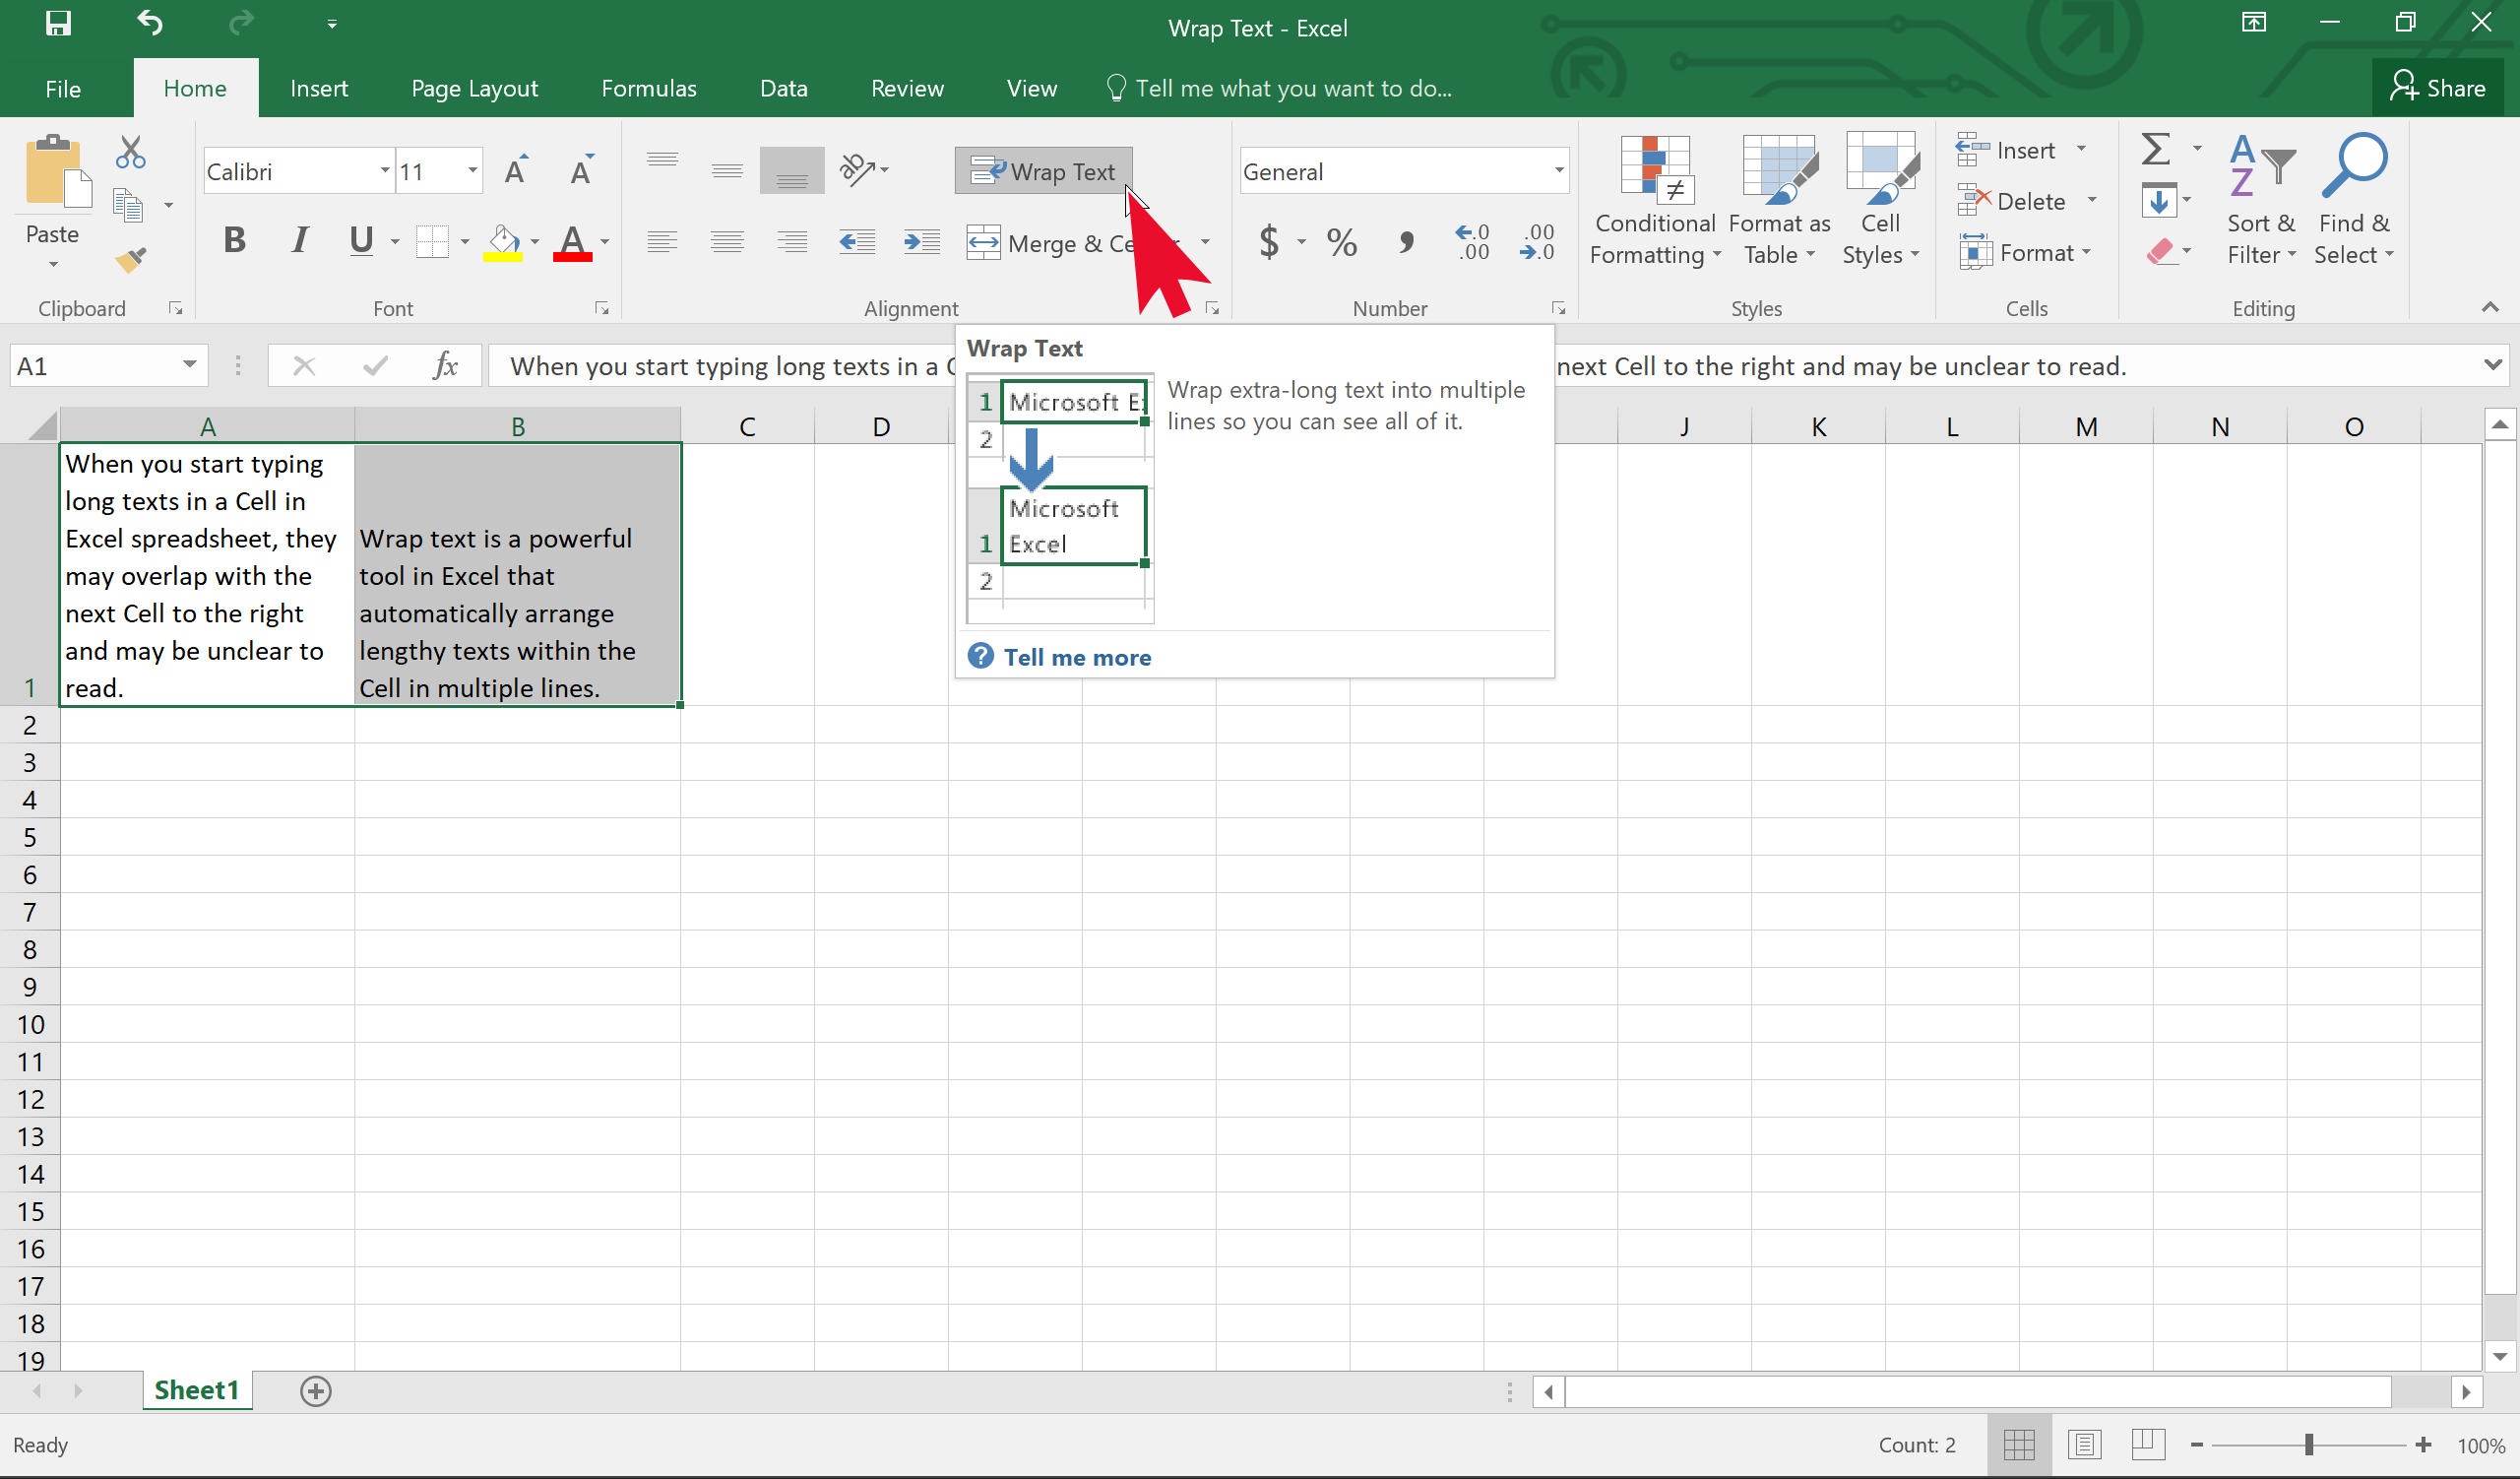
Once the wrapping of texts is completed in the cell(s), it will not overlap with other cells.
Please note that if you change the column width in the future, data wrapping adjusts automatically. So you’ll not need to repeat the process of text wrapping.
Using the line break function, you can manually adjust the text in a cell. But, if you decrease the width of the column in the future, you may need to adjust the cell’s contents again according to the cell’s width. To insert a line break, place your cursor where you would like the line to break. For example, in Cell A1, we have data “Gear Up Windows.” We want to break the line after “Gear Up.” So, double-click on Cell A1, and place the cursor after “Gear Up.” Finally, hit the Alt + Enter keys together to add the line break. As a result, you will find the terms “Gear Up” and “Windows” in different lines.
Conclusion
In conclusion, the Wrap Text function in Excel is a useful tool that allows you to display lengthy text within a limited cell space by wrapping the text automatically in multiple lines. This can help you avoid overlapping text and make your spreadsheet more readable and manageable. With the simple steps outlined in this gearupwindows article, you can quickly apply the Wrap Text function to your cells and adjust your column width with ease. Whether you’re working on a small or large spreadsheet, using Wrap Text can save you time and improve your data presentation.
