How to set a disk read-only? How can I prevent a disk from accidentally formatting? In this tutorial, we will answer all these questions. We will show you the steps to set or remove a particular disk read-only mode in Windows 11 / 10 / 8 / 7 without using any third-party software.
Why do you need to set a Disk as a Read-Only Mode?
If you share your PC, external hard disk, or USB flash drive with your friend or colleagues, it is better to make the drive or partition read-only where you have stored important data. Once the read-only or write protect is set on any volume or a drive, you or someone else will be unable to delete it or format it. By making your storage device read-only, you can protect your data, and even a virus will not affect them. However, anyone can open and read the file available on the hard drive, USB drive, or partition.
In this gearupwindows article, we will learn the following topics:-
- How to Set a Disk Read-Only or Write Protect in Windows 11 / 10 / 8 / 7?
- How to Remove Read-Only or Write Protect Mode from a Disk in Windows 11 / 10 / 8 / 7?
How to Set a Disk Read-Only or Write-Protect in Windows 11 / 10 / 8 / 7?
To set a Disk as read-only or write-protect on Windows PC, perform the following steps:-
Step 1. Open the elevated Command Prompt.
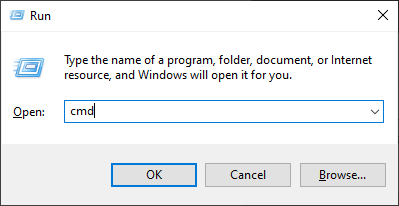
To open the command prompt with elevated or administrative rights, press Windows Logo + R keys to open the “Run” dialog box. Type cmd and then press Ctrl + Shift + Enter to run the command prompt as an administrator.
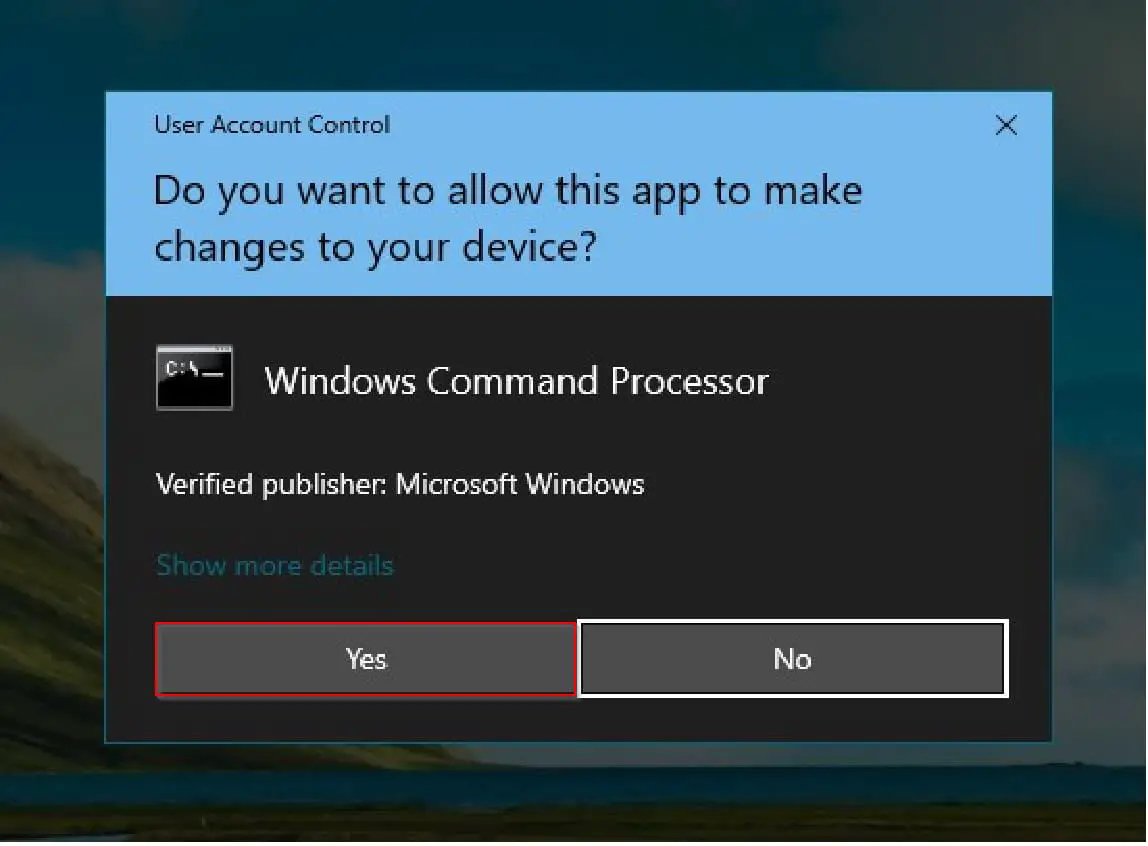
If User Account Control (UAC) dialog box prompts, click the Yes button to continue.
Step 2. In the Command Prompt window that opens, type the following and hit Enter from the keyboard to execute the command:-
diskpart

Step 3. Now, on the DISKPART prompt, type the following command and hit Enter from the keyboard to execute it:-
list disk
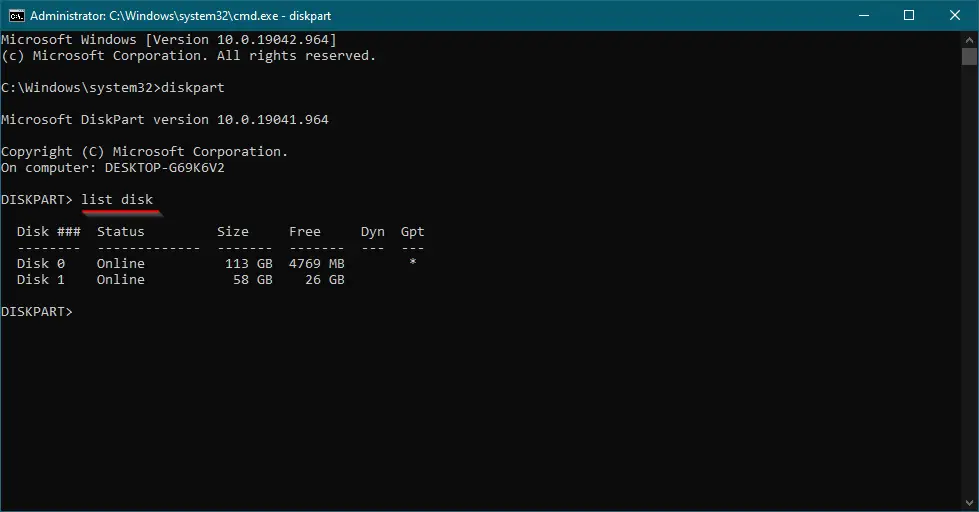
Once you execute the above command, it will list all the internal and external disks attached to your PC.
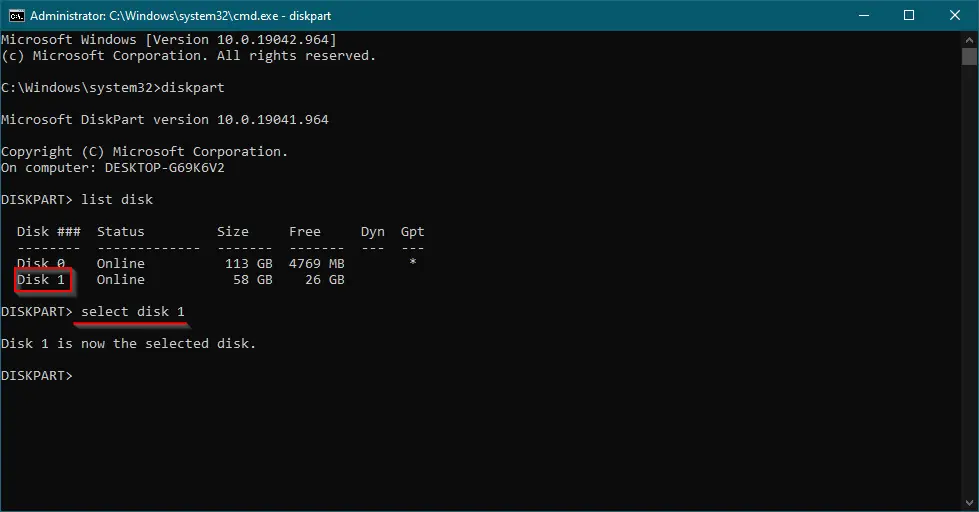
Step 4. Note down the disk number which you want to write protect or read-only. Now, type the following command and hit Enter from the keyboard to execute it:-
select disk disk-number
Note: In the above command, replace the “disk-number” with your own disk number, which you want to make write protect or read-only. For instance, we are going to make write-protect or read-only to disk 1. Hence, my command will be “select disk 1.”
Step 5. Finally, type the following and press Enter from the keyboard to make it write protect or read-only:-
attributes disk set readonly
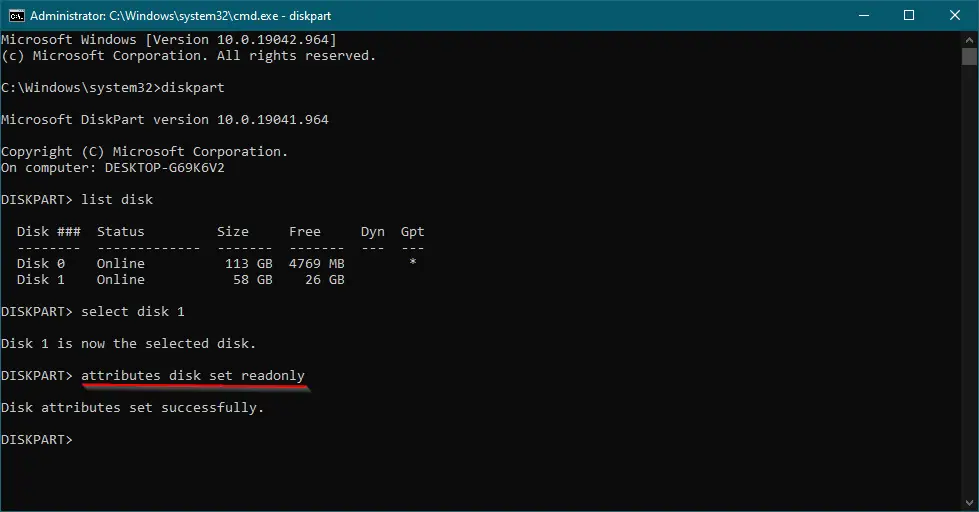
Step 6. You will see a message on the DISKPART, “Disk attributes set successfully.”
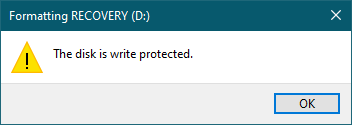
Once you complete the above-mentioned steps, you or someone will not be able to delete or modify any file on that volume. Even you can not format them. If you try to format that disk, you’ll get the error “The disk is write-protected.”
How to Remove Read-Only or Write Protect Mode from a Disk in Windows 11 / 10 / 8 / 7?
To remove read-only or write-protection from a disk in Windows PC, perform the following steps:-
Step 1. Open the elevated Command Prompt.
To open the command prompt with elevated or administrative rights, press Windows Logo + R keys to open the “Run” dialog box. Type cmd and then press Ctrl + Shift + Enter to run the command prompt as an administrator.
If User Account Control (UAC) dialog box prompts, click the Yes button to continue.
Step 2. In the Command Prompt window that opens, type the following and hit Enter from the keyboard to execute the command:-
diskpart
Step 3. Now, on the DISKPART prompt, type the following command and hit Enter from the keyboard to execute it:-
list disk
Once you execute the above command, it will list all the internal and external disks attached to your PC.
Step 4. Note down the disk number from which you want to remove the write-protect or read-only mode. Now, type the following command and hit Enter from the keyboard to execute it:-
select disk disk-number
Note: In the above command, replace the “disk-number” with your own disk number, which you want to make write protect or read-only. For instance, we are going to make write-protect or read-only to disk 1. Hence, my command will be “select disk 1.”
Step 5. Finally, type the following and press Enter from the keyboard to remove or clear its write-protect or read-only:-
attributes disk clear readonly
Step 6. You will see a message on the DISKPART, “Disk attributes cleared successfully.”
Once you complete the above-mentioned steps, the write protection or read-only mode is removed from the selected external hard disk drive or USB flash drive. If you need, you can modify, delete or format the external disk.
Conclusion
In conclusion, setting a disk in read-only mode or write protect is a useful feature to protect important data from being accidentally deleted or formatted. By following the steps mentioned in this tutorial, you can easily set or remove the read-only or write-protect mode on any disk or partition without using any third-party software. This can be helpful when sharing your PC or external storage device with others, as it prevents unwanted modifications or deletions of your important data. Overall, setting a disk in read-only mode is a simple and effective way to secure your data and prevent data loss.