Do you want to quickly boot into your Windows 10 desktop by skipping the login screen? Do you want to skip password typing each time you turn on your PC? It is possible to configure Windows 10 to boot into the desktop without entering the account password automatically. You can set your Windows user accounts to log in without prompting for a password.
What is the Benefit of Automatically Login into Windows 10 without a password?
If you are using Windows PC at home, you can set auto-login into your Windows PC. Since you and your family members will be users on your PC, setting a password and remembering them is not compulsory. By removing the password and settings auto-login into your Windows 10 PC, you can save a couple of minutes.
You can apply a similar method on Windows 7 and Windows 8 PC also. You can apply the auto-login method to both the local user account and the Microsoft account. This means that whether you’re using a local user account or an online Microsoft account, you can enable automatic login on your Windows 10 computer or laptop.
What is the Loss of an Automatically Login in Windows 10 without a password?
Gentle Warning: It is always recommended to set a strong password for your Windows PC so an unknown person can not access your data. Before enabling automatic login, you should be aware that you may invite unknown trouble. Anyone who has access to your computer may steal your data, and even you will not be aware of that. If you share your computer with your friend or others, it is not recommended to enable automatic login because without knowing the password, he/she may change or copy your important data.
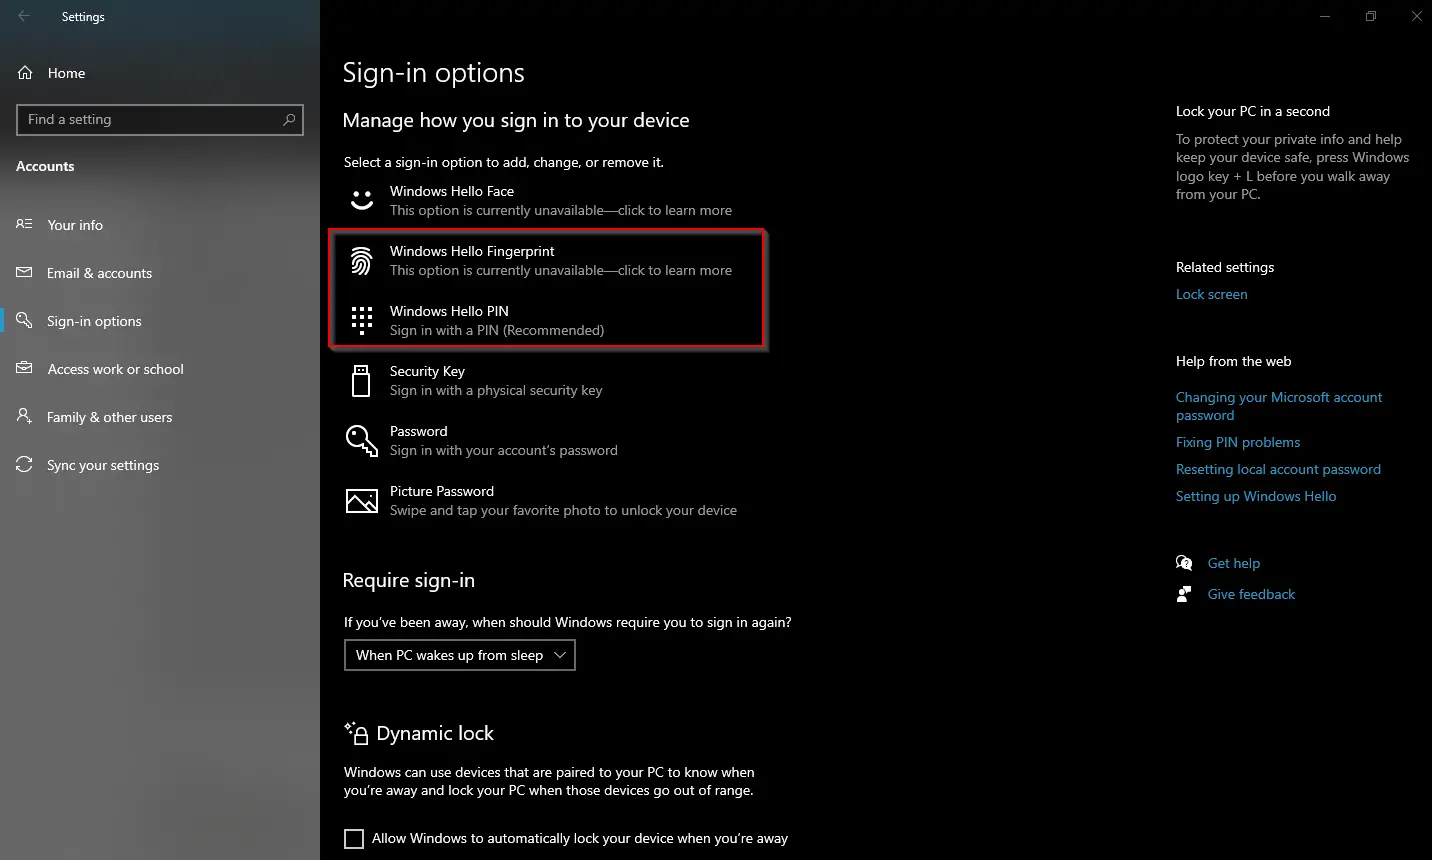
Note: The automatic login may not work if you have enabled Windows Hello PIN or Windows Hello Fingerprint. Once you have decided to enable automatic login into Windows 10, navigate to Settings > Accounts > Sign-in options, and then remove these two sign-in options.
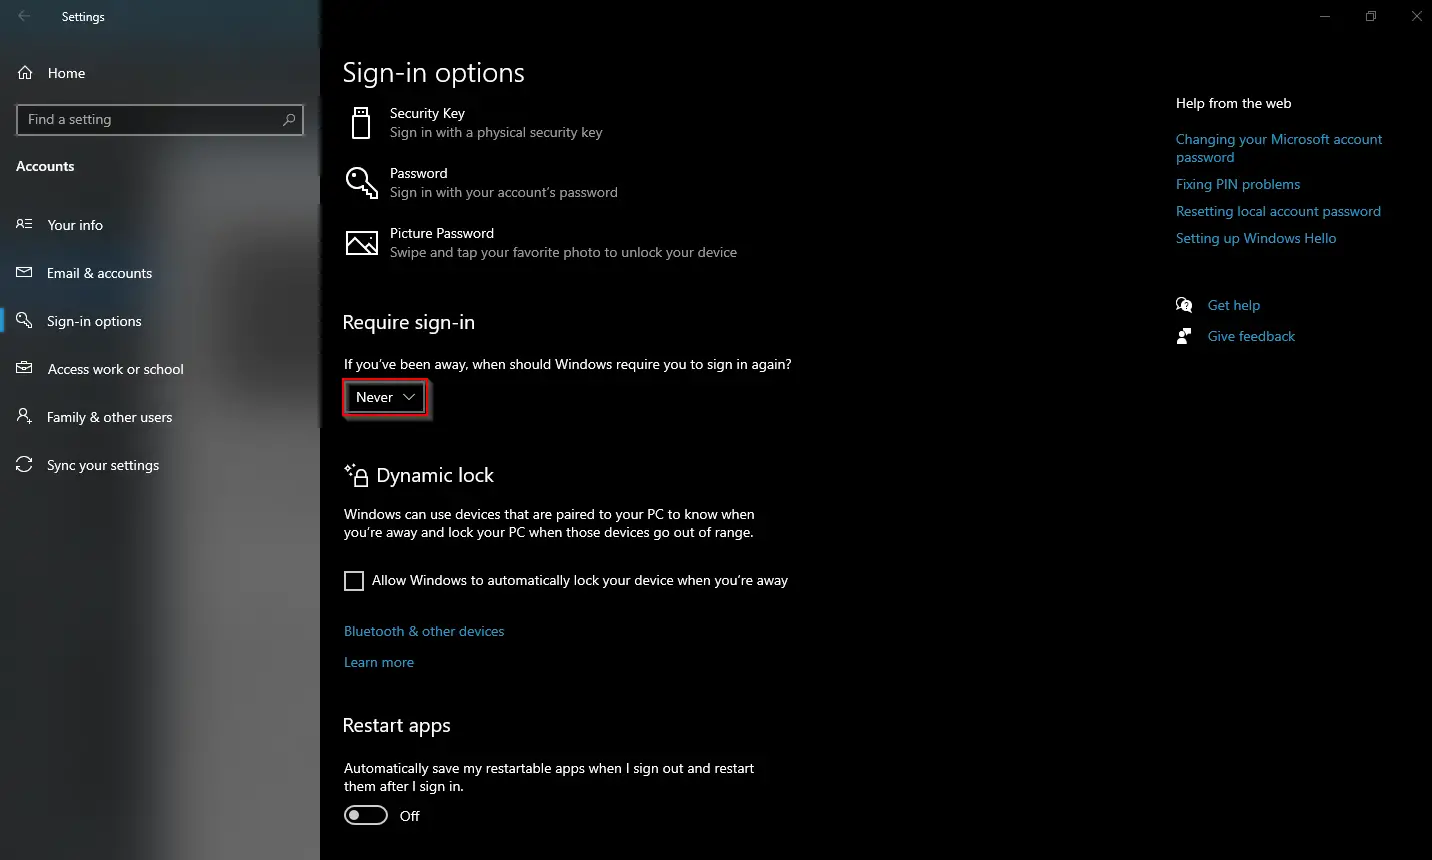
Furthermore, if you don’t want Windows 10 to ask for a password after waking up from sleep, in the above Settings page, select the Never option from the drop-down under Require sign-in section.
There are at least three ways through which you can enable auto or automatic login in Windows 10. These are the following:-
- Allow Automatic login using Netplwiz
- Enable Automatic login via Windows Registry
- Turn on Automatic login through Autologon
- Allow Automatic login through Control Userpasswords2
Note: The checkbox “Users must enter a user name and password to use this computer” was available in Windows 10 before Microsoft released version 2004 for Windows 10 OS. The Windows 10 version 2004 (or May 2020 Update) and newer versions don’t show the required “Users must enter a user name and password to use this computer” checkbox to some users. If, after running “control userpasswords2” or “netplwiz” commands, you find the checkbox is missing, refer to our ultimate guide on how to restore the “Users must enter a user name and password to use this computer” checkbox on Windows 10.
How to Enable Automatic Login in Windows 10 using Netplwiz?
This is the easiest way to enable Automatically Login in Windows 10 using the Netplwiz command. Perform the following steps to configure the same:-
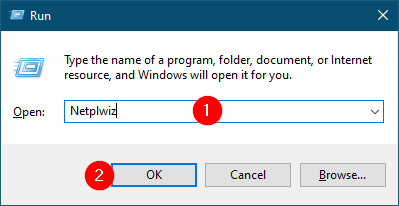
Step 1. Open the Run command box by simultaneously pressing the Windows and R keys. In the Run dialog box, type the following and click the OK button:-
Netplwiz
Step 2. Then, on the resulting User Accounts dialog, select the user name and uncheck the option “Users must enter a user name and password to use this computer.”
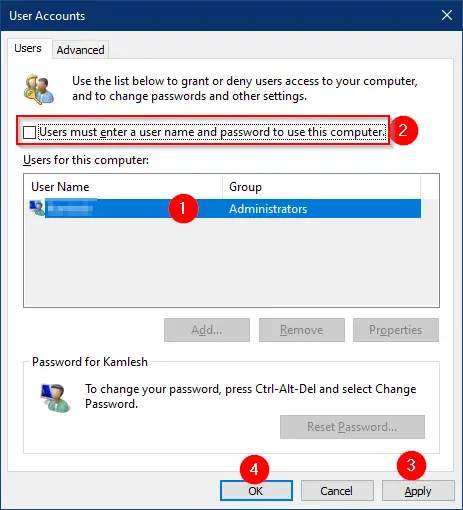
Step 3. Next, click Apply.
Step 4. It will open the “Automatically sign in” dialog box. Type your user account password and re-type it to confirm.
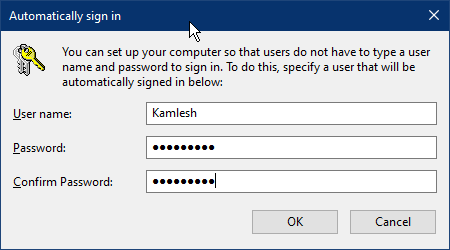
Step 5. After that, click OK.
Step 6. Again, click OK.
Once you complete the above steps, the “Automatically sign-in” feature is activated, which means Windows 10 will no longer prompt you to enter the password after booting.
How to Enable Automatic Login in Windows 10 using Registry Editor?
To enable “Automatically sign in” or “Automatic login” in Windows 10 using Windows Registry, perform the following steps:-
Step 1. First, click on the Start button and then type regedit.
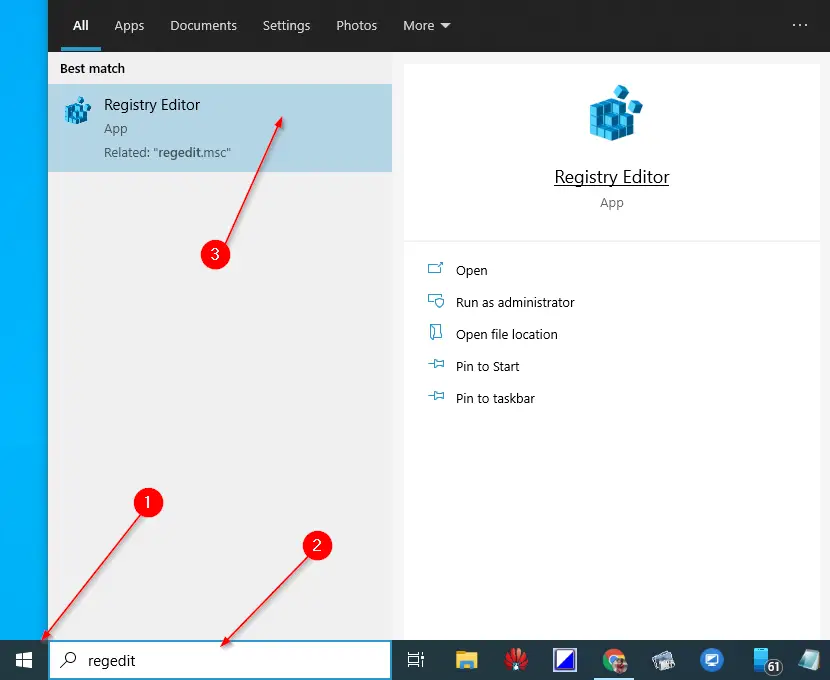
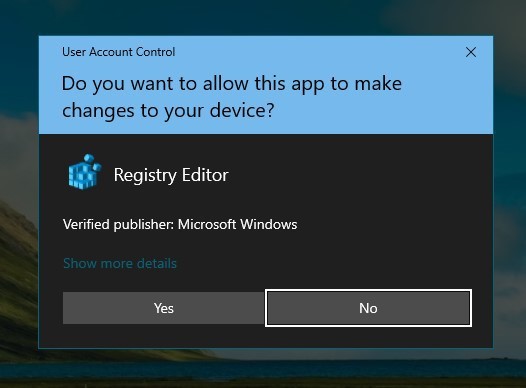
If the User Account Control dialog prompts, click Yes to proceed.

Step 2. In the Registry Editor window that opens, browse or steer for the following key:-
Computer\HKEY_LOCAL_MACHINE\SOFTWARE\Microsoft\Windows NT\CurrentVersion\Winlogon
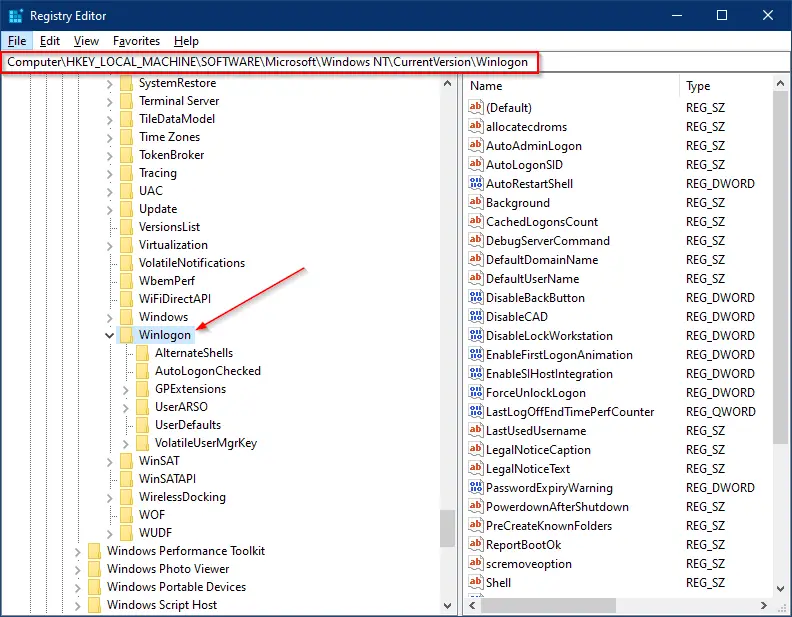
Step 3. On the right side pane of the Winlogon key, look for the entry DefaultUserName.
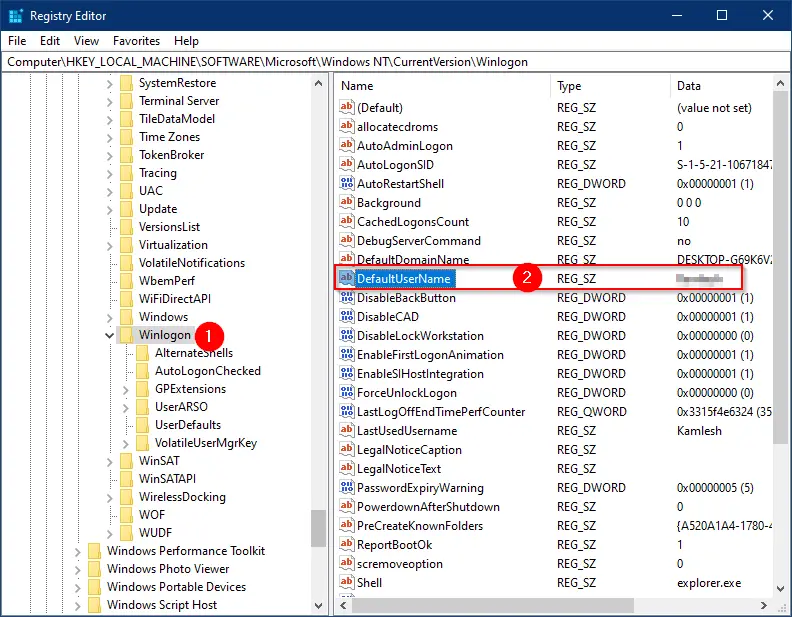
Step 4. Double-click on DefaultUserName and see your Microsoft account or local user account name should appear under the Value data box.
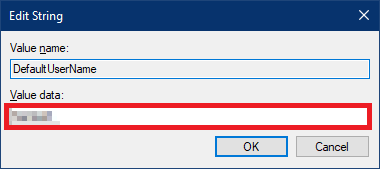
Step 5. Once you check the user name in the Value data, you can close the Edit String dialog box.
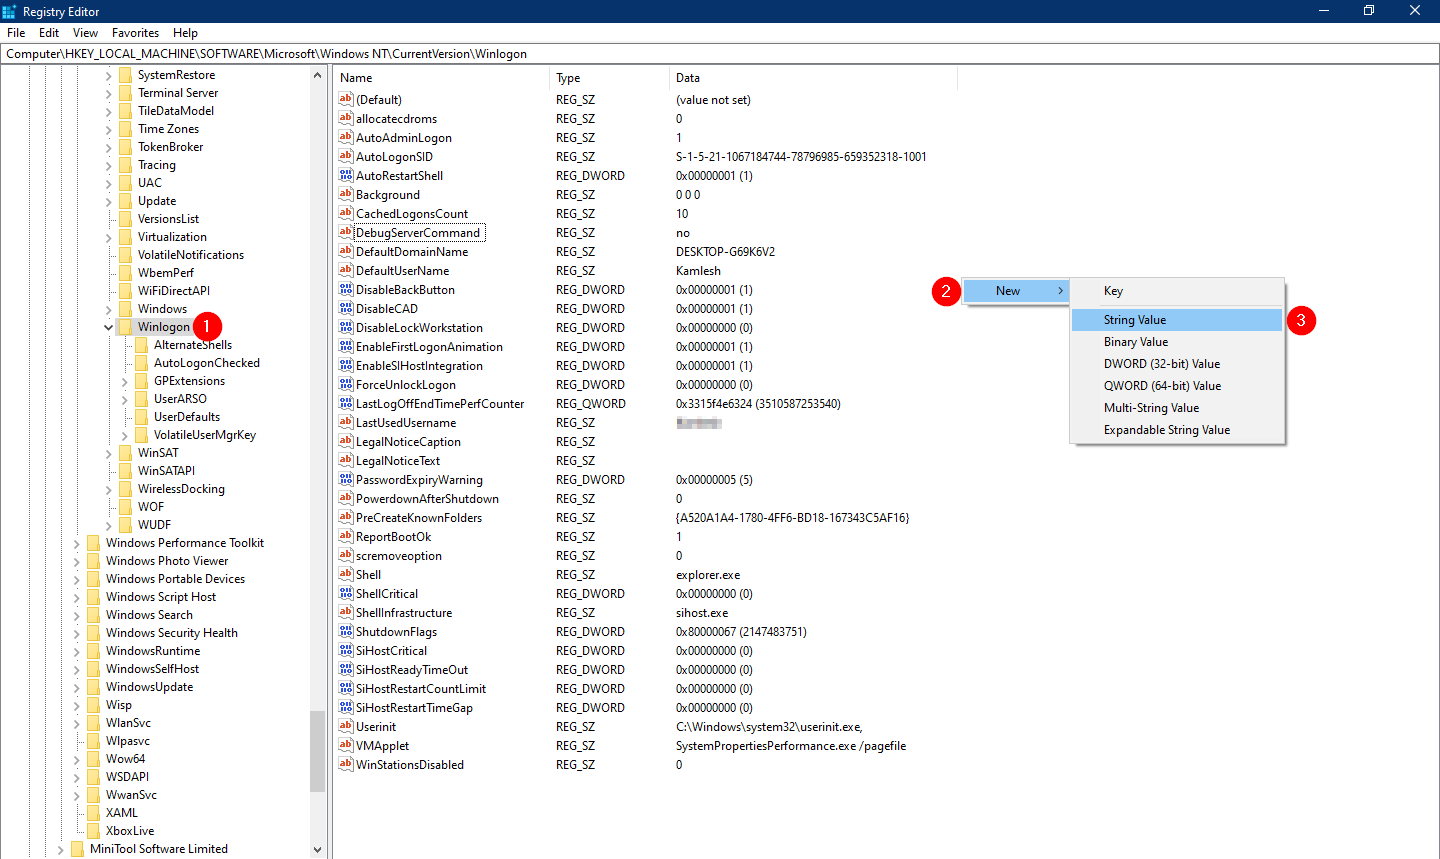
Step 6. Now, on the right-side pane of Winlogon, look for the entry DefaultPassword. If the DefaultPassword entry doesn’t exist, right-click on free space, select New, and then String Value. Rename the newly created String Value to DefaultPassword.

Step 7. Double-click on the DefaultPassword and enter your account password (You have already checked the account name in step 4 above) in the Value data box.

Step 8. Click OK.
Step 9. Now, on the right-side pane, look for the entry AutoAdminLogon.
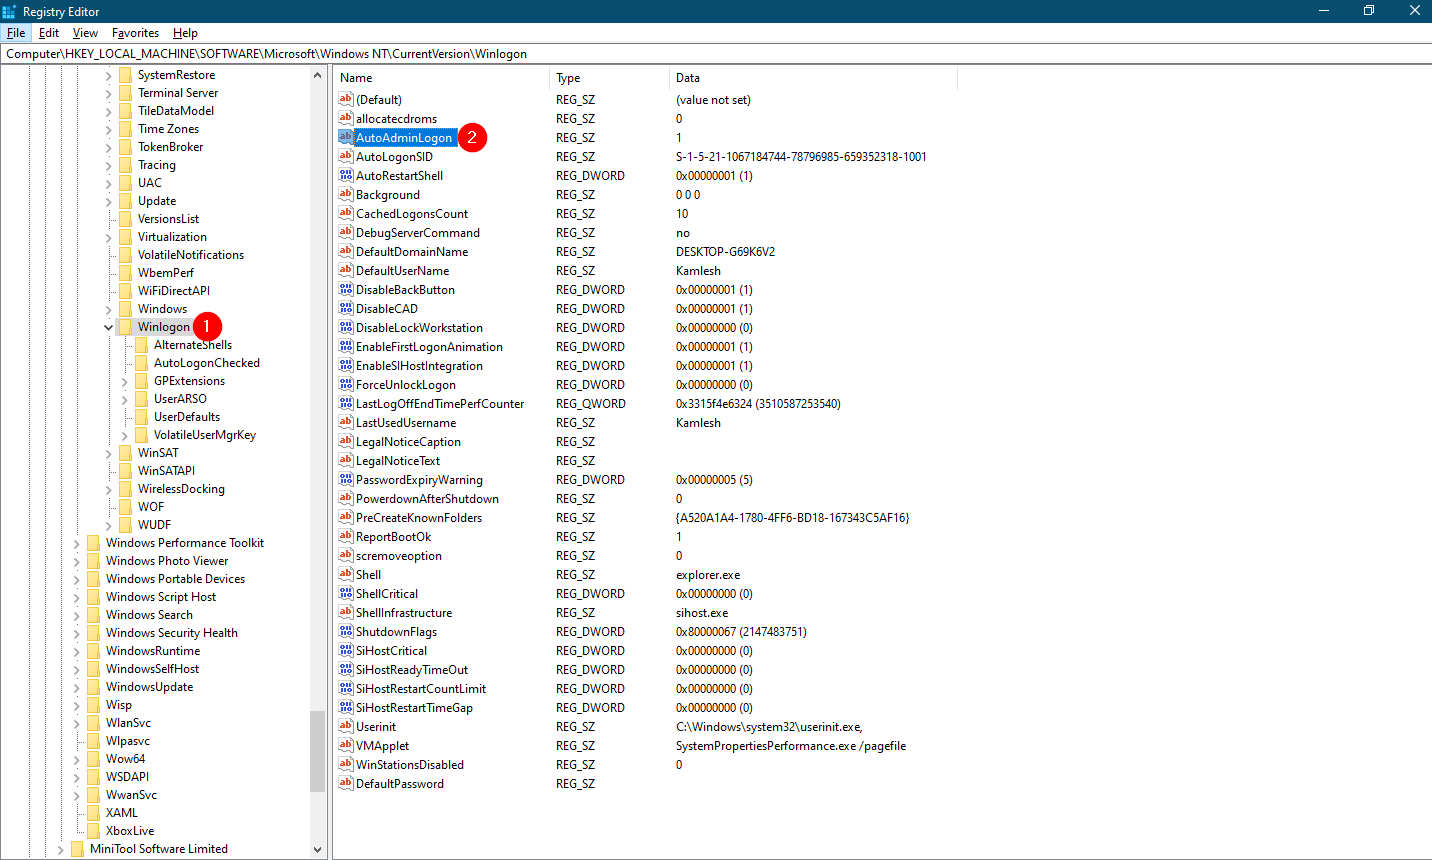
Step 10. Double-click on AutoAdminLogon and change its Value data from 0 to 1.
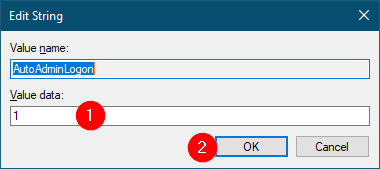
Step 11. Click OK.
Step 12. Close the Registry Editor.
Step 13. Reboot your computer or laptop.
Your Windows 10 machine will automatically login into your account without asking you to enter the password.
How to Enable “Automatically sign in” through Autologon?
Autologon is a freeware utility to automate the login process in Windows 10. It is specially designed by Microsoft to help you skip the lock and login screen in Windows 10.
To enable or allow “Automatically sign in,” download the Autologon tool and extract it into a folder using WinRAR or any other app. Double-click on Autologon (for 32-bit OS) or Autologon64 (for 64-bit OS) to open it.
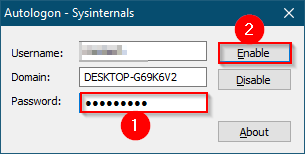
Enter your username and password, and then click on the Enable button.
Once you enable Autologon, your Windows 10 machine will automatically login into your account without asking you to enter the password.
To disable Autologin on your Windows 10 PC, enter the password in the Password box and click the Disable button.
Download Autologon
You can download the Autologon tool from the official website.
How to Enable Automatically Sign in Windows 10 using Control Userpasswords2?
This is another easiest way to enable “Automatical Login” or “Automatically sign-in” to Windows 10 using the Control Userpasswords2 command. Perform the following steps to configure it:-
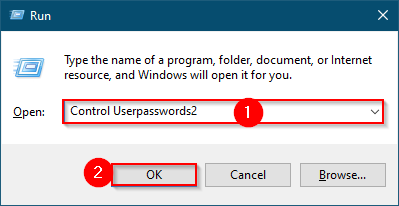
Step 1. Press and hold the Windows logo and press the R key from the keyboard to launch the Run dialog box. In the resulting Run dialog box, type the following and click the OK button:-
Control Userpasswords2
Step 2. In the resulting User Accounts dialog box, select the user name and uncheck the checkbox “Users must enter a user name and password to use this computer.”
Step 3. Click the Apply button.
Step 4. The “Automatically sign in” dialog box opens.
Step 5. Type your account password and then confirm it by retyping it.
Step 6. Click OK.
Step 7. Again, click the OK button.
Once you complete the above steps, when you reboot your Windows 10 machine, it will automatically login into your account without asking you to enter the password.
Conclusion
In conclusion, enabling automatic login in Windows 10 can save you time, especially if you are the sole user of your computer or laptop. It is an easy process that you can do by either using Netplwiz or the Windows Registry Editor. However, it is essential to note that this convenience comes with a security risk. Without a password prompt, anyone can access your computer and its contents, including personal and confidential information. Therefore, it is essential to weigh the benefits and risks before deciding to enable automatic login. If you do decide to go ahead, ensure you take extra measures to protect your computer and the data on it.