Windows PowerShell is a robust scripting console app in Windows 11 introduced by Microsoft back in 2008. Although Microsoft insists you use Windows Terminal as your primary console app, PowerShell is still available on Windows 11, similar to Command Prompt. PowerShell is an advanced scripting language that includes a vast set of built-in commands known as cmdlets. The Cmdlets perform various tasks, from simple file operation to programming and system administrative tasks.

Executing tasks via PowerShell is a simple task. You need to enter the relevant shell command and hit ENTER from the keyboard, just like in Command Prompt.
There are several ways to open PowerShell on Windows, and we have listed those that are easy to use.
How to Launch Windows PowerShell on Windows 11 using Search Menu?
Follow these steps to open Windows PowerShell on Windows 11 using Search Menu:-
Step 1. Click on the Search button on the taskbar.
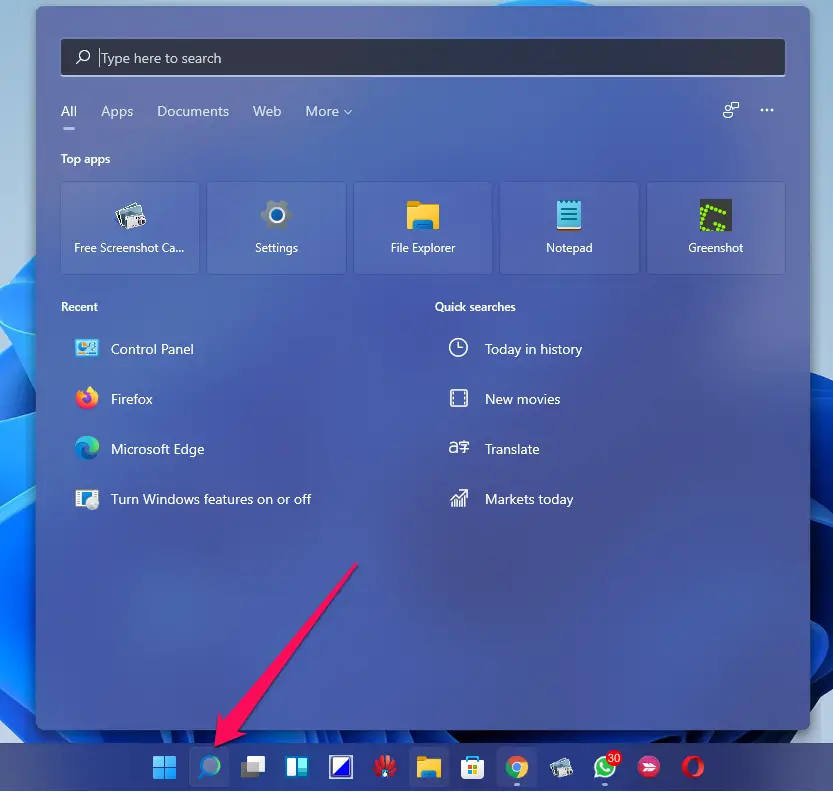
Step 2. On the search box at the top of Windows Search, type PowerShell.
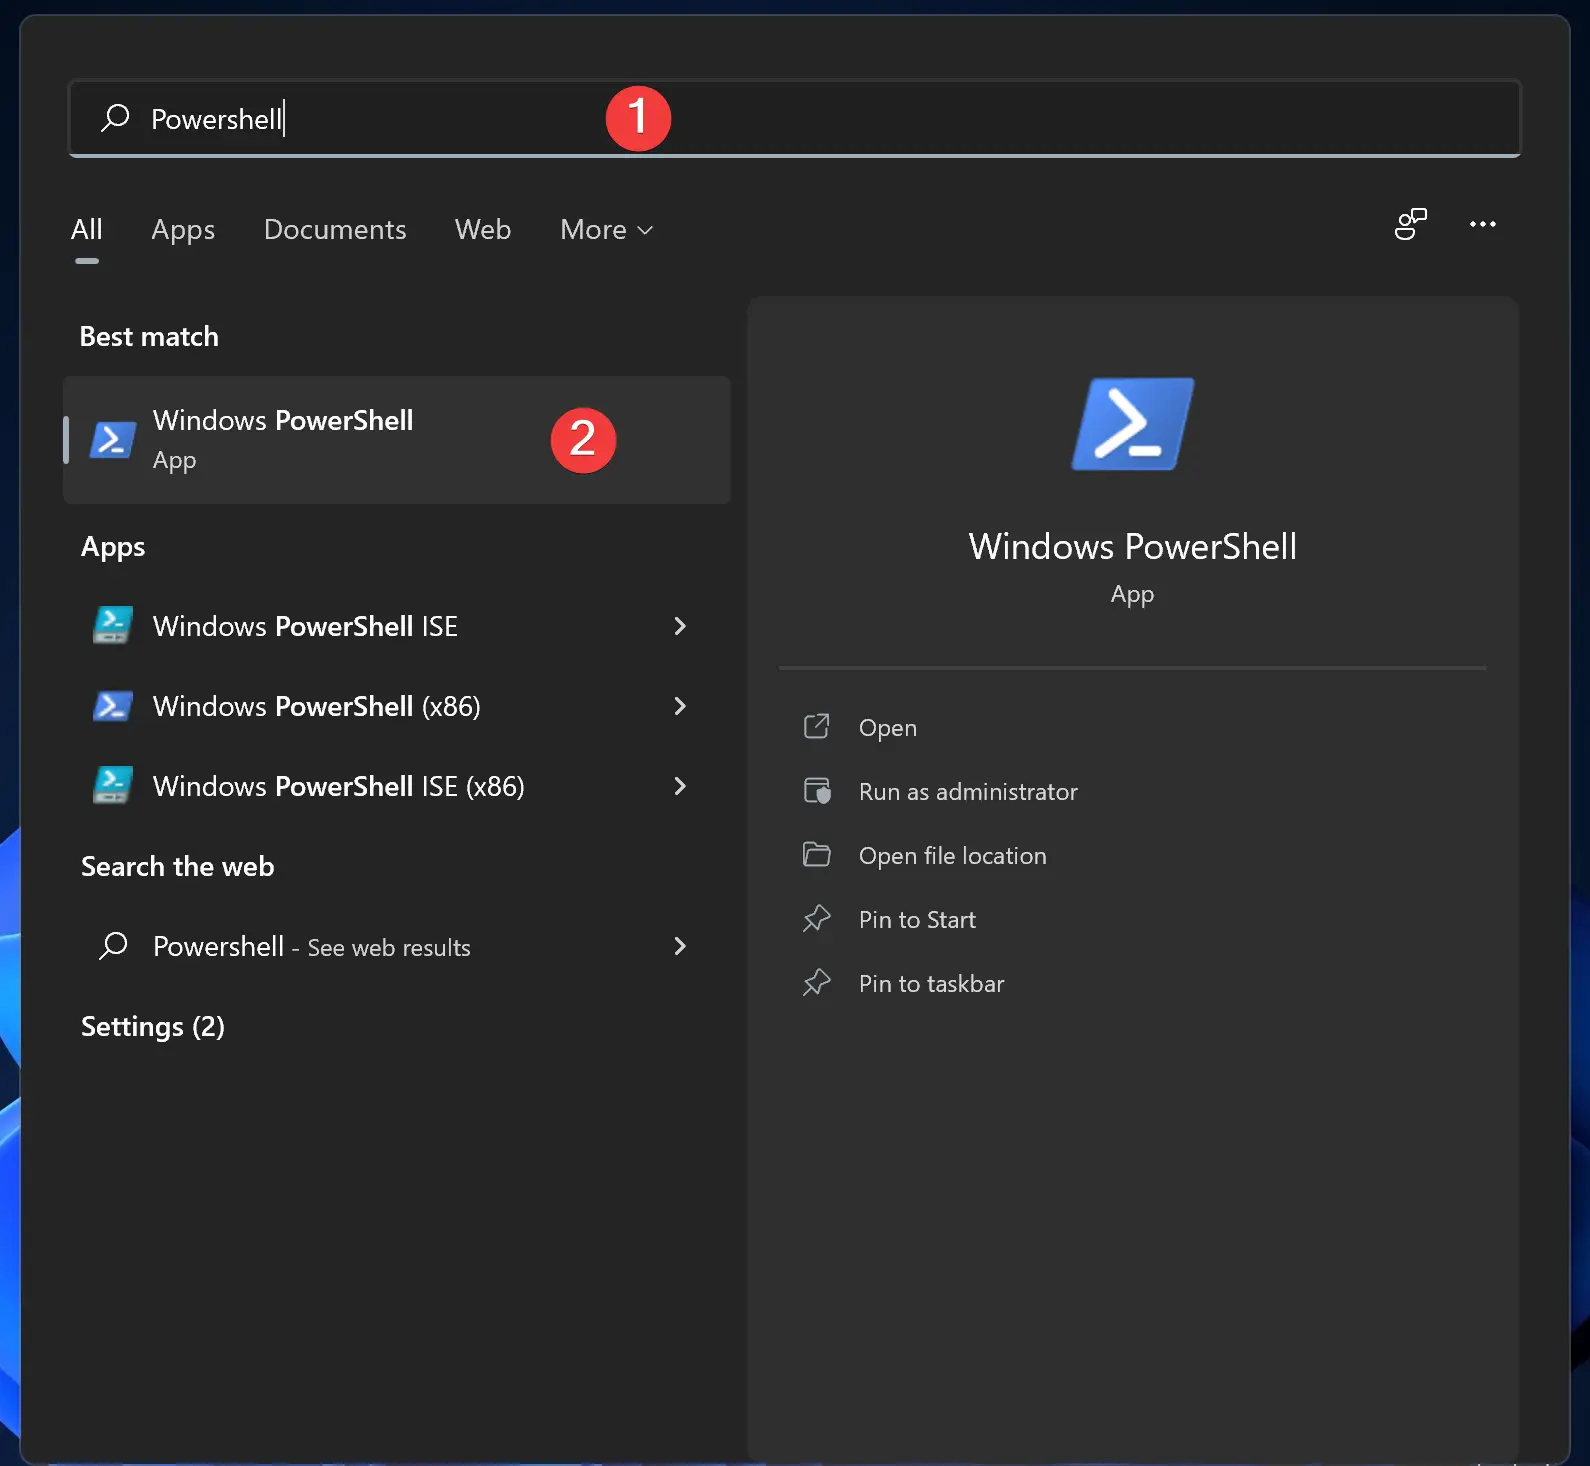
Step 3. Now, click the Windows PowerShell from the available results to open it.
How to Open PowerShell using Windows Terminal?
To launch PowerShell using Windows Terminal, do these steps:-
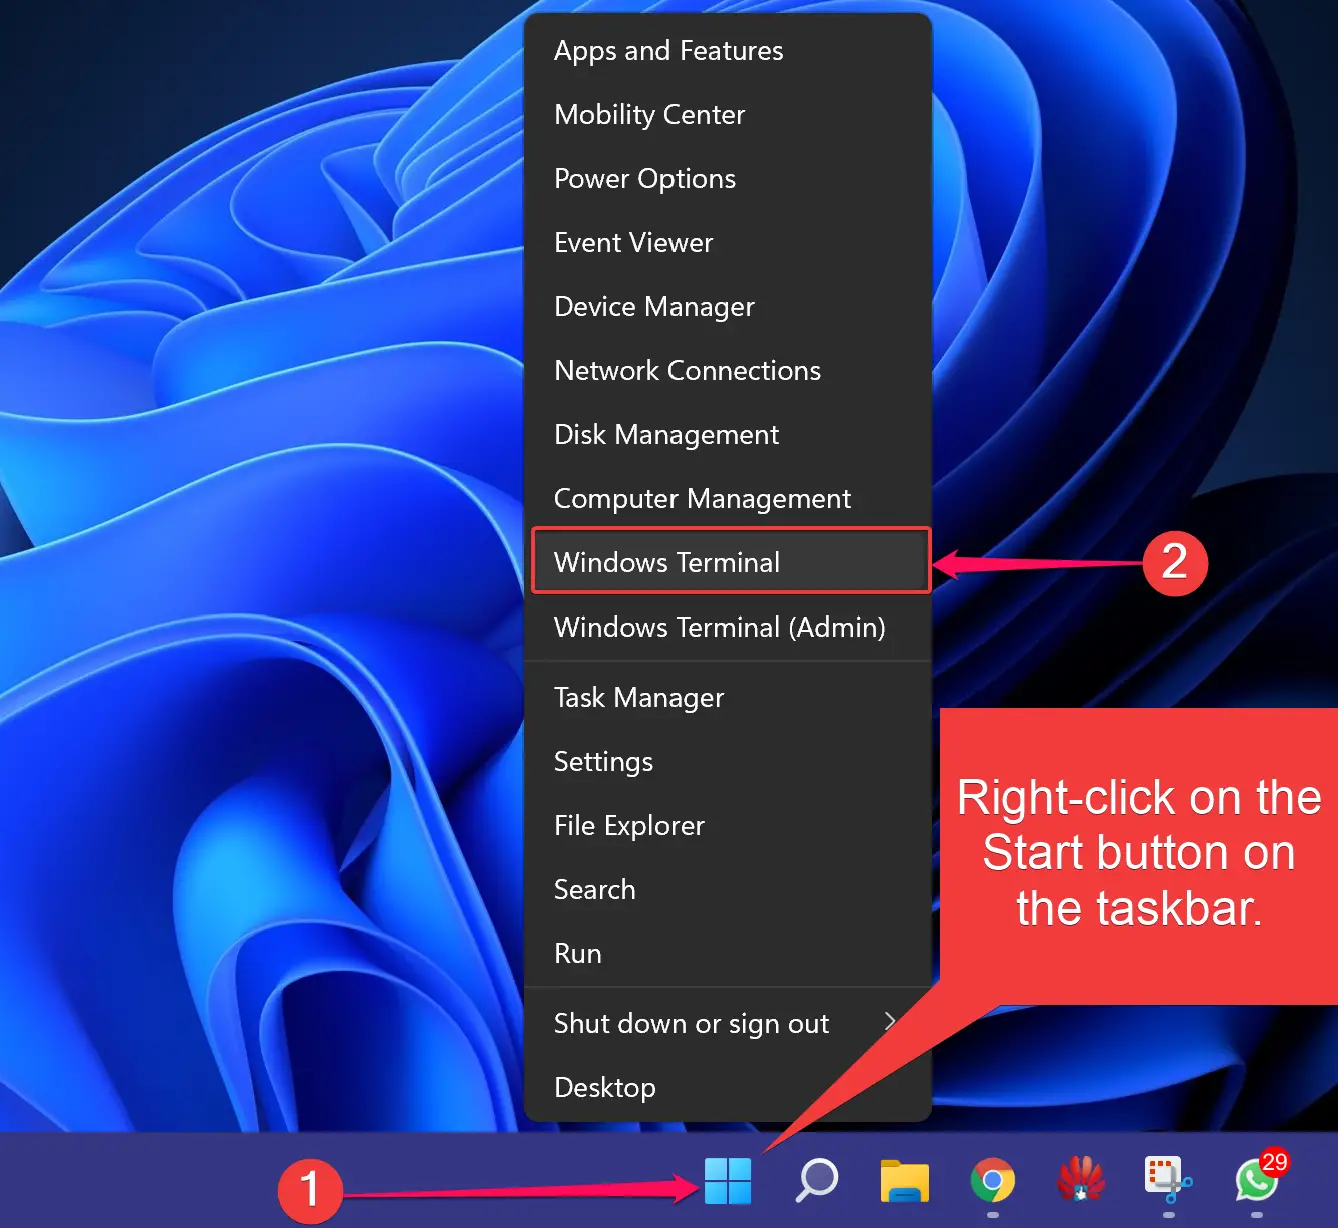
Step 1. Open Windows Terminal.
To do that, right-click on the Start button on the taskbar and then select Windows Terminal.
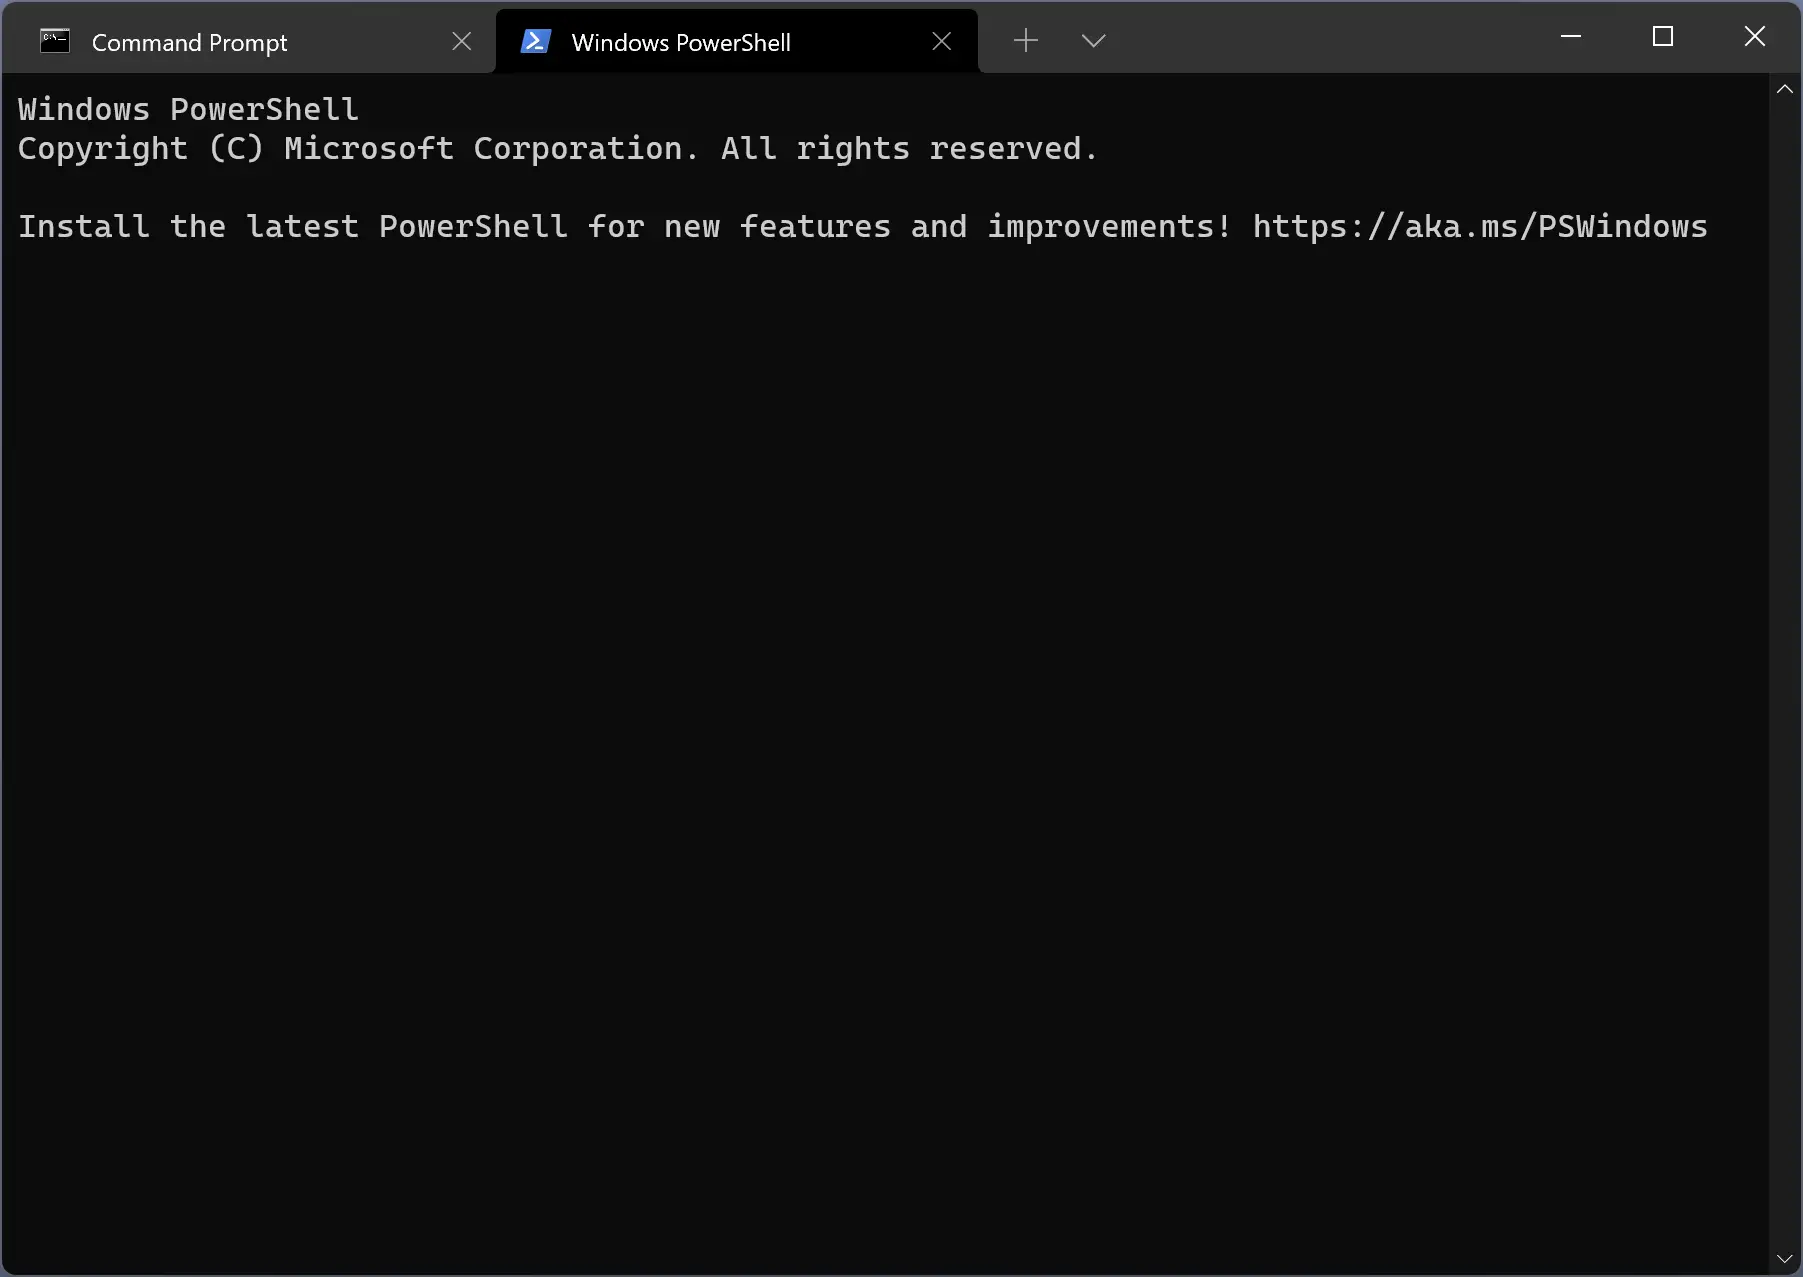
Step 2. Select the downward-facing arrow beside the plus (+) in the tabs bar when the Windows Terminal app opens.
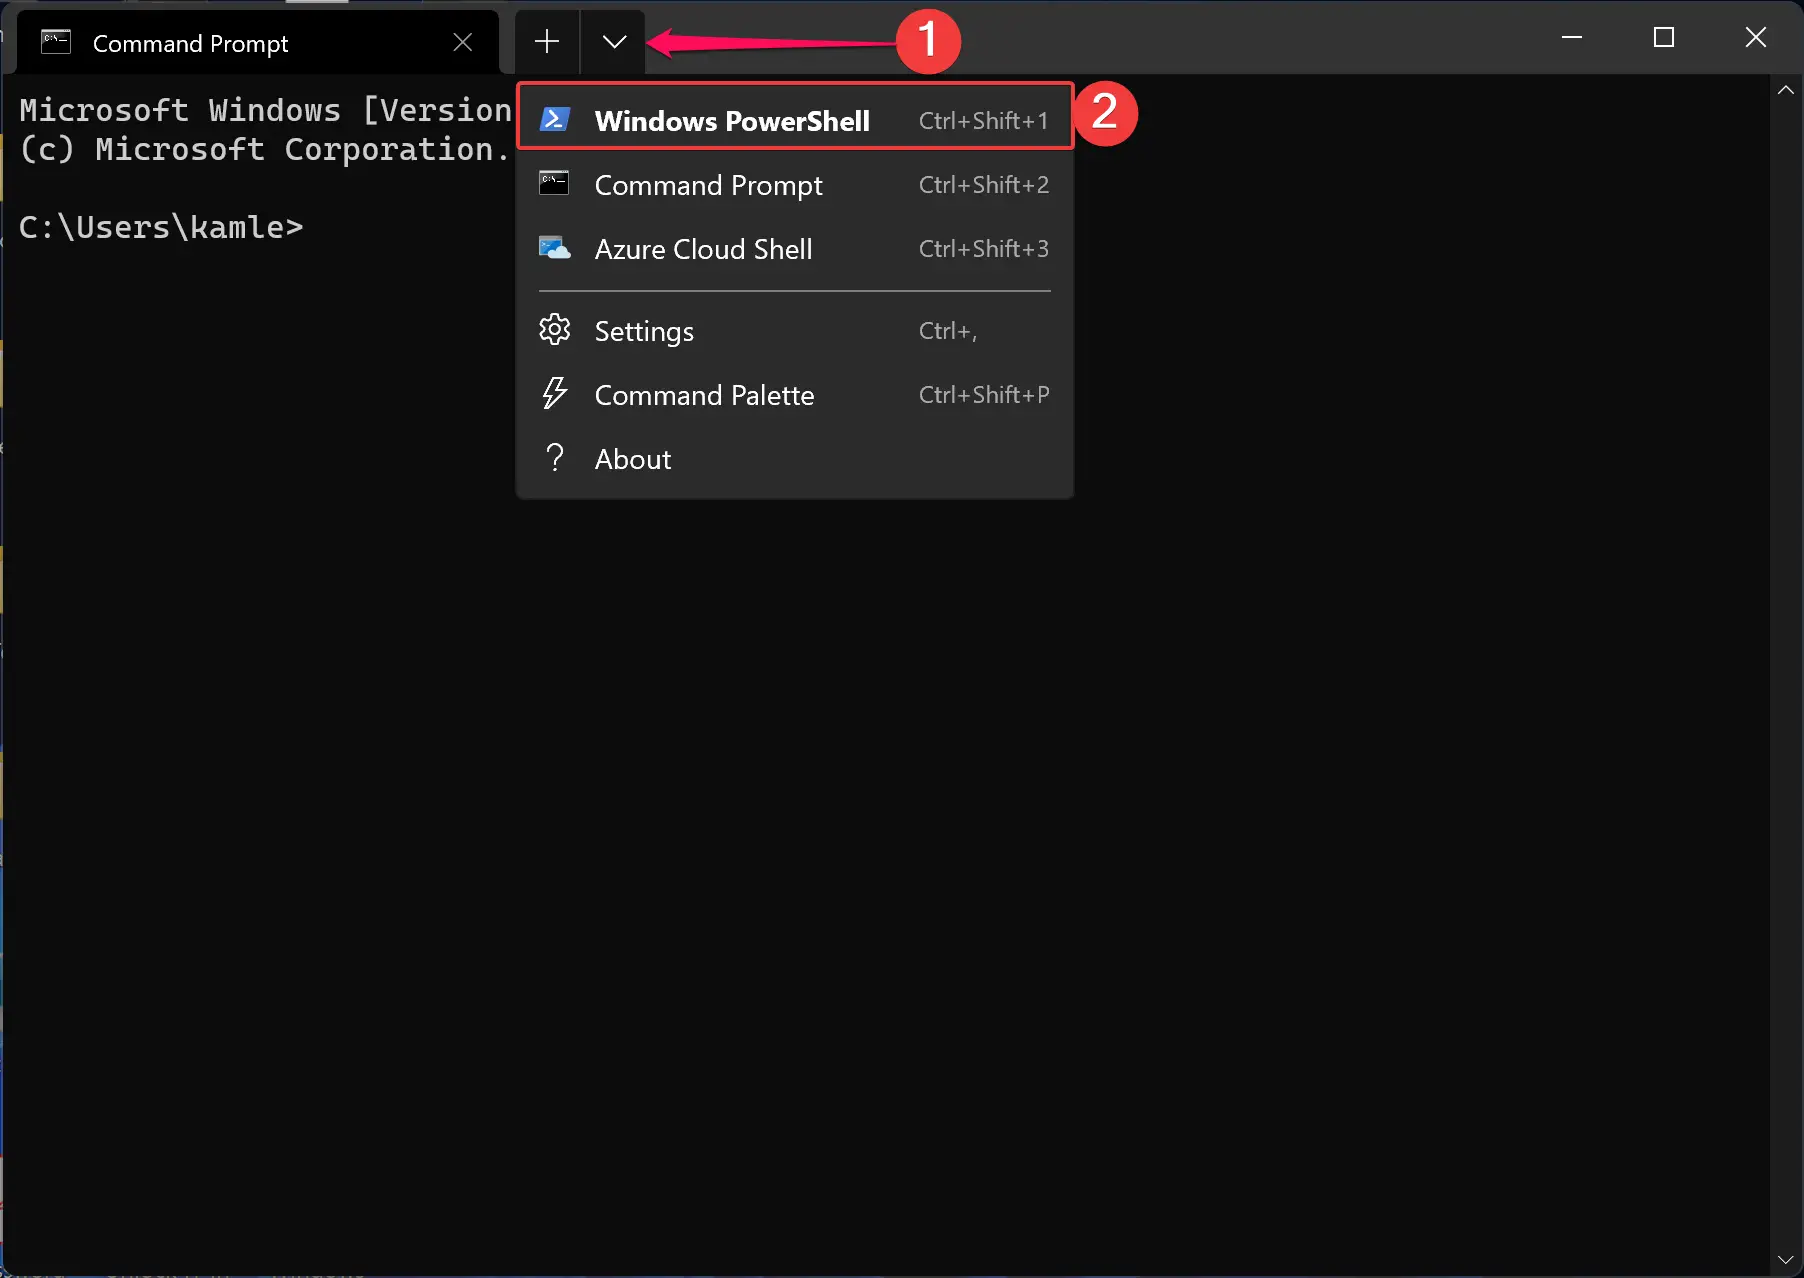
Step 3. Click the Windows PowerShell option from the drop-down menu.
Step 4. Now, Windows PowerShell will open in a new tab in Windows Terminal.
How to Launch Windows PowerShell from Run Command?
Use these steps to open Windows PowerShell through Run command:-
Step 1. Press Windows + R to open the Run dialog box.
Step 2. In the Run box, type the following and then click OK or hit Enter from the keyboard:-
PowerShell
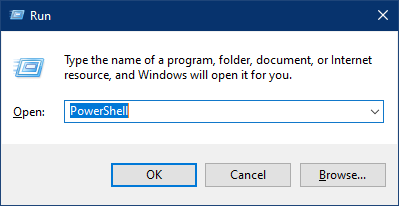
Now Windows PowerShell will open on your screen.
How to Open Windows PowerShell using Command Prompt?
To launch Windows PowerShell using Command Prompt, use these steps:-
Step 1. Open Command Prompt.
To do that, click on the Search button on the taskbar, and in the search box, type CMD. In the available search results, click on the Command Prompt app to open it.

Step 2. When Command Prompt opens, at the prompt, type powershell Start-Process powershell and hit Enter from the keyboard.
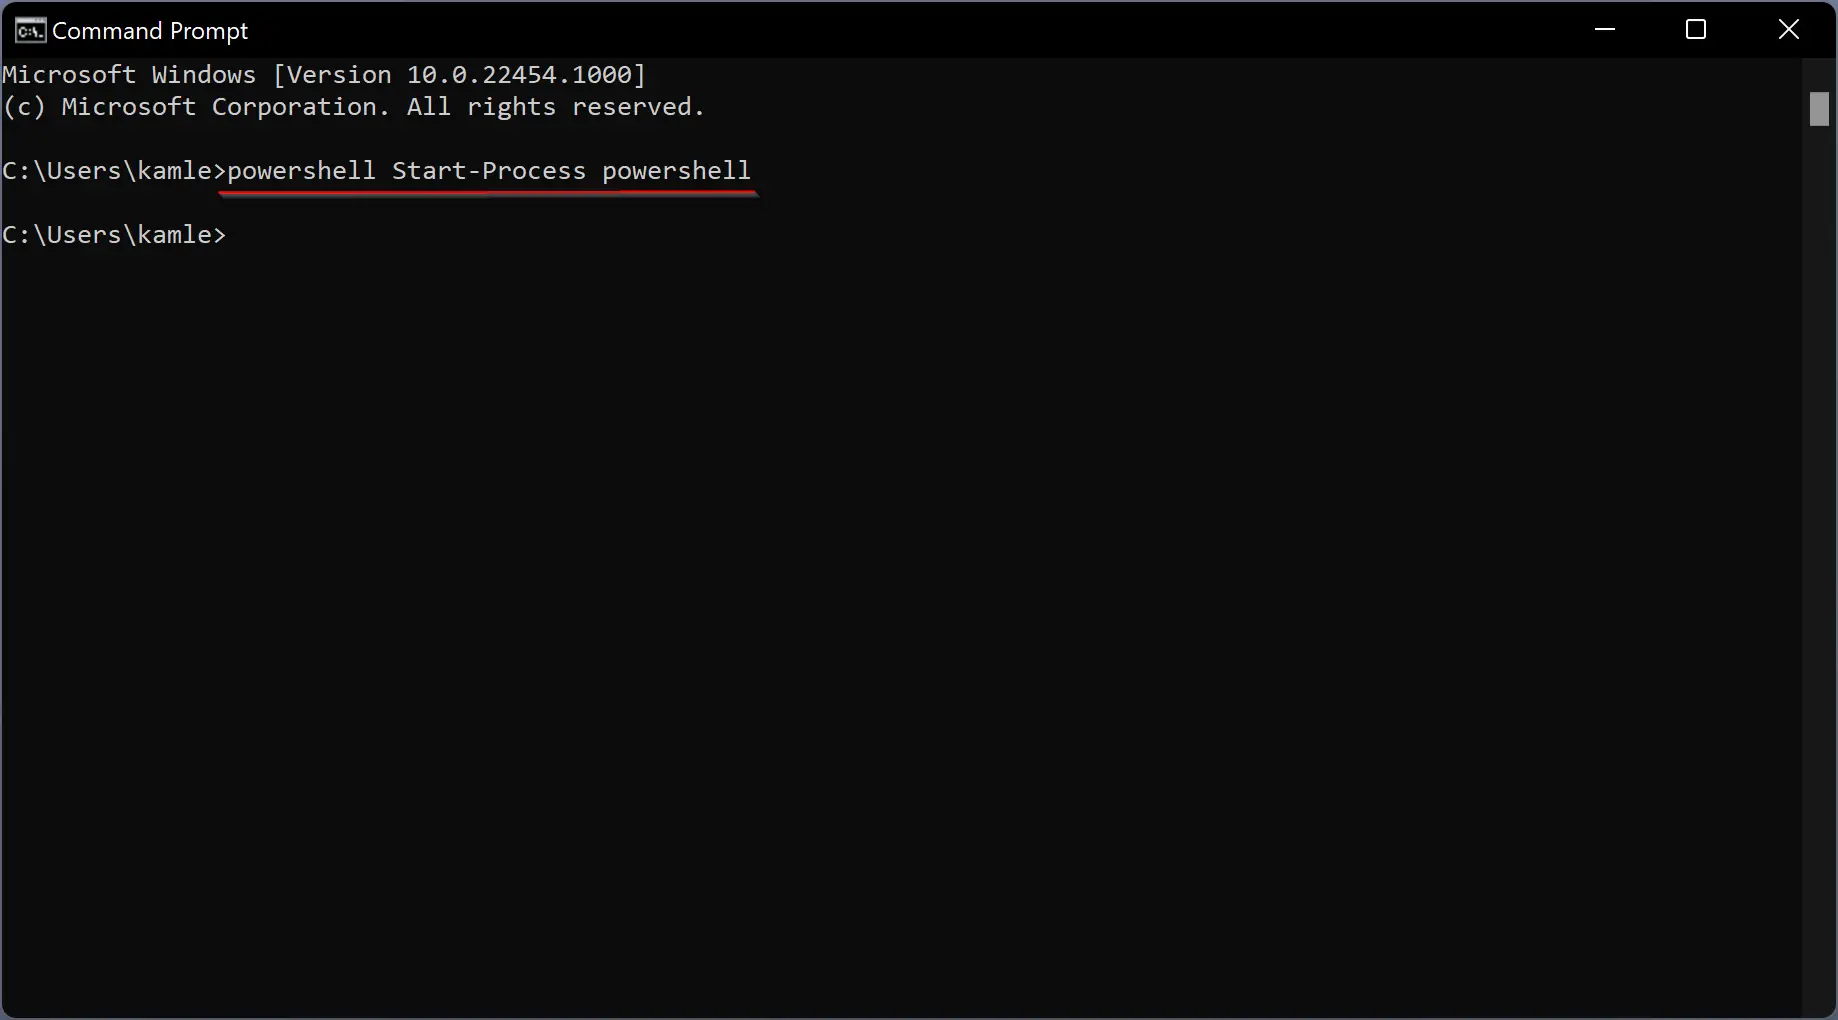
Note: To open PowerShell with administrative rights from the command prompt, issue the following command:-
powershell Start-Process powershell -Verb runAs
Now, the Windows PowerShell window will open.
How to Launch Windows PowerShell from Context Menu?
Windows 11 also lets you launch PowerShell from the context menu in any folder. File Explorer includes a hidden command by default. To open PowerShell in Windows 11 from the context menu, you need to perform the following steps:-
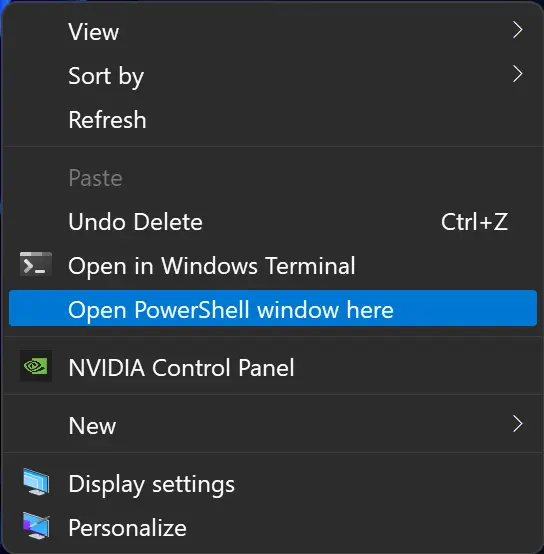
Step 1. Press and hold the Shift key on the keyboard, and then right-click on the free space on the desktop or the folder you want to open the PowerShell console.
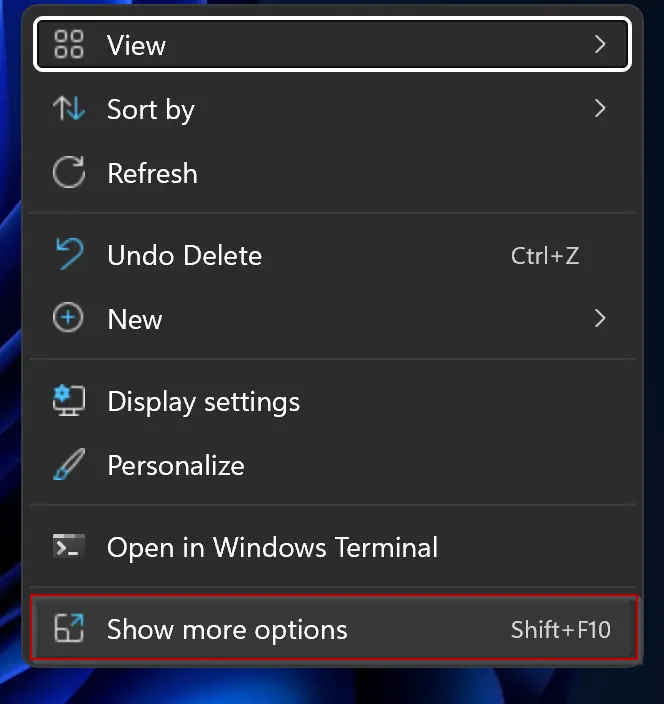
Step 2. Select Show more options from the context menu.
Step 3. Then click the option “Open PowerShell window here.”
That’s it. These are the easy ways to open Windows PowerShell on Windows 11. Let me know if you have more methods to open the PowerShell on Windows 11, which I have not covered so far.
Conclusion
In conclusion, Windows PowerShell is a powerful scripting console application that allows users to perform a wide range of tasks, including file operations and system administrative tasks. PowerShell comes with a vast set of built-in commands, known as cmdlets, and it can be easily launched using various methods such as the Start Menu, Windows Terminal, Run command, Command Prompt, and the context menu. Although Microsoft recommends using Windows Terminal as the primary console app, PowerShell is still available on Windows 11 and remains a popular choice for many users. With its user-friendly interface and advanced features, PowerShell provides an efficient way to manage and automate tasks on Windows 11.