Windows has long been the go-to operating system for millions of users worldwide, offering versatility and a familiar user interface. One of its hallmark features is the Safe Mode, a diagnostic mode that’s been around since the earliest days of Windows. Safe Mode is designed to help troubleshoot and solve issues related to software conflicts, drivers, and other system-related problems. With every iteration of the Windows operating system, slight changes are made to the way users can access features, and Windows 11 is no exception. For those who have recently upgraded or are thinking about making the move to Windows 11, understanding how to access Safe Mode is crucial. Whether you’re a seasoned tech professional or someone who just uses their computer for basic tasks, knowing how to boot into Safe Mode on Windows 11 could prove to be an invaluable skill. In this guide, we will delve deep into the various methods available to access Safe Mode in the latest version of this iconic OS. So, let’s get started and uncover the steps necessary for a seamless transition into Windows 11’s Safe Mode.

How to Access Safe Mode on Windows 11?
Method 1: Using the Settings app
Step 1. Open the Settings app (Windows + I).
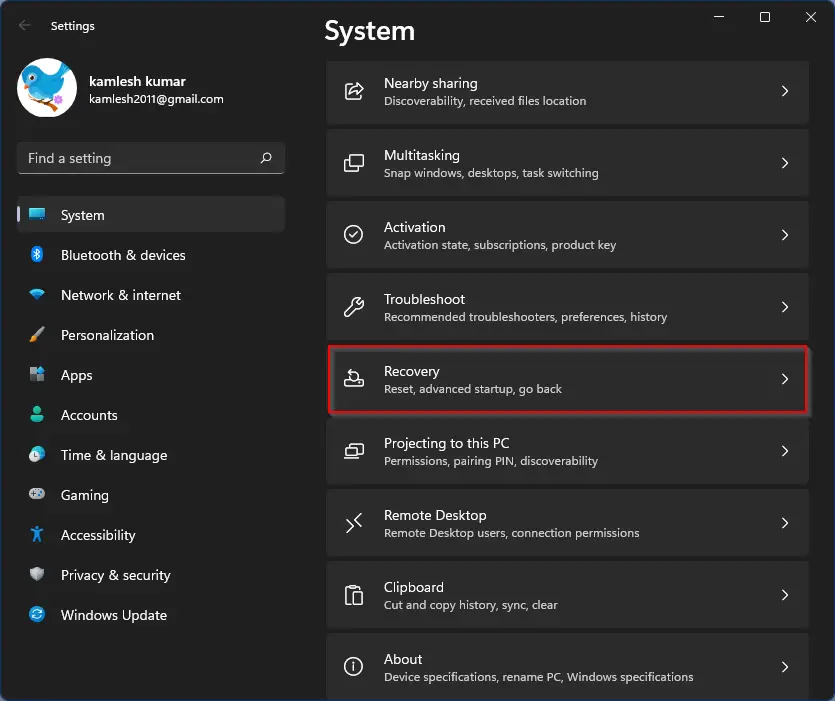
Step 2. Select the System category from the left side pane of the Settings window.

Step 3. On the right sidebar of the System, scroll down to find the Recovery tab and then click on it to open its settings.
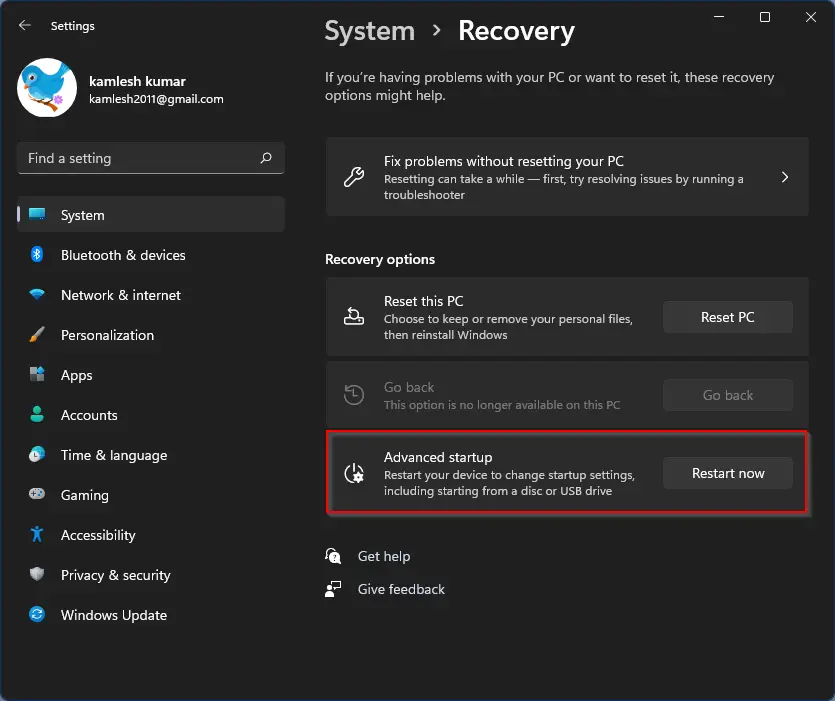
Step 4. Click on the Restart now button beside Advanced startup.
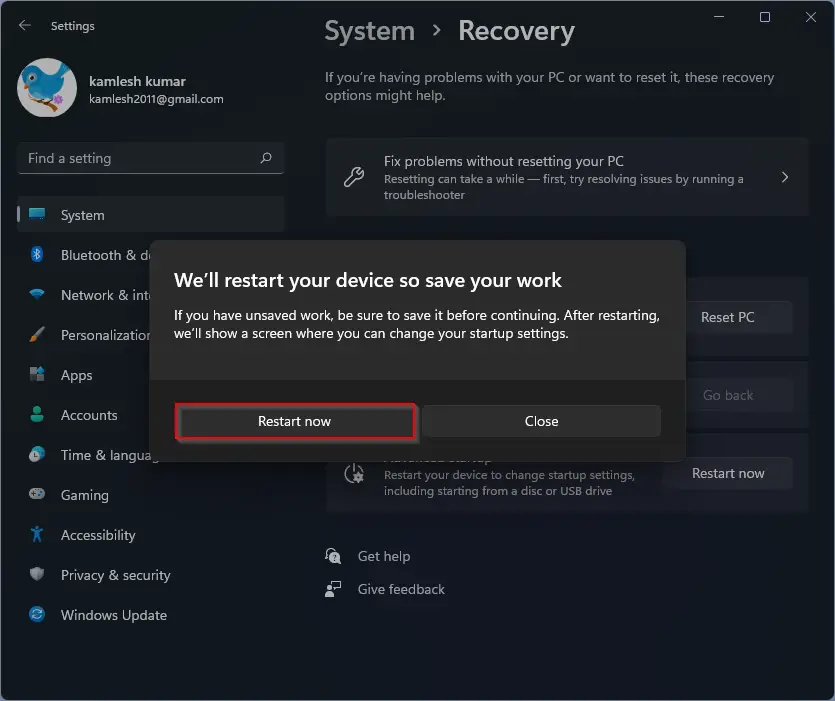
Step 5. On the pop-up window, click on the Restart now button to restart your PC in advanced recovery mode.
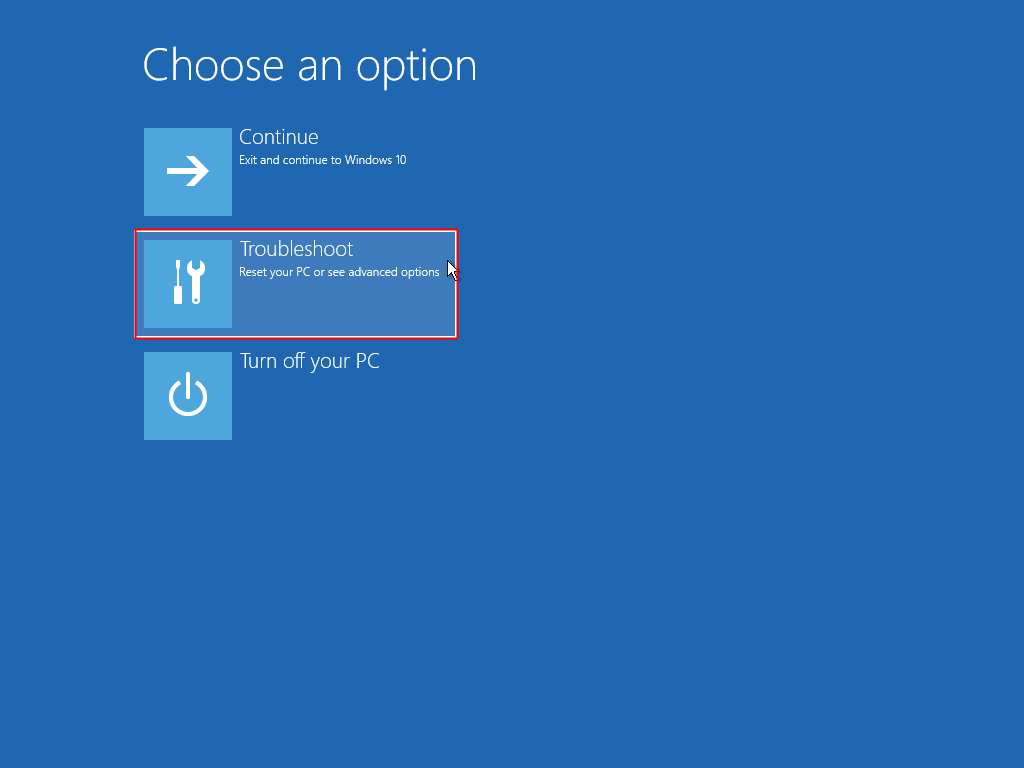
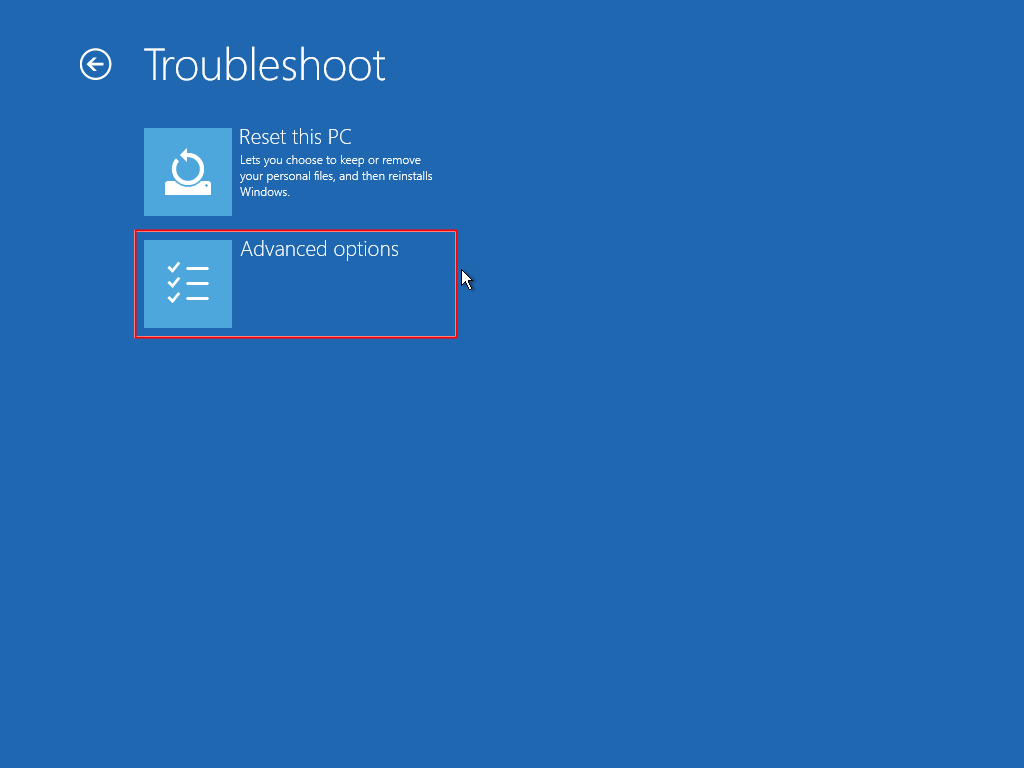
Step 6. When your Windows 11 PC will restart, you will see several options. Click on the Troubleshoot button.
Step 7. Click on the Advanced options.
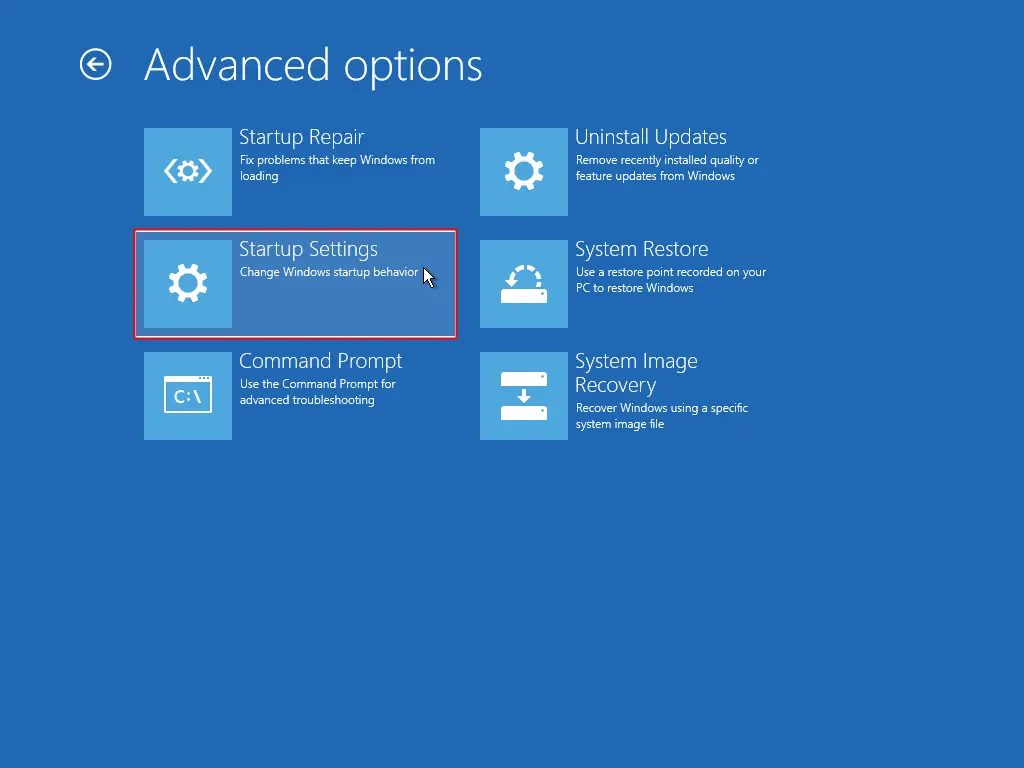
Step 8. Here, you see the following options:-
- Startup Repair
- Uninstall Updates
- Startup Settings
- System Restore
- Command Prompt
- System Image Recovery
Click on the Startup Settings.
Step 9. Click on the Restart button to reboot your computer now.
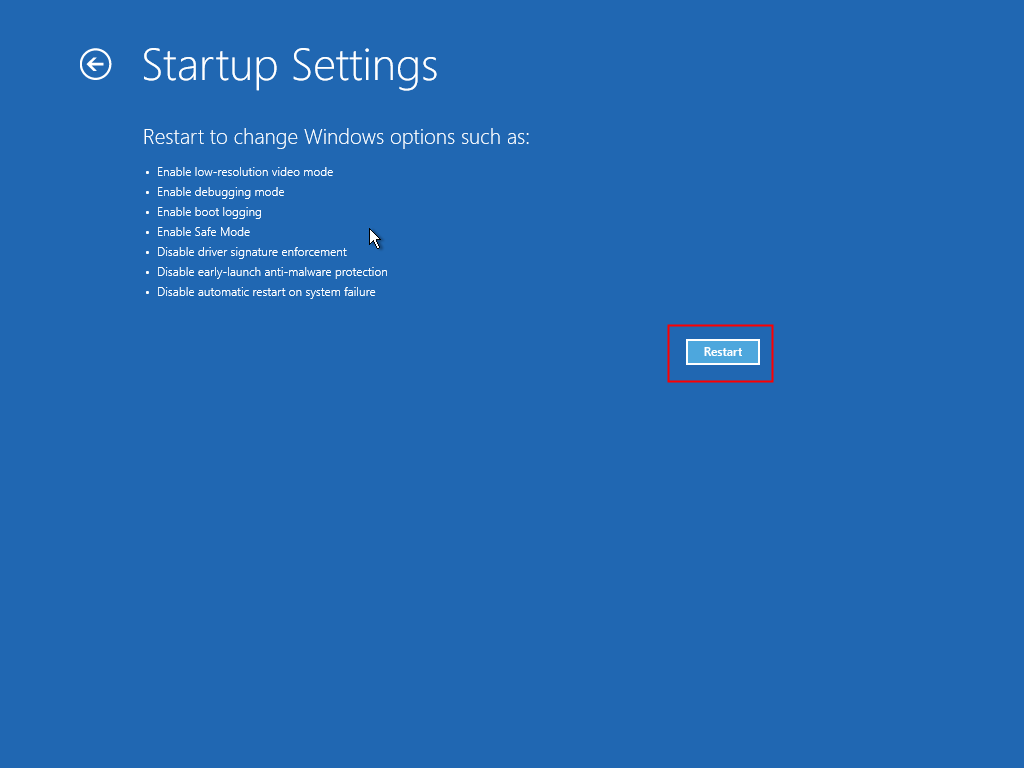
When your PC starts, it will enable/disable the following features:-
- Enable low-resolution video mode
- Enable debugging mode
- Enable boot logging
- Enable Safe Mode
- Disable driver signature enforcement
- Disable early-launch anti-malware protection
- Disable automatic restart on system failure
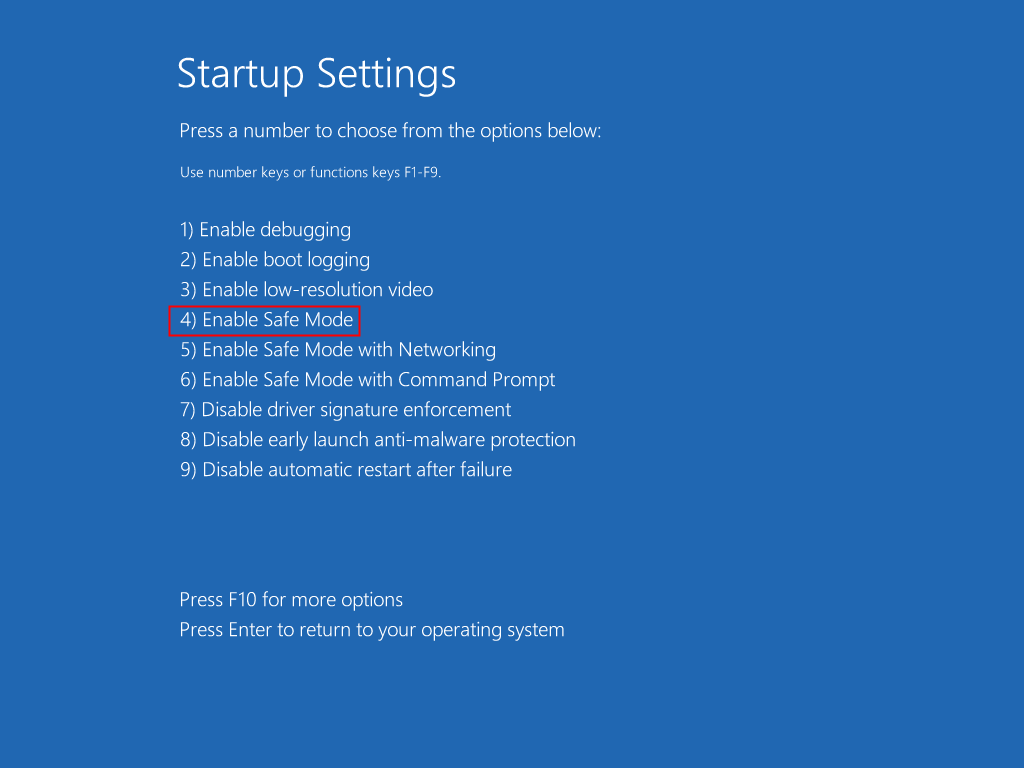
Step 10. On the next window that appears, look for the Safe Mode option. It should be on the 4th number. So press number 4 or F4 from your keyboard to boot into Safe Mode. If it is at a different position on your PC, enter that number or function key accordingly. Now, your PC will reboot again to boot into Safe Mode.
Here you can also choose “Enable Safe Mode with Networking” or “Enable Safe Mode with Command Prompt.”
Method 2: Through Restart Option
Step 1. Click on the Windows logo icon on the taskbar or press the Windows key from the keyboard to open the Start menu on Windows 11.

Step 2. Now, click on the Power button.
Step 3. Next, press and hold the Shift key and click the Restart option.
Step 4. After performing the above steps, your PC will restart with Advanced options. Now, you will see similar options as we have shown in the first method to boot into Safe Mode. Repeat the steps from 6 to 10 to enter your PC into Safe Mode.
Method 3: Through the Lock screen
Step 1. Once you are on the Windows 11 Lock Screen, click the Power button at the bottom right corner. Two options will pop up: Shut down and Restart.

Step 2. Now, press and hold the Shift key on your keyboard and select the Restart button.
Step 3. After performing the above steps, your PC will restart with Advanced options. Now, you will see similar options as we have shown in the first method to boot into Safe Mode. Repeat the steps from 6 to 10 to enter your PC into Safe Mode.
Method 4: From Command Prompt
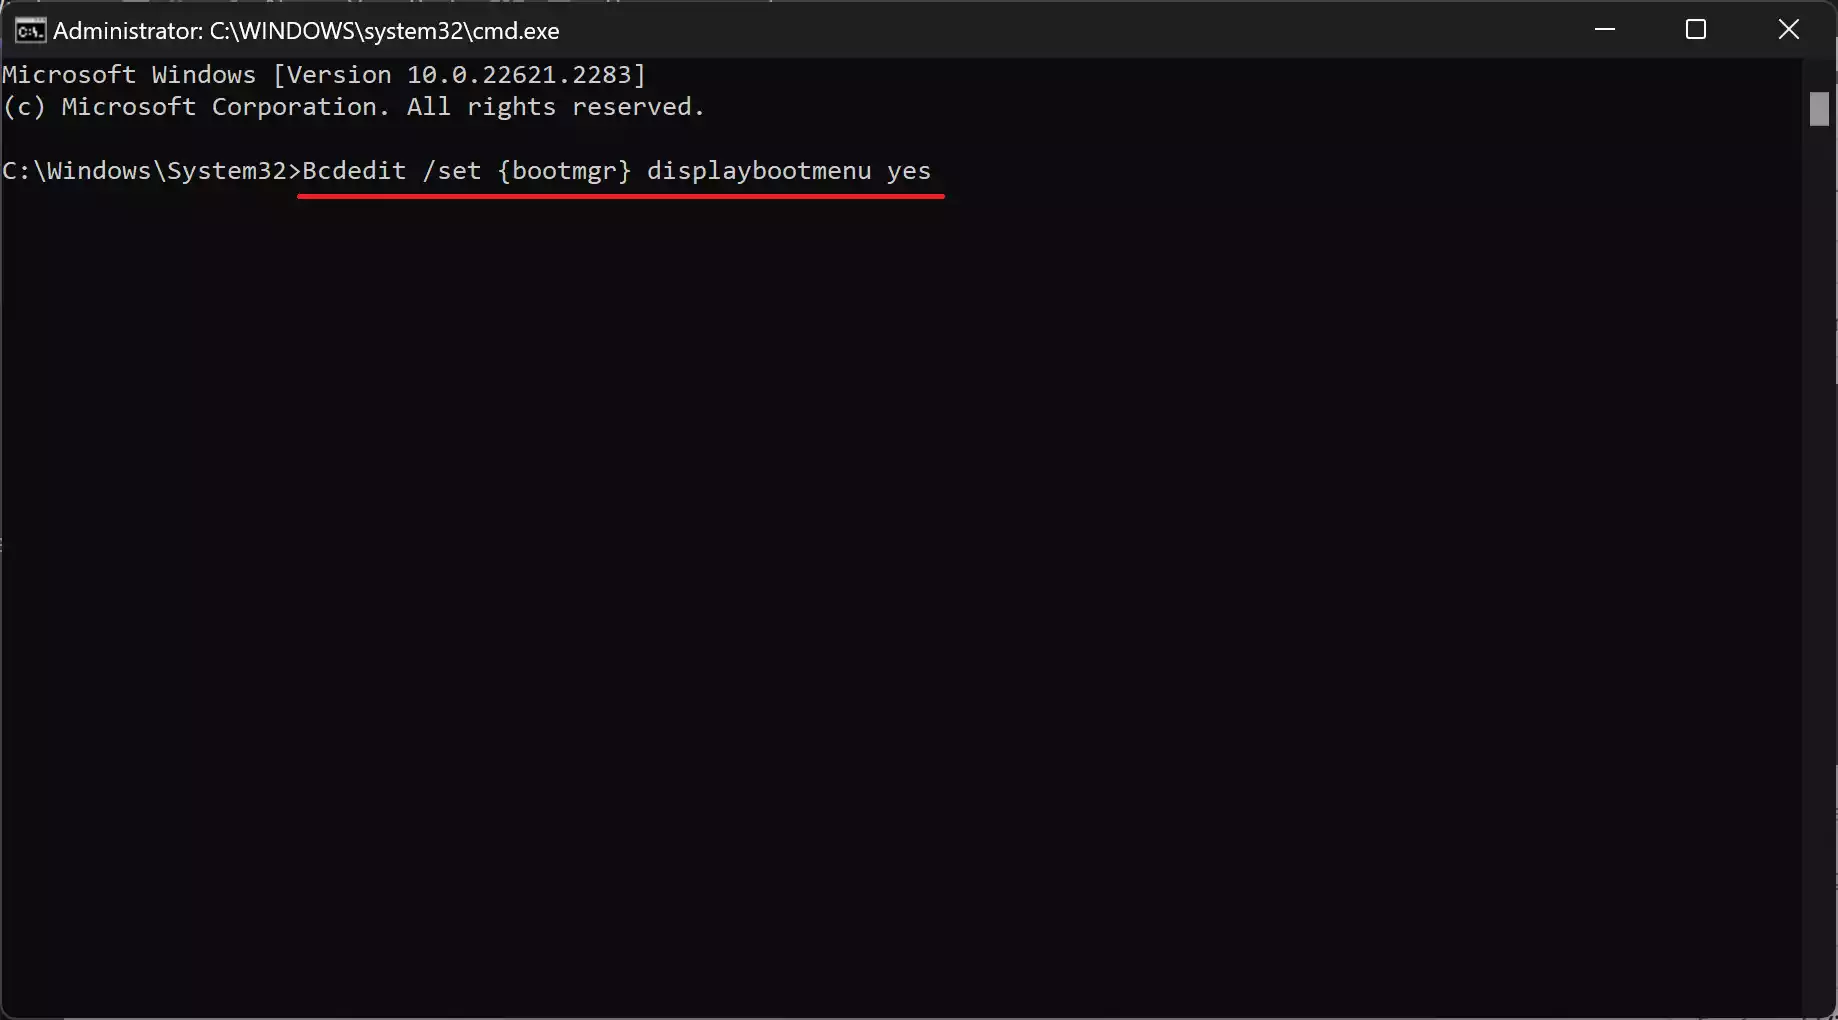
Step 1. Open Command Prompt as an administrator.
Step 2. On the prompt, type the following and press Enter:-
Bcdedit /set {bootmgr} displaybootmenu yes
Step 3. Finally, reboot your computer.
Step 4. When the “Windows Boot Manager” menu appears, press the “F8” key to access the Startup Settings menu options.
Step 5. On the following window, look for the Safe Mode option. It should be on the 4th number. So press number 4 or F4 from your keyboard to boot into Safe Mode. If it is at a different position on your PC, enter that number or function key accordingly. Now, your PC will reboot again to boot into Safe Mode.
Here, you can also select “Enable Safe Mode with Networking” or “Enable Safe Mode with Command Prompt.”
Method 5: Through MSConfig
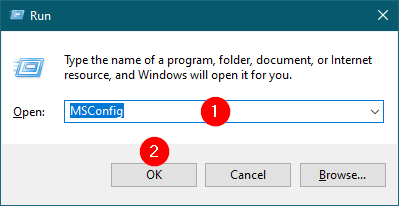
Step 1. Launch the Run dialog box by hitting the Windows + R keys on the keyboard.
Step 2. Type MSConfig in the Run box and click OK to open the System Configuration window.
Step 3. Now, navigate to the Boot tab under System Configuration and check the checkbox Safe boot. Then, select the Minimal radio button.
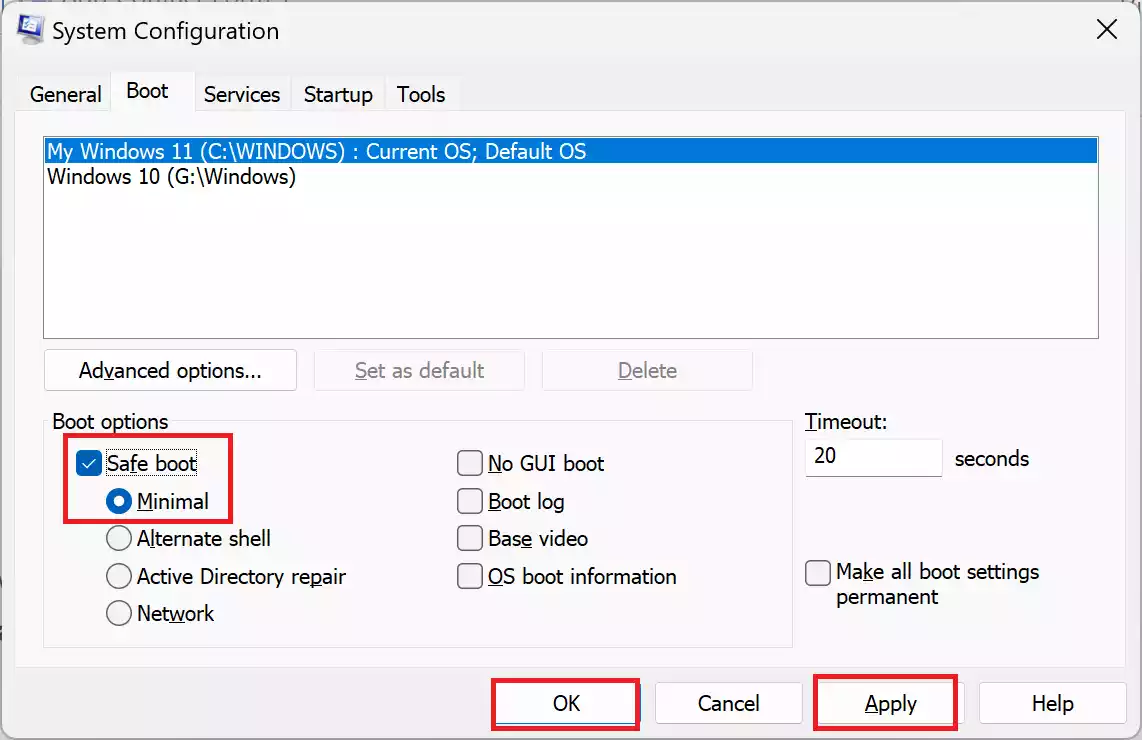
Step 4. Click Apply.
Step 5. Click OK.
Step 6. At last, reboot your Windows 11 PC.
Method 6: Using Cold Boot
Step 1. Power On your PC and press the Power physical button to shut down immediately when you see the blue Windows logo after the Power-On Self-Test (POST).
Step 2. Repeat the above step 2-3 times.
Step 3. Once you complete the above steps, Windows 11 will enter into the Windows Recovery Environment (Windows RE).

Step 4. In the following screen, choose your Windows 11 user account.
Step 5. Enter your account password and click the Continue button.
Step 6. Click the Advanced options button to continue.

Step 7. Now, you will see similar options as we have shown in the first method to boot into Safe Mode. Repeat the steps from 6 to 10 to enter your PC into Safe Mode.
Method 7: Using Bootable Disk
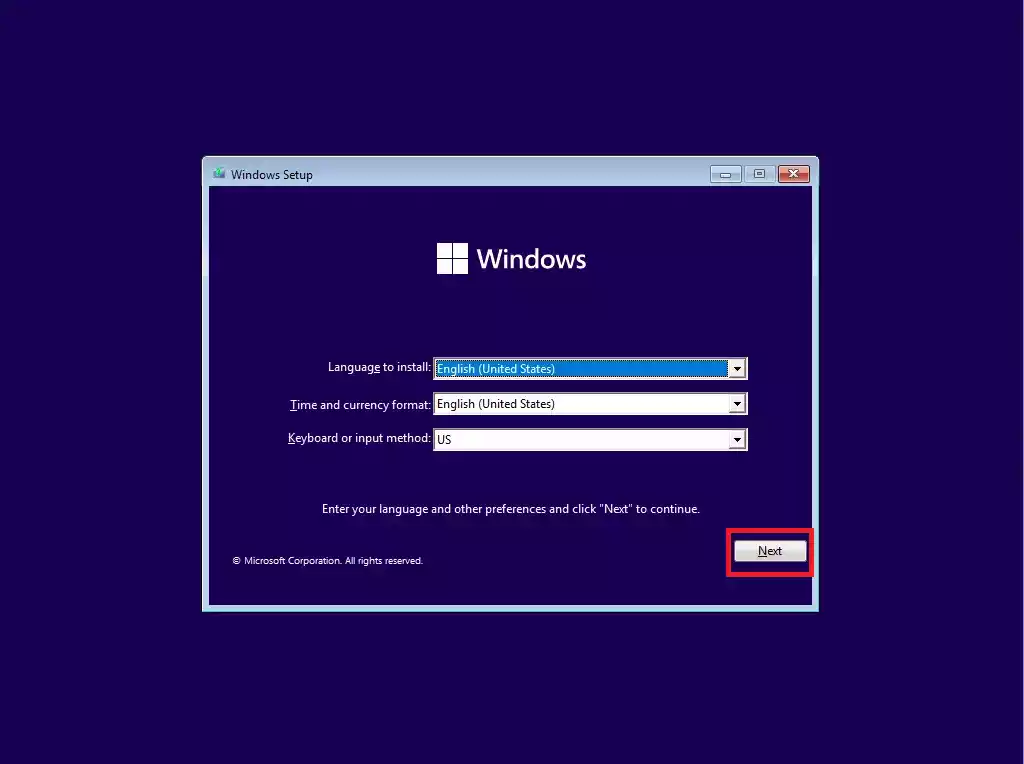
Step 1. Start your PC with a Windows 11 Bootable USB flash drive or DVD.
Step 2. When prompted, press any key on your keyboard to continue.
Step 3. Click the Next button.
Step 4. In the following screen, click the “Repair your computer” option.

How do you turn off or exit from Safe Mode in Windows 11?
Once troubleshooting is complete and you wish to use your PC as usual, a simple reboot might suffice. However, if your Windows 11 remains stuck in Safe Mode, follow these steps:-
Step 1. Open the Run dialog box by hitting the Windows + R keys on the keyboard.
Step 2. Type MSConfig in the Run box and click OK to open the System Configuration window.
Step 3. Now, switch to the Boot tab under System Configuration and uncheck the checkbox Safe boot.
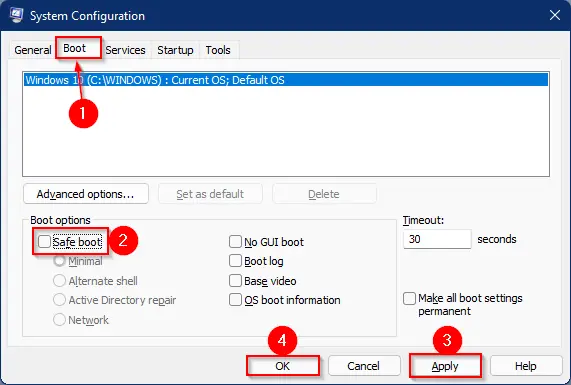
Step 4. Click Apply.
Step 5. Click OK.
Step 6. Finally, reboot or restart your PC to open your Windows 11 in normal mode.
Conclusion
Safe Mode is a diagnostic tool integrated into the Windows operating system, allowing users to troubleshoot potential system conflicts and issues. Windows 11, like its predecessors, incorporates this essential feature, but with some variations in accessing it. The methods outlined above provide a comprehensive guide for both newcomers and seasoned users to boot their systems into Safe Mode efficiently. Whether it’s through the settings app, restart options, command prompt, or even a bootable disk, these methods ensure that users can address their system’s issues effectively. Moreover, knowing how to exit Safe Mode ensures a smooth transition back to the normal Windows environment once troubleshooting is completed.
