In today’s tech-driven world, efficiency is key. Windows 11, the latest operating system from Microsoft, is designed to make your computing experience smoother and more intuitive. Copilot, an AI chatbot, is a powerful tool in Windows 11, providing assistance and guidance. While it’s easily accessible through the Taskbar and shortcuts (Windows key + C), adding Copilot to your desktop context menu can streamline your access even further. In this gearupwindows article, we’ll guide you through the steps to make Copilot just a right-click away.

Why Add Copilot to the Desktop Context Menu?
Before we delve into the steps, you might be wondering, “Why should I add Copilot to my desktop context menu?” The answer is simple – convenience. Having a direct shortcut to Copilot on your desktop context menu can save you time and clicks. Whether you’re a tech enthusiast or someone who relies on tech for work, this little tweak can make a big difference in your daily productivity.
Also Read:
- How to Disable and Remove Copilot on Windows 11?
- How to Create Copilot Desktop Shortcut on Windows 11?
How to Add Copilot to the Desktop Context Menu?
Follow these steps to add Copilot to your desktop context menu on Windows 11:-
Step 1. Begin by opening the Start menu. You can do this by clicking the Start button or pressing the Windows key on your keyboard.
Step 2. In the Start menu, search for “regedit” and click on the top result to open the Registry Editor. This is where you’ll make the necessary changes to add Copilot to the context menu.
Step 3. In the Registry Editor, you’ll need to navigate to the appropriate registry key. On the left side of the Registry Editor, you’ll see a directory-like structure. Navigate to the following path:-
HKEY_CLASSES_ROOT\DesktopBackground\Shell
This is where you’ll be making changes to add the Copilot option to your context menu.
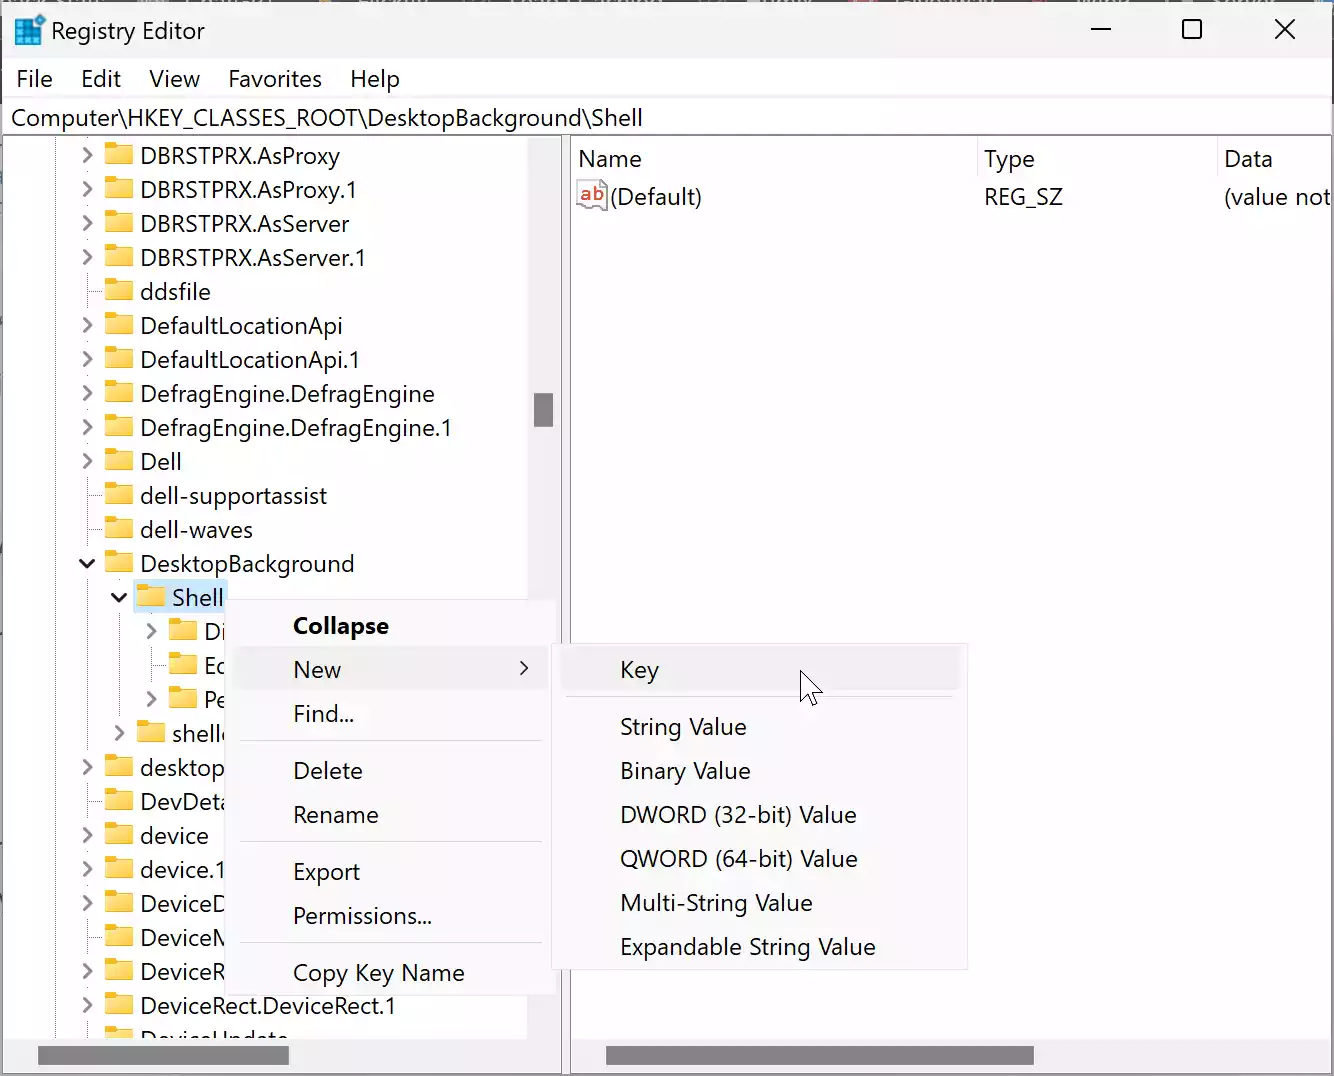
Step 4. In the “Shell” directory, right-click and choose “New,” then select “Key” to create a new key.
Step 5. Name the new key “Copilot” and press Enter to confirm.
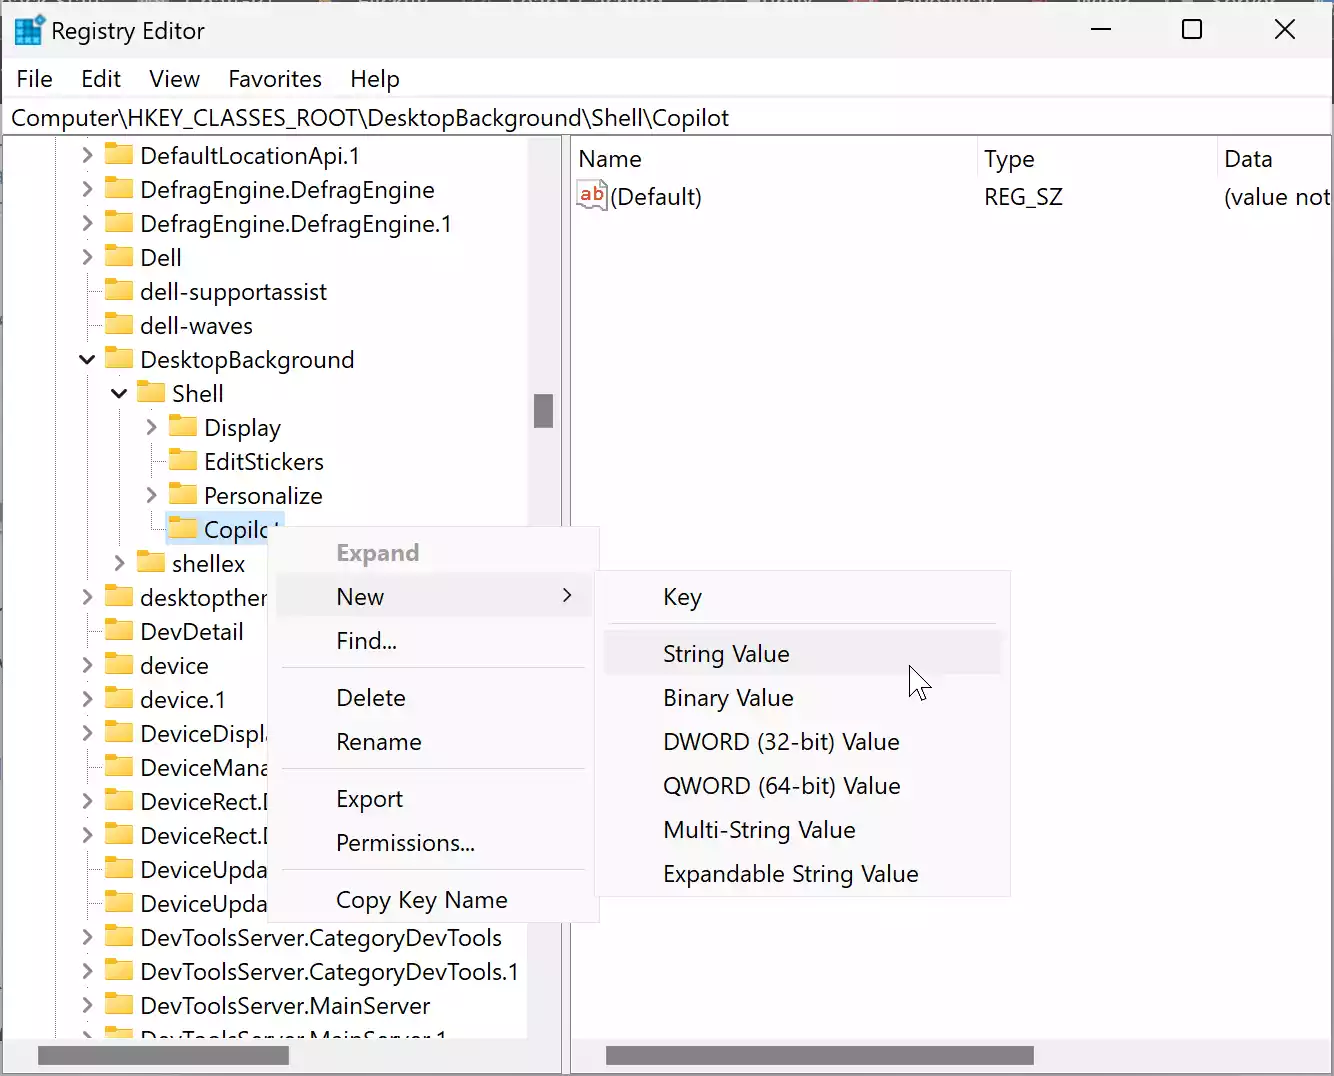
Step 6. Right-click the “Copilot” key you just created, choose “New,” and then select “String Value” to create a new string value.
Step 7. Name this new string value “MUIVerb” and press Enter to confirm. This is the value that will appear in your context menu.
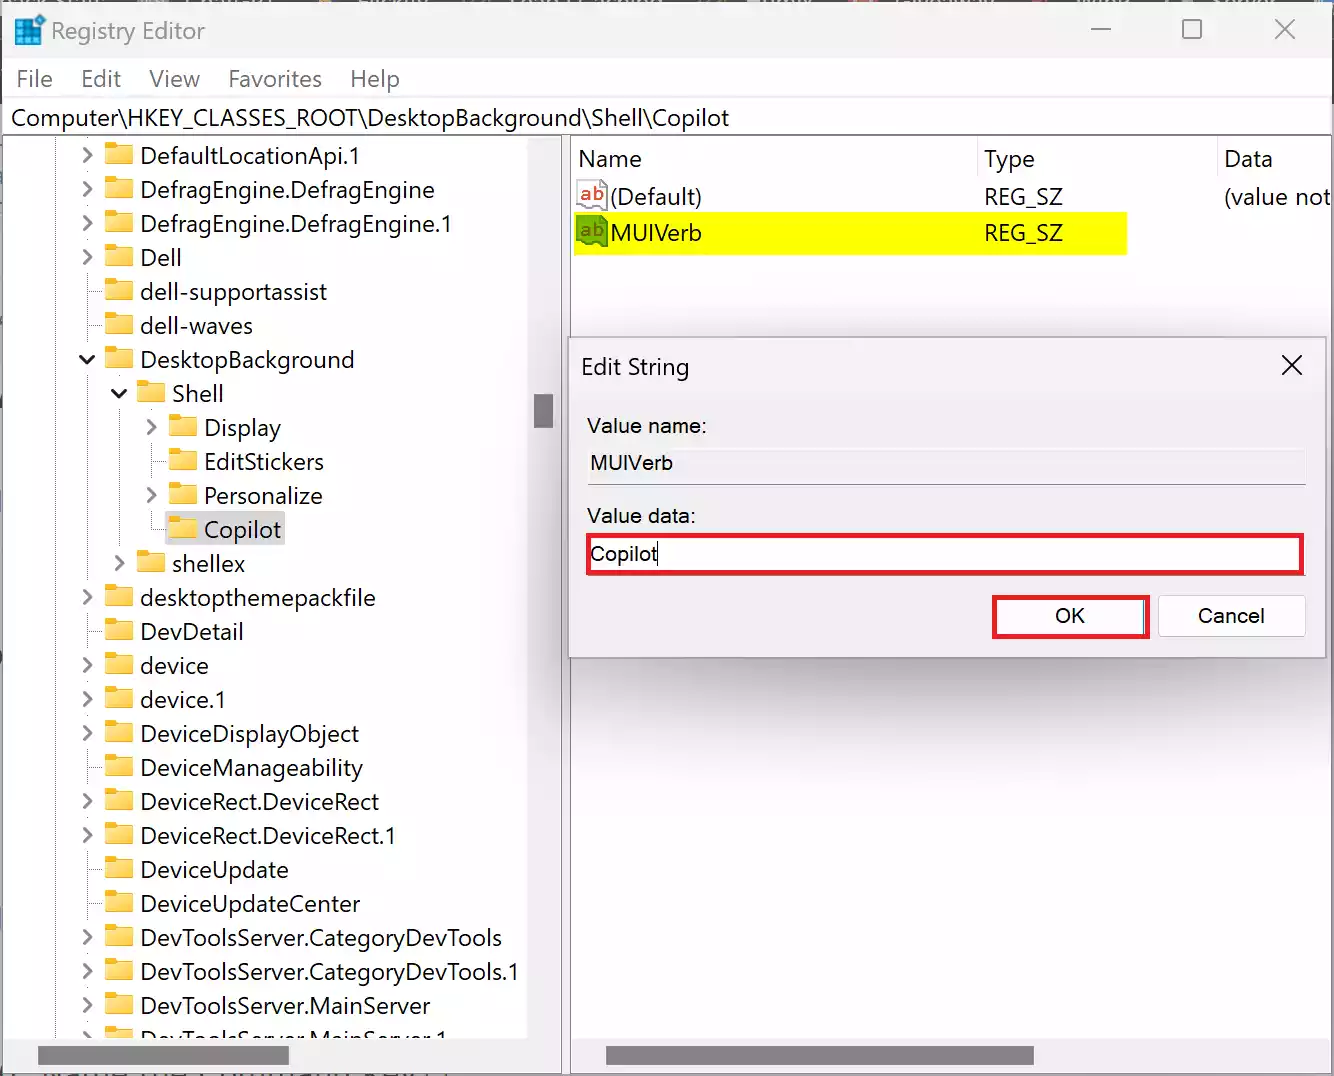
Step 8. Double-click the “MUIVerb” string value, set its value to “Copilot,” and click the OK button.
Step 9. Now, right-click the “Copilot” key once again, choose “New,” and then select “Key” to create another new key.
Step 10. Name the new key “command” and press Enter to confirm.
Step 11. Double-click the “(Default)” string value within the “command” key and set its value to:-
rundll32.exe url.dll,FileProtocolHandler "microsoft-edge://?ux=copilot&tcp=1&source=taskbar"
This string value defines the action to be taken when you select the Copilot option from the context menu.
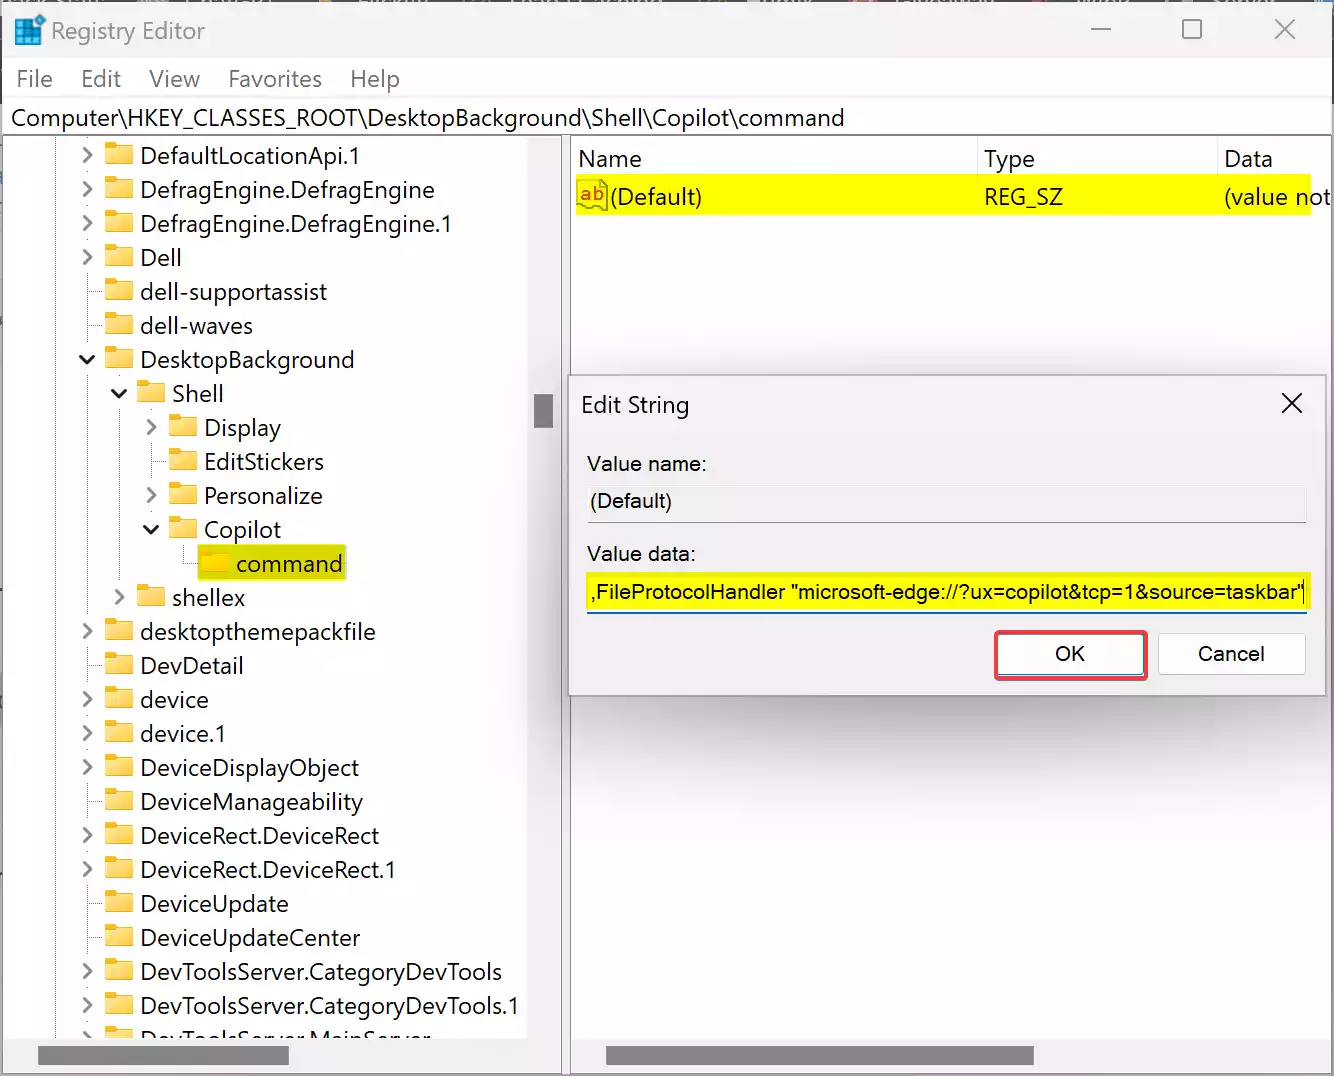
Step 12. Click the OK button to save the string value.
Conclusion
Once you’ve completed these steps, you’ll have successfully added the “Copilot” option to your desktop context menu on Windows 11. To access Copilot, simply right-click your desktop, and you’ll find the “Copilot” option available under “Show more options.” This convenient shortcut can significantly enhance your Windows 11 experience, saving you time and making it even easier to access Copilot, your AI chatbot assistant.
Efficiency is at the heart of Windows 11, and with this modification, you’re one step closer to achieving a seamless and productive computing experience. Whether you’re a power user or just looking for ways to make your daily tasks more efficient, this addition to your context menu is a valuable enhancement.