Microsoft Office offers a range of powerful programs that many of us use daily, including Word, Excel, Outlook, PowerPoint, and Publisher. Did you know that you can enhance your productivity by adding these Office programs to your Quick Access Toolbar? This article will guide you through the simple steps to customize your Quick Access Toolbar, allowing you to access your favorite Office programs effortlessly.
How to Add Office Programs to Quick Access Toolbar on Microsoft Word?
To include MS Office programs in Quick Access Toolbar on Microsoft Word, follow these steps:-
Step 1. Open Microsoft Word on your computer to begin the customization process.
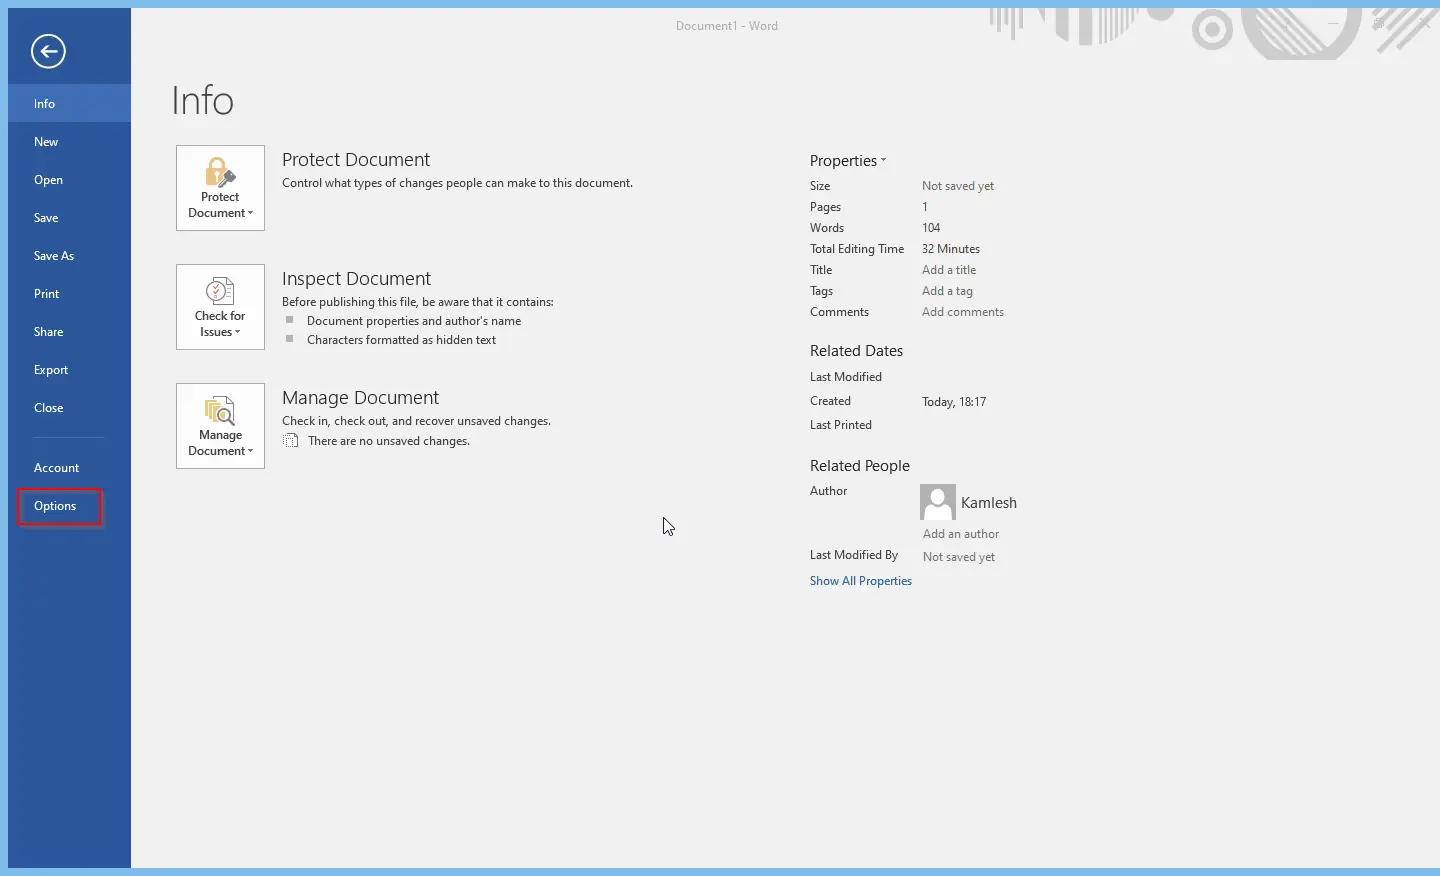
Step 2. Click on the “File” tab located at the top left of the Word window.

Step 3. From the drop-down menu, select “Options.”
Step 4. In the Word Options dialog box, click on “Quick Access Toolbar” in the left-hand sidebar. This will display the customization options for the toolbar.
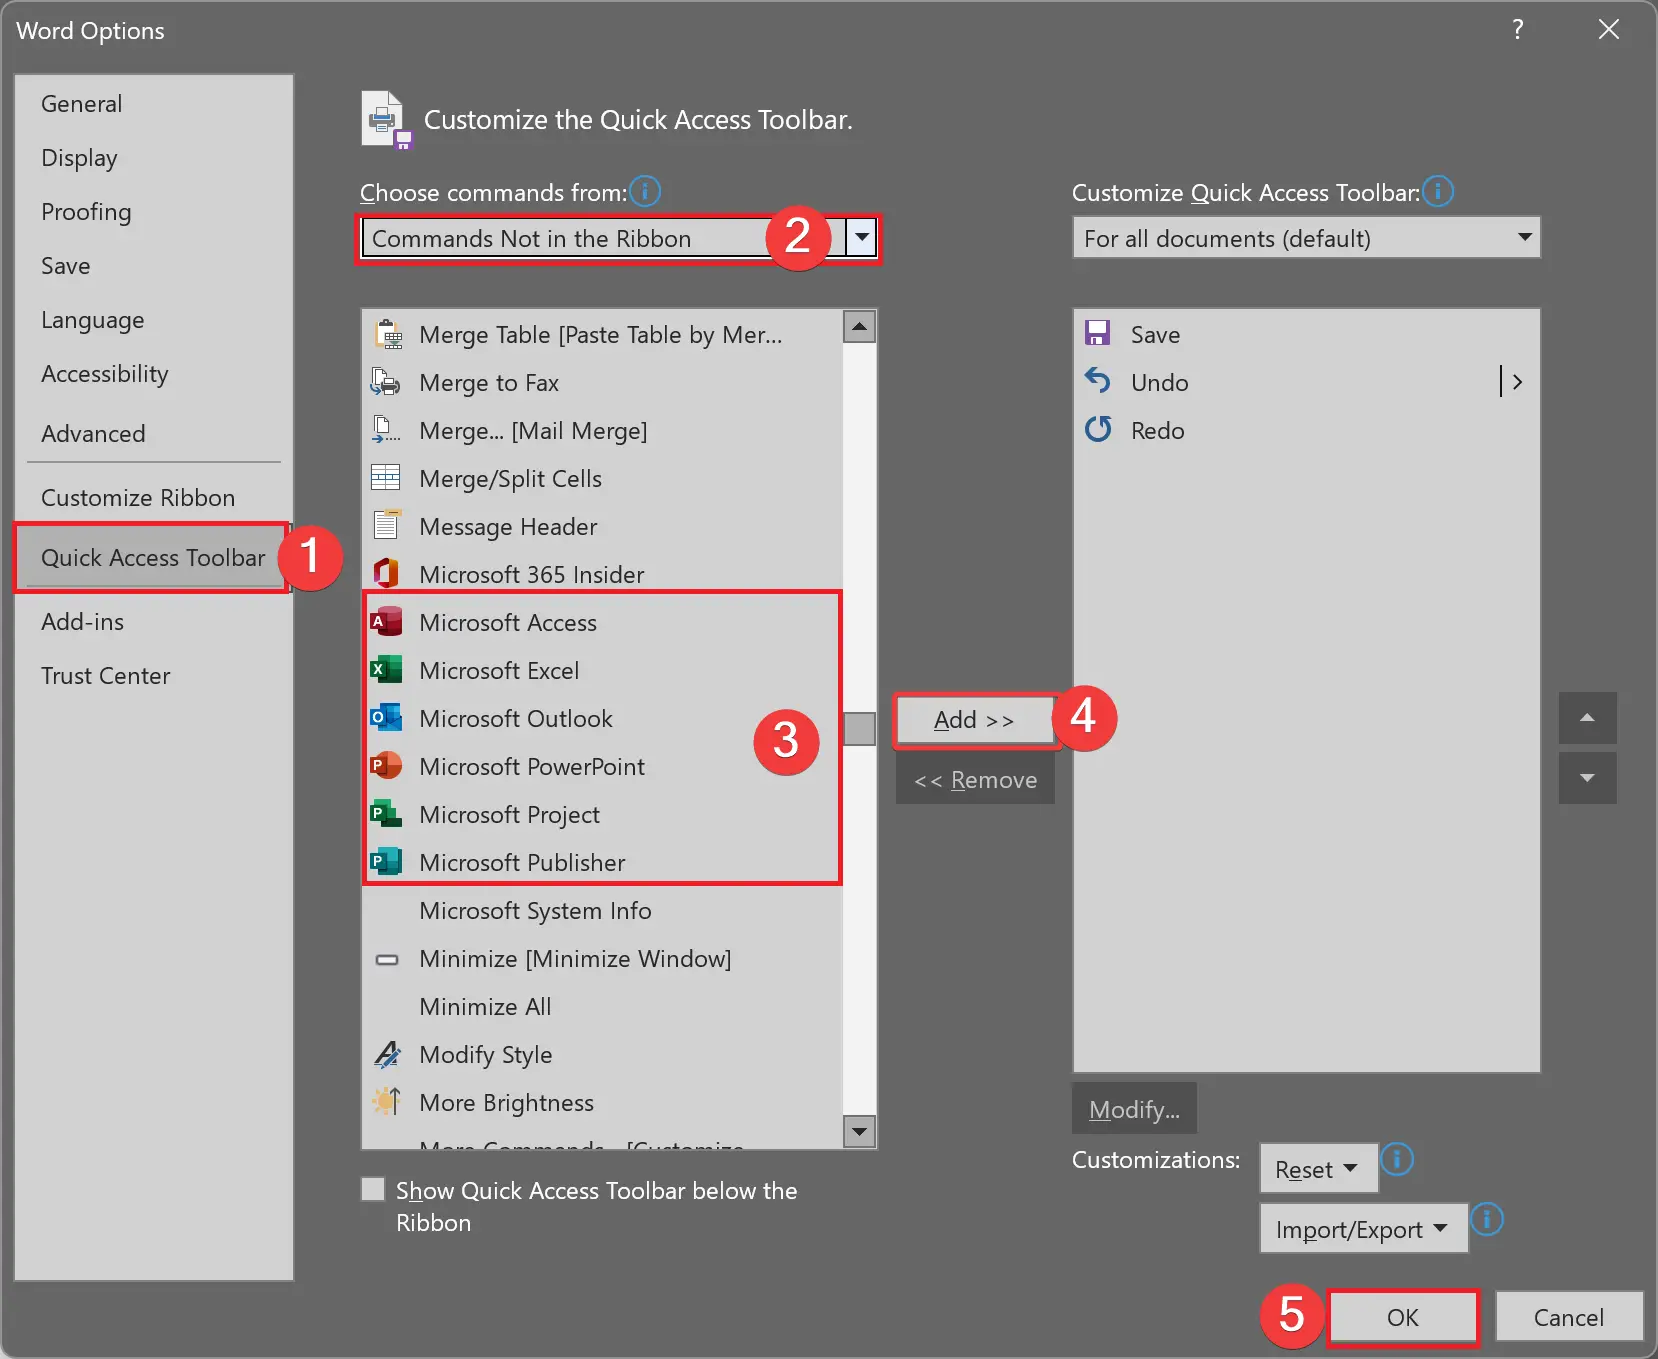
Step 5. In the Quick Access Toolbar section, locate the “Choose commands from” drop-down menu. Click on the menu and select “Commands Not in the Ribbon.” This will display a list of available commands.
Step 6. Scroll through the list of commands and locate the Microsoft Office programs you want to add. You can find programs such as Excel, PowerPoint, Access, Word, and Publisher. Select the desired program(s) by clicking on them.
Step 7. After selecting the program(s), click on the “Add” button. This action will add the chosen program(s) to your Quick Access Toolbar.
Step 8. If you prefer a specific order for your Office programs on the Quick Access Toolbar, use the arrows on the right side of the Word Options dialog box to rearrange them accordingly.
Step 9. Once you have finished customizing the Quick Access Toolbar, click “OK” to save your changes. You will now see the added Office programs on the toolbar.
Step 9. To open an Office program directly from the Quick Access Toolbar, simply click on its respective icon. This eliminates the need to locate the program in the taskbar or desktop, saving you valuable time.
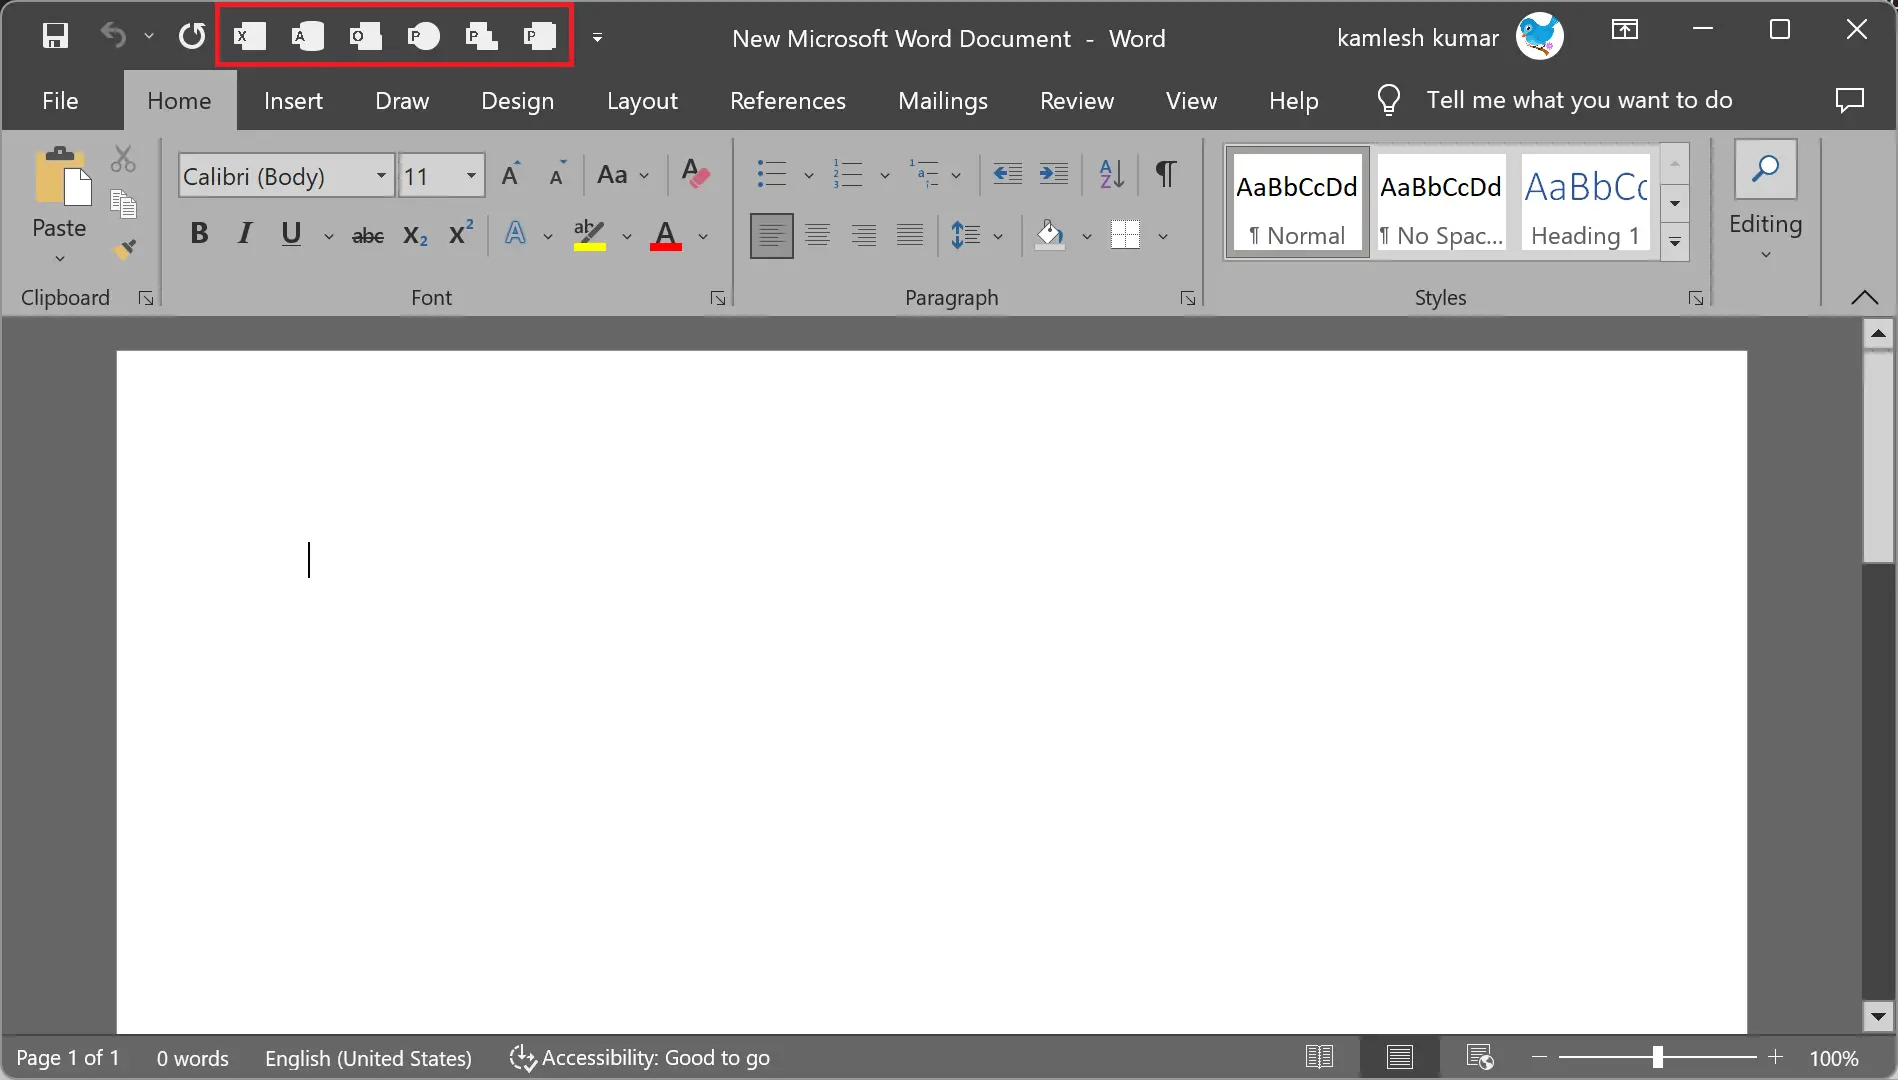
Understanding the Quick Access Toolbar
The Quick Access Toolbar is a collection of frequently used commands that can be customized to suit your preferences. By default, it is hidden below the ribbon but can be displayed above it. You can add commands and switch their order in the Quick Access Toolbar to optimize your workflow.
Default Commands on the Quick Access Toolbar
The Quick Access Toolbar comes with three default commands: Save, Undo, and Redo. If desired, you can remove any of these default commands by right-clicking on them and selecting “Remove from Quick Access Toolbar.”
Conclusion
Customizing your Quick Access Toolbar with Microsoft Office programs empowers you to access essential tools effortlessly, enhancing your productivity while working with Office applications. By following the step-by-step guide in this article, you can personalize your Quick Access Toolbar and streamline your workflow. Give it a try, and experience the convenience of accessing your favorite Office programs with a single click!
