Windows 11 automatically assigns a “drive letter” to each internal storage, USB drive, DVD drive, and mapped network drive to identify the volume and make it available on File Explorer or other applications.
However, if you want, Windows 11 allows you to change the drive letter to anything you want without deleting or wiping the data on the storage disk. For example, you might want to use a specific letter for a drive.
A drive letter can be any character from the English alphabet. However, you cannot use the letter “C” because it’s reserved for Windows installation. Also, “A:” and “B:” are reserved letters for floppy drives.
How to Change Drive Letter on Windows 11 using Disk Management?
To change the drive letter on Windows 11, follow these steps:-
Step 1. Press the Windows key + X on your keyboard to open the Power User Menu.
Step 2. Select “Disk Management” from the list of options.
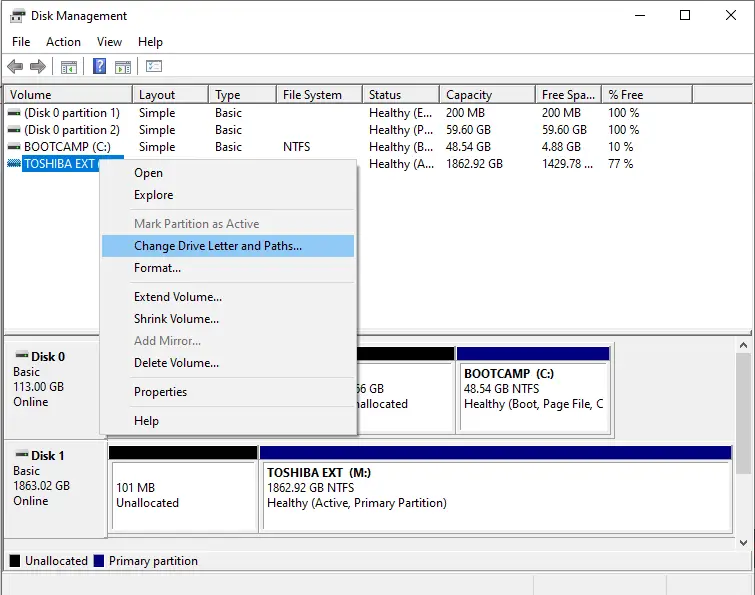
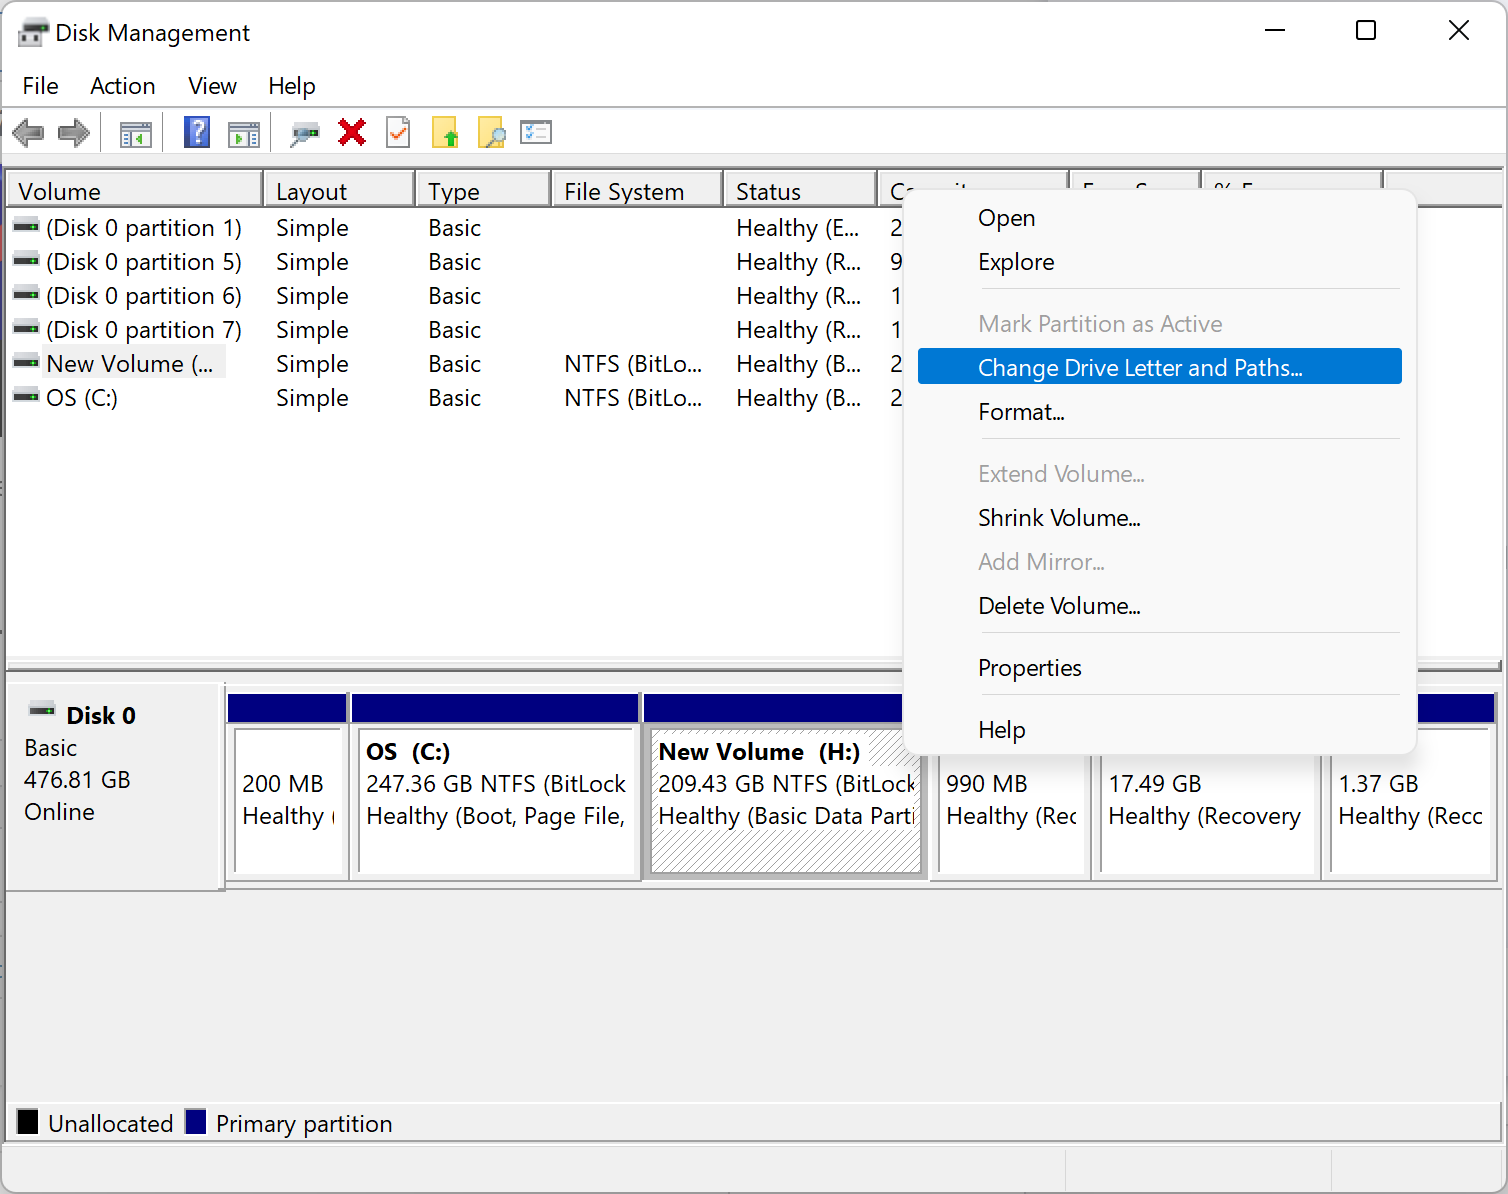
Step 3. In the Disk Management window, locate the drive whose letter you want to change.
Step 4. Right-click on the drive and select “Change Drive Letter and Paths” from the context menu.
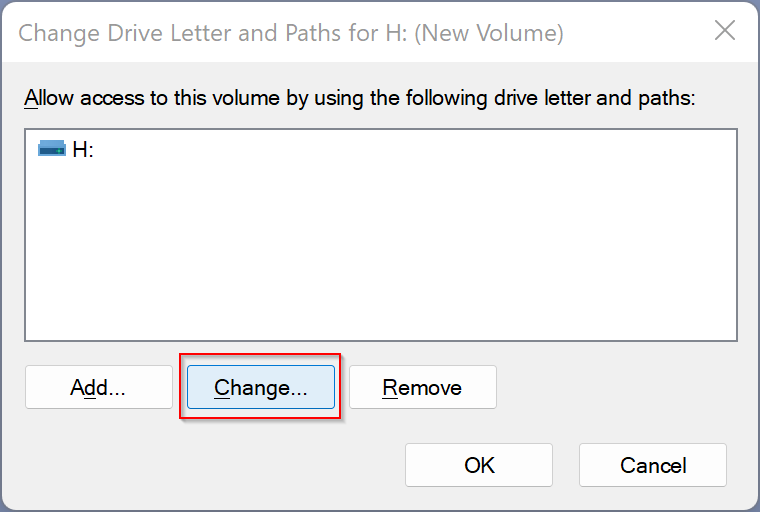
Step 5. Click the “Change” button in the Change Drive Letter and Paths window.
Step 6. In the “Assign Drive Letter or Path” window, select the new letter you want to assign to the drive from the dropdown menu.
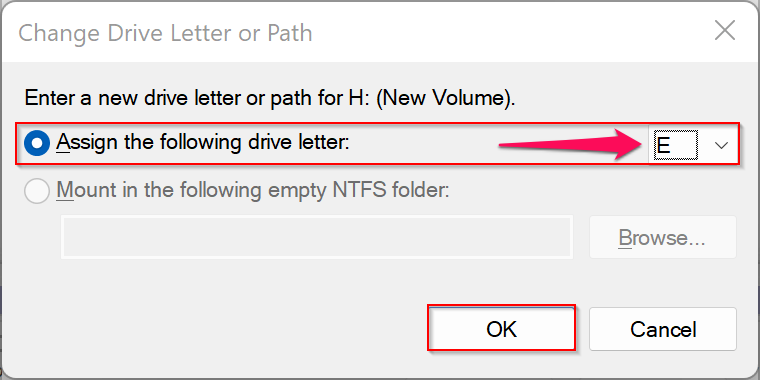
Step 7. Click “OK” to save your changes.
That’s it. Windows will now assign the new drive letter to your selected drive. Remember that changing the drive letter of a system drive or a drive containing installed programs may cause those programs to stop working correctly. Therefore, it’s recommended that you only change the drive letters of removable drives or drives that don’t contain installed programs.
How to Easily Change Drive Letter on Windows 11 Using the Settings App?
Using the Settings app, you can also change the Drive Letter on Windows 11. Here is how:-
Step 1. Open the Settings app by pressing the Windows + I keys on your keyboard.
Step 2. Select the System category in the left sidebar.
Step 3. On the right sidebar, click the “Storage” tab.
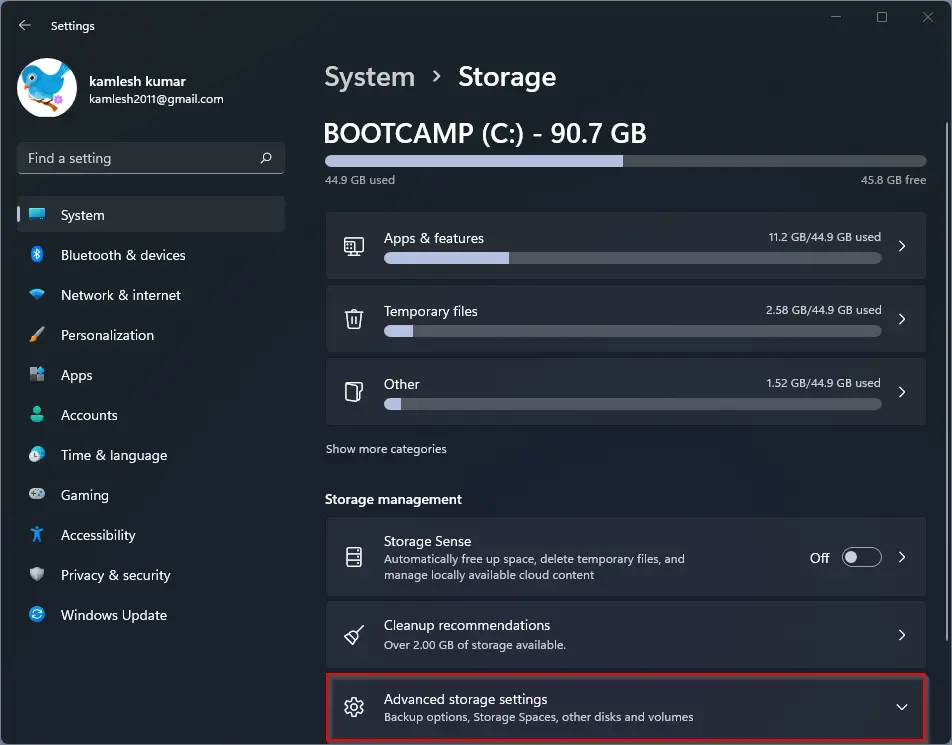
Step 4. Scroll down in the Storage page and click on “Advanced storage settings” to expand it.
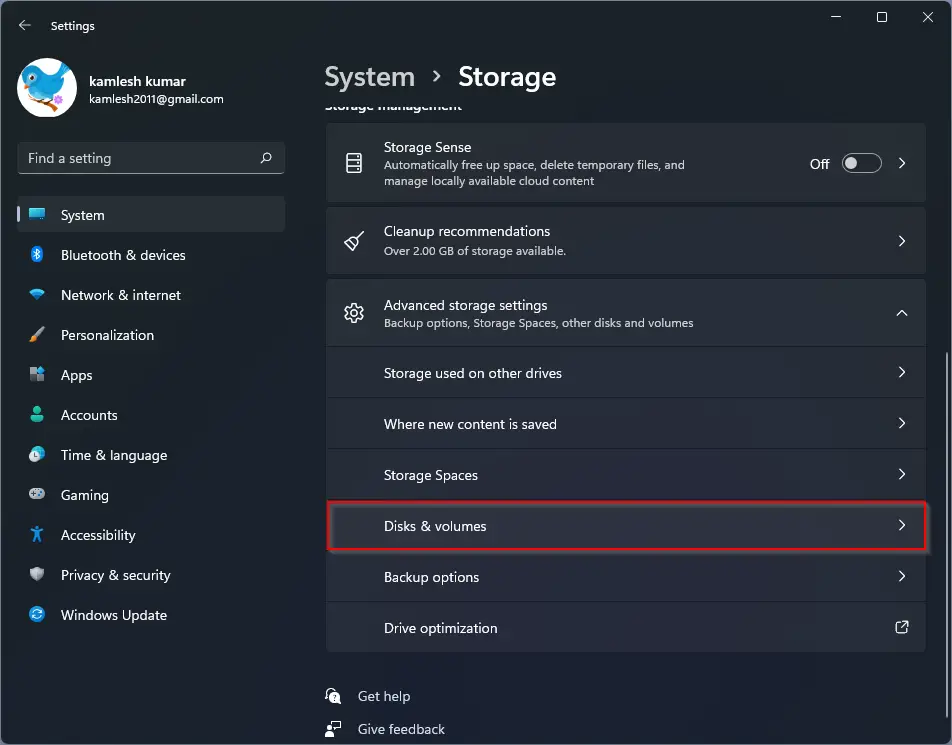
Step 5. Click “Disks & volumes.”
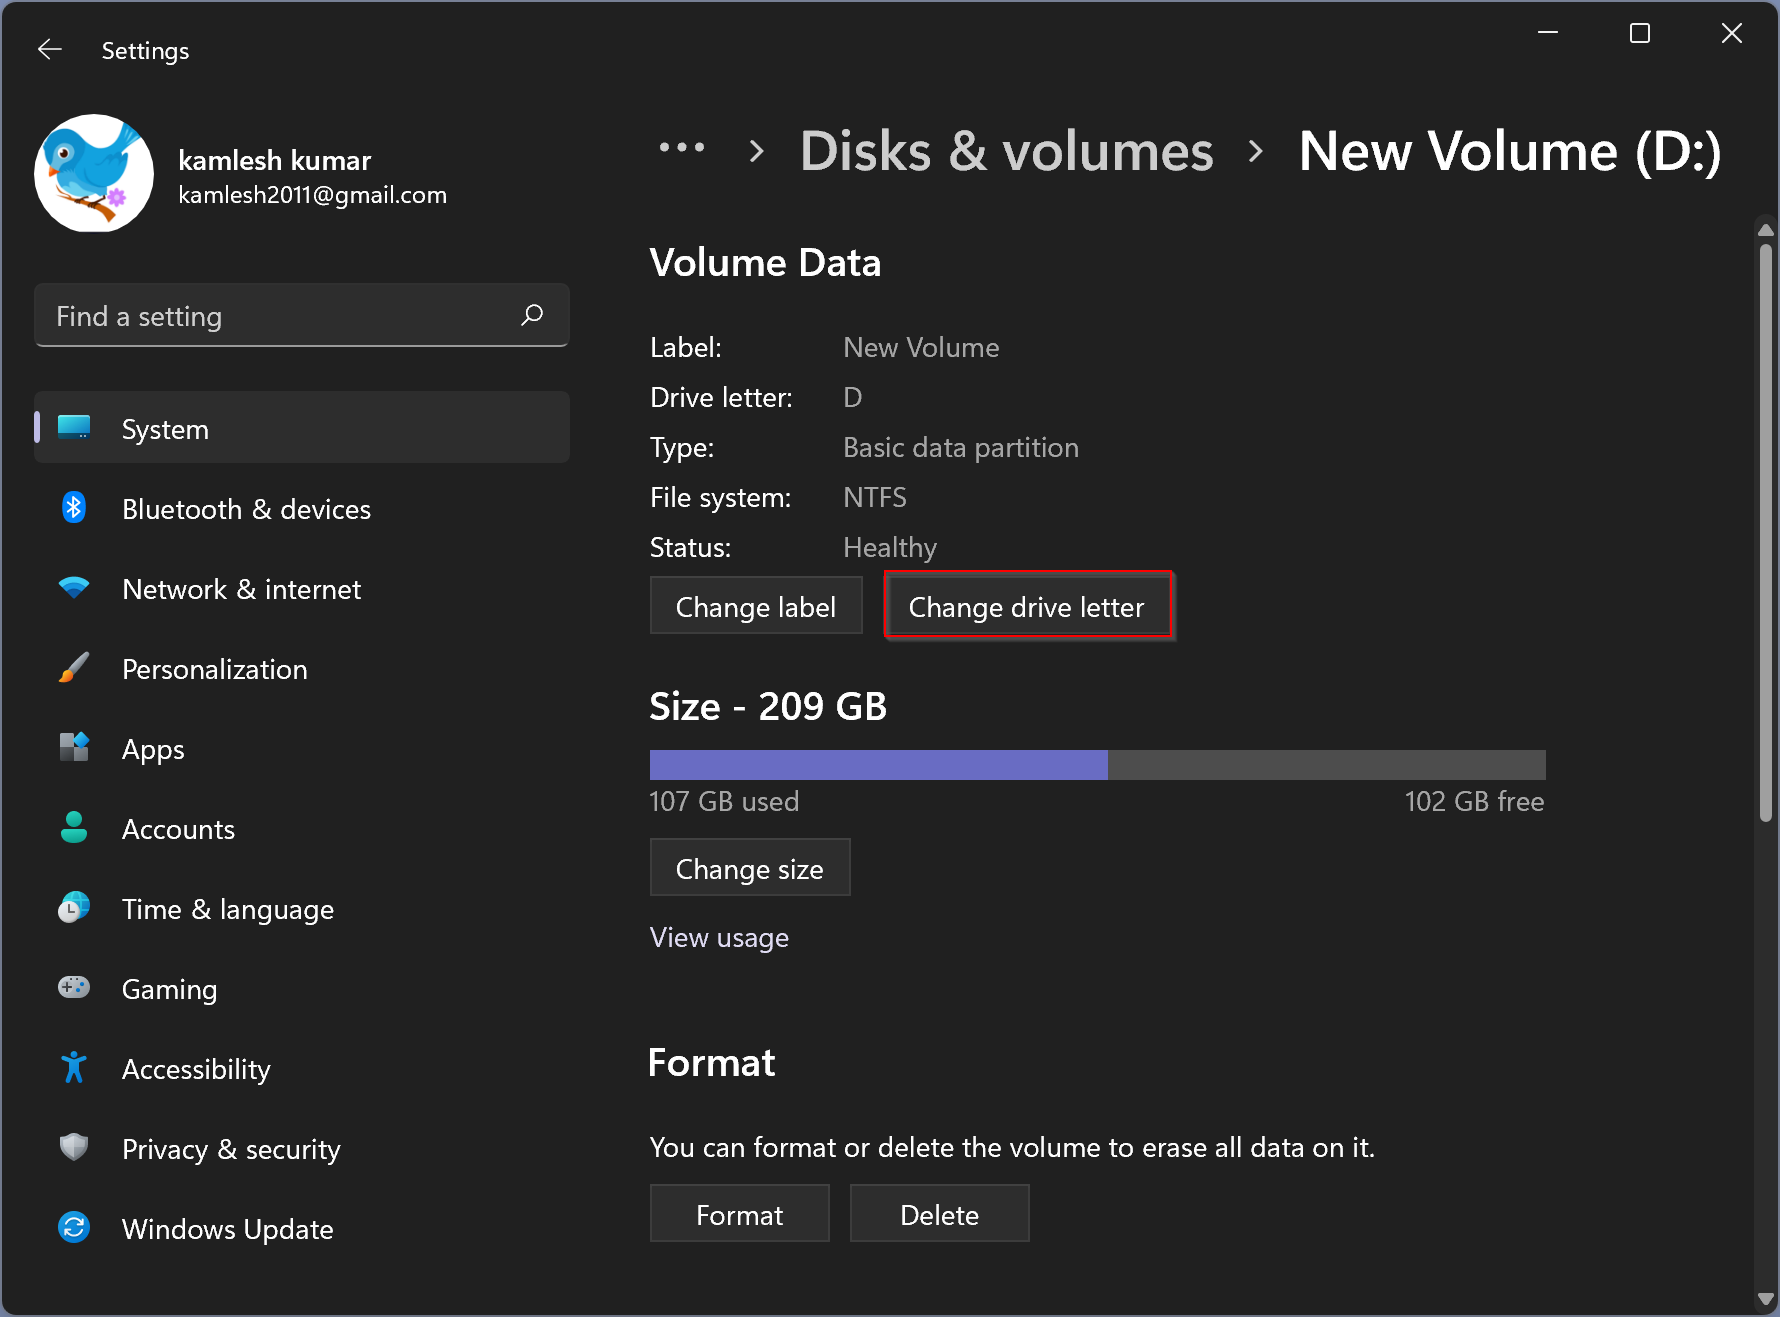
Step 6. Select the drive letter that you want to change.
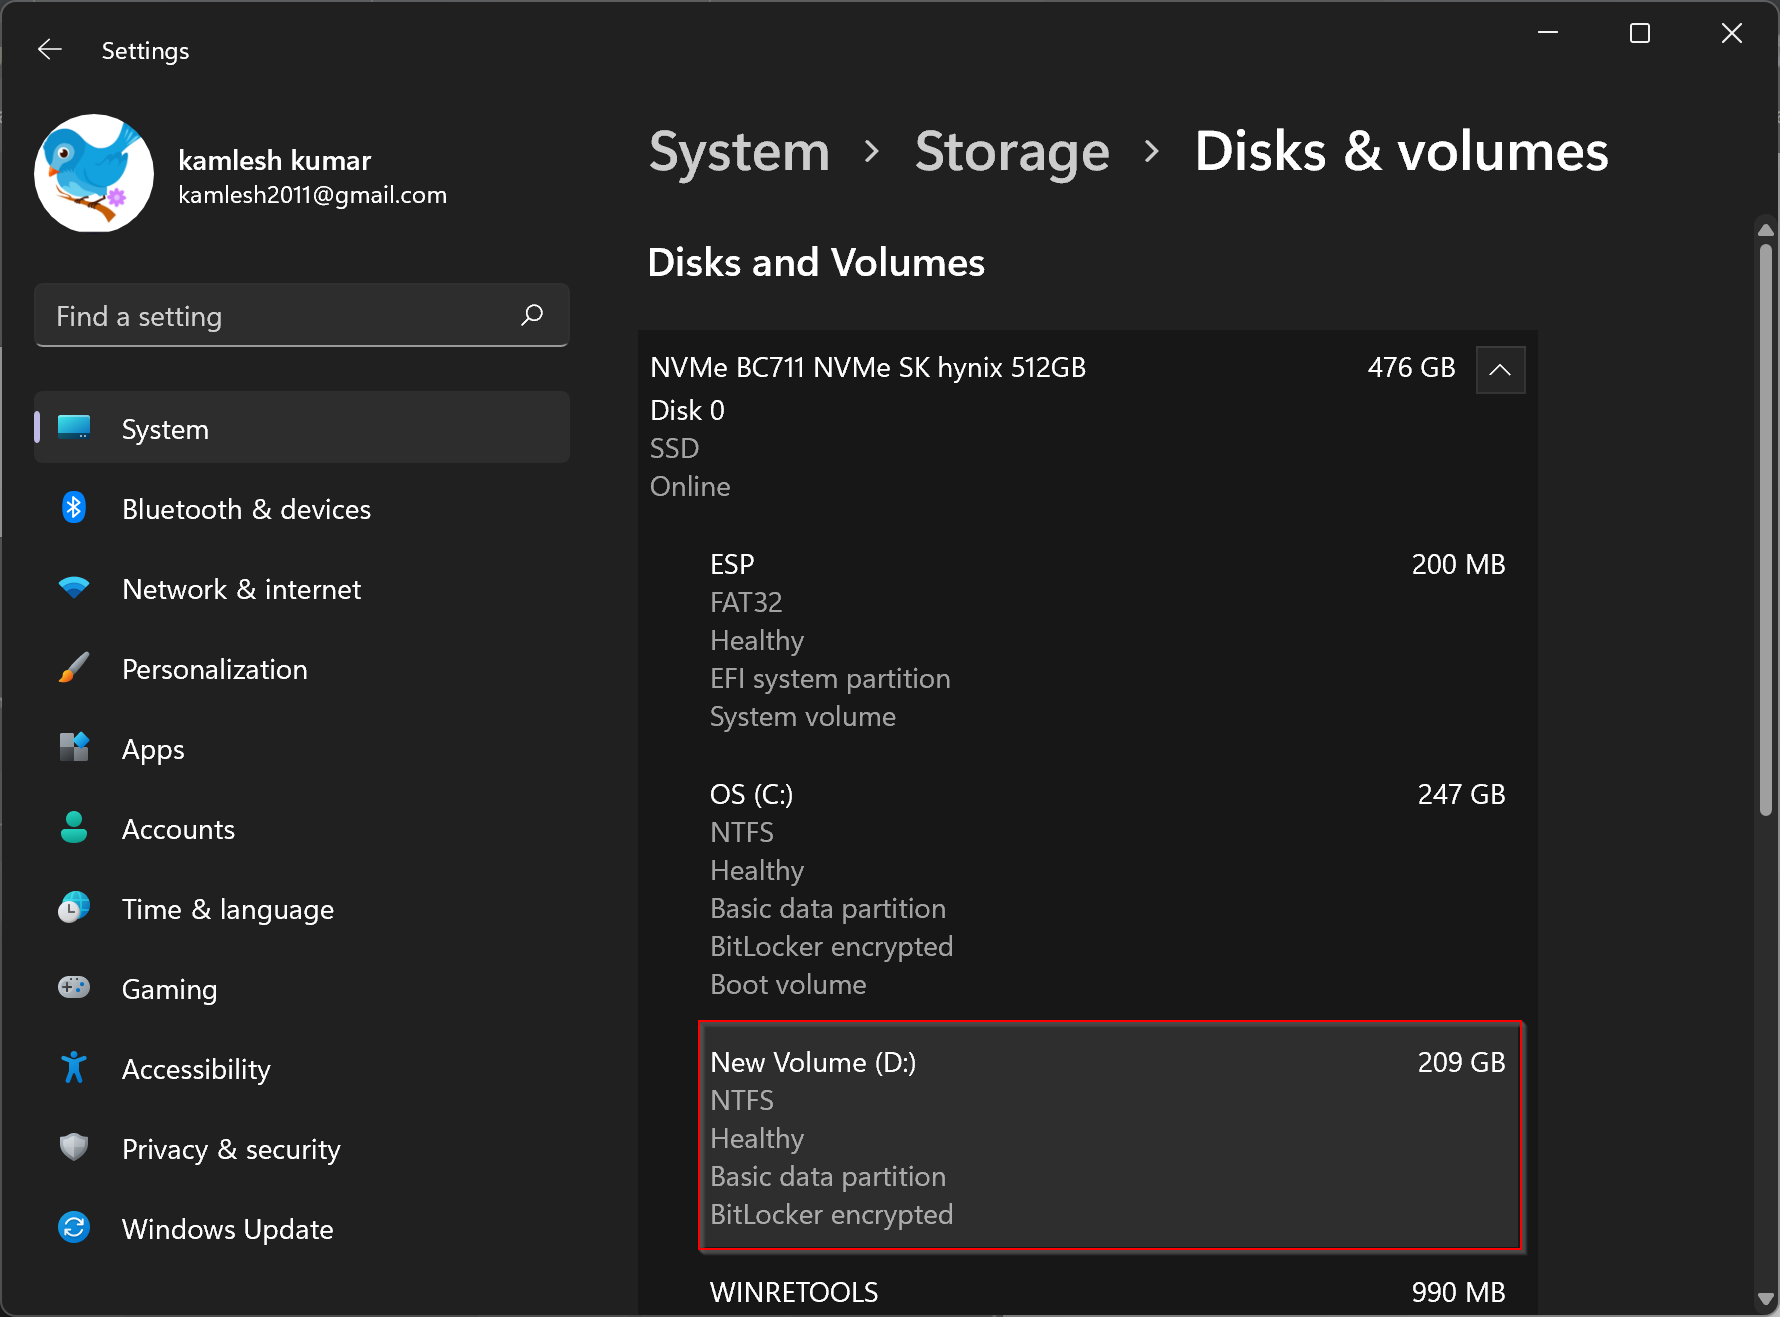
Note: Don’t try to change the drive letter of the Windows system drive. Doing so could corrupt your Windows installation.
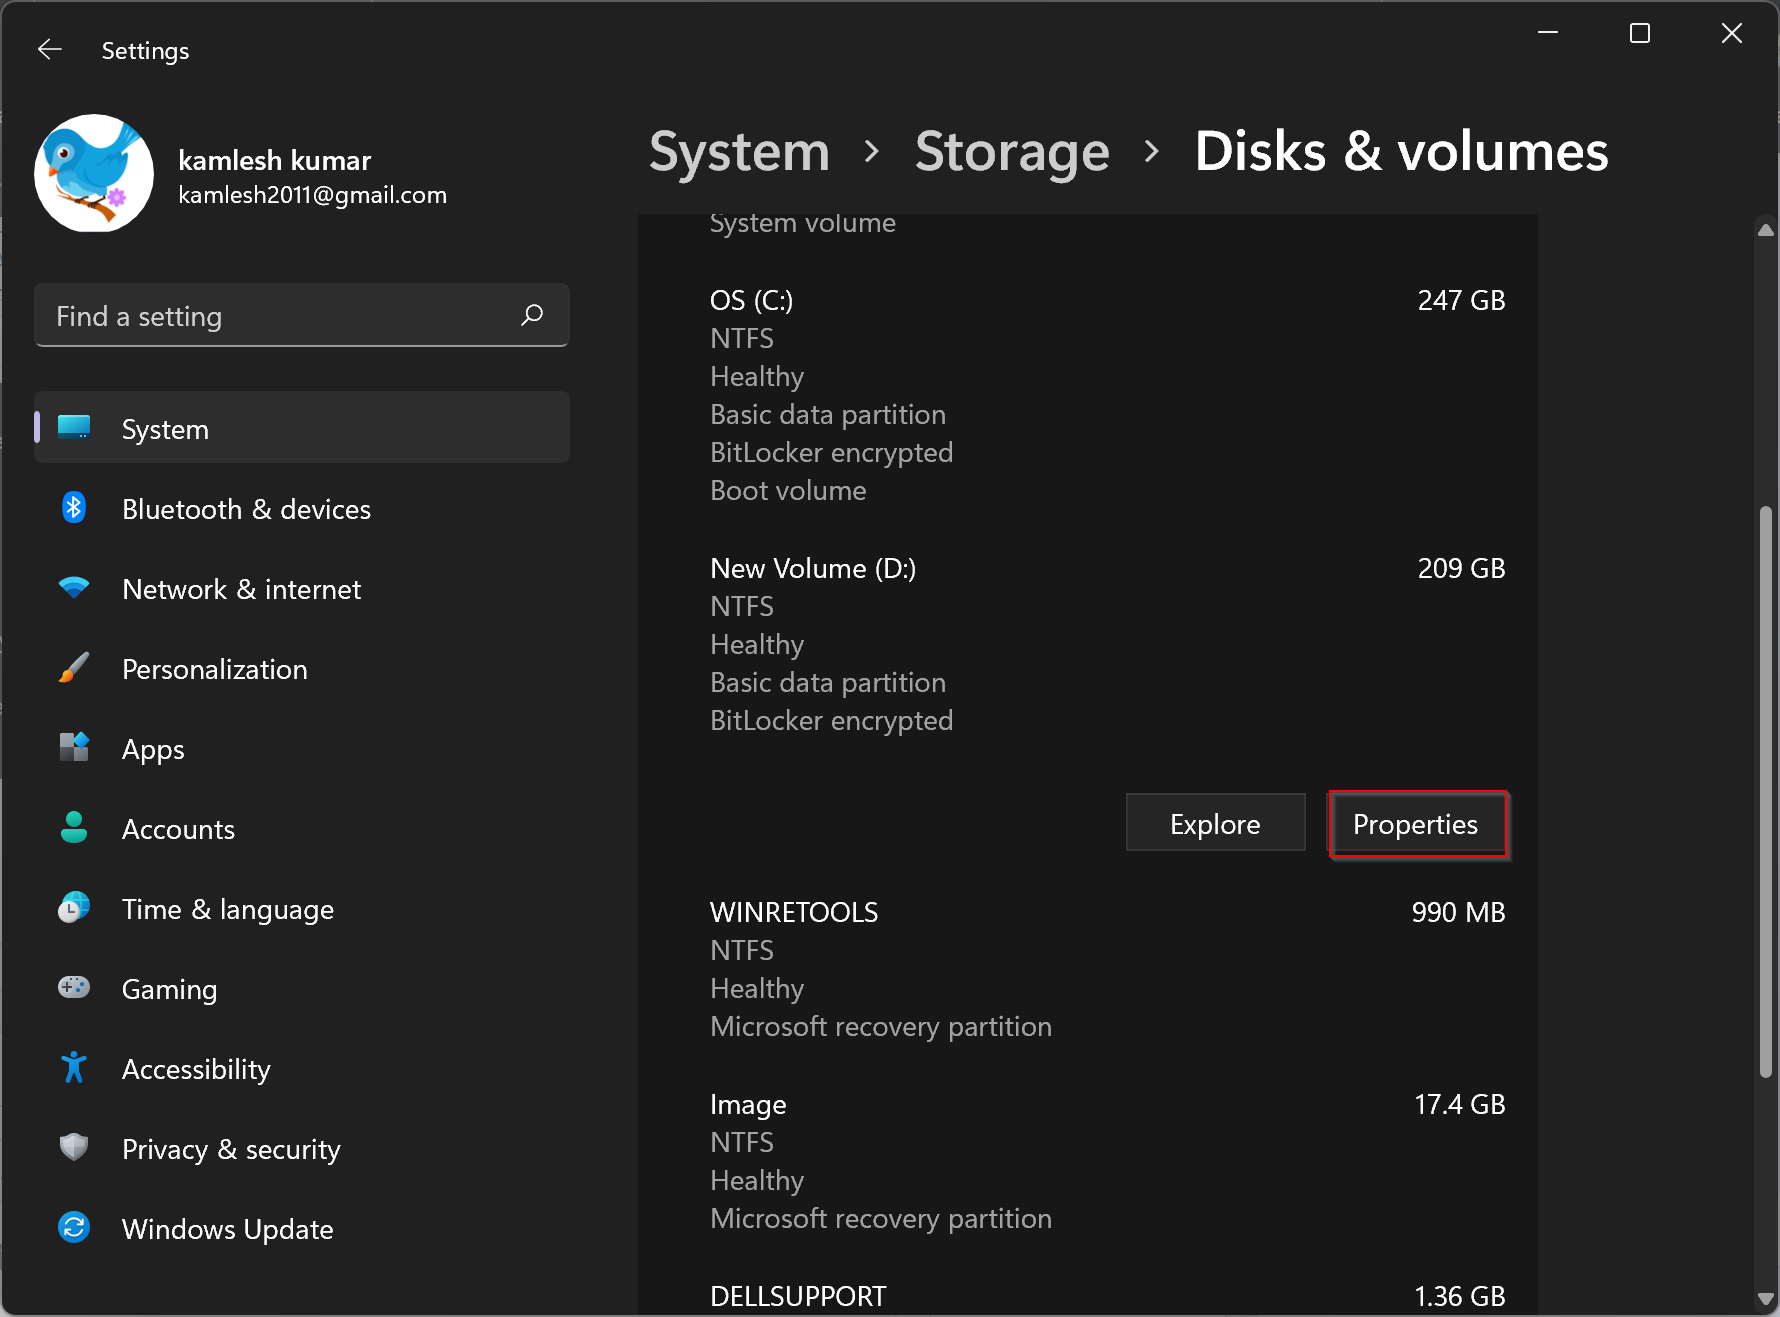
Step 7. Click “Properties.”
Step 8. Click “Change drive letter.”
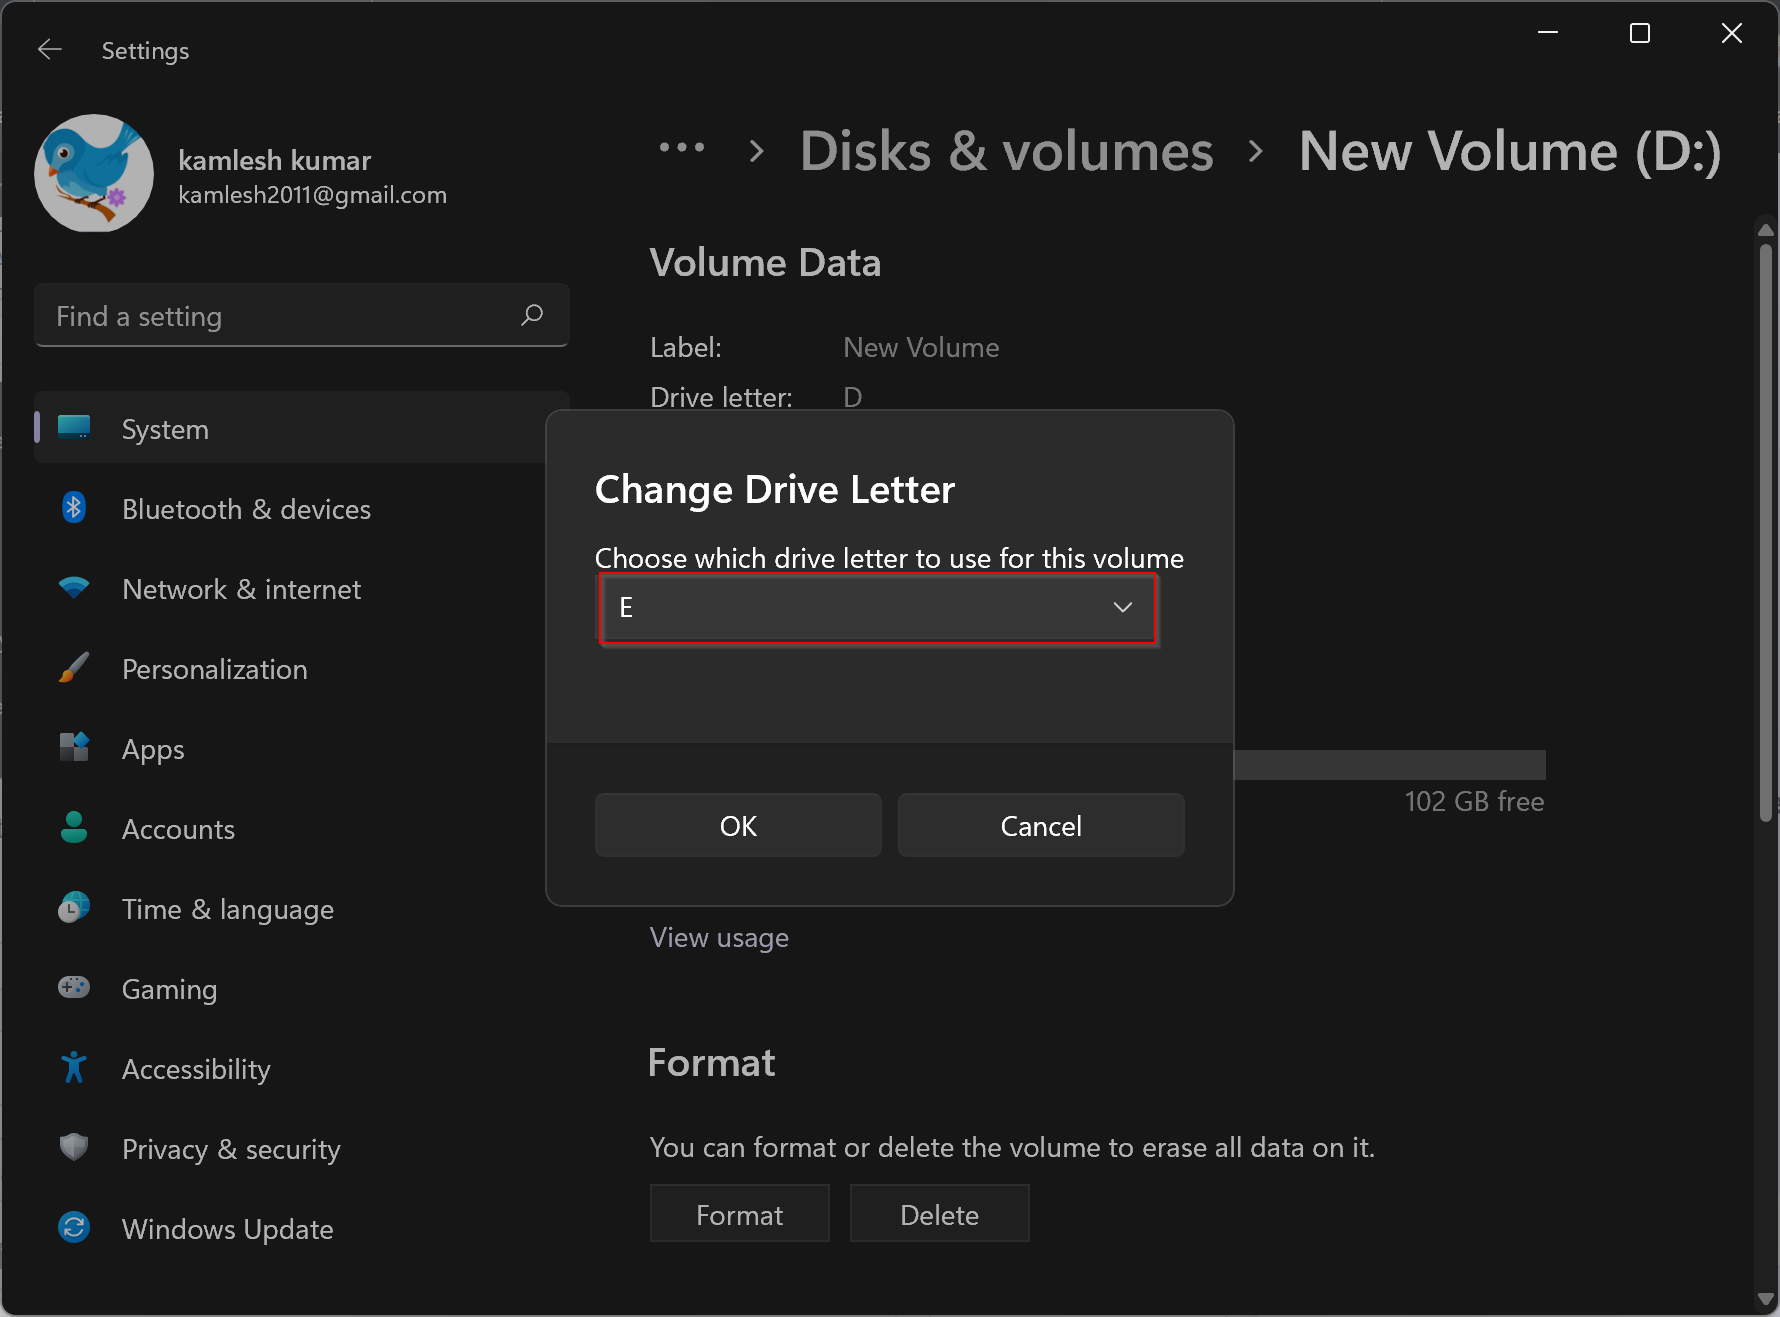
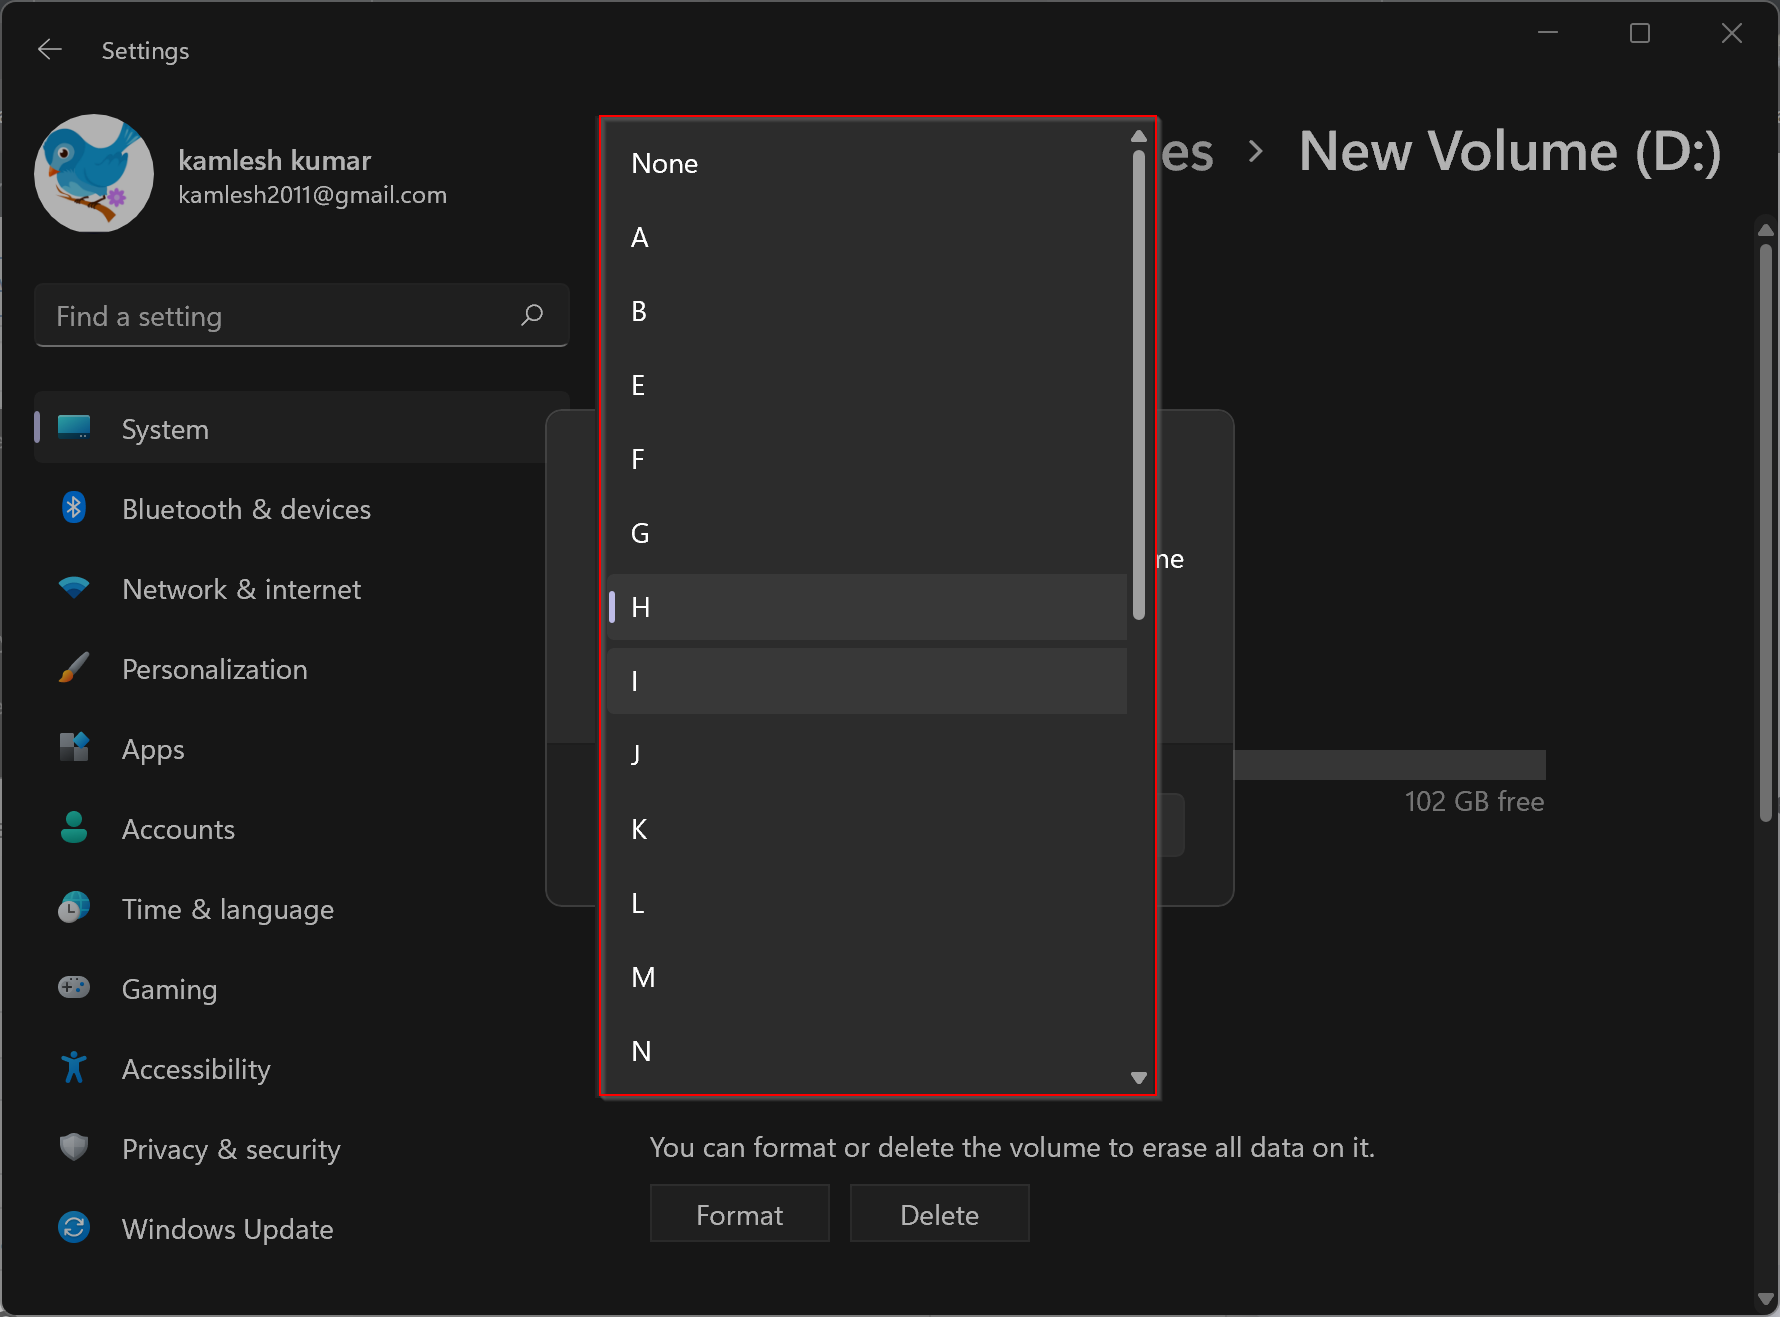
Step 9. Use the drop-down menu under “Change Drive Letter.”
Step 10. Select a drive letter in the pop-up list.
Step 11. Click “OK.”
That’s it. Your drive letter is now changed, and you can see it in File Explorer.
Changing drive letters can be useful for several reasons. For example, you may want to assign a specific letter to a partition to make it easier to remember or to distinguish it from other partitions. You may also want to change the drive letter if you’re having trouble accessing a partition or if a program is not working properly.
However, it’s important to be careful when changing drive letters, especially if you’re changing the letter of a system partition. If you make a mistake, you could end up corrupting your Windows installation or losing important data. So, before you make any changes, make sure you have a backup of your important files and data.
If you prefer to change the drive letter on Windows 11 using a third-party tool, you can use Sordum Drive Letter Changer. It is a freeware application and compatible with Windows 11.
Conclusion
In conclusion, changing the drive letter on Windows 11 is a simple process that can be done using either Disk Management or the Settings app. The drive letter is automatically assigned to each internal storage, USB drive, DVD drive, and mapped network drive by Windows, but it can be changed to any character from the English alphabet except for “C” and “A:” and “B:” which are reserved letters. It’s important to be cautious when changing the drive letter, especially for system partitions, and to make sure you have a backup of your important files and data. By following the steps outlined in this guide, users can easily change the drive letter to suit their preferences and needs.