Windows automatically assigns a drive letter to your hard drives and external drives. Still, to personalize your PC, you can give a specific drive letter according to your choice. There are several ways to assign a drive letter on Windows 11 PC, and we will review them one by one.
When you install Windows 11, usually, Windows assigns a drive letter “C” to the system partition. Drive letters “A” and “B” are reserved for floppy drives, but it is now outdated. So, you are free to assign these two letters to another drive if you wish. All other internal and external drives/partitions come next, and Windows will automatically give the letter “D” onwards.
If you assign a drive letter to a partition that is not connected, Windows will use that drive letter for another drive if you connect it to your PC. Then, if that drive is connected again, Windows will allocate the following available drive letter. This way, Windows 11 uses the techniques to assign a drive letter.
As said above, several ways are available to attach a drive letter on Windows 11. We will check all of them one by one.
How to Change Drive Letter on Windows 11 using the Settings app?
The settings app was first introduced on Windows 8, and now it is more potent on Windows 11. It lets you perform a lot of tasks, including changing the drive letter.
Step 1. Open the Settings app by pressing Windows + I keys from the keyboard.

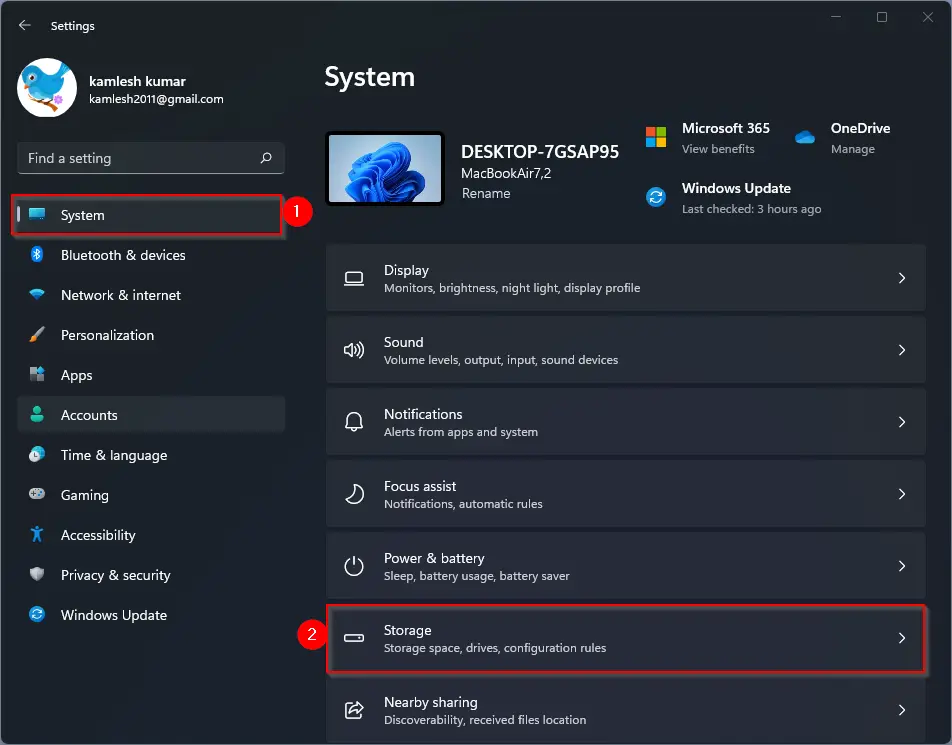
Step 2. Select the System category when Windows Settings opens.
Step 3. On the right-sidebar, click the Storage tab.
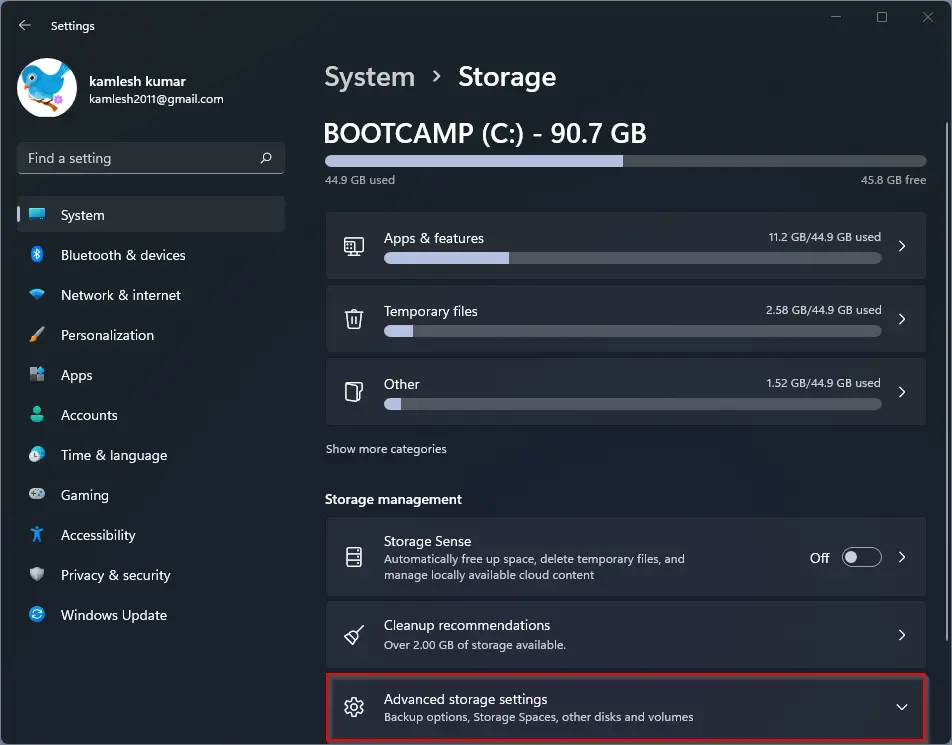
Step 4. Scroll down in the Storage page to find Advanced storage settings. Click to expand it.
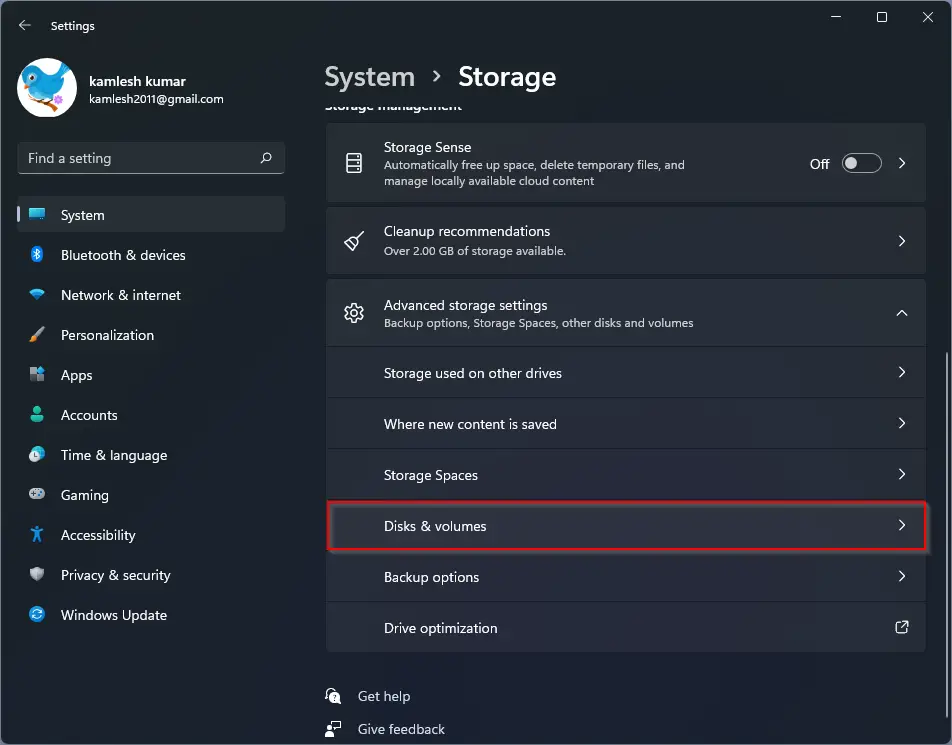
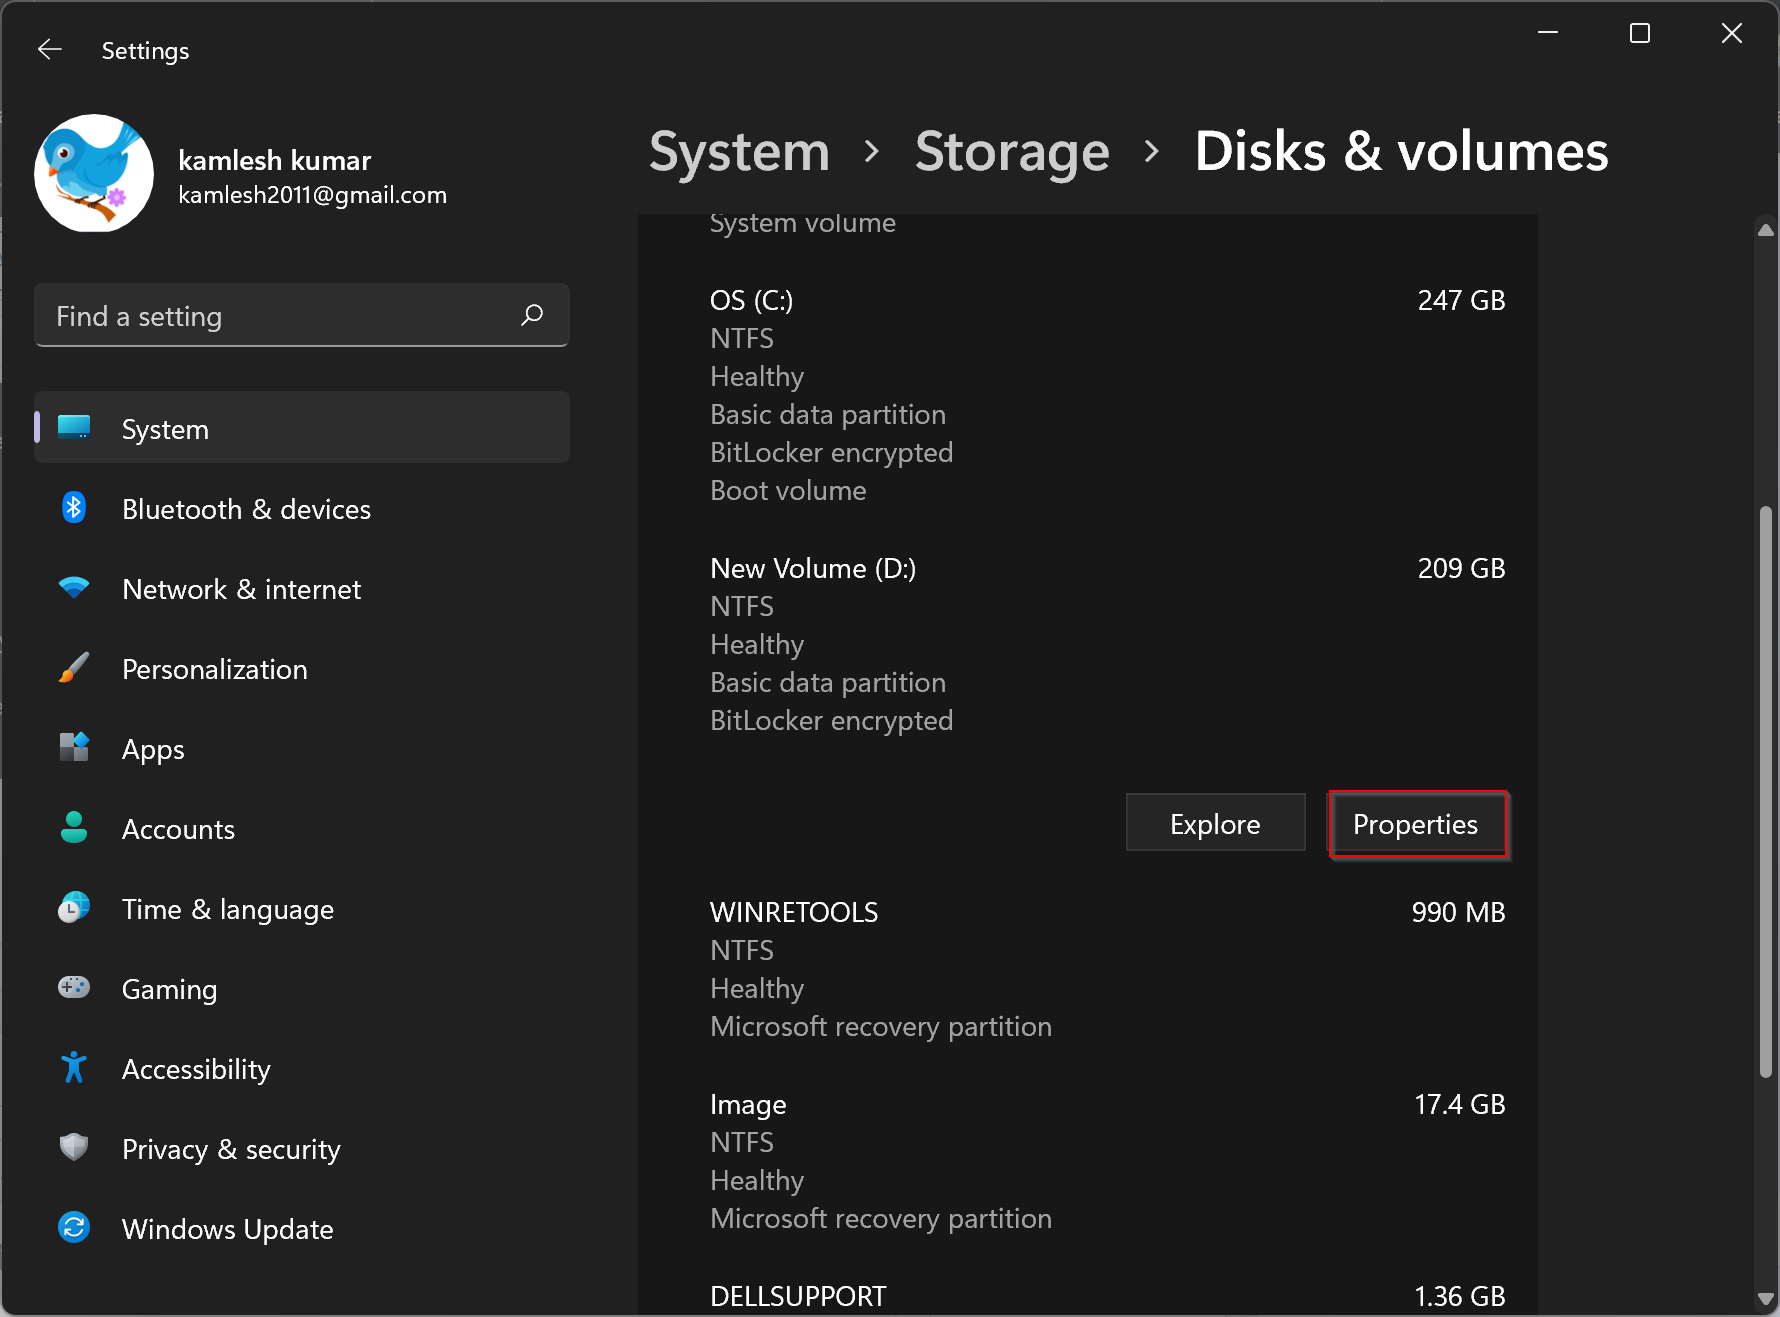
Step 5. Click Disks & volumes.
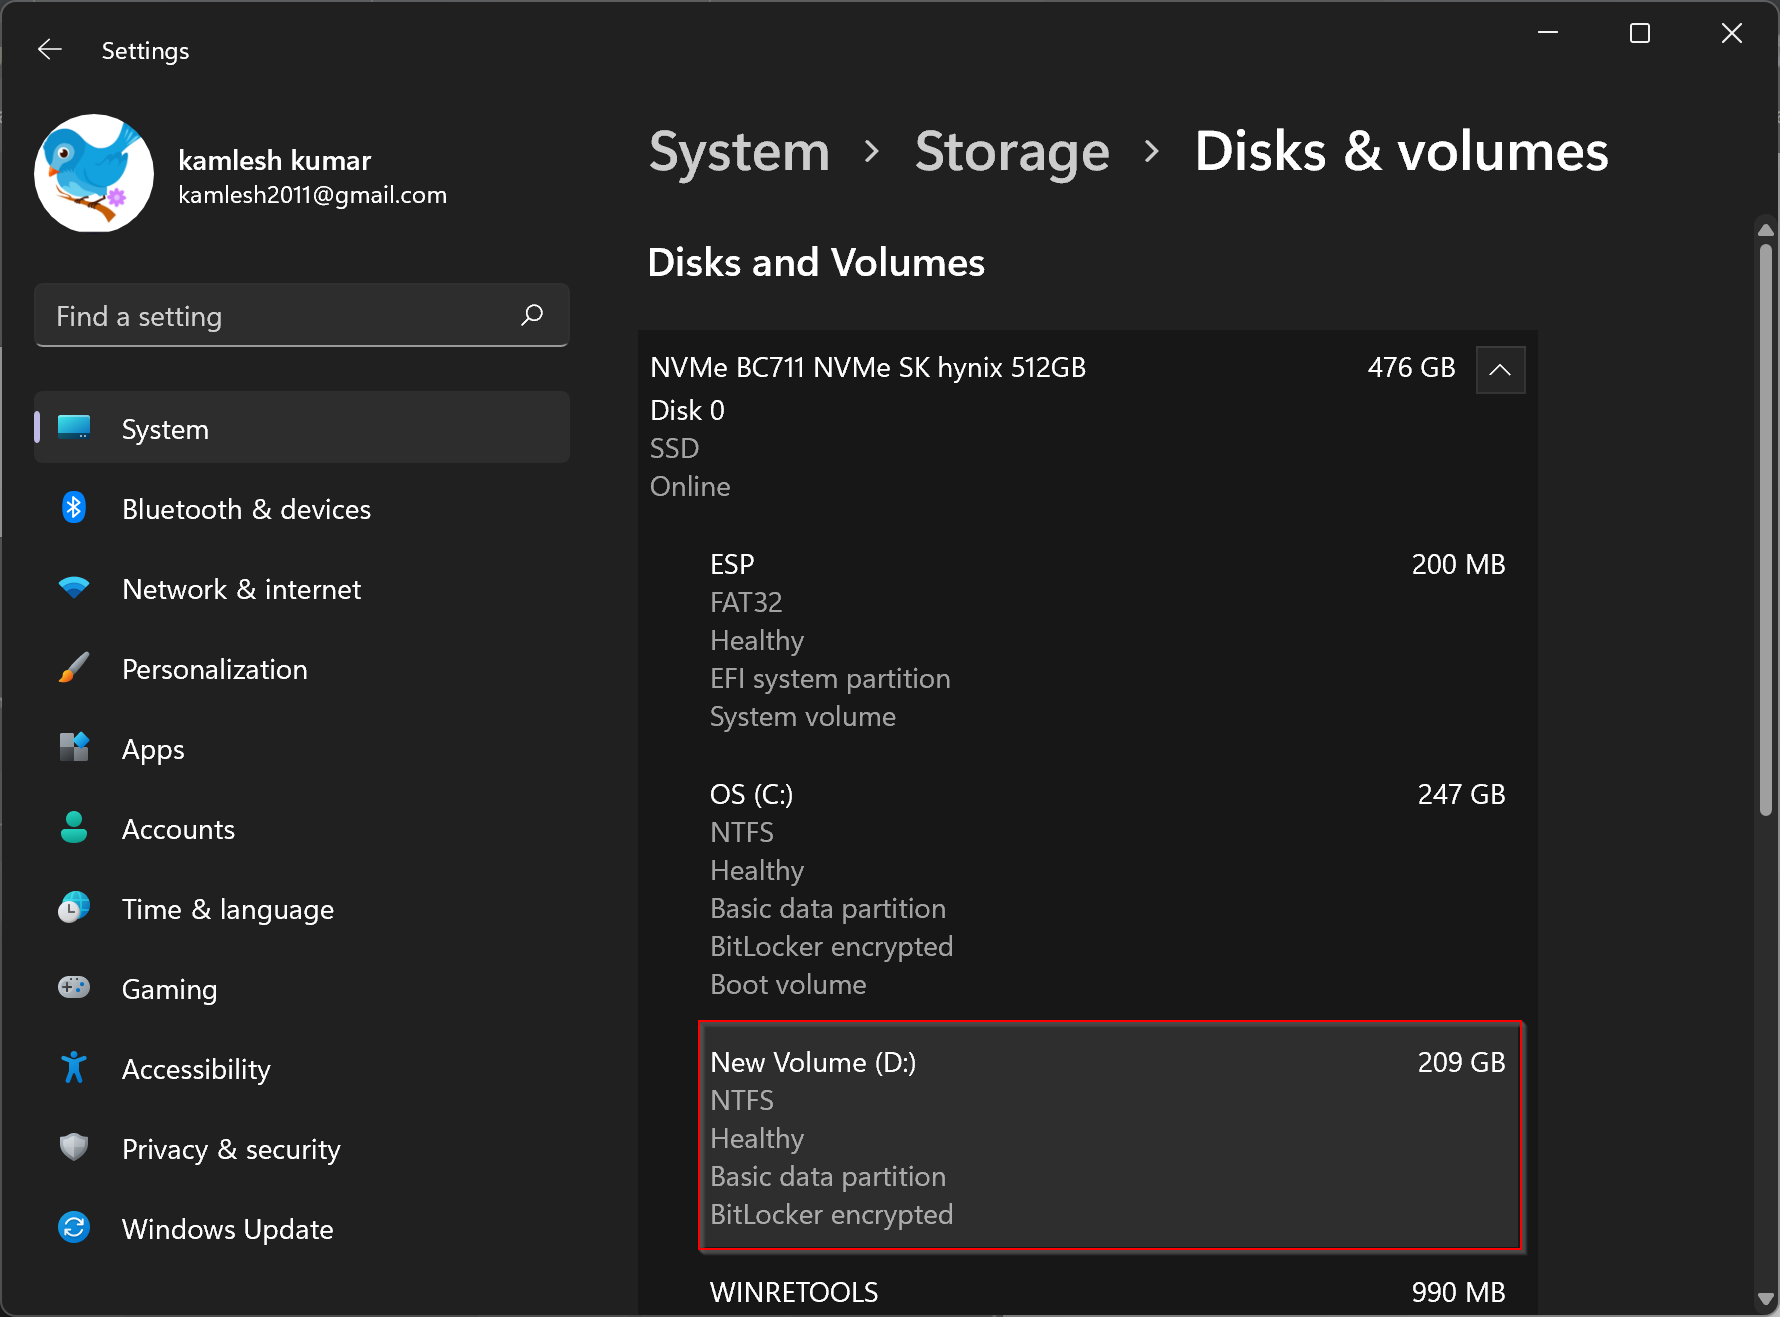
Step 6. Select a drive letter for that letter you want to change.
Note: Don’t try to change the drive letter of the Windows system drive. Your Windows installation may corrupt.
Step 7. Click the Properties button.
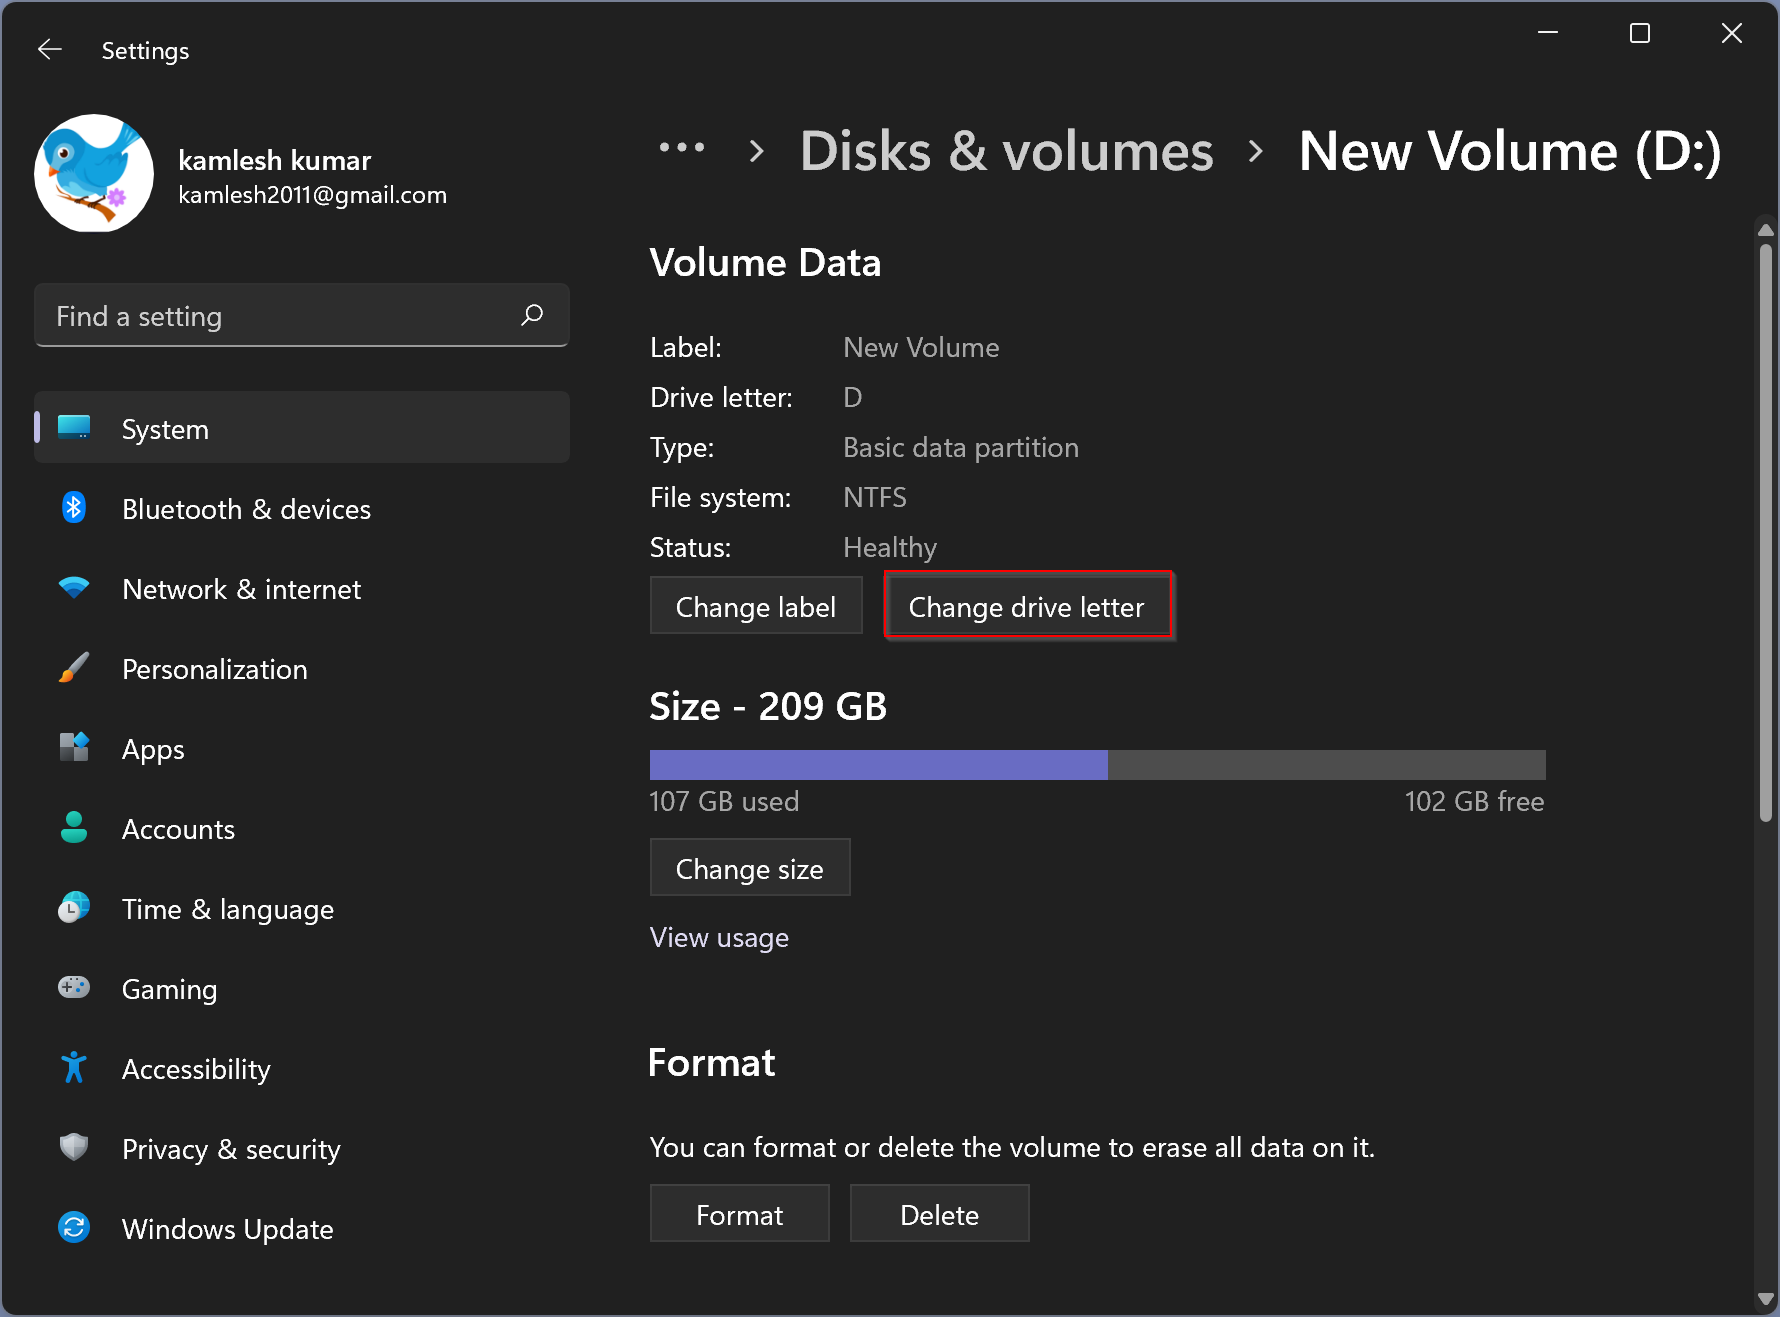
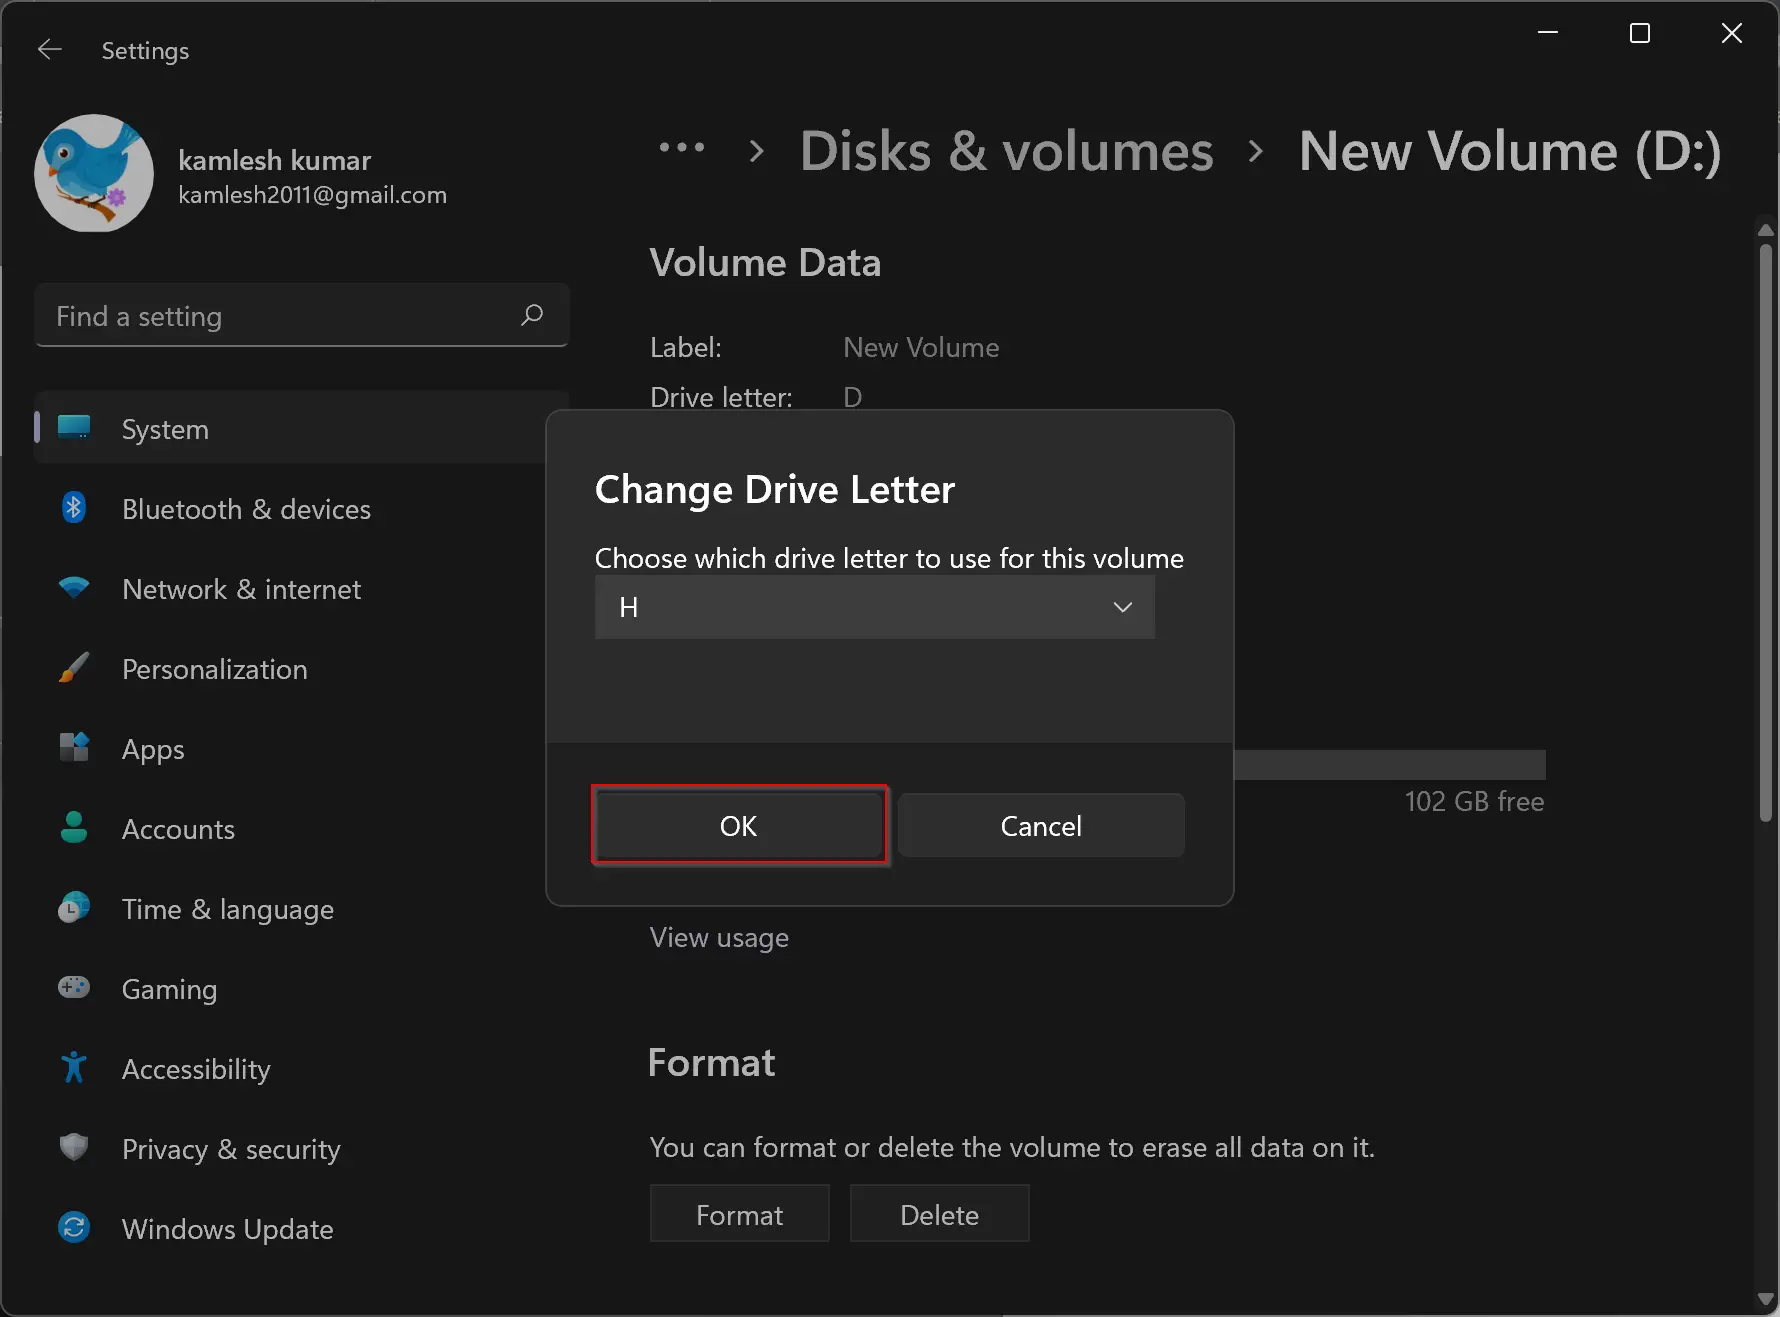
Step 8. Select the Change drive letter button.
Step 9. Now click on the drop-down menu under the Change Drive Letter.
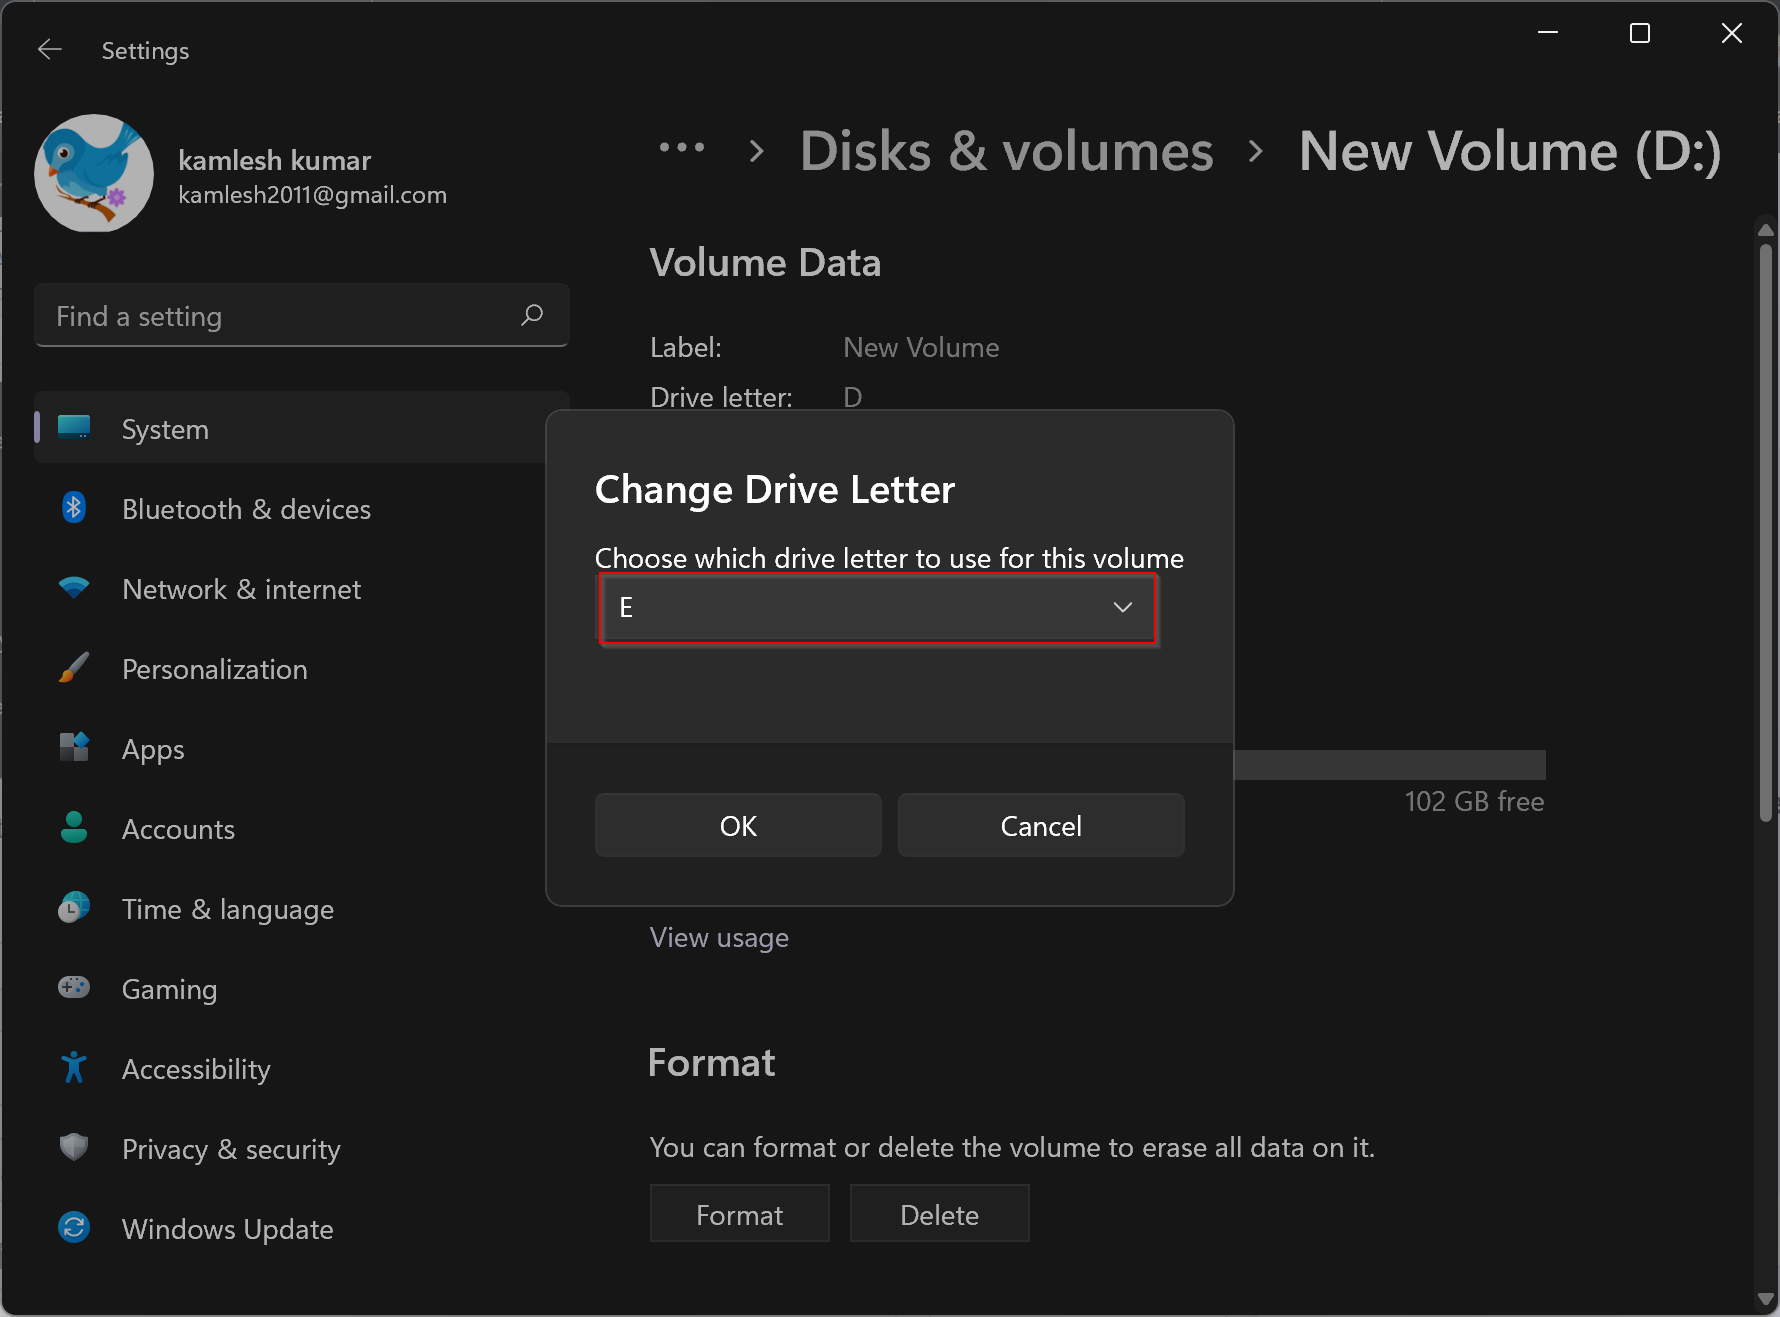
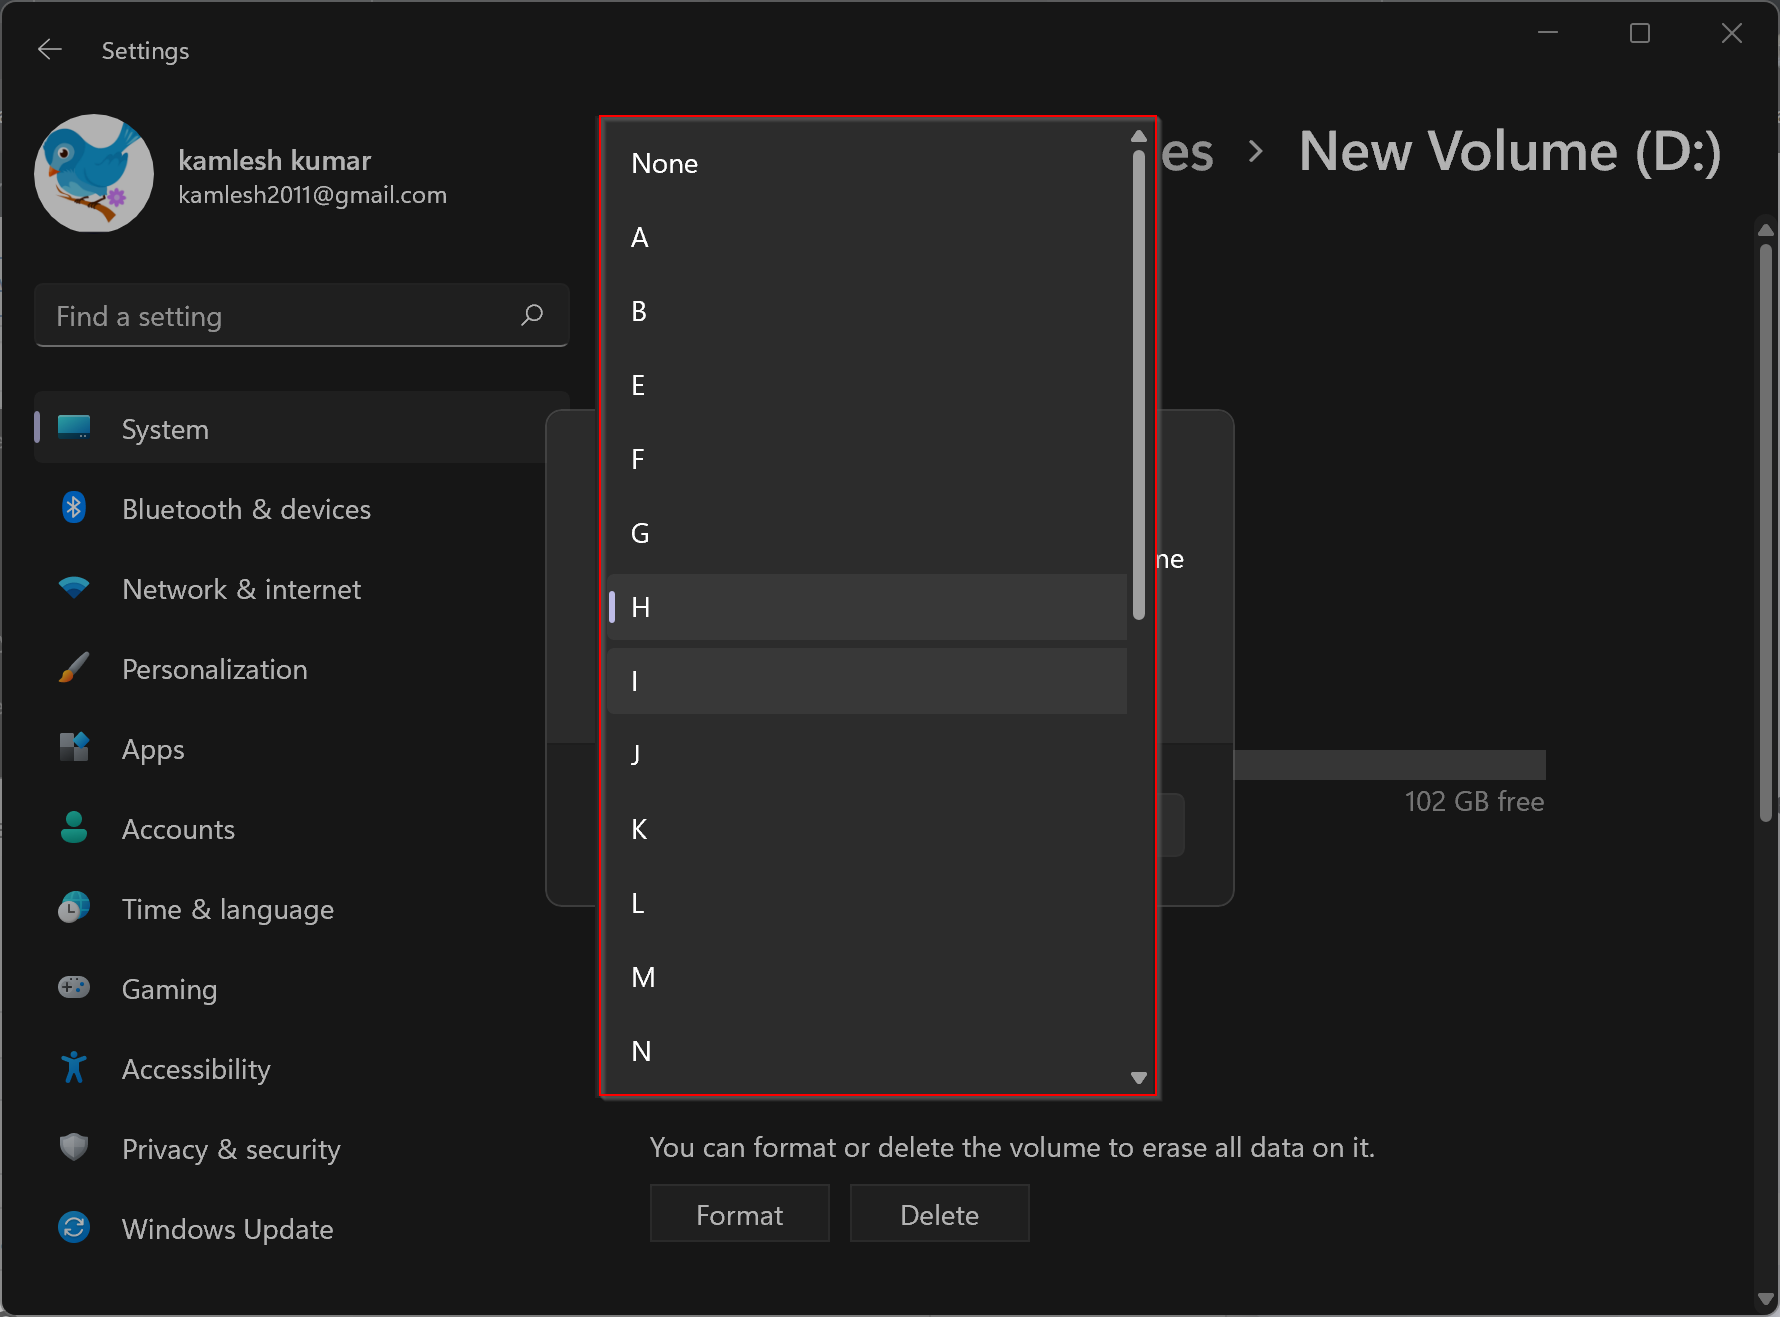
Step 10. Select a letter from the pop-up list.
Step 11. Click OK.
That’s it. Your drive letter is now changed, and you can see it in File Explorer.
How to Change Drive Letter on Windows 11 through Disk Management?
Follow these steps to change Drive Letter on Windows 11 through Disk Management:-
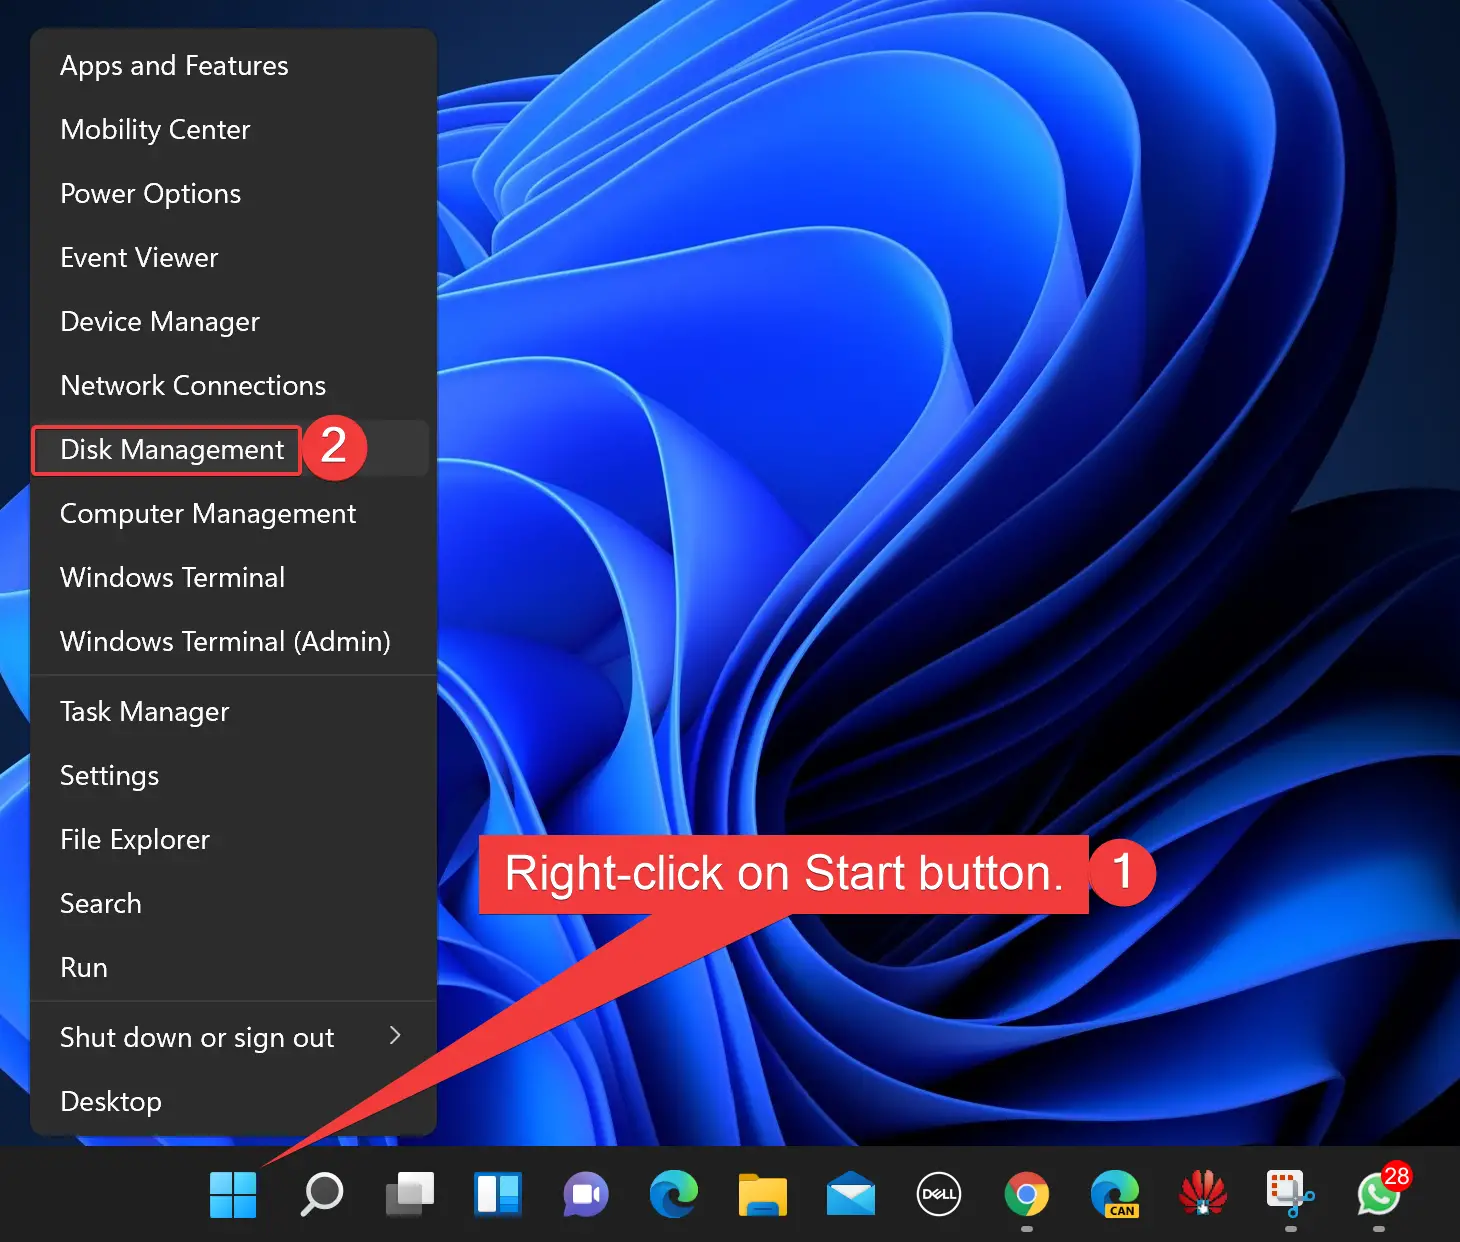
Step 1. Open Disk Management.
To do that, right-click on the Start button on the taskbar or press the Windows + X keyboard shortcut to launch the Quick Access menu. Select Disk Management from the pop-up menu that opens.
Step 2. When Disk Management opens, right-click on the drive whose letter you want to change.
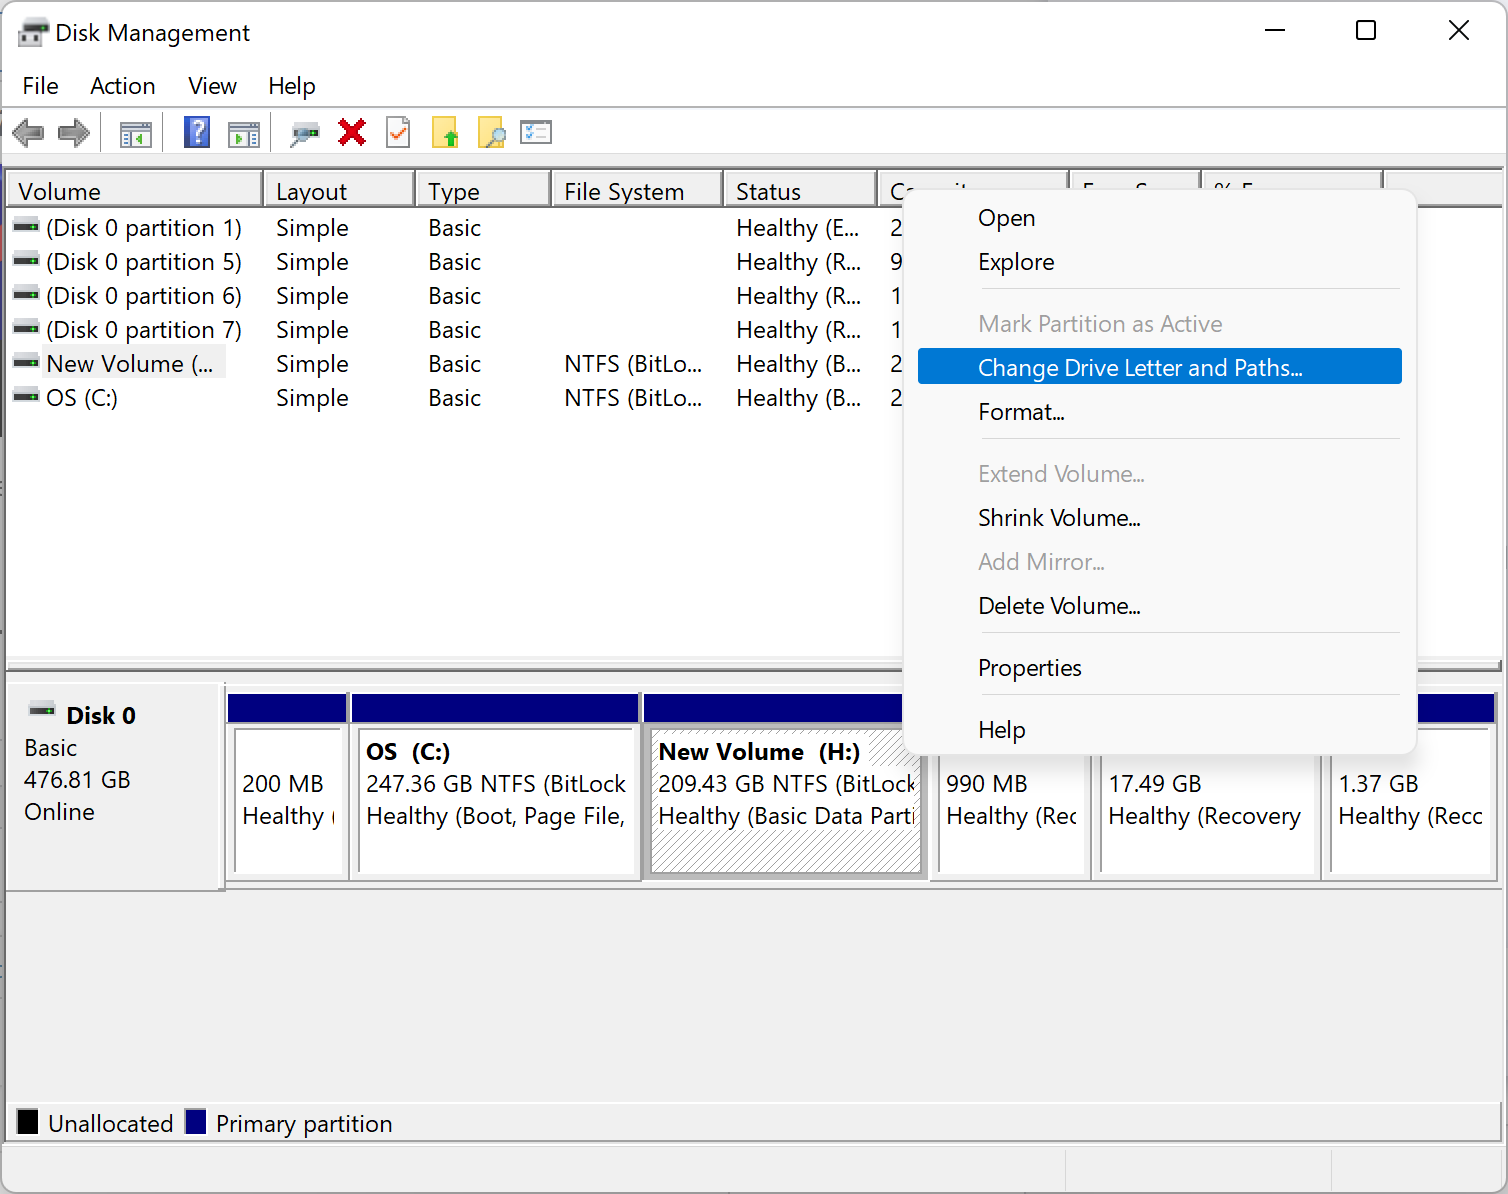
Step 3. Select Change Drive Letter and Paths.
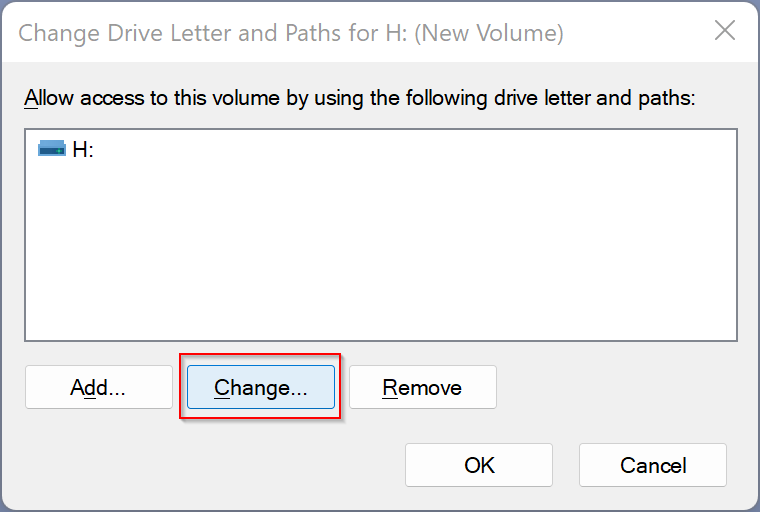
Step 4. On the pop-up window, click the Change button.
Step 5. From the drop-down menu of “Assign the following drive letter,” select a free drive letter that you want to use.
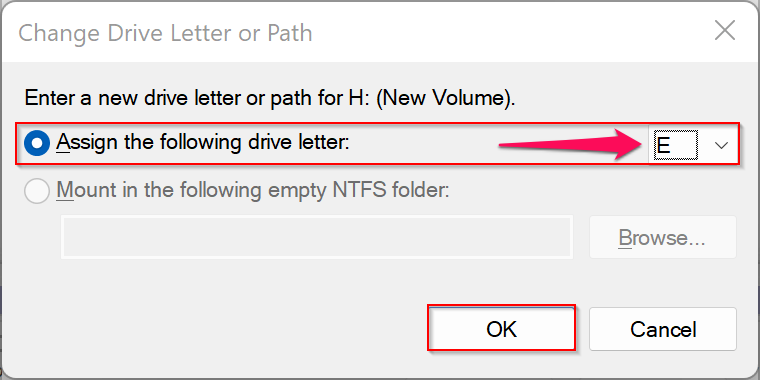
Step 6. Then, click OK.
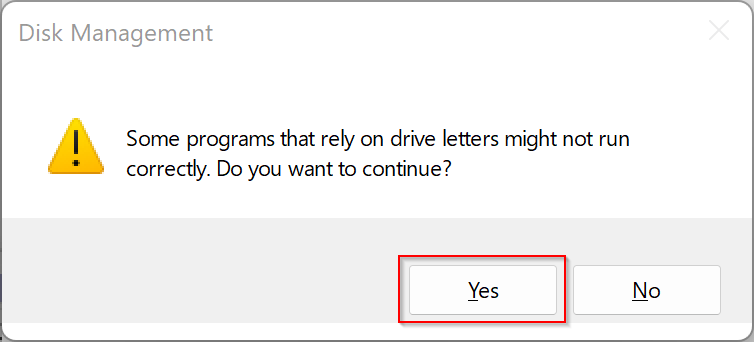
Step 7. Now, read the warning of Disk Management and then click the Yes button.
That’s it. Now drive letter is changed and will be visible in File Explorer.
How to Change Drive Letter on Windows 11 using the Third-Party tool?
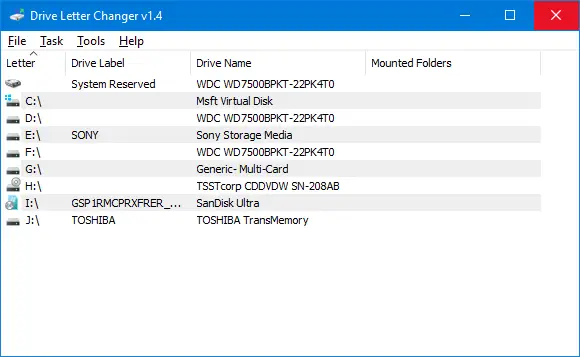
If you prefer to change the drive letter on Windows 11 using a third-party tool, you can download Sordum Drive Letter Changer. It is a freeware application and compatible with Windows 11, Windows 10, Windows 8.1, Windows 8, Windows 7, Windows Vista, and Windows XP – (both x86 and x64).
Conclusion
In conclusion, while Windows 11 automatically assigns drive letters to your hard drives and external drives, you have the option to customize the letters according to your preferences. This can be achieved through various methods, such as using the Settings app or Disk Management. However, it is important to note that the drive letter for the system partition should not be changed as it may cause system instability. With the availability of third-party tools such as Sordum Drive Letter Changer, users have more flexibility and convenience in assigning drive letters on their Windows 11 PCs. By following these simple steps, users can personalize their PC and make it more user-friendly.