Using a USB flash drive, installing Windows 11 is relatively easy and effective. We don’t have to worry about scratches on the disk. While Windows 11 will officially be available on 5 Oct 2021, and people have started installing and testing it. Microsoft is rolling out Windows 11 on its Dev and Beta channels for those enrolled in the Windows Insiders Program. Even one can download the official Windows 11 ISO file from the Microsoft server. If you combine USB and ISO files, the process of creating a bootable drive for Windows 11 will be pretty straightforward.
In this gearupwindows article, we will see different tools that help you create a bootable USB drive for Windows 11.
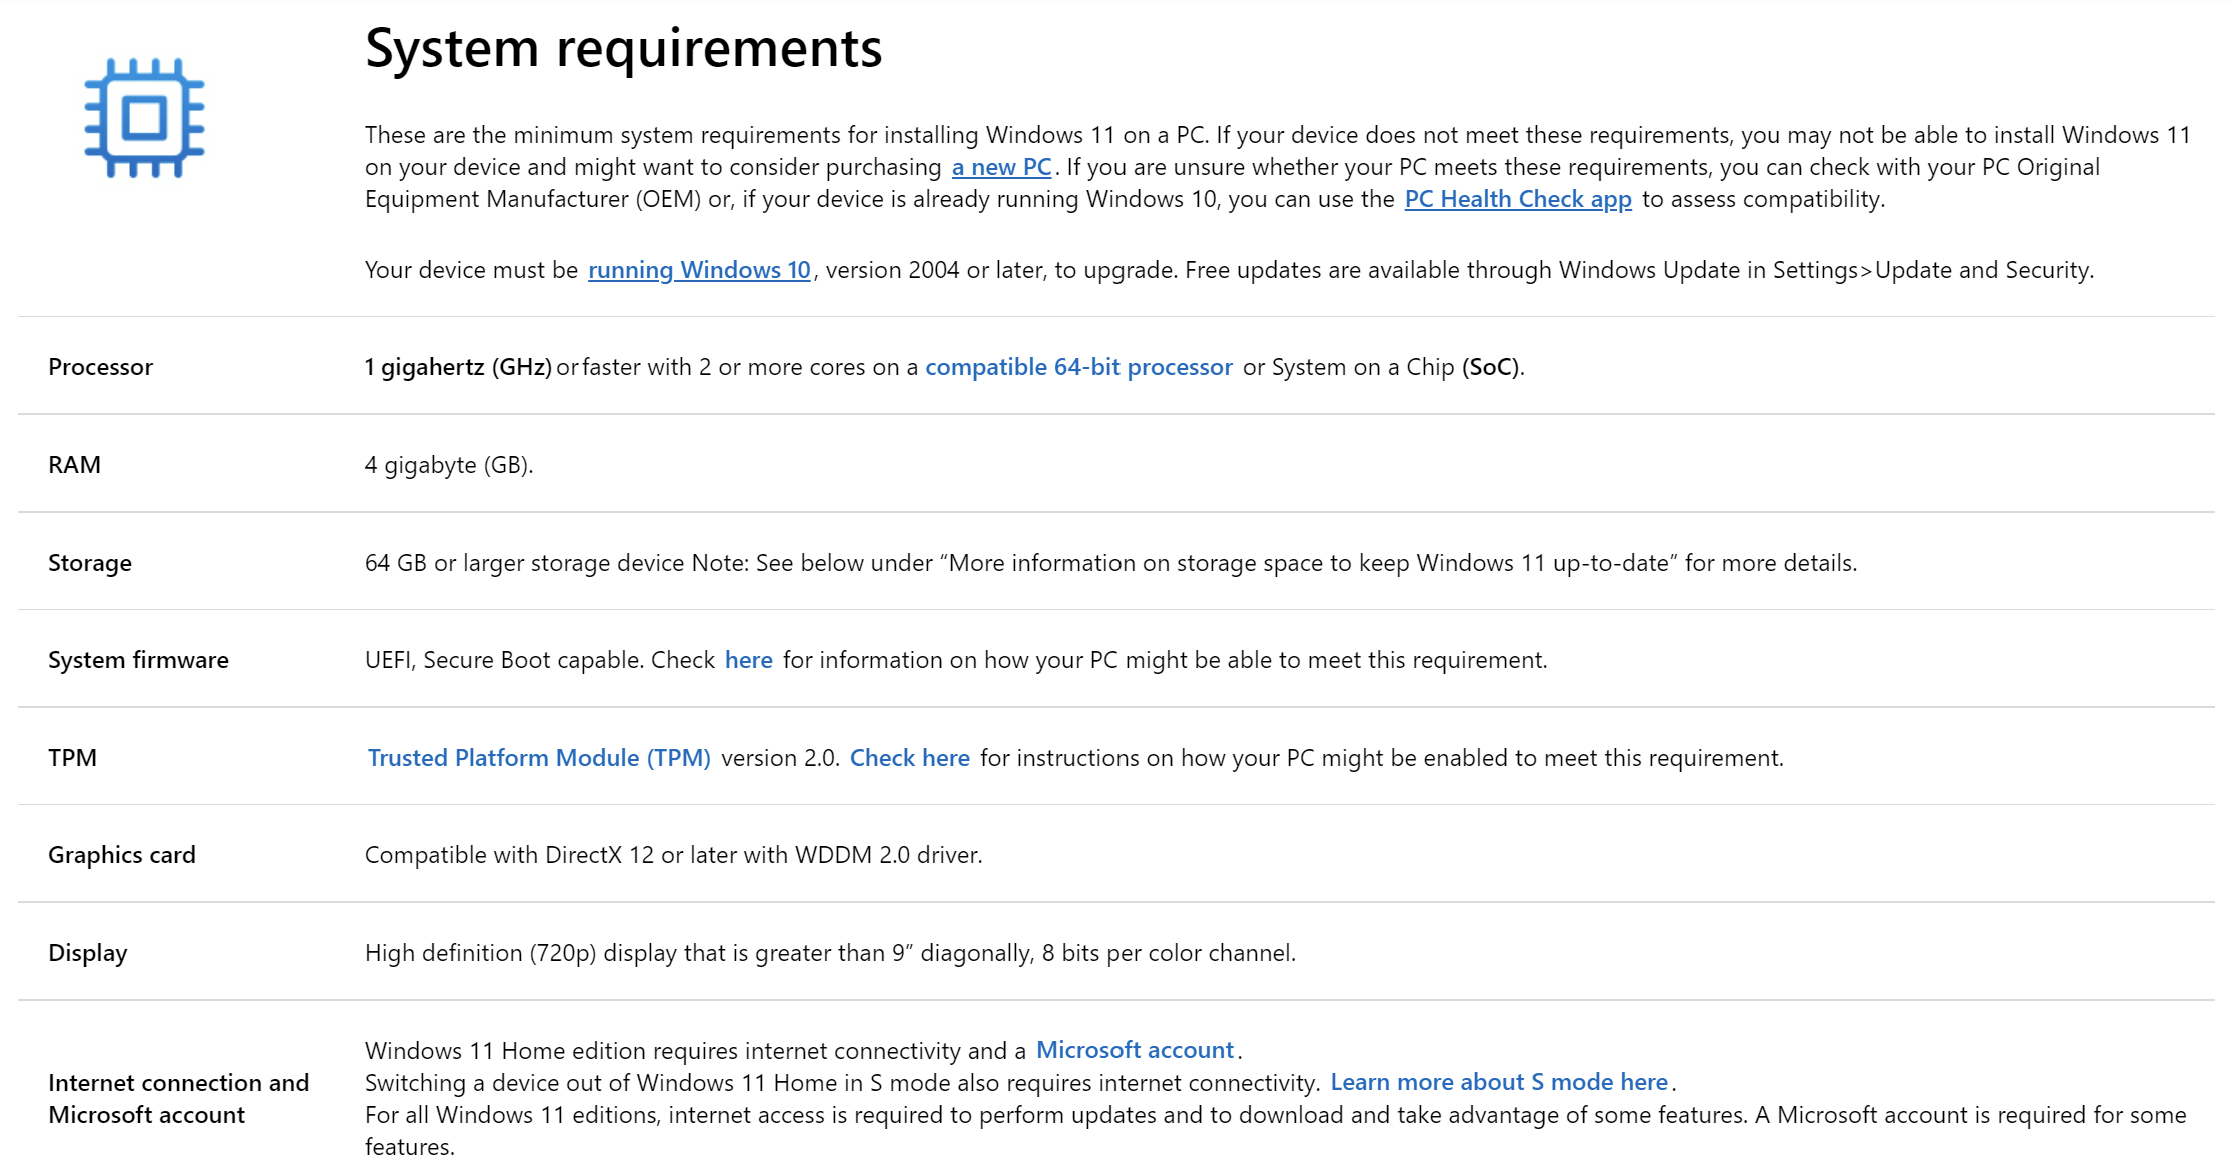
System Requirements for Windows 11
Before creating a bootable USB drive of Windows 11, have a look at system requirements that is described by Microsoft:-
- Processor – 1 gigahertz (GHz) or faster with 2 or more cores on a compatible 64-bit processor or System on a Chip (SoC).
- RAM – 4 gigabytes (GB).
- Storage – 64 GB or larger storage device.
- System firmware – UEFI, Secure Boot capable.
- TPM – Trusted Platform Module (TPM) version 2.0.
- Graphics card – Compatible with DirectX 12 or later with WDDM 2.0 driver.
- Display – High definition (720p) display that is greater than 9” diagonally, 8 bits per color channel.
- Internet connection and Microsoft account – Windows 11 Home edition requires internet connectivity and a Microsoft account.
Switching a device out of Windows 11 Home in S mode also requires internet connectivity. Learn more about S mode here.
Download Windows 11 ISO
When you see your system is compatible with running Windows 11 operating system, you need to download the latest ISO file from the Microsoft server.
Step 1. Browse this link and sign in to the Microsoft server.
Step 2. When you log into your Microsoft account, scroll down to find the Select edition section.
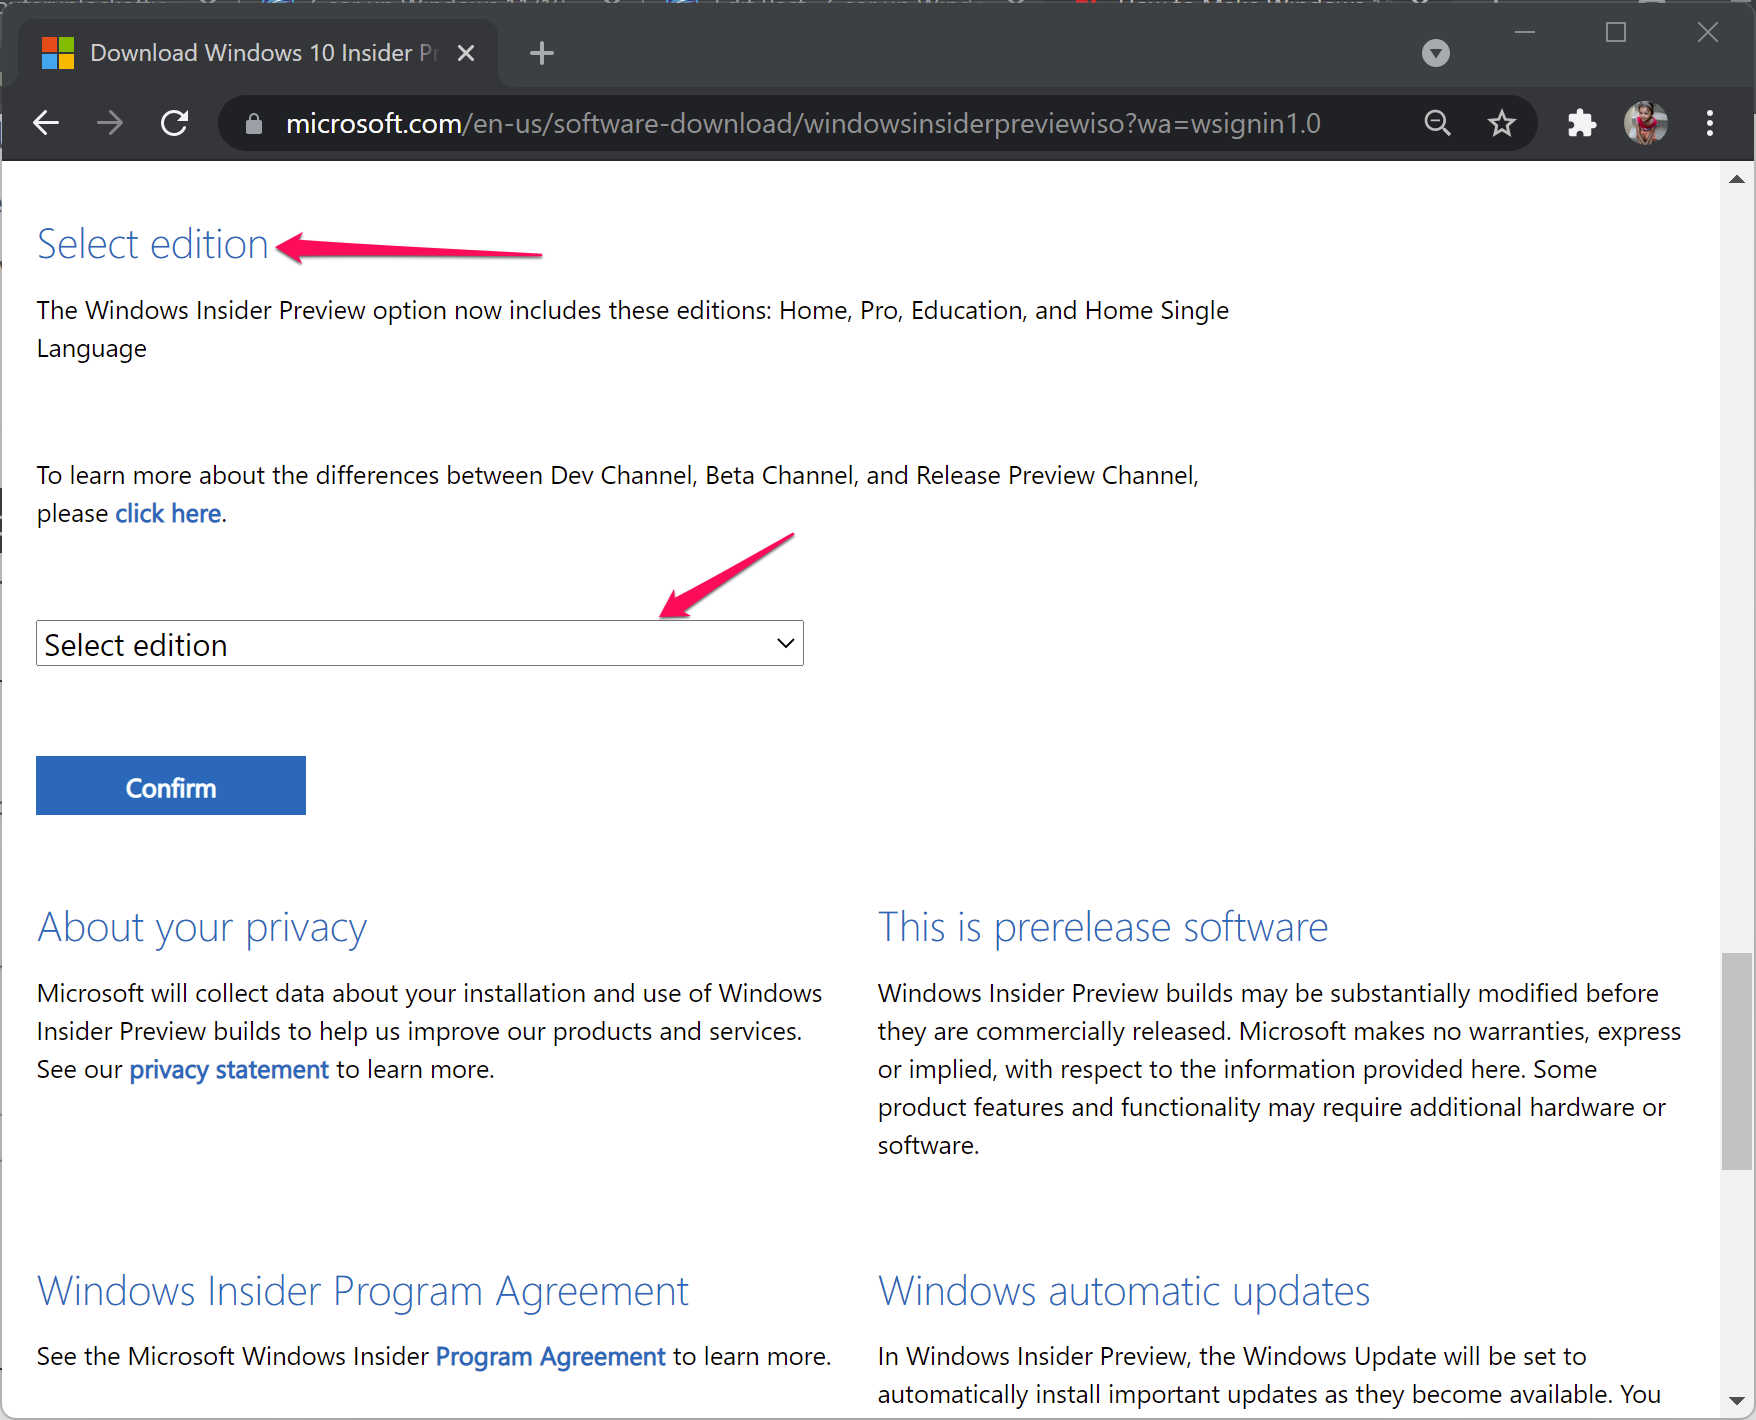
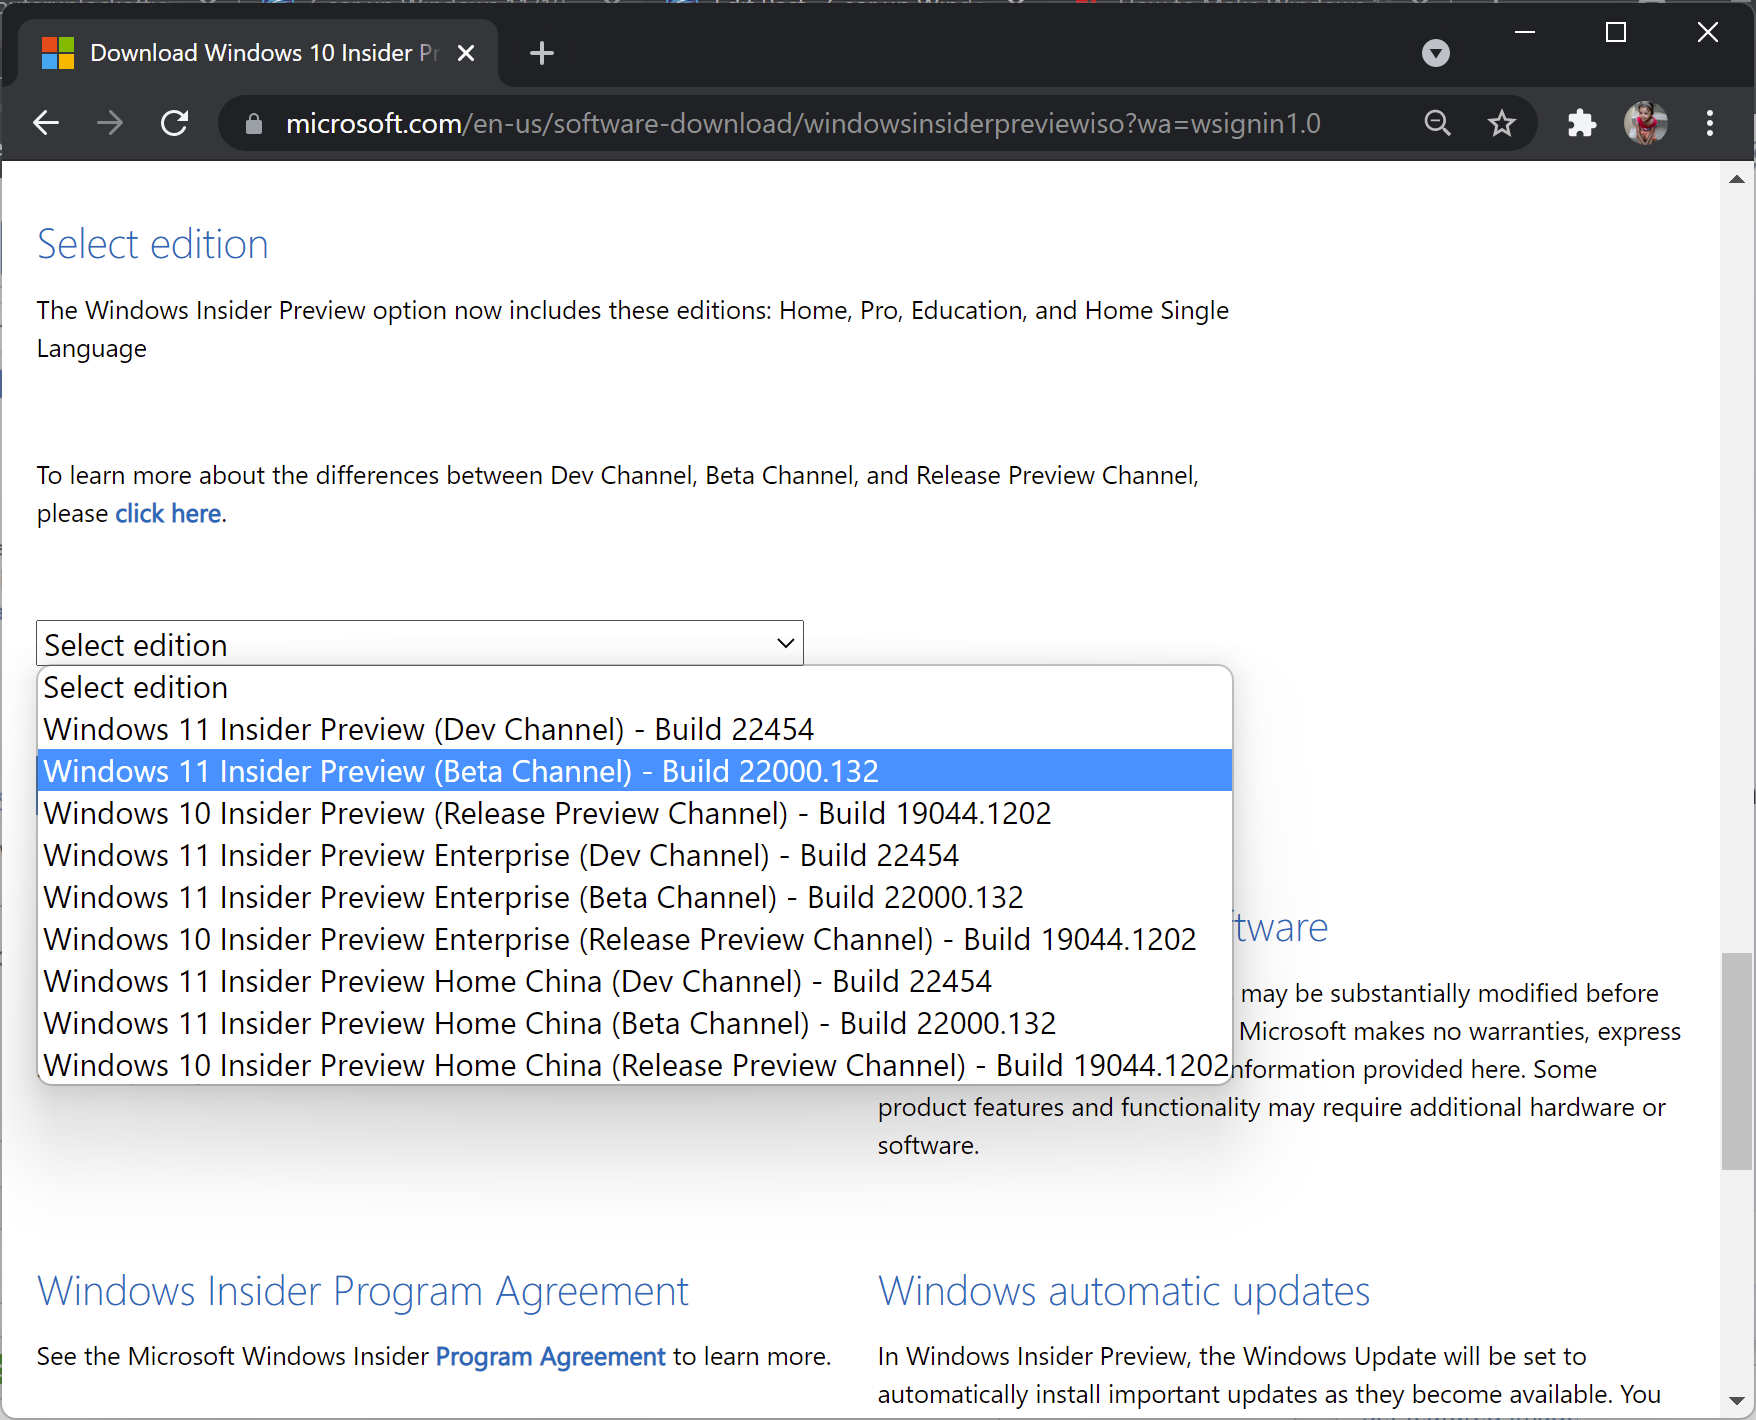
Step 3. Then click the Select edition drop-down menu and choose the edition that you want to download.
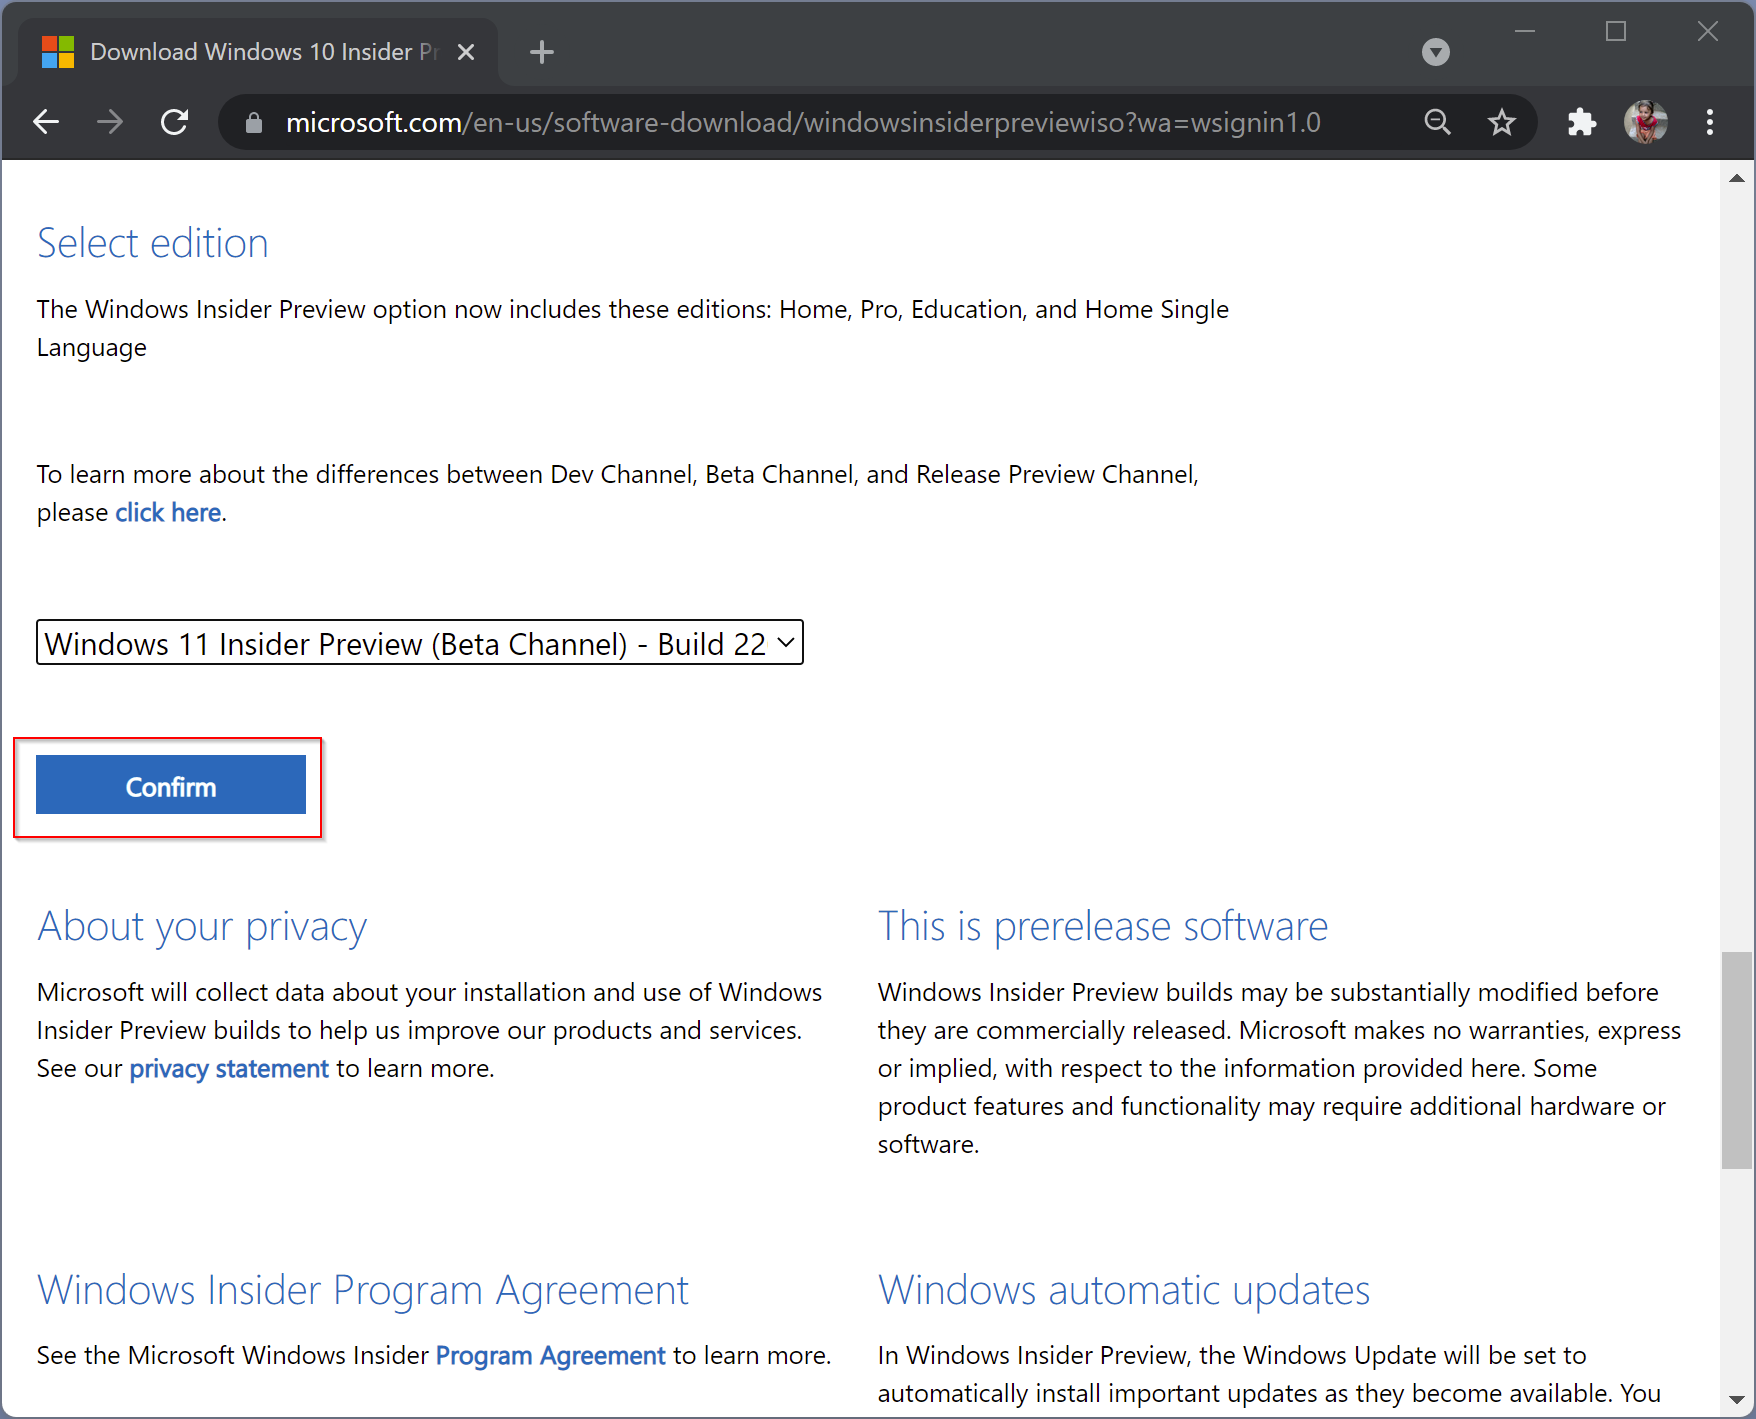
Step 4. Click Confirm.
Step 5. Now, choose the language from the drop-down menu, “Select the product language.”
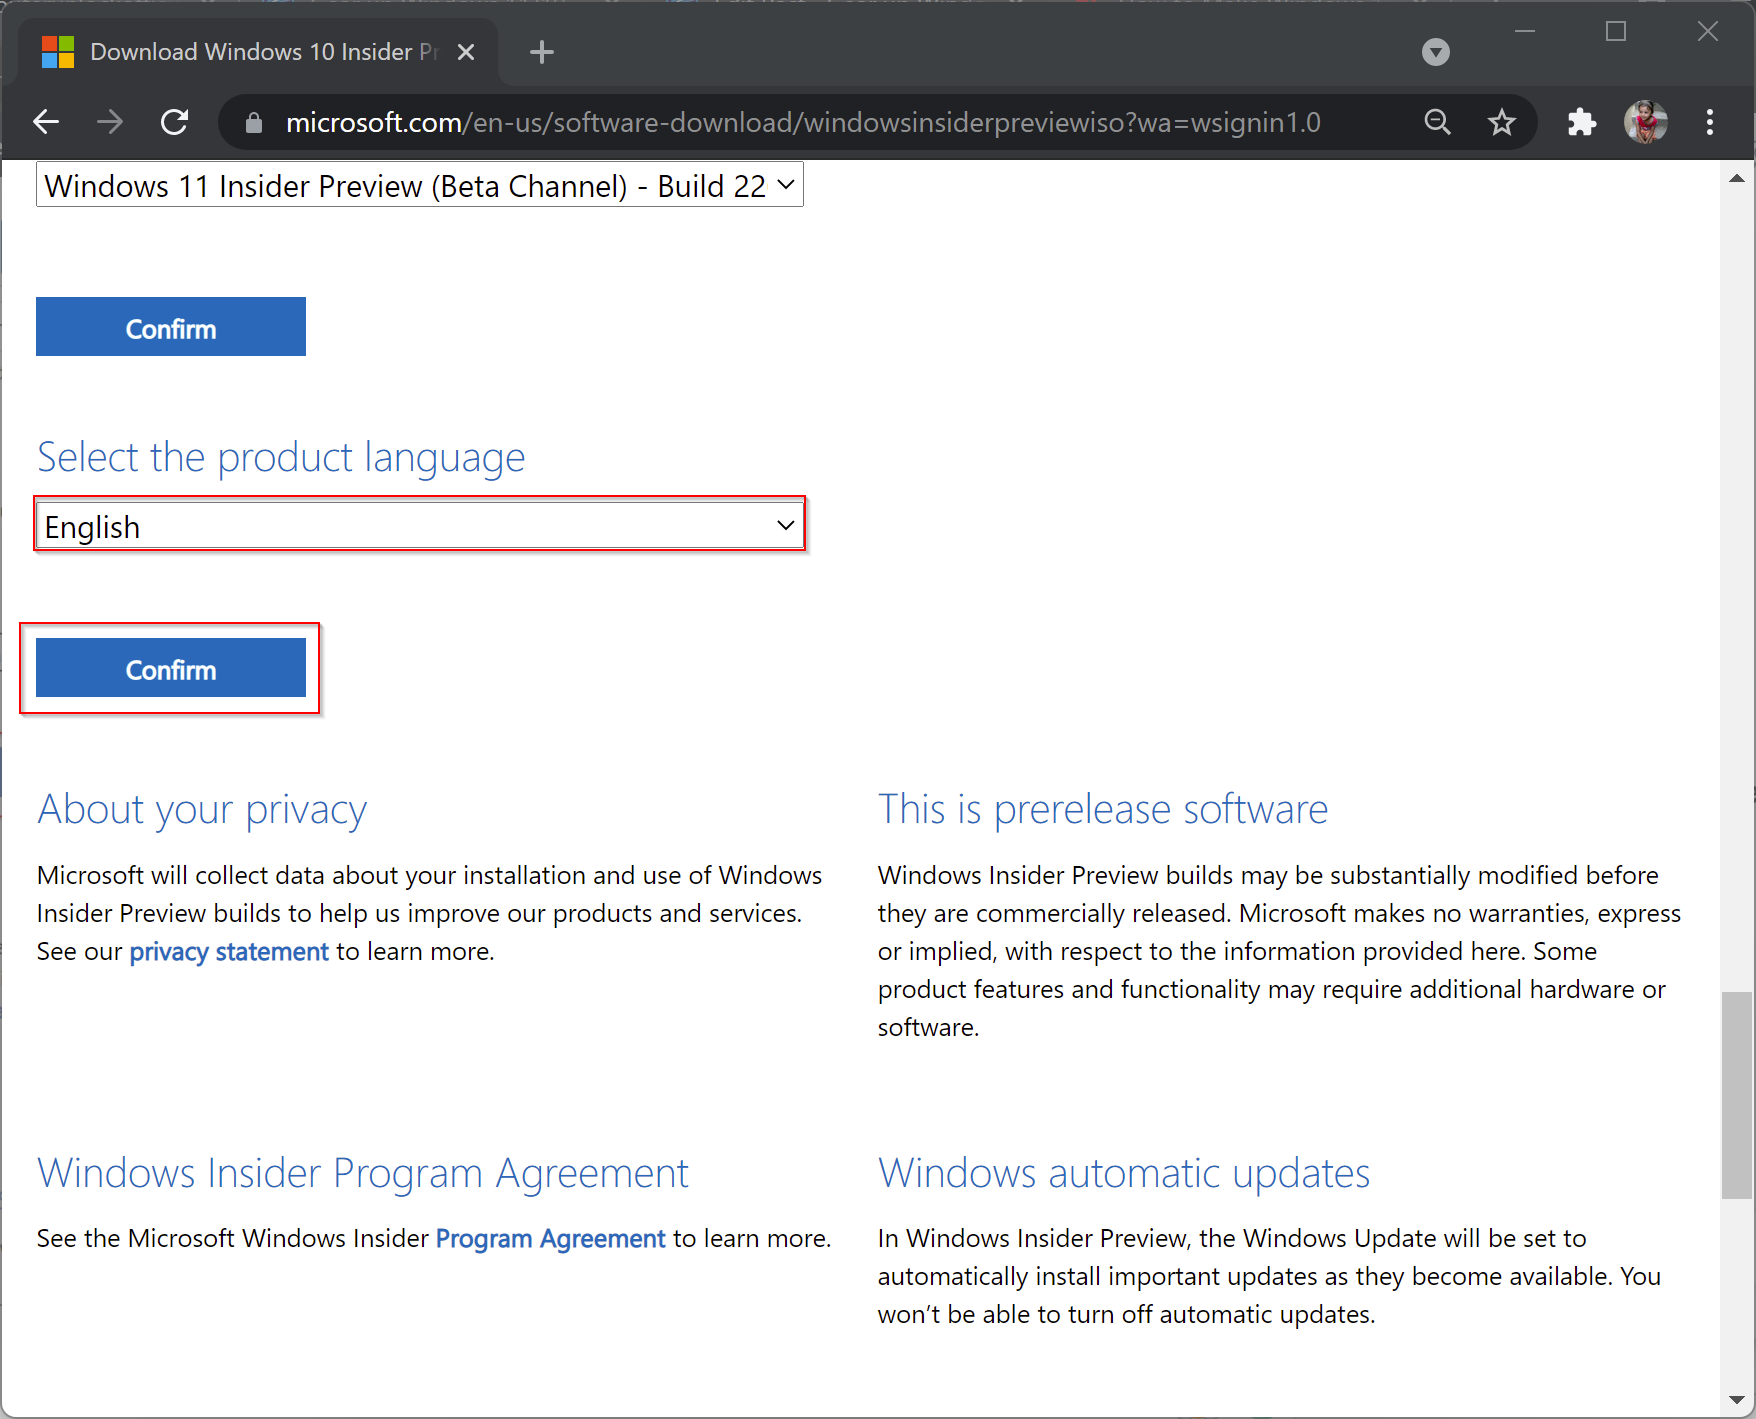
Step 6. Then, click the Confirm button.
Step 7. On the next page, click the 64-bit Download button.
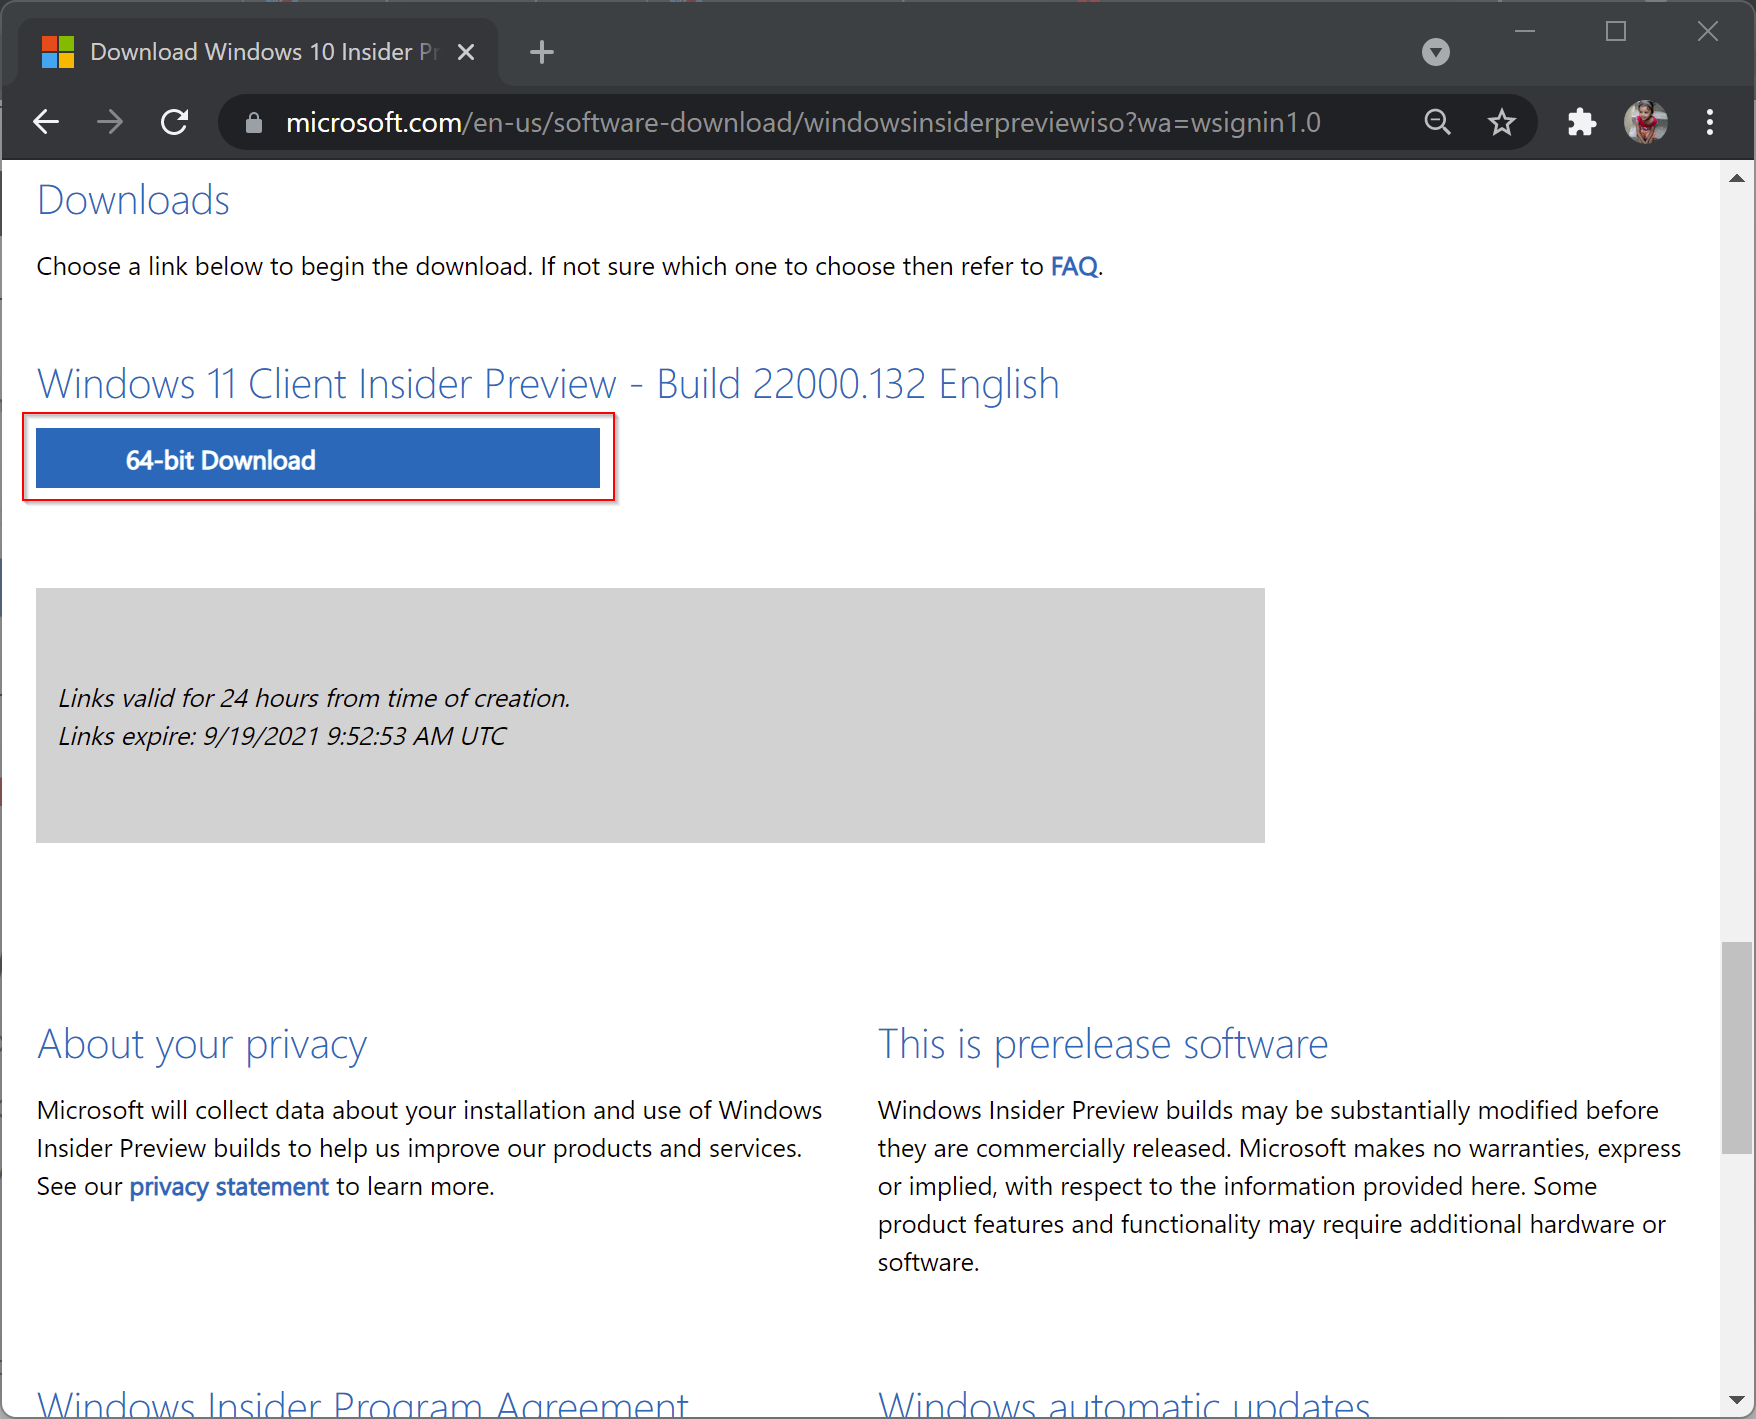
Note: The download link will be valid for 24 hours from the time of creation.
Formatting USB Drive
Once you download the Windows 11 ISO file, you need to prepare a USB flash drive to copy the boot files. To do that, you have to format your USB flash drive. Ensure no critical files are available on your USB drive and proceed with the following steps:-
Step 1. Connect a USB drive with at least 16 GB of storage space to any Windows PC.
Step 2. Now, open File Explorer by pressing the Windows + E keys from the keyboard and then right-click on the USB drive.
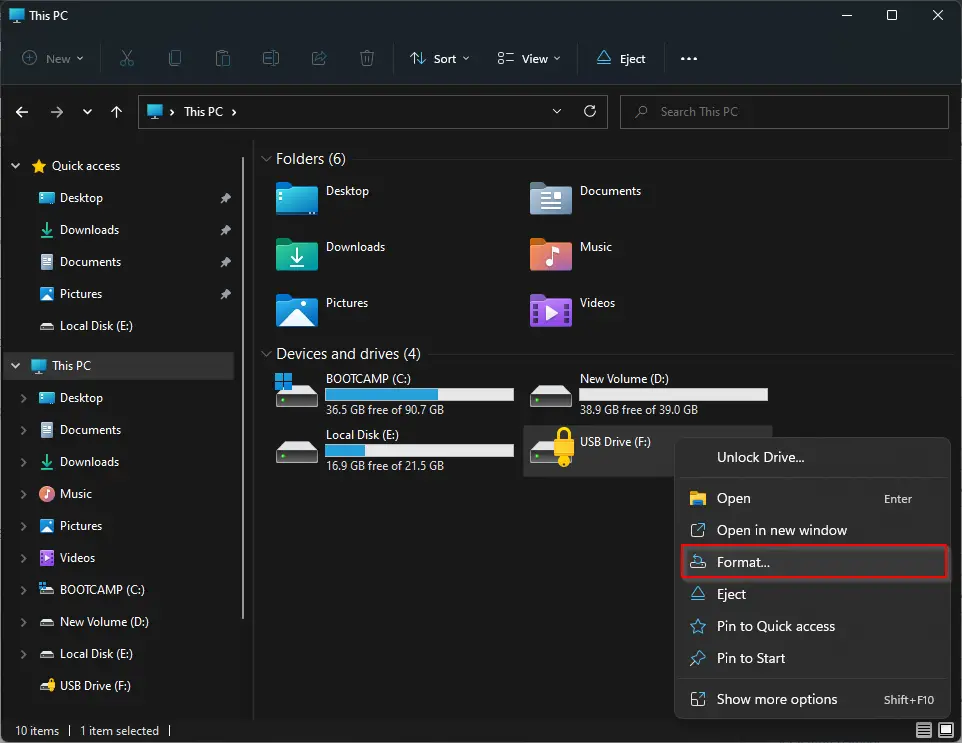
Step 3. Select Format.
Step 4. Click the Start button.
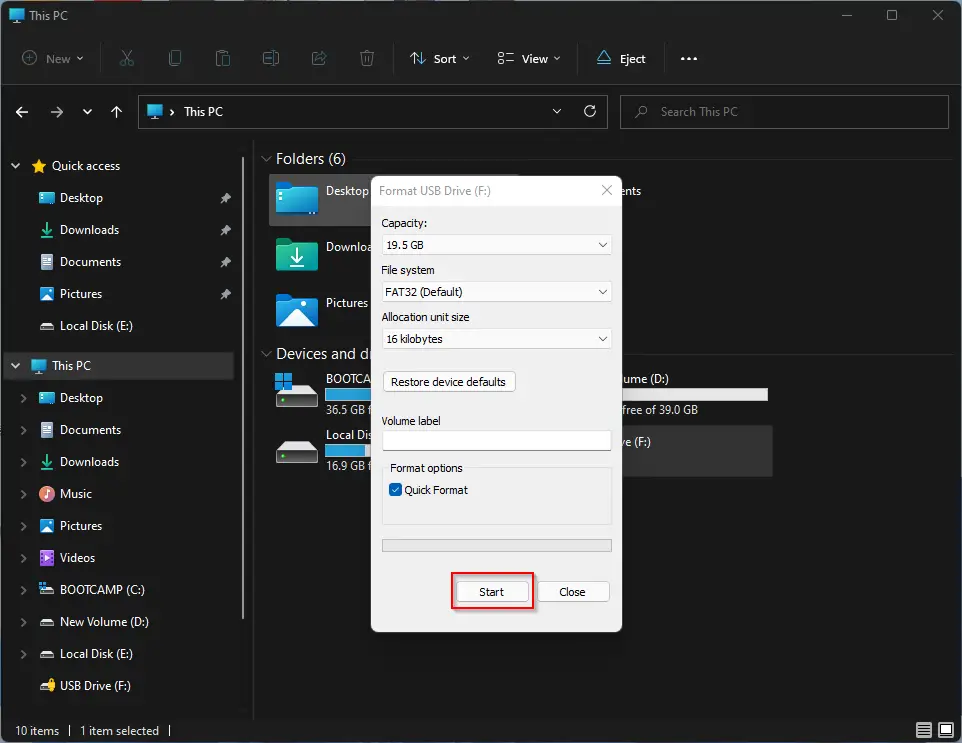
Step 5. Read the new pop-up window description and click OK.
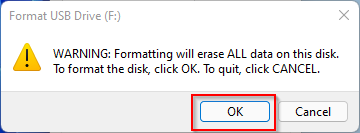
When you perform the above steps, all data on this disk will be erased to complete the formatting task.
How to Prepare Windows 11 Bootable USB?
To create a bootable Windows 11 USB device, you can use a few freeware tools. Let’s look at them one by one.
Using Rufus
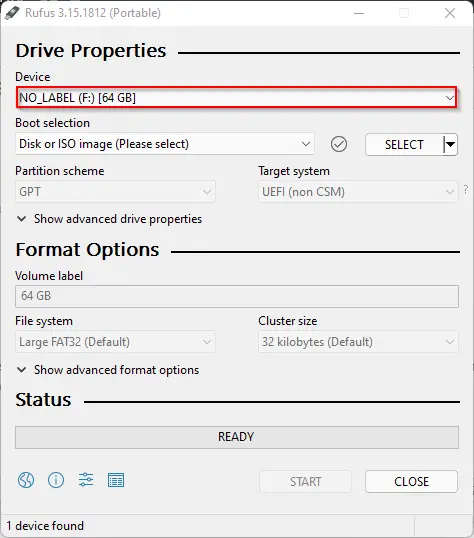
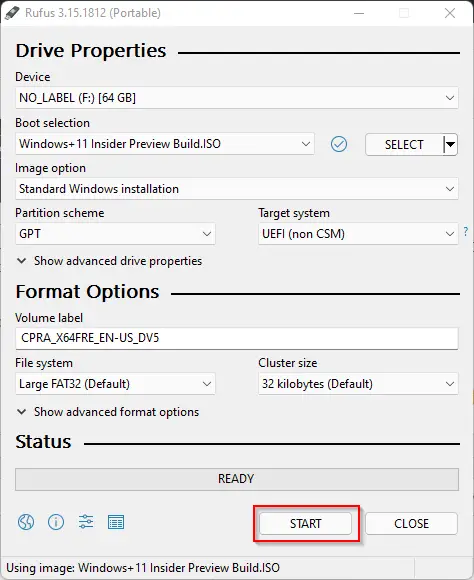
Rufus is one of the popular tools available to create a bootable USB flash drive for Windows 11. Just download and run this portable utility on any Windows PC. When Rufus opens, it will automatically detect the USB drive if it is connected to your computer.
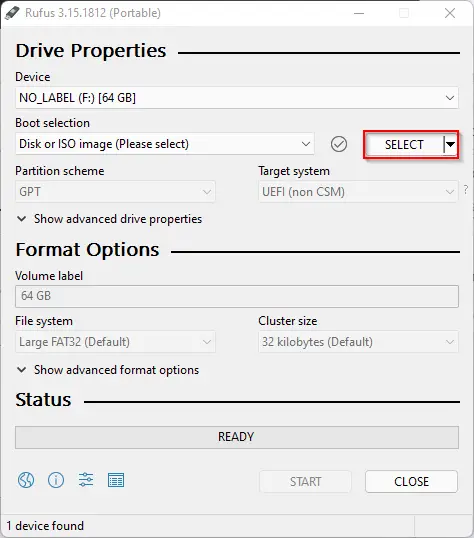
Now, click the SELECT button to choose the Windows 11 ISO file from your computer.
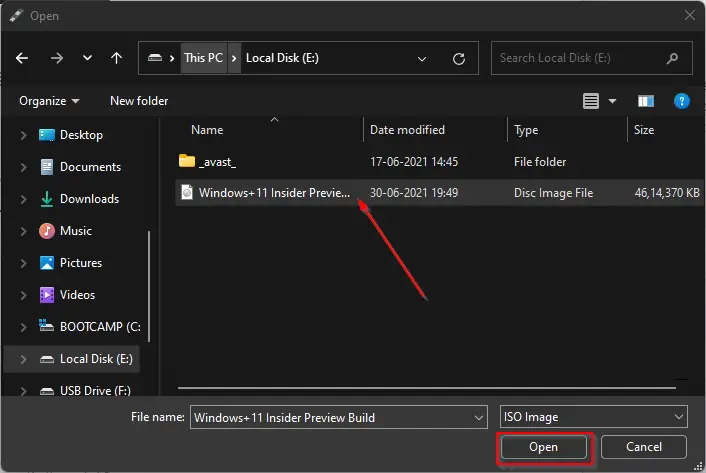
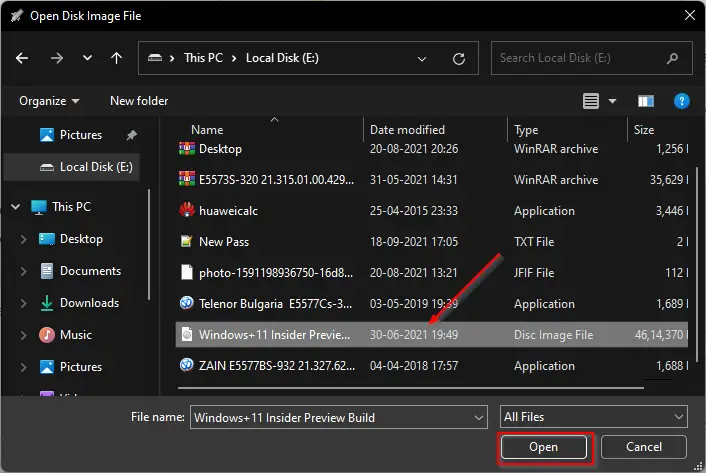
When File Explorer opens, locate the downloaded Windows 11 ISO and then click the Open button.
After selecting Windows 11 ISO file, Rufus will configure the rest of the options automatically. However, if you plan to install Windows 11 on another computer, ensure the suitable partition scheme is set—select partition scheme as GPT for UEFI boot mode and MBR if your BIOS mode is legacy. When done, click the Start button.
Note: GPT runs on UEFI Boot mode, whereas MBR uses the legacy BIOS. Microsoft recommends the GPT formatting style when using the media creation tool. This ensures that the USB remains compatible with the system requirements for the new Windows 11, which needs the UEFI secure boot.
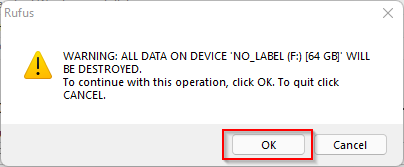
Next, read the warning message of Rufus and then click OK.
Now, Rufus will take some time, depending on your computer speed. When done, you will see the Ready status message turns green.
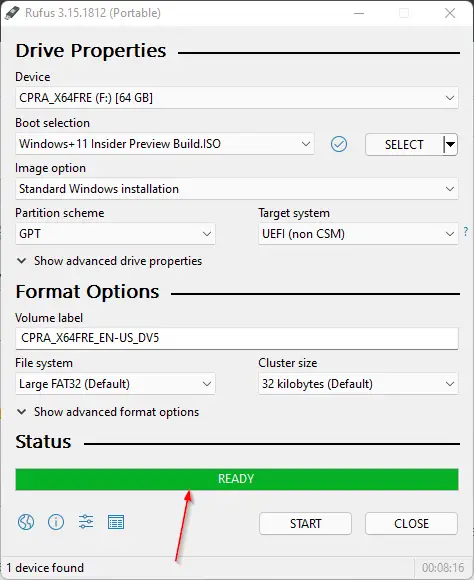
Now your bootable Windows 11 USB drive is ready to use.
Through UNetbootin
UNetbootinis another freeware tool that you can use to create a bootable USB drive. It comes with a modern design and a simplified interface. Download this app from its official website and then double-click on the downloaded file to launch the application. When UNetbootin opens, click the three dots to open file explorer.
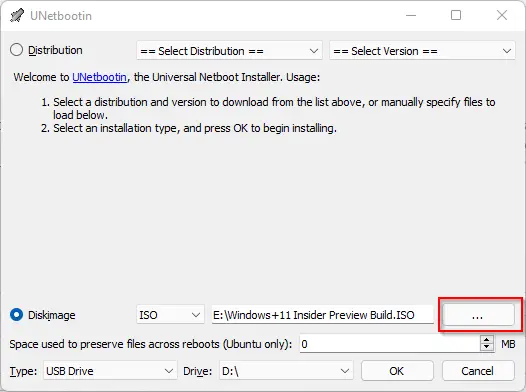
Select the Windows 11 ISO file you have already downloaded, and click the Open button.
Finally, click the OK button to build the bootable USB drive of Windows 11.

That’s it. Now UNetbootin will make a bootable USB drive of Windows 11. When done, reboot your PC, and select the USB boot option in the BIOS/UEFI boot menu.
Once you have created a bootable USB thumb drive of Windows 11, you can use MobaLiveCD freeware to test if your USB is bootable.
Conclusion
In conclusion, creating a bootable USB drive for Windows 11 is a simple process that can be completed with a few freeware tools. Before proceeding, it is important to ensure that your system meets the minimum requirements for Windows 11, which includes a compatible processor, 4GB of RAM, and a storage device of at least 64 GB. After downloading the Windows 11 ISO file, it is necessary to format the USB drive before copying the boot files onto it. Two popular tools for creating a bootable USB drive for Windows 11 are Rufus and UNetbootin, both of which are easy to use and come with a user-friendly interface. With a bootable USB drive for Windows 11, you can easily install or upgrade your operating system on any compatible device.