The Volume Label is the friendly name for a connected drive or volume on Windows PCs. Usually, Windows 11 or 10 assigns Local Disk as its volume label for internal and external drives or volumes by default, such as Local Disk (C:). However, for a USB thumb or flash drive, Windows assigns the label USB Drive.
A volume formatted using NTFS can have a label up to 32 characters in length, including spaces, and a drive formatted using FAT32 can have a label up to 11 characters.
You might want to rename a drive or change the volume label in Windows 11 or 10 to differentiate your storage in File Explorer. Each time you format a drive without specifying a name, Windows automatically assigns the default “Local disk” name, for example, “Local disk (C:).” However, you can rename a volume at any time if you need.
In this gearupwindows, you will learn several methods to change Drive or Volume Label in Windows 11 or 10.
How to Rename Drive or Volume Label using Keyboard Shortcut?
To change or rename Drive or Volume Label using Keyboard Shortcut, do these steps:-
Step 1. Open File Explorer using Windows + I keyboard shortcut or any other method.
Step 2. Click This PC in the left navigation pane to view all drives on the right sidebar.
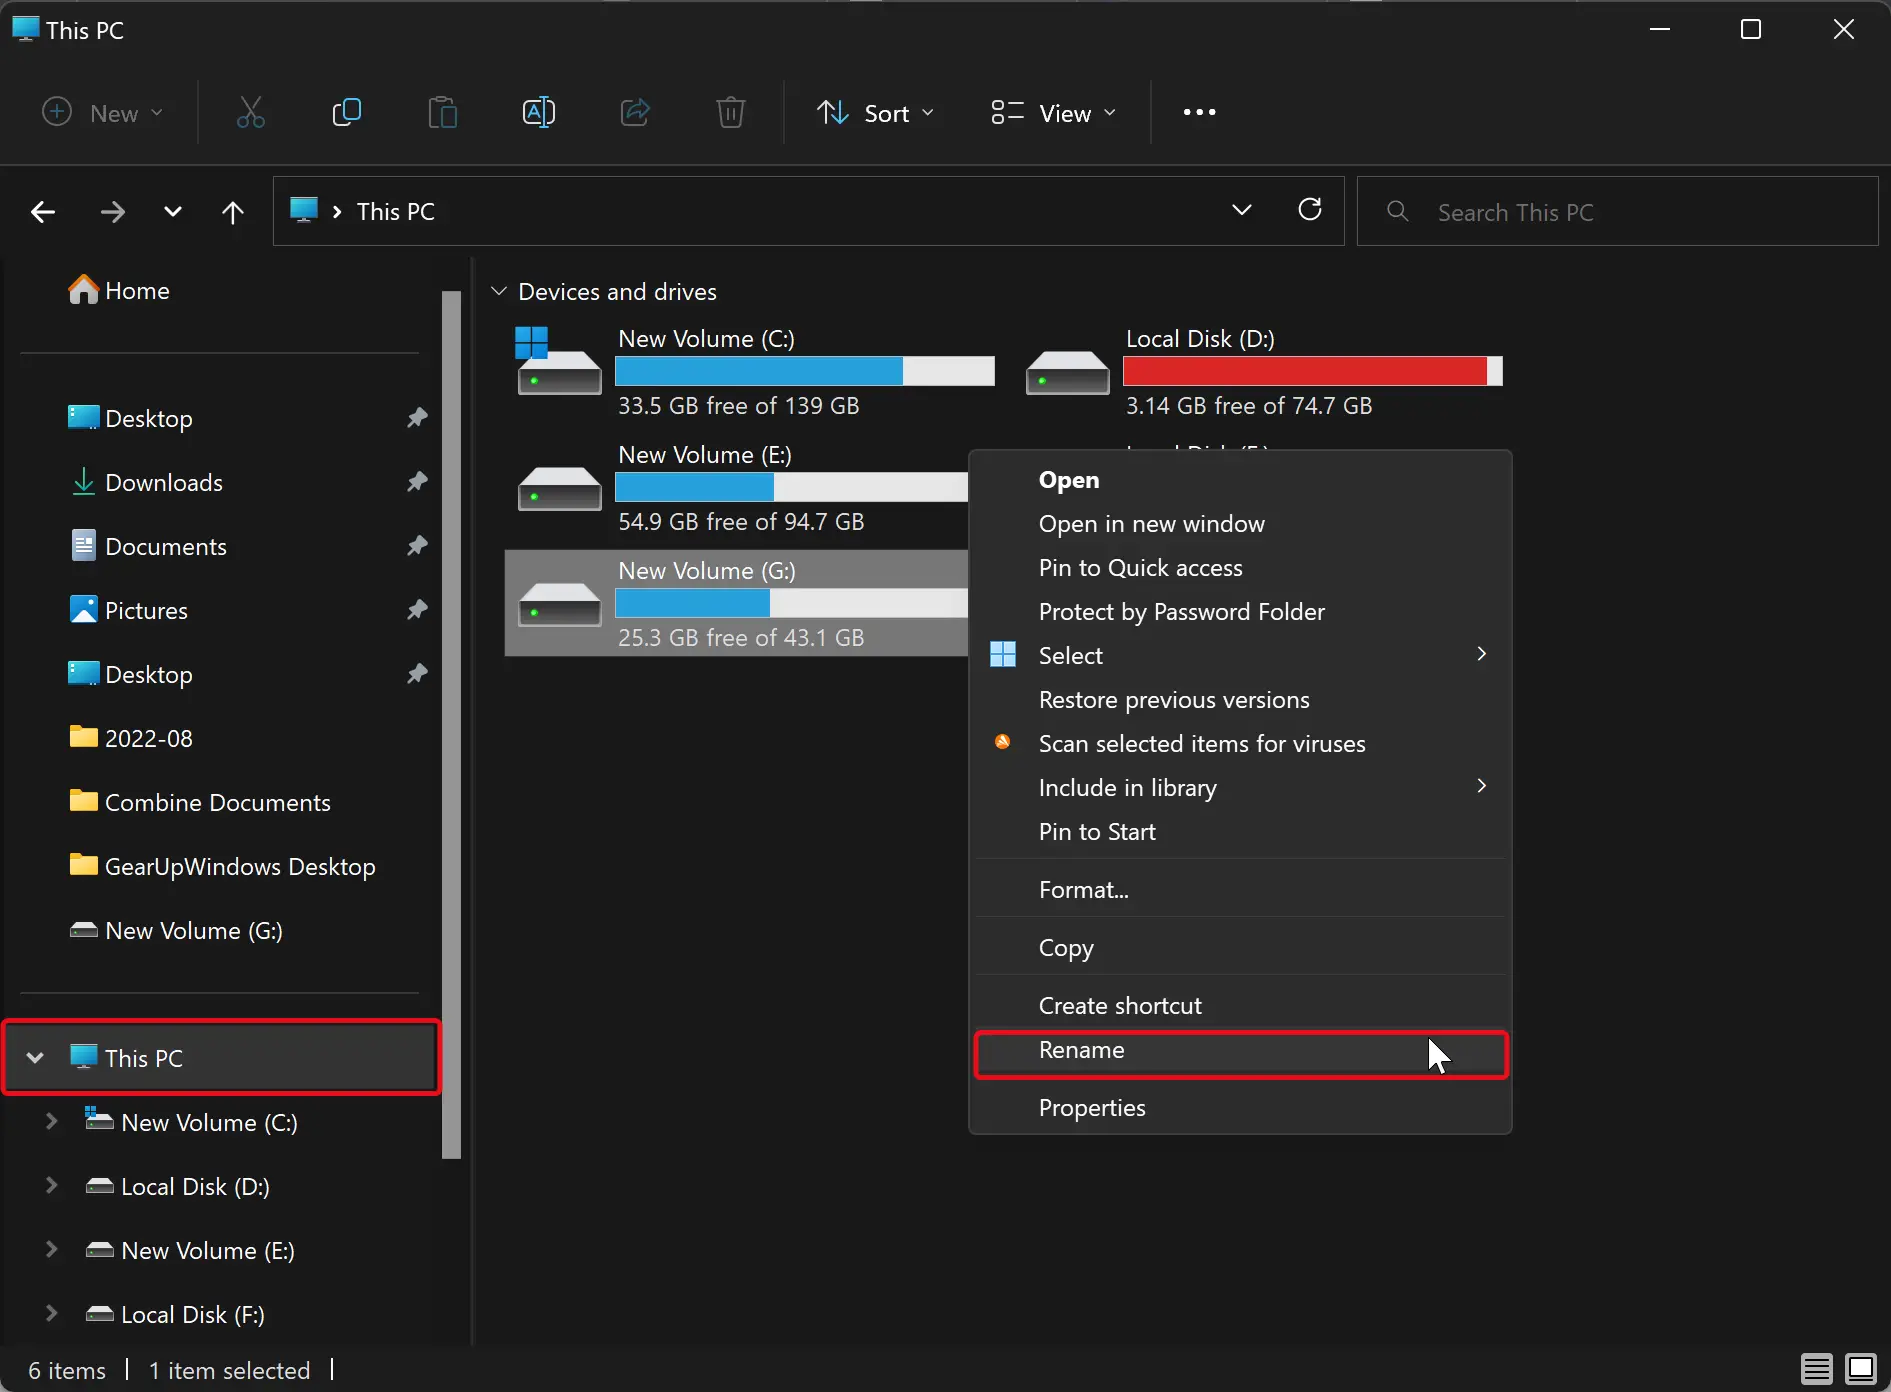
Step 3. Select the drive you want to rename and press the F2 key on the keyboard. Alternatively, select a drive and right-click on it. In the pop-up menu, choose Rename option.
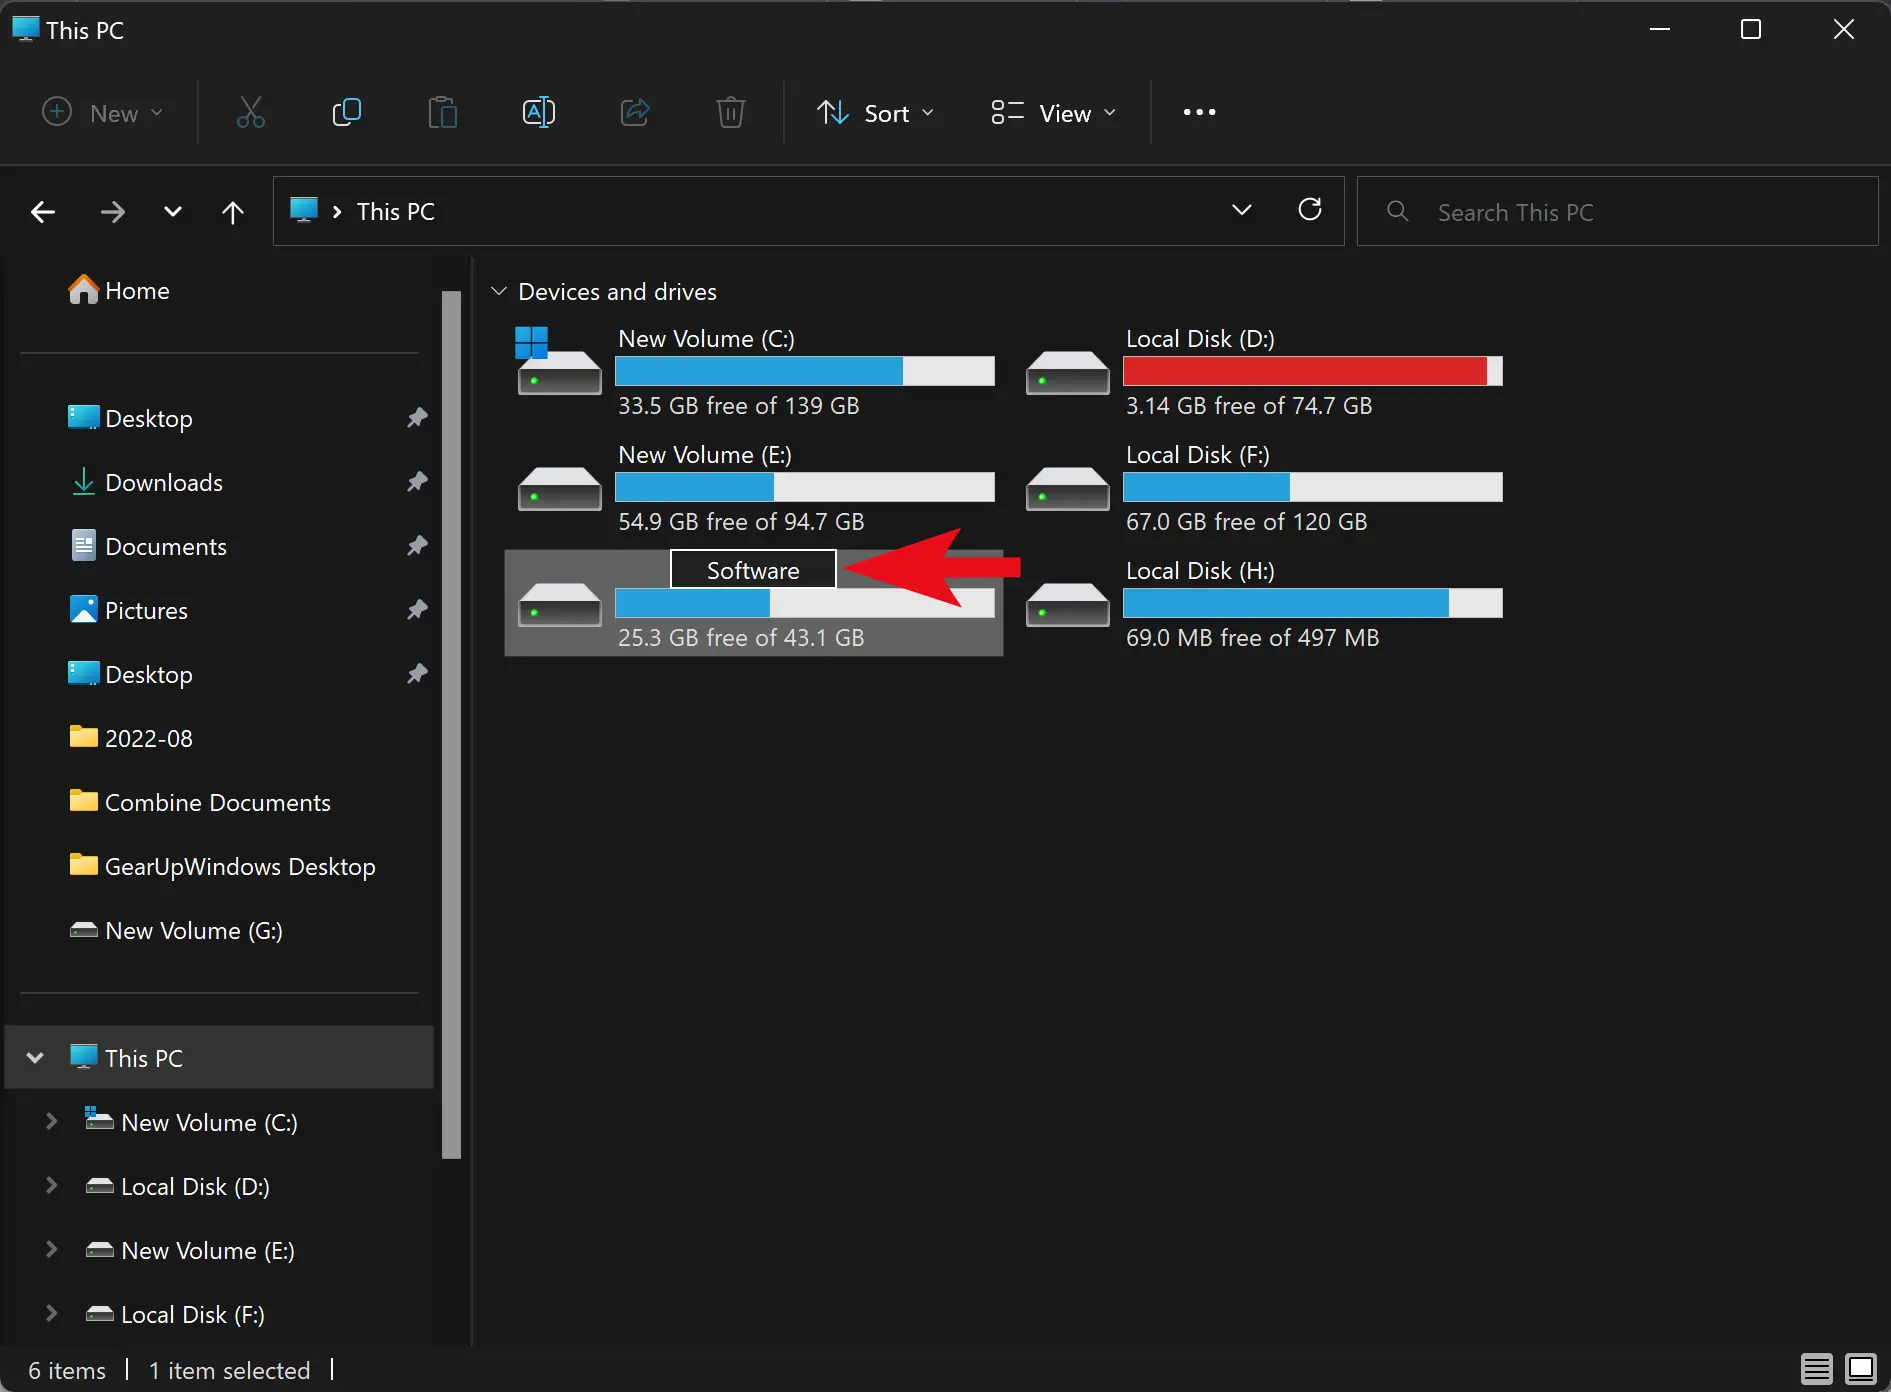
Step 4. Type the name you want for the drive and press the Enter key on the keyboard.
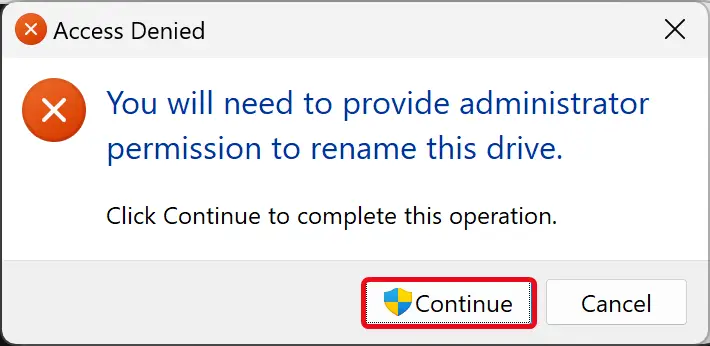
Step 5. When prompted, click on the Continue button to allow.
How to Change Drive or Volume Label from Properties?
To rename the drive or volume label from the Properties dialog, use these steps:-
Step 1. Open File Explorer using Windows + E keyboard shortcut or any other method.
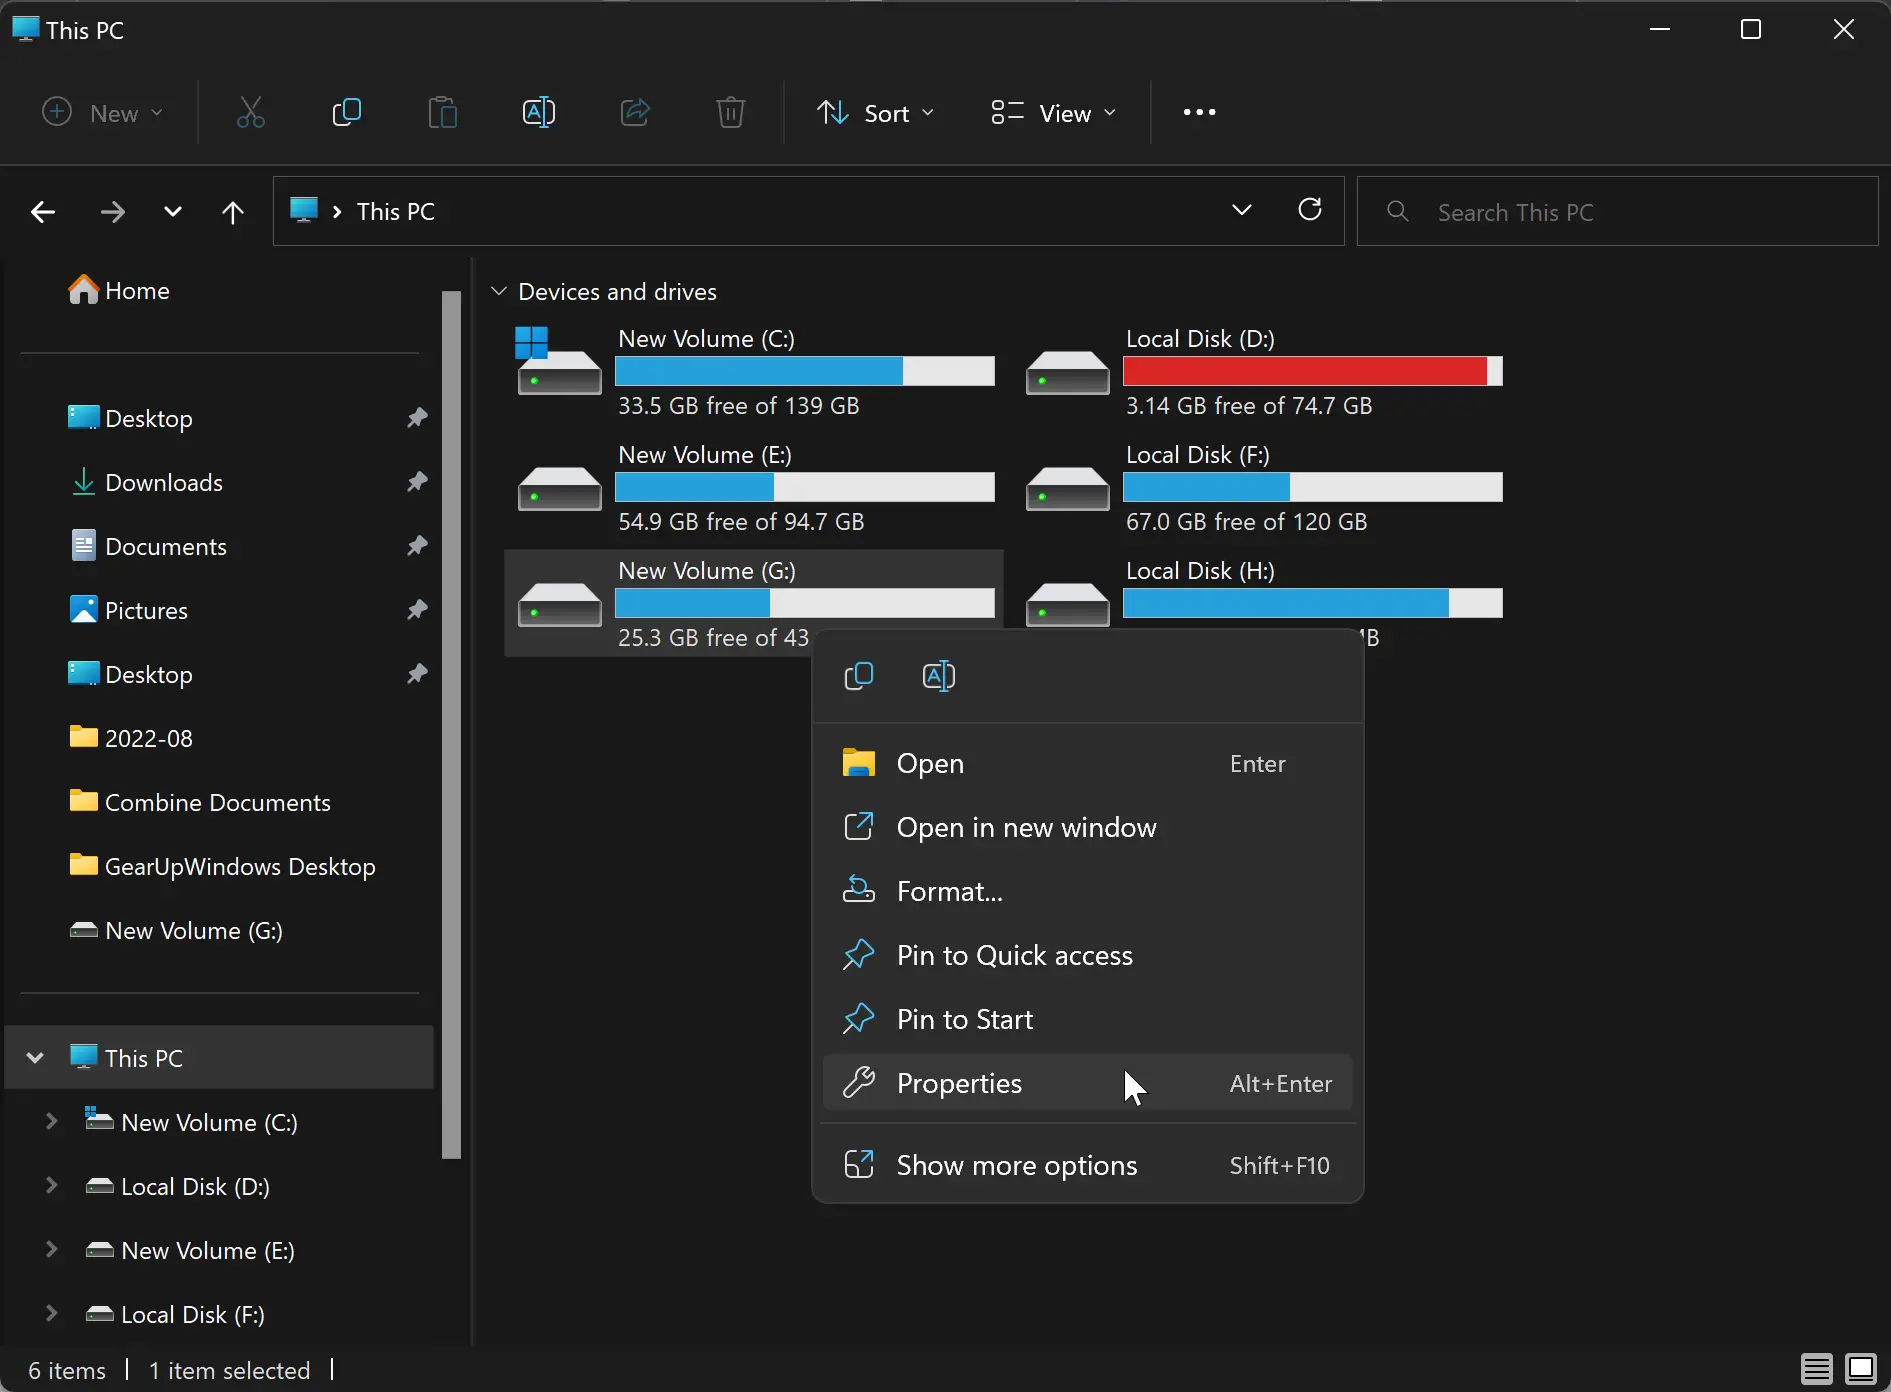
Step 2. Click This PC in the left navigation pane to view all drives on the right sidebar.
Step 3. Select and right-click on the Drive you want to change the name and click on the Properties option.
Step 4. In the following window, switch to the General tab, type the name you want for this drive, and click on the Apply button.
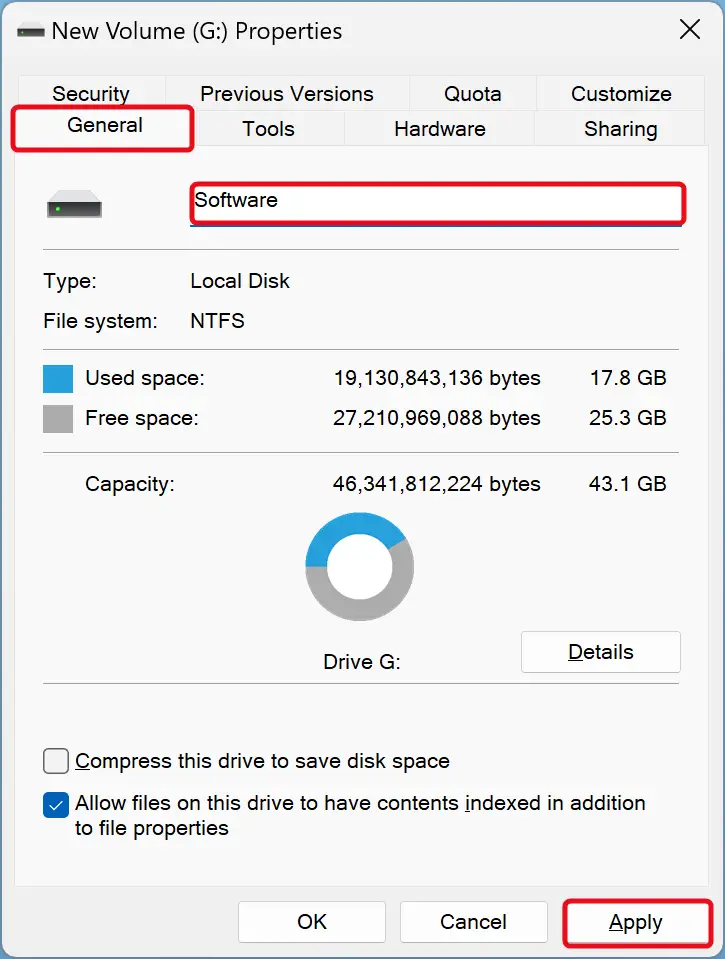
Step 5. When prompted, click on the Continue button to approve.
Step 6. Finally, click the OK button.
How to Rename Drive or Volume Label in Windows 11 Settings?
To change the drive or volume label in Windows 11 Settings, use these steps:-
Step 1. Open Windows 11 Settings (Windows + I keyboard shortcut).
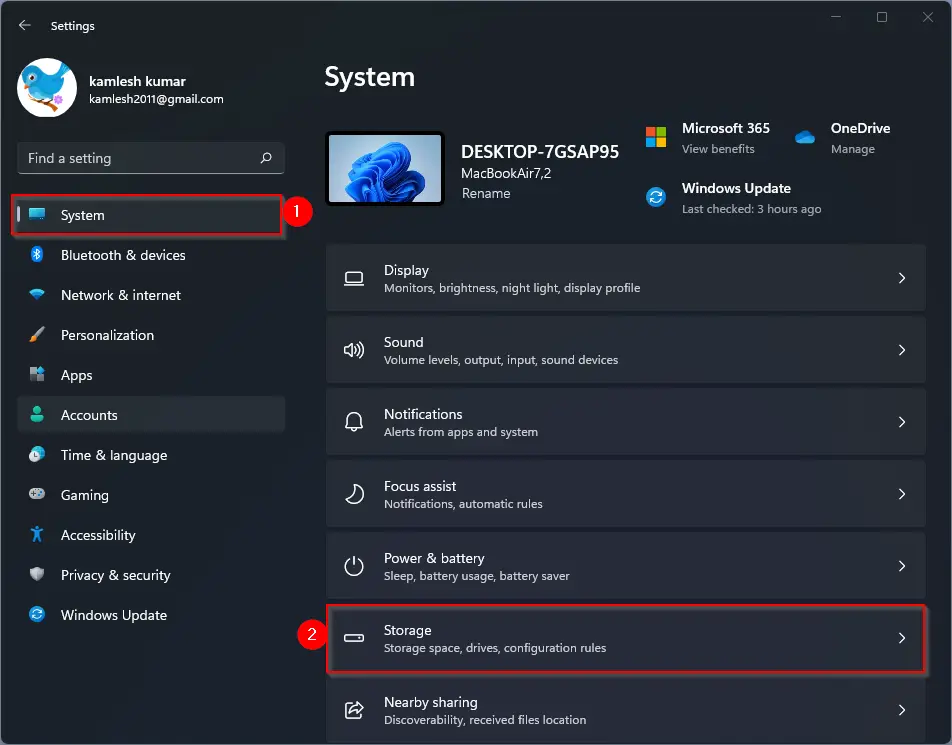
Step 2. Select System in the left sidebar.

Step 3. Click Storage on the right sidebar.
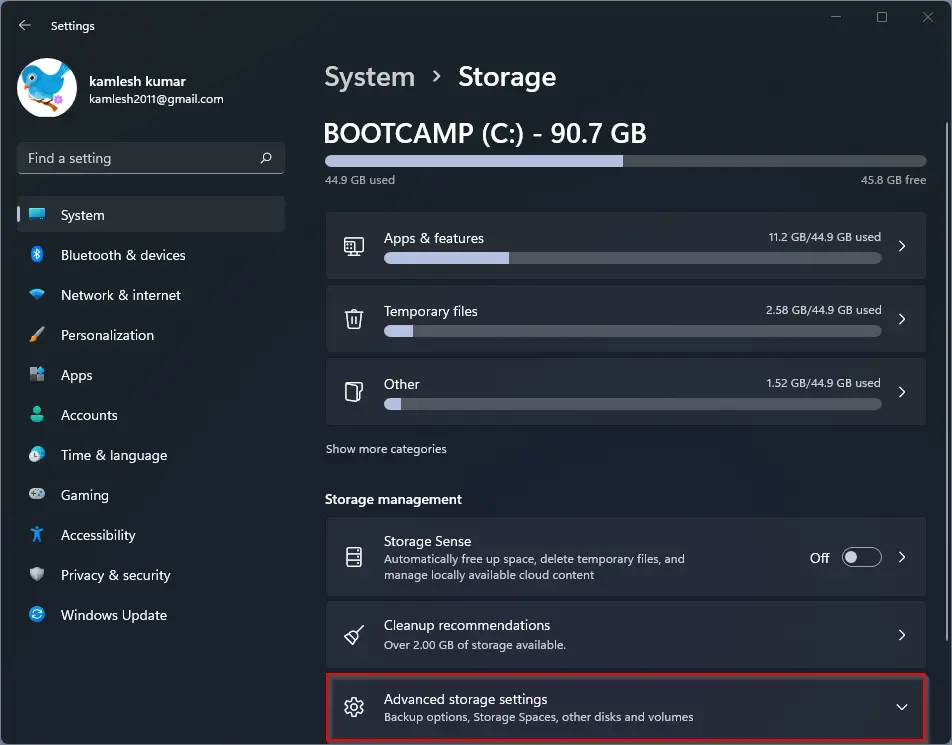
Step 4. Expand the Advanced storage settings by clicking.
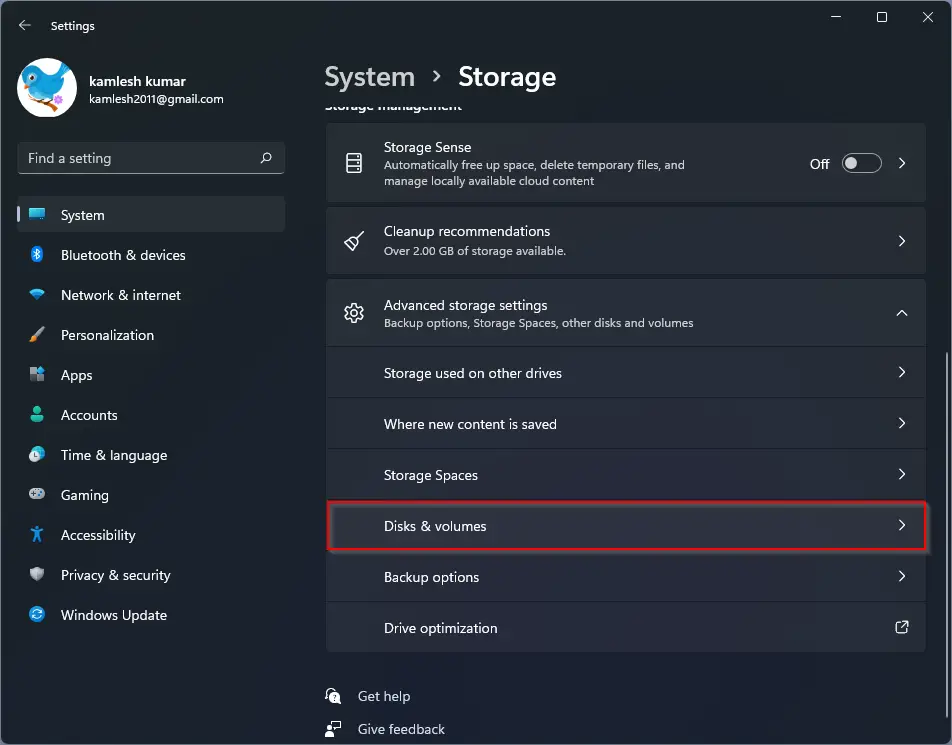
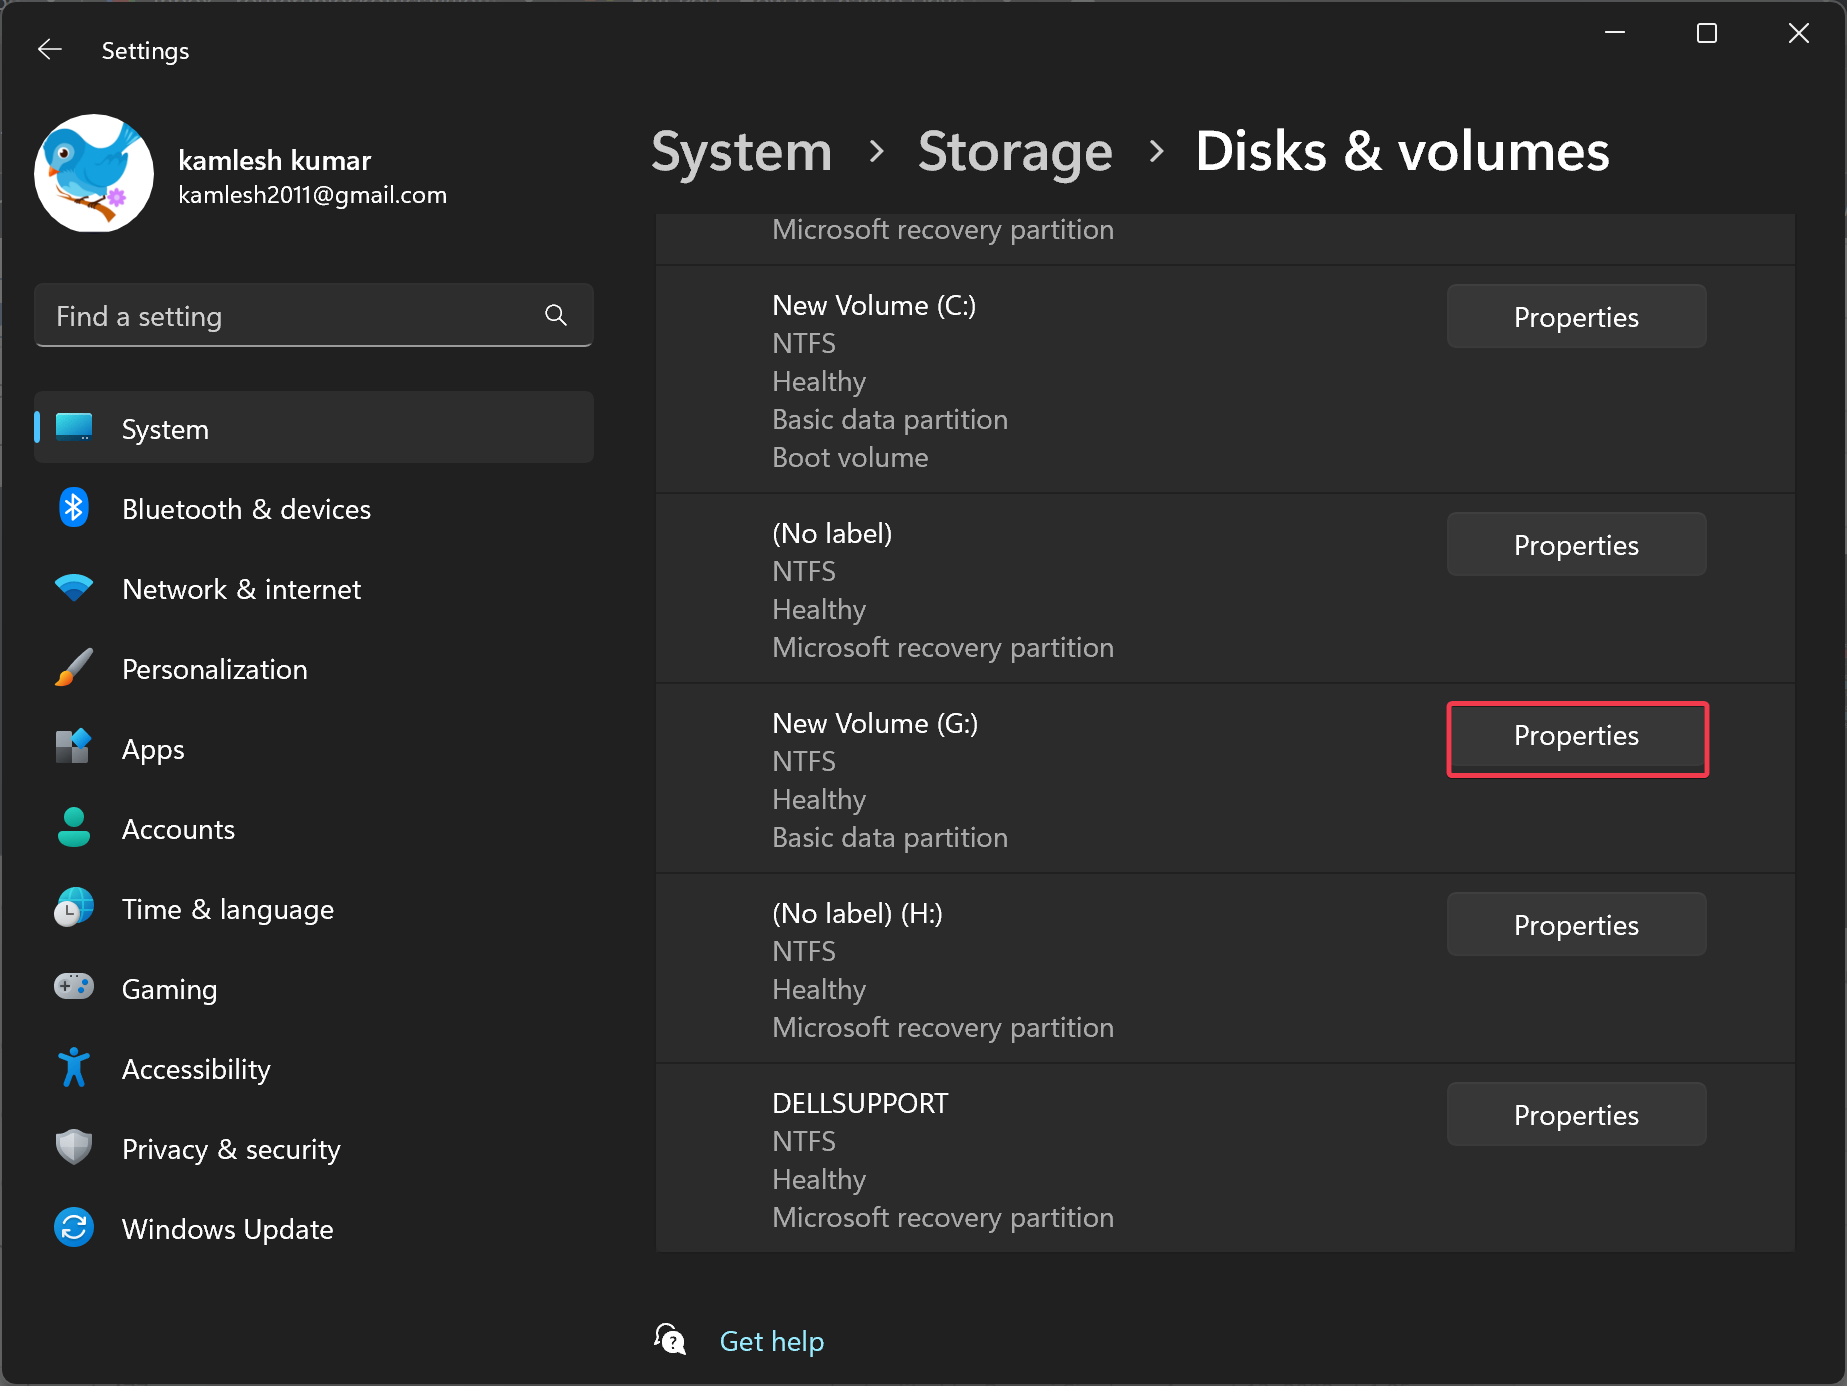
Step 5. Click on Disks & volumes.
Step 6. Click on the Properties button of the drive (partition or volume) you want to rename the label.
Step 7. Click on the Change label button.

Step 8. Type a new name for the drive.
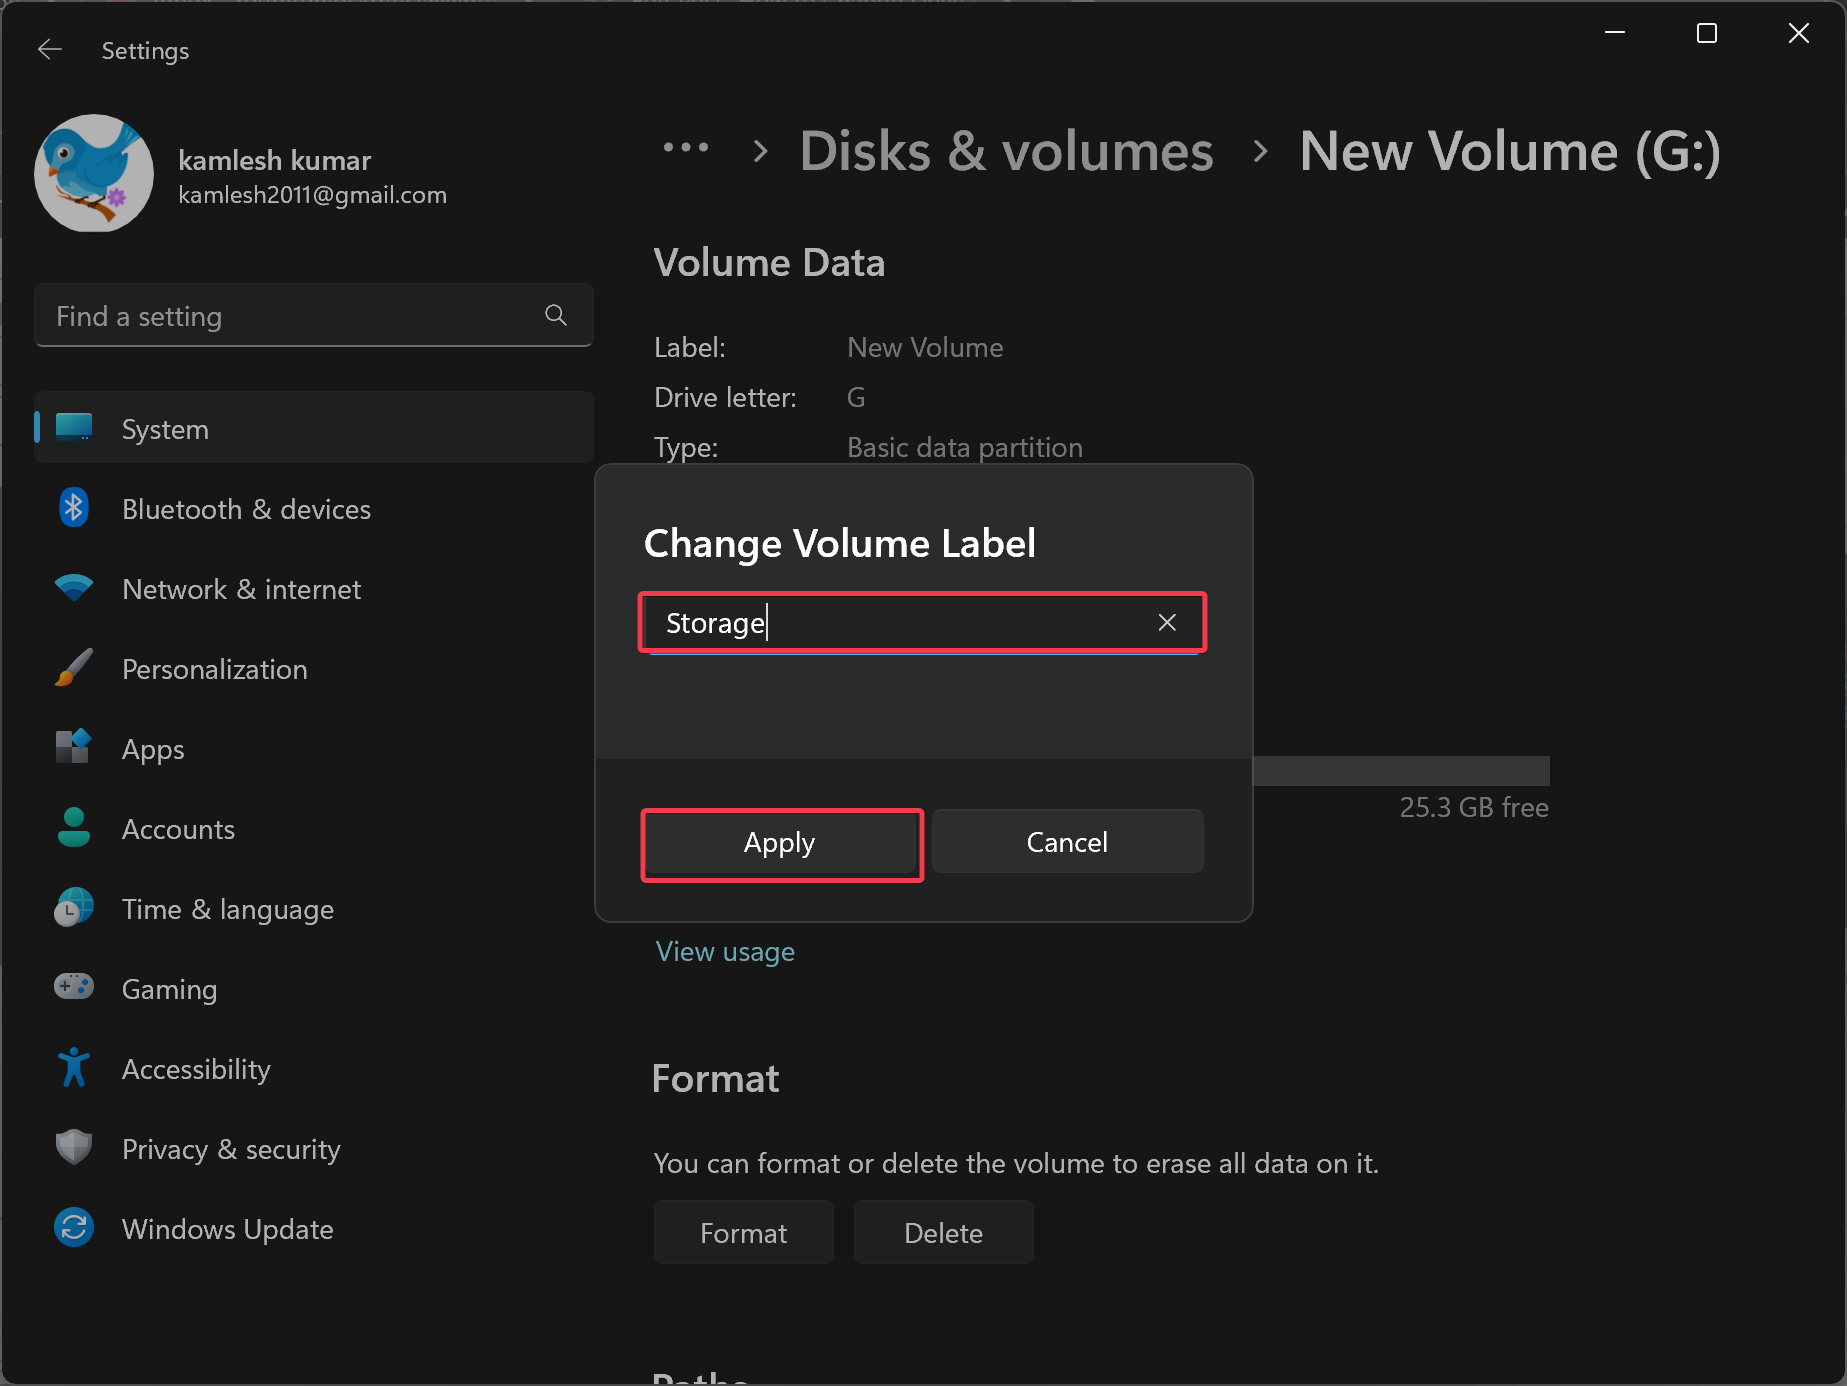
Step 9. Click Apply.
That’s it. Close the Settings app and open File Explorer to see a new label for your drive.
How to Rename Drive or Volume Label in Disk Management?
To change the volume or drive label in Disk Management, use these steps:-
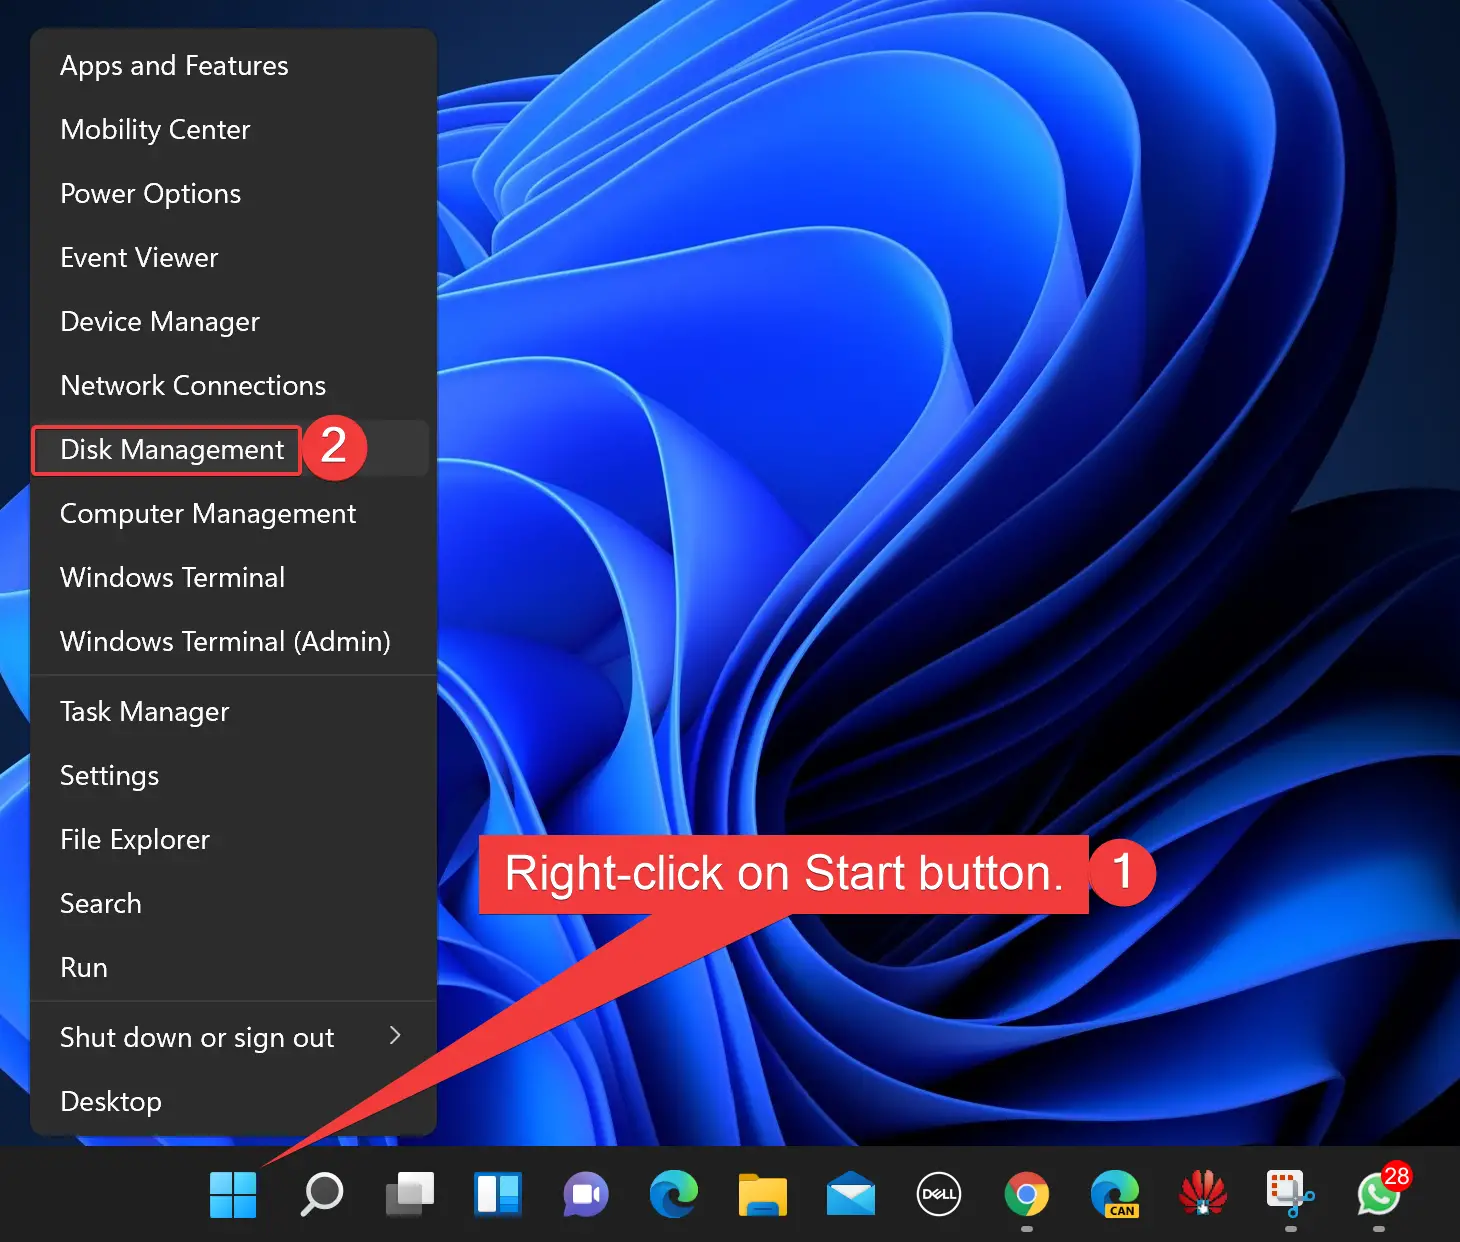
Step 1. Open Disk Management.
To do that, right-click the Start button on the taskbar or press the Windows + X keyboard shortcut to launch the Quick Access menu. Select Disk Management in the pop-up menu to open it.
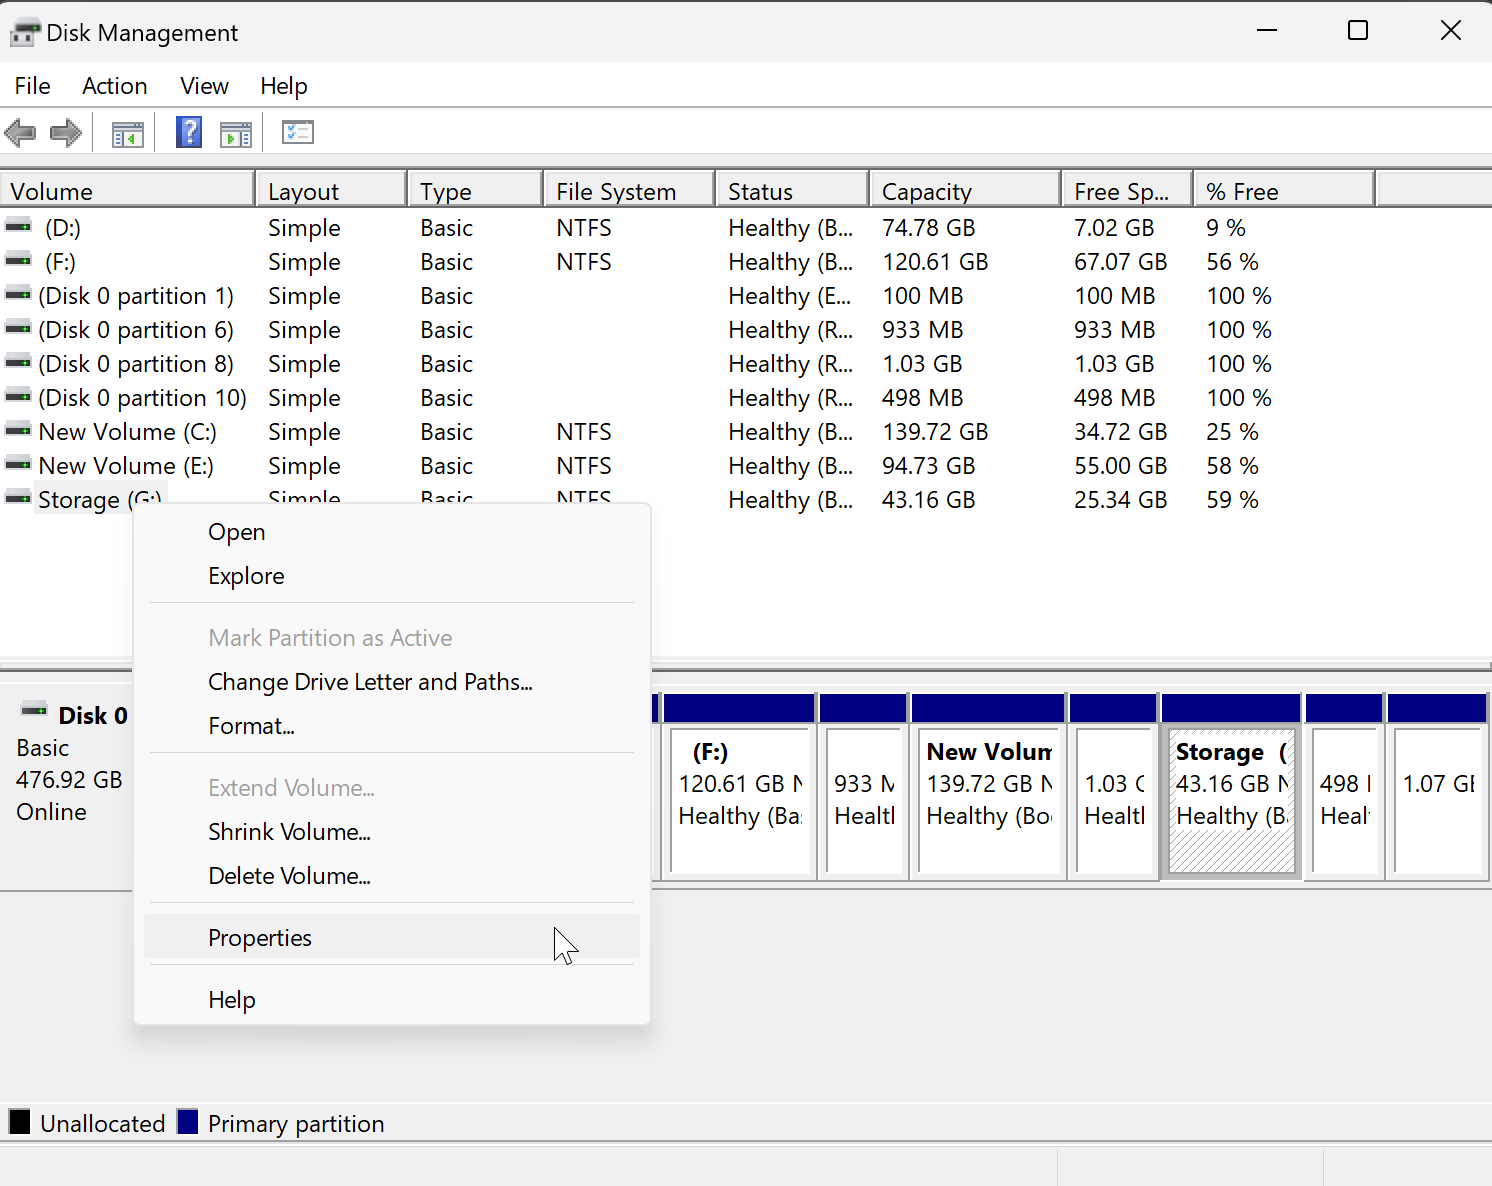
Step 2. In the Disk Management window, right-click on the drive you want to rename and select Properties.
Step 3. In the Properties dialog, switch to the General tab, type the name you want for this drive, and click on the Apply button.
Step 4. When prompted, click on the Continue button to approve.
Step 5. Finally, click the OK button.
How to Set a New Name for a Drive or Volume Label using Command Prompt or PowerShell?
To change the name of the drive or volume label through Command Prompt or PowerShell, use these steps:-
Step 1. Open administrative Command Prompt or PowerShell.
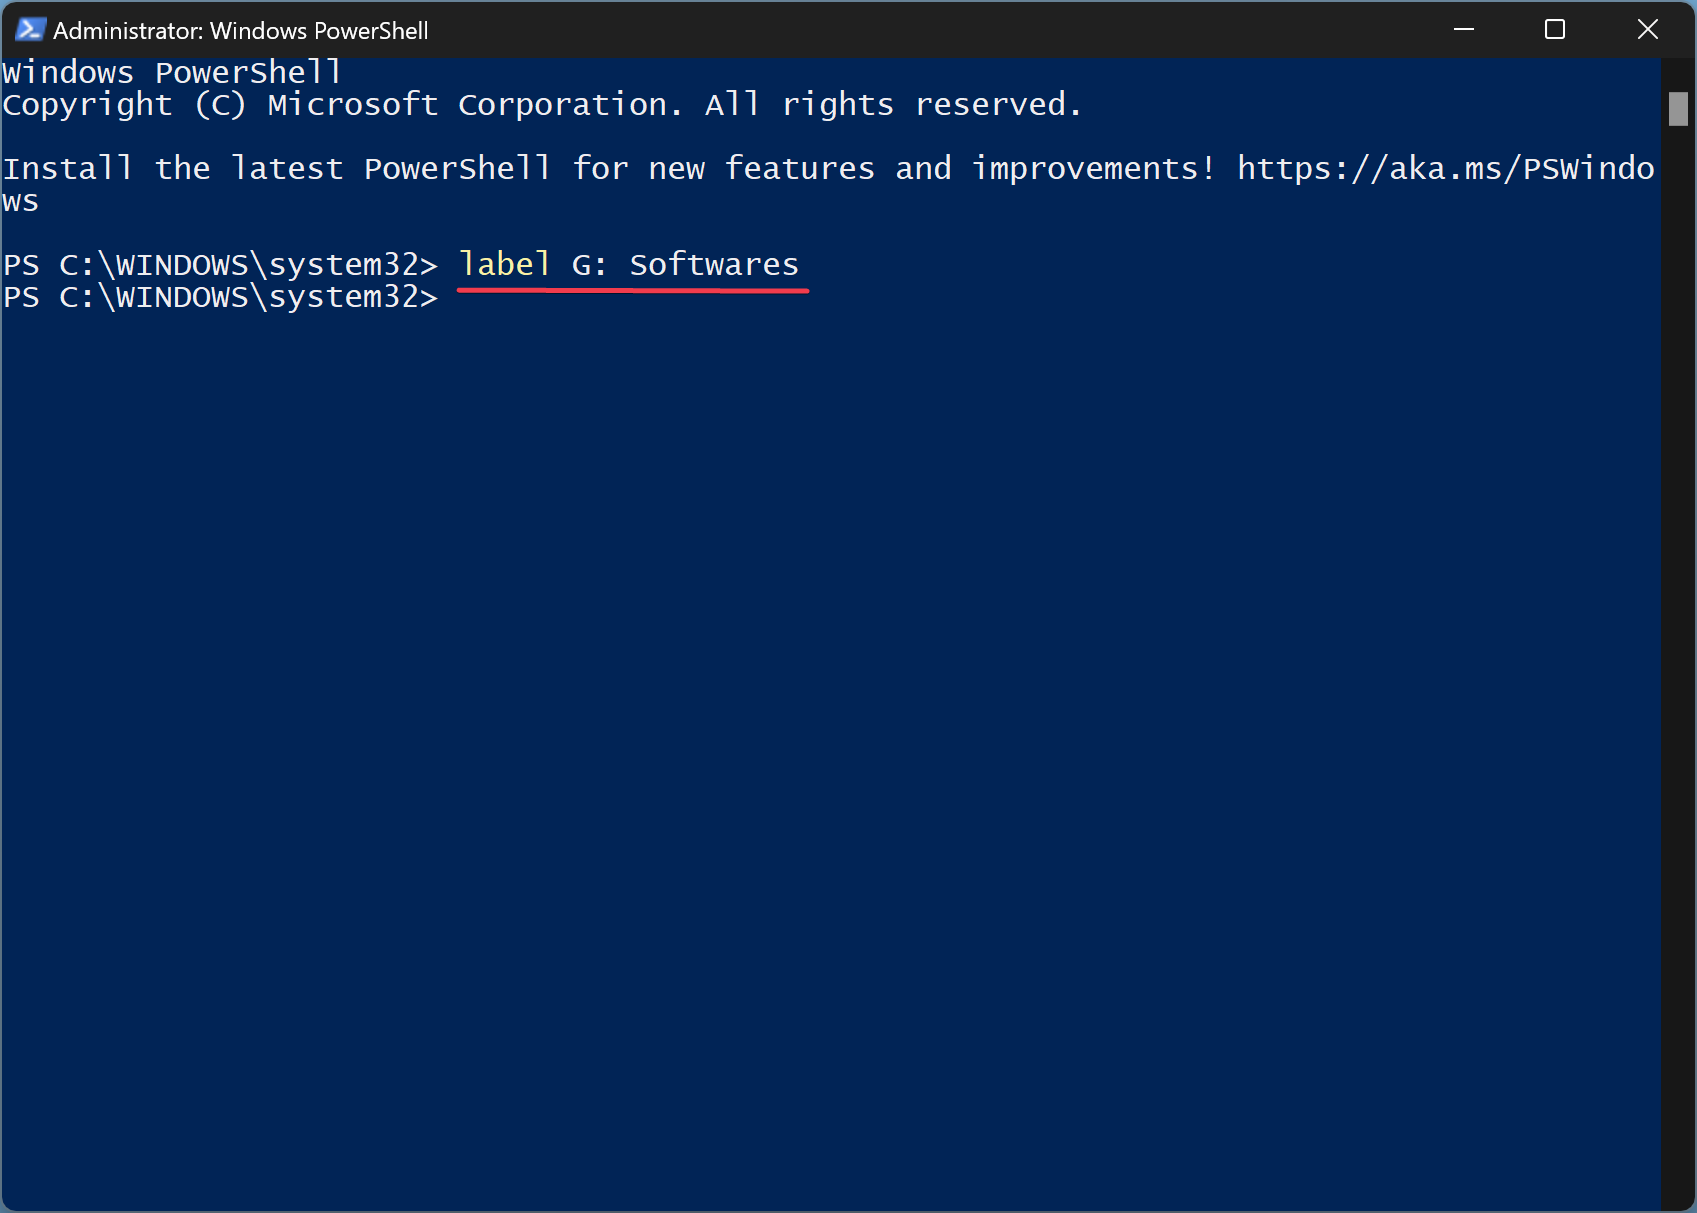
Step 2. Type the following command and hit Enter key on the keyboard:-
label <DriveLetter>: New Name
Quick Note: Replace <DriveLetter> in the above command with the drive letter of the drive you want to rename. And replace New Name in the above command with the label you want for the drive.
If you do not use any label name in the above command, then Windows will set the drive’s default label (example: Local Disk).
Conclusion
In conclusion, changing the volume label of a drive or partition in Windows 11 or 10 can be helpful in distinguishing multiple drives or partitions in File Explorer. Windows allows multiple methods to rename a drive or change the volume label, such as using keyboard shortcuts, the Properties dialog, Windows 11 Settings, Disk Management, and Command Prompt or PowerShell. The volume label can be up to 32 characters for a drive formatted using NTFS and up to 11 characters for a drive formatted using FAT32. By following the above methods, users can easily customize the name of their drives or volumes to their preferences.