Java is one of the advanced languages that developers use to develop applications for Windows 11. Several applications are written in Java that need the Java Runtime Environment (JRE) installed on your machine.
In this gearupwindows article, you will learn to find which Java version is installed on your Windows 11. Besides that, you will also learn to install and uninstall Java on your machine.
How to Check the Java version on Windows 11?
If the Java application is installed on your Windows 11 machine, use the following steps to find out its version:-
Step 1. Right-click the Start button and select Terminal or Terminal (Admin) in the Power User menu.
Step 2. In a PowerShell or Command Prompt profile, type the following and hit Enter key on the keyboard to see the installed version of Java:-
java -version
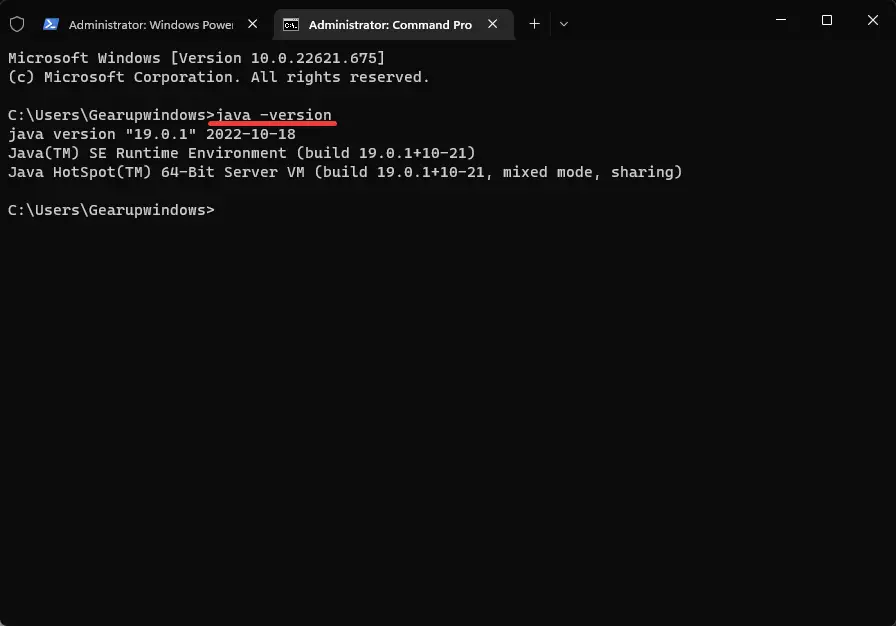
After executing the above command, you should see the installed Java version on your Windows 11 PC. If you see different types of messages, such as “Java is not recognized as an internal or external command,” Java is not installed on your computer, and you need to install it on your PC.
How to Install the Java on Windows 11?
If you see that Java is not installed on your Windows 11 or installed, but it is a lower version, you can get the updated version from the Oracle website.
Follow these steps to download and install the latest version of Java on your Windows 11 machine:-
Step 1. First, navigate to the Java downloads page.
Step 2. Then, scroll down and switch to the Windows tab.
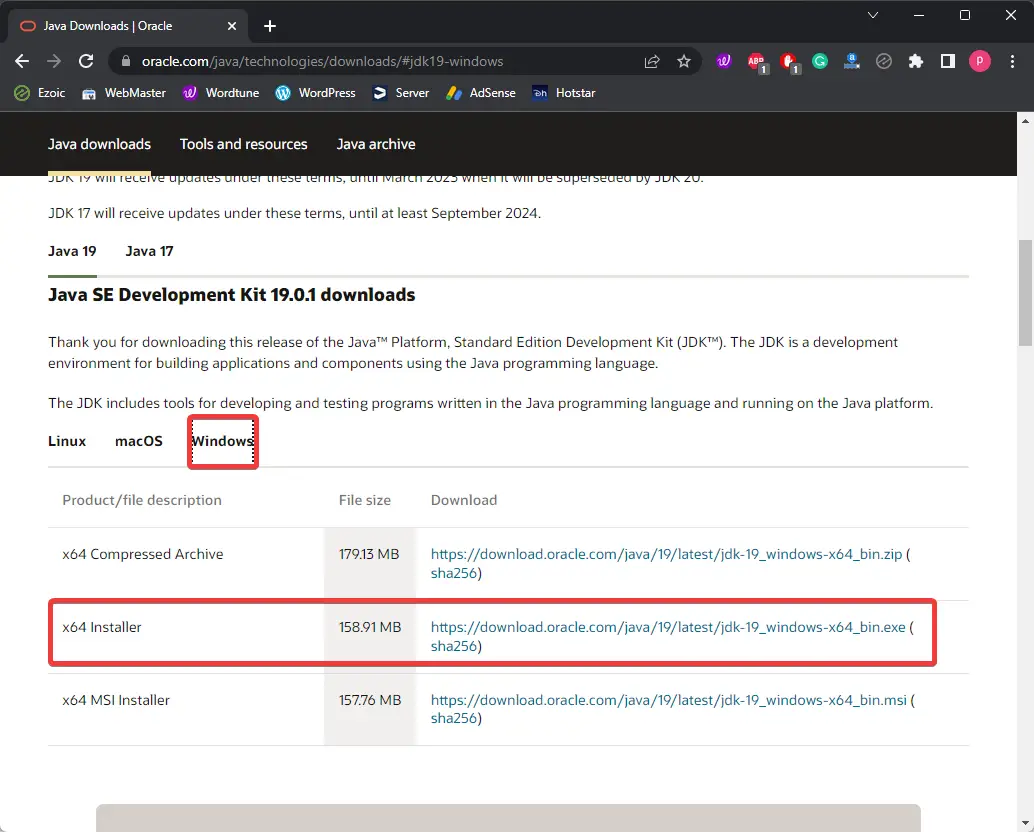
Step 3. Now, click on the download link beside the “x64 Installer” option.
Step 4. When you’re done, a JDK file will download to your computer. Double-click on the downloaded setup file and follow the instructions to install it on your computer.
How to Uninstall Java from Windows 11?
Uninstalling and removing Java from Windows 11 is quite simple. You can remove Java from your computer as regular software.
Follow these steps to remove Java from your Windows 11 machine:-
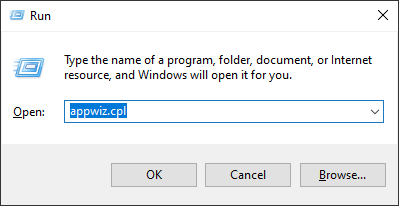
Step 1. Very first, open the Run dialog box by pressing Windows + R keys on the keyboard.
Step 2. In the Run box, type the following, and press Enter key on the keyboard to open “Programs and Features” under Control Panel:-
appwiz.cpl
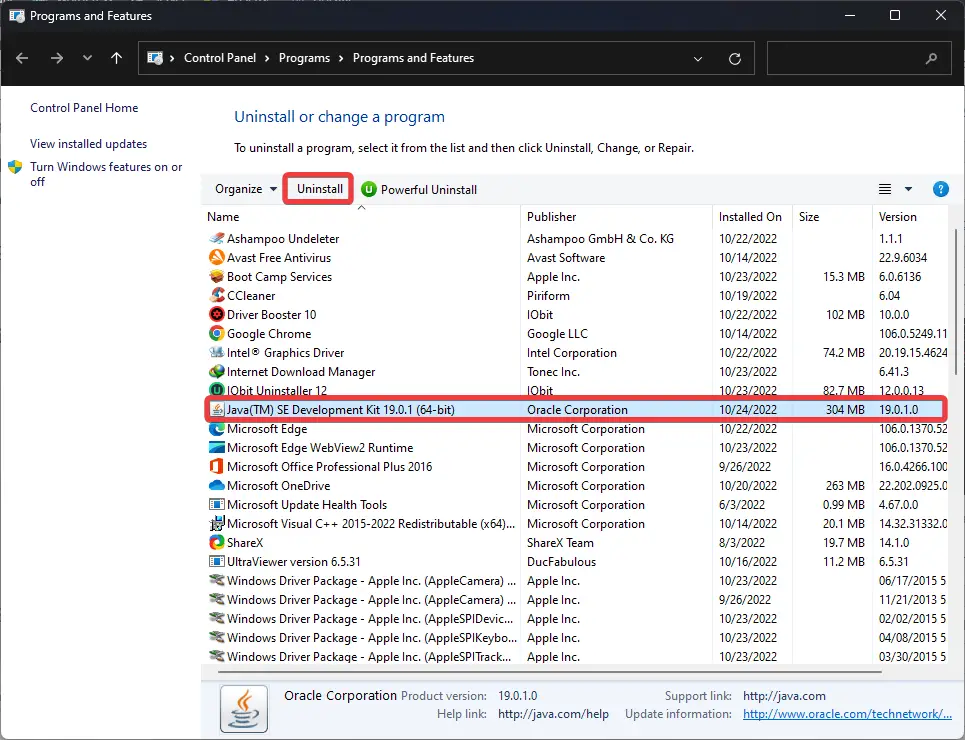
Step 3. Here, you will find a list of apps the software installed on your Windows 11 machine. Select Java entry and click the Uninstall button to remove it from your PC.
Conclusion
In conclusion, Java is an advanced language that developers use to create applications for Windows 11. Many applications are written in Java that requires the Java Runtime Environment (JRE) to be installed on your machine. This article provided a detailed guide on how to check the version of Java installed on Windows 11 and how to install or uninstall it from your PC. By following these simple steps, you can easily download and install the latest version of Java on your Windows 11 machine and ensure that your Java applications run smoothly without any compatibility issues.