Microsoft Word offers a powerful feature that allows users to create and customize templates for various types of documents. Templates are pre-designed formats that provide a consistent and professional look, making it easier to produce documents such as reports, newsletters, resumes, and more.
In this article, we will guide you through the process of creating and customizing templates in Microsoft Word.
How to Create a New Template in Word?
To create a new template in Word, follow these steps:-
Step 1. Launch Microsoft Word on your computer.
Step 2. Start by opening a blank document, which will serve as the foundation for your template.
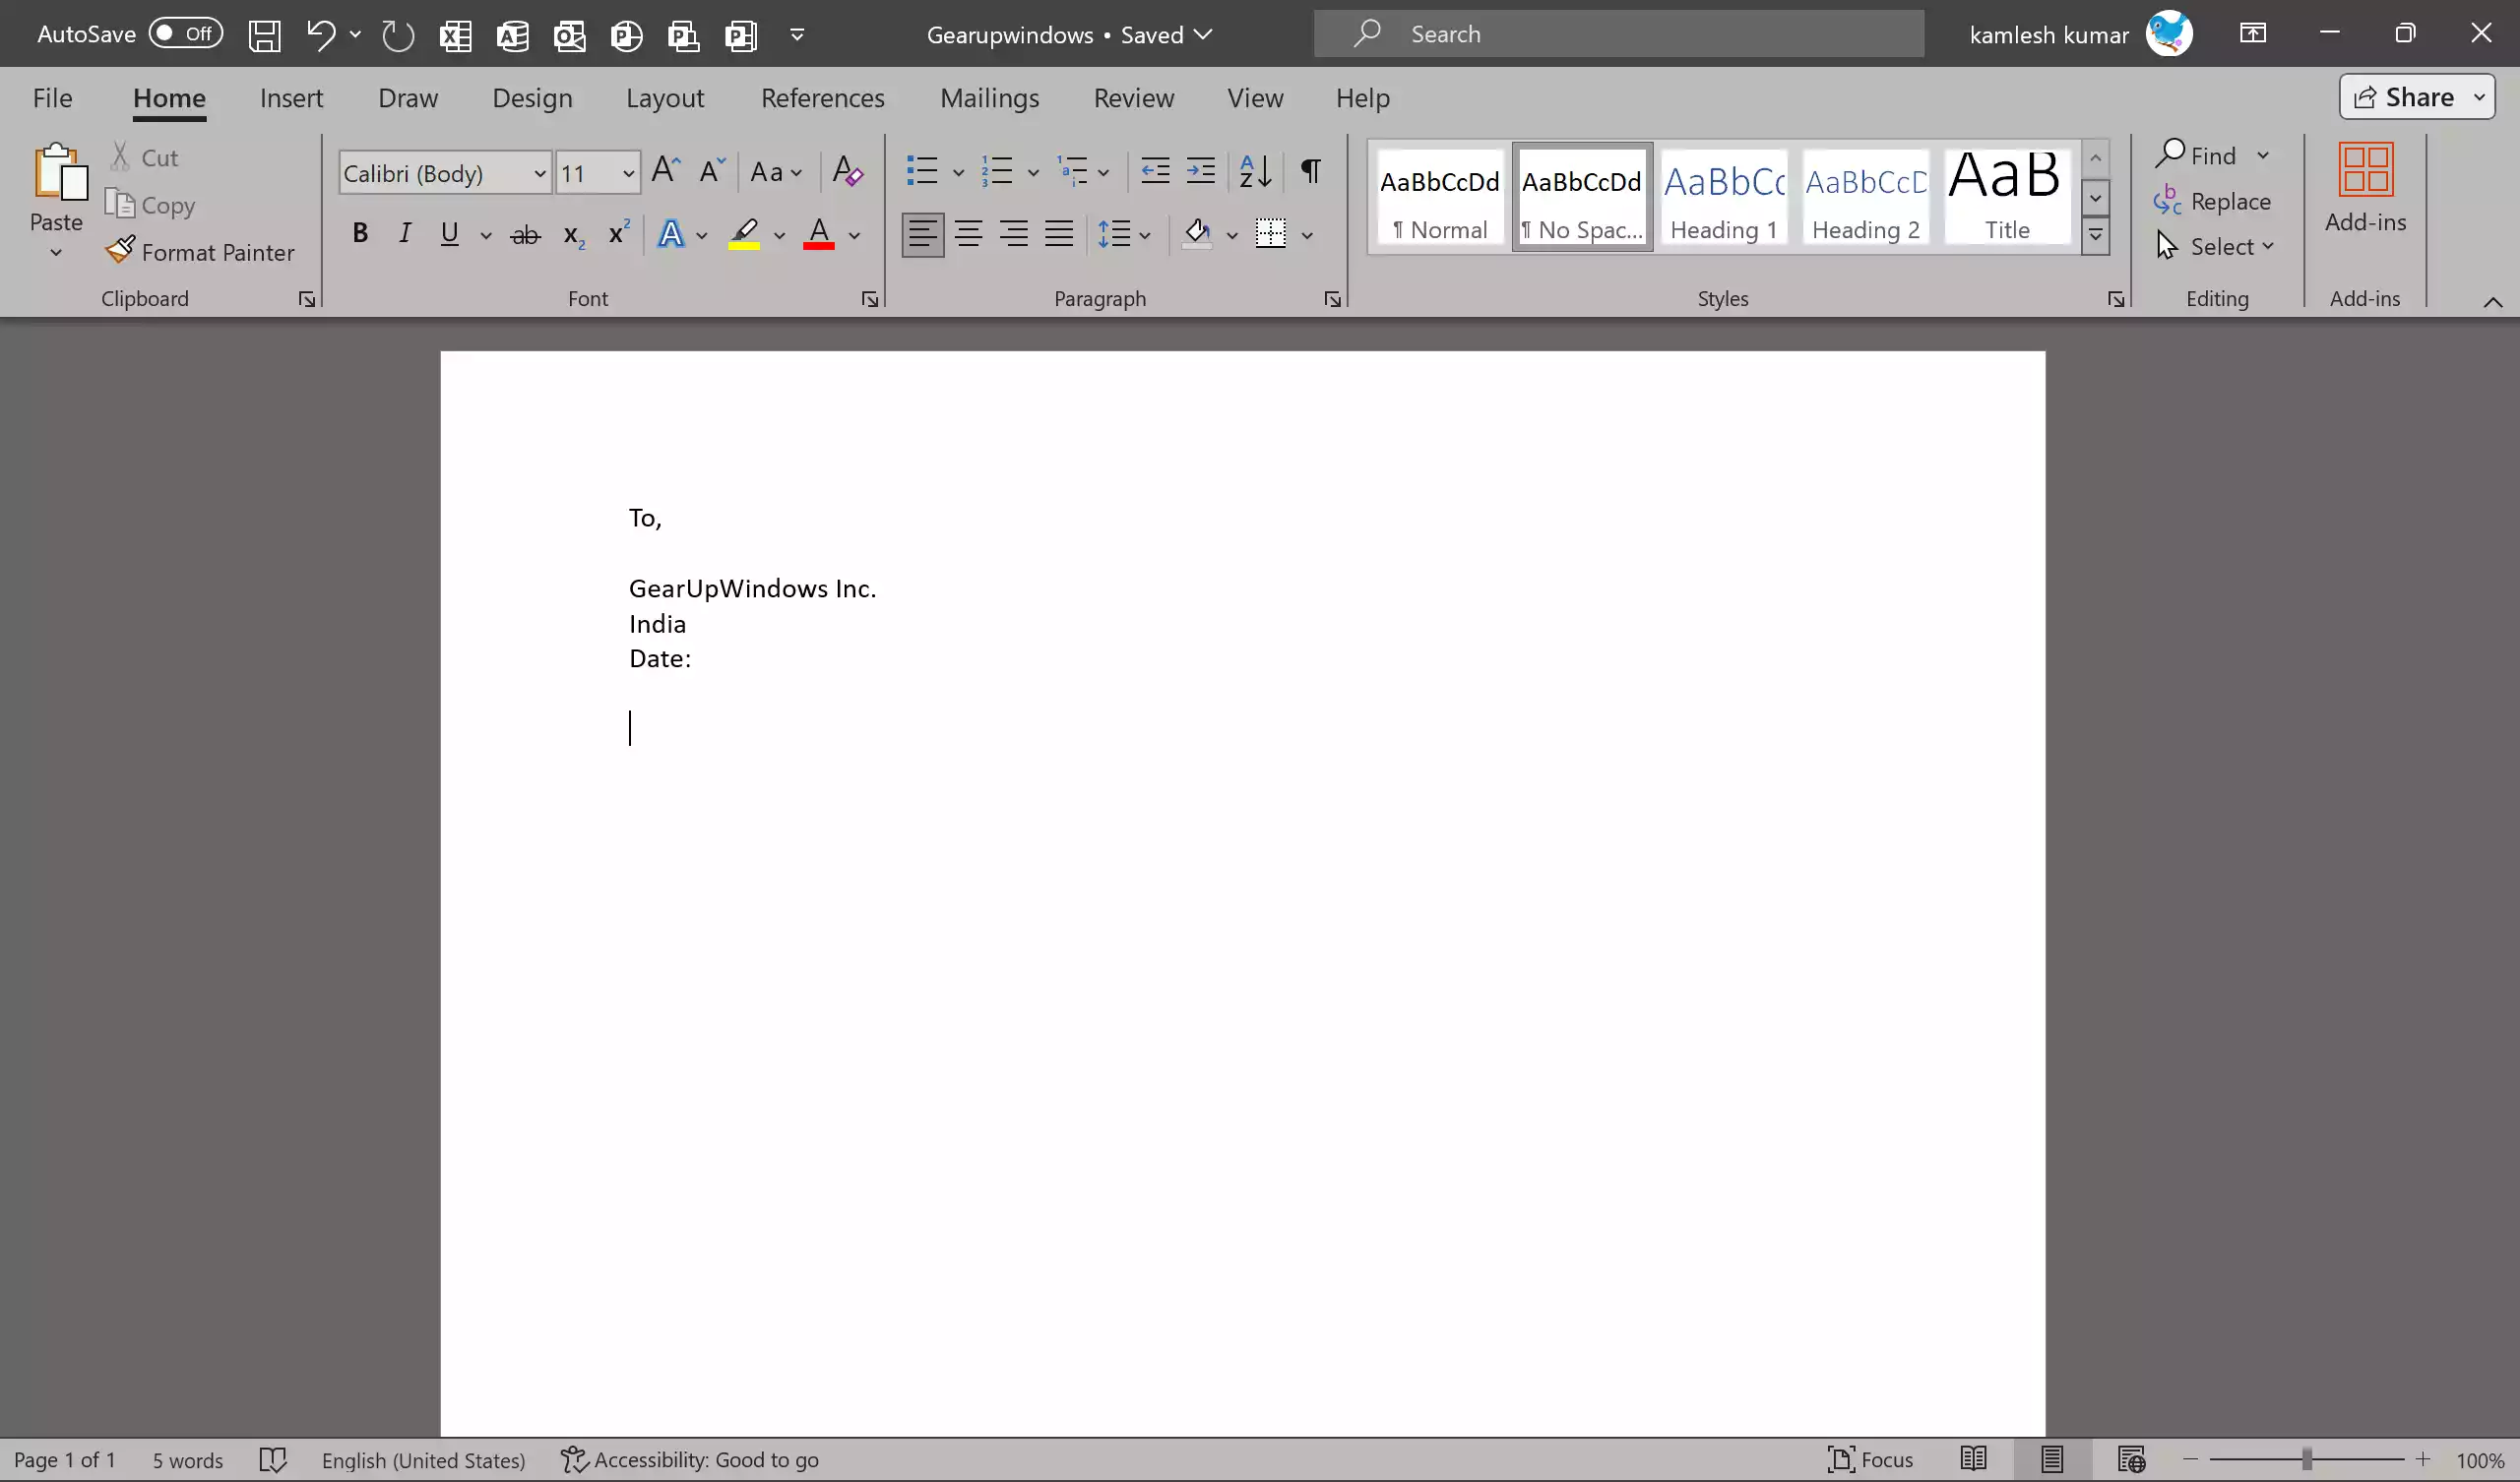
Step 3. Begin by formatting your document as you want your template to appear. Set margins, fonts, headings, and any other elements that you want to include in your template.
Step 4. Add placeholders for information that will vary each time you use the template. For example, if you’re creating a letterhead template, include placeholders for the recipient’s address and date.
Step 5. Go to “File” and select “Save As.”
Step 6. Choose a location (C:\Users\User_Name\Documents\Custom Office Templates) where you want to save the template.
Step 7. In the “Save as type” dropdown menu, select “Word Template (*.dotx).”

Step 8. Give your template a meaningful name and click “Save.”
Your template is now saved and ready for customization.
How to Customize Your Template?
Once you’ve created your template, you can customize it further to suit your specific needs or the requirements of different projects.
Step 1. To open your template for editing, locate it in your saved files and double-click on it.
Step 2. Make any changes you want to the template. You can modify text, formatting, or any other elements.
Step 3. To include specific document properties like title, author, or keywords, go to the “File” tab, click on “Info,” and select “Properties.” Then, click on the “Advanced Properties” option in the drop-down menu.
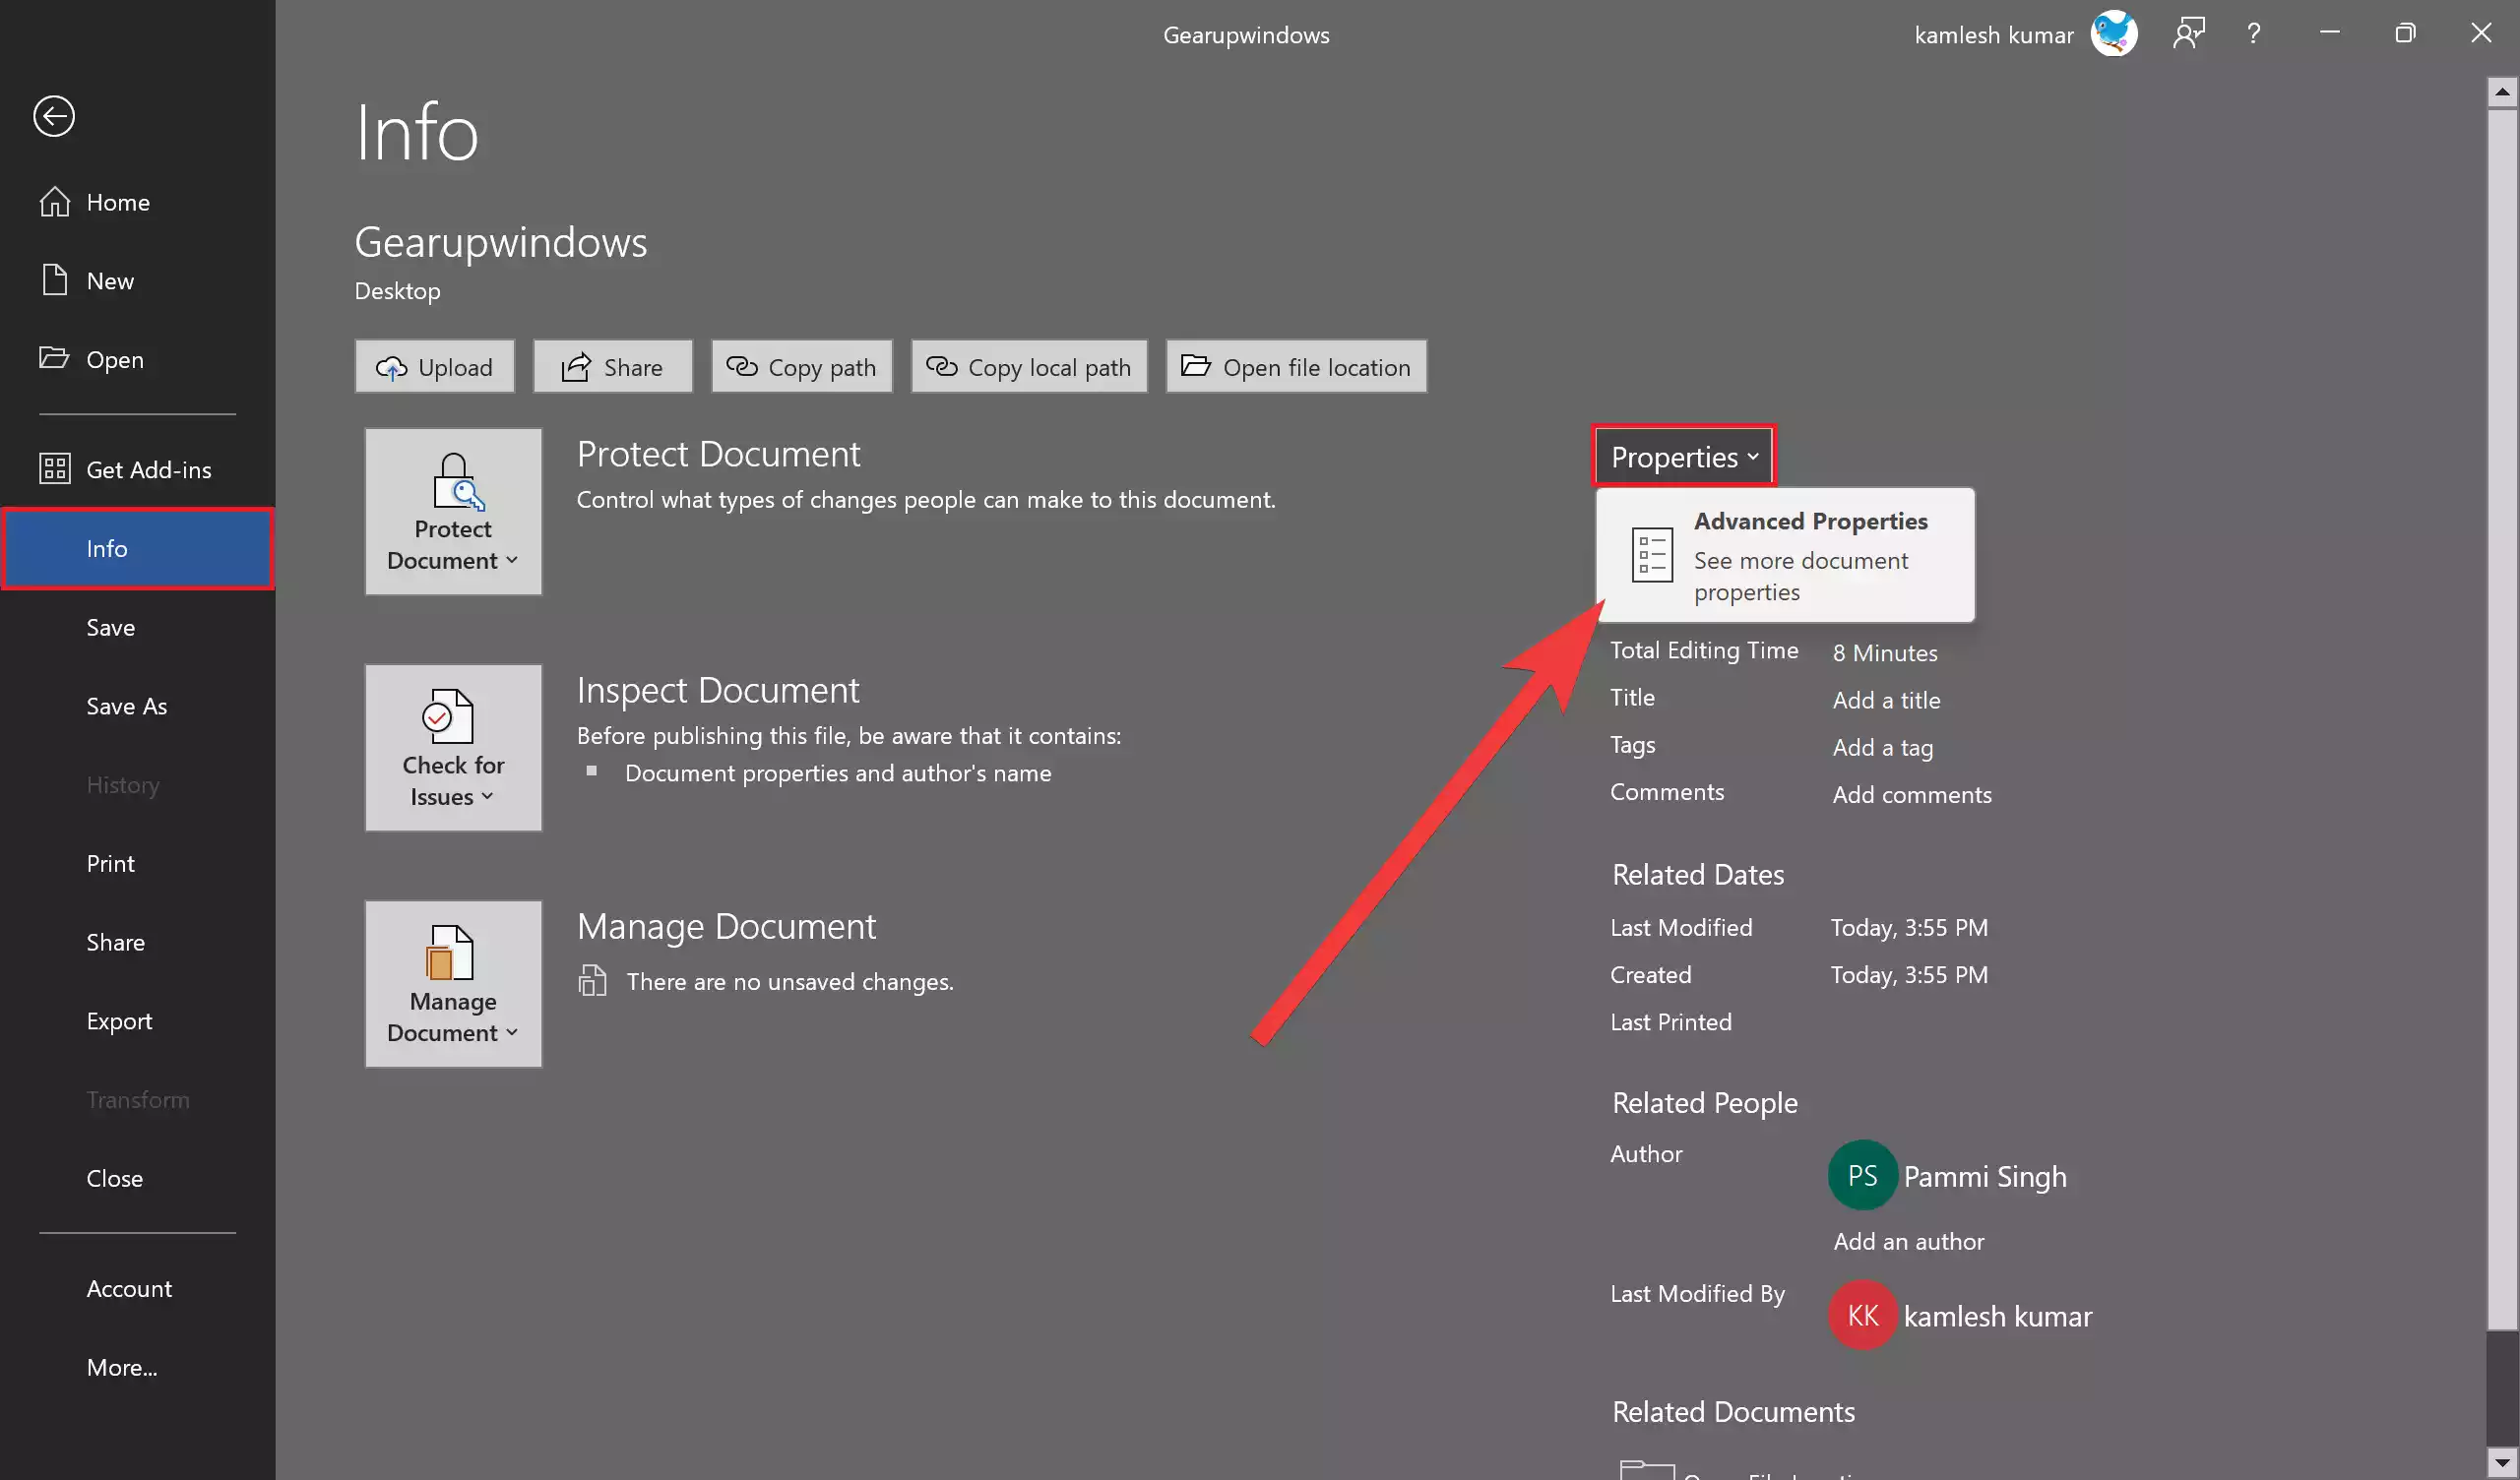
Step 4. Enter the desired information and save your changes by clicking OK.
When you save the template, it won’t overwrite the original; it will create a new document based on your customizations.
How to Use Your Custom Template?
Now that you’ve created and customized your template, here’s how to use it for creating new documents:-
Step 1. Launch Microsoft Word on your computer.
Step 2. Go to “File” and select “New.”
Step 3. Under “Templates,” you will find “Personal.” Your custom template should appear here.
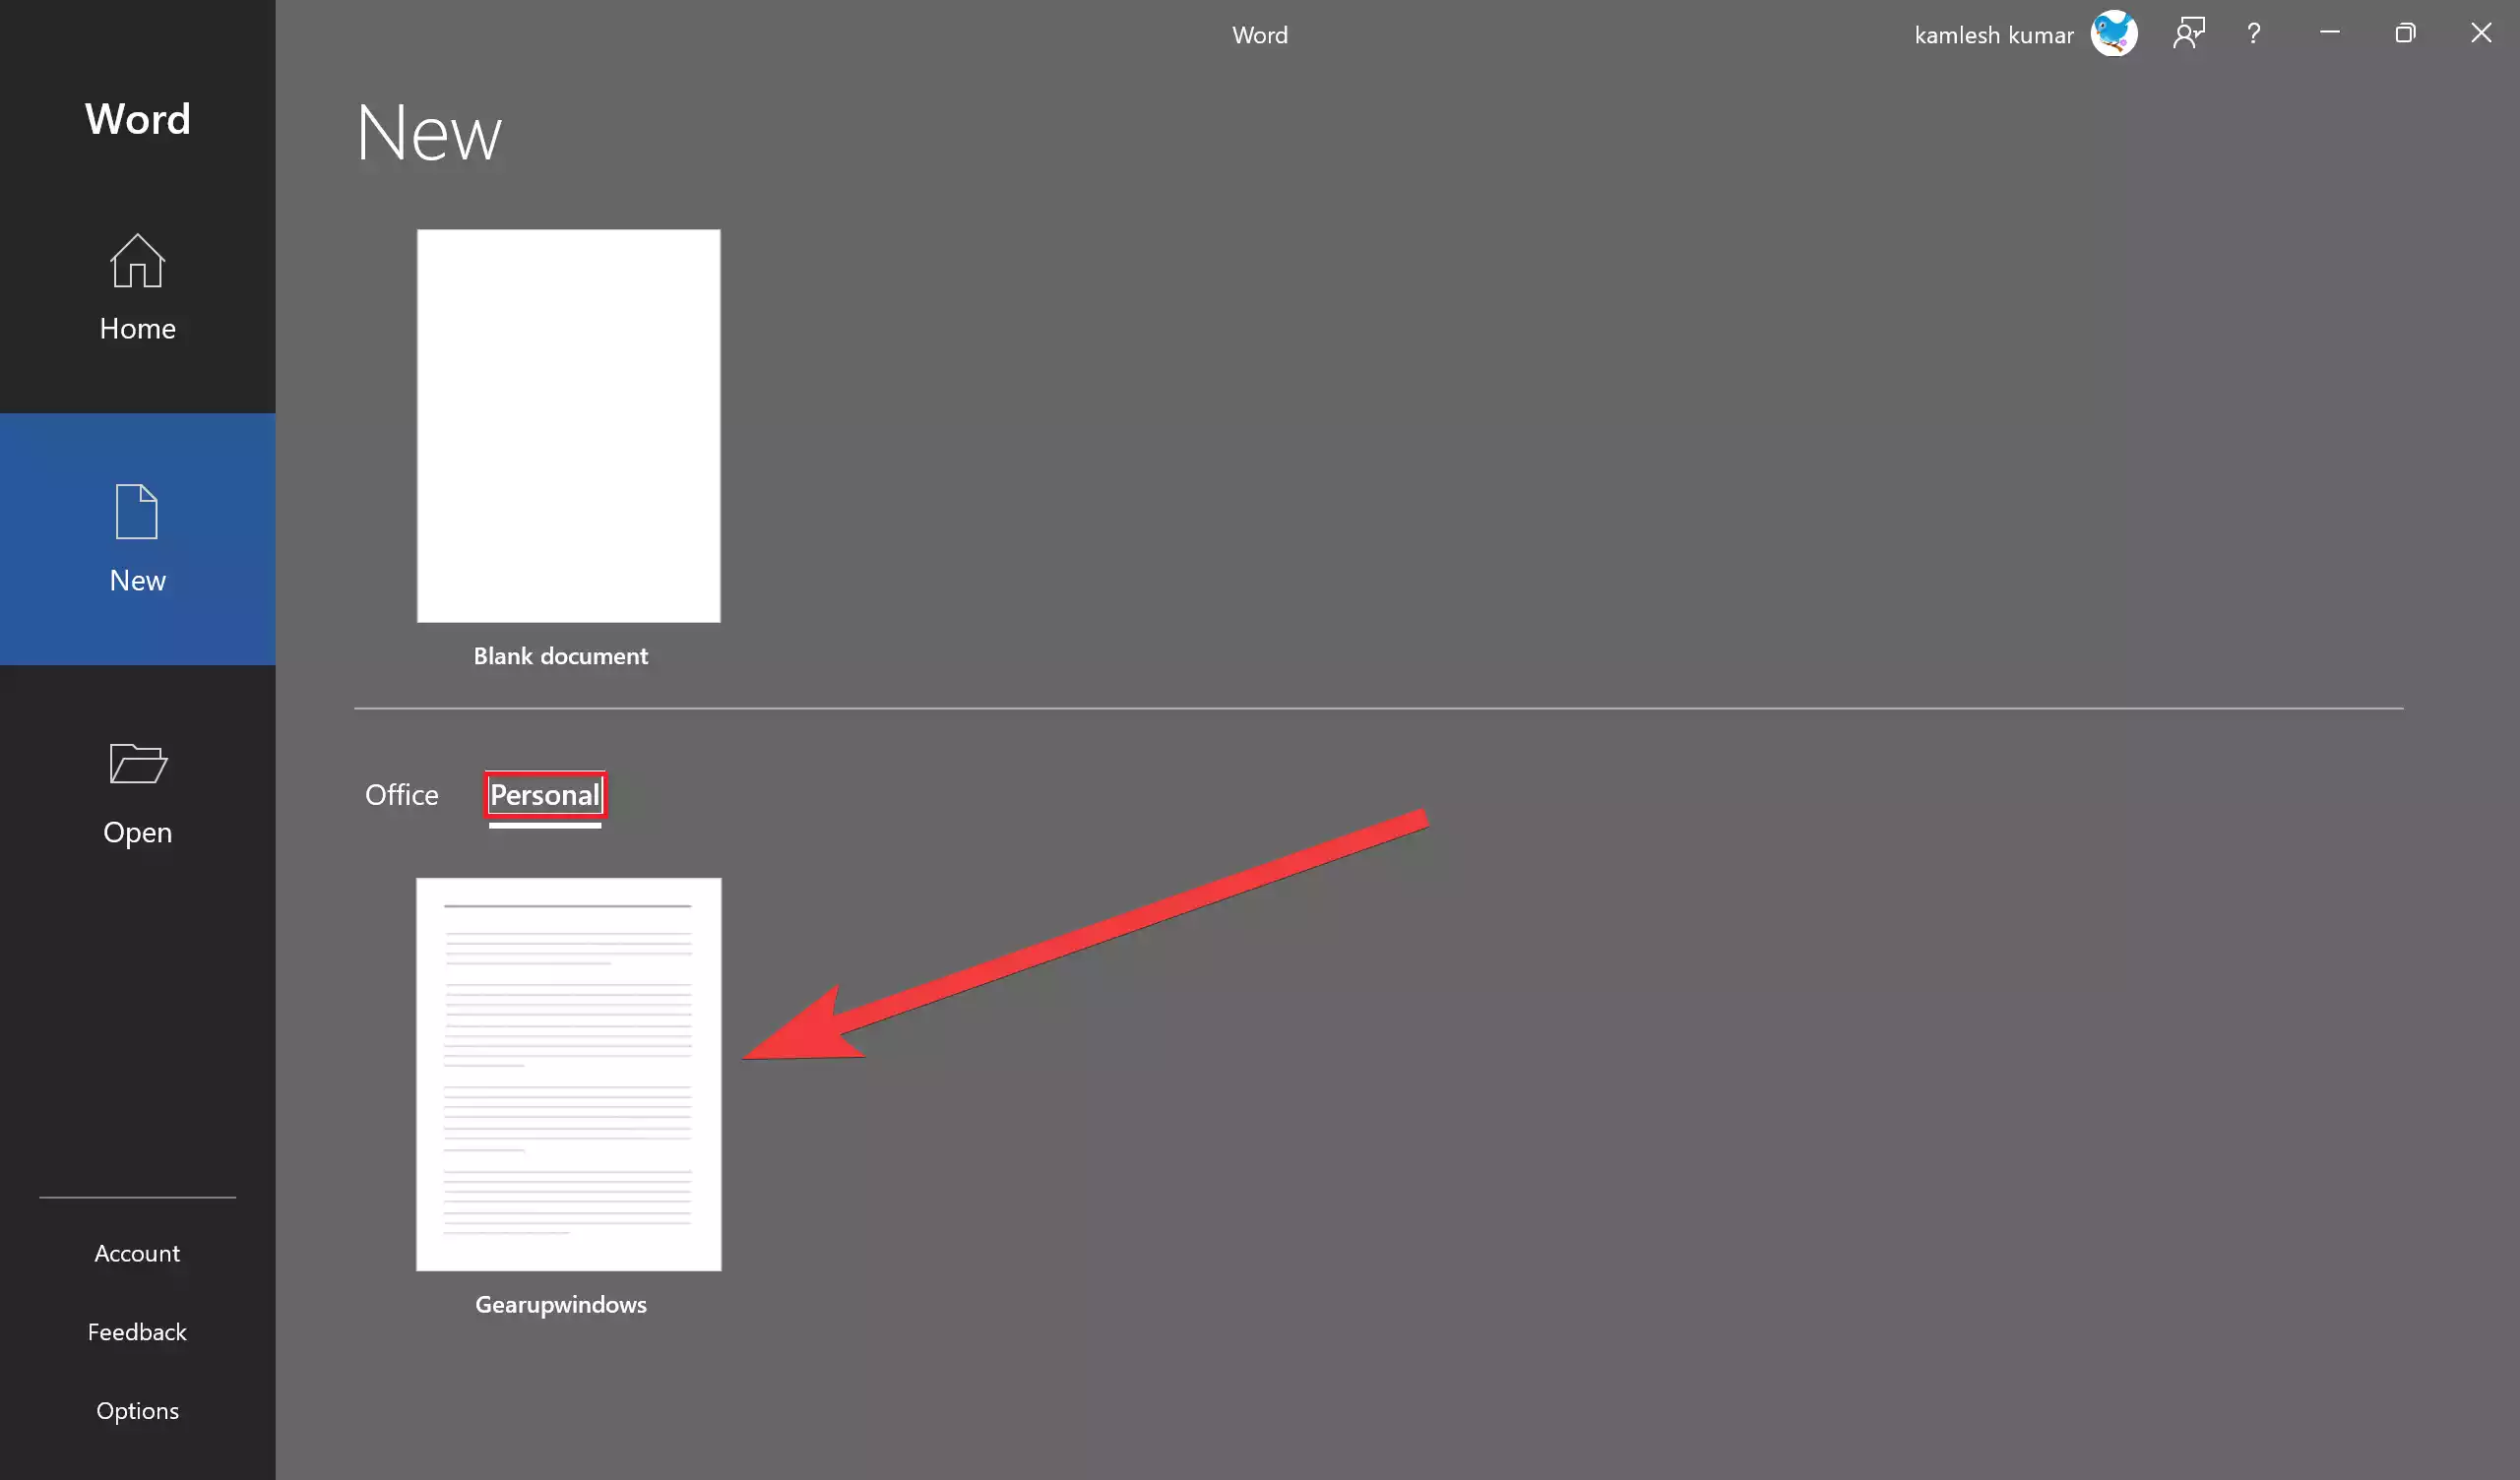
Step 4. Click on your custom template to open a new document based on that template.
Step 5. The new document will open with the formatting and placeholders you set in your template.
Step 6. Replace the placeholders with your specific content.
Step 7. When you’re finished editing, save the document as a regular Word document (e.g., .docx) in your desired location.
How to Manage Your Templates?
You can manage and organize your templates for easy access:-
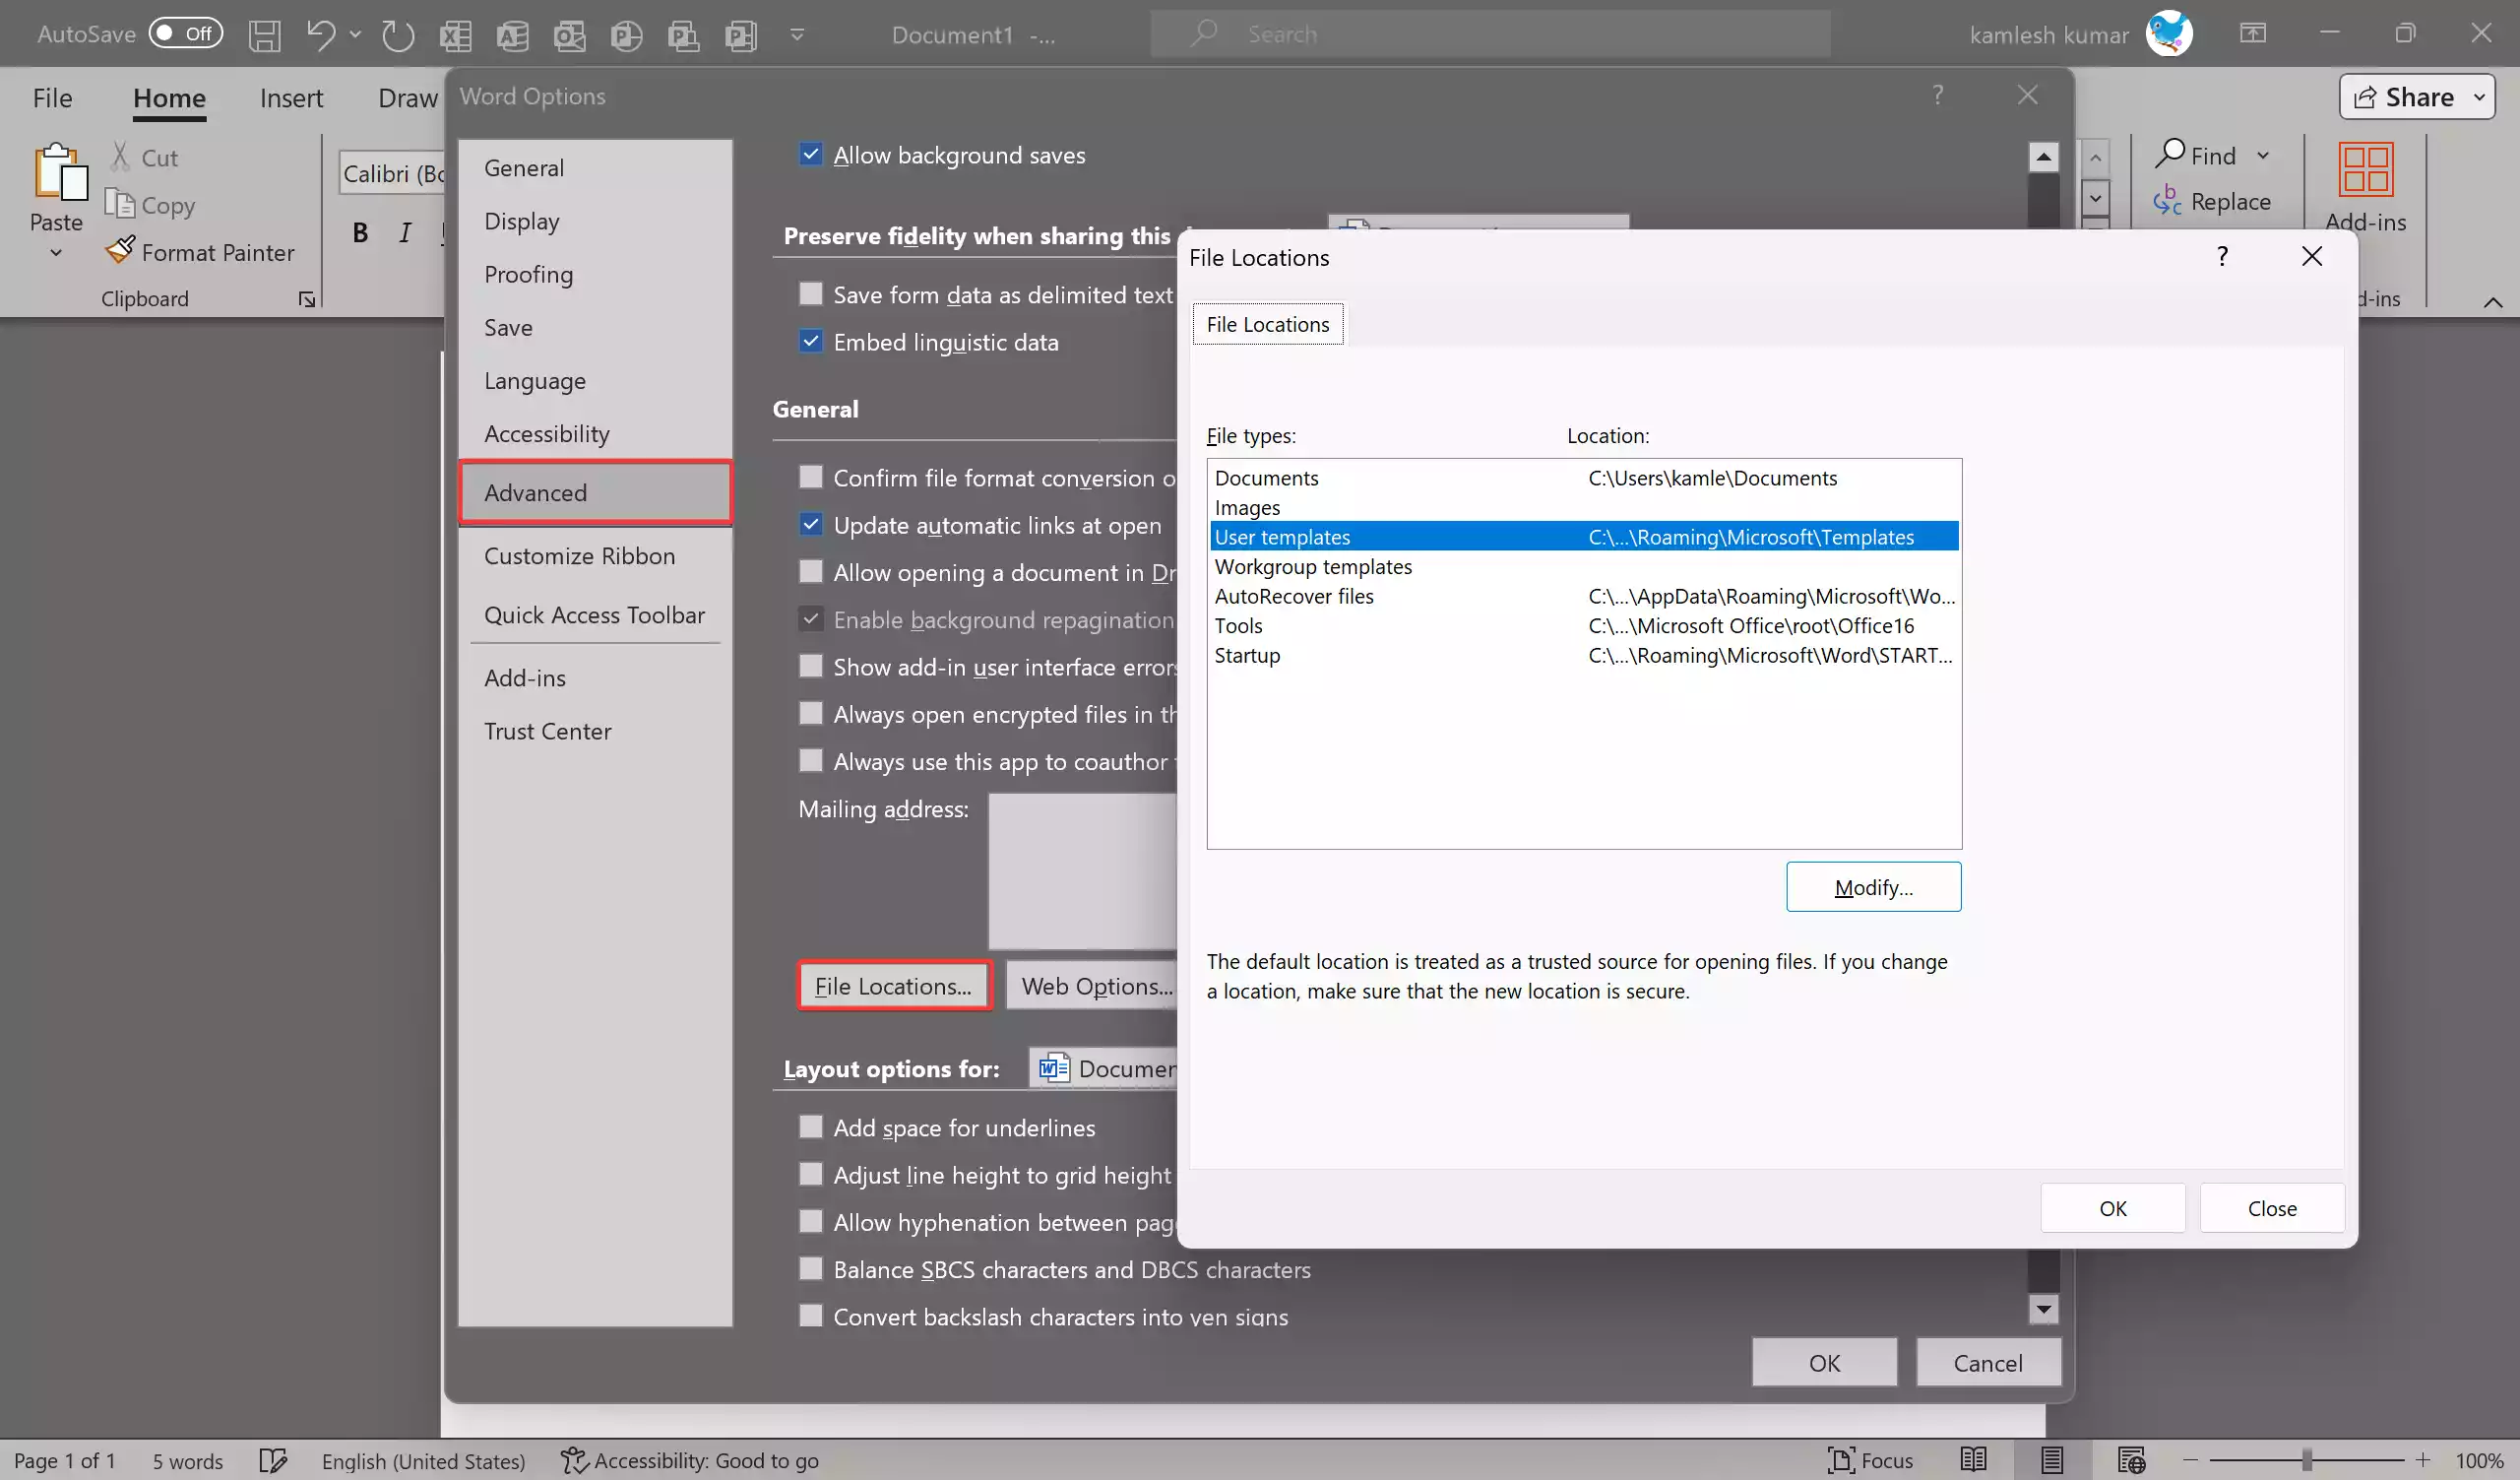
- Template Location: By default, custom templates are saved in the “Custom Office Templates” folder on your computer. You can find this location by going to “File” > “Options” > “Advanced” > “File Locations.”
- Organize Templates: Create subfolders within the “Custom Office Templates” folder to categorize your templates by type or project.
Creating and customizing templates in Microsoft Word can save you time and ensure consistency in your documents. Whether you’re creating business reports, marketing materials, or personal documents, templates are a valuable tool for streamlining your workflow and maintaining a professional look across all your work.