With the evolution of technology, Microsoft Office applications have become more sophisticated, offering enhanced features and functionalities. However, one feature that may cause issues for some users is hardware graphics acceleration, which is enabled by default in Office 2019, 2016, and 2013. While hardware graphics acceleration aims to improve performance by shifting graphics and text rendering tasks from the CPU to the GPU, it can sometimes lead to problems such as crashes, slowness, and blurred text. In this gearupwindows guide, we’ll explore two methods to disable hardware graphic acceleration in Office applications.
How to Disable Hardware Graphic Acceleration for Office 2019 / 2016 / 2013 / 2010?
Method 1: Disabling Hardware Graphic Acceleration from within Office Application
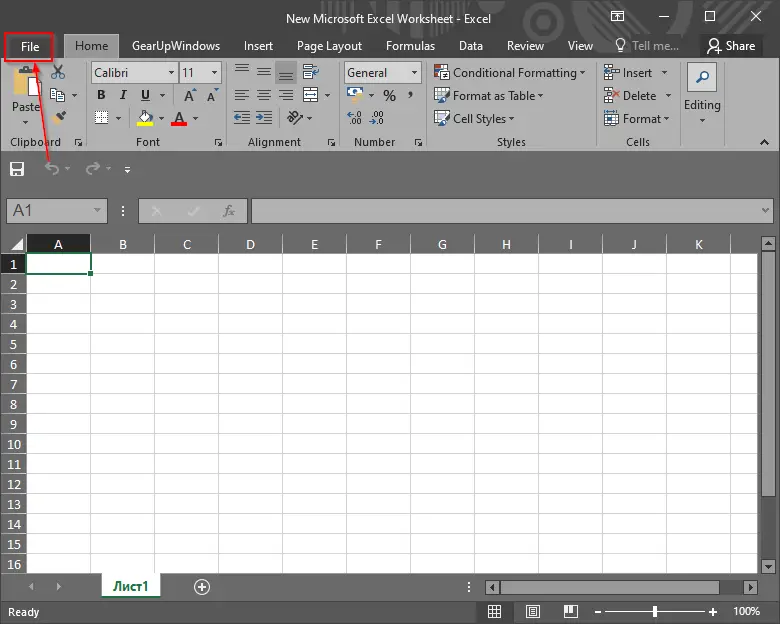
Step 1. Open any Office program such as Word, Excel, or PowerPoint.
Step 2. Click on the “File” tab located in the top-left corner of the application window.
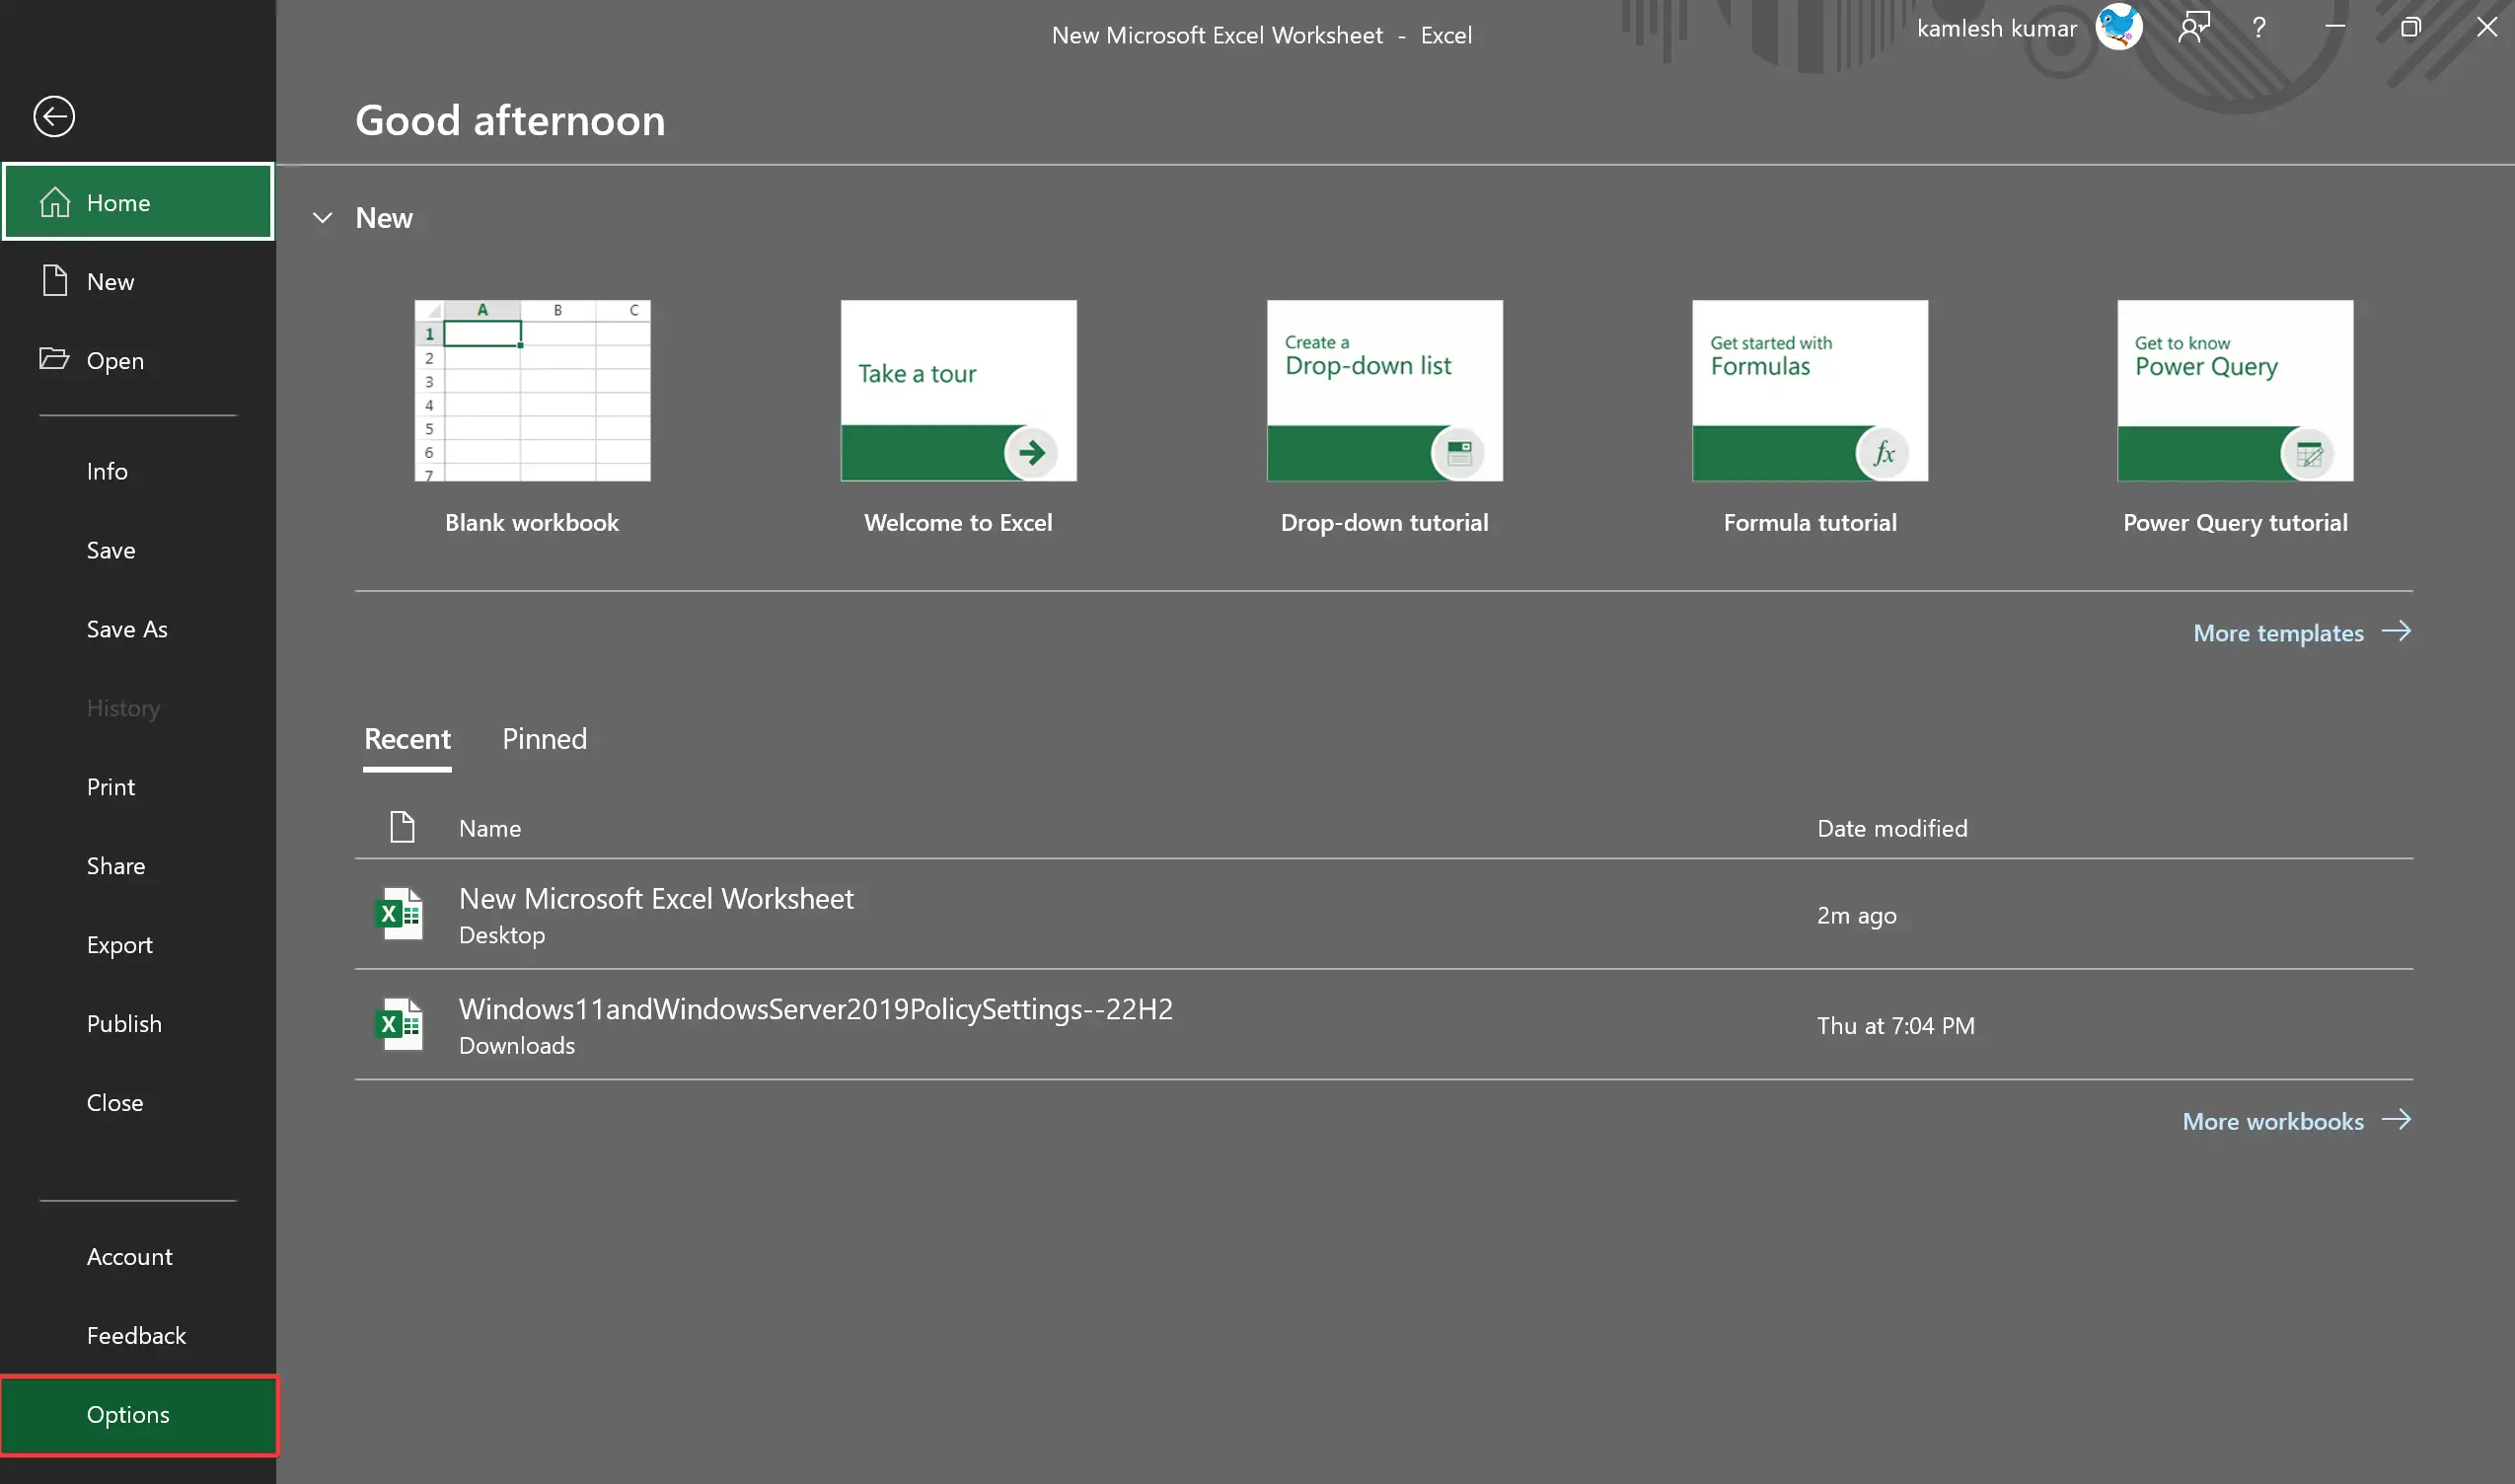
Step 3. Select “Options” from the list on the left-hand side.
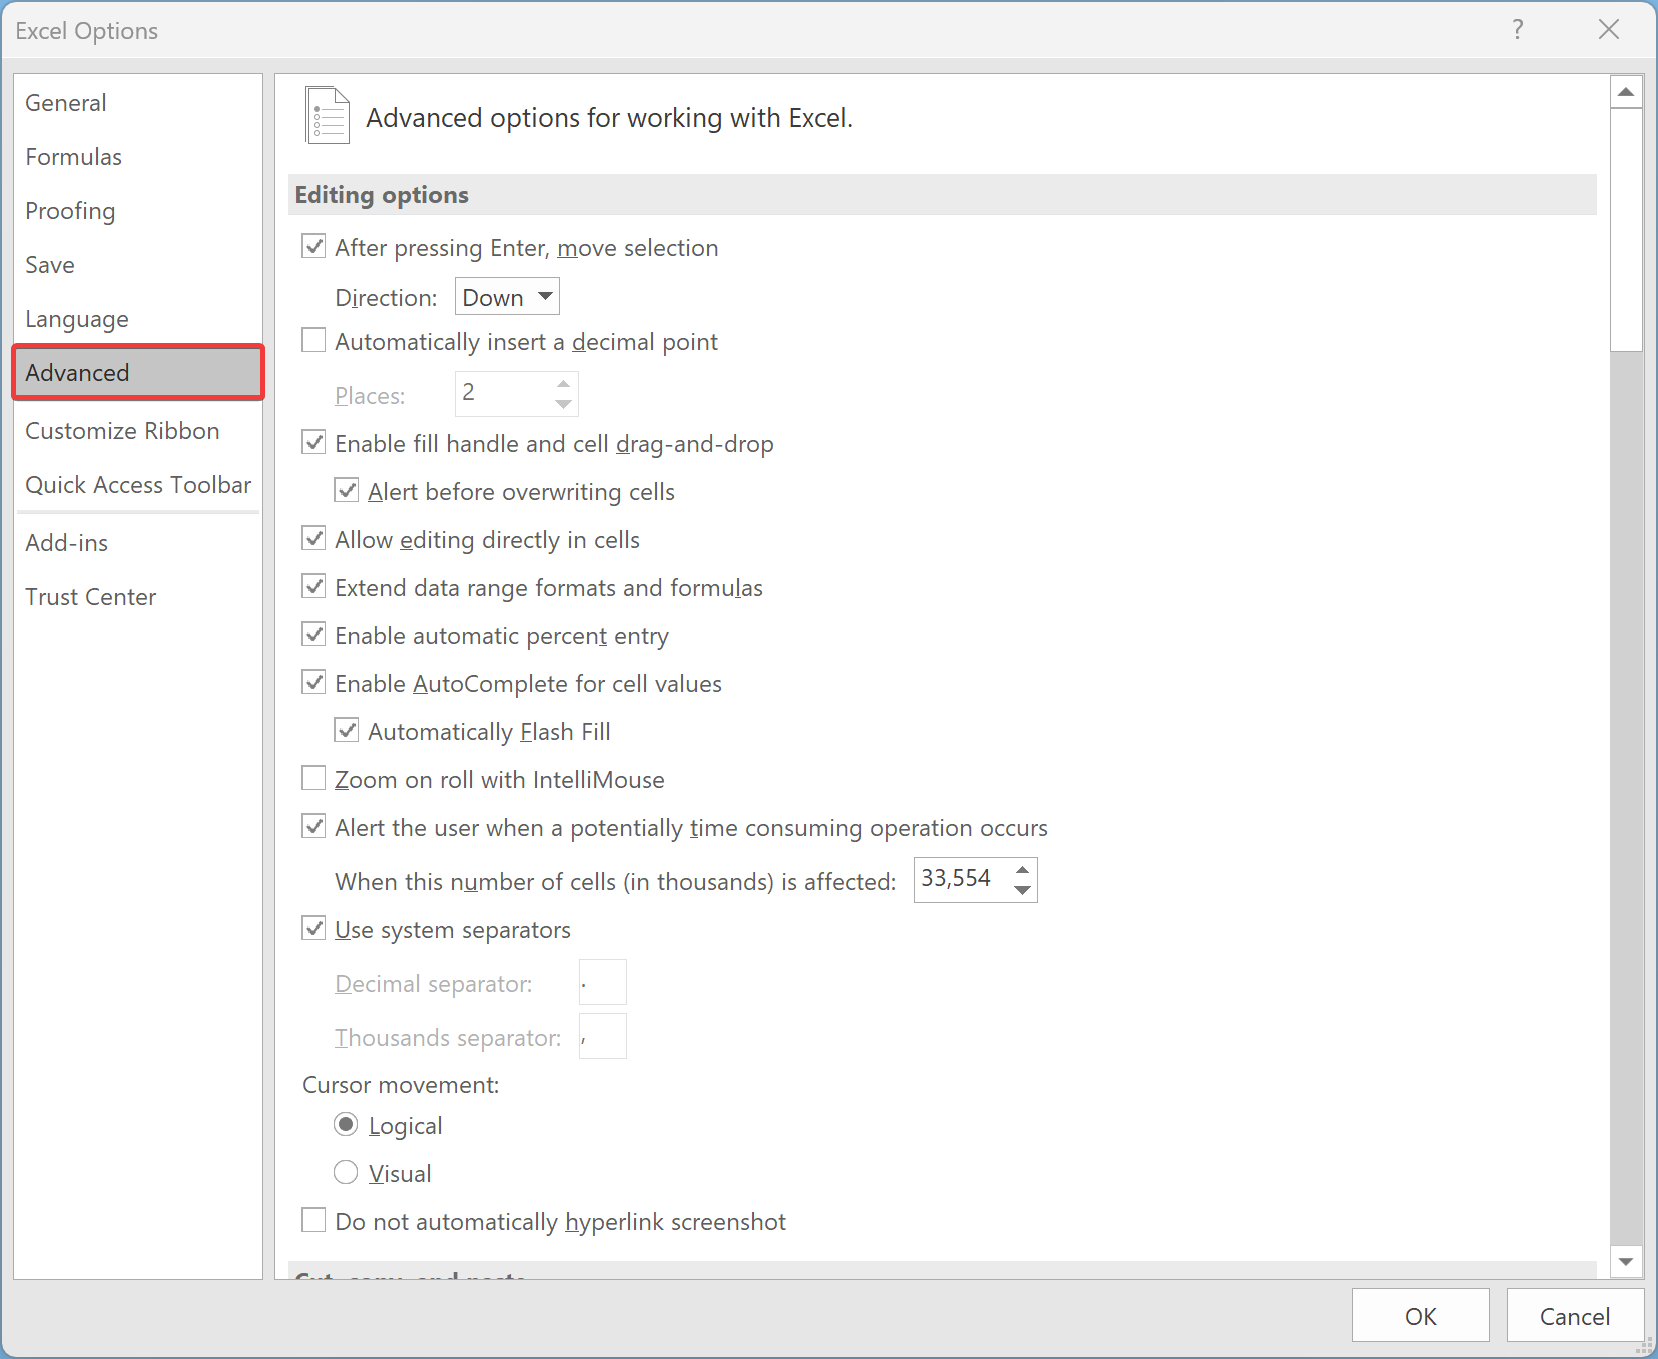
Step 4. In the “Options” window, navigate to the “Advanced” tab.
Step 5. Scroll down to the “Display” section.
Step 6. Check the box that says “Disable hardware graphics acceleration.”
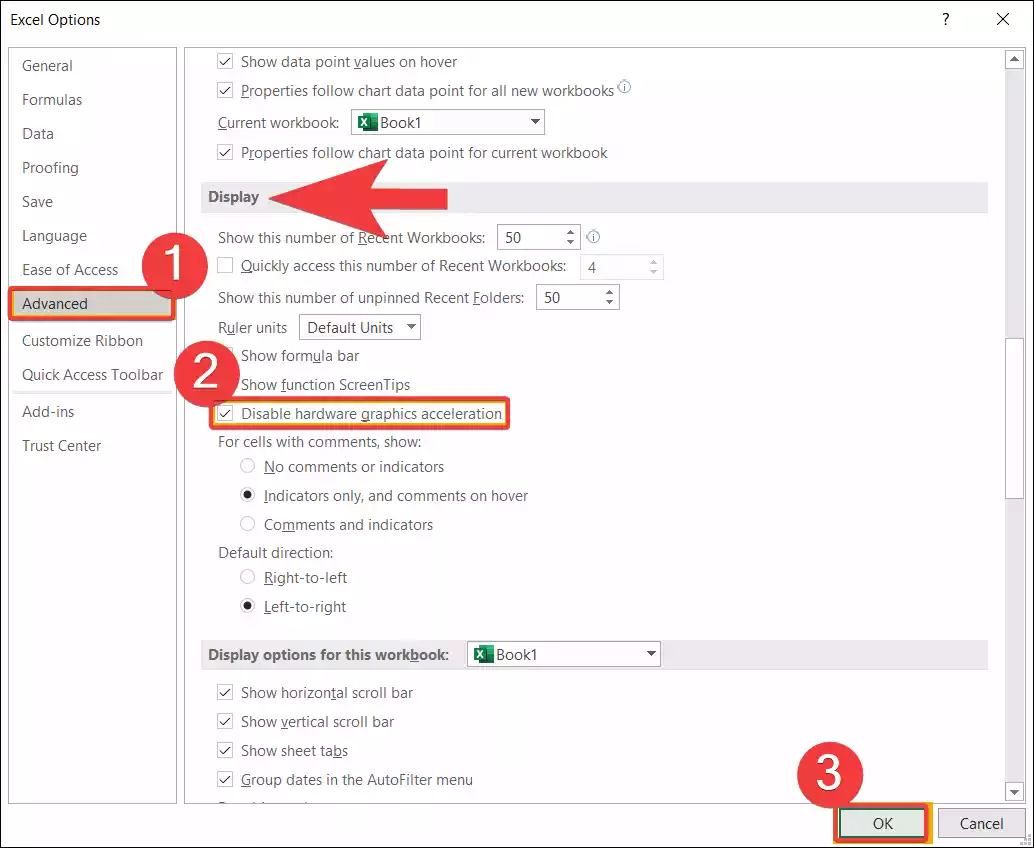
Step 7. Click “OK” to save the changes.
Step 8. Restart your PC to ensure the settings take effect across all Office applications.
Method 2: Disabling Hardware Graphic Acceleration via Registry Tweak
Step 1. Press the Windows logo key + R on your keyboard to open the Run dialog box.
Step 2. Type “regedit” (without quotes) into the Run dialog box and press Enter or click OK. This action will open the Registry Editor.
Step 3. In the Registry Editor window, navigate to one of the following registry keys based on your Office version:-
– For Office 2010: HKEY_CURRENT_USER\Software\Microsoft\Office\14.0\Common\Graphics
– For Office 2013: HKEY_CURRENT_USER\Software\Microsoft\Office\15.0\Common\Graphics
– For Office 2016/2019: HKEY_CURRENT_USER\Software\Microsoft\Office\16.0\Common\Graphics
Step 4. If the “Graphics” key does not exist, you will need to create it manually. For that, right-click on the “Common” key within the appropriate Office version folder. Select “New” and then “Key.” Rename the new key as “Graphics.”
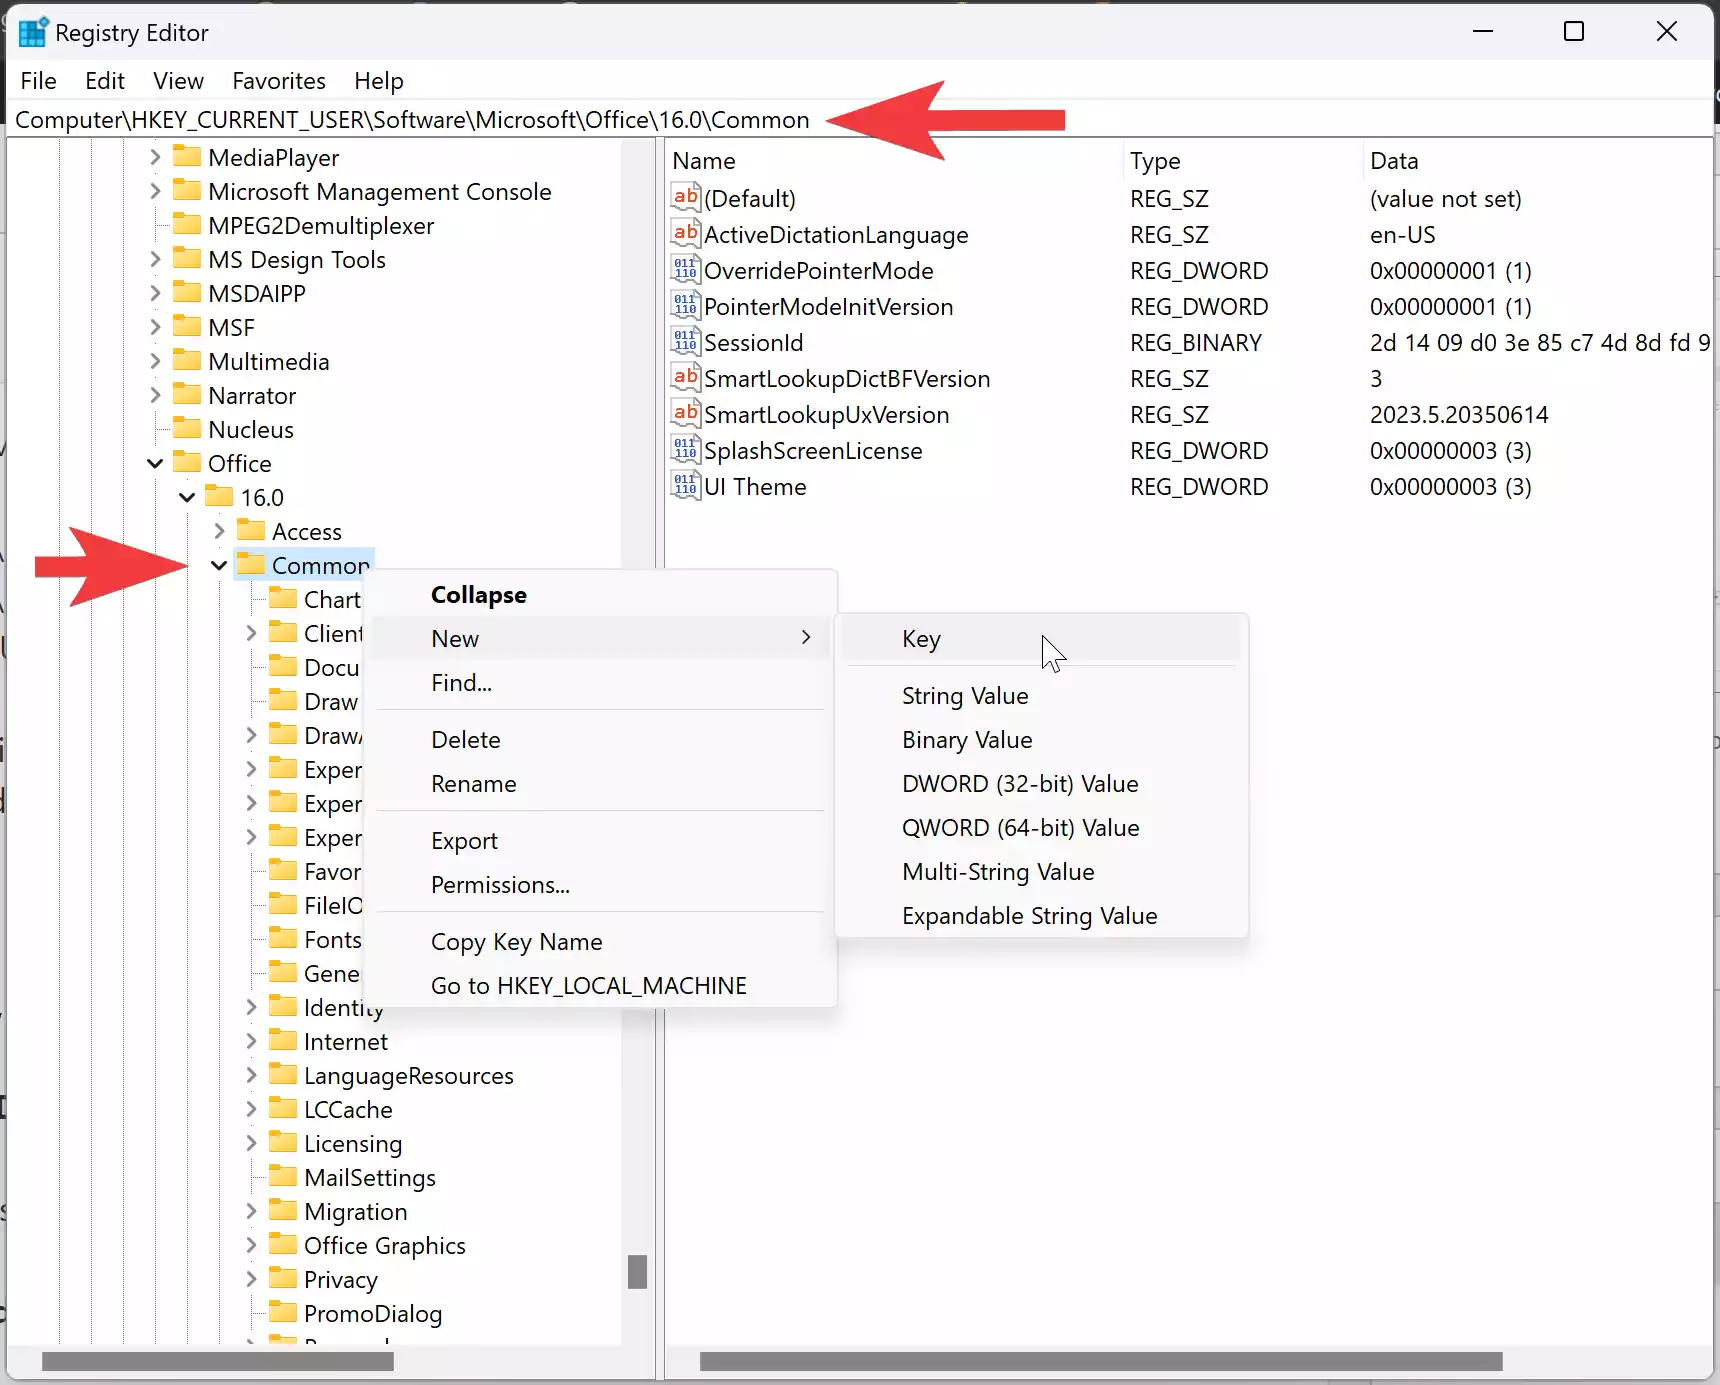
Step 5. With the “Graphics” key selected, right-click in the right-hand pane.

Step 6. Choose “New” and then “DWORD (32-bit) Value” from the context menu.
Step 7. Rename the new DWORD value as “DisableHardwareAcceleration.”
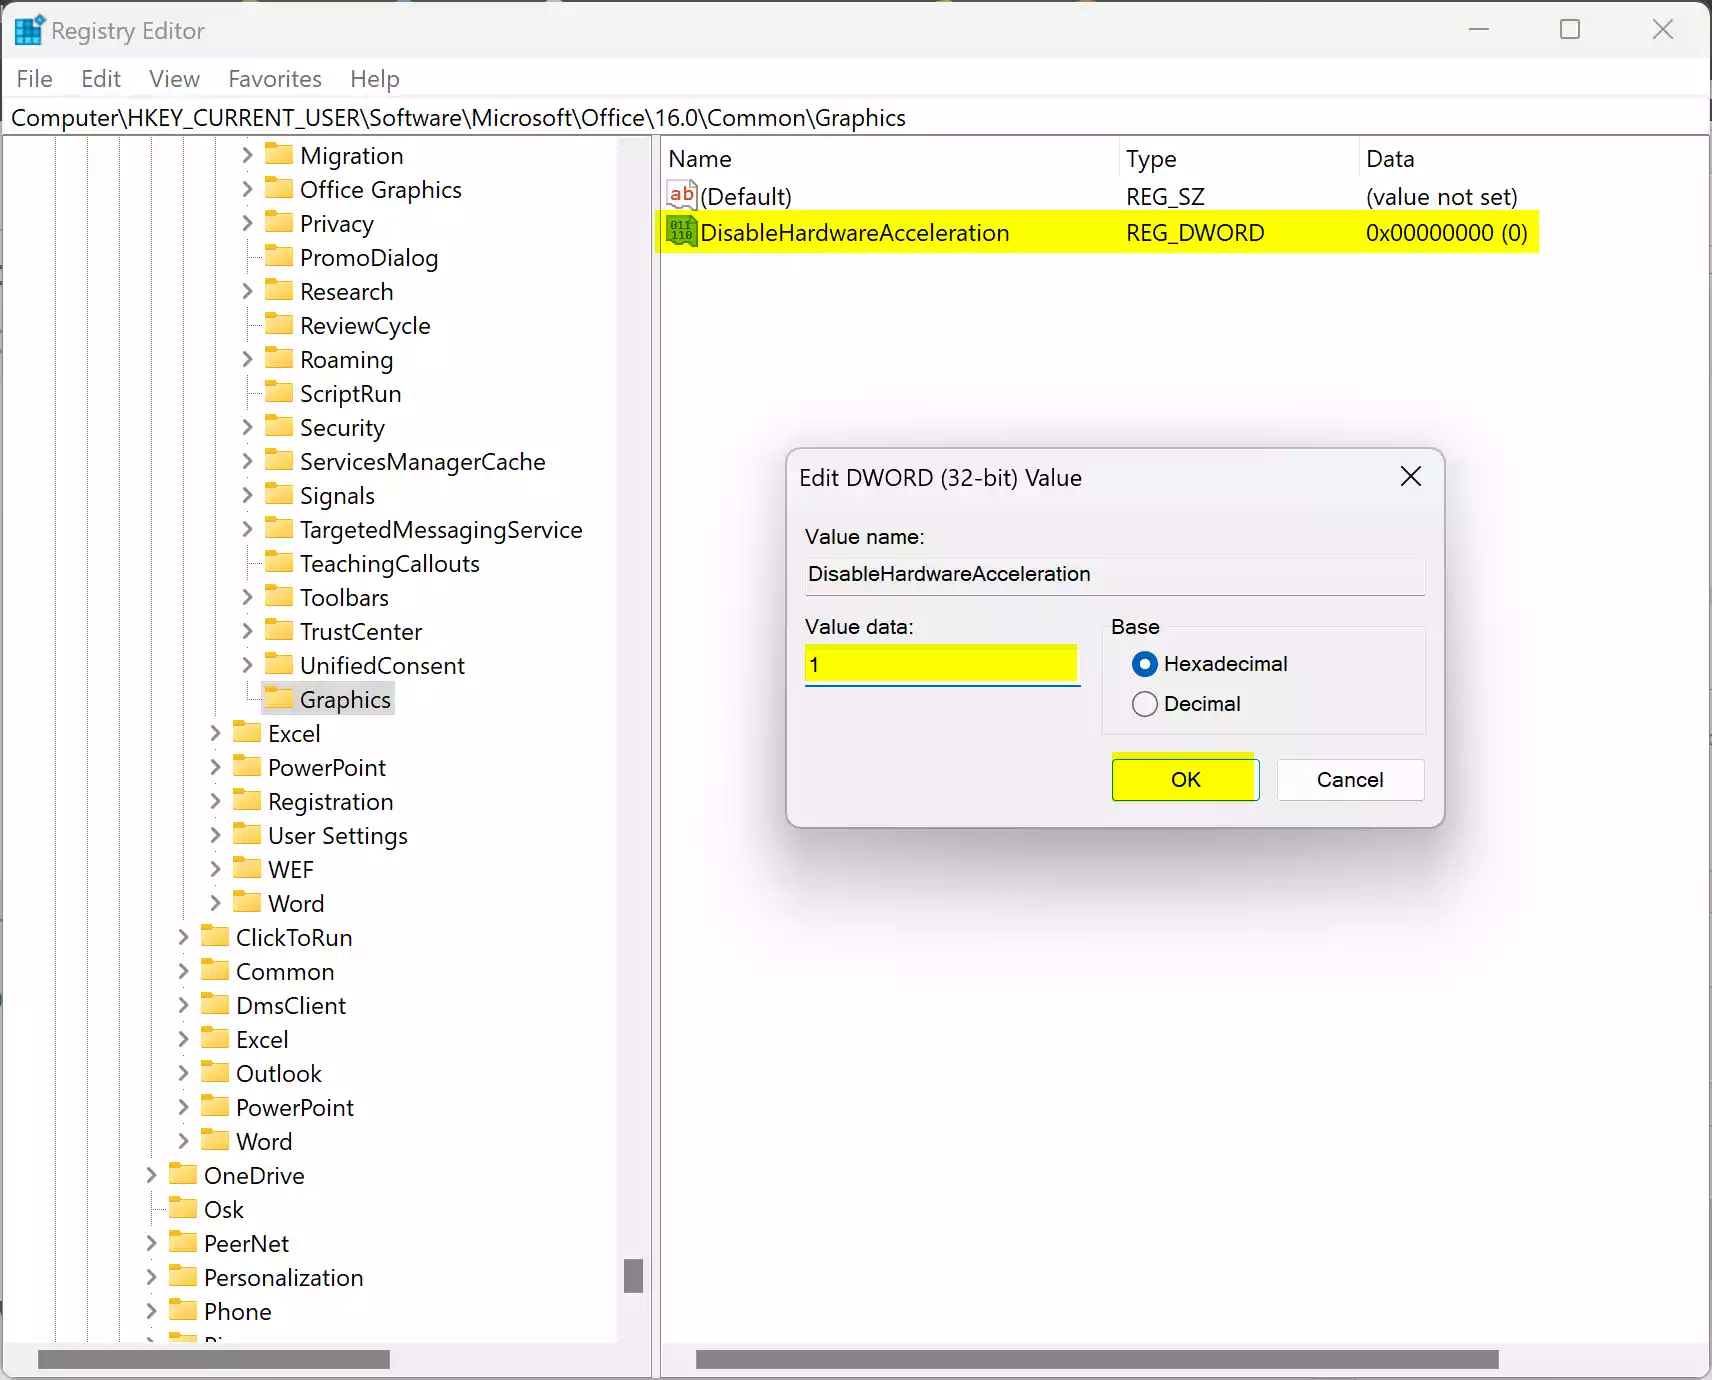
Step 8. Double-click on the “DisableHardwareAcceleration” DWORD value.
Step 9. In the “Edit DWORD (32-bit) Value” dialog box, change the “Value data” from 0 to 1.
Step 10. Click “OK” to save the changes and close the dialog box.
Step 11. Close the Registry Editor.
Step 12. Restart your PC to apply the changes.
Conclusion
Disabling hardware graphic acceleration in Office 2019, 2016, 2013 and 2010 can help resolve issues such as crashes, slowness, and blurred text. By following the methods outlined in this guide, users can easily adjust the settings to suit their preferences and ensure a smoother experience when using Microsoft Office applications. Whether through the Office application settings or registry tweaks, users have the flexibility to optimize their Office environment for better performance and stability.