The Windows Recovery Environment, commonly referred to as WinRE, is a crucial feature in Windows operating systems that helps users troubleshoot and repair various issues with their computers. It provides tools and utilities to recover from system crashes, repair startup problems, restore system backups, and perform other essential tasks to keep your system healthy. However, there may be situations where you want to disable WinRE. In this gearupwindows article, we’ll discuss the reasons for disabling WinRE and provide step-by-step instructions on how to do it.
Why Disable WinRE?
While the Windows Recovery Environment is a valuable tool for most users, there are some situations where disabling it might be necessary or desirable:-
- Security Concerns: WinRE can potentially be exploited by malicious actors to access your system and perform unauthorized actions. If you have a heightened security concern, you might choose to disable it.
- Disk Space: WinRE requires some disk space to function, and on systems with limited storage capacity, you may want to disable it to free up that space.
- Unwanted Recovery Options: If you believe that certain recovery options are not needed or would be better managed through alternative means, you may choose to disable WinRE.
How to Check Windows Recovery Environment Status?
Before proceeding with disabling WinRE, it’s a good idea to check its current status. You can determine whether WinRE is enabled or disabled by following these steps:-
Step 1. Press Win + R to open the Run dialog box.
Step 2. Type “cmd” and press Ctrl+Shift+Enter to open the Command Prompt as an administrator.
Step 3. In the Command Prompt, type the following command and press Enter:-
reagentc /info
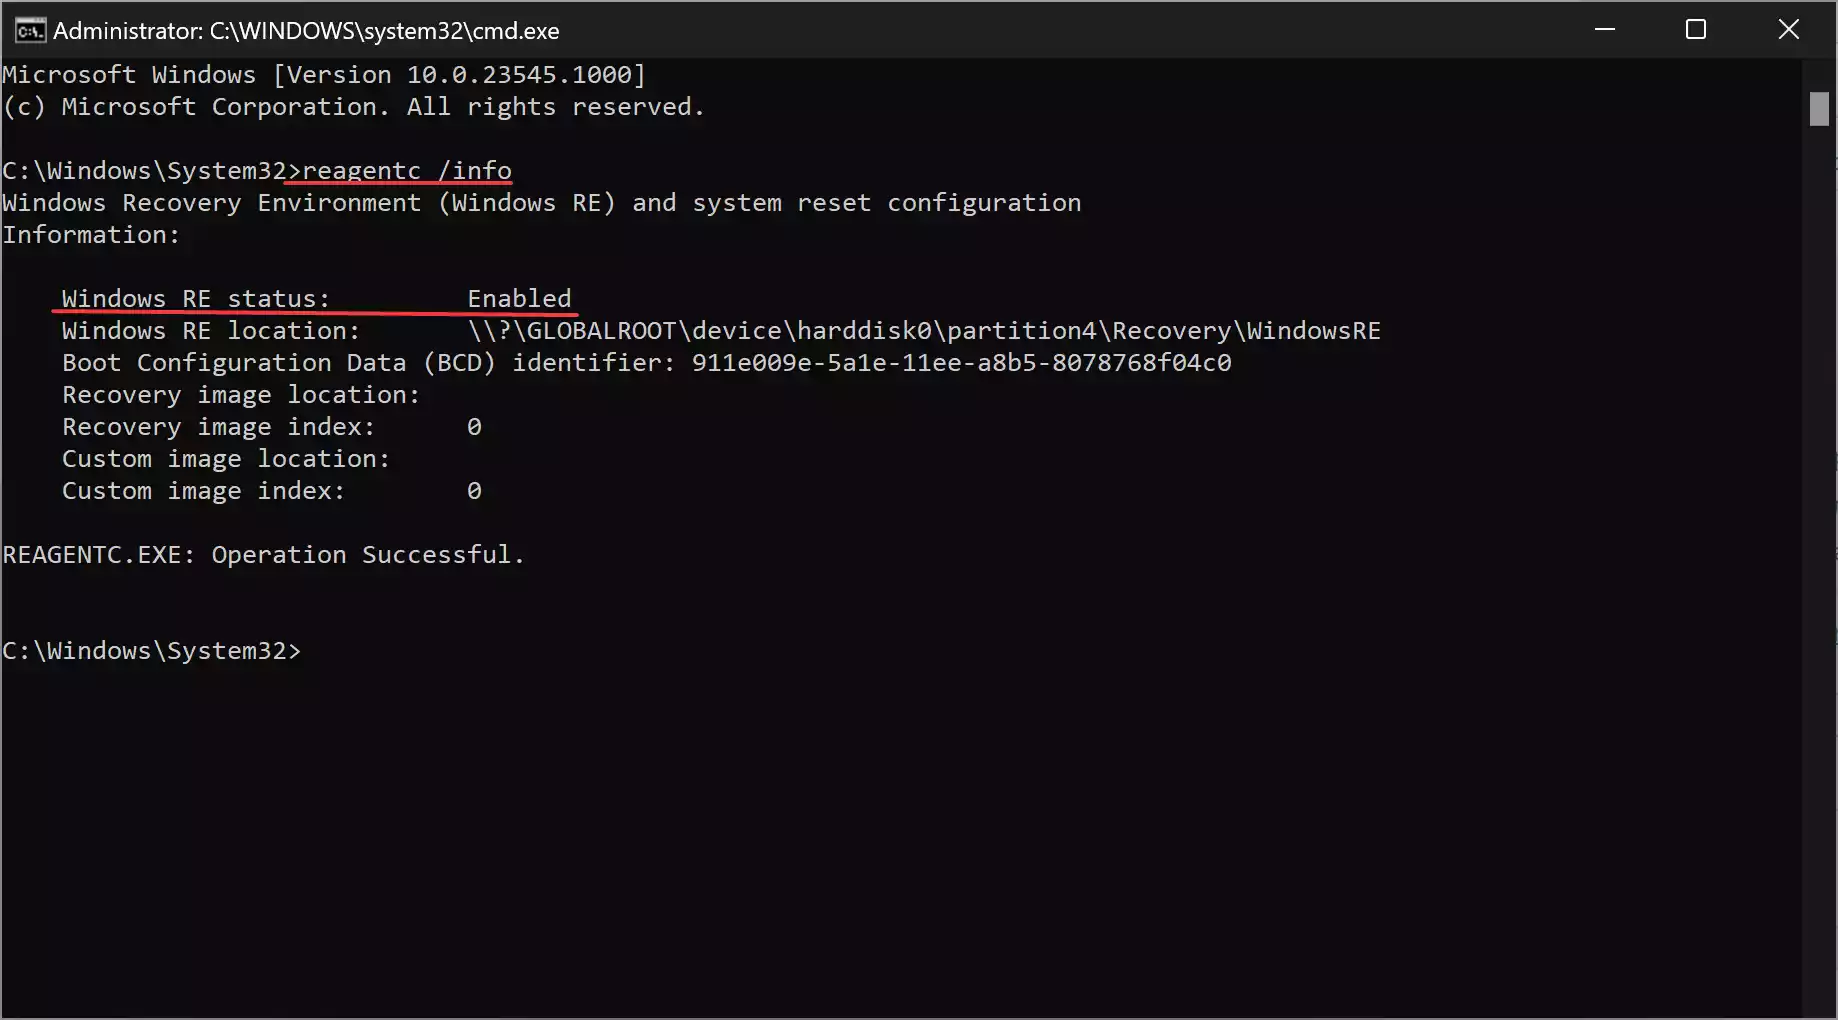
You will receive a detailed status report of the Windows Recovery Environment, including whether it’s enabled or disabled. Look for the “Windows RE status” section in the output.
How to Disable Windows Recovery Environment?
Please note that disabling WinRE involves making changes to your system settings, and it should be done with caution. Before proceeding, it’s advisable to create a backup of your important data and have a recovery plan in case something goes wrong.
Here are the steps to disable WinRE:-
Step 1. Press `Win + X` and select “Command Prompt (Admin)” or “Windows Terminal (Admin)” from the menu to open an elevated command prompt.
Step 2. In the command prompt, type the following command and press Enter:-
reagentc /disable

Step 3. You will receive a message indicating whether the operation was successful or not. If successful, WinRE will be disabled.
Step 4. Restart your computer to apply the changes.
How to Re-Enable WinRE?
If you ever want to re-enable WinRE, follow these steps:-
Step 1. Open an elevated Command Prompt or Windows Terminal as described above.
Step 2. In the command prompt, type the following command and press Enter:-
reagentc /enable
Step 3. You will receive a message indicating whether the operation was successful or not.
Step 4. Restart your computer to apply the changes.
Conclusion
Disabling Windows Recovery Environment (WinRE) can be necessary in specific situations, such as security concerns, limited disk space, or the desire to manage recovery options differently. However, it’s crucial to remember that WinRE is a valuable tool for system recovery and troubleshooting, and disabling it should be done with caution. Always have a backup plan and consider the potential consequences of disabling this feature before proceeding.
