Microsoft Word and Excel are two of the most widely used productivity tools, and they offer a plethora of features to help you create professional documents and spreadsheets. One powerful feature that often goes unnoticed is the ability to embed Excel tables in Word documents. This feature allows you to seamlessly integrate data from Excel into your Word document, providing a dynamic and visually appealing way to present information. In this comprehensive guide, we will walk you through the process of embedding Excel tables in Word to make the most of this functionality.
Why Embed Excel Tables in Word?
Embedding Excel tables in Word offers several advantages:-
- Dynamic Data: When you embed an Excel table, any changes made to the original Excel file will automatically reflect in the embedded table in Word. This ensures that your Word document always contains the most up-to-date information.
- Data Integrity: Embedding maintains the integrity of your data. You won’t need to manually copy and paste data, reducing the risk of errors.
- Customization: You can easily format and style the embedded Excel table to match the overall design of your Word document. This allows for a cohesive and polished look.
- Interactivity: Embedded Excel tables in Word can be manipulated directly within the Word document. You can sort, filter, and perform basic calculations without leaving Word.
How to Embed an Excel Table in Word?
Let’s go through the step-by-step process of embedding an Excel table into a Word document:-
Step 1. Open your Excel file containing the table you want to embed.
Step 2. Select the entire table by clicking and dragging over it or clicking the cell in the top-left corner of the table and using the “Ctrl+A” (Windows) or “Command+A” (Mac) keyboard shortcut.
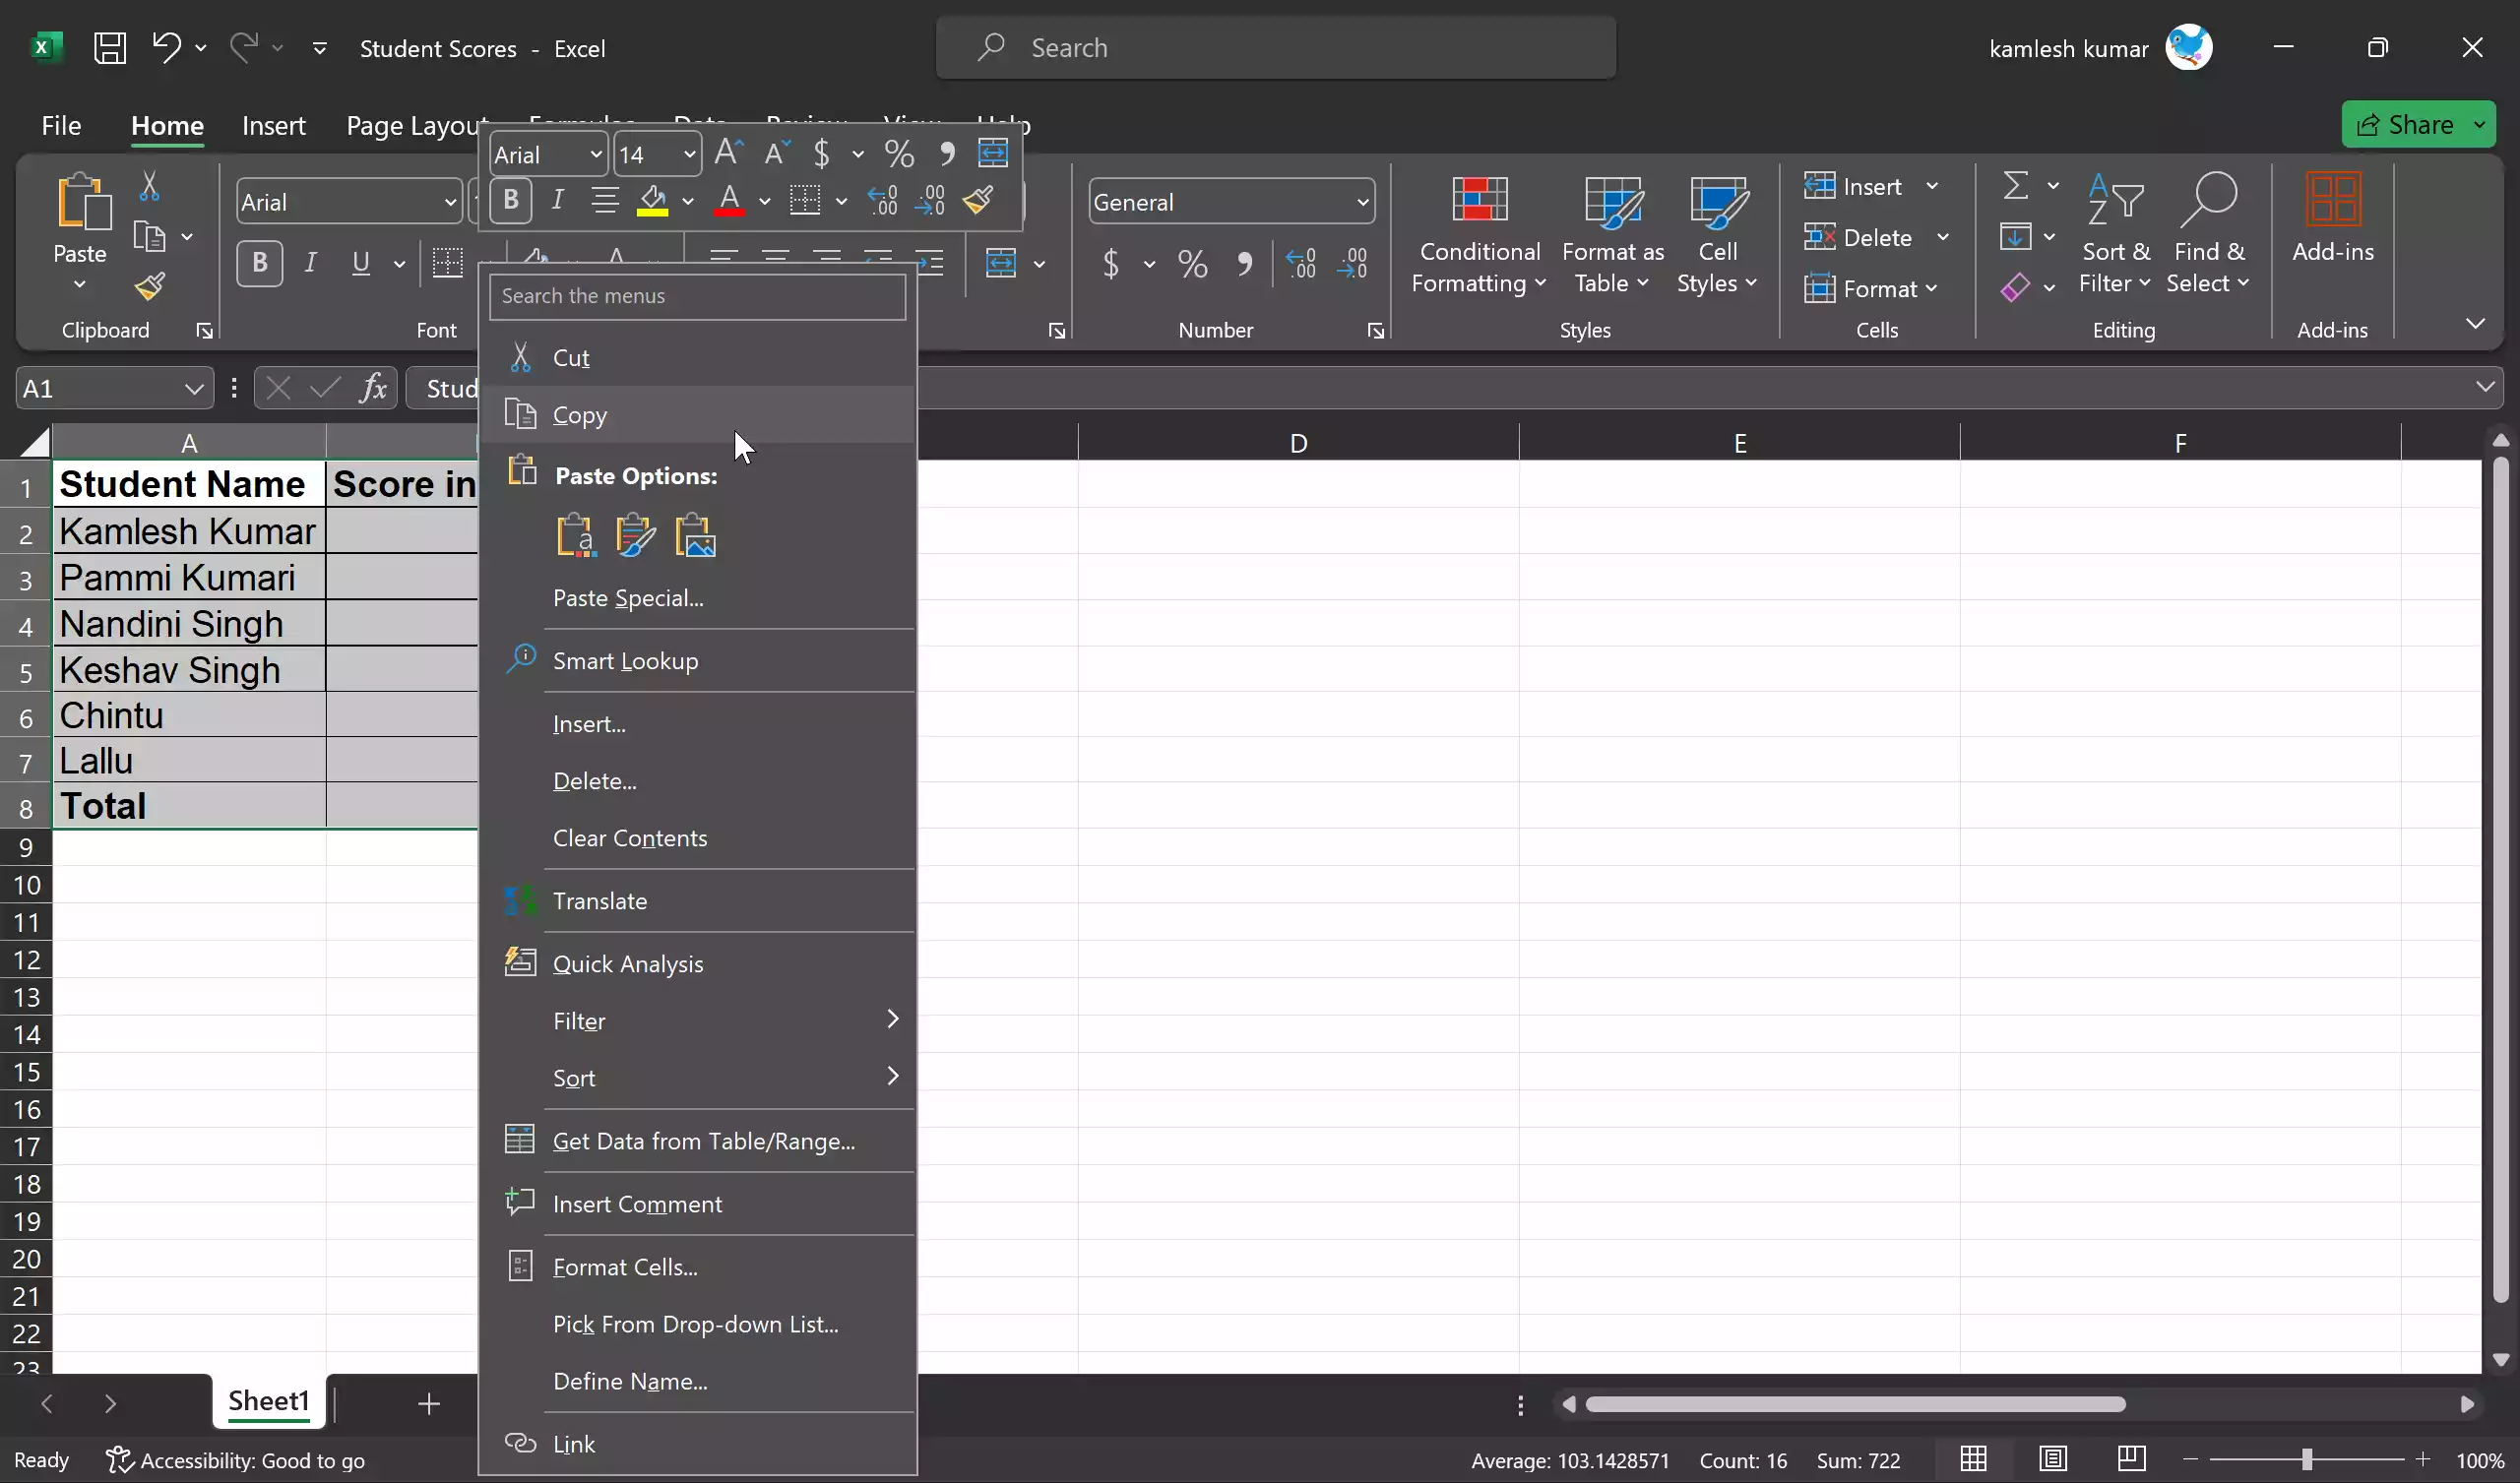
Step 3. Copy the selected table by right-clicking and choosing “Copy” or using the “Ctrl+C” (Windows) or “Command+C” (Mac) keyboard shortcut.
Step 4. Open your Word document where you want to embed the Excel table.
Step 5. Place your cursor at the location in the document where you want to insert the table.
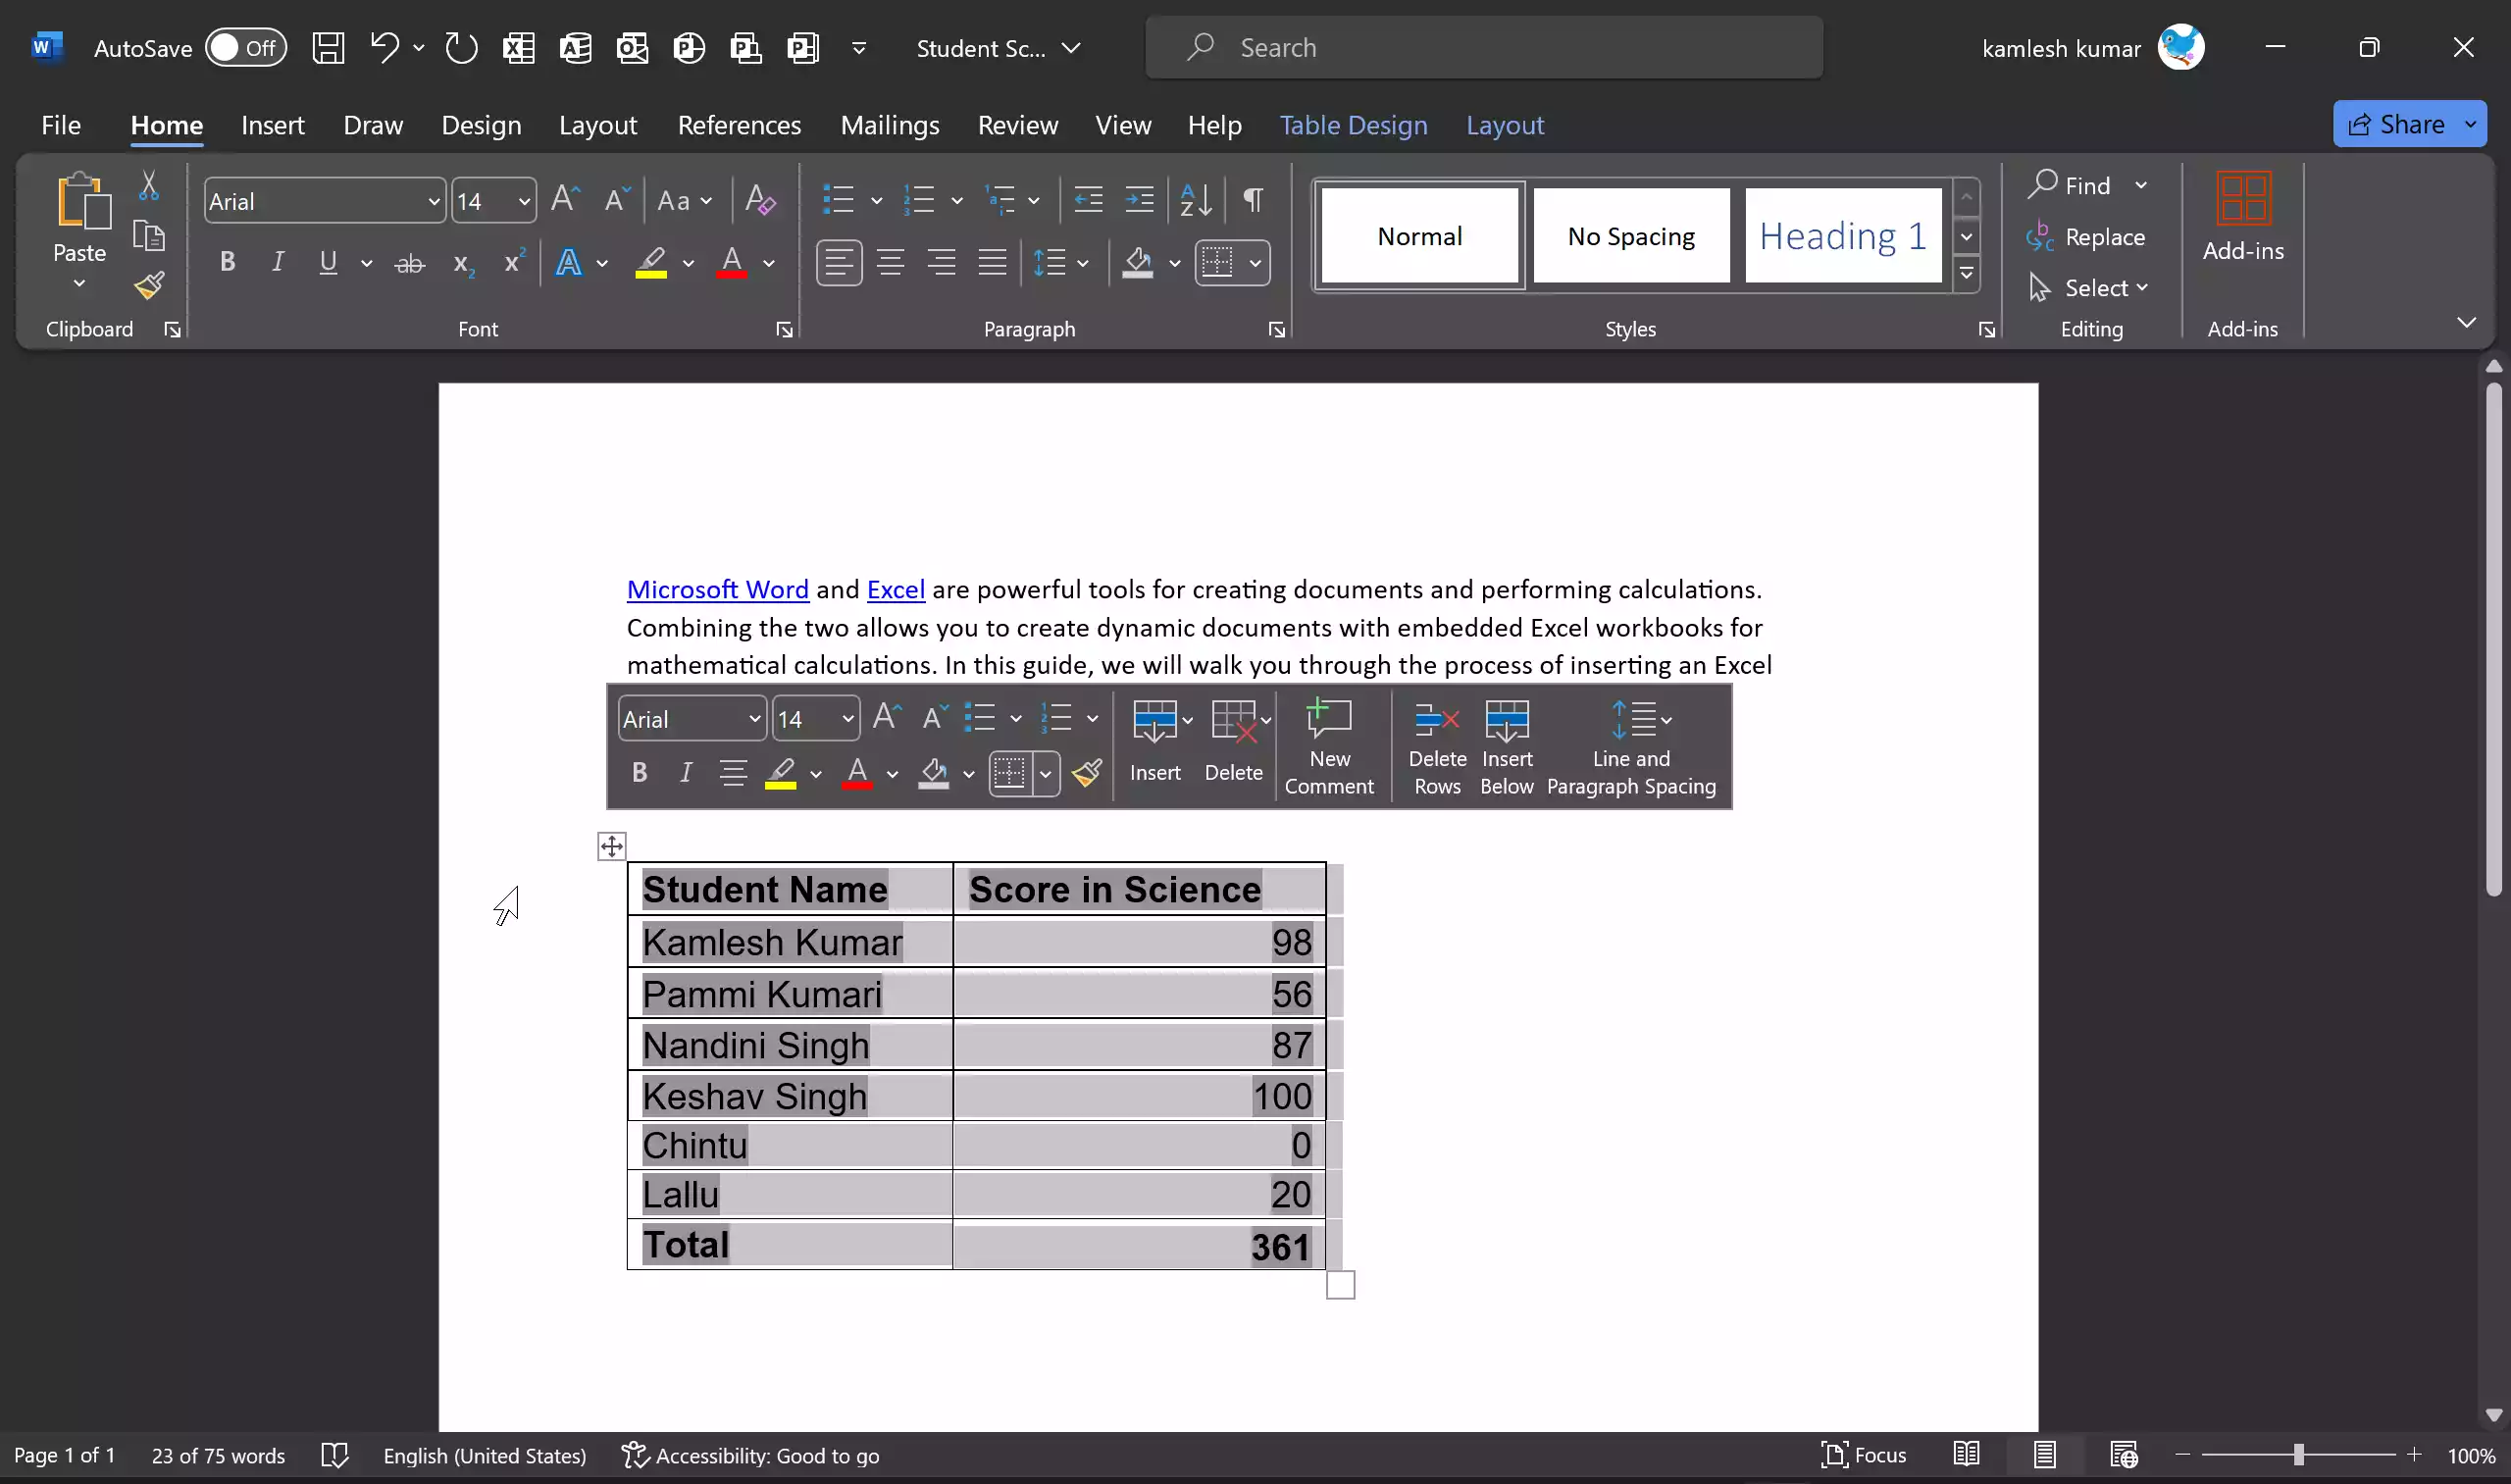
Step 6. Paste the Excel table into Word by right-clicking and selecting “Use Destination Theme & Link Data (L)” or “Keep Source Formatting & Link Data (F).”

Step 7. The Excel table will now be embedded in your Word document.

Step 8. To adjust the formatting of the embedded table, select the table in Word. You can use Word’s formatting tools, such as changing fonts, colors, and borders, to match the table’s appearance with the rest of your document.
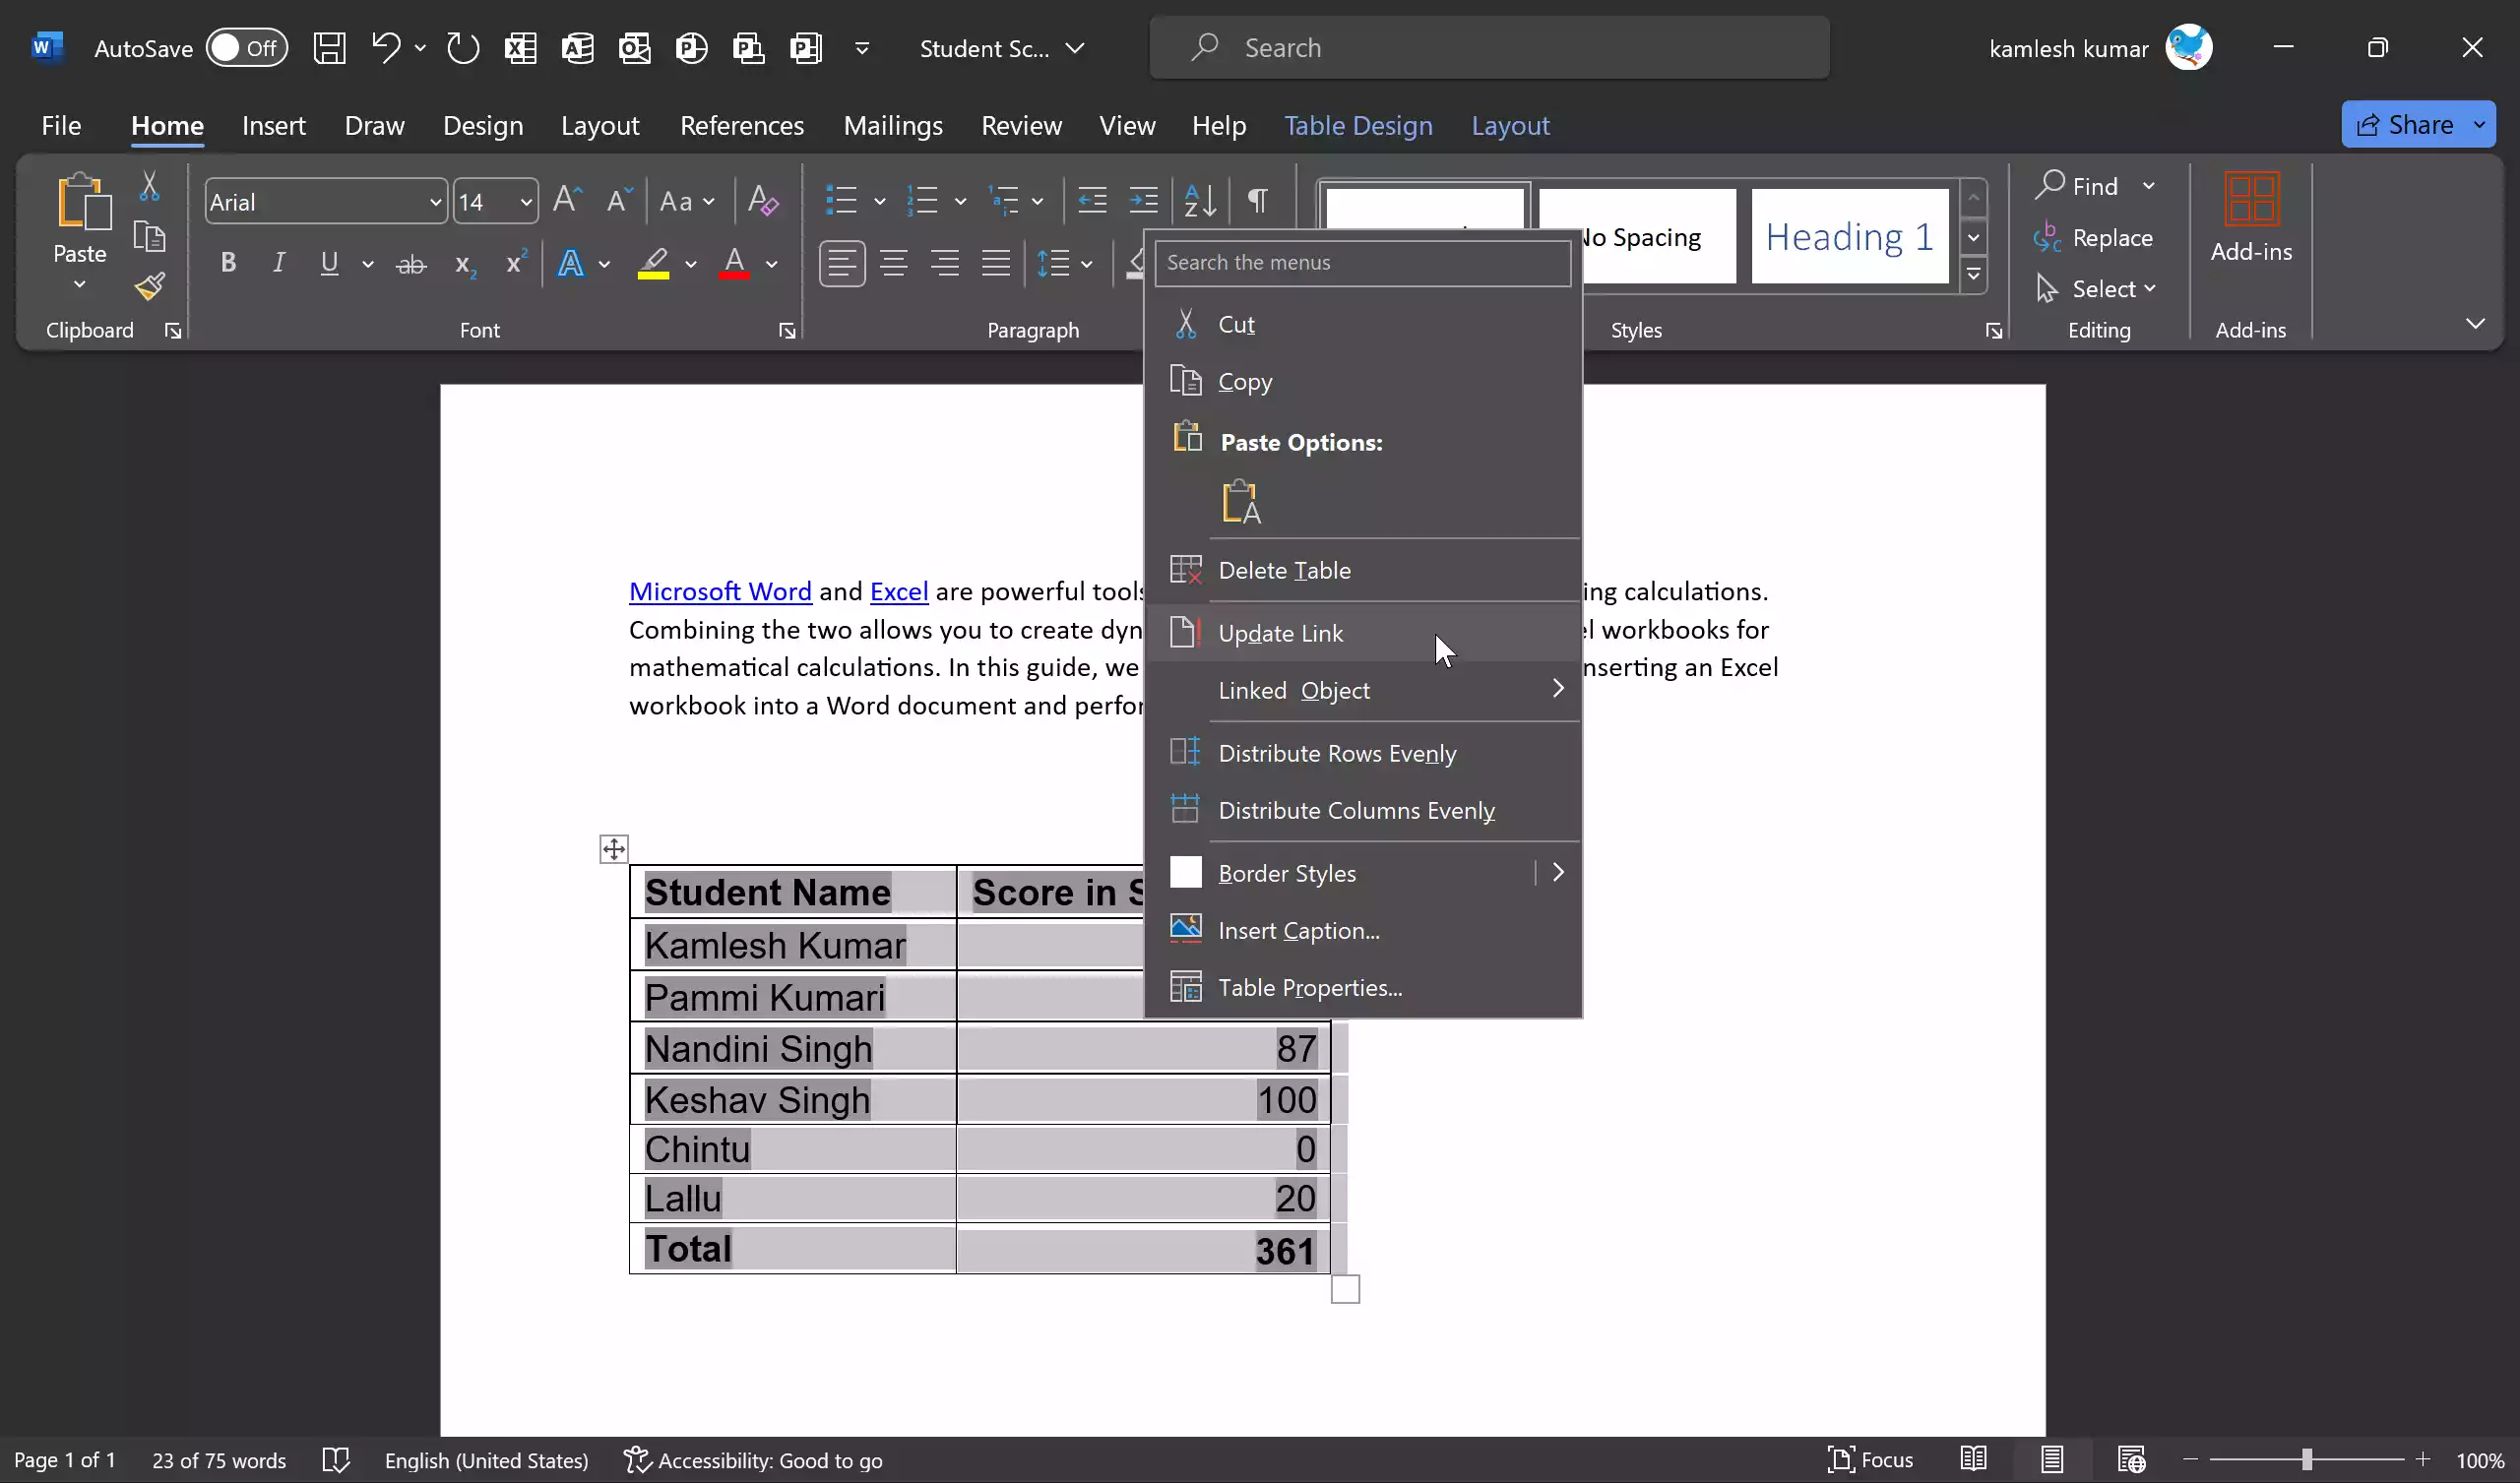
Step 9. If you make changes to the original Excel table, you can update the embedded table in Word to reflect these changes. Simply right-click the embedded table in Word and choose “Update Link.”
Conclusion
Embedding Excel tables in Word is a valuable feature that streamlines the process of including dynamic data in your documents. Whether you’re creating reports, manuals, or any other type of document that requires data integration, mastering this feature can save you time and enhance the quality of your work. By following the steps outlined in this guide and exploring the advanced tips and tricks, you can take full advantage of this powerful functionality and create professional, data-rich documents with ease.