How to turn on or turn off animations in Windows 11? Windows 11 comes with many visual changes, and out of those, one is animation effects that might slow down your PC performance. By turning off this feature, you can slightly boost your PC performance. Although animation effects make Windows 11 desktop look great, you have to sacrifice some performance. By enabling this feature, you might notice a slight delay in some activities and actions.
Windows 11 includes animation and fading effects for eye candy but makes your PC feel sluggish by adding a slight delay to specific actions. If you are using older computers or have fewer GiGs of RAM or a slow processor, turning off animations might help gear up the performance and speed of your PC. If you need performance on a slow PC, then you have to sacrifice animations.
How to Allow or Disallow Animations in Windows 11 using the Settings app?
To enable or disable animation effects on Windows 11, you need to perform the following steps:-
Step 1. Press Windows + I keys altogether from your keyboard to open the Settings app.
Alternatively, click on the Windows icon on the taskbar or press the Windows key from the keyboard and then click on the Settings gear icon.
![]()
Step 2. When the Settings window opens, select the Accessibility category from the left side and then click on the Visual effects tab on the right-hand side of it.
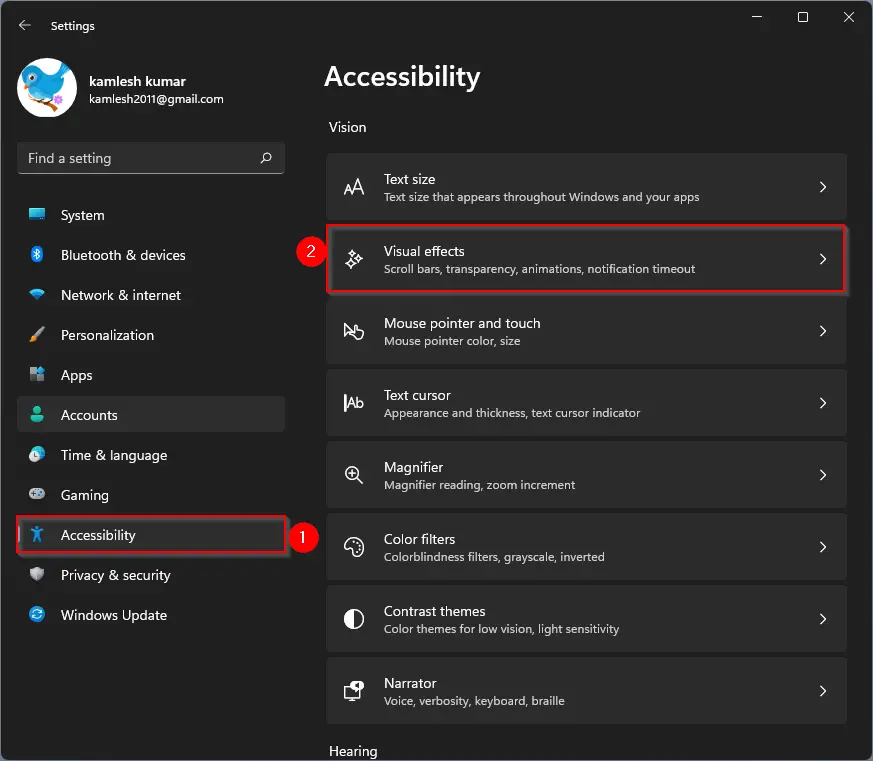
Step 3. Now, turn the toggle switch off or on next to the Animation effects, depending on your needs.

If you turn off the animation effects, you will enjoy a snappier Windows experience. Those Windows users who love animation effects may keep this setting turned on.
It’s pretty easy. Let me know if you use the animation feature on Windows 11.
If you want better performance on your PC, we recommend turning off Transparency Effects on your Windows 11 PC.
How to Enable or Disable Animation Effects in Windows 11 through Control Panel?
To enable or disable animation effects in Windows 11 using Control Panel, do the following:-
Step 1. First, open the Control Panel.
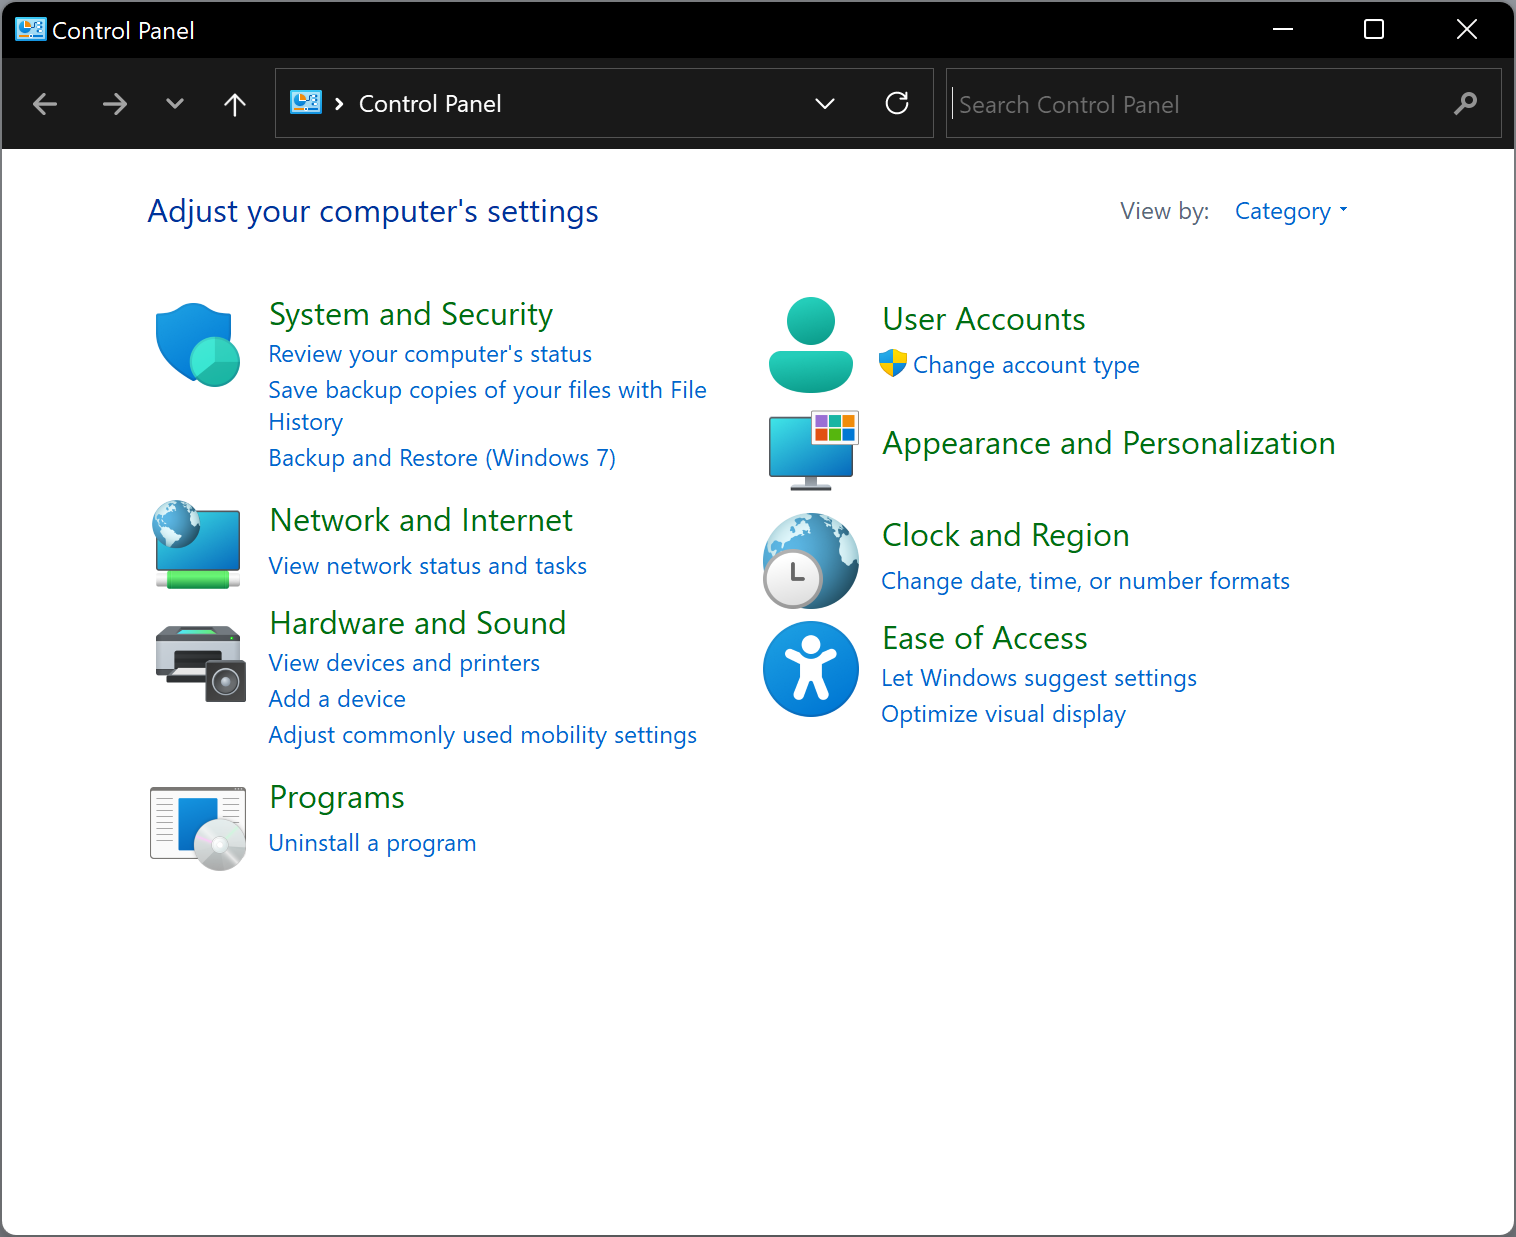
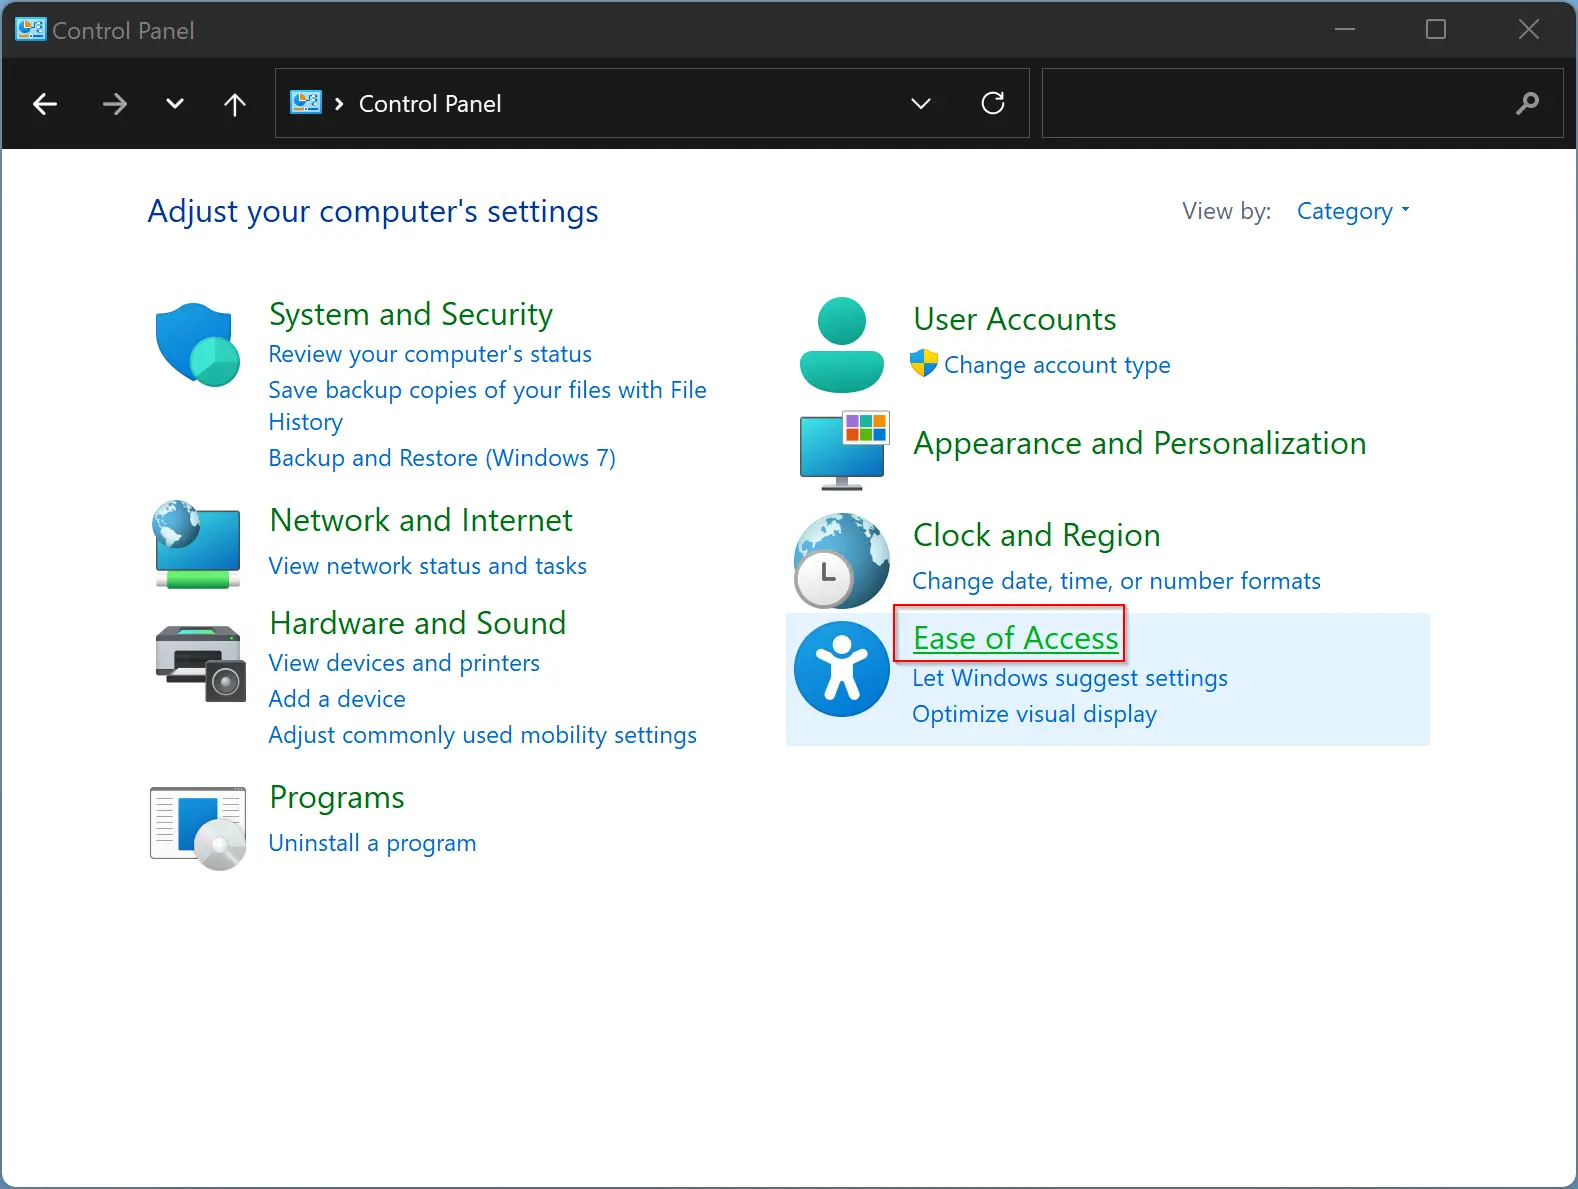
Step 2. In the Control Panel window, select Ease of Access.
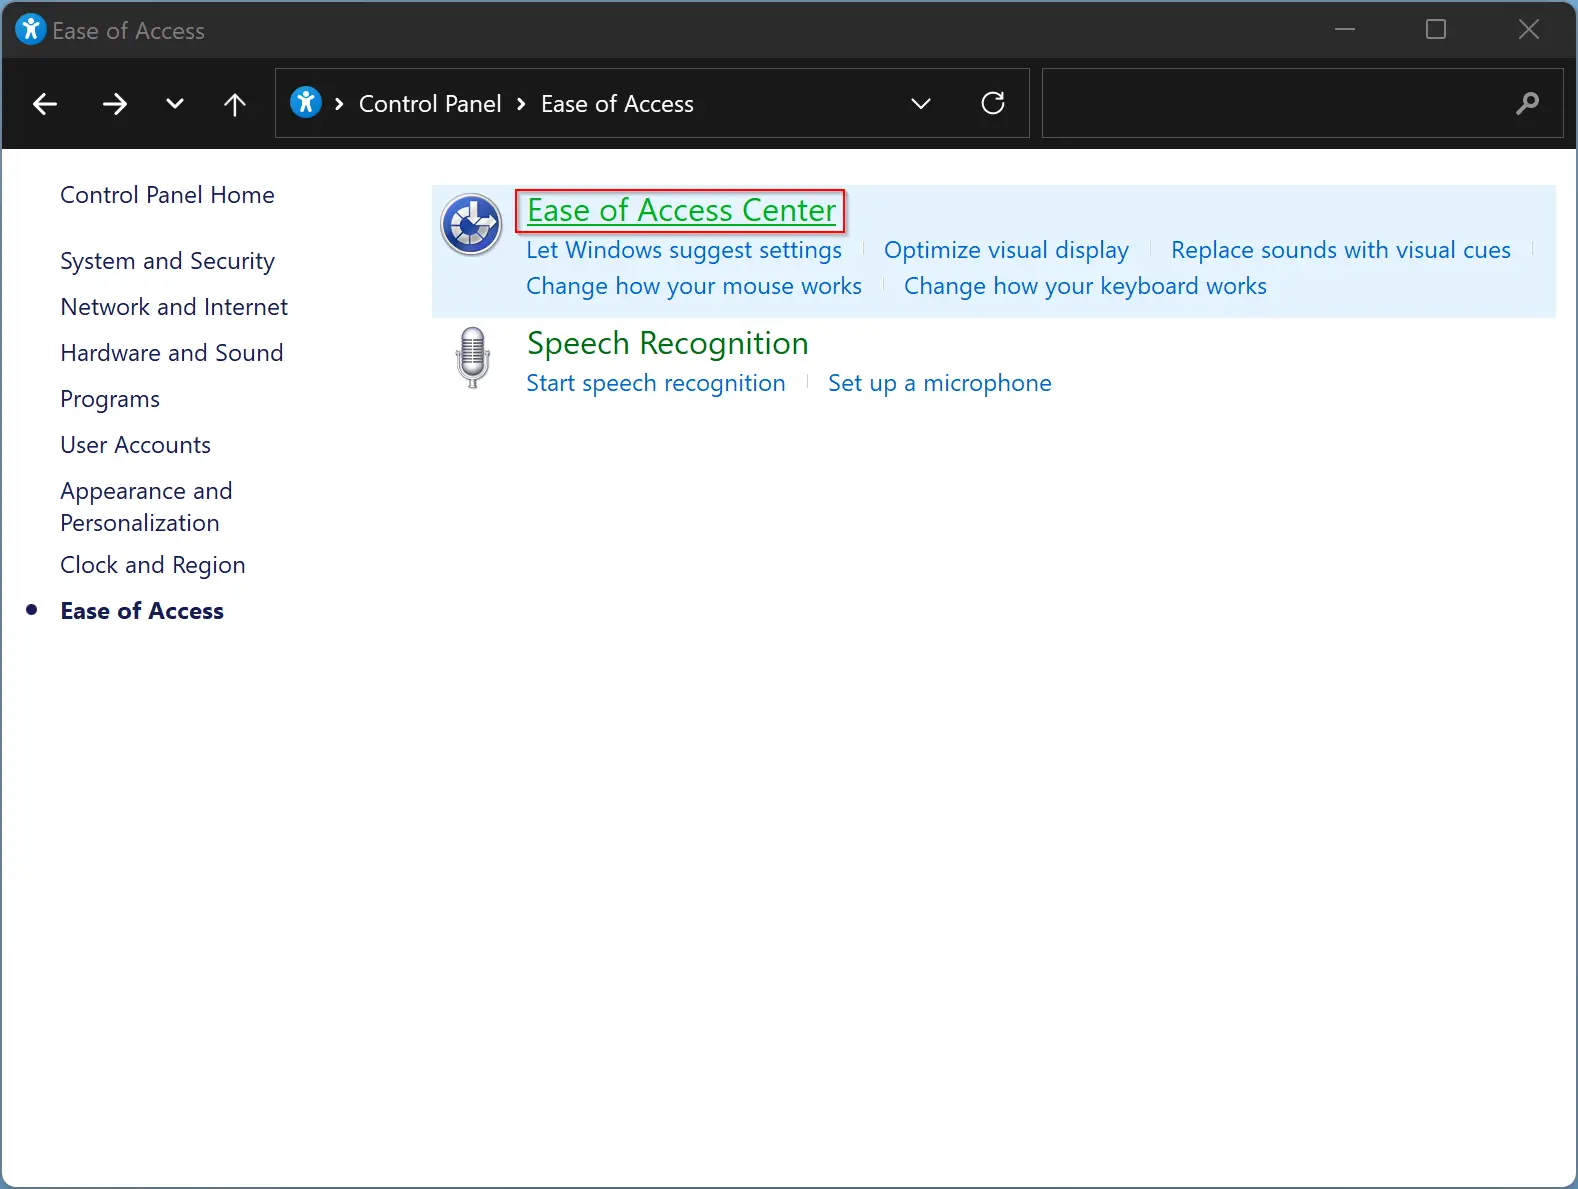
Step 3. After that, click Ease of Access Center.
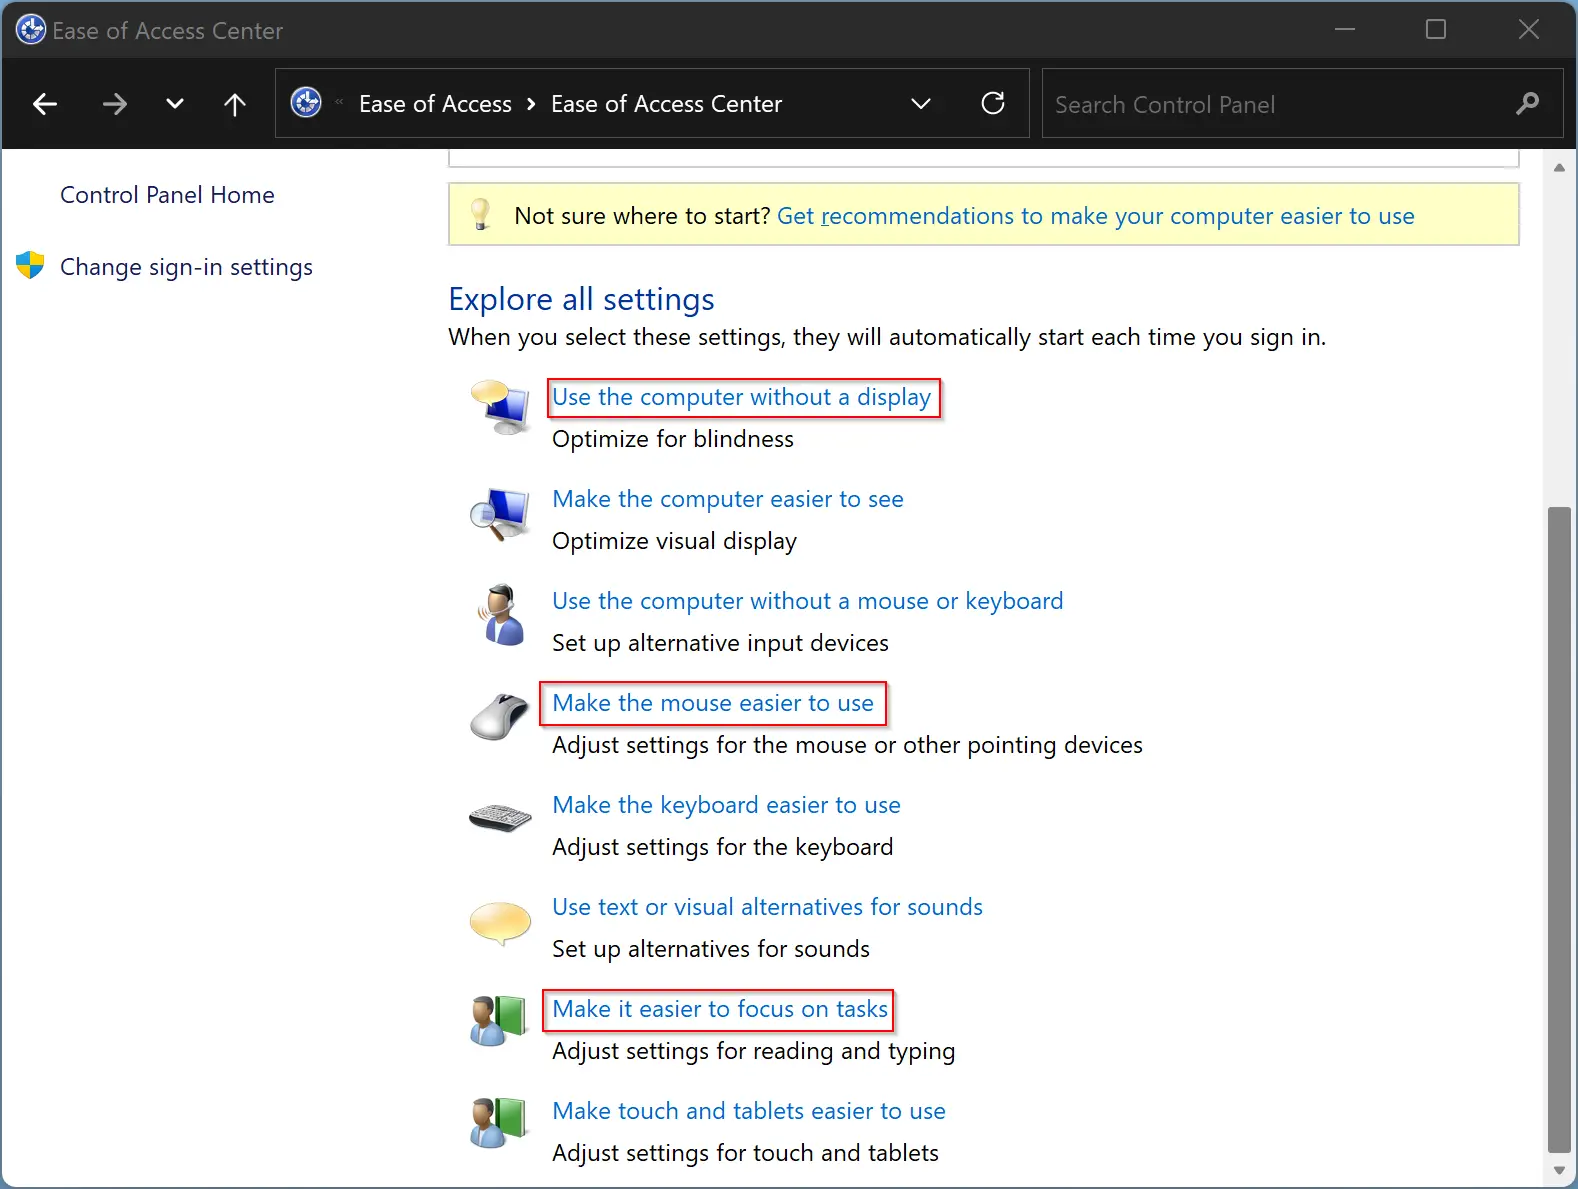
Step 4. Next, in the following window, click on either “Use the computer without a display,” “Make the computer easier to see,” or “Make it easier to focus on tasks.”
Step 5. After that, scroll down under the “Make it easier to focus on tasks” window. Check or uncheck the checkbox “Turn off all unnecessary animations (when possible).” When this option is checked, all animations will be disabled by Windows 11. To enable the animations, you need to uncheck this option.
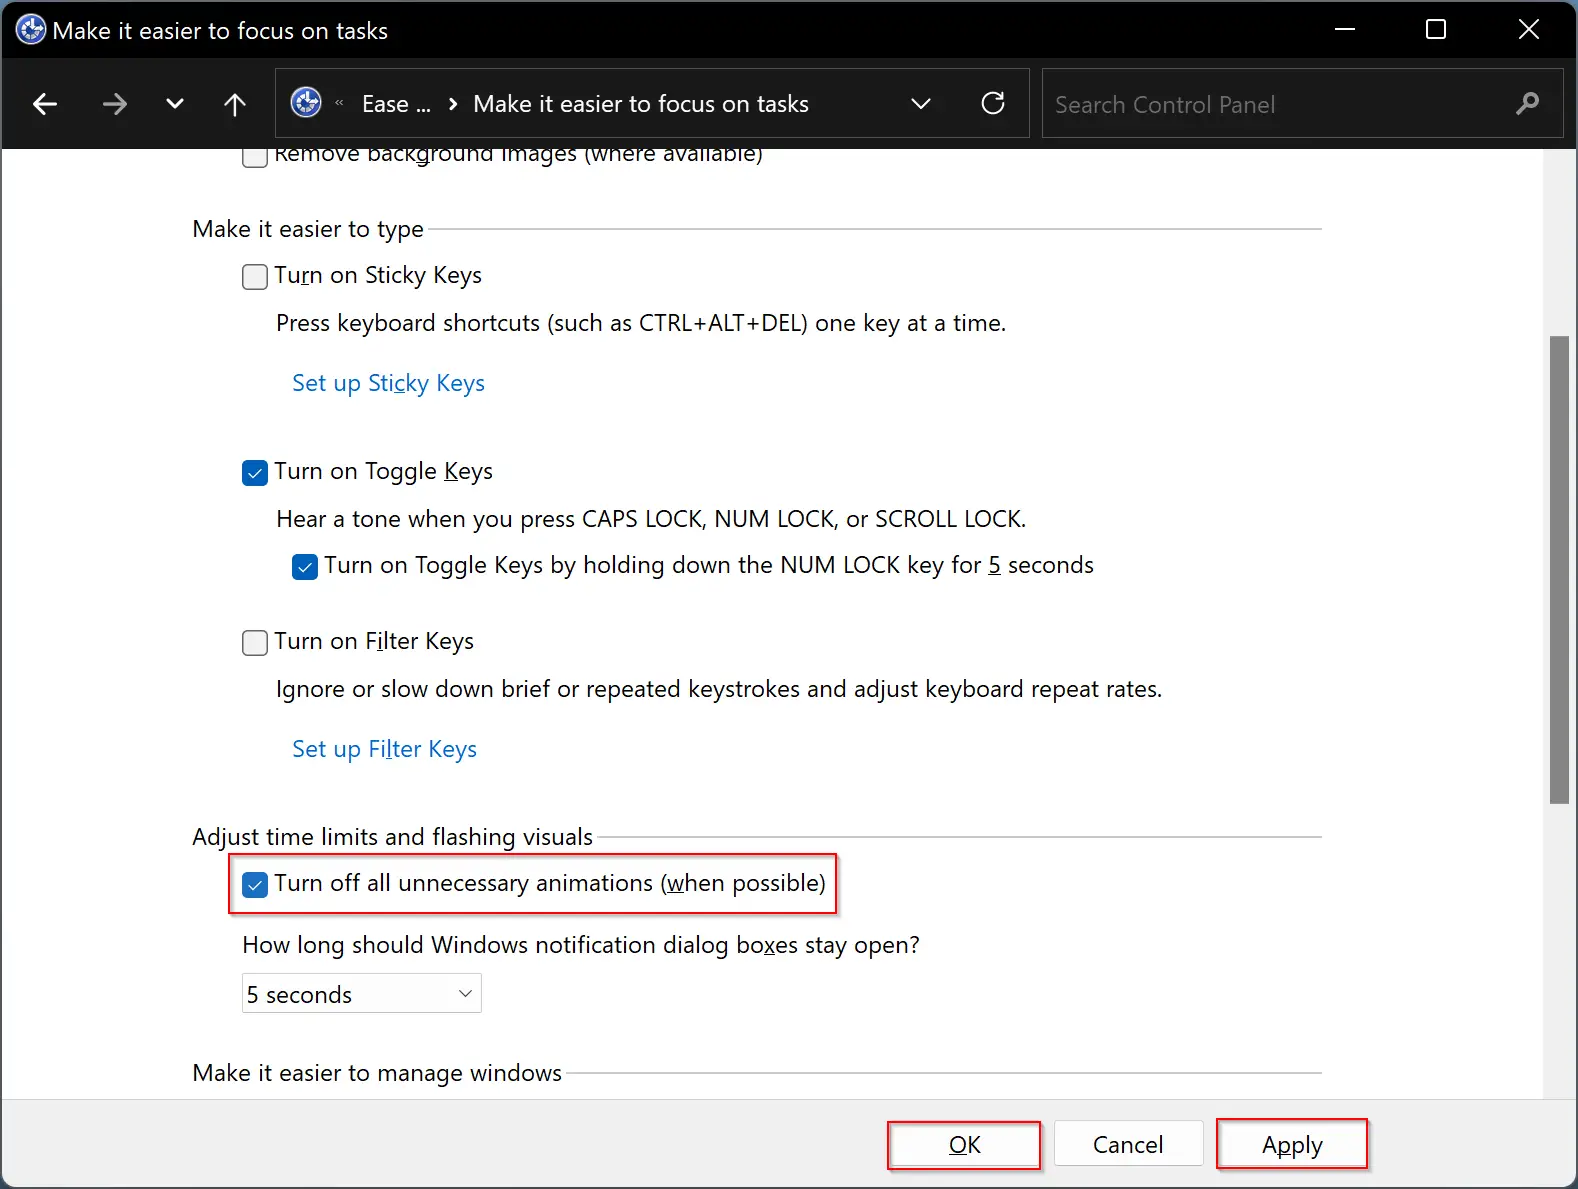
Step 6. When you’re done, click the Apply and then OK button.
How to Turn On or Off Animation Effects in Windows 11 via Performance Options?
Follow these steps to enable or disable Animation Effects in Windows 11 via Performance Options:-
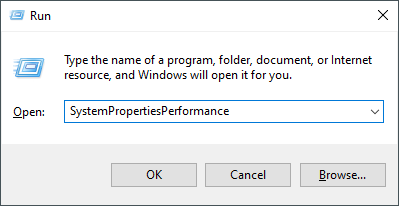
Step 1. Press Windows + R keys from the keyboard to open the Run dialog box.
Step 2. In the Run box, type the following and then hit Enter from the keyboard to open the Performance Options panel:-
SystemPropertiesPerformance
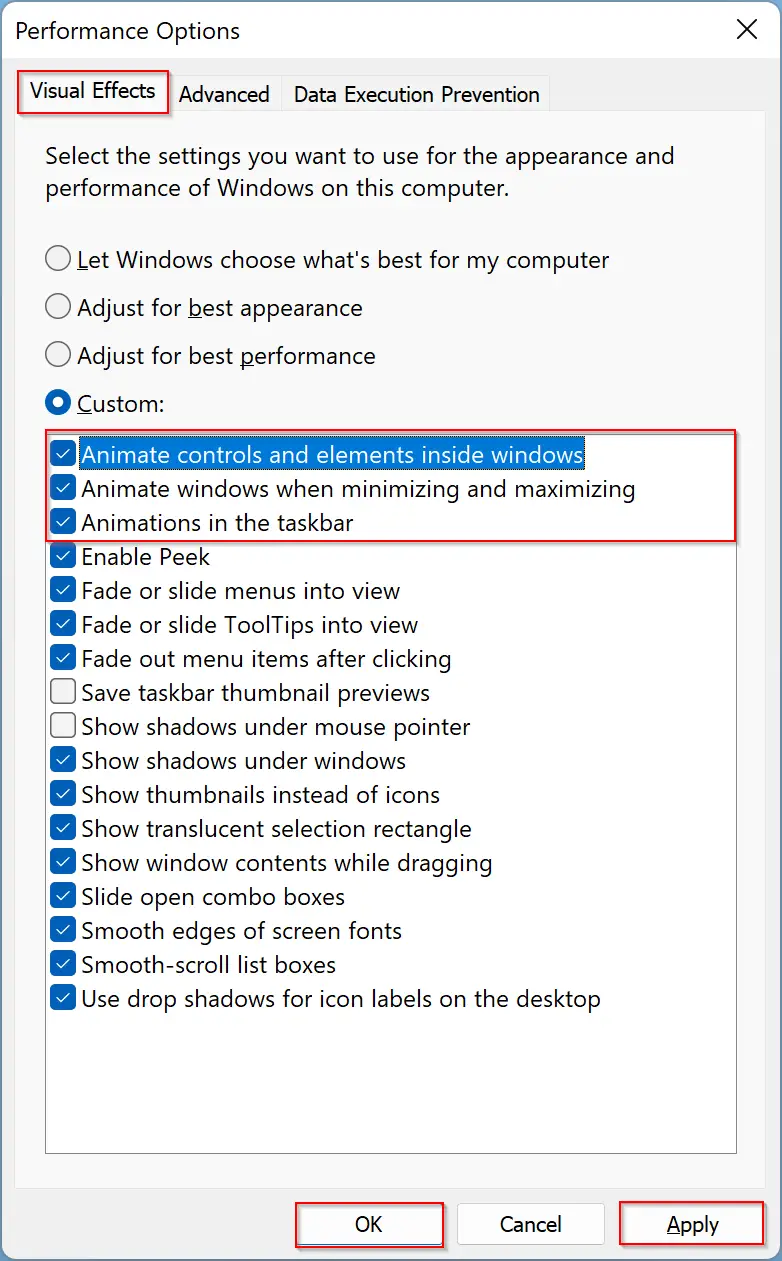
Step 3. When the Performance Options window opens, navigate to the “Visual Effects” tab. Then check or uncheck these options to turn on or turn off Animation Effects in Windows 11:-
- Animate controls and elements inside windows,
- Animate windows when minimizing and maximizing, and
- Animations in the taskbar
That’s it!
Conclusion
In conclusion, Windows 11 brings many visual changes to the desktop environment, including animation effects. Although these effects make the desktop look great, they can cause a slight delay in specific actions and affect PC performance, especially on older computers or those with fewer resources. Disabling animation effects can help boost PC performance, but it comes at the cost of sacrificing aesthetic appeal. Fortunately, Windows 11 provides various options to enable or disable animation effects, and users can choose the best option that suits their needs.