How to turn on or turn off transparency effects in Windows 11? Windows 11 comes with a lot of features. One can reset Windows 11 without erasing personal data and even convert JPG or PNG images to PDF.
Windows 11 now includes a new transparency effects feature that makes it slightly transparent to some window backgrounds, taskbar, and menus. All Windows users might not prefer transparency effects; hence Microsoft has provided an option to turn it off and turn it on. That means, if you don’t like this functionality, you can easily disable translucent interface elements in Windows 11 with the flip of a toggle switch. However, this feature remains turned on by default.
Using the powerful Settings app, you can enable or disable transparency effects on Windows 11 with ease. Let’s see how?
How do I Enable or Disable Transparency Effects in Windows 11 using the Settings app?
To turn on or turn off the transparency effects feature on Windows 11, perform the following recommended steps:-
First Method:
Step 1. Open the Settings app by pressing Windows + I keys simultaneously from the keyboard.
Alternatively, click on the Start button on the taskbar or press the Windows key from the keyboard and click on the Settings gear icon.
![]()
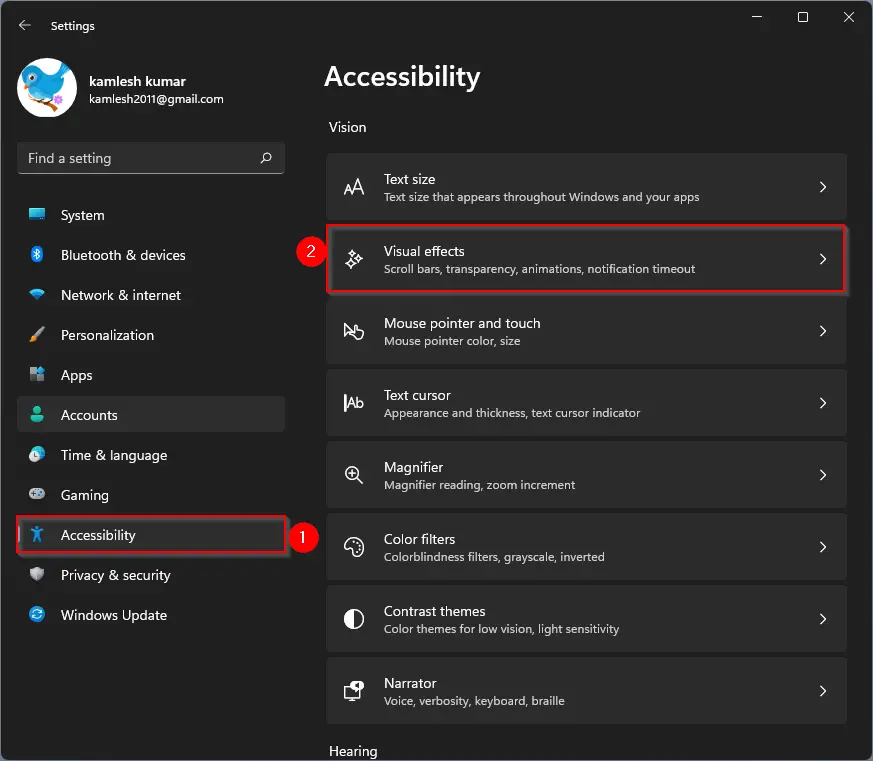
Step 2. In Settings, select the Accessibility category from the left sidebar, and then click on the Visual effects tab on the right-hand side of it.
Step 3. In Visual effects settings, turn off or turn on the toggle switch beside Transparency effects to disable or enable this feature on your Windows 11 PC.
![]()
The changes are immediate, which means once you turn the toggle switch to the On or Off position, you will see the visual changes on the opened settings app. Again, we are attaching the above image when the “Transparency effects” is turned off to compare the transparency.
![]()
Second Method:
Step 1. Open the Settings app by pressing Windows + I keys simultaneously from the keyboard.
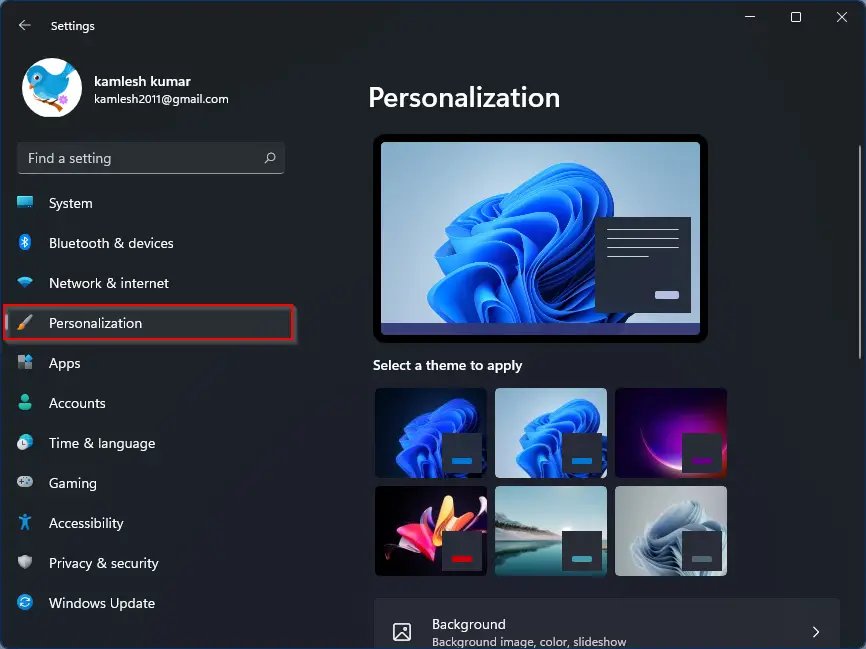
Step 2. When Windows Settings opens, select the Personalization category from the left side pane.
Step 3. Click the Colors tab on the right sidebar.
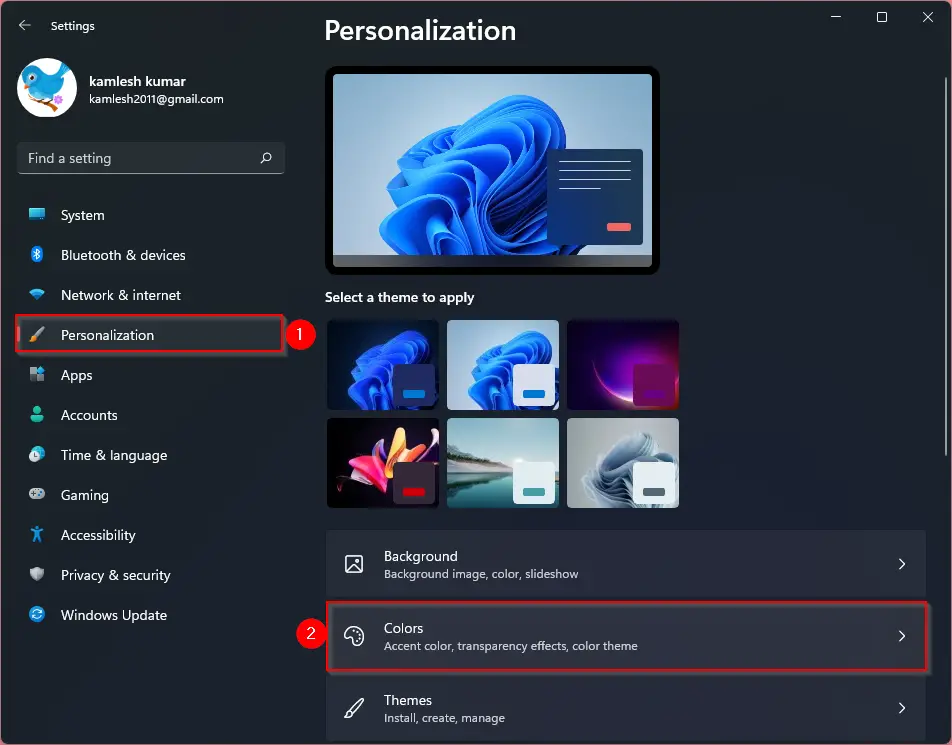
Step 4. Turn the toggle switch On/Off beside the Transparency effects option.
![]()
Once you turn off Transparency effects, Windows 11 will change all transparent windows to opaque. Once you make the desired changes, you can close the settings app.
How to Turn On/Off Transparency Effects in Windows 11 using Registry Editor?
To turn on or turn off transparency effects in Windows 11 using Registry Editor, do the following:-
Step 1. First, open the Registry Editor.
Step 2. When Registry Editor opens, navigate to the following path in the left side pane:-
HKEY_CURRENT_USER\Software\Microsoft\Windows\CurrentVersion\Themes\Personalize
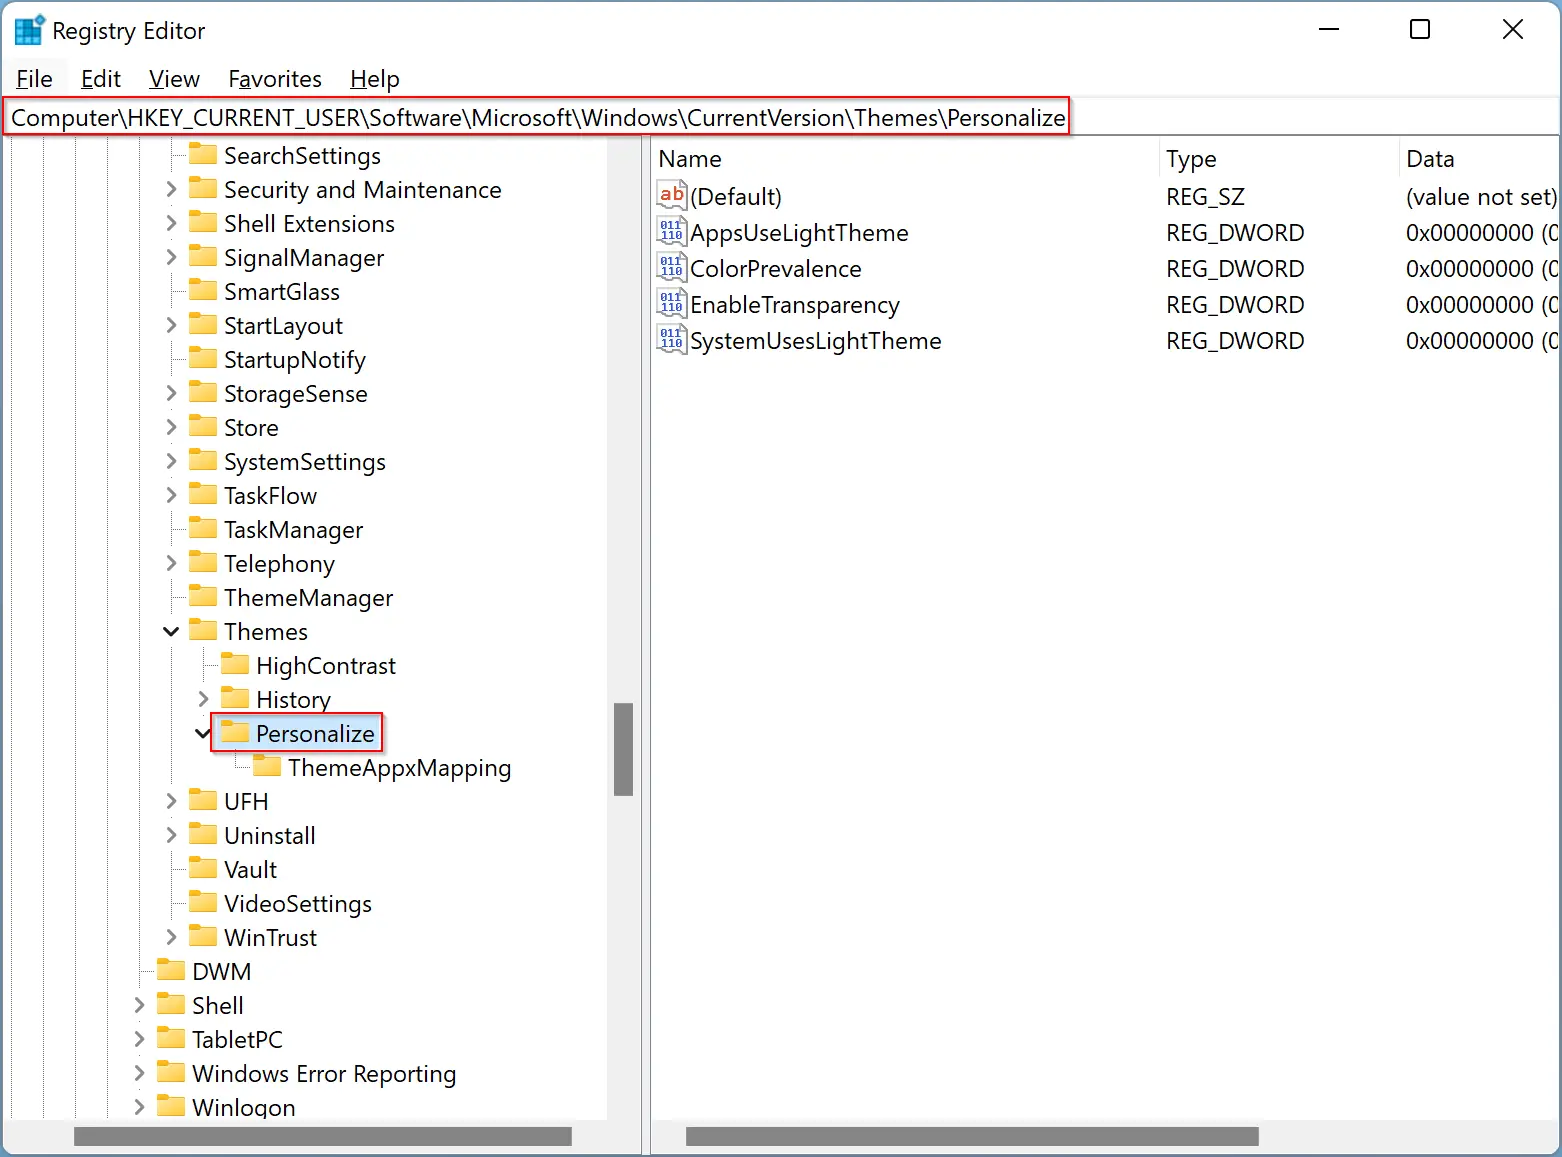
Step 3. On the right side pane, look for DWORD EnableTransparency and then double-click on that to modify it. Enter the following in the “Value data” field:-
- 0 – Disable transparency effect.
- 1 – Enable transparency effect.
![]()
Step 4. When you’re done, click the OK button.
The transparency effect will be enabled or disabled according to your settings when you complete the above steps.
Conclusion
In conclusion, Windows 11 comes with a new feature called transparency effects that allows users to see through some interface elements. However, not all users may prefer this feature, so Microsoft has provided an option to turn it on or off easily. Users can use the Settings app or Registry Editor to enable or disable transparency effects. Using the Settings app is the easiest and recommended method for most users. The steps are straightforward, and the changes are immediate. Users can also turn off transparency effects using the Colors tab in the Personalization category. On the other hand, the Registry Editor method is a bit more complicated and is not recommended for beginners. Overall, Windows 11 provides flexibility in customizing its interface to suit different user preferences.
