Autocomplete is a time-saving feature in Microsoft Edge that suggests words or phrases as you type in the address bar or search box. It learns from your browsing history and activities to provide relevant suggestions. However, there are instances when you may want to enable or disable this feature. In this user-friendly guide, we will walk you through the steps to enable or disable autocomplete in Microsoft Edge on Windows 11 or 10, helping you customize your browsing experience.
How to Enable Autocomplete in Microsoft Edge?
Autocomplete is usually enabled by default, but if it’s not, or if you’ve previously disabled it, follow these simple steps to enable it:-
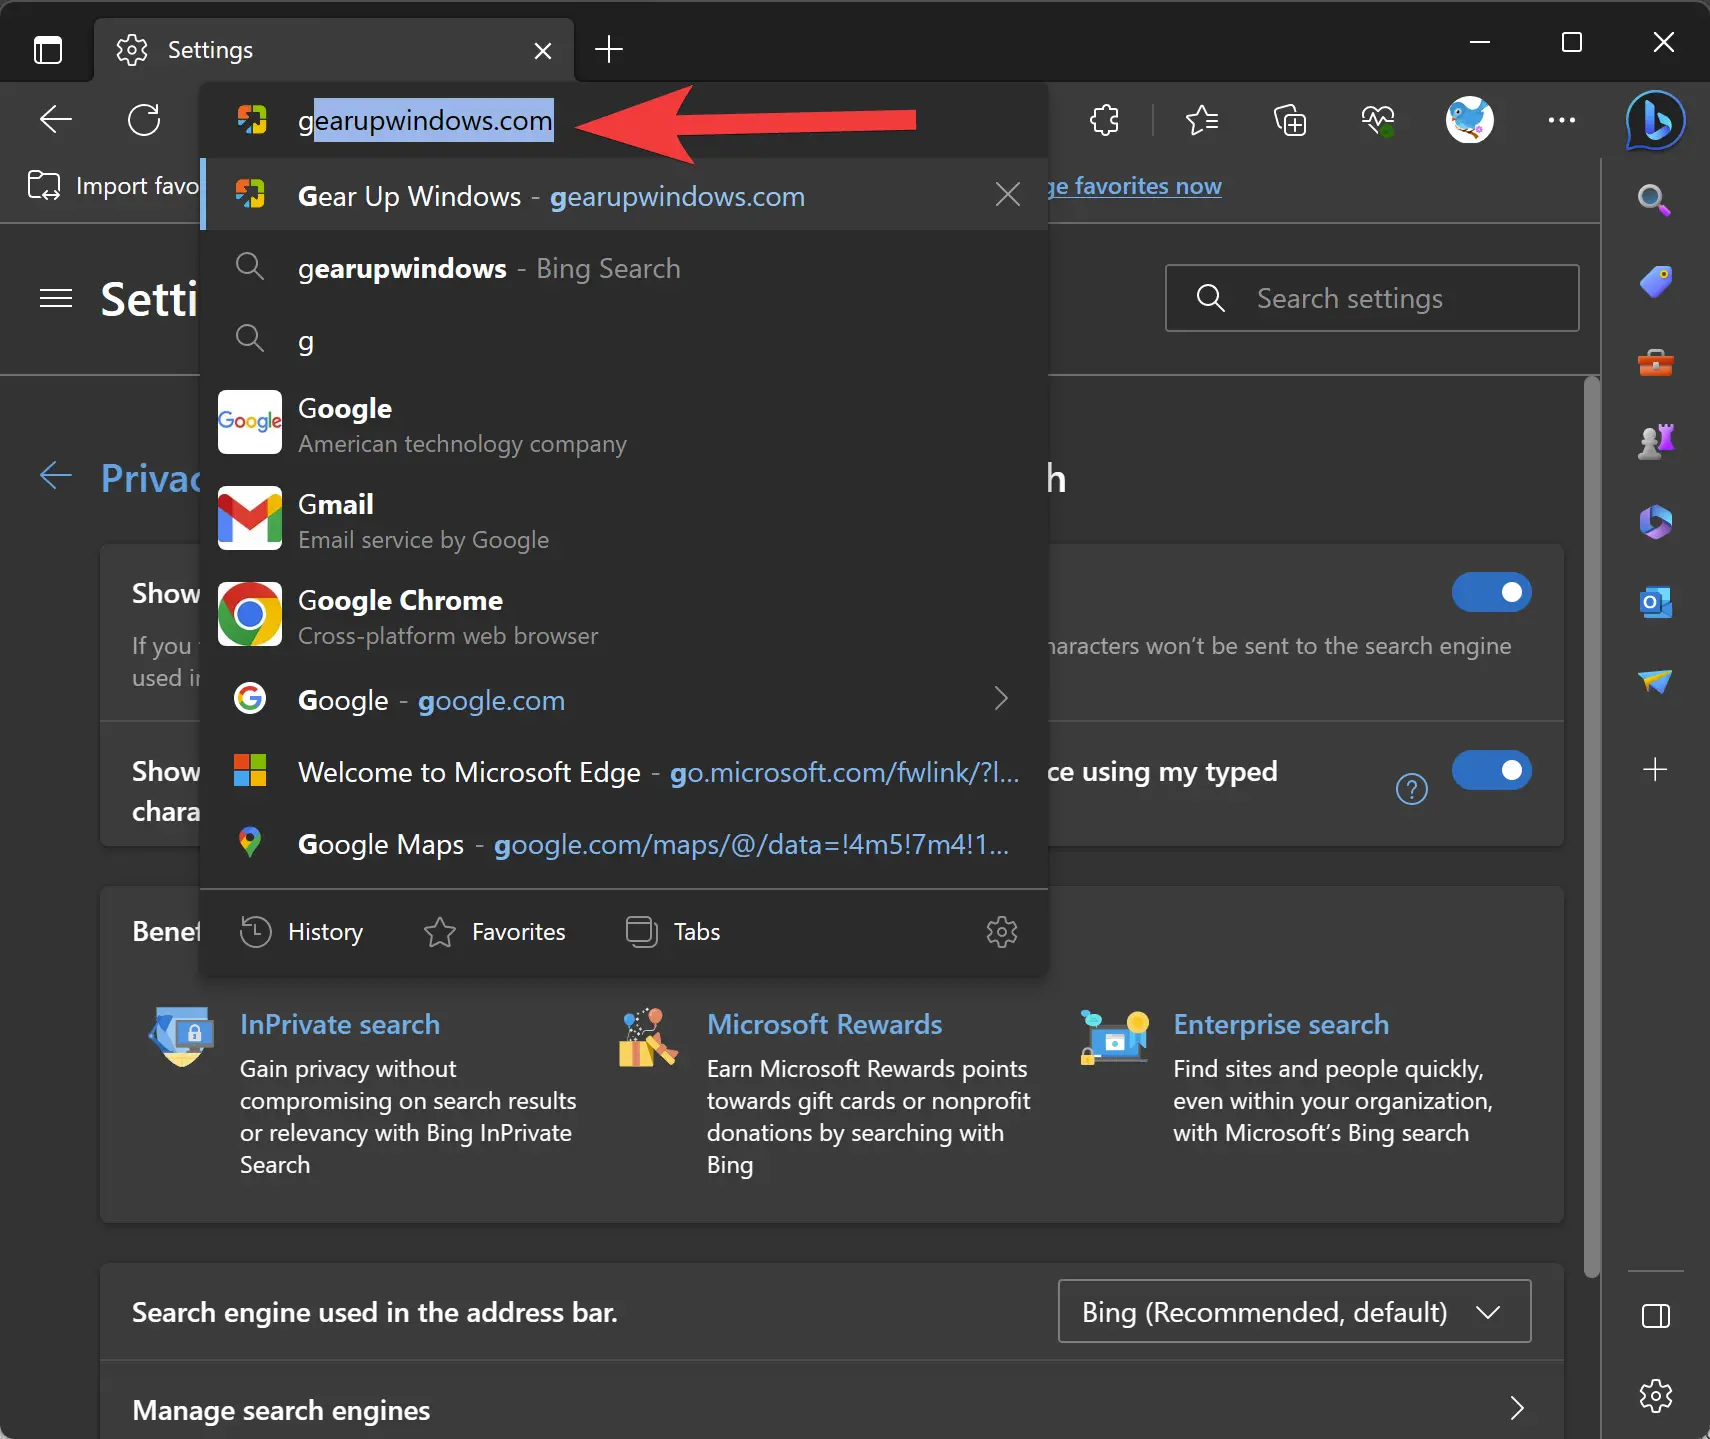
Step 1. Launch the Microsoft Edge browser on your Windows 11 or 10 computer.
Step 2. Look for the three-dot menu icon in the top-right corner of the browser window and click on it.

Step 3. From the dropdown menu, select “Settings.”
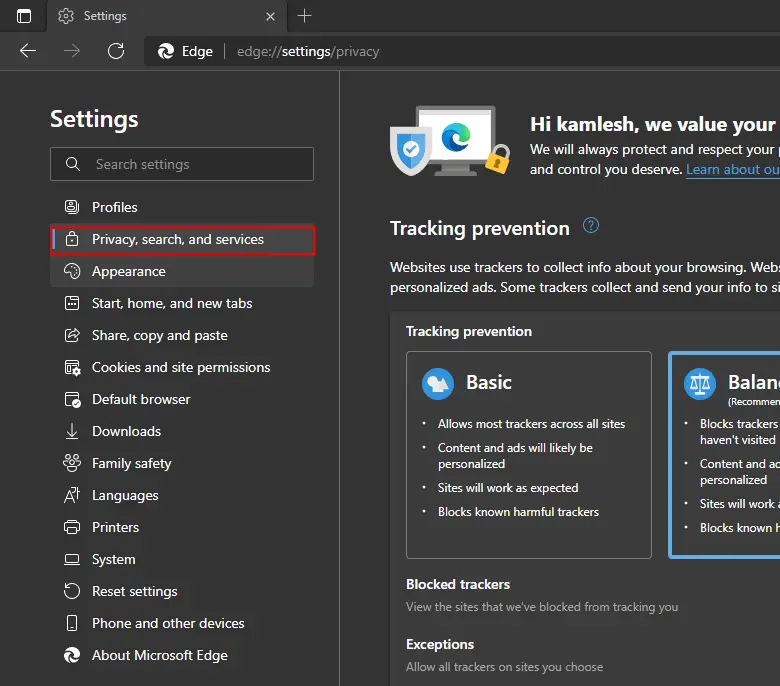
Step 4. In the left sidebar of the Settings page, choose “Privacy, search, and services.”
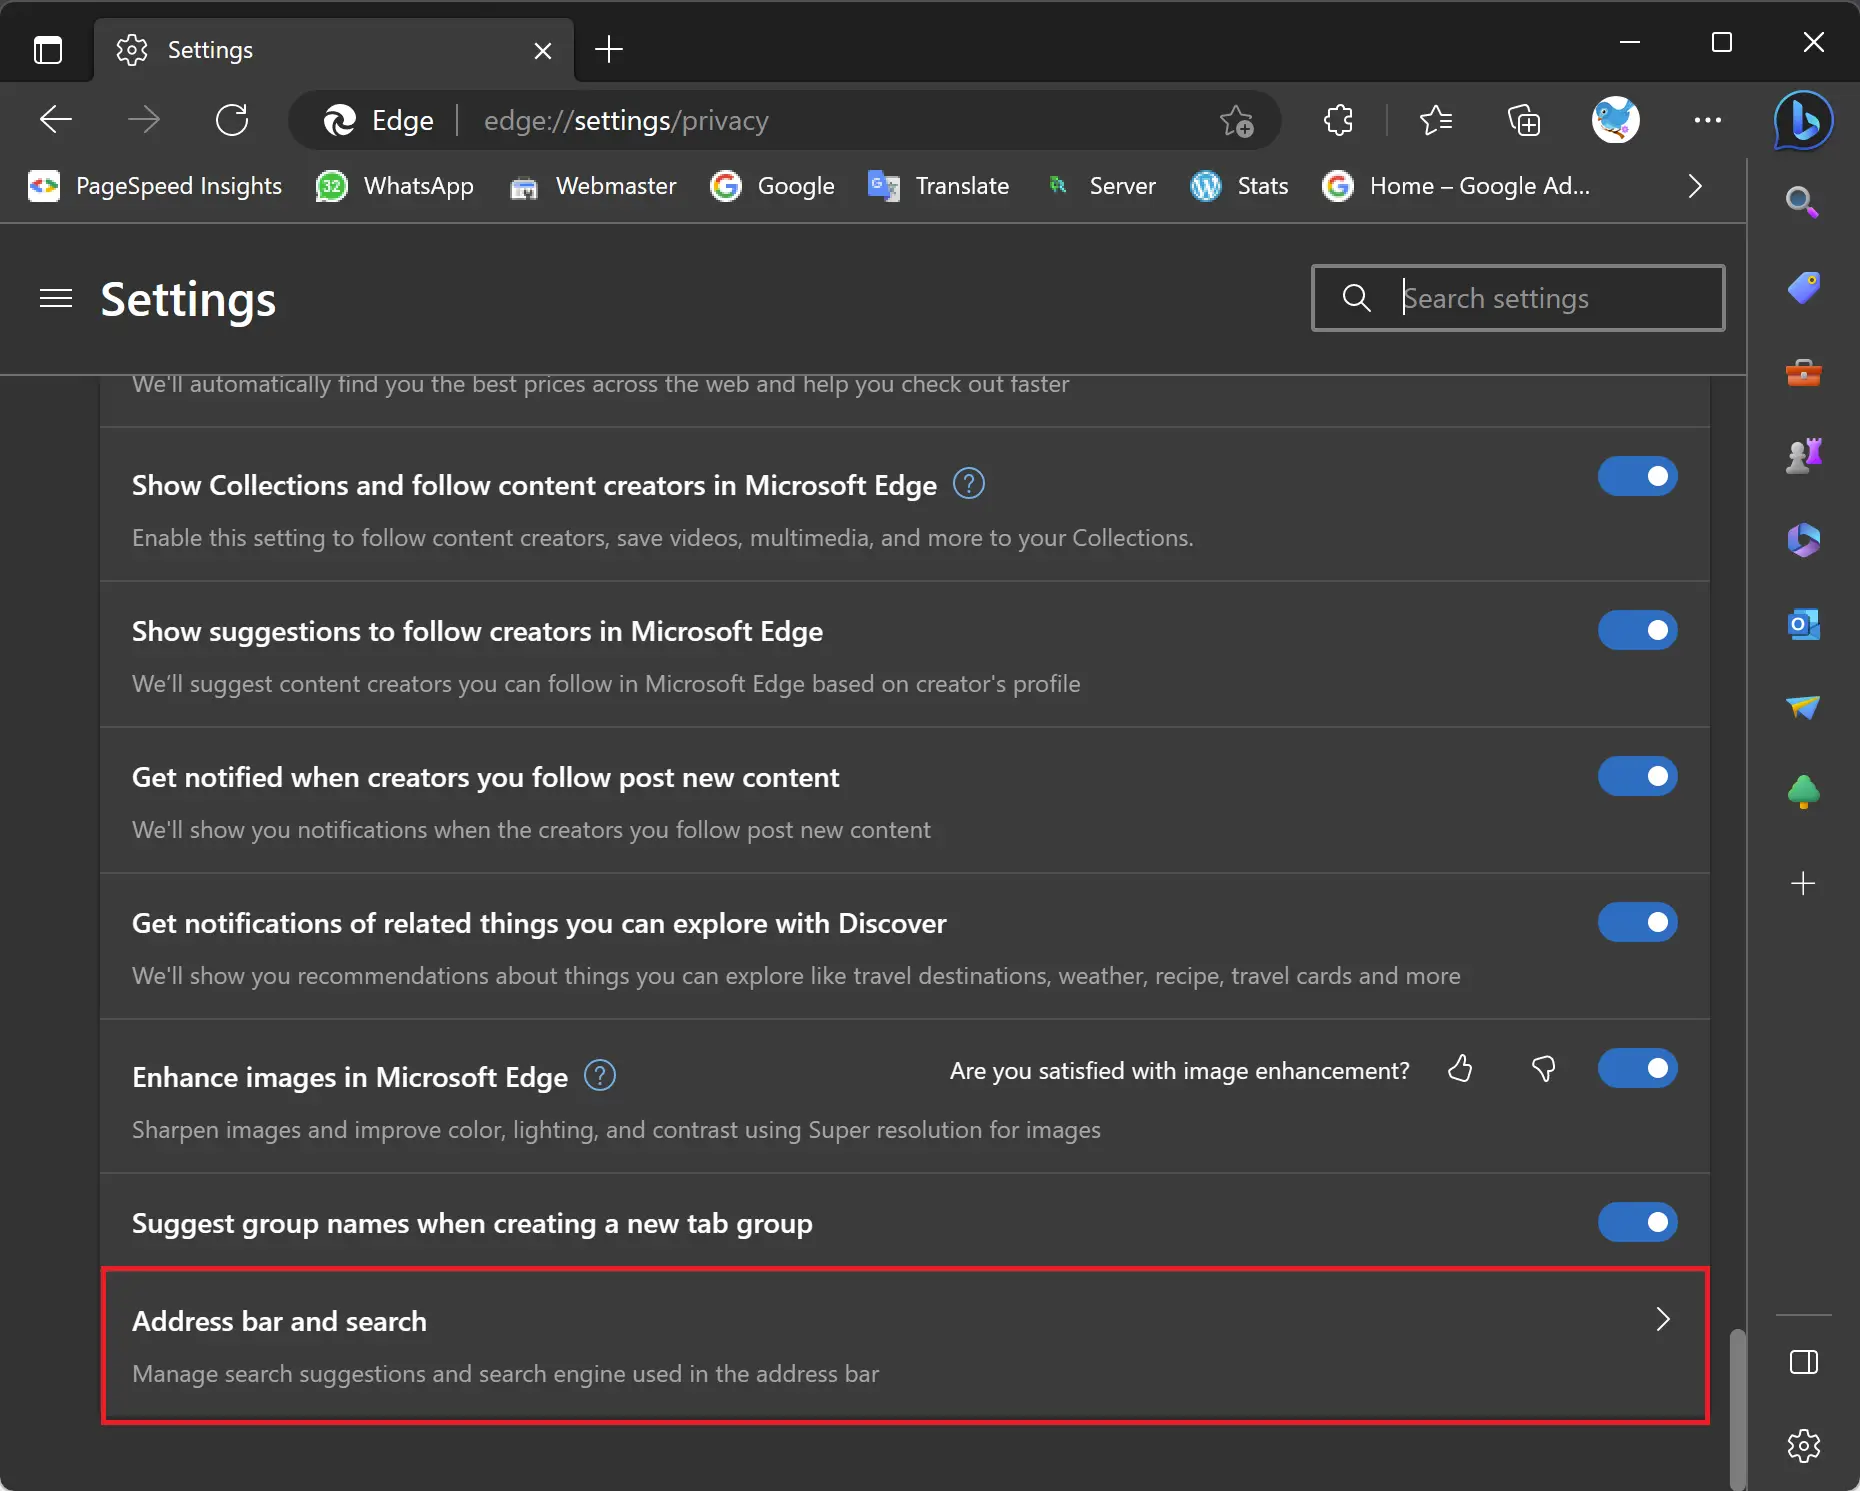
Step 5. Scroll down on the right sidebar until you find the “Services” section, and click on the “Address bar and search.”
Step 6. Look for the toggle switches next to the following options:-
- Show me search and site suggestions using my typed characters.
- Show me suggestions from history, favorites, and other data on this device using my typed characters.
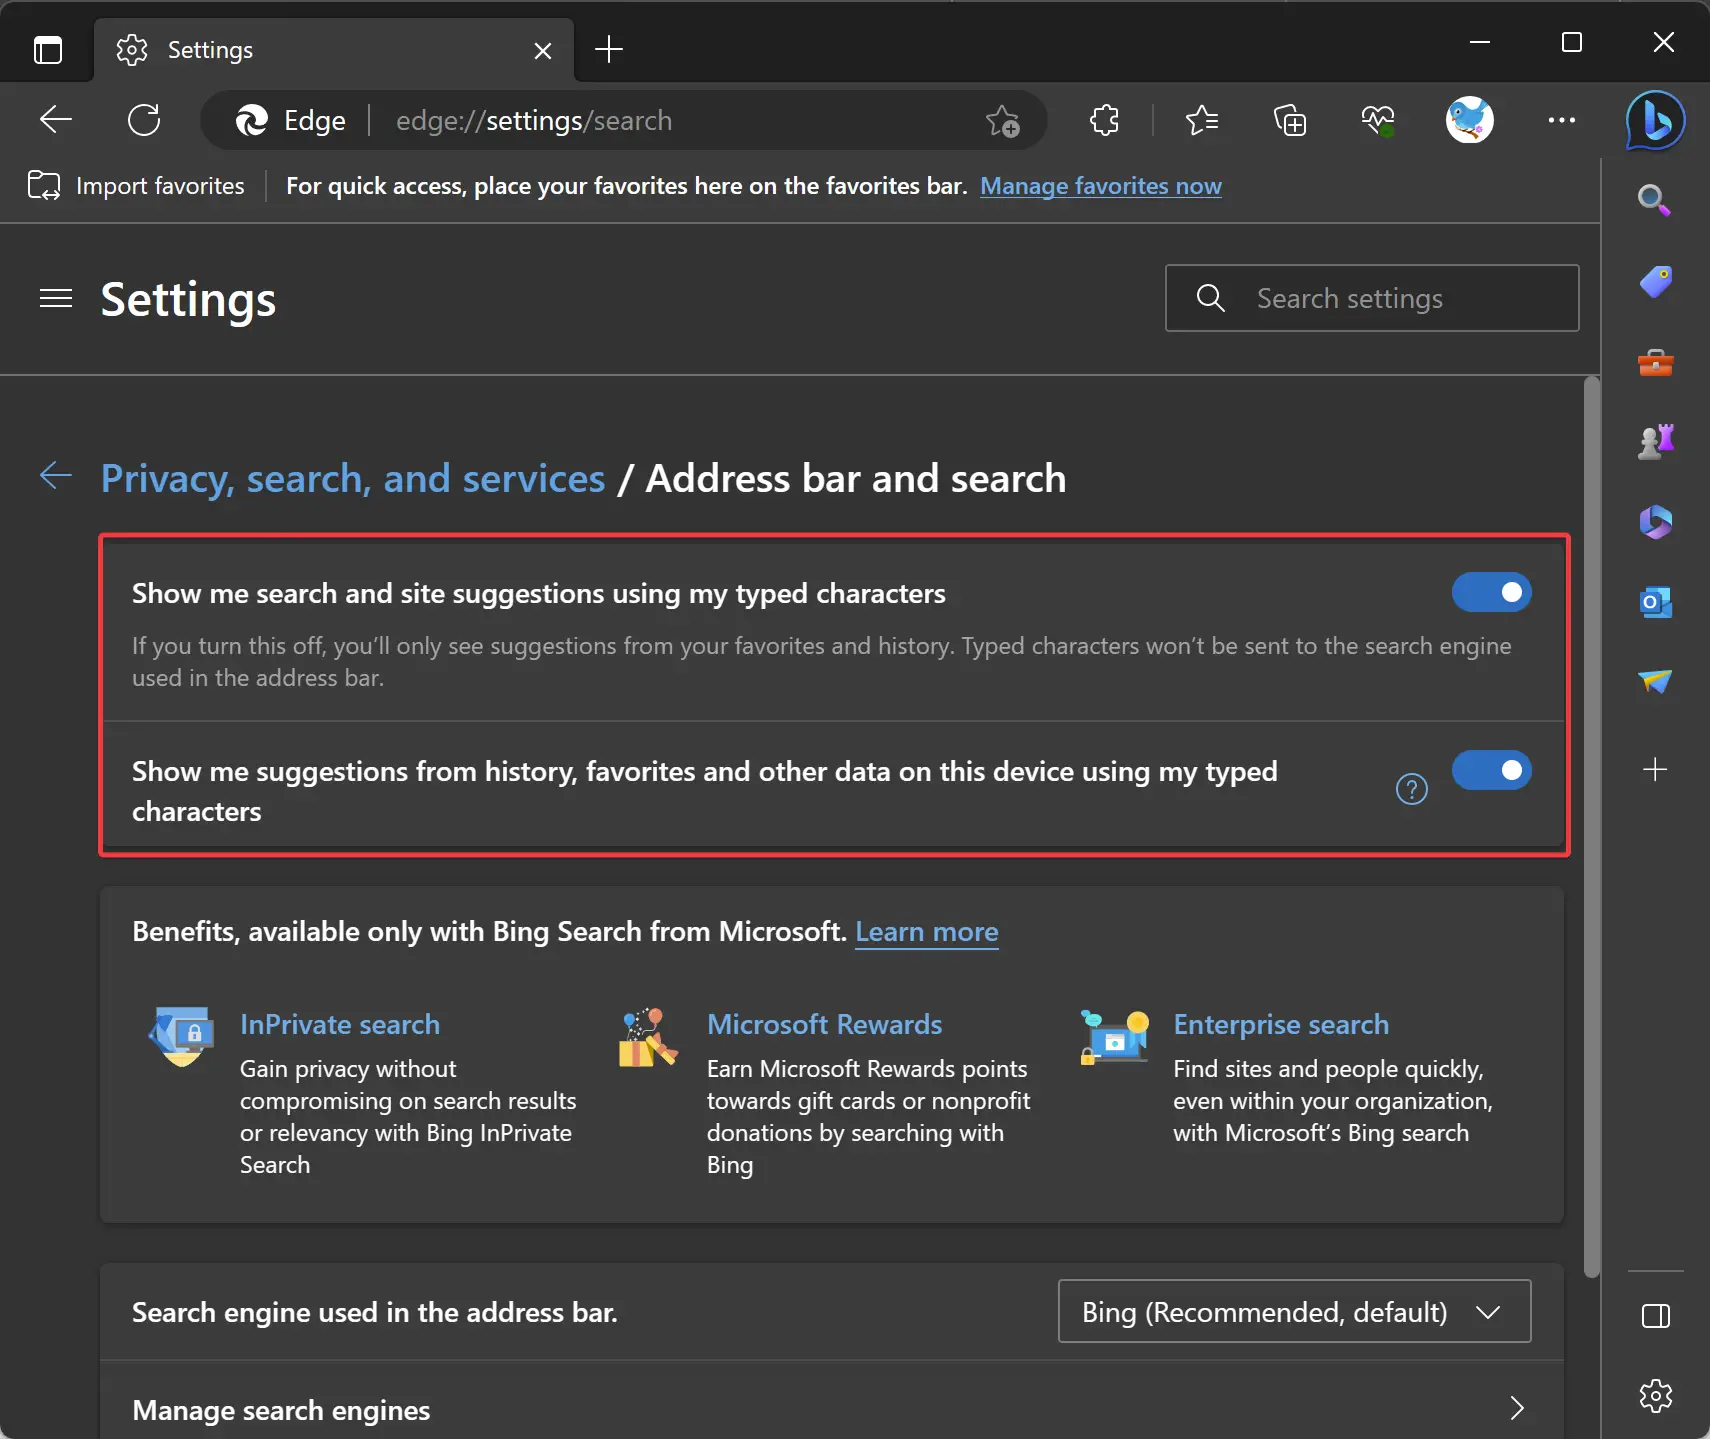
Step 7. Toggle both switches to the “On” position.
Once you’ve completed these steps, autocomplete will be enabled in Microsoft Edge, and you’ll start receiving suggestions based on your browsing history and activities.
How to Disable Autocomplete in Microsoft Edge?
If you prefer to turn off autocomplete in Microsoft Edge, here’s how you can do it:-
Step 1. Open the Microsoft Edge browser on your computer.
Step 2. Click on the three-dot menu icon in the top-right corner of the browser window.
Step 3. Select “Settings” from the dropdown menu.
Step 4. In the left sidebar of the Settings page, choose “Privacy, search, and services.”
Step 5. Scroll down until you find the “Services” section, and click on the “Address bar and search.”
Step 6. Locate the toggle switches next to the following options:-
- Show me search and site suggestions using my typed characters.
- Show me suggestions from history, favorites, and other data on this device using my typed characters.
Step 7. Toggle both switches to the “Off” position.
By following these steps, you will disable autocomplete in Microsoft Edge, and the browser will no longer provide suggestions based on your browsing history and activities.
How to Enable or Disable Autocomplete in Microsoft Edge using Registry Editor?
Important Note: Editing the Registry can have significant impacts on your system. Proceed with caution and create a backup of your Registry before making any changes.
To turn on or off autocomplete in Microsoft Edge using the Windows 11 or 10 Registry Editor, follow these steps:-
Step 1. Press the Windows key + R on your keyboard to open the Run dialog box.
Step 2. Type “regedit” and press Enter to open the Registry Editor.
Step 3. In the Registry Editor window, navigate to the following path:-
HKEY_LOCAL_MACHINE\SOFTWARE\Policies\Microsoft\Edge
Step 4. If you don’t find the “Edge” folder, right-click on the “Microsoft” folder, select “New,” and then the “Key” option. Name new key “Edge.”
Step 5. Right-click on the right pane, select “New,” and choose “DWORD (32-bit) Value.”
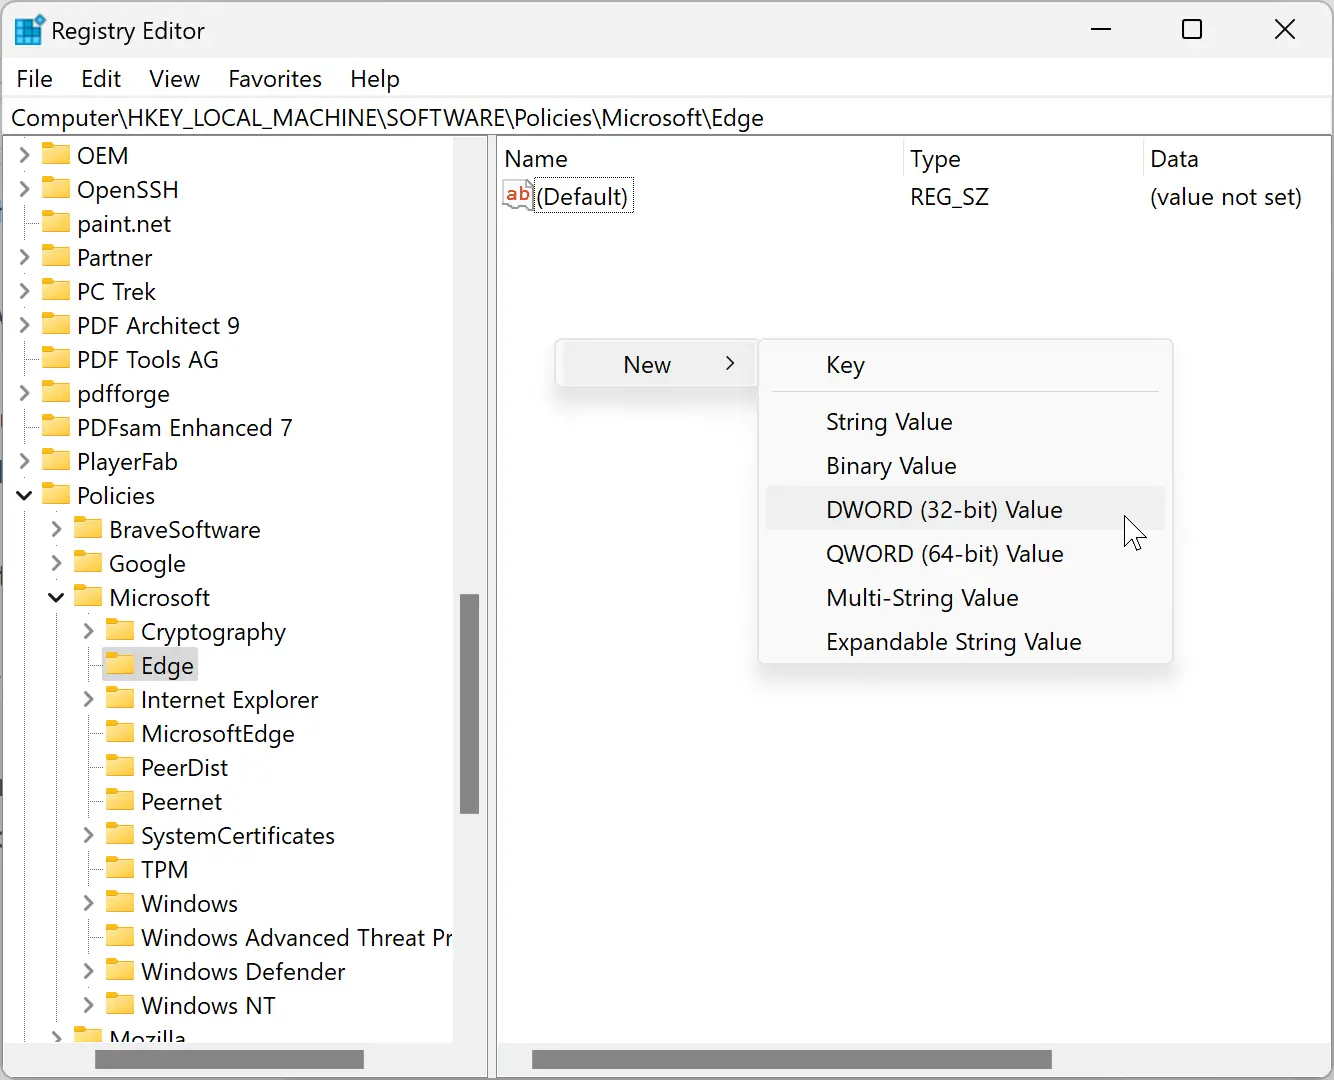
Step 6. Name the new value as “SearchSuggestEnabled” (without quotes).
Step 7. Double-click on the “SearchSuggestEnabled” value and set the “Value data” to 1 to enable the feature and 0 to disable the future.
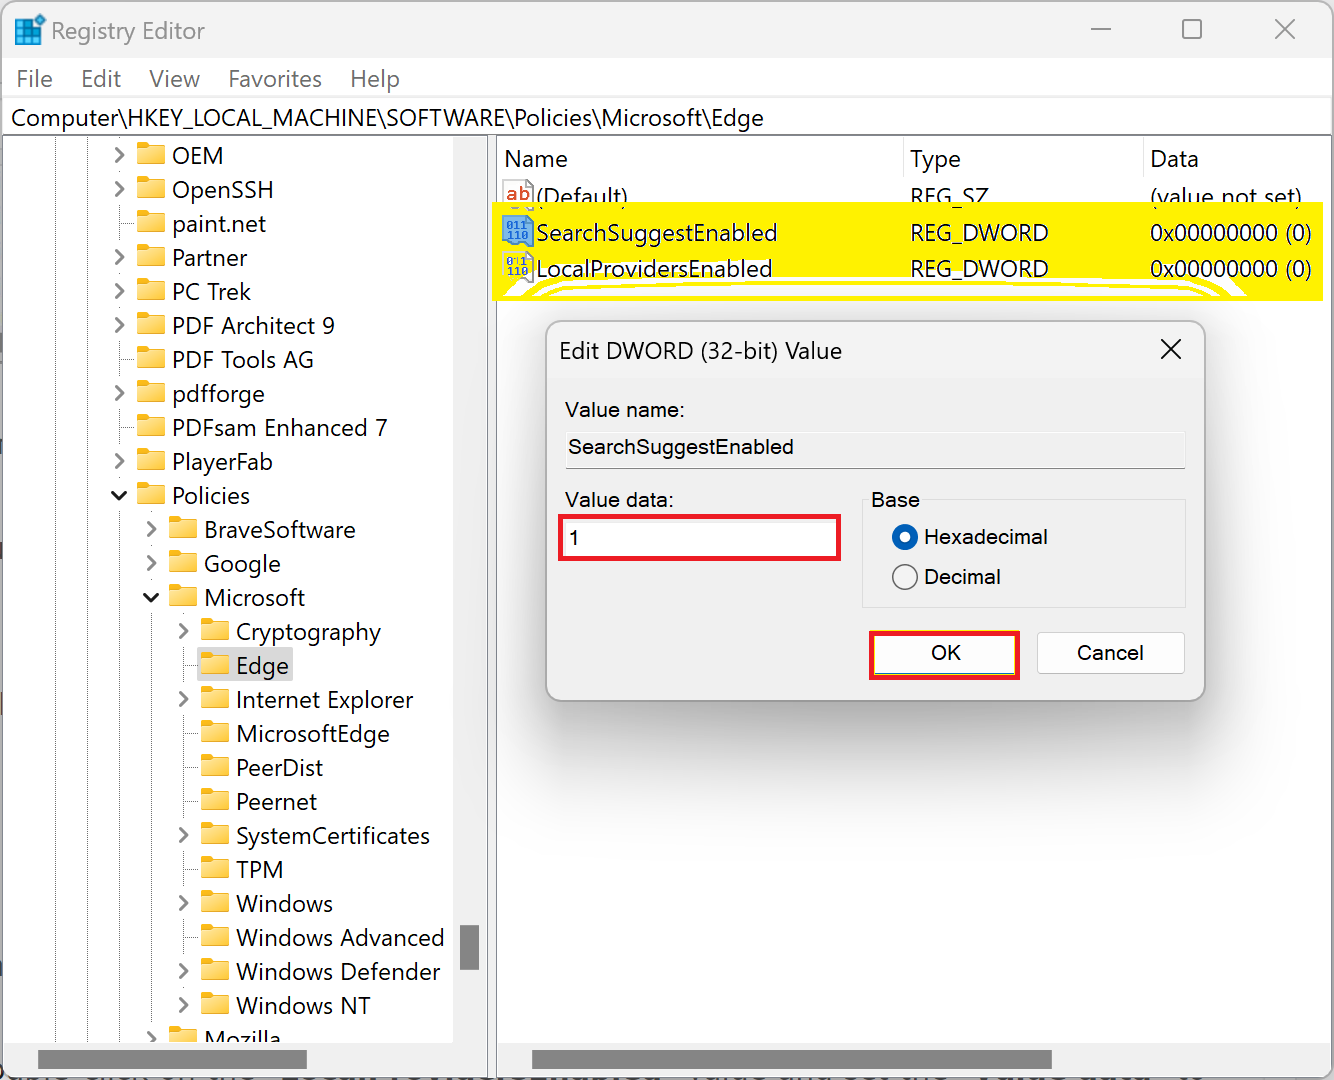
Step 8. Click OK to save the changes.
Step 9. Again, right-click on the right pane, select “New,” and choose “DWORD (32-bit) Value.”
Step 10. Name the new value as “LocalProvidersEnabled” (without quotes).
Step 11. Double-click on the “LocalProvidersEnabled” value and set the “Value data” to 1 to enable the feature and 0 to disable the future.
Step 12. Click OK to save the changes.
Step 13. Close the Registry Editor.
Once you’ve completed these steps, autocomplete will be enabled or disabled in Microsoft Edge according to your settings.
Conclusion
In conclusion, enabling or disabling autocomplete in Microsoft Edge allows you to customize your browsing experience based on your preferences. By following the user-friendly steps provided in this guide, you can easily enable autocomplete to receive suggestions based on your browsing history and activities, or disable it for a more private browsing experience. Additionally, we have outlined the steps to enable or disable autocomplete using the Registry Editor, offering an alternative method for customization. Whether you choose to adjust the settings through the browser or the Registry Editor, you have the flexibility to tailor Microsoft Edge to suit your needs.