The checkmark or checkbox on icons is a feature in Windows that allows users to select multiple files and folders quickly. On Windows 11, this feature is known as “Item check boxes.” When this feature is enabled on your computer, all icons on your desktop and files/folders in File Explorer will have checkboxes on them.
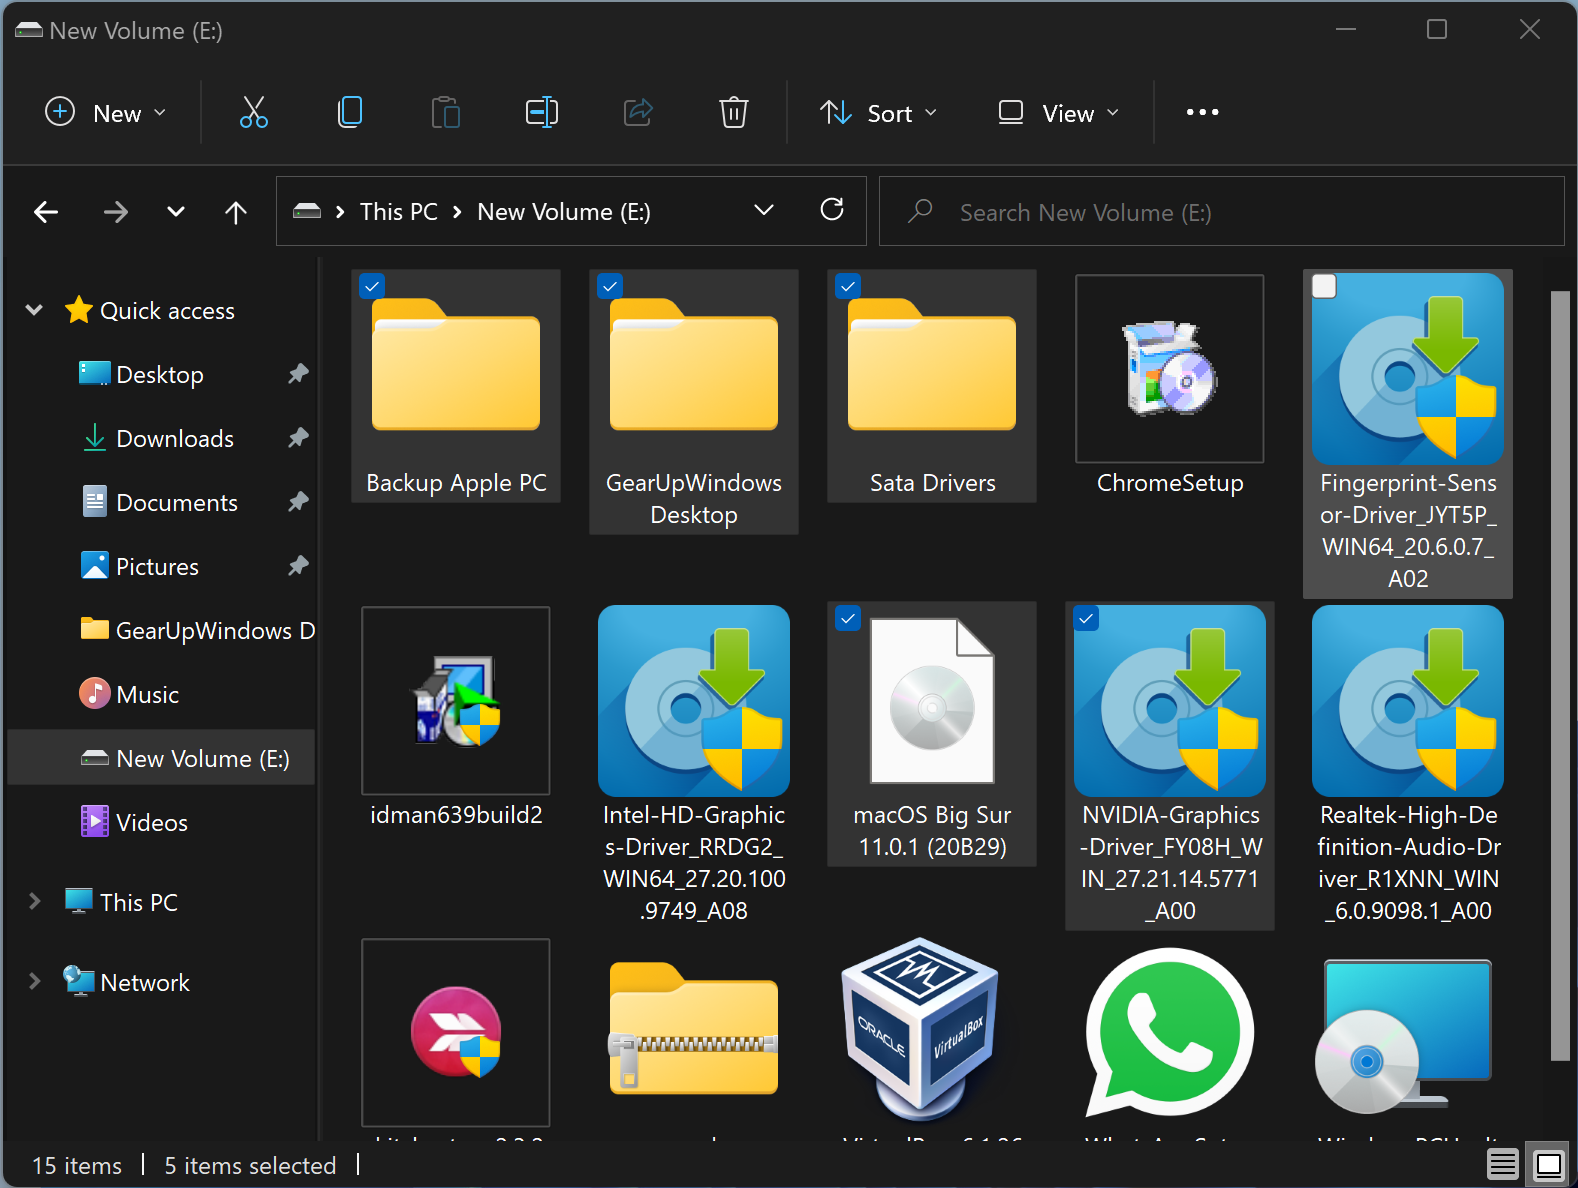
This feature is handy for touchscreen devices. Non-touchscreen device users can also use this feature to select multiple items without pressing and holding a CTRL key. When you move the mouse cursor to an icon, a checkbox appears. Clicking on them, you can quickly select.
By default, “Item check boxes” are enabled on touchscreen devices and disabled on non-touchscreen PCs. If you prefer this checkbox, you can allow it on a non-touchscreen computer, and if you don’t want to use it on a touchscreen laptop, you can disable this feature.
This gearupwindows article will guide you on turning on/off the “Item check boxes” feature on Windows 11.
How to Add or Remove Checkboxes from Icons in Windows 11 via Command Bar?
Follow these steps to add or remove Checkboxes from Icons in Windows 11 via Command Bar:-
Step 1. Press Windows + E keys to open up File Explorer.
Step 2. Inside the File Explorer window, click View on the ribbon bar at the top.
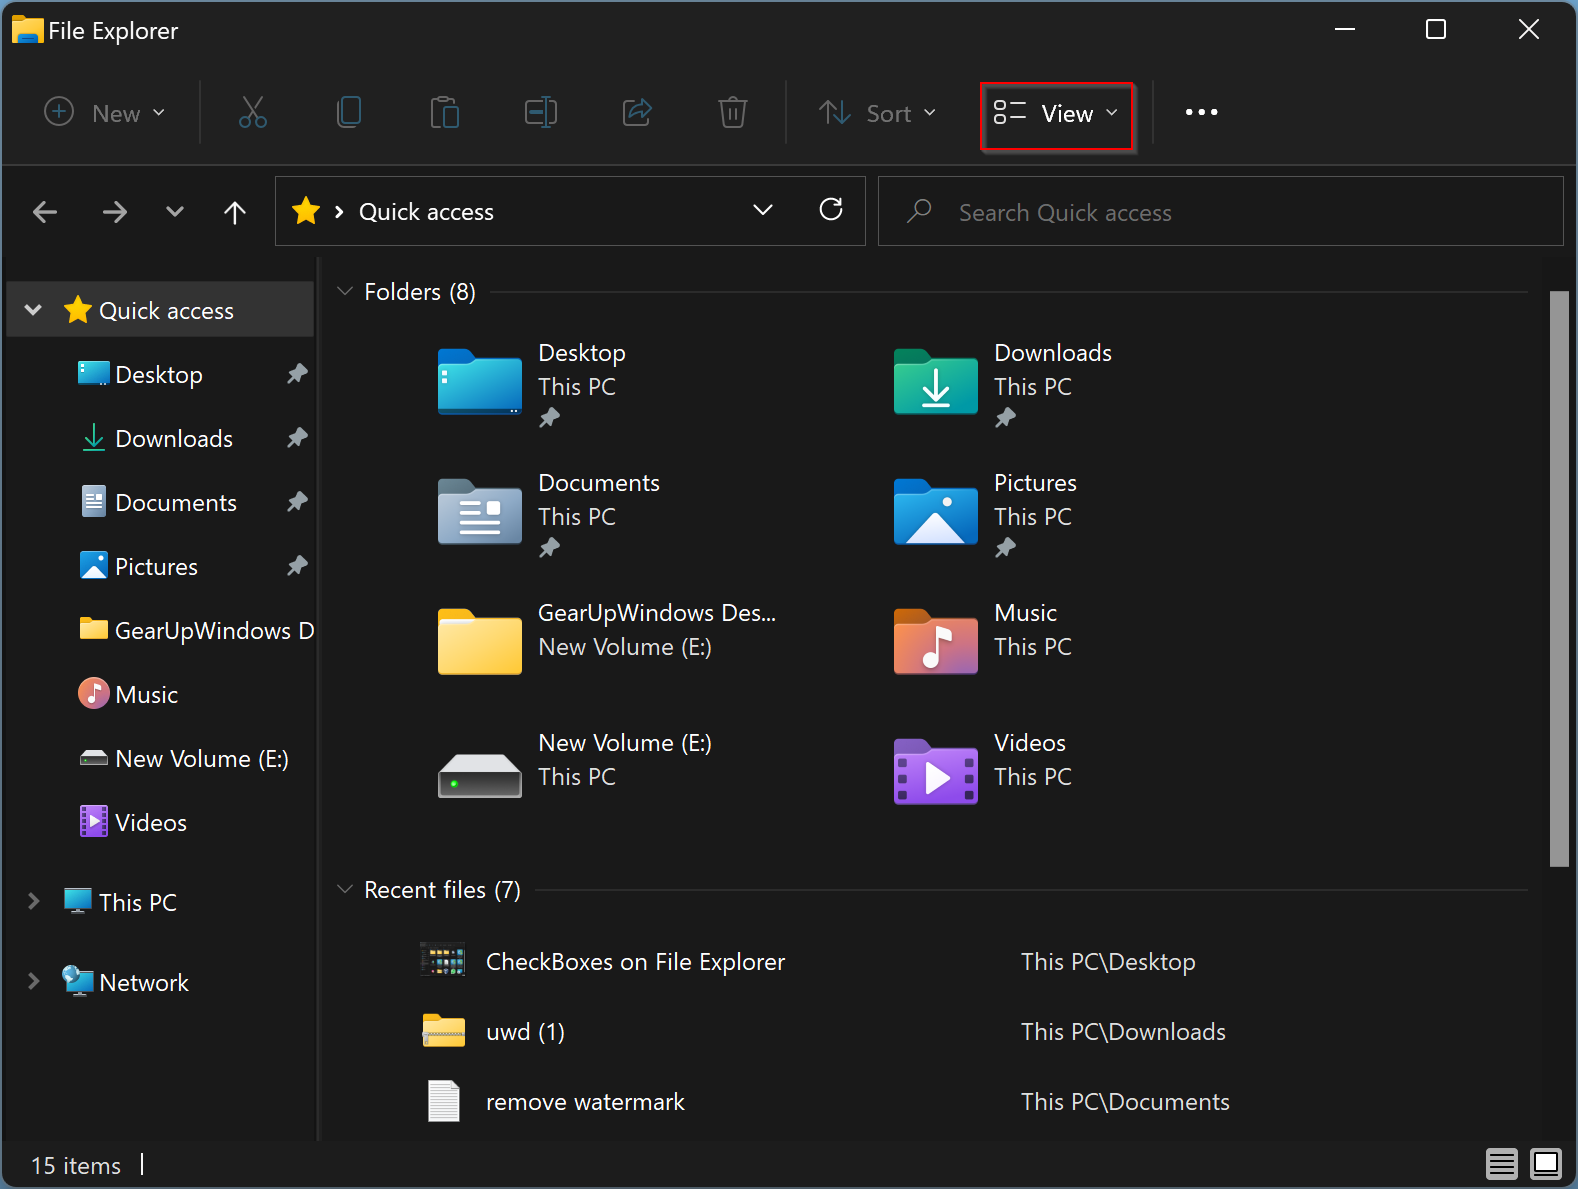
Step 3. From the context menu that appears, select “Show” > “Item check boxes” to enable the selection.

In the future, if you wish to disable the “Item check boxes” feature on your Windows 11 computer, repeat the above steps and uncheck this option in step 3 above.
How to Turn On/Off Checkboxes from Icons in Windows 11 through Folder Options?
Follow these steps to enable or disable Checkboxes from Icons in Windows 11 through Folder Options:-
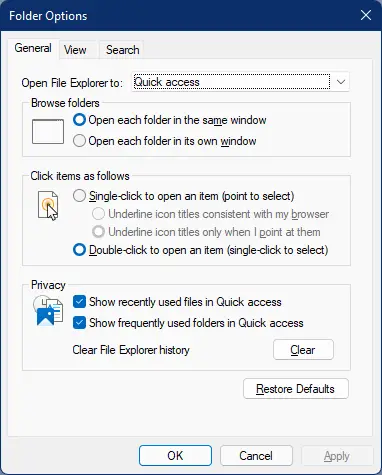
Step 1. Open Folder Options.
To do that, press the Windows + R keys from the keyboard to launch the Run dialog box. Type control.exe folders and hit Enter from the keyboard to access Folder Options.
Step 2. Navigate to the View tab in the Folder Options dialog and then scroll down to the bottom.
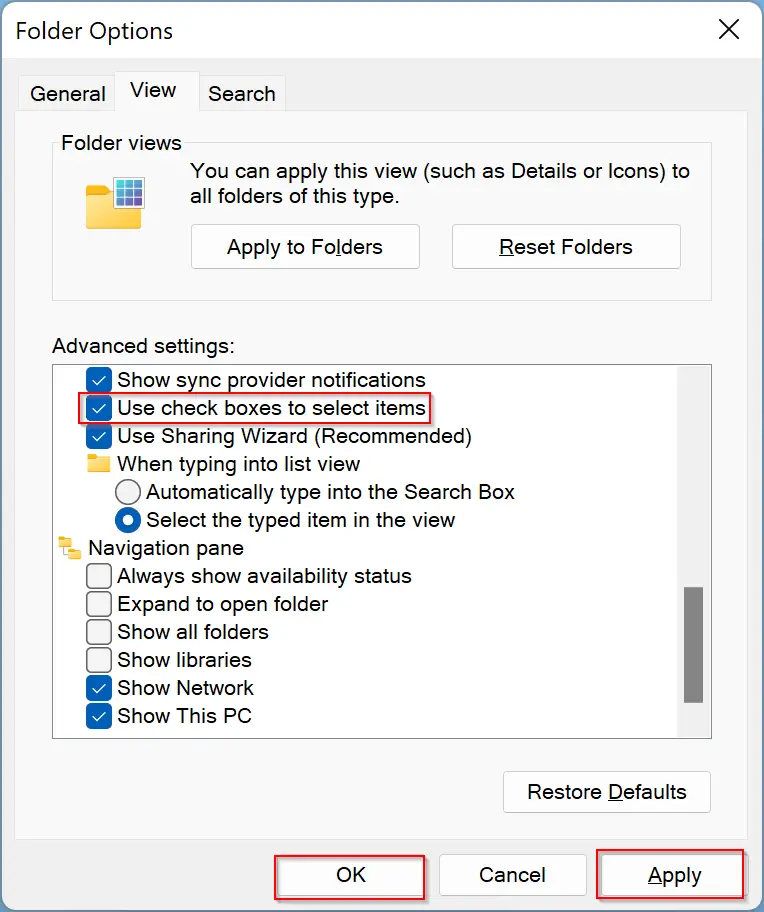
Step 3. Check or uncheck the option Use check boxes to select items to enable or disable the select checkboxes.
Step 4. Click Apply.
Step 5. Click OK.
That’s it!
Conclusion
In conclusion, the “Item check boxes” feature in Windows 11 is a convenient way to select multiple files and folders without having to press and hold the CTRL key. This feature is particularly useful for touchscreen devices, but it can also be enabled on non-touchscreen computers. By following the steps outlined in this guide, users can easily turn on or off the “Item check boxes” feature using either the Command Bar or Folder Options. Whether you need to select multiple files for copying, moving, or deleting, this feature can save you time and effort in managing your files and folders.