Sleep mode is a useful feature in Windows 11 that puts your PC in a low-power state while still keeping it in a state where it can be resumed quickly. This feature is especially handy for laptop and tablet users as it helps to extend the battery life of their devices. However, there may be situations when you want to disable or enable the sleep mode feature in Windows 11. In this article, we will discuss how to enable or disable sleep mode in Windows 11 using two different methods.
How to Enable or Disable Sleep Mode in Windows 11?
Method 1: Using the Windows 11 Settings App
The Windows 11 Settings app is a powerful tool that allows users to customize various features of their operating system. Follow the steps below to enable or disable sleep mode using the Windows 11 Settings app:
Step 1. Open the Windows 11 Settings app by clicking on the Start menu and selecting the Settings icon.
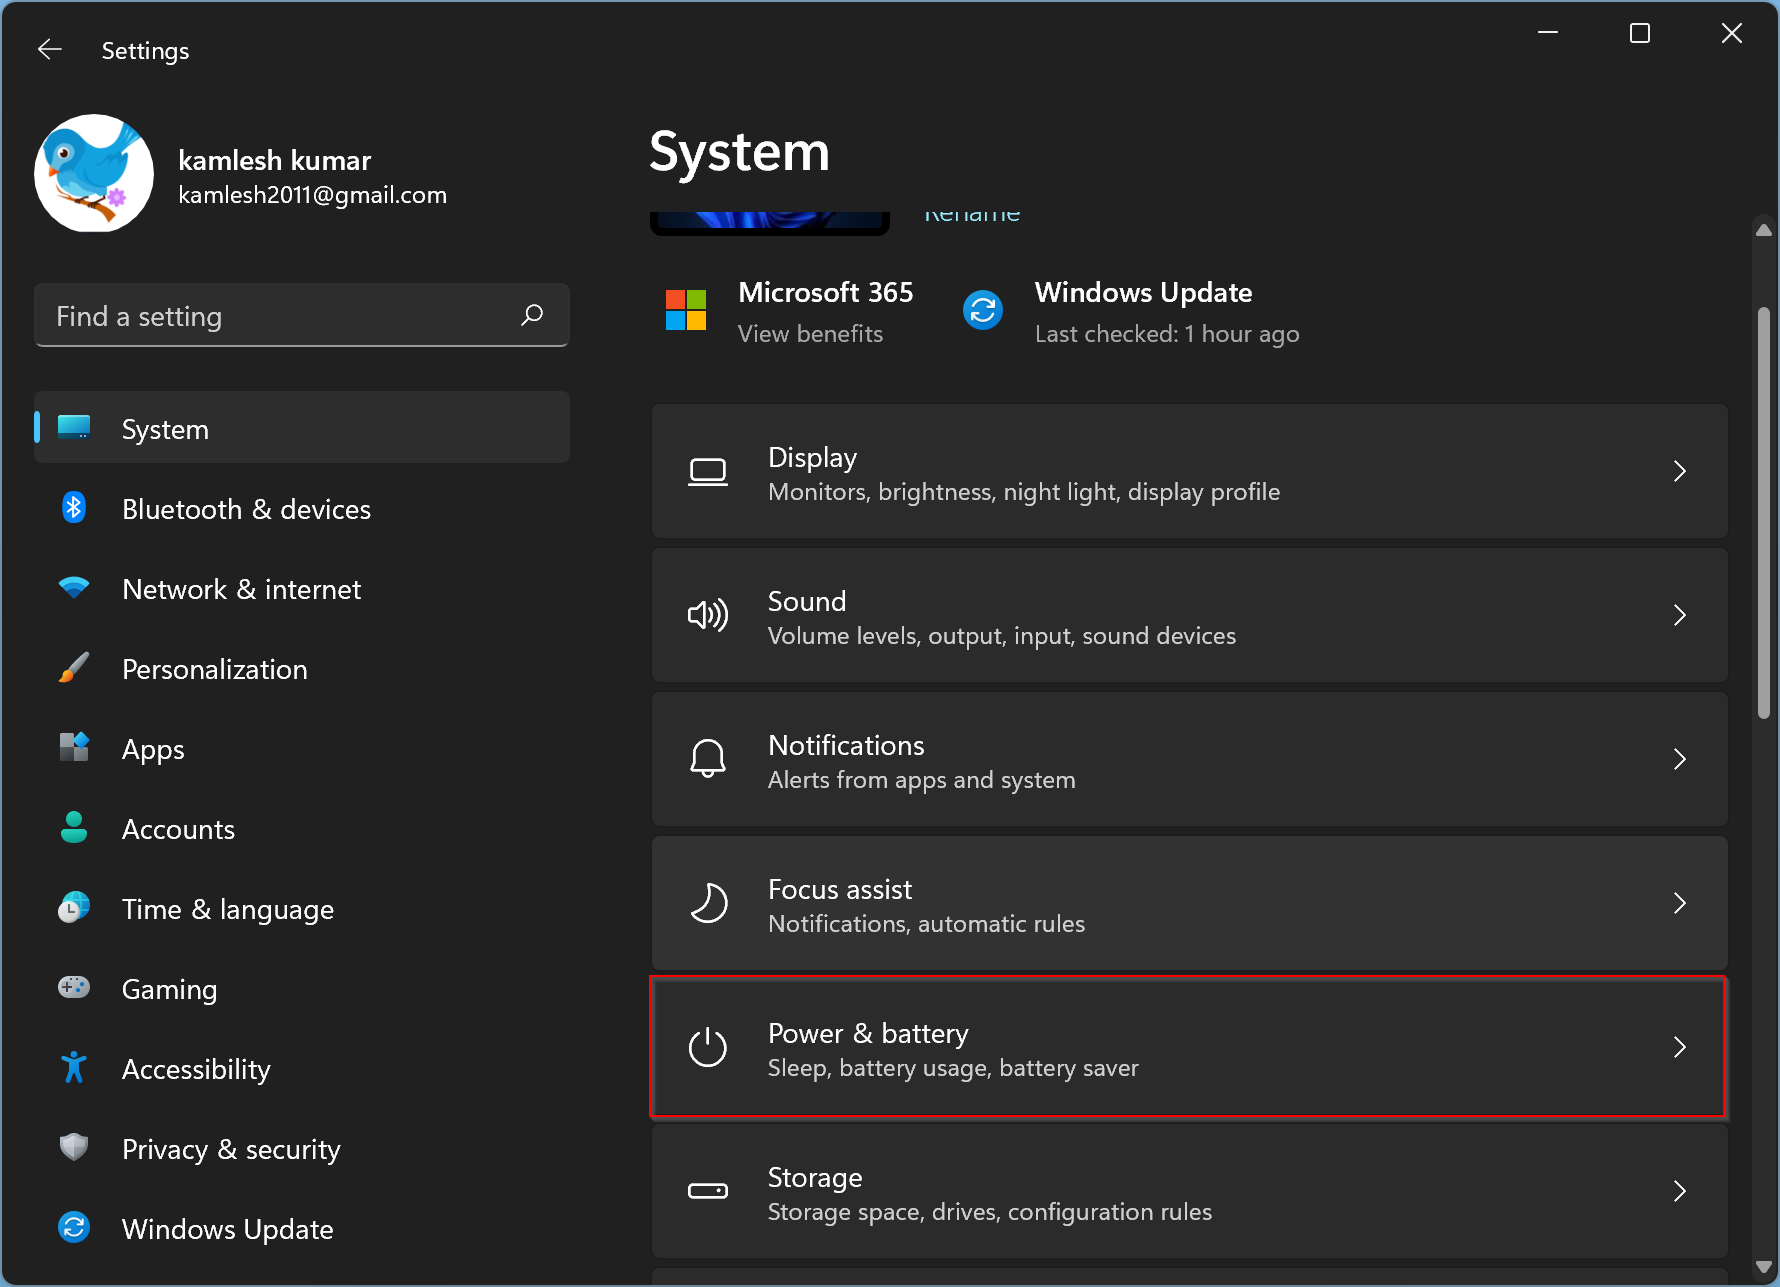
Step 2. Click on the System option in the Settings app.

Step 3. Select the Power & battery option from the right-hand side pane.
Step 4. From the drop-down menus under the Screen & sleep section, select the desired amount of time for your PC to enter sleep mode when on battery power and when plugged in. If you want to disable sleep mode, select the Never option.
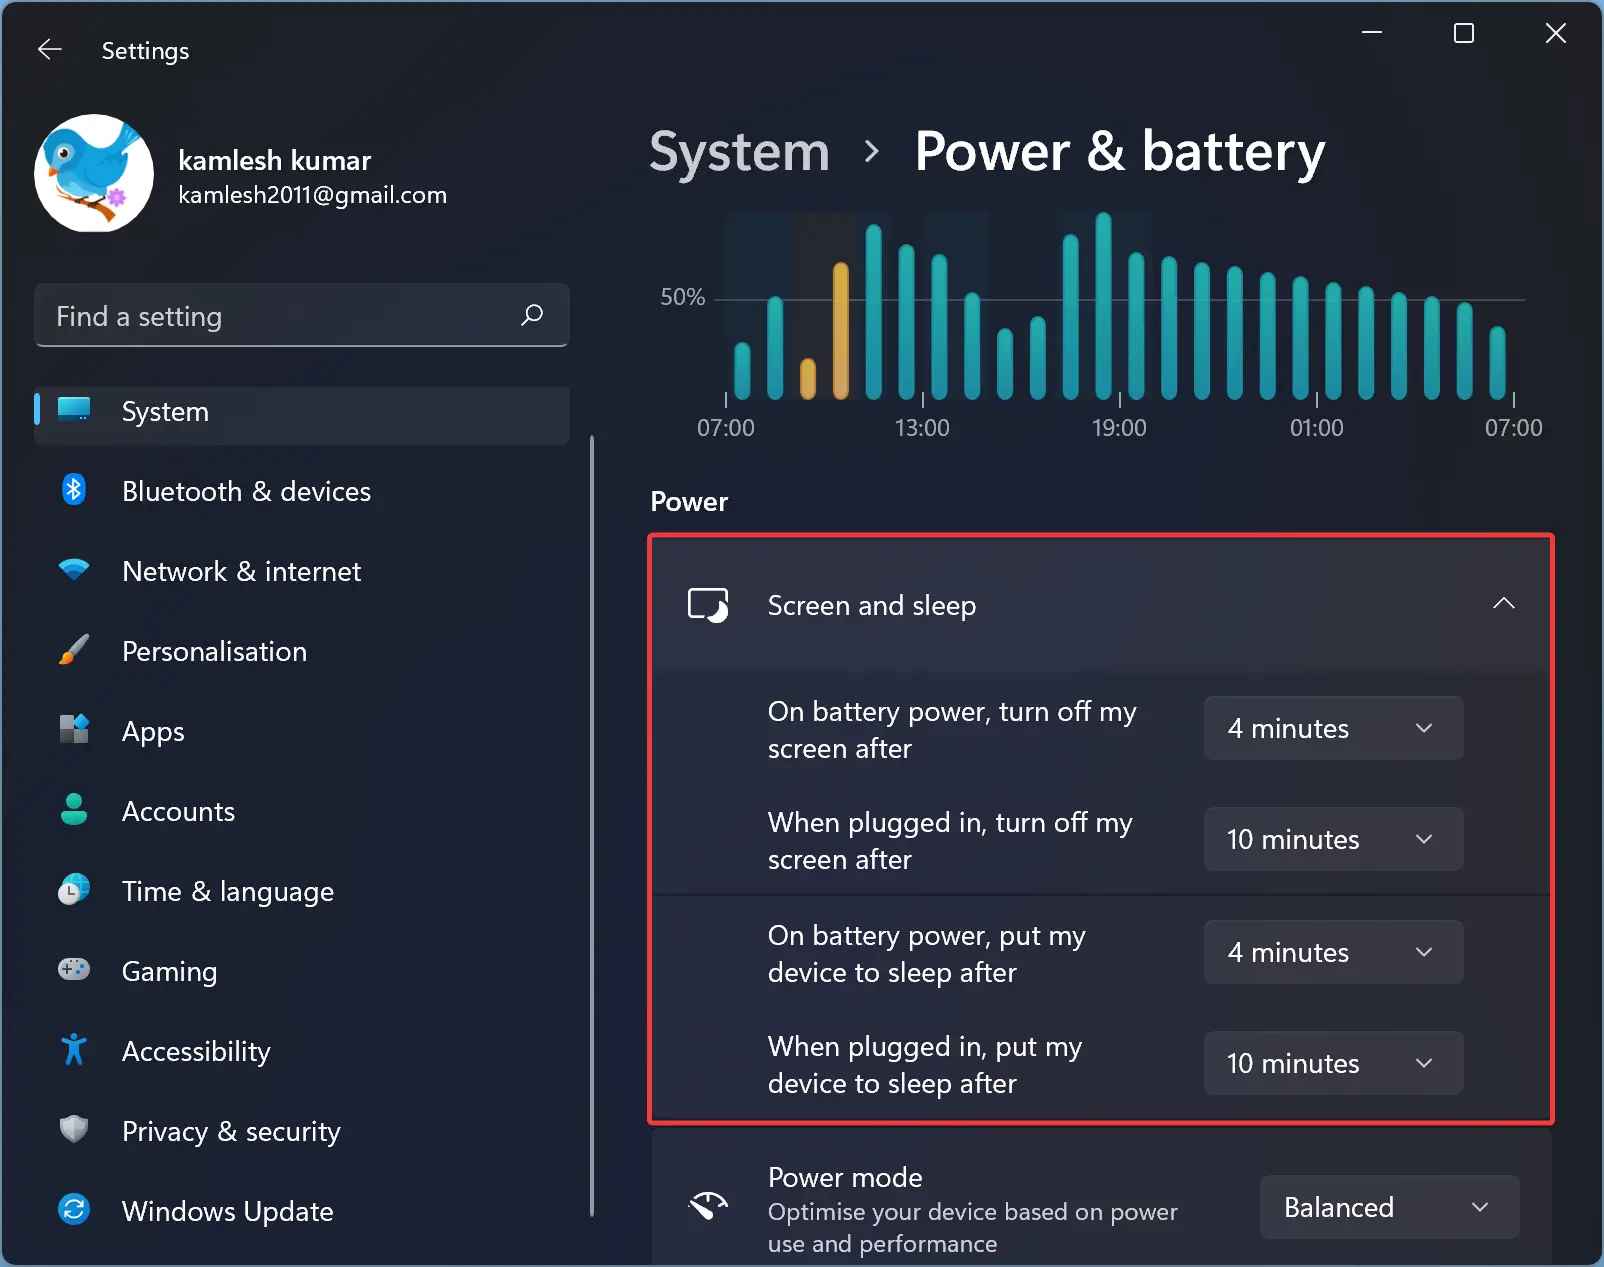
Once you have made your changes, close the Settings app, and your new settings will take effect.
Method 2: Using the Control Panel
The Control Panel is a classic tool in Windows that allows users to make advanced changes to their operating system. Follow the steps below to enable or disable sleep mode using the Control Panel:-
Step 1. Open the Control Panel by clicking on the Start menu and typing Control Panel in the search bar. Click on the Control Panel option that appears.
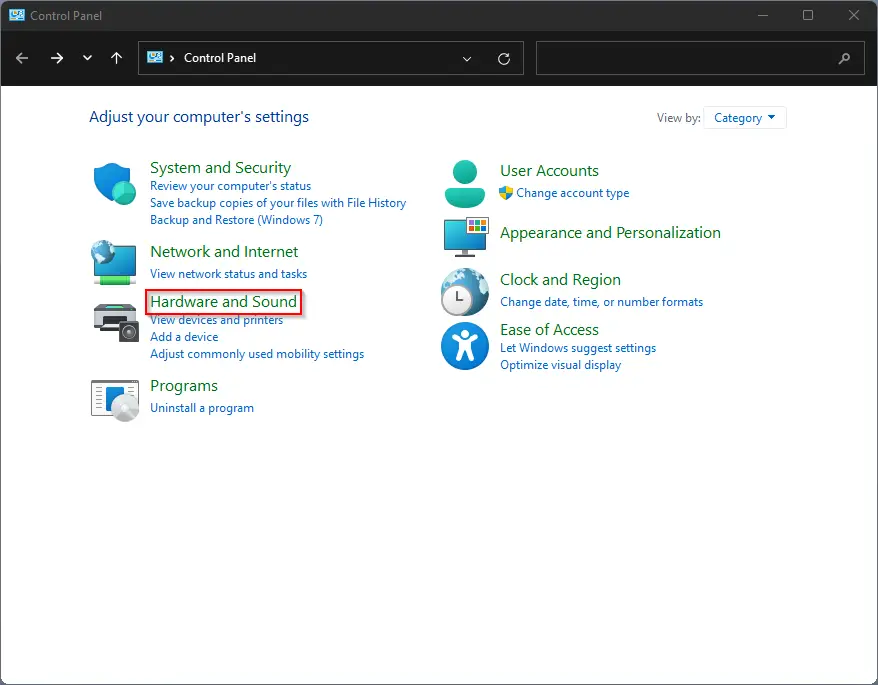
Step 2. Click on the Hardware and Sound option in the Control Panel.
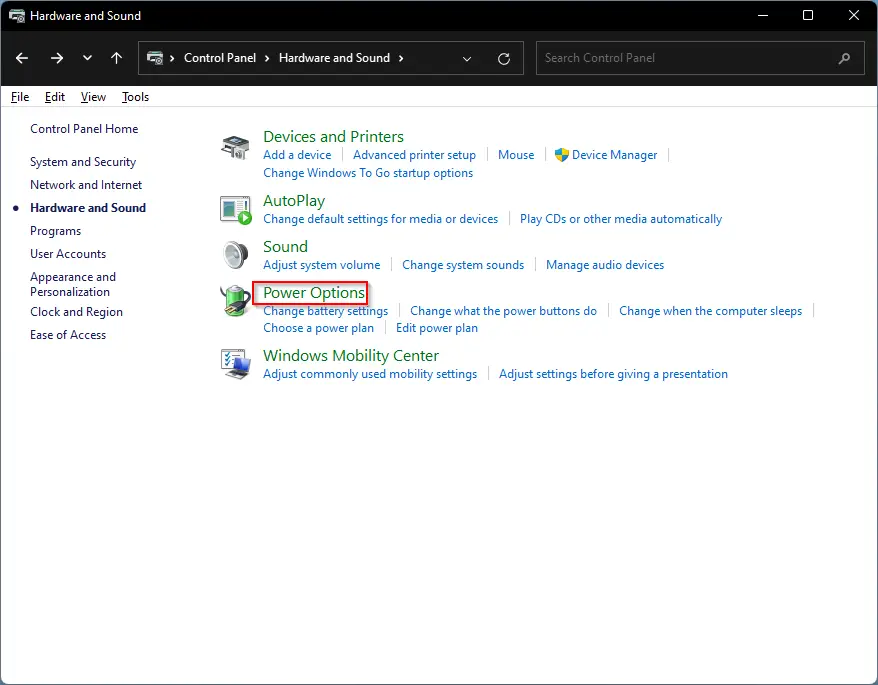
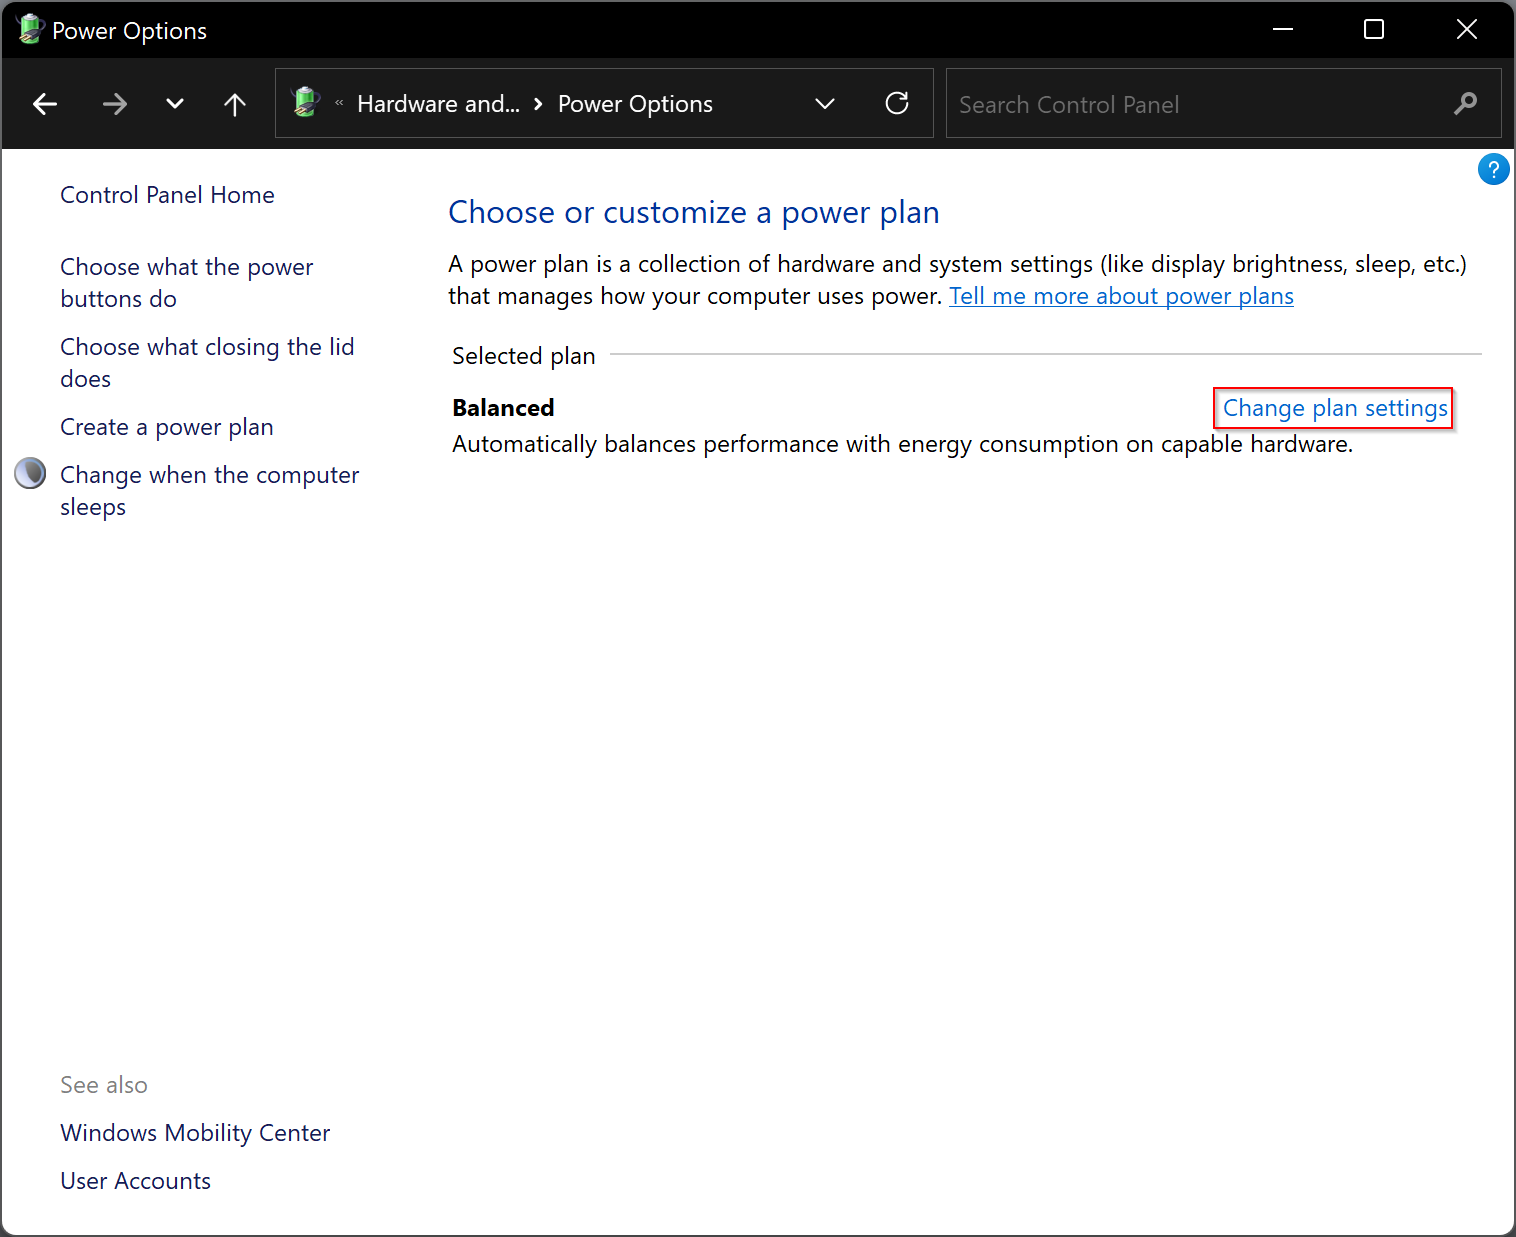
Step 3. Select the Power Options option.
Step 4. Click on the Change plan settings option next to the power plan you want to modify.
Step 5. Click on the Change advanced power settings option.
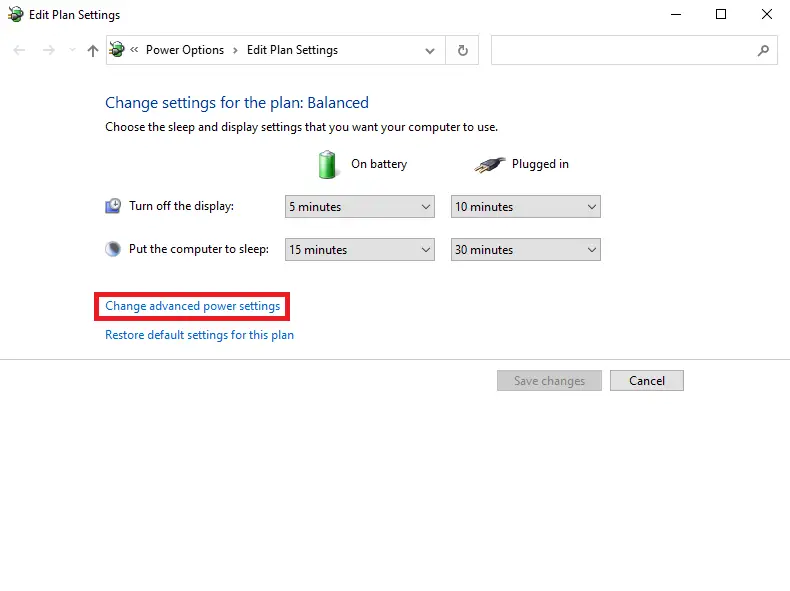
Step 6. In the Power Options dialog box, scroll down until you see the Sleep option. Expand this option to see the options for when your PC is on battery power and when it is plugged in. Select the desired amount of time for your PC to enter sleep mode, or select the Never option if you want to disable sleep mode.

Step 7. Click on the Apply button to save your changes and exit the Power Options dialog box.
Conclusion
In conclusion, sleep mode is a helpful feature in Windows 11 that can help extend the battery life of your laptop or tablet. However, there may be times when you want to disable this feature or adjust the settings to suit your needs. You can do this easily using the Windows 11 Settings app or the Control Panel. By following the steps outlined in this article, you can enable or disable sleep mode in Windows 11 to ensure your PC operates the way you want it to.