In the Windows operating system, local administrators have elevated privileges and access to various system resources. As an IT professional or system administrator, it’s essential to maintain an up-to-date record of local administrators on your Windows 11 or 10 machines. PowerShell, a powerful scripting language, provides a convenient and efficient way to retrieve this information. In this article, we will explore how to use PowerShell to obtain a list of local administrators on Windows 11 or 10.
How to Obtain a List of Local Administrators on Windows 11 or 10?
Follow these simple steps to get a list of Local Administrators on Windows 11 or 10 using PowerShell:-
Step 1. To begin, launch PowerShell on your Windows 11 or 10 machine. You can do this by typing “PowerShell” in the search bar, right-clicking on “Windows PowerShell,” and selecting “Run as administrator.” Running PowerShell with administrative privileges ensures you have the necessary permissions to gather the required information.
Step 2. Once PowerShell is open, you can use the `Get-LocalGroupMember` cmdlet to retrieve the members of the “Administrators” group, which includes the local administrators. Enter the following command in the PowerShell window and press Enter:-
Get-LocalGroupMember -Group "Administrators"
This command queries the local machine’s “Administrators” group and retrieves the members’ details.
Step 3. After executing the command, PowerShell will display a list of local administrators, including their names, security identifiers (SIDs), and other relevant information. The output will resemble the following:-
ObjectClass Name PrincipalSource
----------- ---- ---------------
User Administrator LocalAccount
User Kamlesh MicrosoftAccount
Group Administrators LocalAccount
The output provides valuable information, such as the object class (User or Group), the name of the user or group, and the principal source (LocalAccount or MicrosoftAccount).
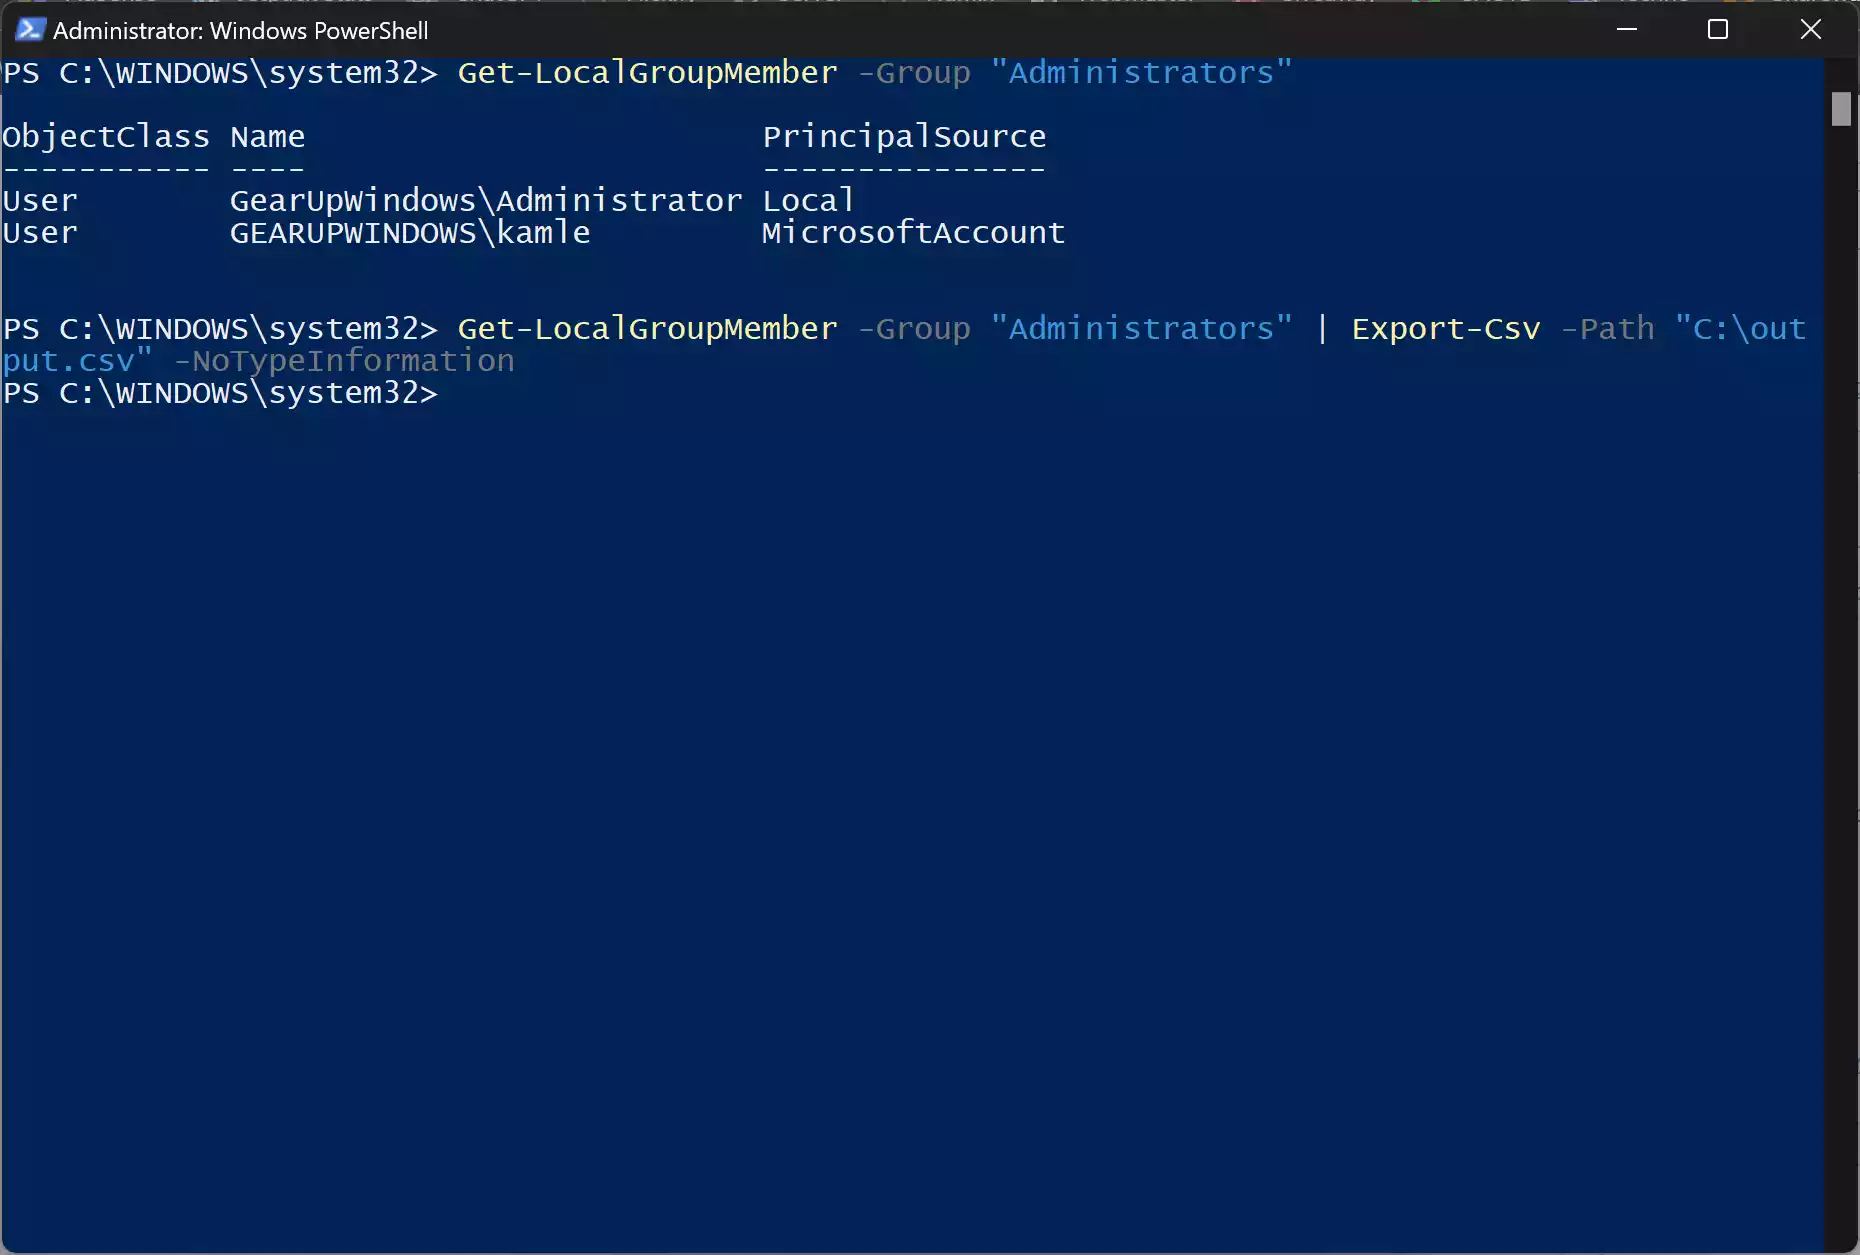
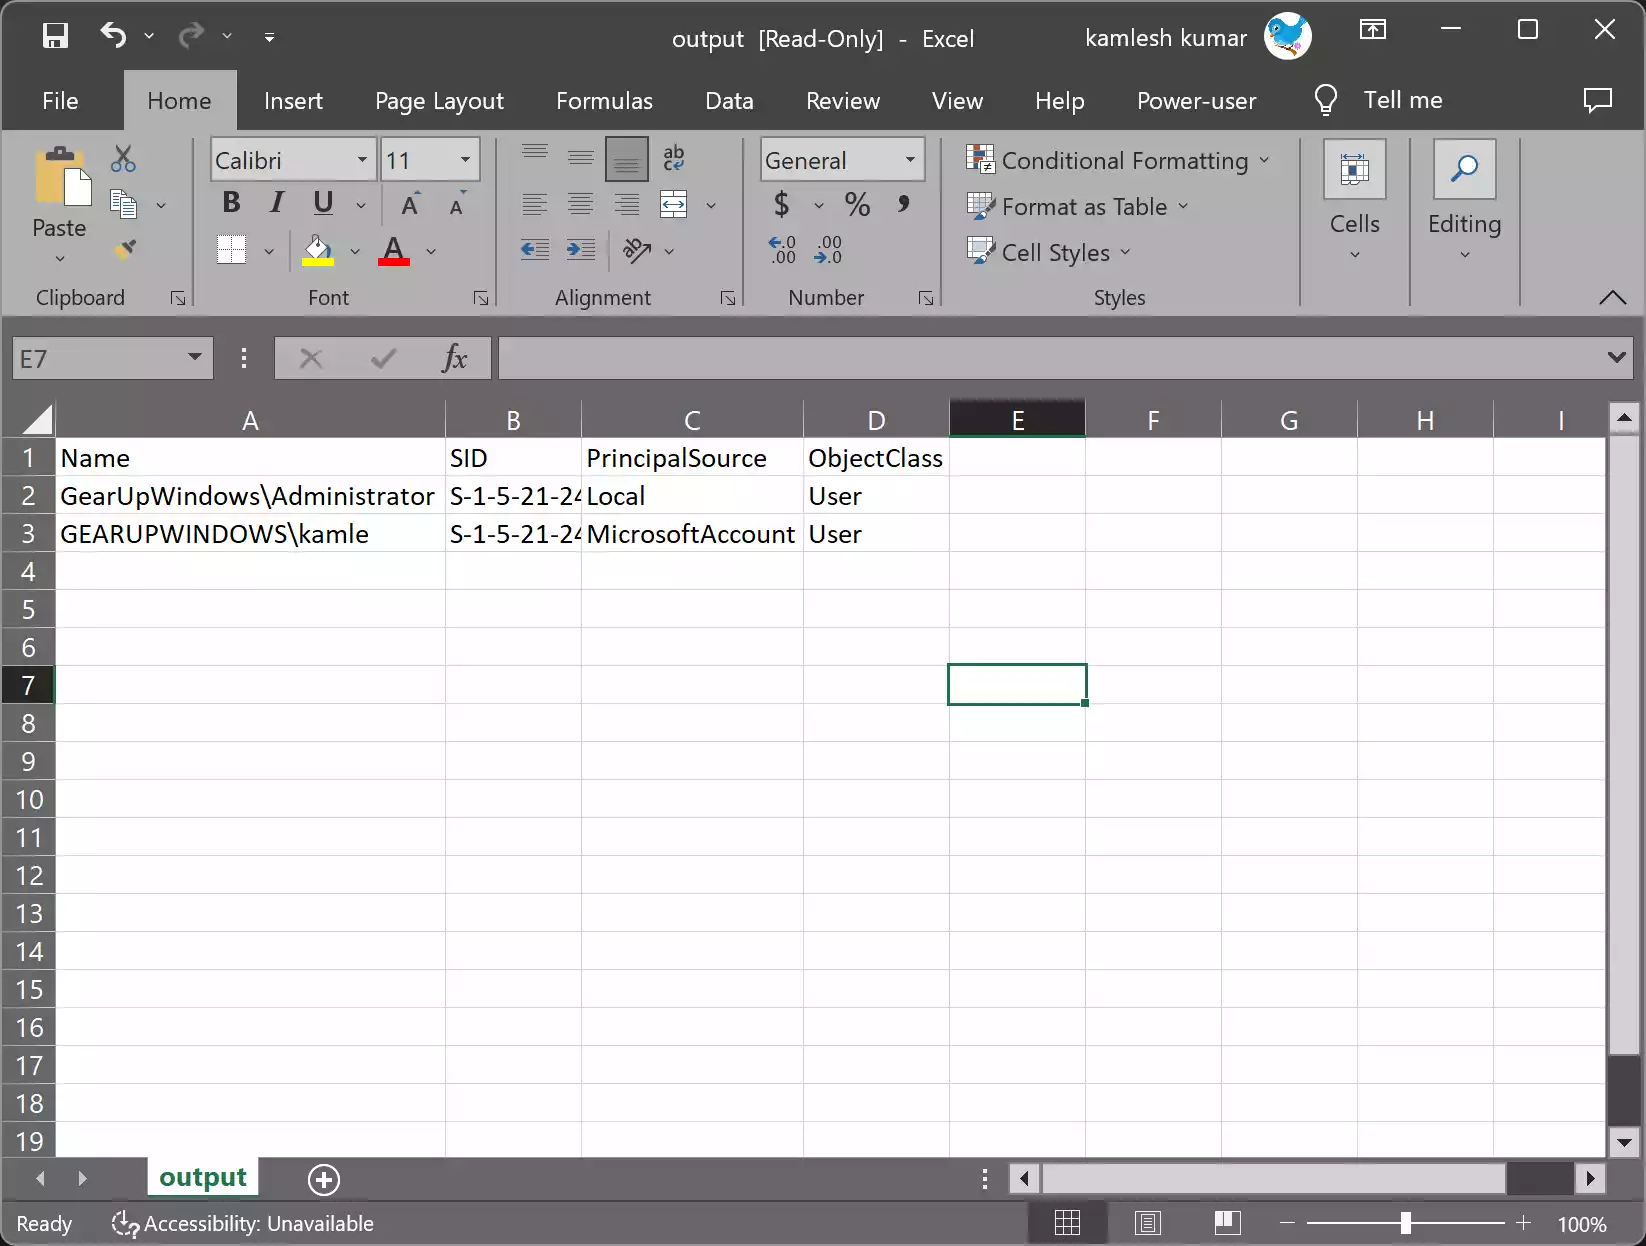
Step 4. If you wish to save the list of local administrators to a file for future reference or documentation purposes, you can export the output to a CSV (Comma-Separated Values) file. To accomplish this, add the following command after the previous one:-
| Export-Csv -Path "C:\Path\to\output.csv" -NoTypeInformation
Make sure to replace “C:\Path\to\output.csv” with the desired file path where you want to save the CSV file. The `-NoTypeInformation` parameter ensures that the output CSV file does not contain the type information at the beginning.
How to Remove Local Admin with CMD?
To remove a local administrator using the Command Prompt (cmd), simply open the Command Prompt as an administrator and execute the command “net user [username] /delete,” replacing “[username]” with the actual username of the account you wish to remove. Make sure to type the correct username to ensure the desired user is removed as a local administrator.
Conclusion
Using PowerShell, you can easily obtain a list of local administrators on Windows 11 or 10 machines. By leveraging the `Get-LocalGroupMember` cmdlet, you can quickly retrieve the necessary information and ensure proper management of access privileges. Keeping an up-to-date record of local administrators helps maintain system security and provides insights into user management. PowerShell’s flexibility and efficiency make it a valuable tool for system administrators when it comes to managing user access and security on Windows systems.