Microsoft Excel is a powerful spreadsheet application that provides a multitude of features to help users manage and organize data effectively. One useful feature that can simplify the view of complex data sets is the ability to group and collapse rows. This feature is particularly valuable when working with large datasets or when you want to create a structured outline for your data.
In this gearupwindows article, we will guide you through the process of grouping and collapsing rows in Microsoft Excel, step by step.
Why Group and Collapse Rows?
Grouping and collapsing rows is a beneficial tool in Excel for several reasons:-
Data Organization: When you have a large dataset with multiple categories or subcategories, grouping allows you to organize your data into logical sections.
Improved Readability: Collapsing rows reduces the visual clutter, making it easier to navigate through extensive spreadsheets.
Analysis: You can quickly analyze data by revealing or hiding specific sections as needed.
Reporting: It simplifies the creation of structured and more presentable reports.
Now, let’s explore the steps to group and collapse rows in Excel.
How to Group and Collapse Rows in Microsoft Excel?
To Group and Collapse Rows in Microsoft Excel, follow these steps:-
Step 1. Before you begin grouping and collapsing rows, make sure your data is well-organized and that you have identified the rows you want to group together. For this tutorial, let’s use a simple example:-
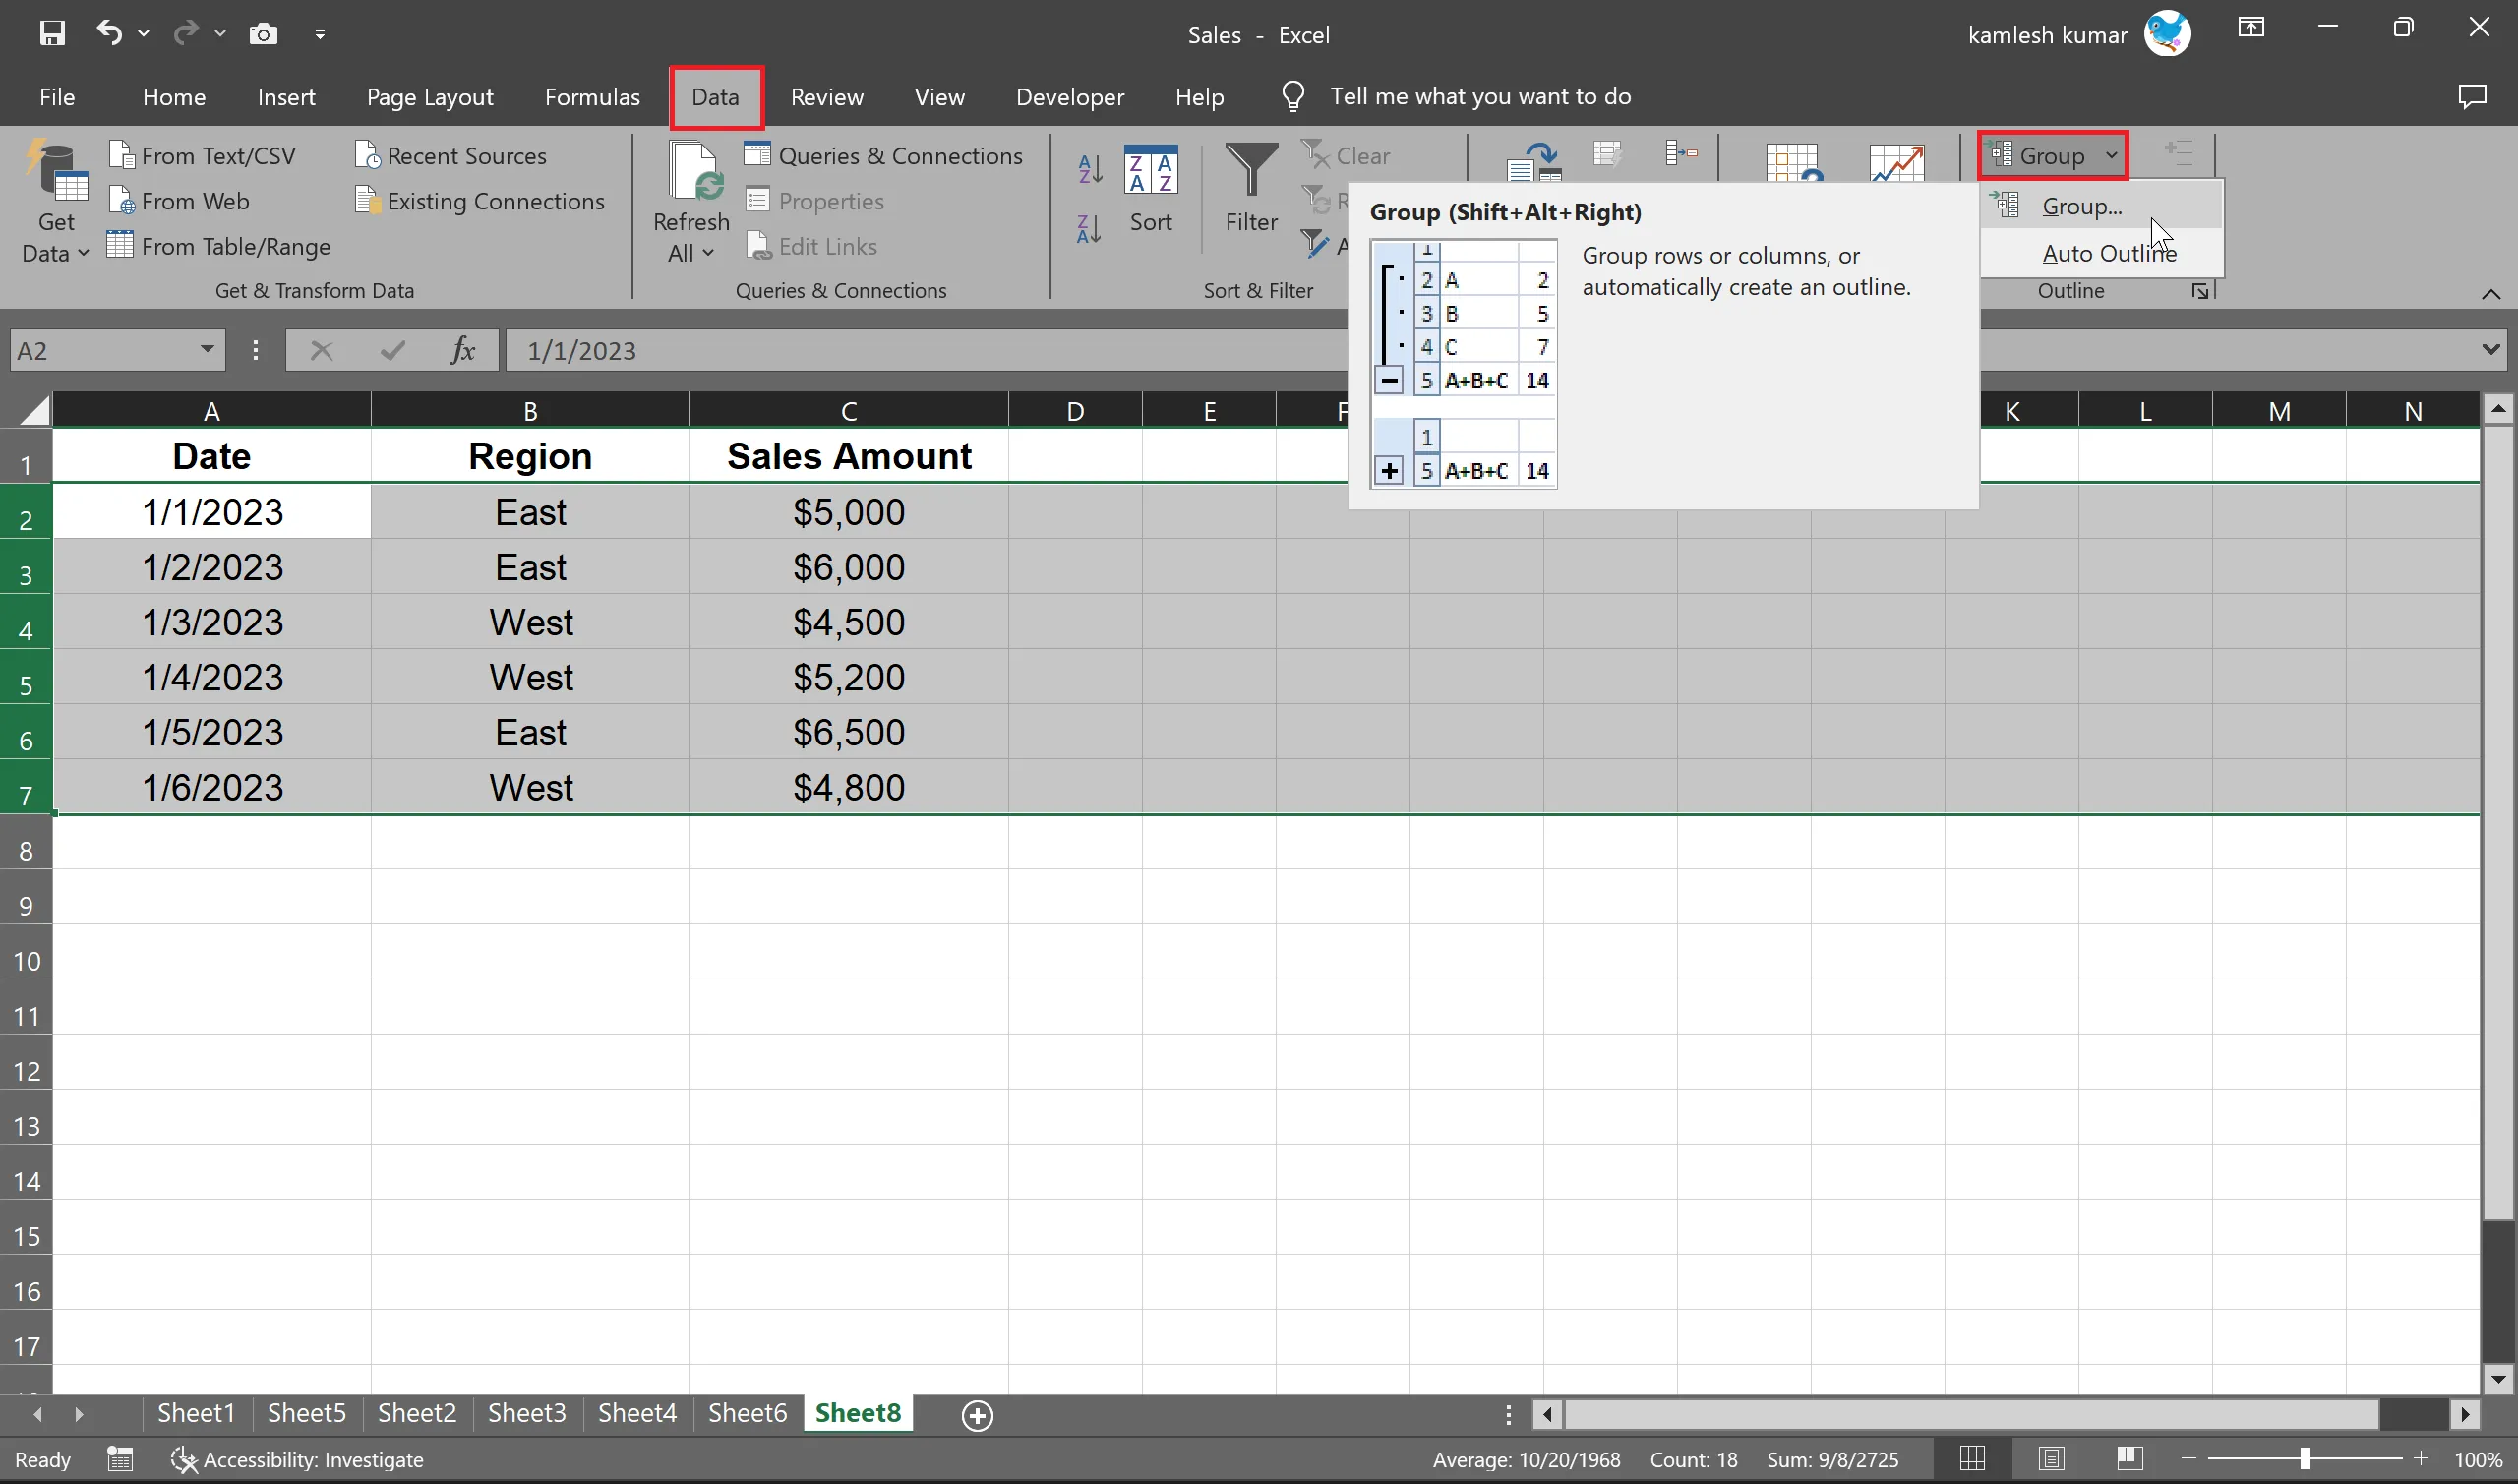
In this example, we will group the data by “Region” to create a more organized view. We want to create a report where we group the sales data by region and display the total sales for each region.
Step 2. Select the rows that you want to group together. In this case, select all the rows for each region. You can do this by clicking and dragging your mouse pointer over the row numbers on the left side of the Excel window.
Step 3. Once you’ve selected the rows, click on the “Data” tab. Under the “Outline” group, use the drop-down menu “Group” and select the “Group” option. Excel will automatically create a collapsible group with a small minus sign icon (–) to the left of your data.
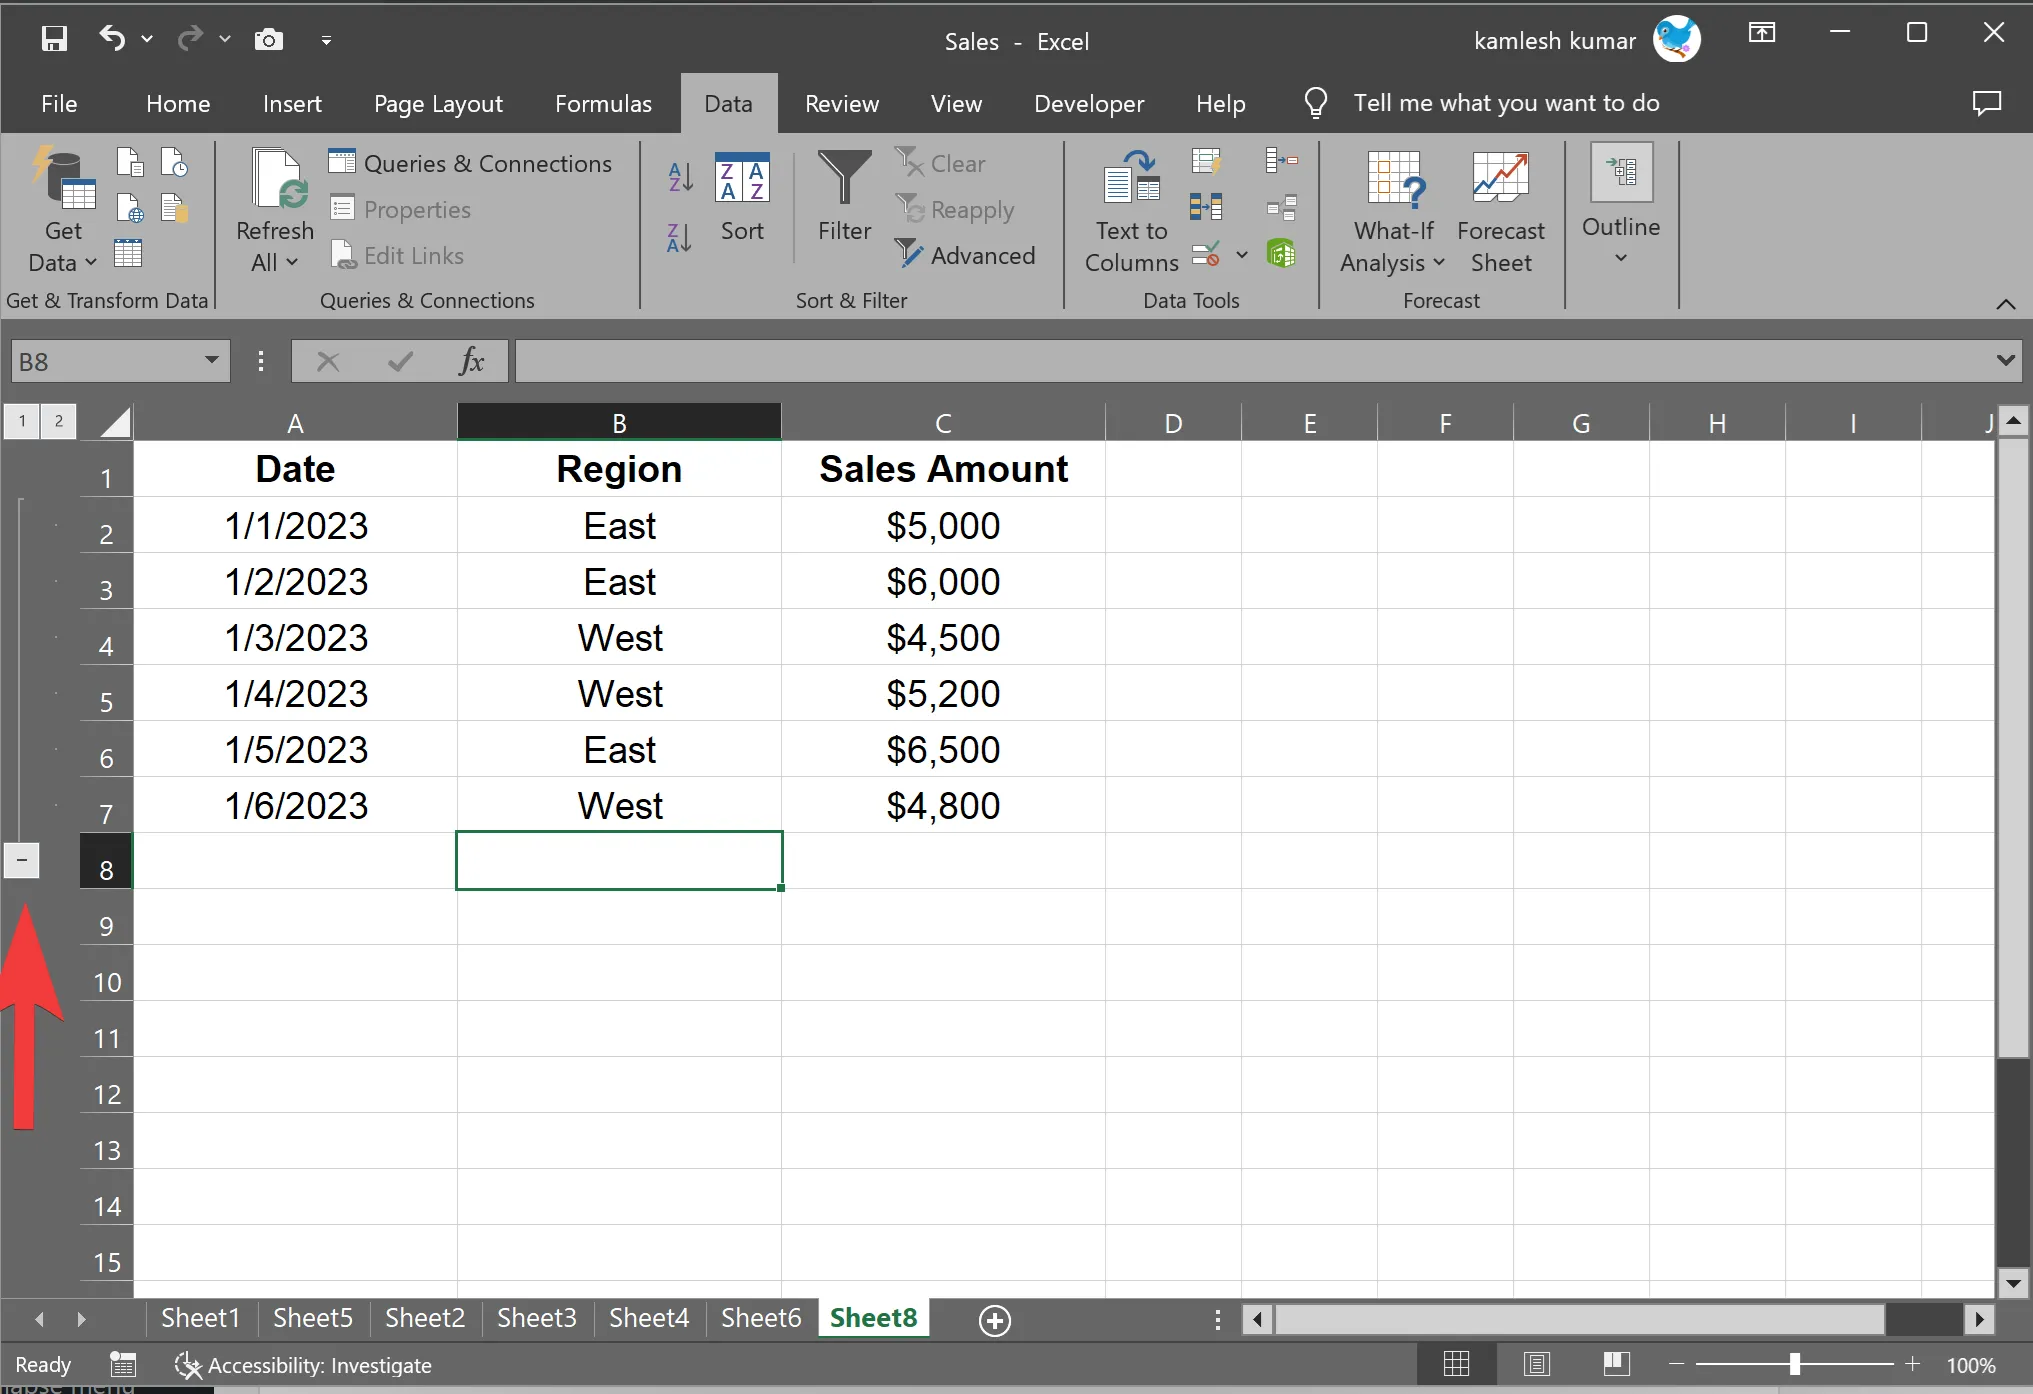
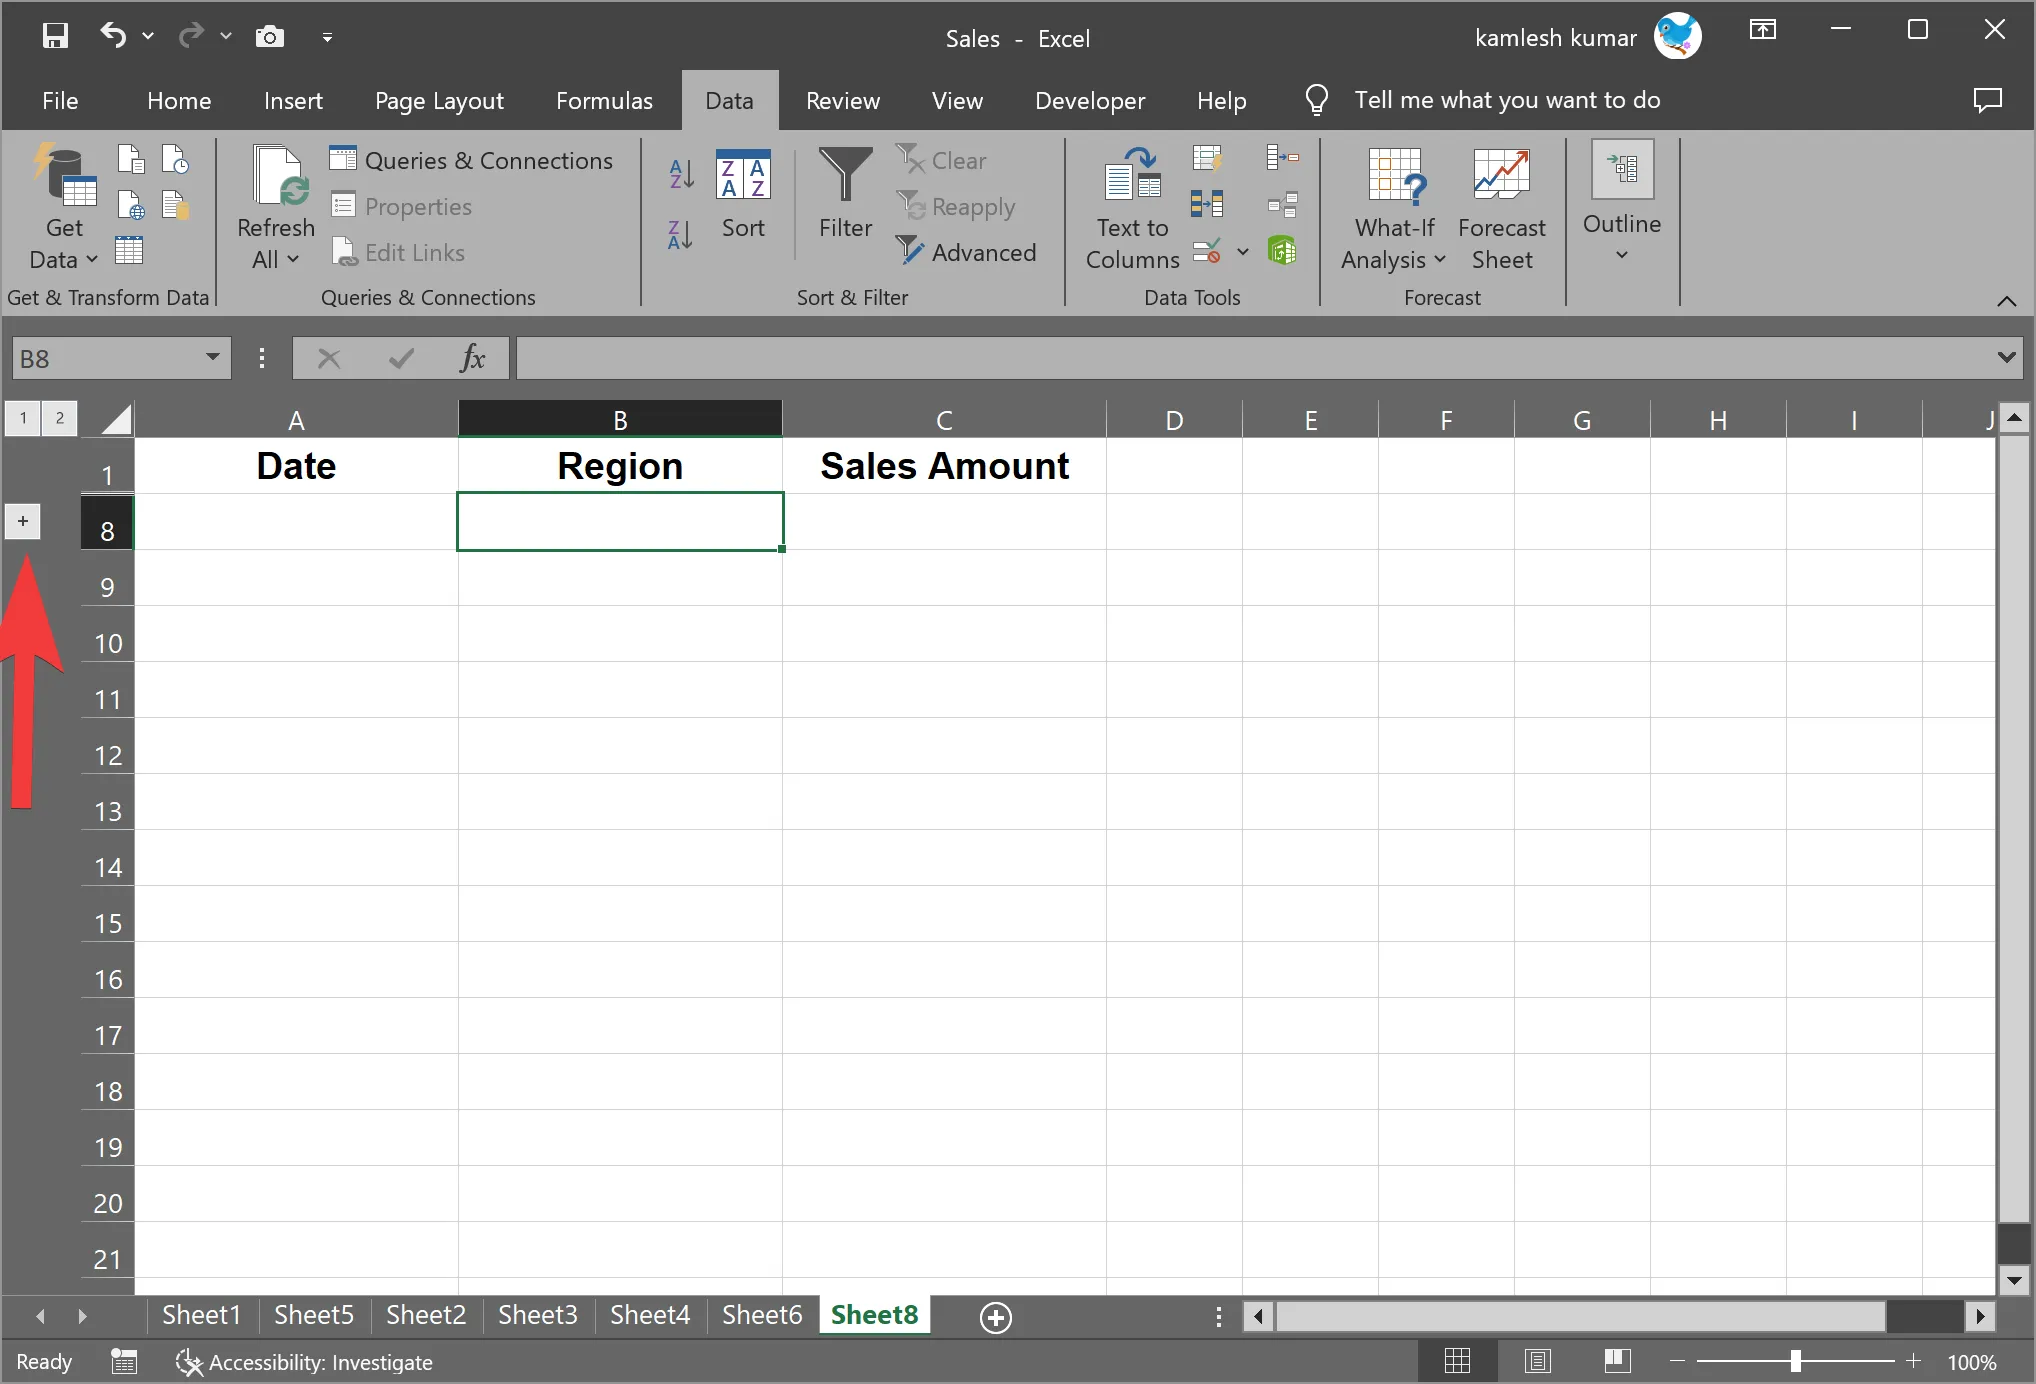
Step 4. To collapse the group and hide the rows within it, click the minus sign icon (–) next to the group’s name. To expand the group and show the hidden rows, click the plus sign icon (+) that appears when the group is collapsed.
Step 5. Customize Grouping by Adjusting Outline Settings: To customize the grouping in Excel, you’ll need to adjust the outline settings. Follow these steps:-
-
- Select the grouped rows you want to customize.
- Go to the “Data” tab in the Excel ribbon.
- Look for the “Outline” group. This group contains options to adjust the grouping settings.
Within the “Outline” group, you can do the following:-
– Group/Ungroup: You can use the “Group” and “Ungroup” buttons to create or remove grouping, respectively.
– Show Detail: This button is used to expand a grouped section and reveal the hidden rows.
– Hide Detail: This button is used to collapse a grouped section, hiding the rows.
Tips and Tricks
Here are a few additional tips and tricks for effectively using grouping and collapsing in Excel:-
Nesting Groups: You can create nested groups by selecting a subgroup of rows and grouping them within an already existing group. This allows for more granular organization.
Shortcut Key: You can use the keyboard shortcut “Alt+Shift+-” to collapse a group and “Alt+Shift++” to expand it.
Summary Rows: When customizing grouping, you can add summary rows to display calculations, such as totals or averages, for the grouped data.
Outline Levels: You can specify different outline levels to control the hierarchy and depth of your groups.
Conclusion
Grouping and collapsing rows in Microsoft Excel is a powerful feature that helps you organize, analyze, and present your data more effectively. Whether you’re working with large datasets or simply trying to create a more structured and readable spreadsheet, this tool can save you time and enhance your productivity. Mastering this feature will make you a more proficient Excel user and allow you to work with data more efficiently.
