Microsoft Excel is a powerful tool for organizing, analyzing, and visualizing data. Whether you’re creating a financial report, a budget spreadsheet, or a project timeline, Excel provides you with a multitude of formatting options to make your data more presentable and easier to work with. One of these options is the ability to lock column widths and row heights, which can be particularly useful when you want to freeze specific elements of your spreadsheet in place. In this gearupwindows article, we’ll delve into the step-by-step process of how to lock column widths and row heights in Microsoft Excel.
Why Lock Column Widths and Row Heights?
Locking column widths and row heights in Excel can serve several purposes:-
Prevent Data Misalignment: Sometimes, when scrolling through a large dataset, column widths and row heights may change unintentionally. Locking them ensures that your data remains neatly organized, even when you navigate through different parts of your spreadsheet.
Freeze Headers: When you’re working with a lengthy spreadsheet, it’s helpful to freeze the header row and/or column so that they remain visible when scrolling through the rest of the data. This feature is especially valuable when dealing with extensive tables.
Design Consistency: Locking column widths and row heights can help maintain a consistent and professional look in your Excel workbooks. This is crucial for creating reports, financial statements, or any document that requires a polished appearance.
Now, let’s dive into the steps for locking column widths and row heights in Excel.
How to Lock Column Width and Row Height in Microsoft Excel?
Locking Column Widths
Step 1. Click on the lettered header of the column that you want to lock. If you wish to lock multiple columns, hold down the ‘Ctrl‘ key on your keyboard while clicking on the column headers.
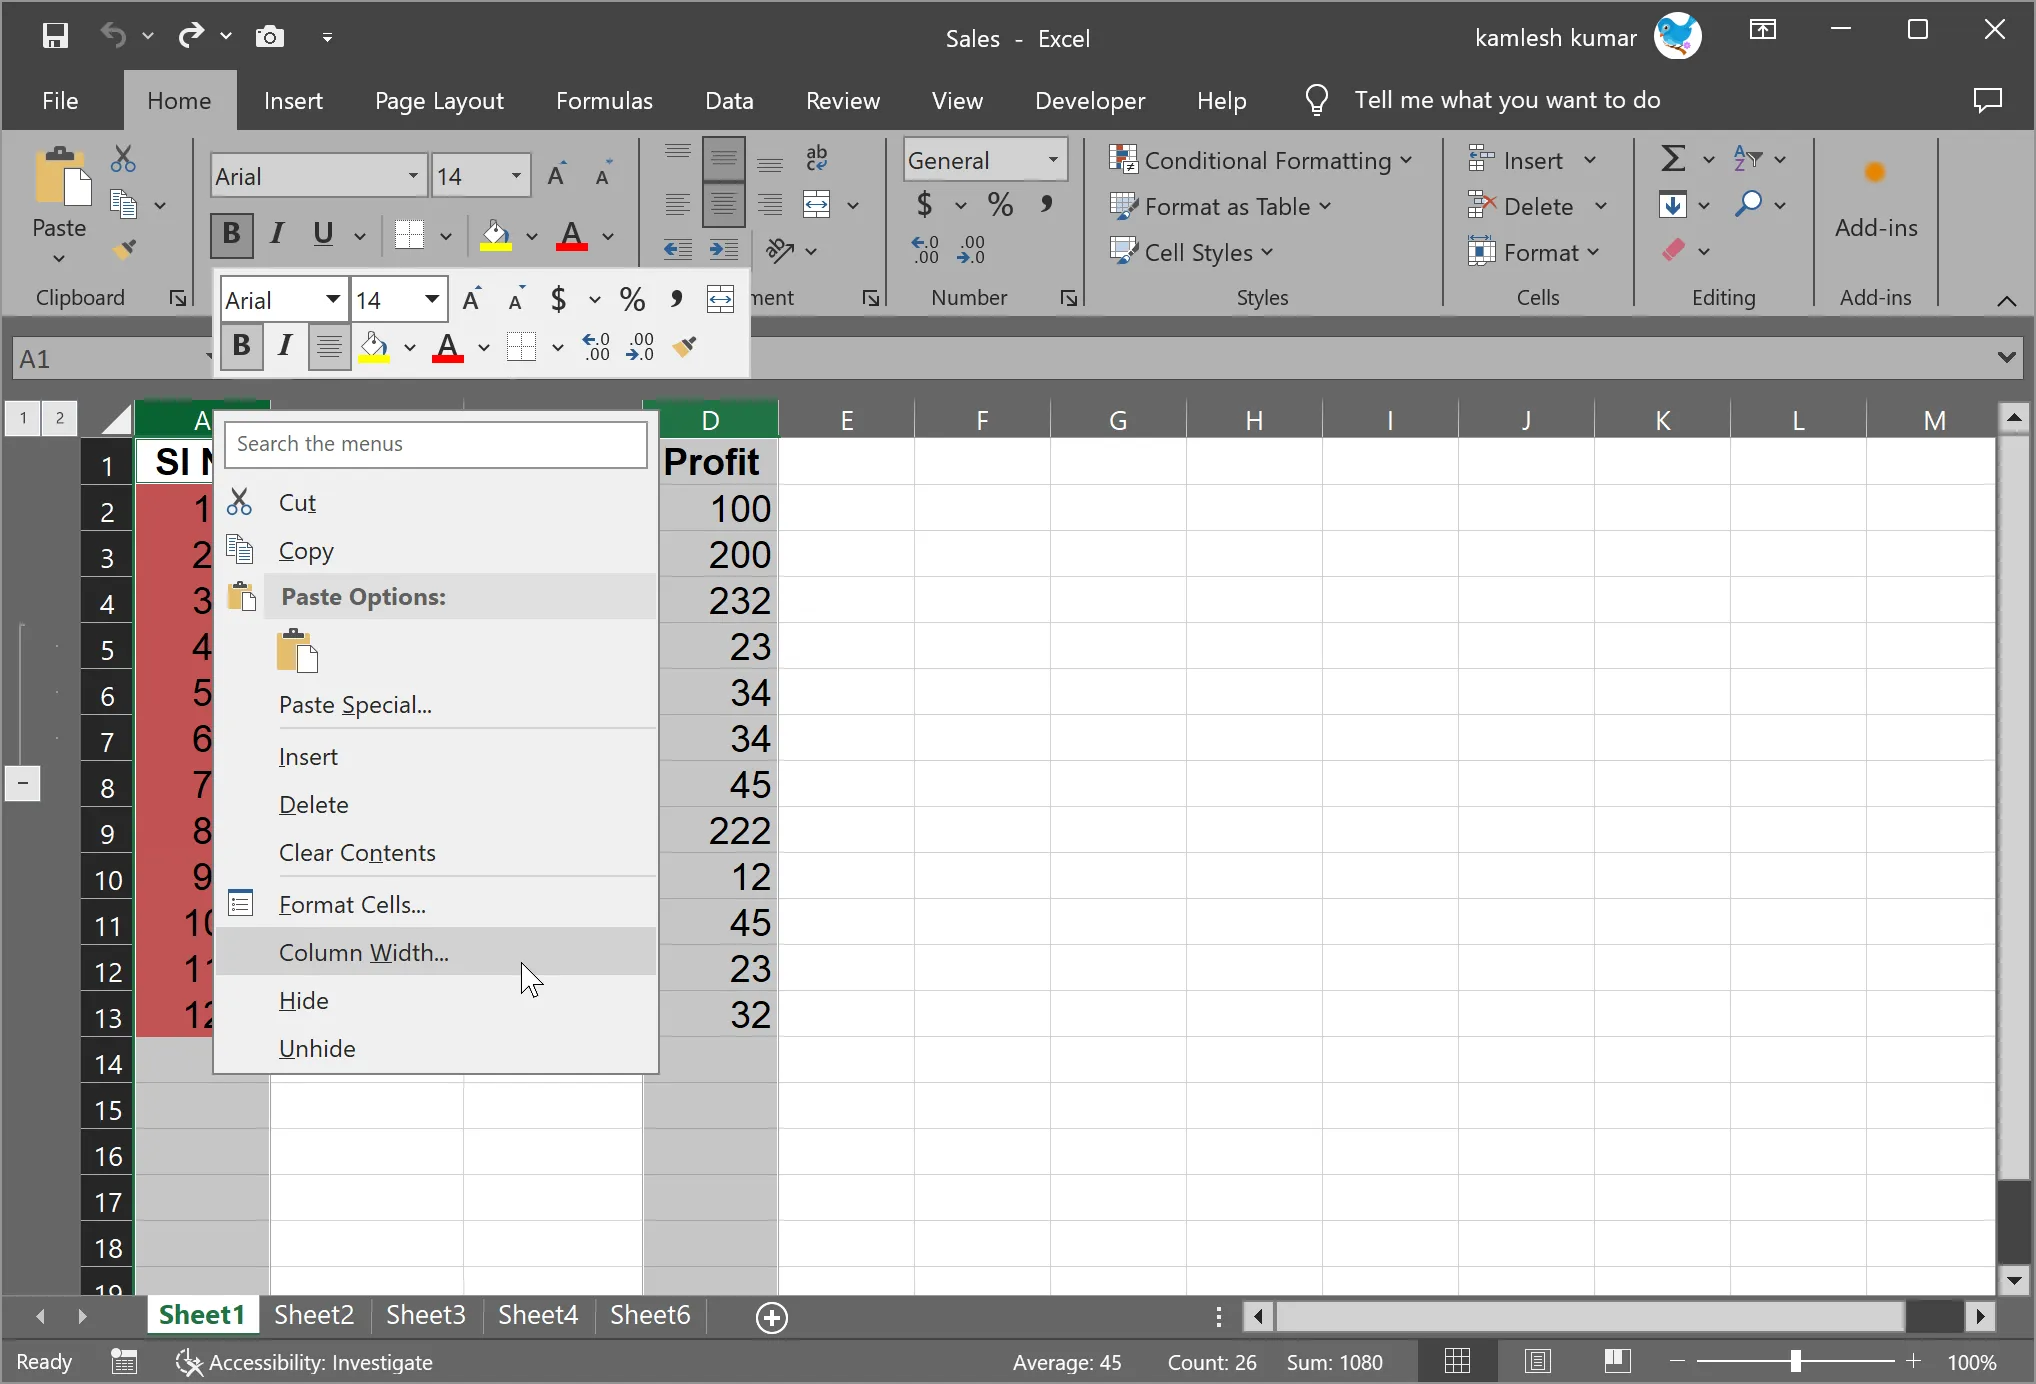
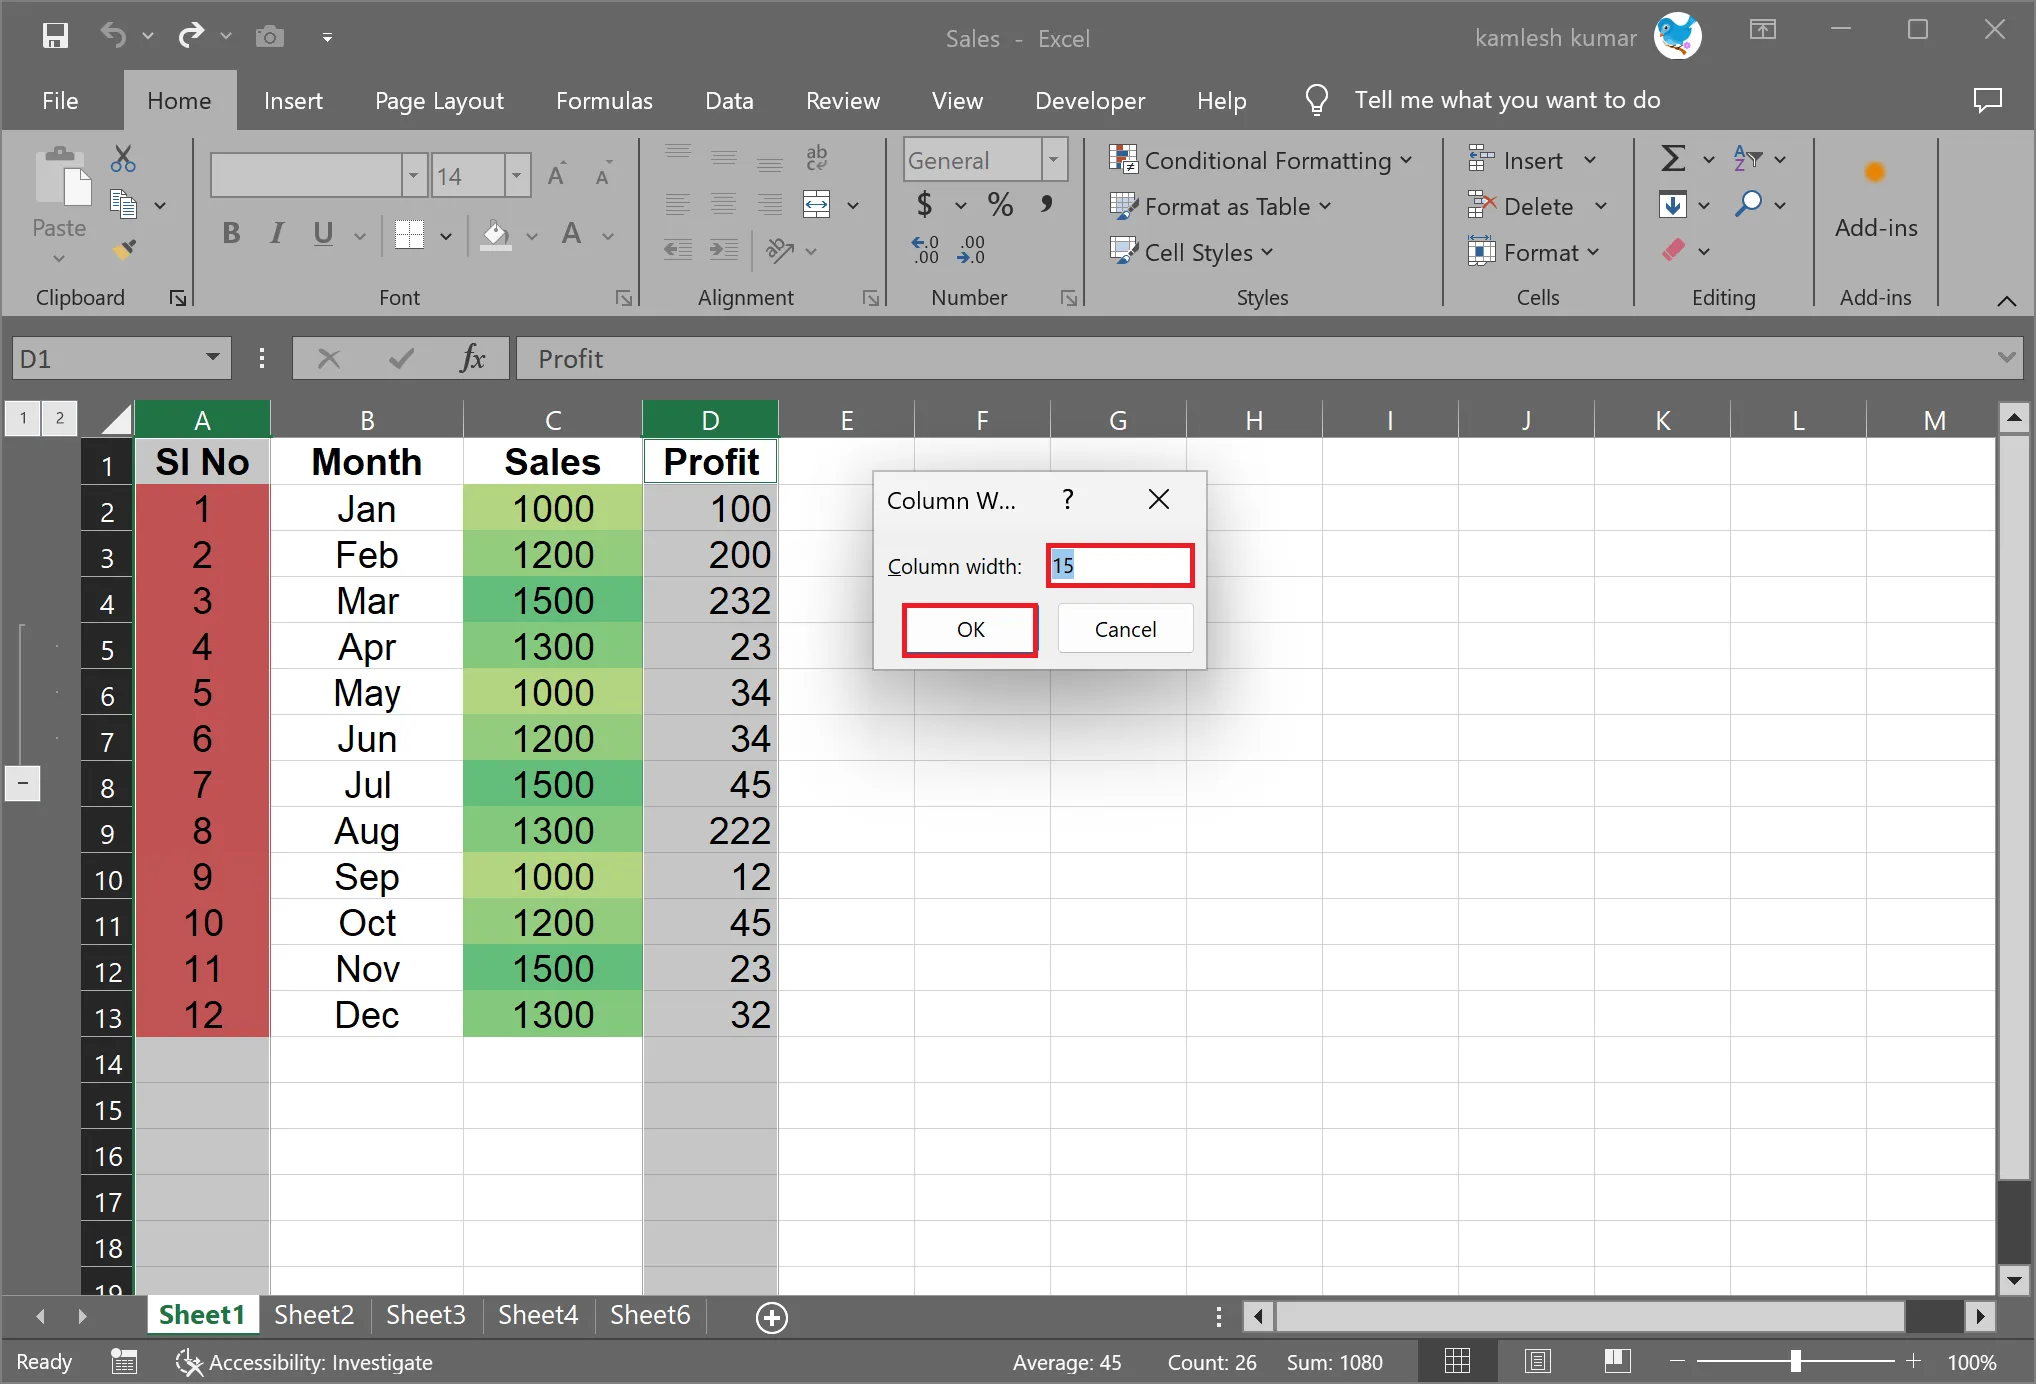
Step 2. After selecting the desired columns, right-click on one of the selected column headers. A context menu will appear. From this menu, choose “Column Width.” Enter the preferred width in the dialog box and click “OK.” This will set the width for the selected columns.
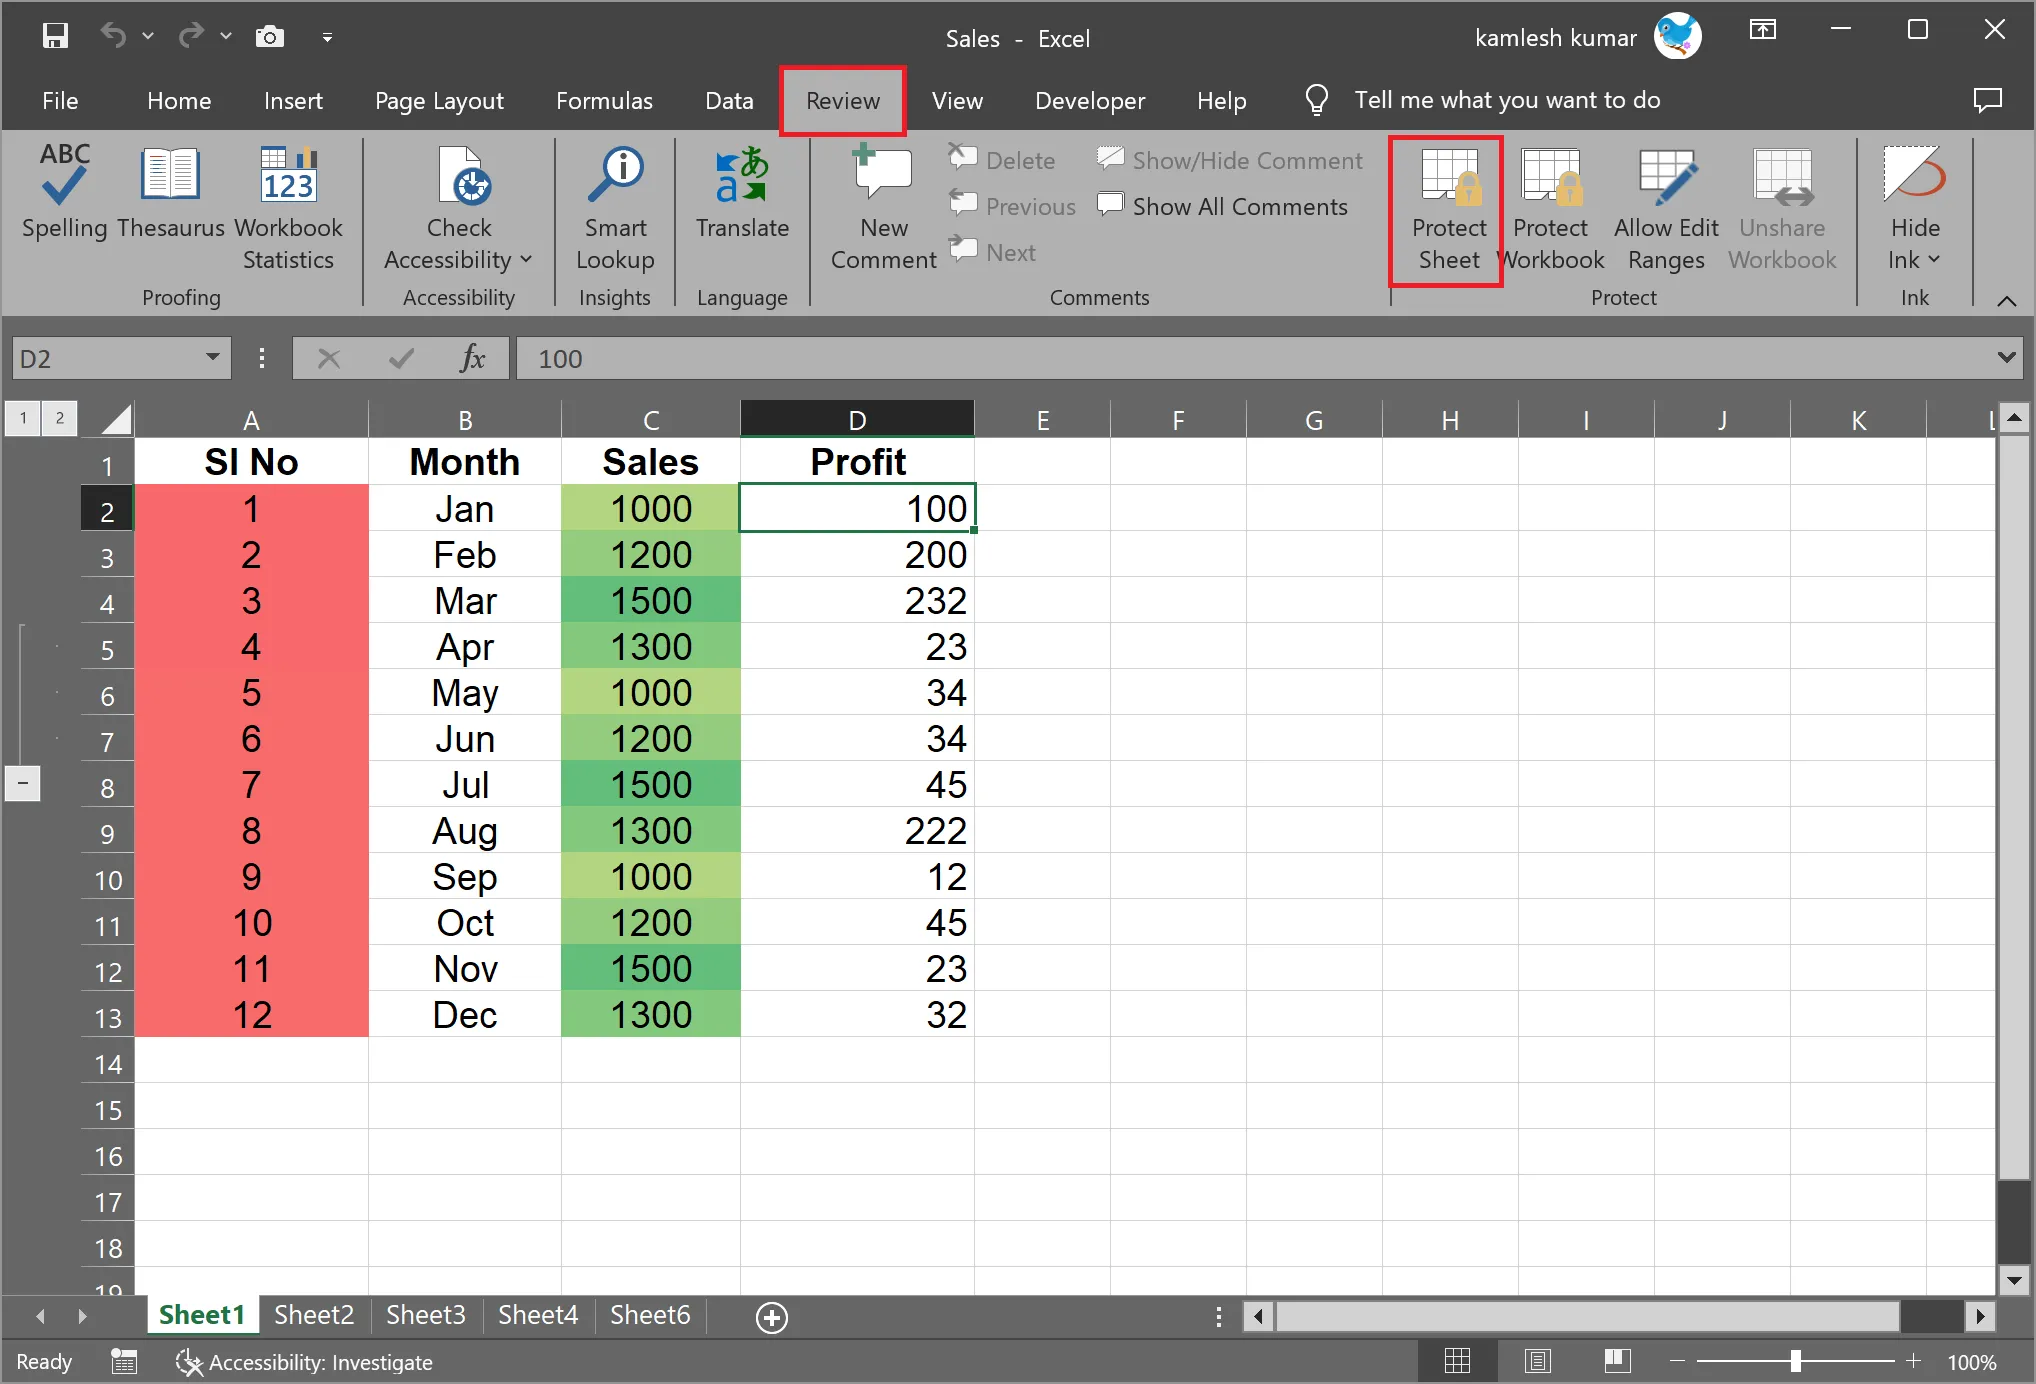
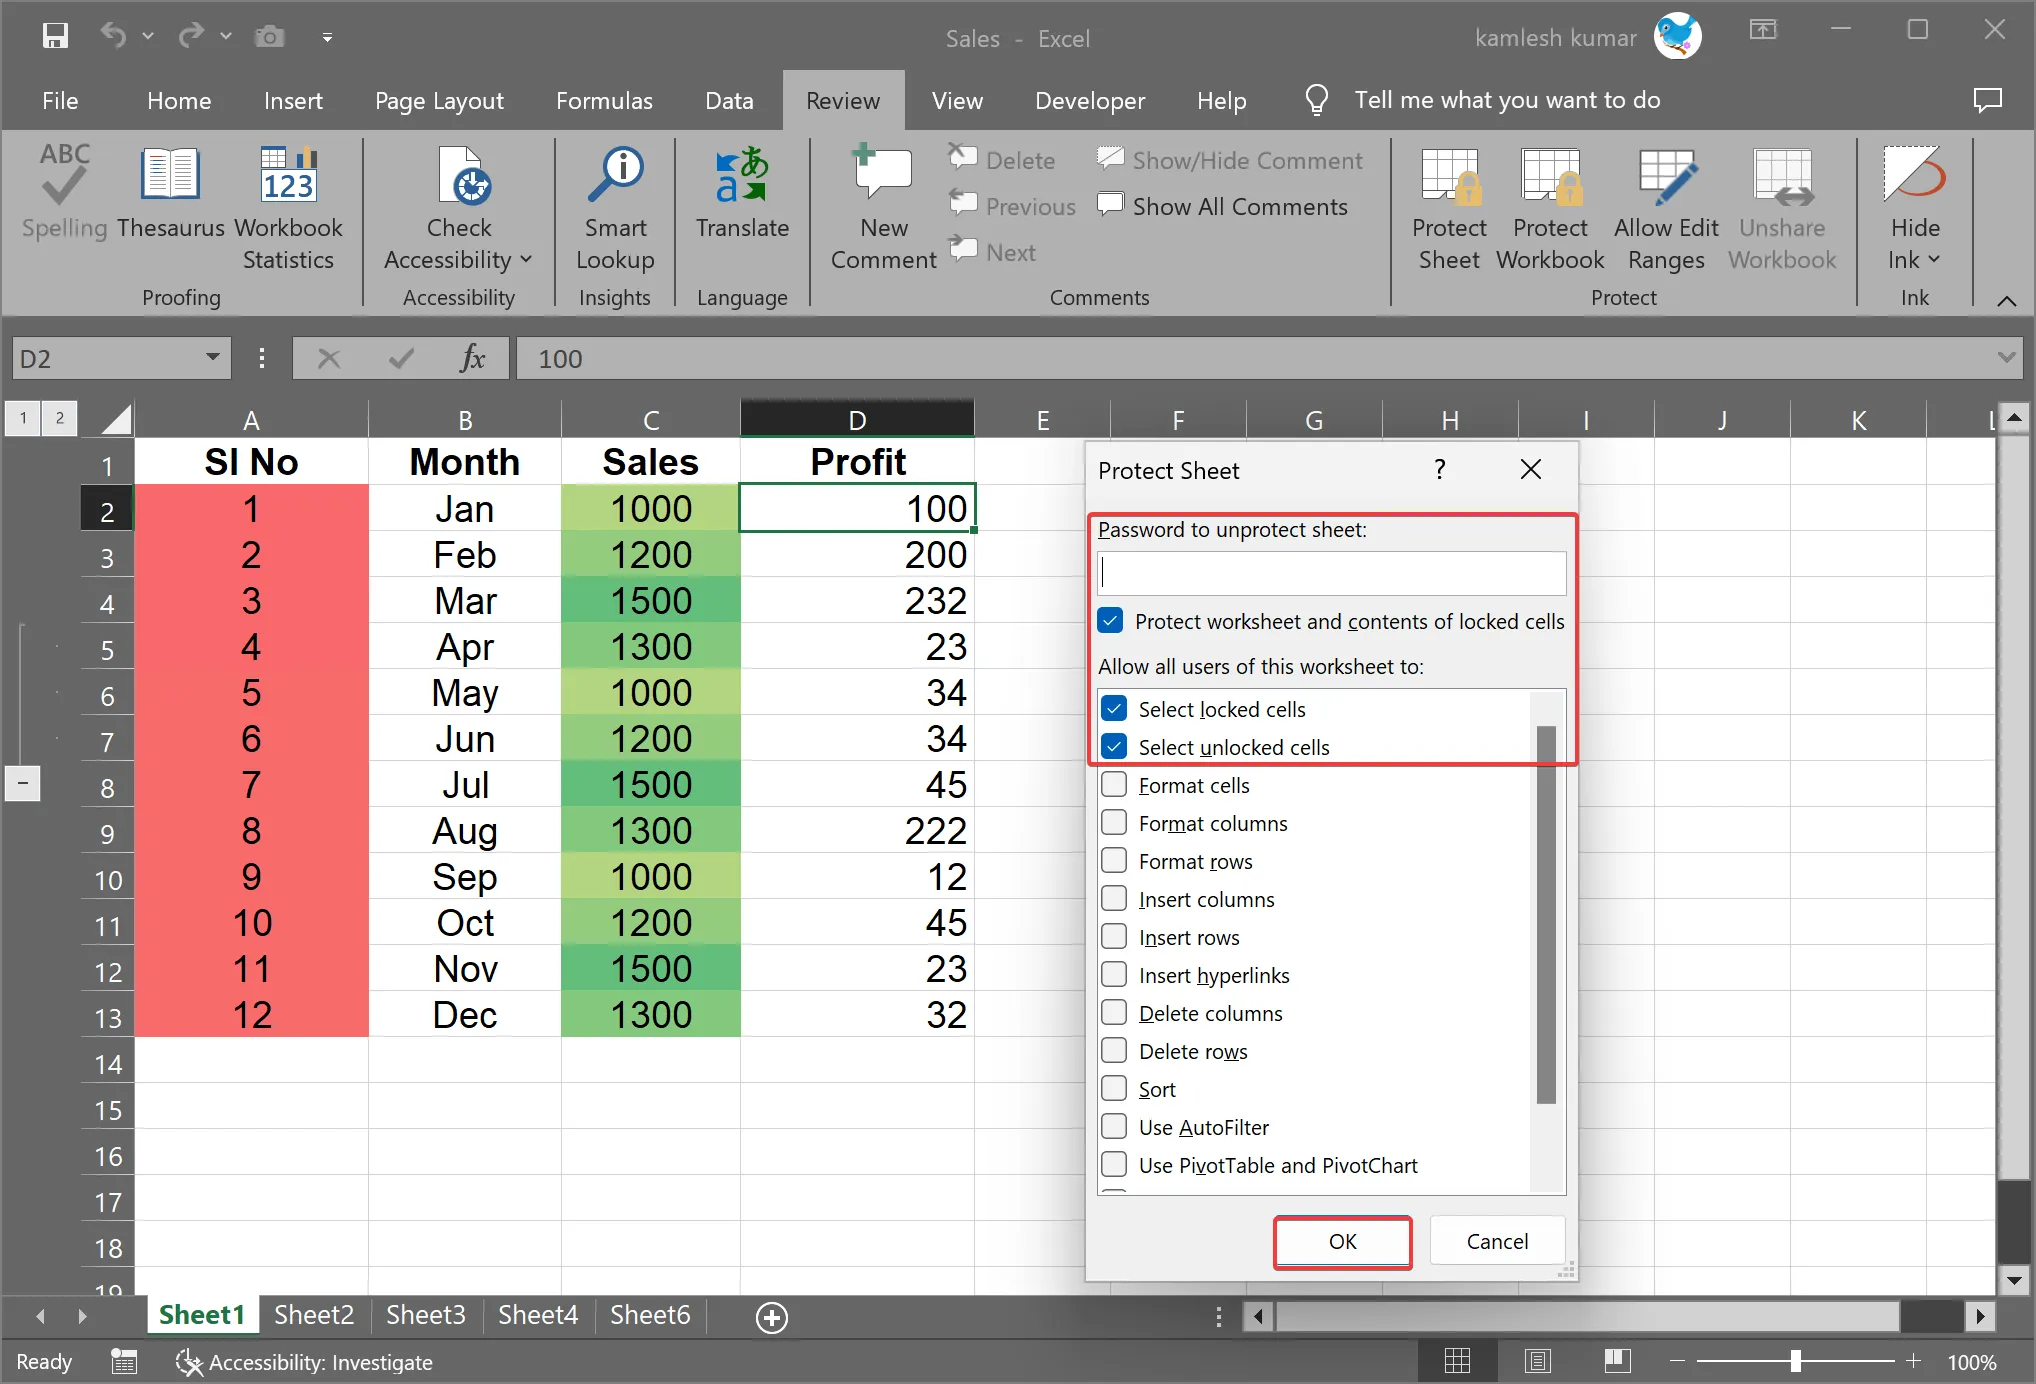
Step 3. To prevent the column widths from being changed, you need to protect the worksheet. Go to the “Review” tab in the Excel ribbon and select “Protect Sheet.” You can set a password if you want to restrict others from making changes to the worksheet. Click “OK” to confirm.
Step 4. Your selected columns will now have locked widths. If you try to change the width of any of these columns, you will receive an error message, as long as the worksheet is protected.
Locking Row Heights
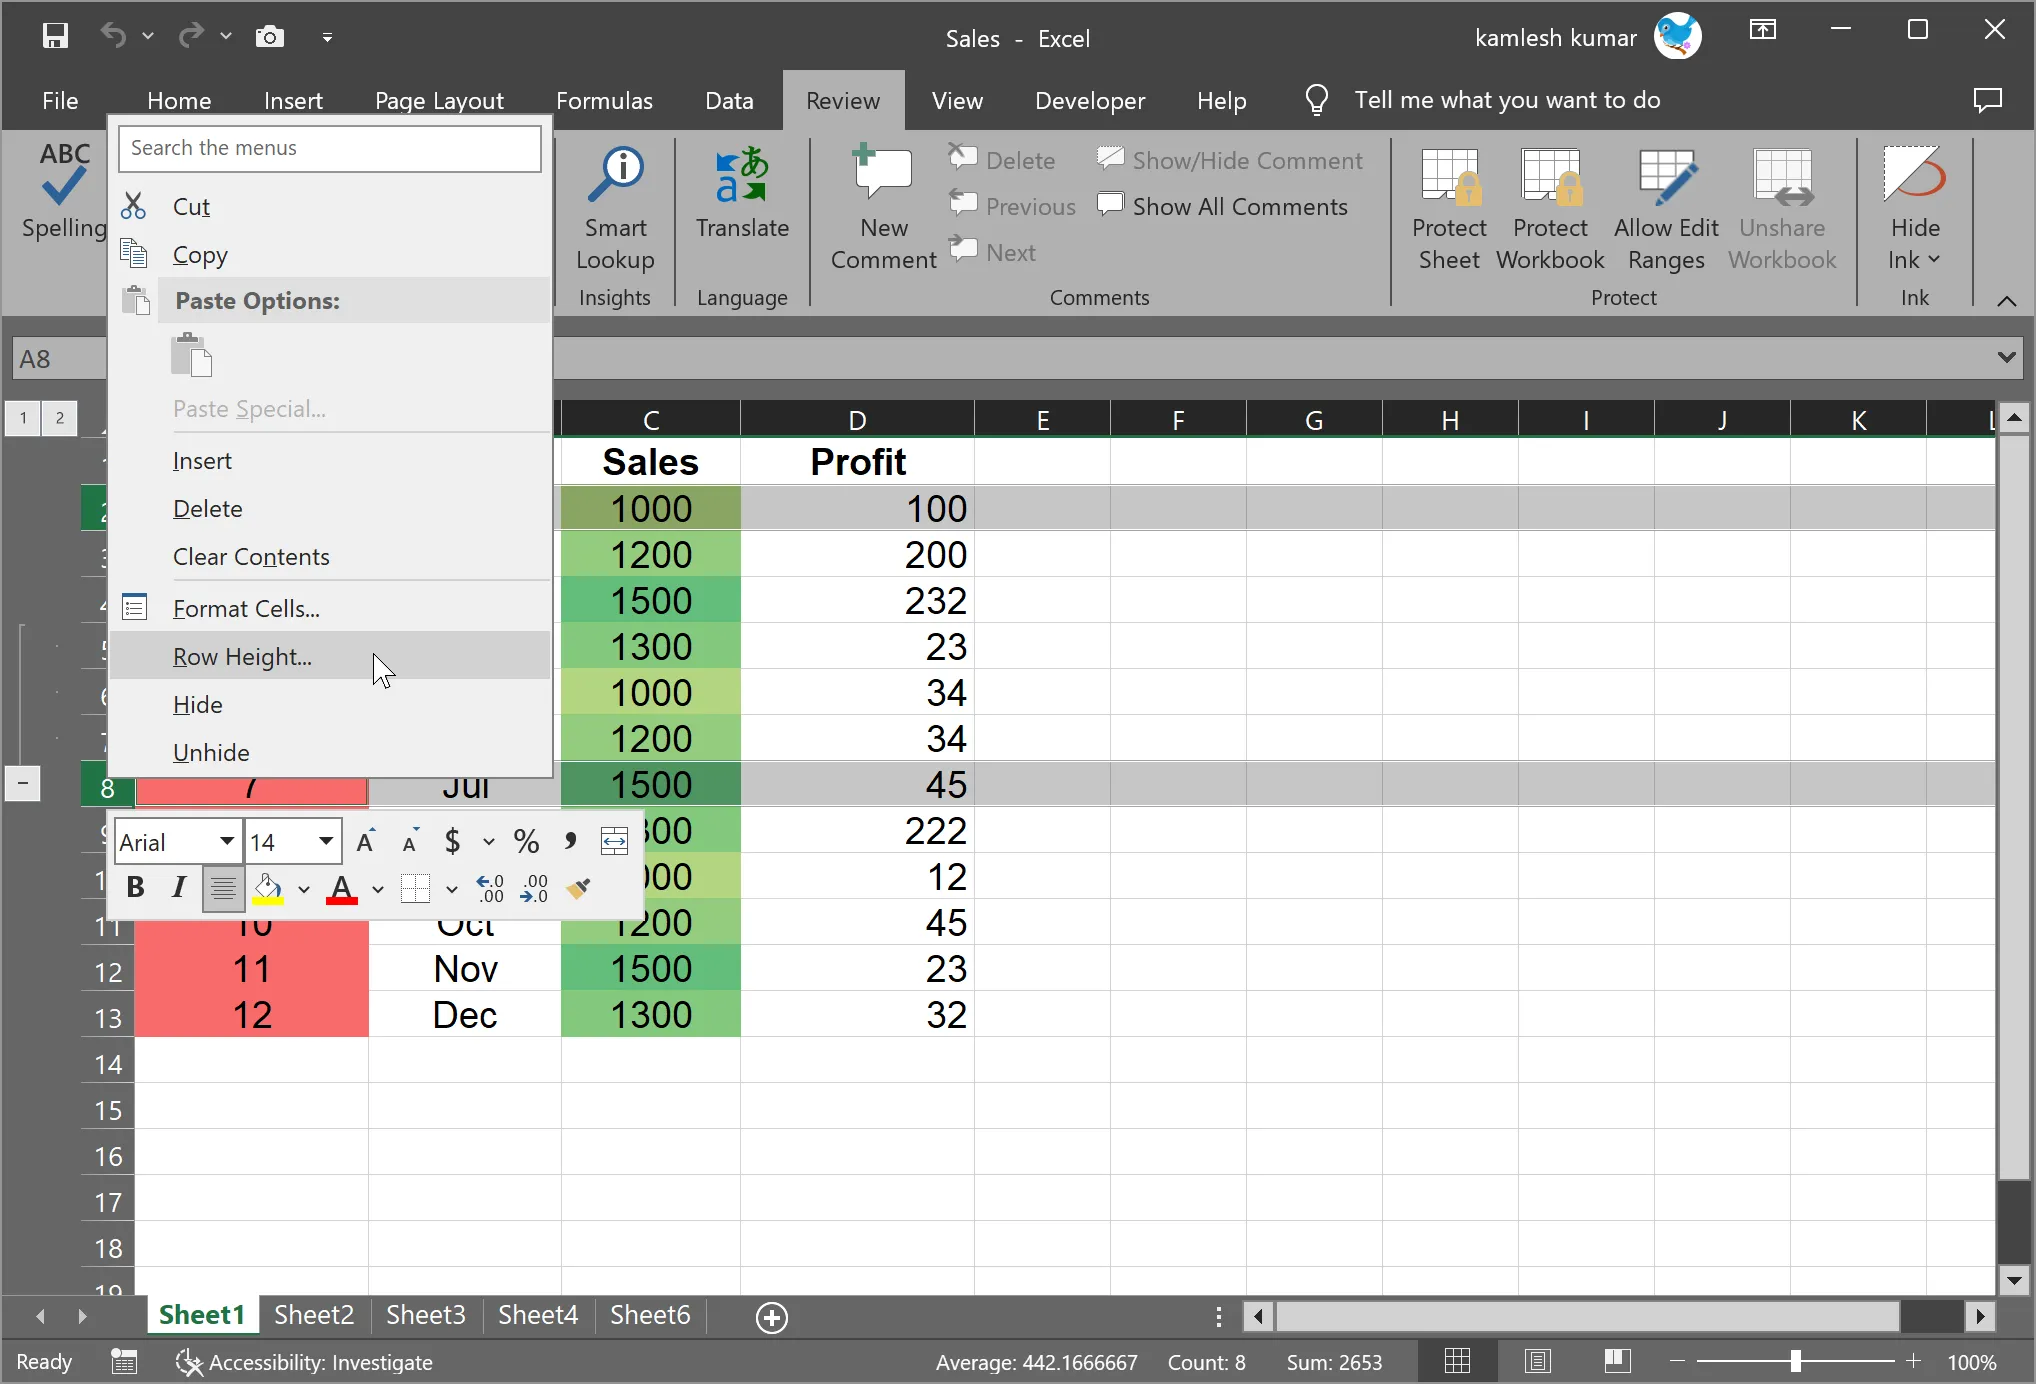
Step 1. Click on the numbered header of the row that you want to lock. To lock multiple rows, use the ‘Ctrl‘ key while clicking on the row headers.
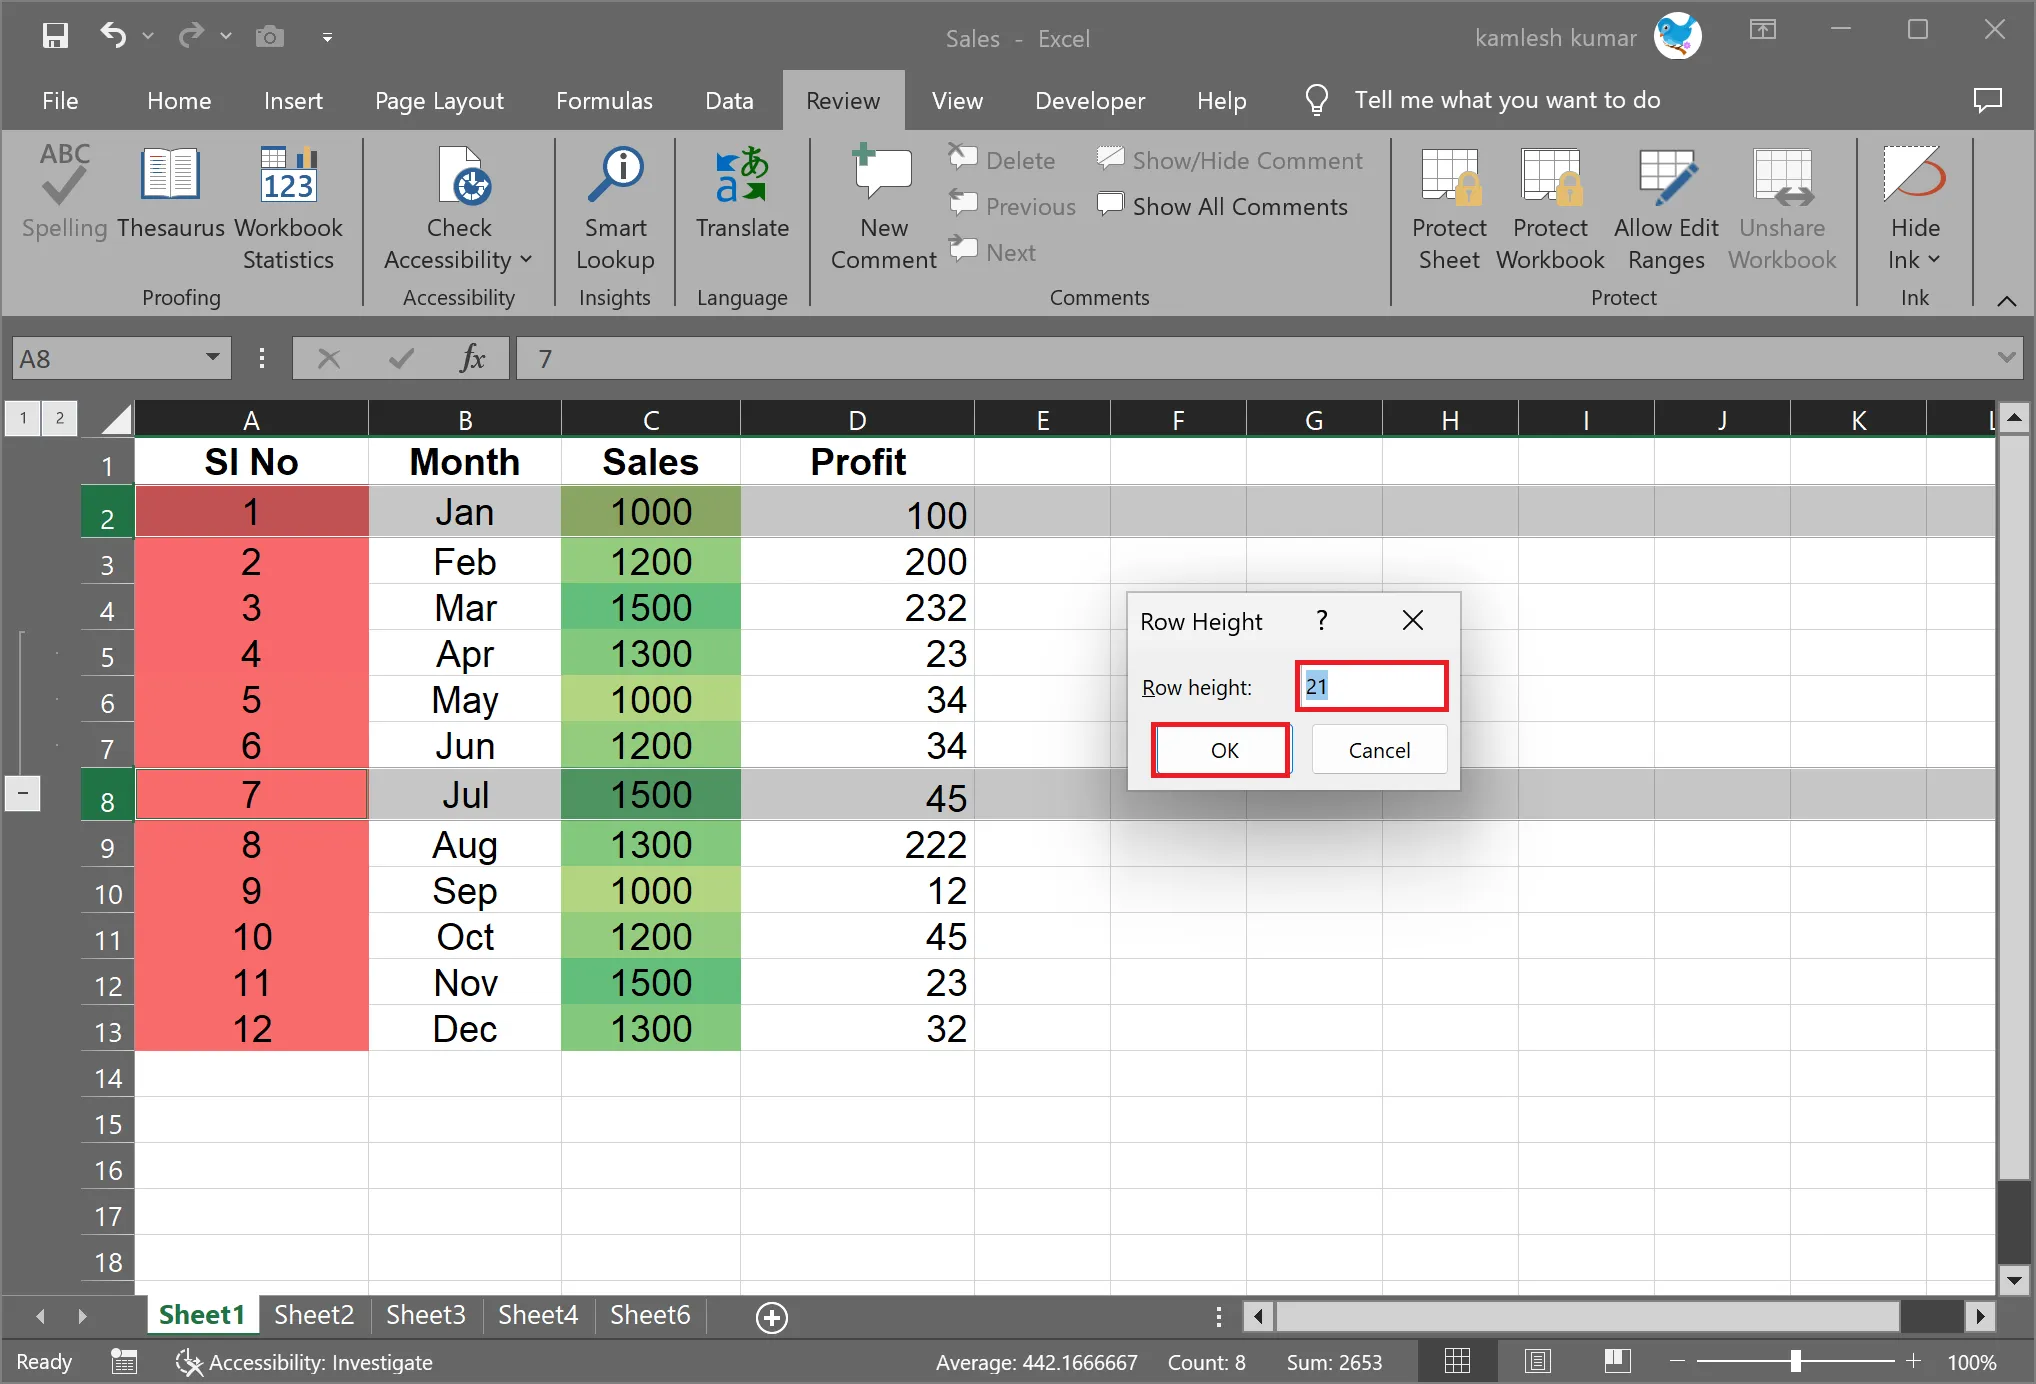
Step 2. After selecting the desired rows, right-click on one of the selected row headers. From the context menu, choose “Row Height.” In the dialog box that appears, enter the desired height and click “OK.”
Step 3. Just like with column widths, you need to protect the worksheet to keep the row heights from being altered. Go to the “Review” tab and select “Protect Sheet.” Set a password if needed, and click “OK.”
Step 4. Your selected rows will now have fixed heights. Any attempt to modify the height of these rows will trigger an error message as long as the worksheet is protected.
Freezing Headers
To freeze header rows or columns for easy reference while scrolling through large datasets, follow these steps:-
Step 1. Click on the cell directly below the row you want to keep visible while scrolling.
Step 2. Navigate to the “View” tab in the Excel ribbon. Select “Freeze Panes” and then choose either “Freeze Panes” or “Freeze Top Row” if you want to lock the header row. To lock a column, choose “Freeze First Column.”
Step 3. Now, when you scroll through your data, the selected row or column will remain visible at the top or left side of the Excel window, respectively.
Conclusion
Locking column widths and row heights in Microsoft Excel is a valuable skill for maintaining data consistency and improving the user experience. Whether you want to prevent accidental changes to your spreadsheet layout, keep headers in view, or ensure a professional appearance, these features can greatly enhance your Excel documents. By following the steps outlined in this article, you’ll be able to confidently use these functions to your advantage and create more organized and user-friendly Excel workbooks.
