Microsoft Word and Excel are powerful tools for creating documents and performing calculations. Combining the two allows you to create dynamic documents with embedded Excel workbooks for mathematical calculations. In this guide, we will walk you through the process of inserting an Excel workbook into a Word document and performing calculations seamlessly.
How to Insert an Excel Workbook into Word for Mathematical Calculations?
Method 1: Using an Object for Calculations
Step 1. Before you begin, ensure that you have an Excel workbook containing the data and formulas you want to use for calculations. Save the Excel workbook to your preferred location on your computer.

Step 2. Launch Microsoft Word on your computer. Start a new document or open an existing Word file where you want to insert the Excel workbook for calculations.
Step 3. Place the cursor in the Word document where you want to insert the Excel workbook.
Step 4. In the Word ribbon, go to the “Insert” tab. This tab contains various options for adding different types of content to your document.
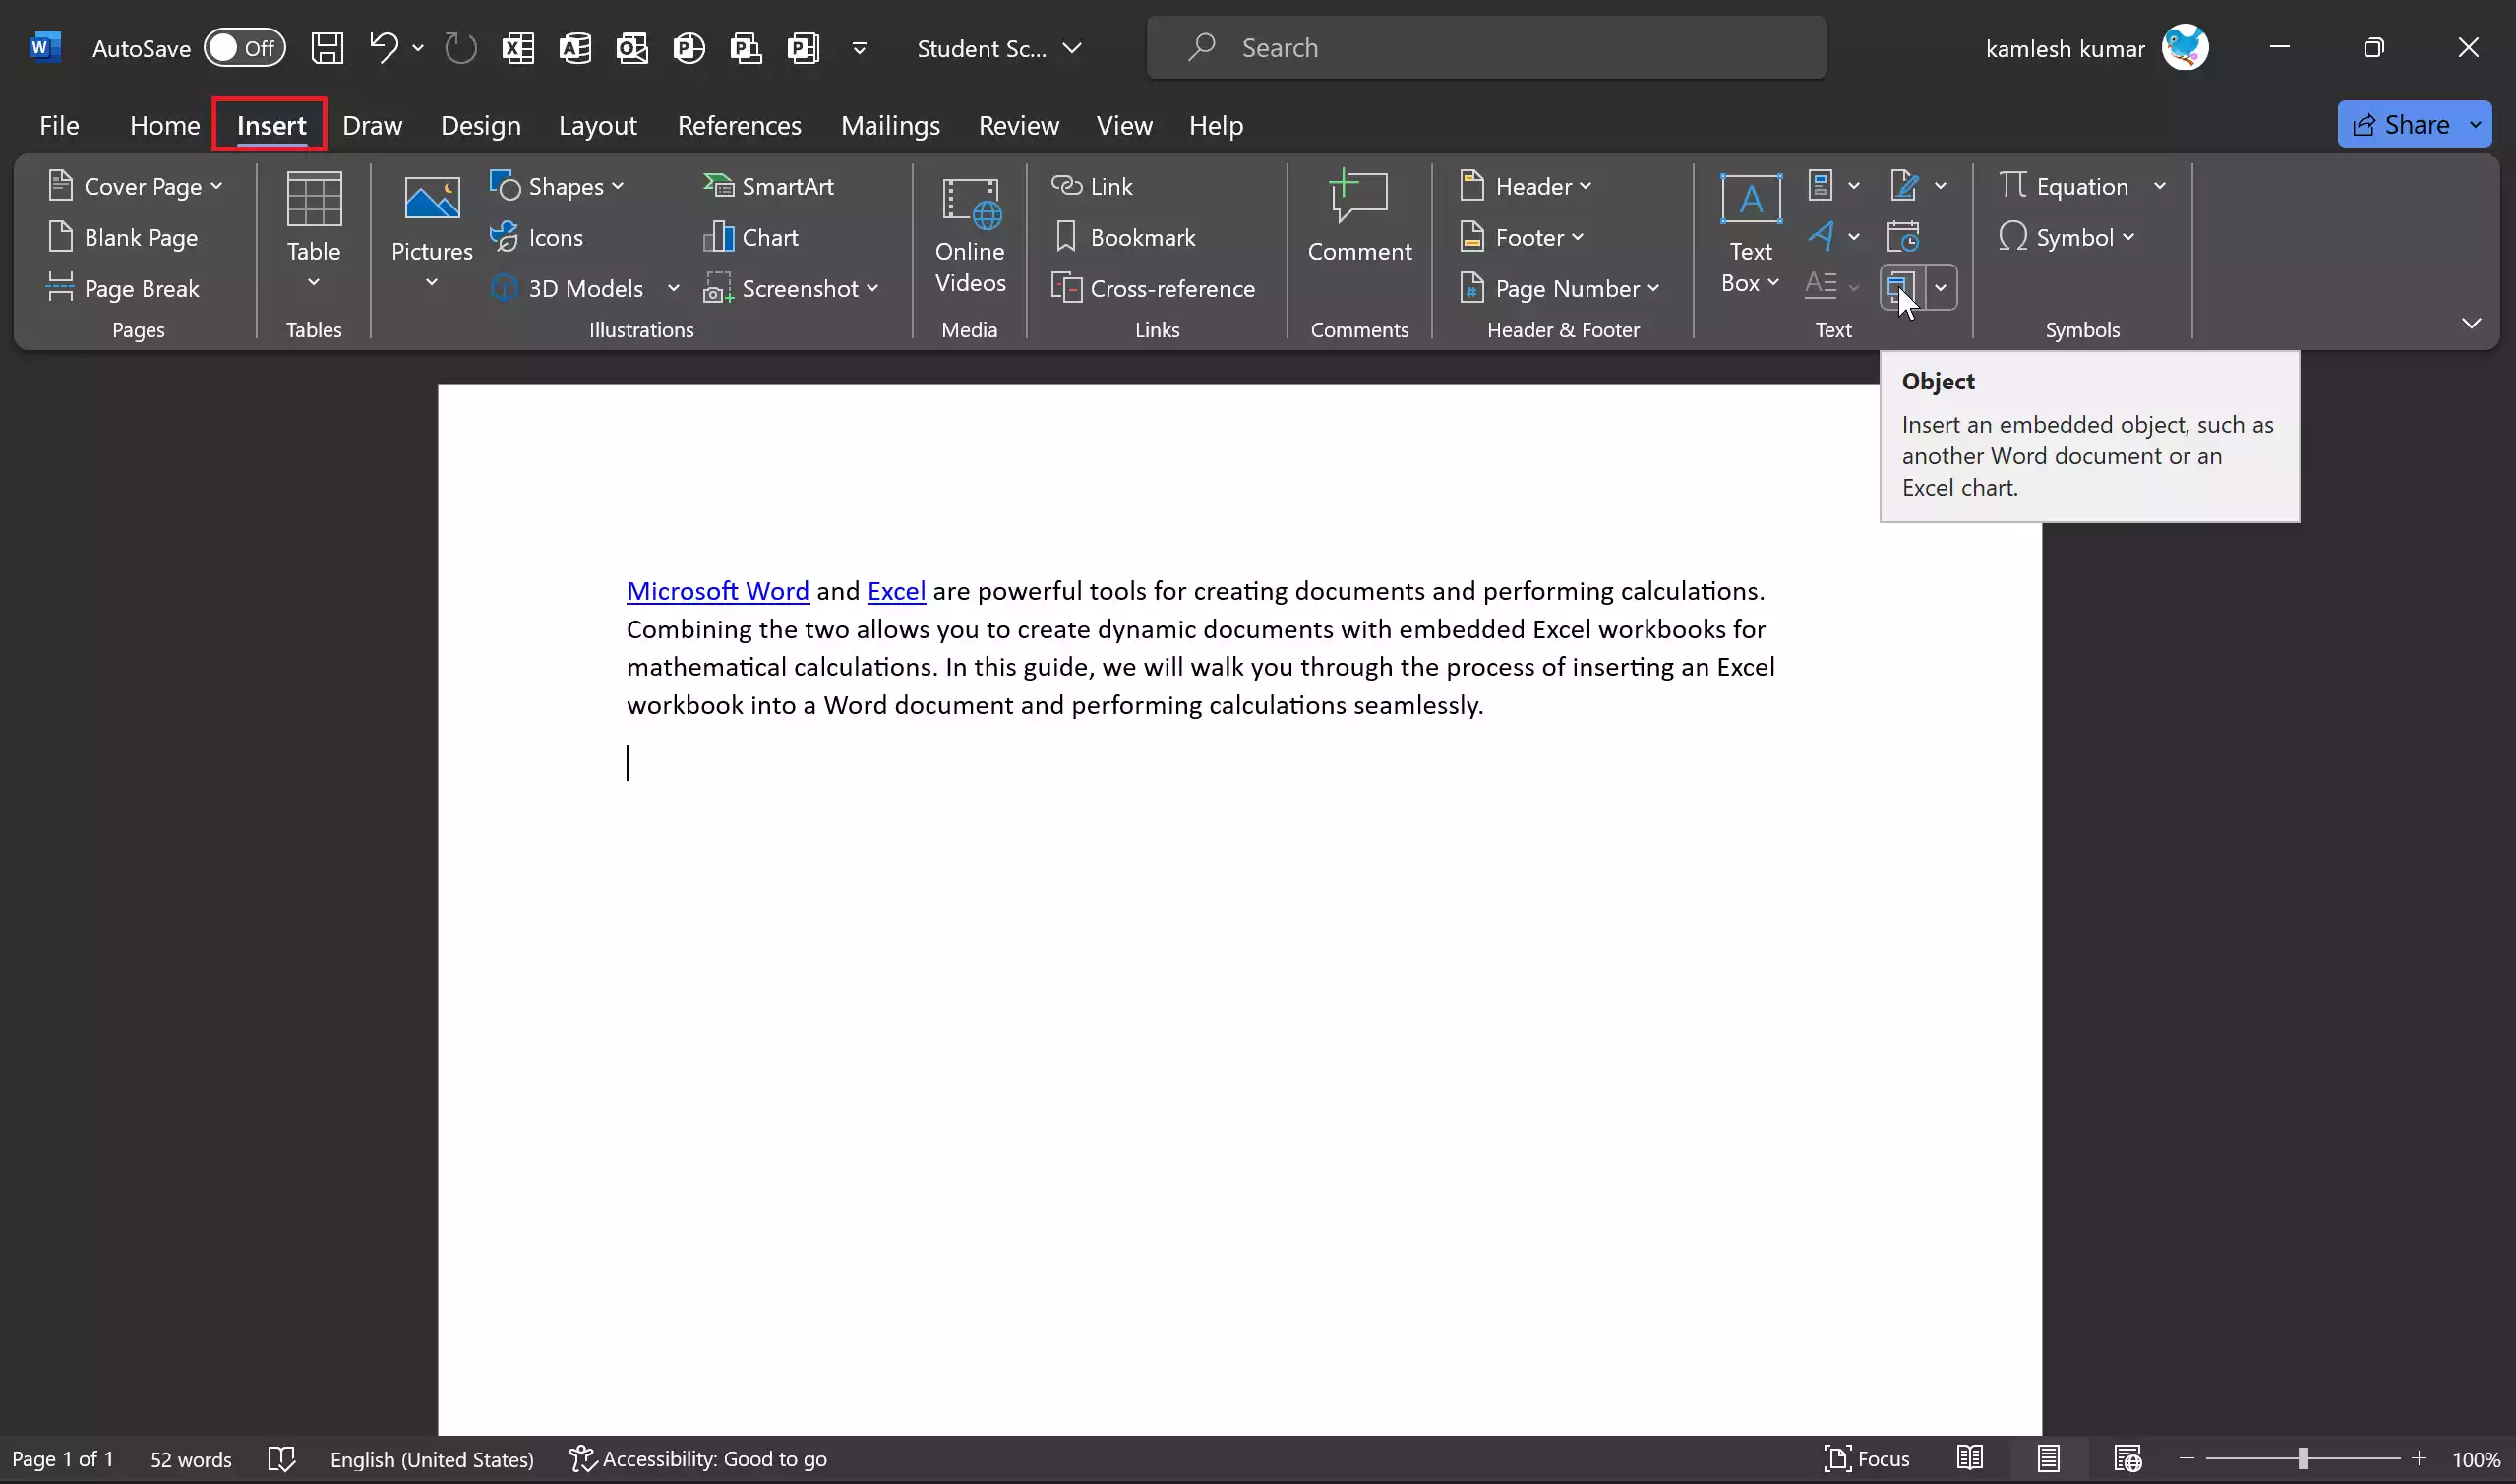
Step 5. Under the “Insert” tab, click on the “Object” button in the “Text” group. This will open the “Object” dialog box.
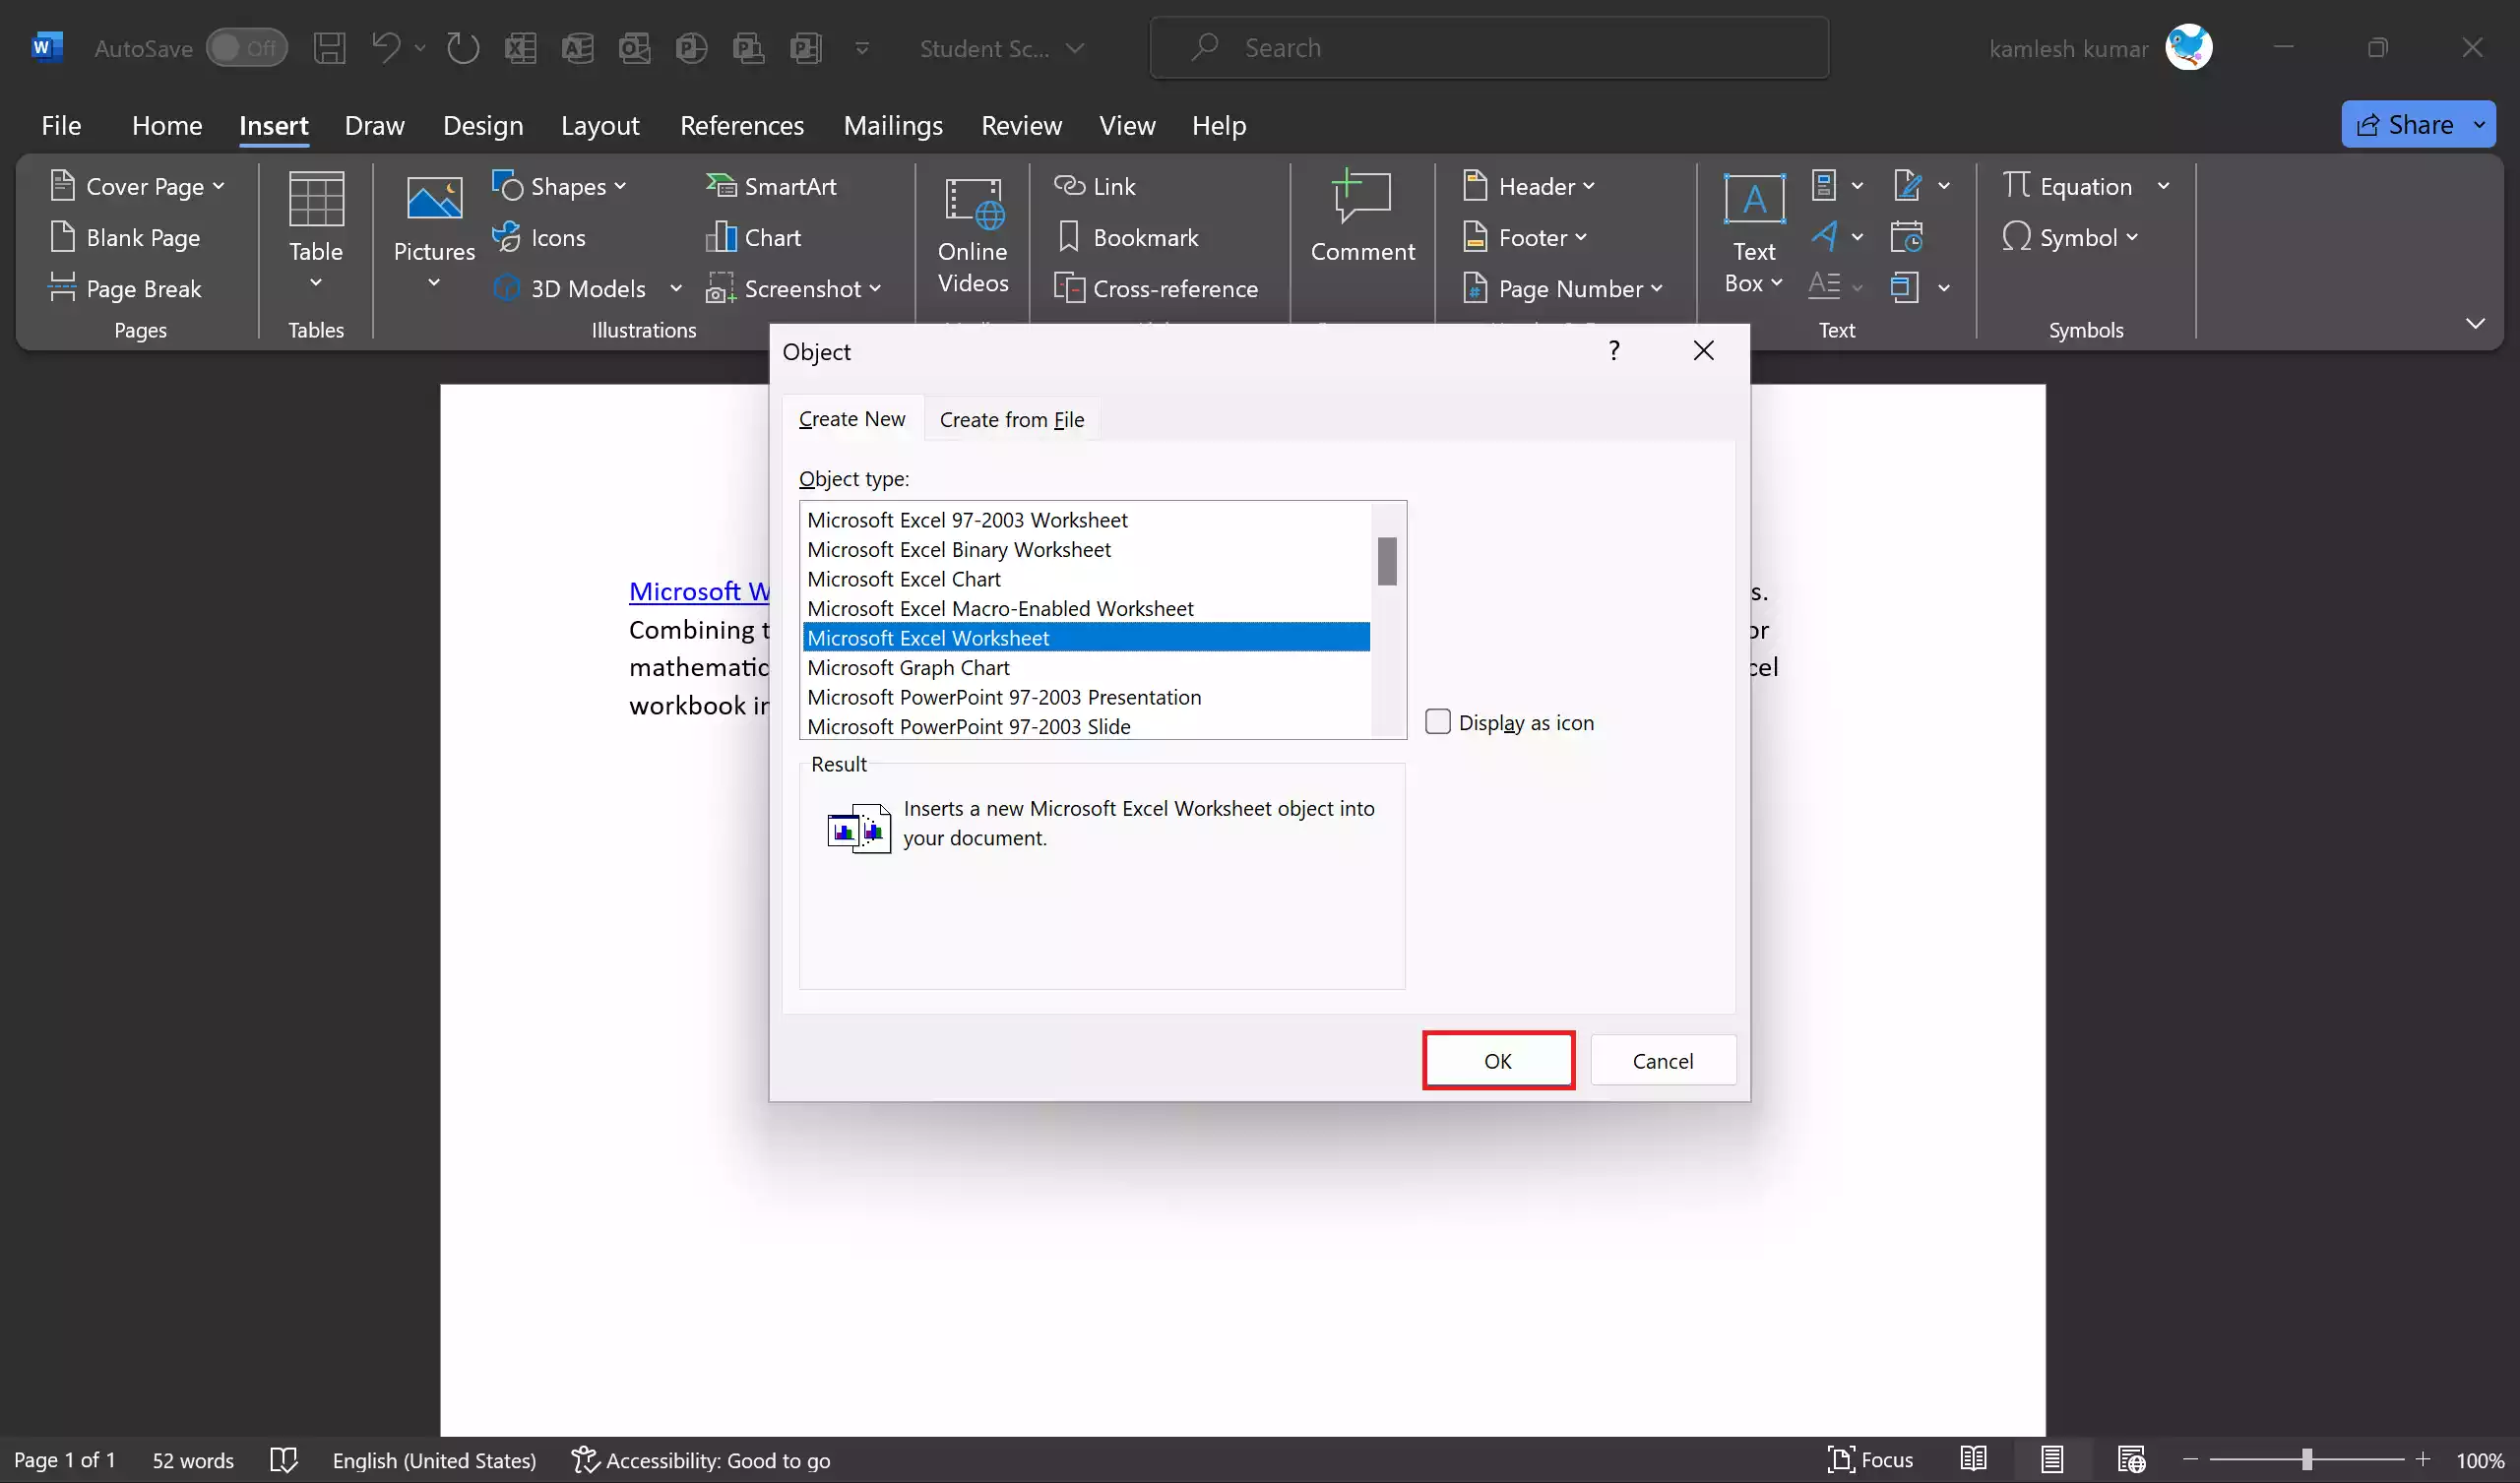
Step 6. In the “Object” dialog box, select “Microsoft Excel Worksheet” from the list of object types, and then click “OK.” This will insert a blank “Microsoft Excel Worksheet” in your Word document.
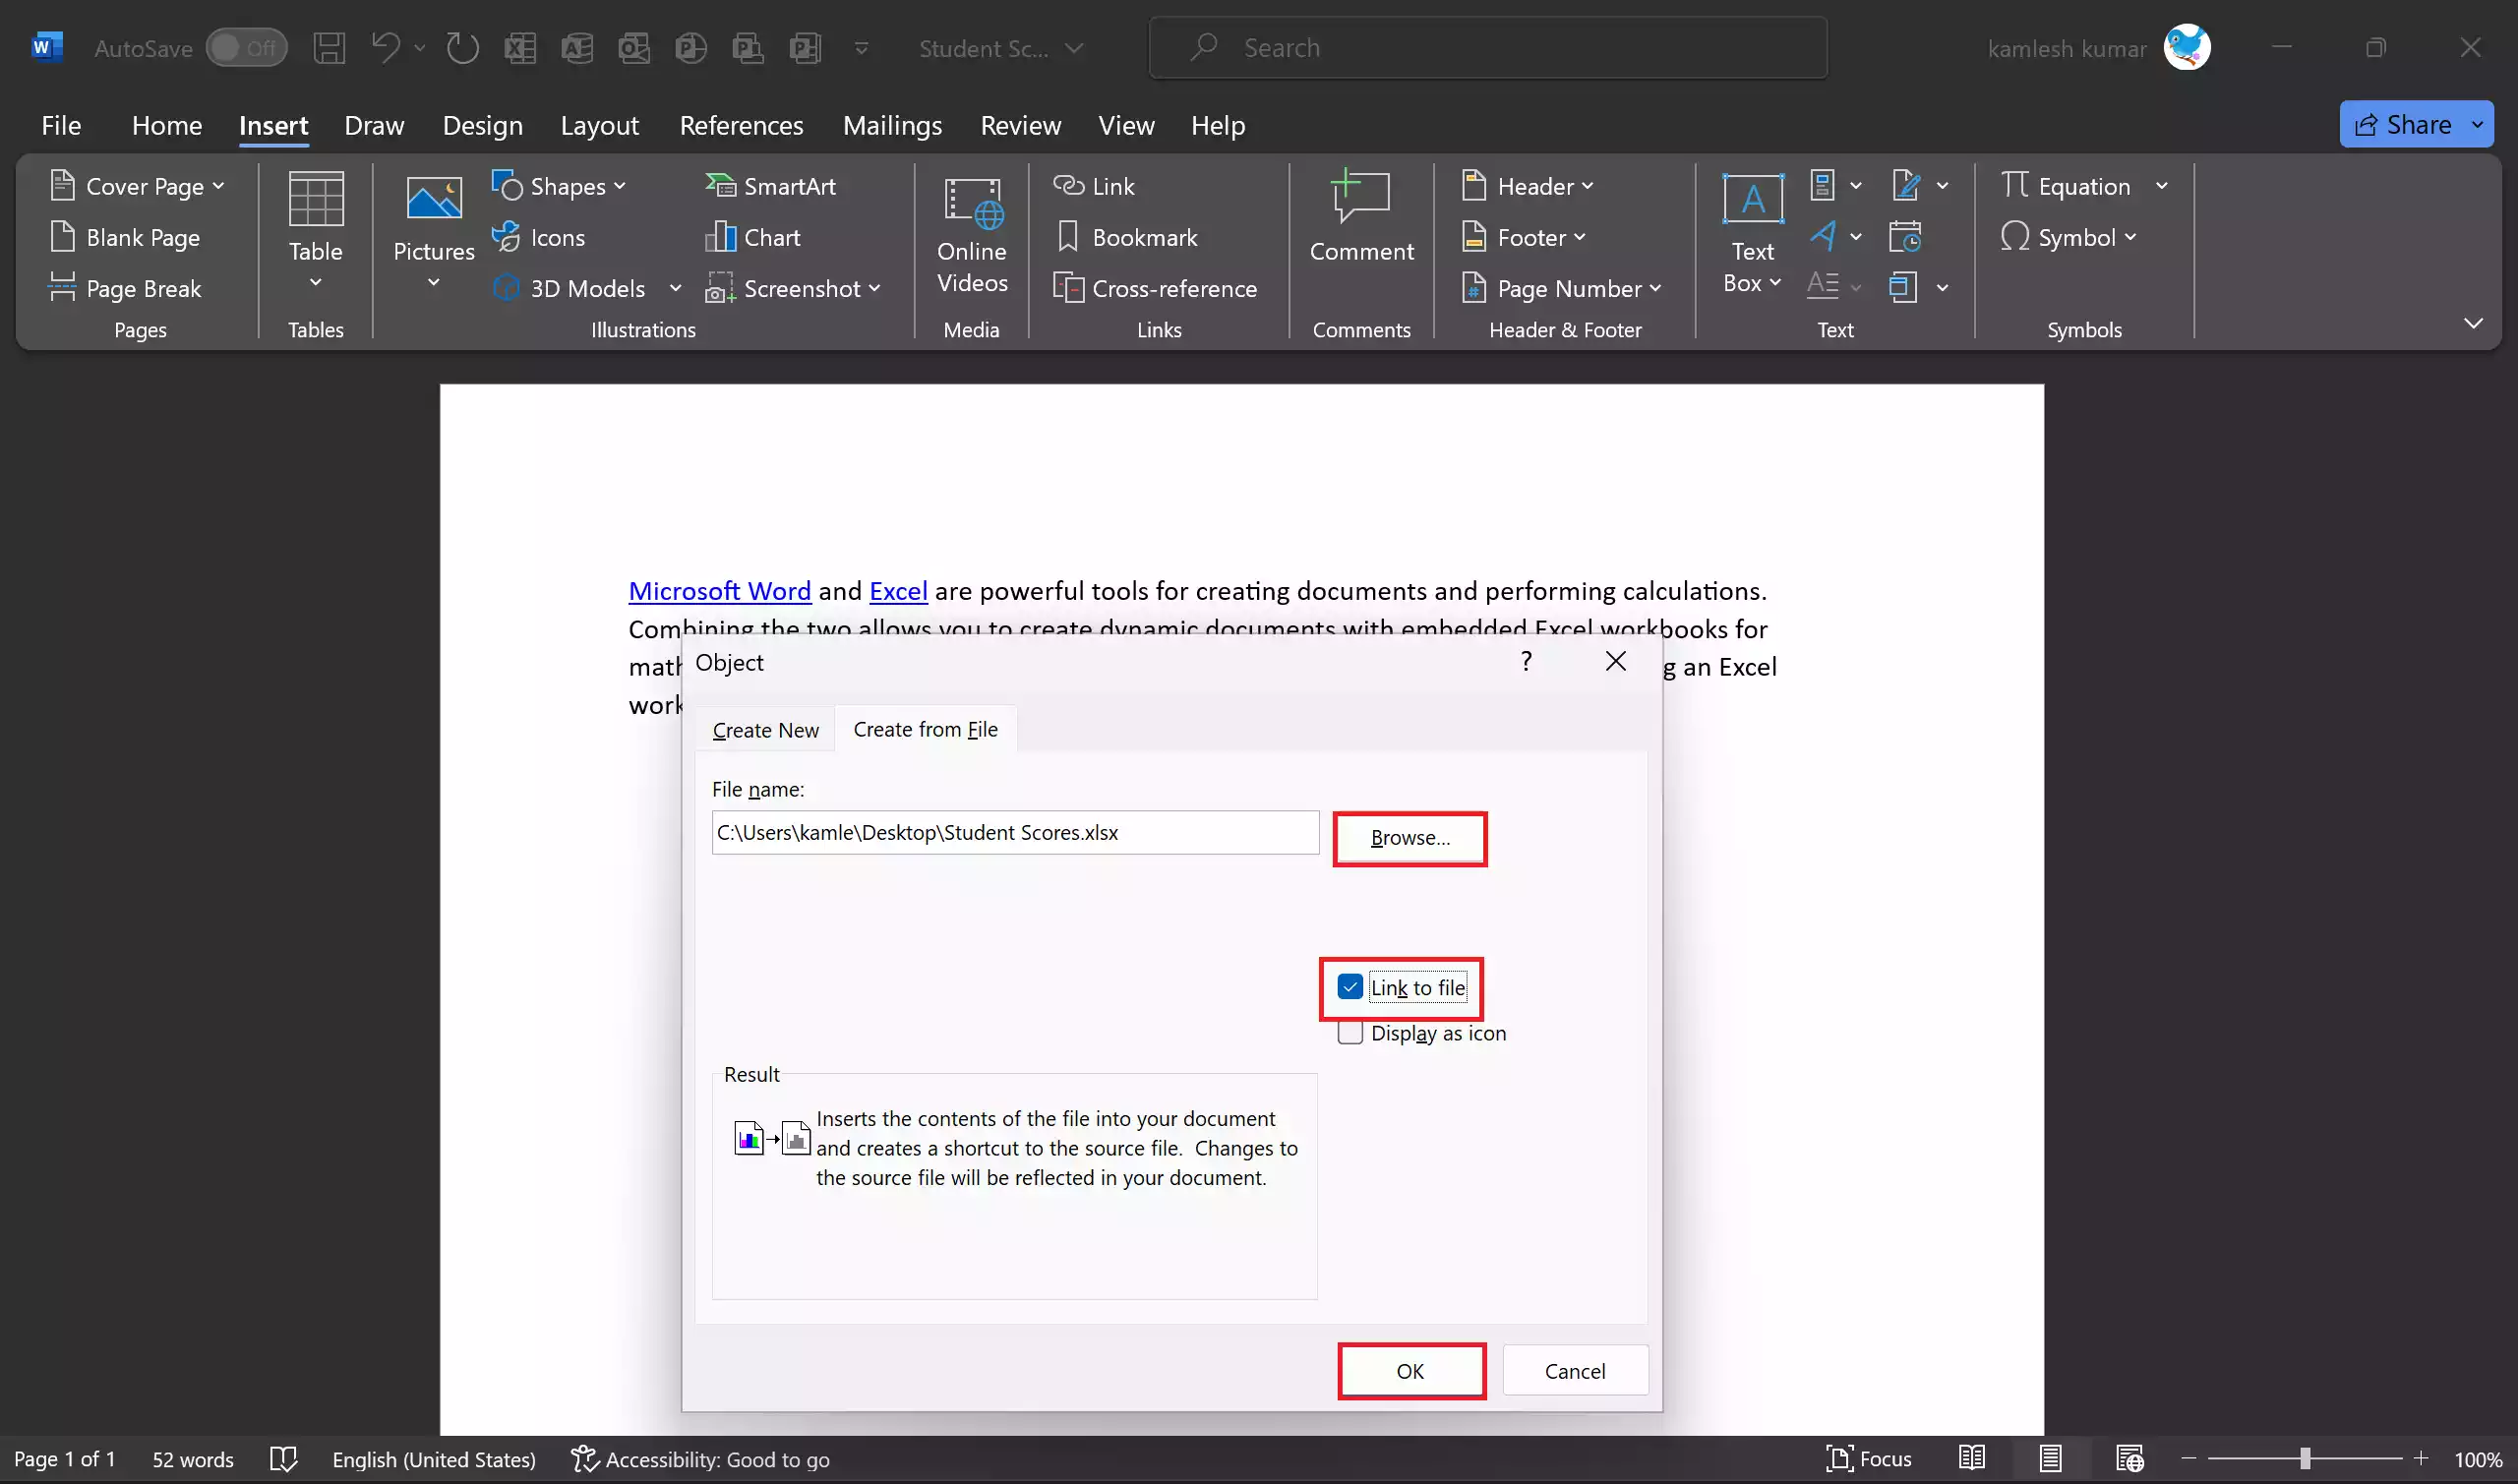
If you want to insert a specific “Microsoft Excel Worksheet” with existing data in your Word document then switch to the “Create from file” tab in the Object dialog box.
Click the “Browse” button to locate and select the Excel spreadsheet you want to embed. Check the box that says “Link to file” if you want the embedded spreadsheet to update automatically when changes are made to the original Excel file. Click “OK.”
Step 7. After clicking “OK,” a placeholder for the existing Excel workbook will appear in your document.
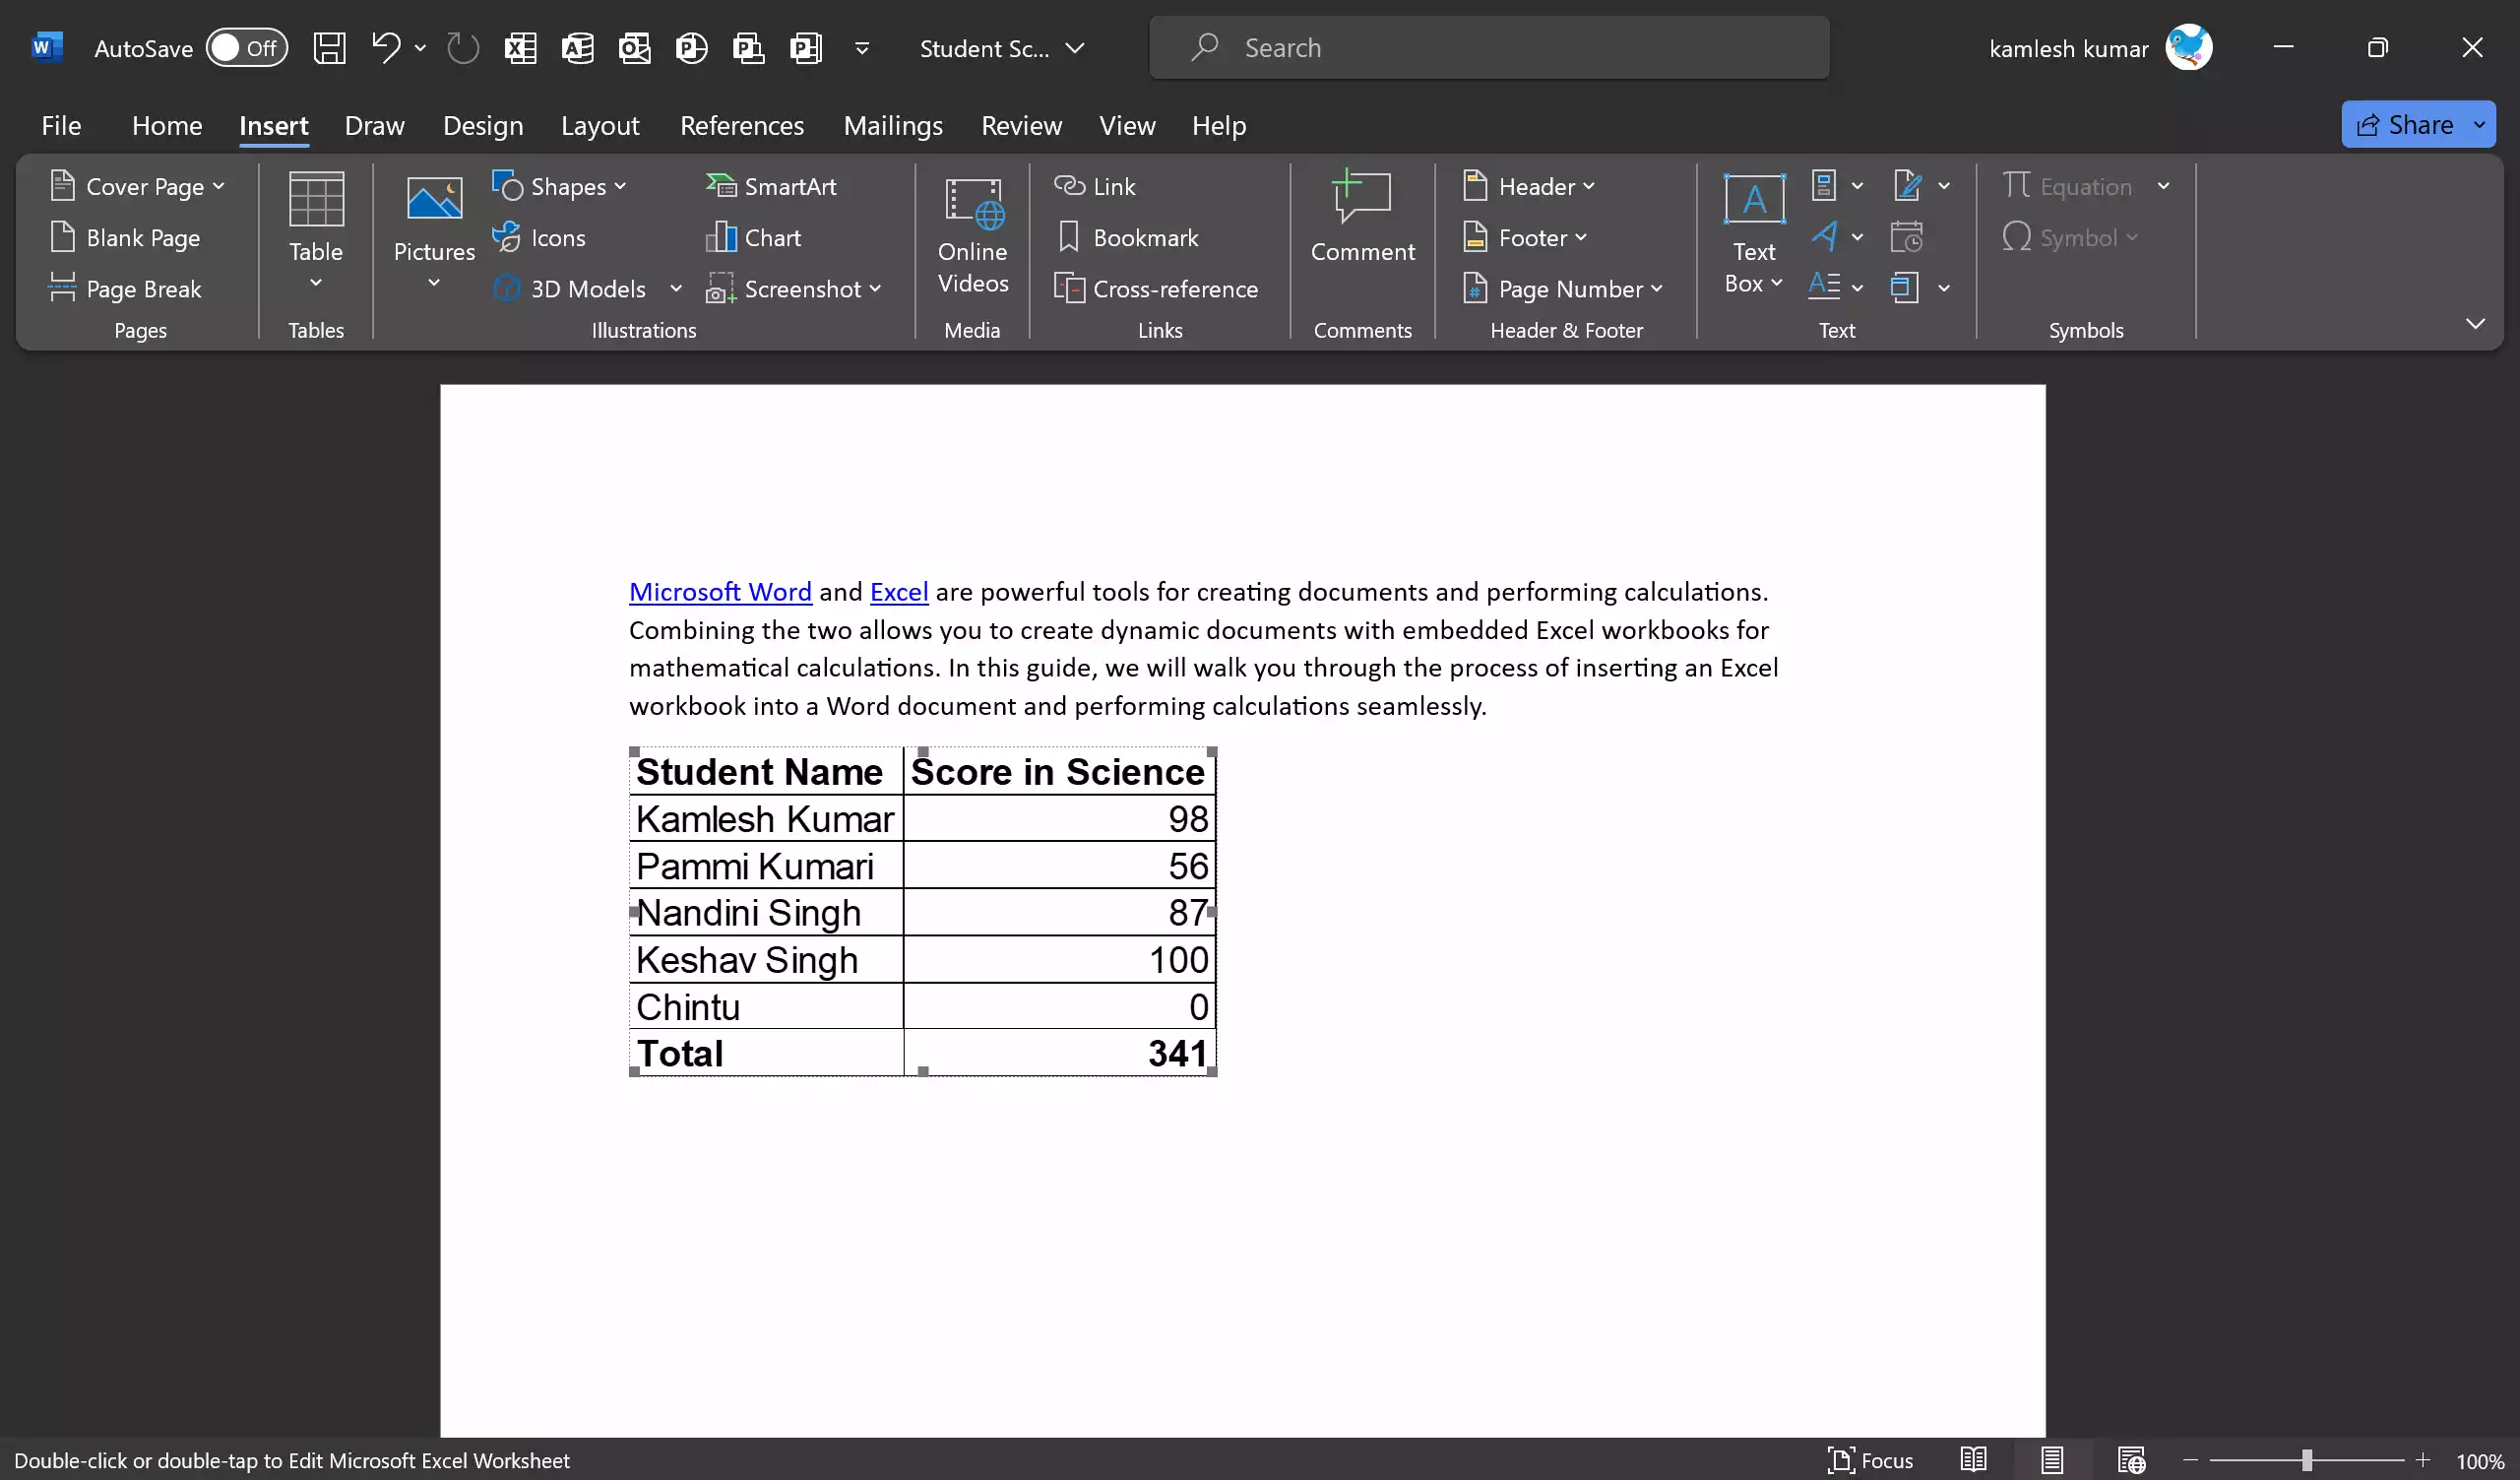
Step 8. Double-click on the embedded Excel workbook to open it within your Word document. You can now use Excel’s built-in functions and formulas to perform mathematical calculations. Enter your data, formulas, and calculations as needed.
Step 9. Make sure to save your Word document to keep your inserted Excel workbook and calculations intact. Saving both the Word and Excel files will ensure that your work is preserved.
Step 10. If you need to make changes to the Excel data or calculations after inserting it into Word, double-click on the embedded workbook to open it in Excel. Any modifications you make will be automatically reflected in the Word document when you save both files.
Inserting an Excel Workbook into Word Using a Table for Calculations
In Microsoft Word, you can seamlessly integrate an Excel workbook into your document to perform mathematical calculations. One of the ways to achieve this is by inserting an Excel table into your Word document. This guide will walk you through the steps to insert an Excel table and perform calculations within your Word document.
Step 1. Launch Microsoft Word on your computer and create a new document or open an existing Word file where you want to insert the Excel table for calculations.
Step 2. In the Word ribbon, navigate to the “Insert” tab. This tab provides various options for adding different types of content to your document.

Step 3. Under the “Insert” tab, click on the “Table” button. A drop-down menu will appear with options for creating a table. From the dropdown menu, select “Excel Spreadsheet.” This will insert a blank Excel table directly into your Word document.
Step 4. The inserted Excel table will provide a familiar Excel interface within your Word document. You can now enter data, create formulas, and perform calculations just as you would in a standalone Excel worksheet.
![]()
Step 5. Make sure to save your Word document to preserve the embedded Excel table and your calculations. Saving both the Word and Excel components will safeguard your work.
Step 6. If you need to make changes or updates to the Excel data or calculations within your Word document, simply double-click on the embedded Excel table. This action will open the table in an Excel window, allowing you to modify your data and formulas. Any changes made will automatically update in the Word document when you save both files.
Conclusion
In conclusion, Microsoft Word and Excel are indispensable tools for document creation and mathematical calculations, respectively. Combining these two applications allows for the creation of dynamic documents with embedded Excel workbooks, enabling seamless calculations and data manipulation within Word. In this guide, we have provided two methods for inserting Excel workbooks into Word documents: using an object and inserting an Excel table. These methods offer flexibility in integrating Excel functionality into your Word documents, whether you need to perform complex calculations, display data, or create interactive reports.
By following the steps outlined in this guide, you can harness the power of Microsoft Word and Excel to enhance your productivity and create professional documents with embedded calculations. Remember to save both your Word and Excel files to ensure that your work is preserved and any changes are automatically reflected when you reopen your documents. This integration of Word and Excel opens up a world of possibilities for users seeking to streamline their workflow and create documents that are not only visually appealing but also data-rich and interactive.