Microsoft Excel is a powerful spreadsheet application that allows users to manage and manipulate data efficiently. One of the fundamental tasks when working with Excel is inserting and deleting columns. Whether you’re organizing data, adding new information, or reformatting your spreadsheet, understanding how to insert and delete columns is essential. In this gearupwindows article, we will explore the step-by-step process of accomplishing these tasks.
How to Insert and Delete Columns in Microsoft Excel?
Inserting Columns
Method 1: Using the Ribbon
Step 1. Open your Excel spreadsheet. If you don’t have one yet, create a new one or open an existing file.
Step 2. Select the column to the right of where you want to insert a new one. Click on the lettered header of that column to highlight it.

Step 3. Navigate to the “Home” tab on the Excel ribbon.
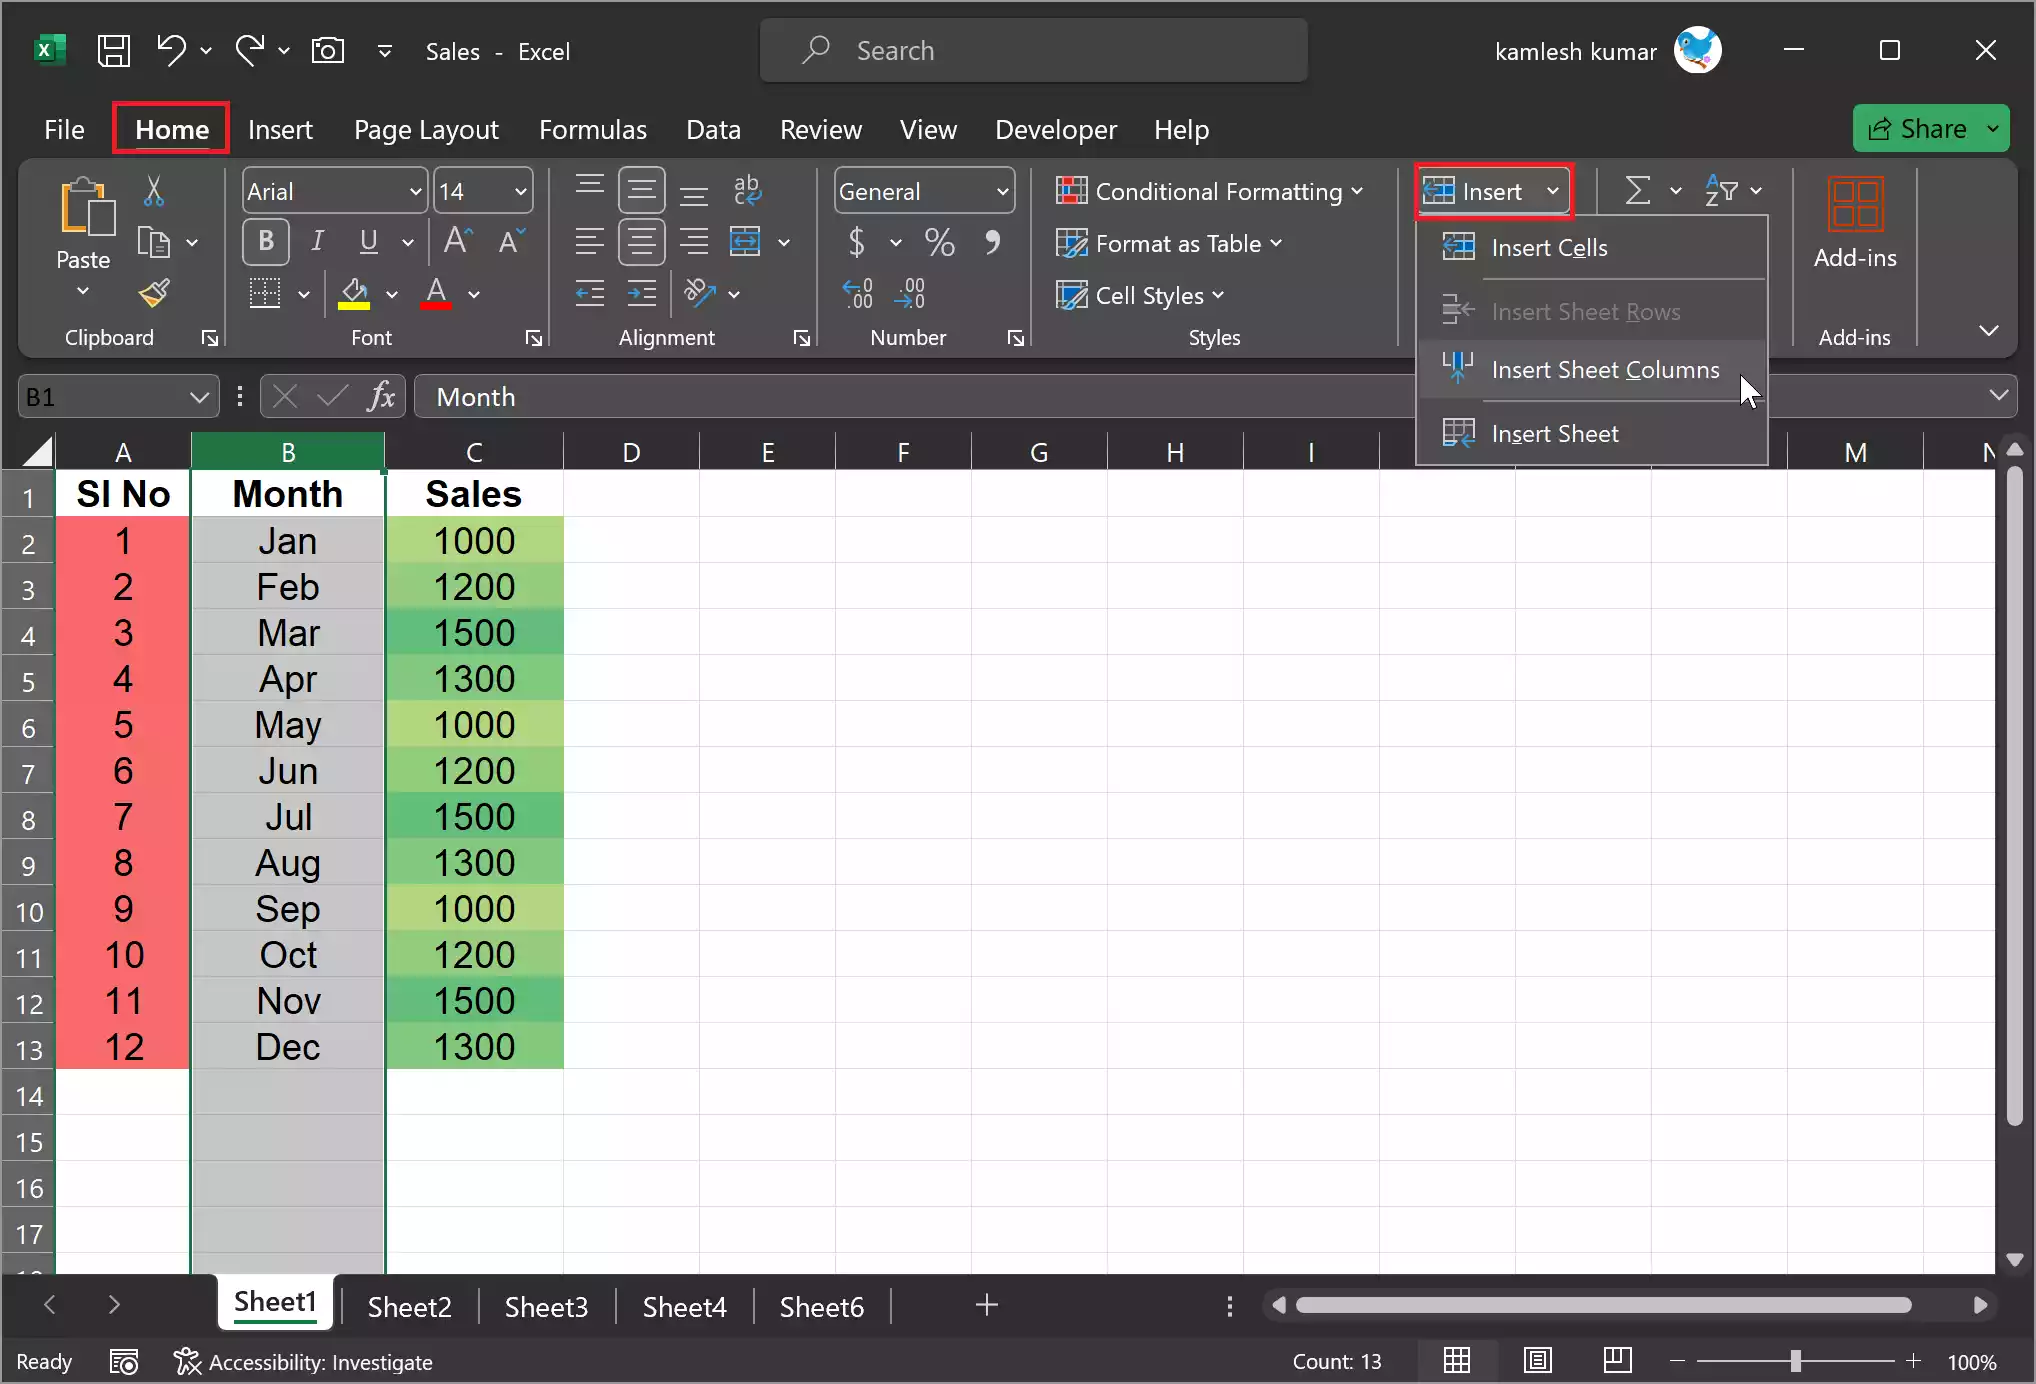
Step 4. Locate the “Cells” group on the ribbon.
Step 5. Click on the “Insert” dropdown button. A menu will appear with options for inserting cells, rows, and columns.
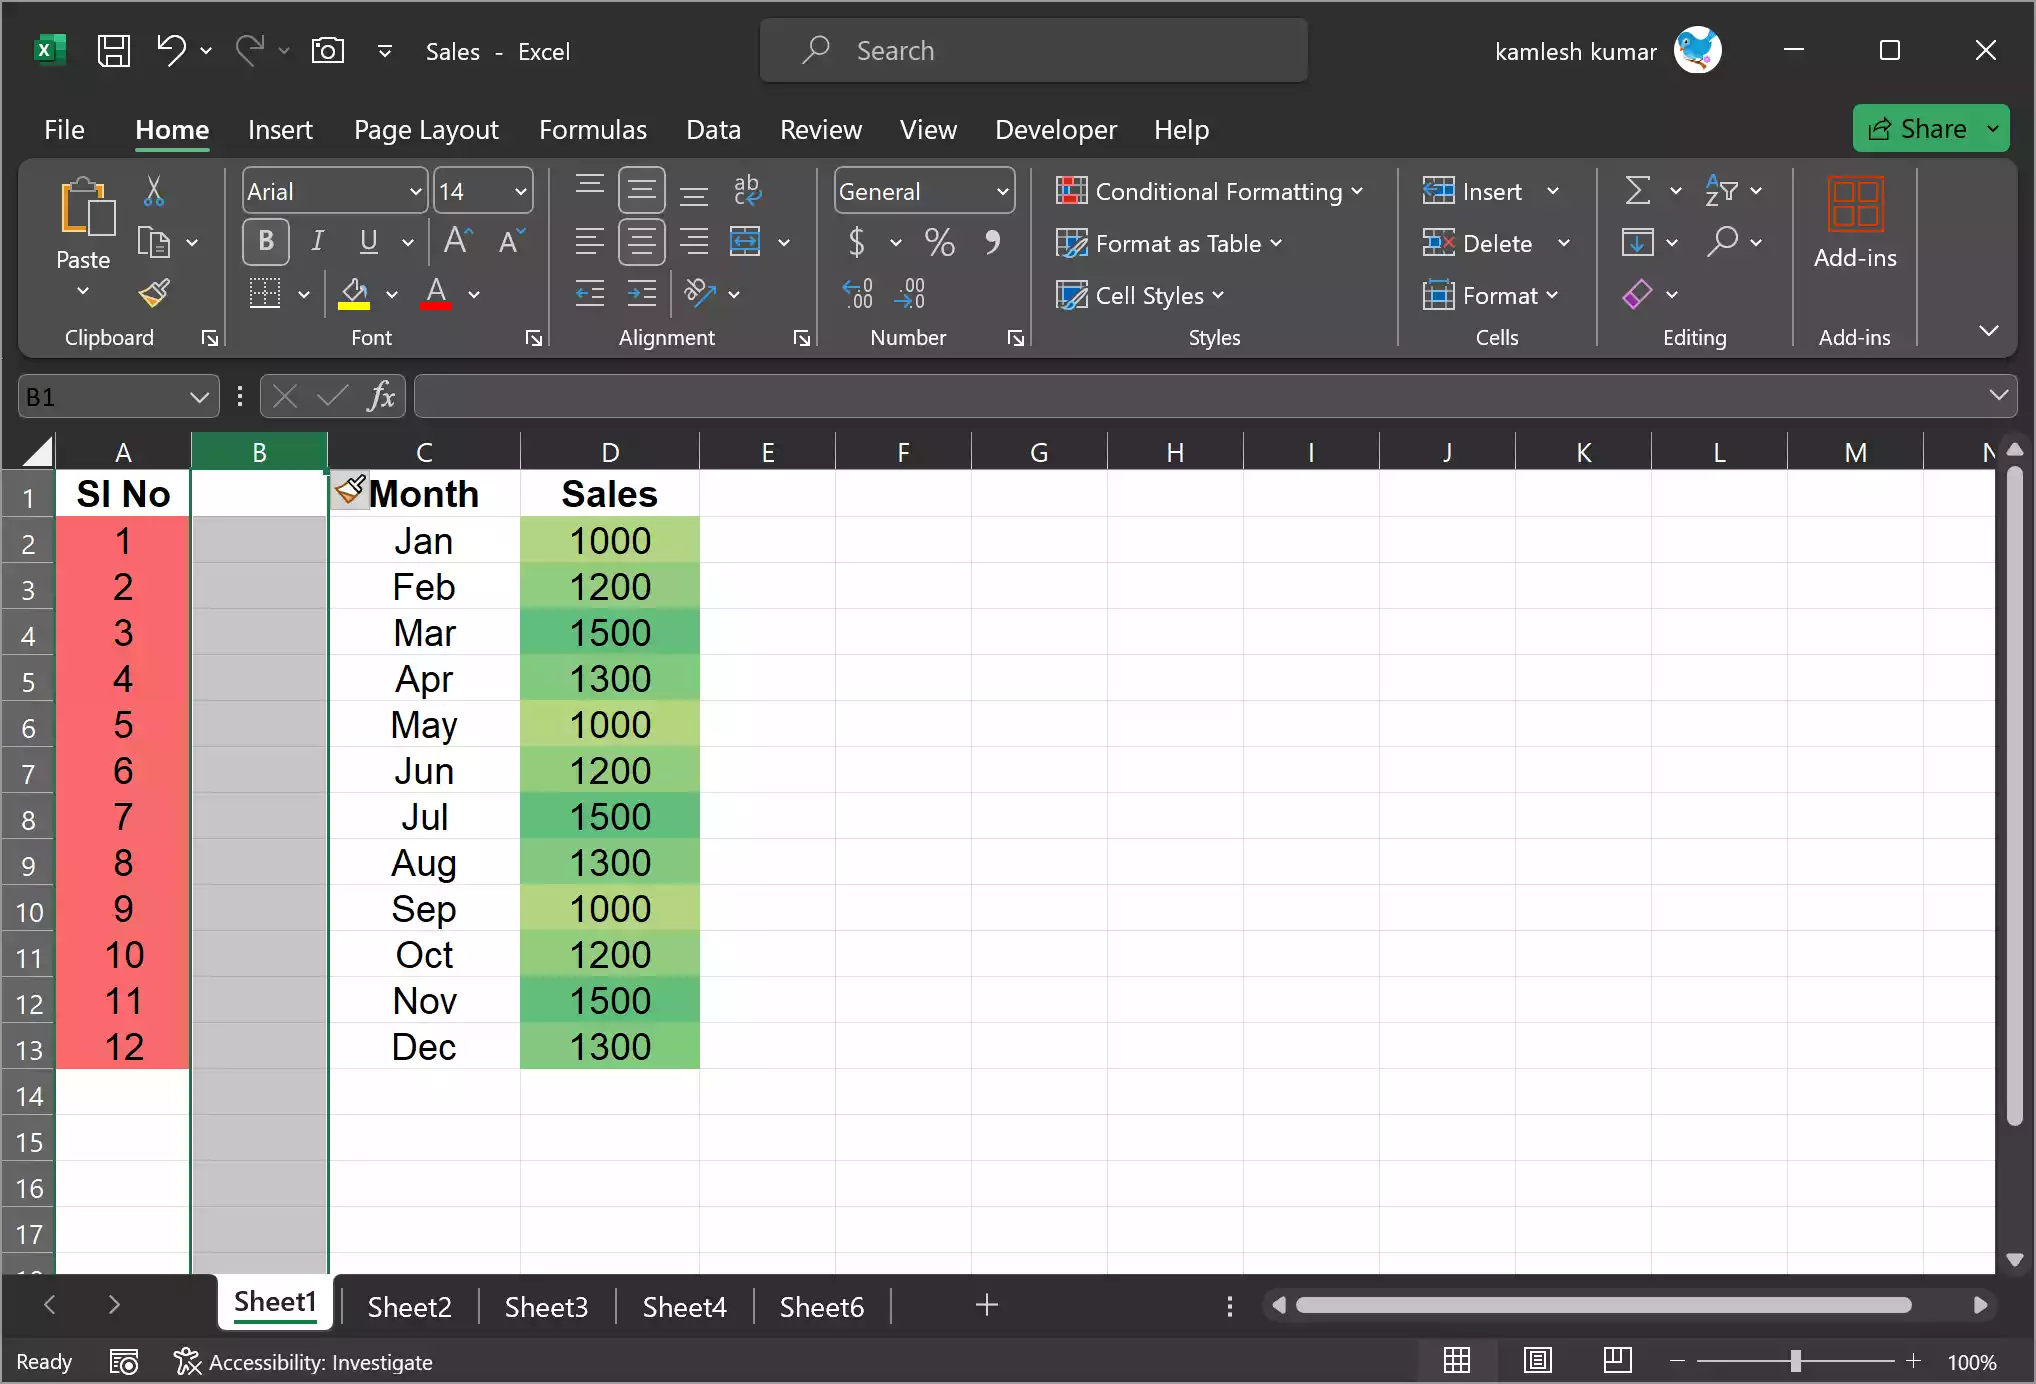
Step 6. Choose “Insert Sheet Columns.” Excel will insert a new column to the left of the selected column.
Method 2: Using Keyboard Shortcuts
Step 1. Open your Excel spreadsheet.
Step 2. Select the column to the right of where you want to insert a new one, as before.
Step 3. Use the keyboard shortcut: `Ctrl` + `+` (press and hold the `Ctrl` key and then press the `+` key). Excel will insert a new column to the left of the selected column.
Method 3: Right-click and Insert
– Select the column to the right of where you want to insert a new one. Click on the lettered header of that column to highlight it.
– Right-click on the selected column.

– From the context menu, select “Insert.”
– Excel will insert a new Column before the selected column.
Deleting Columns
Method 1: Using the Ribbon
Step 1. Open your Excel spreadsheet.
Step 2. Select the column you want to delete by clicking on the lettered header of that column to highlight it.
Step 3. Navigate to the “Home” tab on the Excel ribbon.
Step 4. Locate the “Cells” group on the ribbon.
Step 5. Click on the “Delete” dropdown button. A menu will appear with options for deleting cells, rows, and columns.

Step 6. Choose “Delete Sheet Columns.” Excel will delete the selected column.
Method 2: Using Keyboard Shortcuts
Step 1. Open your Excel spreadsheet.
Step 2. Select the column you want to delete.
Step 3. Use the keyboard shortcut: `Ctrl` + `–` (press and hold the `Ctrl` key and then press the `–` key). Excel will delete the selected column.
Tips and Tricks
Undo and Redo: If you make a mistake while inserting or deleting columns, you can always use the “Undo” feature by pressing `Ctrl` + `Z` to revert the changes. To redo an action, press `Ctrl` + `Y.`
Multiple Columns: To insert or delete multiple columns at once, select the same number of columns you want to add or remove. The methods above will apply to all the selected columns.
Hidden Data: Be cautious when deleting columns, especially if your data has hidden columns or formulas that reference the columns you intend to delete. Deleting a column with hidden data may cause unintended consequences.
Confirmation Prompt: When you delete a column, Excel may prompt you to confirm the deletion. This is a safeguard to prevent accidental data loss, especially if you are dealing with a large dataset.
Column Headers: Remember that when you insert a new column, Excel will automatically assign a lettered header to it, such as “A,” “B,” “C,” and so on. When you delete a column, the headers will be reorganized accordingly.
Conclusion
In conclusion, knowing how to insert and delete columns in Microsoft Excel is fundamental to efficiently working with spreadsheets. Whether you’re reorganizing data or making room for new information, these techniques are essential for managing your Excel projects effectively. By following the steps outlined in this article, you’ll be better equipped to manipulate your data and optimize your Excel experience.
Also Read: How to Insert and Delete Rows in Microsoft Excel?
