Microsoft Word is a versatile word processing software that allows you to not only create and format text but also enhance your documents with images and graphics. Whether you’re working on a report, flyer, or any other document, adding visual elements can make your content more engaging and informative. In this guide, we will walk you through the steps to insert and edit images and graphics in Microsoft Word.
How to Insert Images and Graphics in Word Document?
To insert images and graphics in a Word document, follow these steps:-
Step 1. Launch Microsoft Word and open the document where you want to insert an image or graphic.
Step 2. Position your cursor at the location in the document where you want to insert the image or graphic.
Step 3. Inserting the Image or Graphic
There are several ways to insert an image or graphic:-
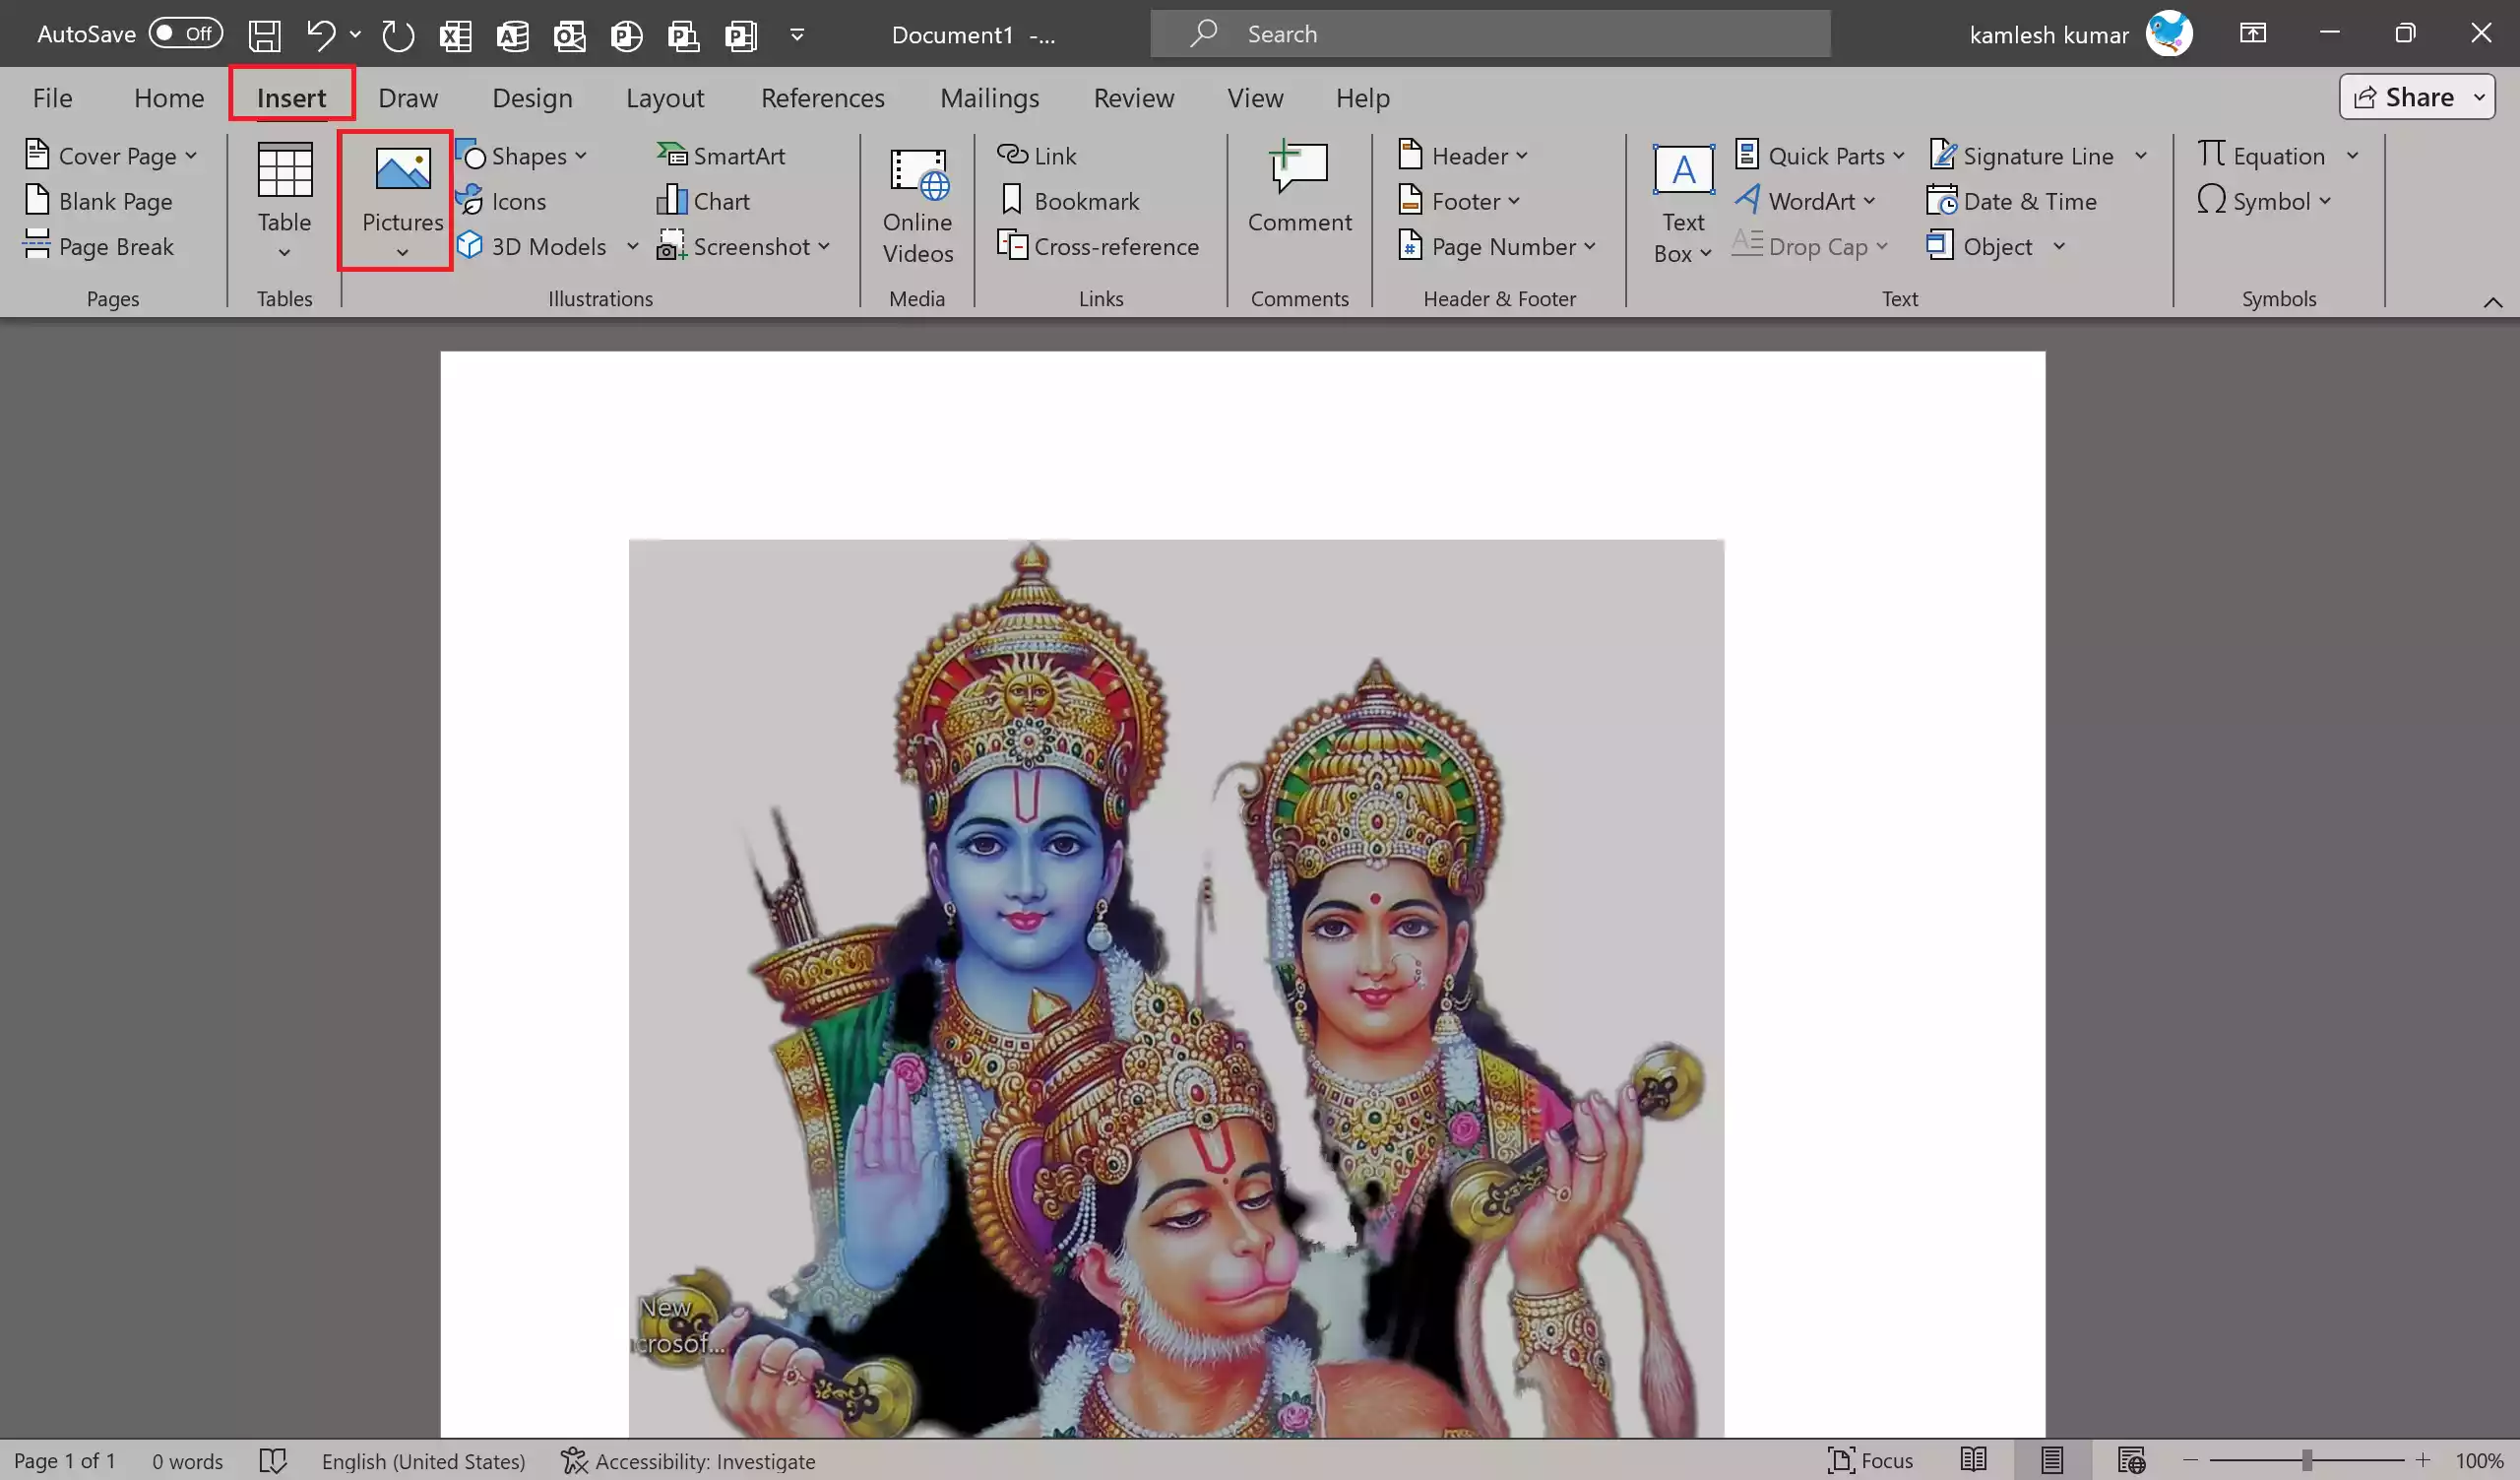
Method 1: Insert Picture from File
First, click on the “Insert” tab in the Word ribbon. Then, click on “Pictures” in the “Illustrations” group. From the drop-down menu, select “This Device.” After that, browse your computer to select the image you want to insert and click “Insert.”
Method 2: Online Pictures
First, click on the “Insert” tab in the Word ribbon. Then, click on “Pictures” in the “Illustrations” group. From the drop-down menu, select “Online Pictures.” Now, you can search for images on the web using Bing or insert pictures from your OneDrive account.
Method 3: Clip Art (Deprecated)
If you have an older version of Word, you may find the “Clip Art” option under the “Insert” tab. This feature is no longer available in newer versions of Word.
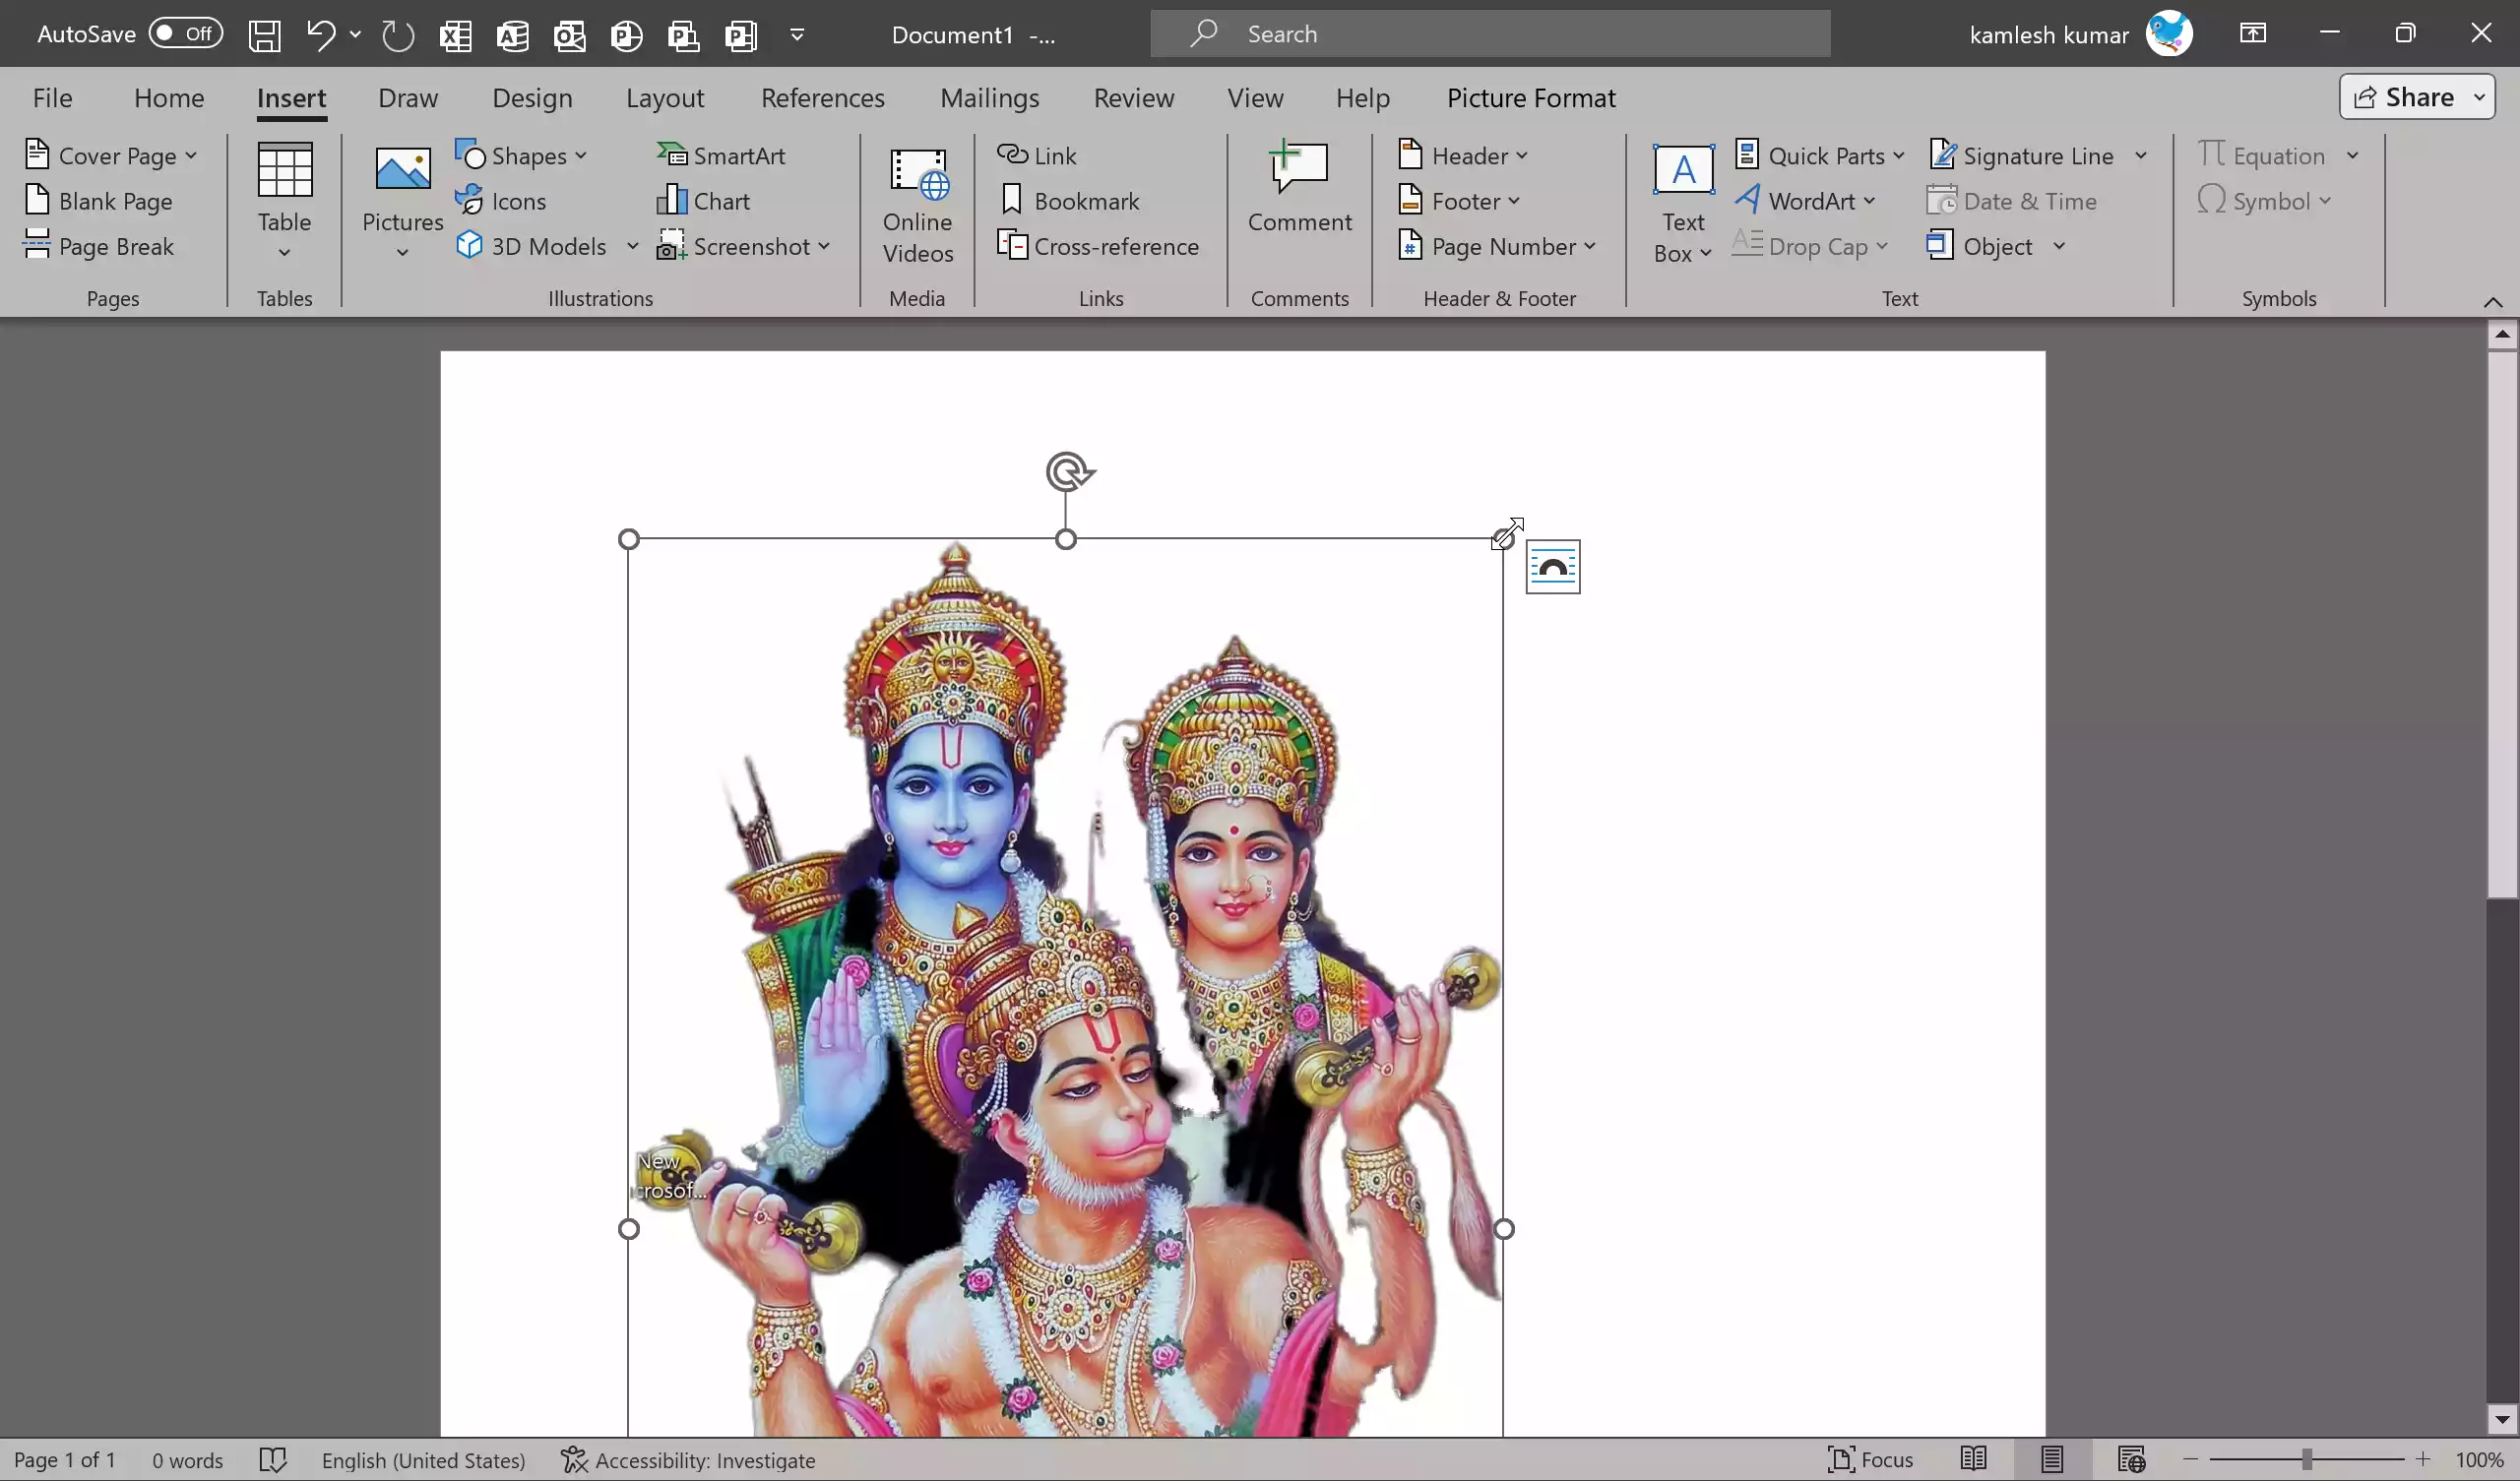
Step 4. After inserting the image or graphic, you can click and drag to move it to the desired location in your document. You can also click and drag the corners to resize it. To maintain the aspect ratio, hold down the Shift key while resizing.
How to Edit Images and Graphics in a Word Document?
Microsoft Word provides basic image editing tools that allow you to make adjustments to your inserted images or graphics.
Step 1. Click on the inserted image or graphic to select it.
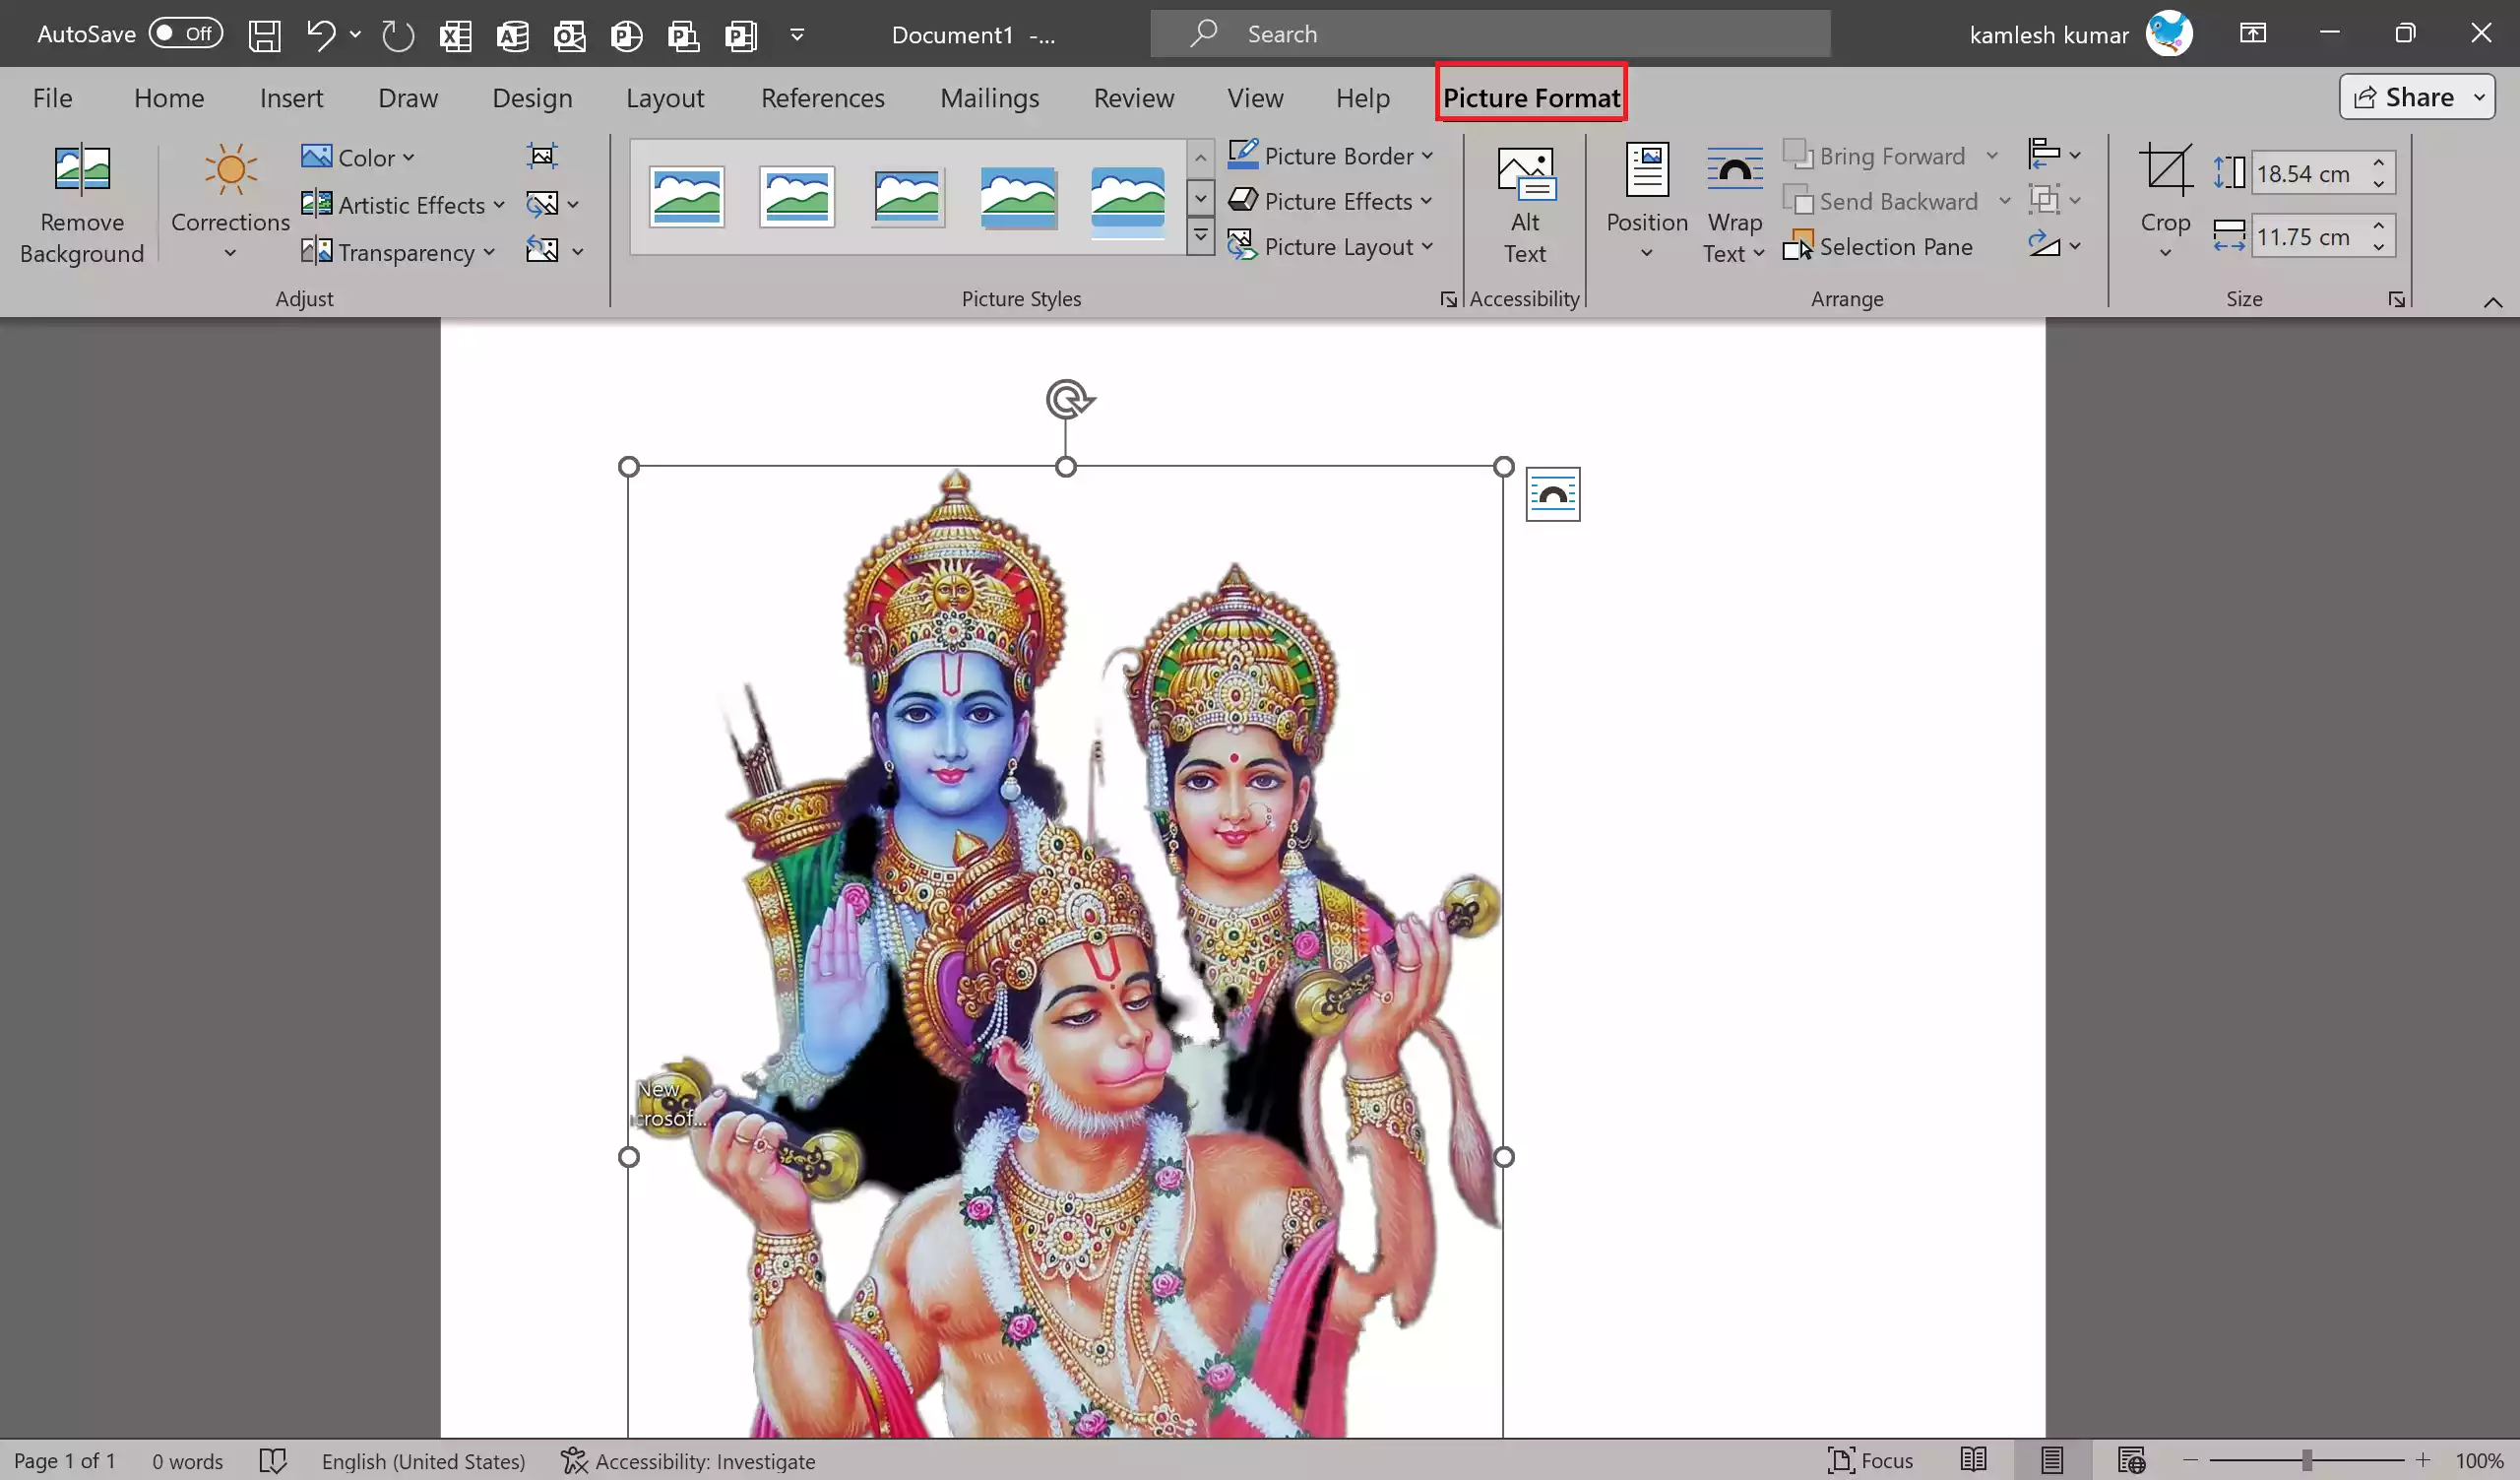
Step 2. The “Picture Format” tab will appear in the Word ribbon. Here, you can make various edits, such as:-
- Crop: Remove unwanted parts of the image by clicking “Crop” and adjusting the crop handles.
- Rotate: Click “Rotate” to rotate the image clockwise or counterclockwise.
- Adjustments: Alter the brightness, contrast, and color by clicking “Adjustments.”
- Picture Styles: Apply preset styles to your image to enhance its appearance.
- Borders: Add borders around your image and adjust their thickness and style.
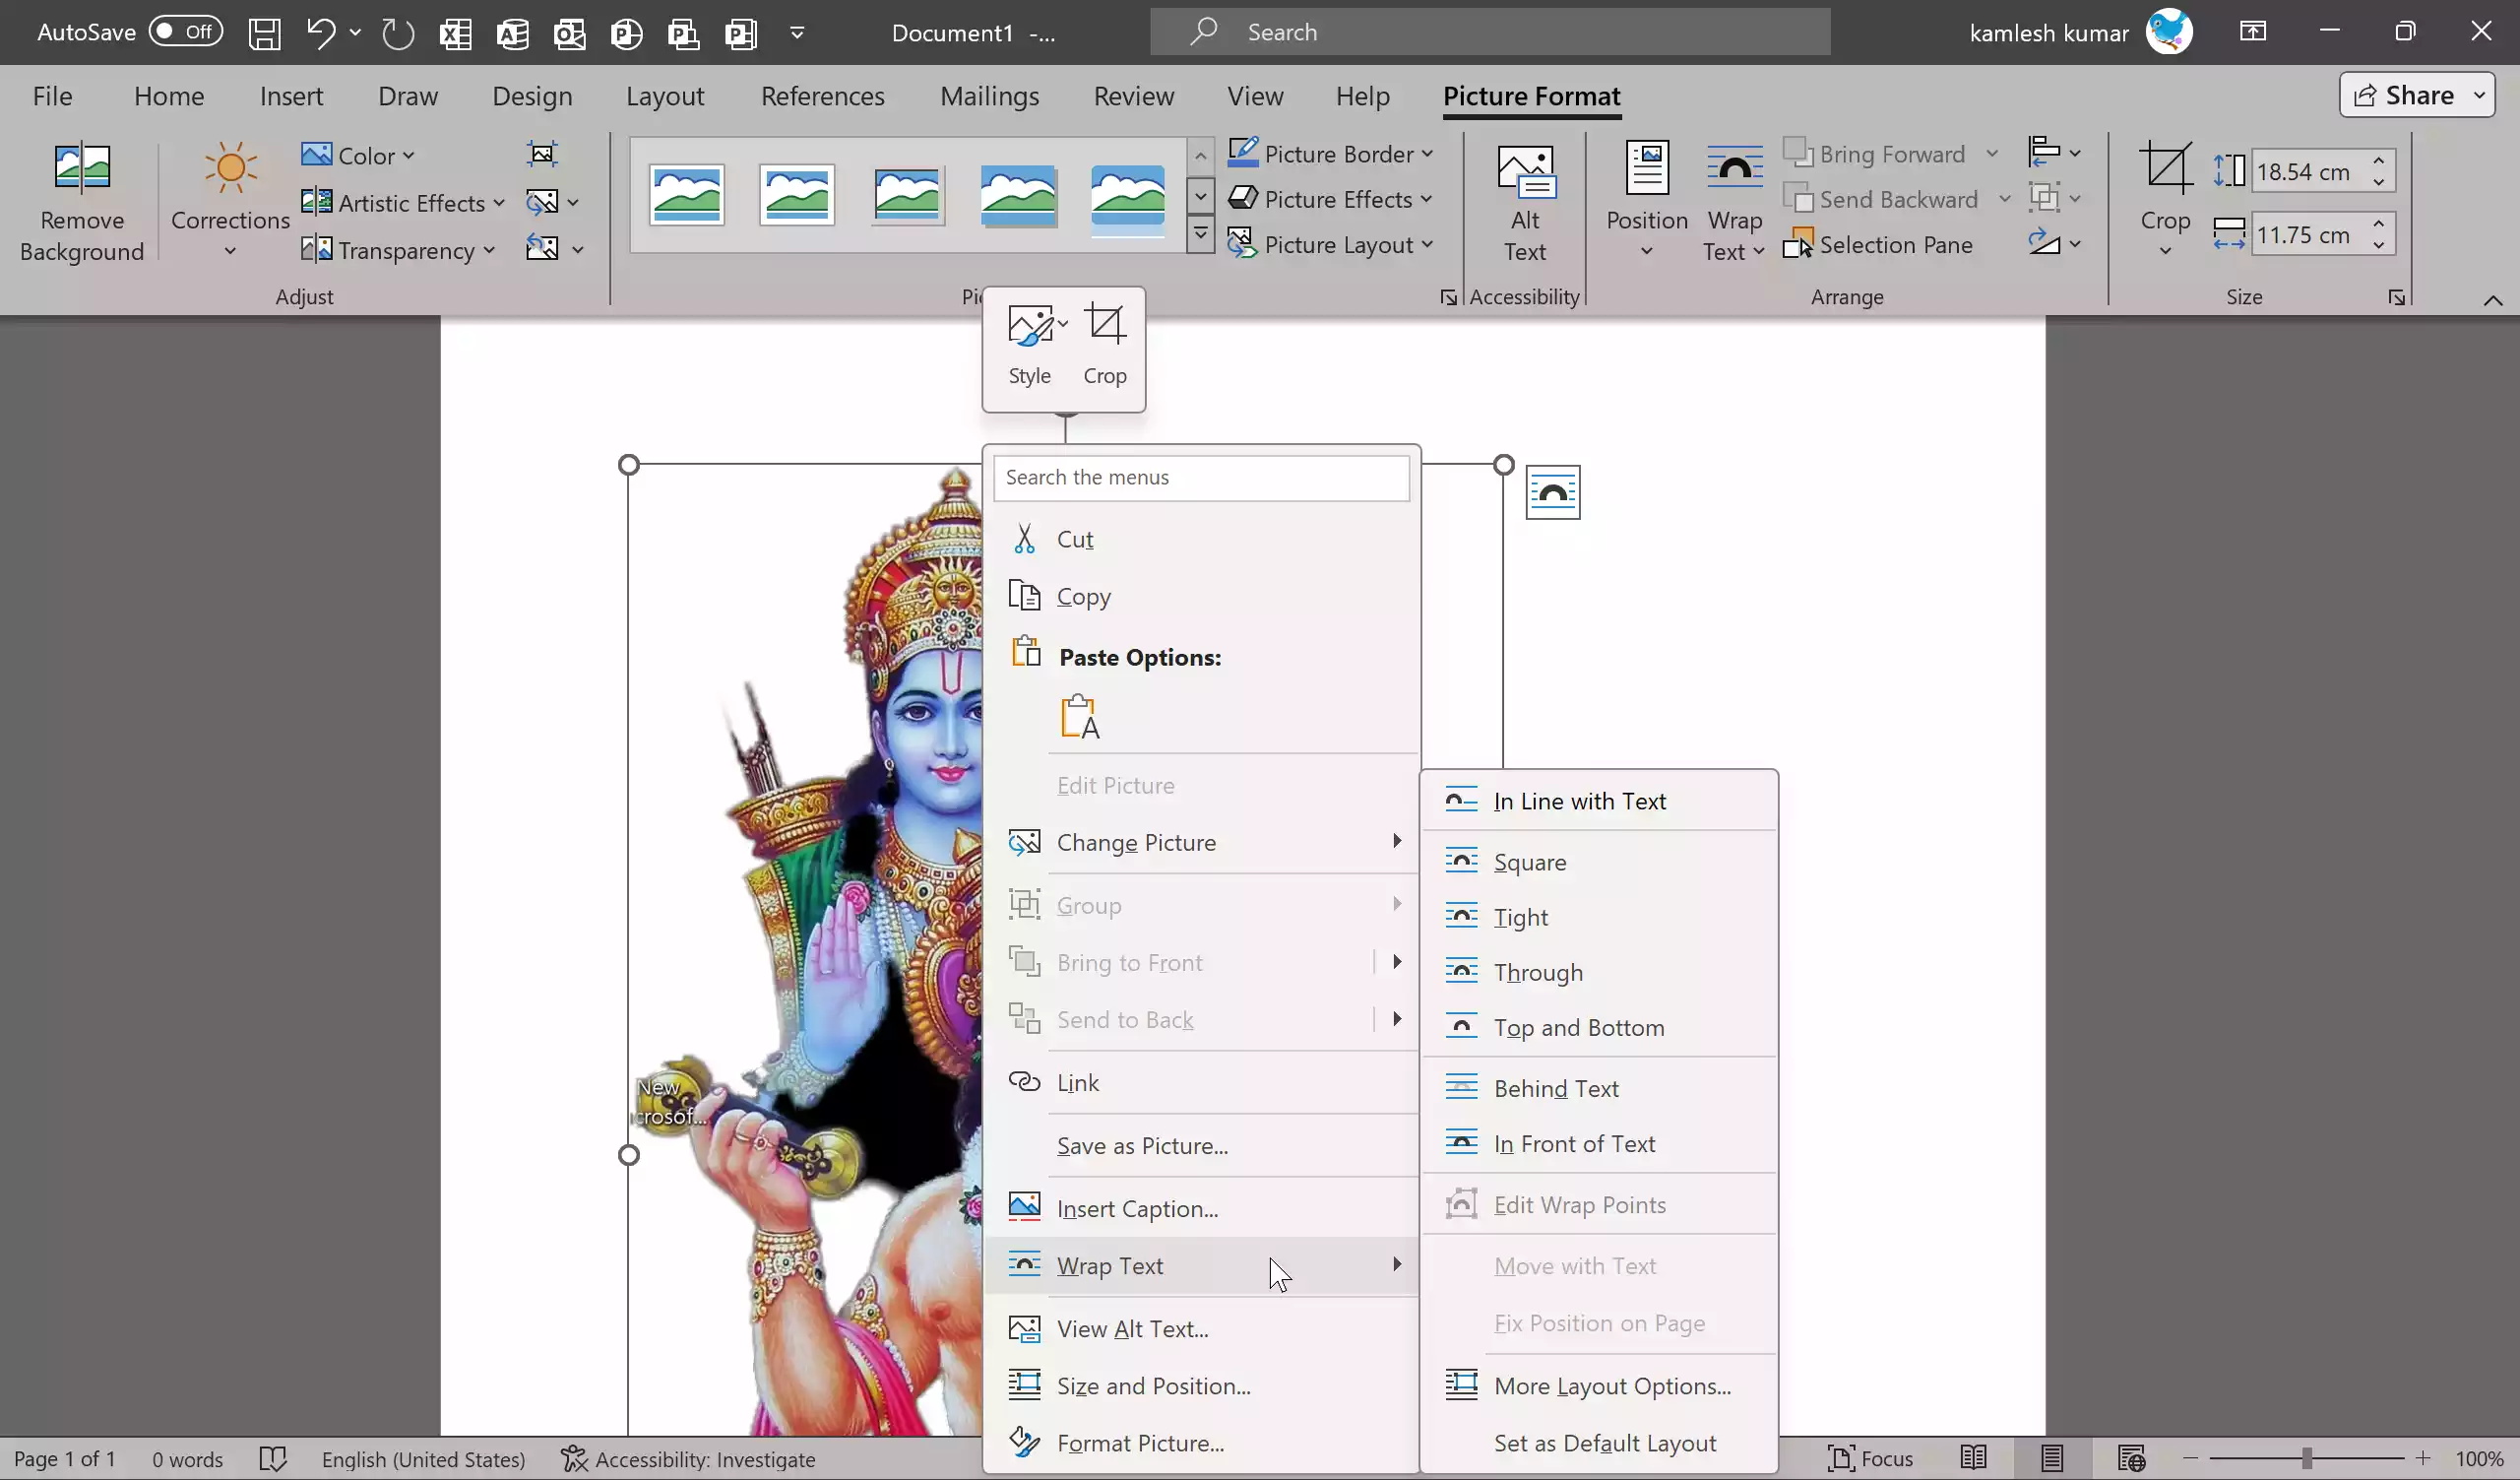
Step 6. To choose how the text in your document interacts with the image, right-click on the image and select “Wrap Text.” Choose an option that suits your document layout, such as “In Line with Text,” “Square,” or “Tight.”
Step 7. To make your document more accessible, add alternative text to describe the image. For that, right-click on the image, select “Edit Alt Text,” and provide a brief, descriptive summary.
Step 8. You can control the layering of objects in your document by right-clicking on the image and selecting “Bring to Front” or “Send to Back.” This is useful for arranging overlapping images and text.
Step 9. After making the desired changes to images and graphics, save your document.
With these steps, you can confidently insert and edit images and graphics in Microsoft Word, enhancing your documents with visual elements that capture your audience’s attention and convey your message effectively. Experiment with different formatting and editing options to achieve the desired look for your document.