Microsoft Word offers a variety of tools to help you create visually appealing documents, and one such tool is SmartArt. SmartArt allows you to easily create diagrams, flowcharts, and other graphic representations of information in your Word documents. In this guide, we’ll walk you through the steps to insert and format SmartArt in Microsoft Word.
How to Insert SmartArt in Microsoft Word?
To insert SmartArt in Microsoft Word, use these steps:-
Step 1. Launch Microsoft Word and open the document where you want to insert the SmartArt.
Step 2. Click on the location within your document where you want to insert the SmartArt graphic. This could be anywhere you need to illustrate a concept or idea.
Step 3. Navigate to the “Insert” tab in the Word ribbon at the top of the window.
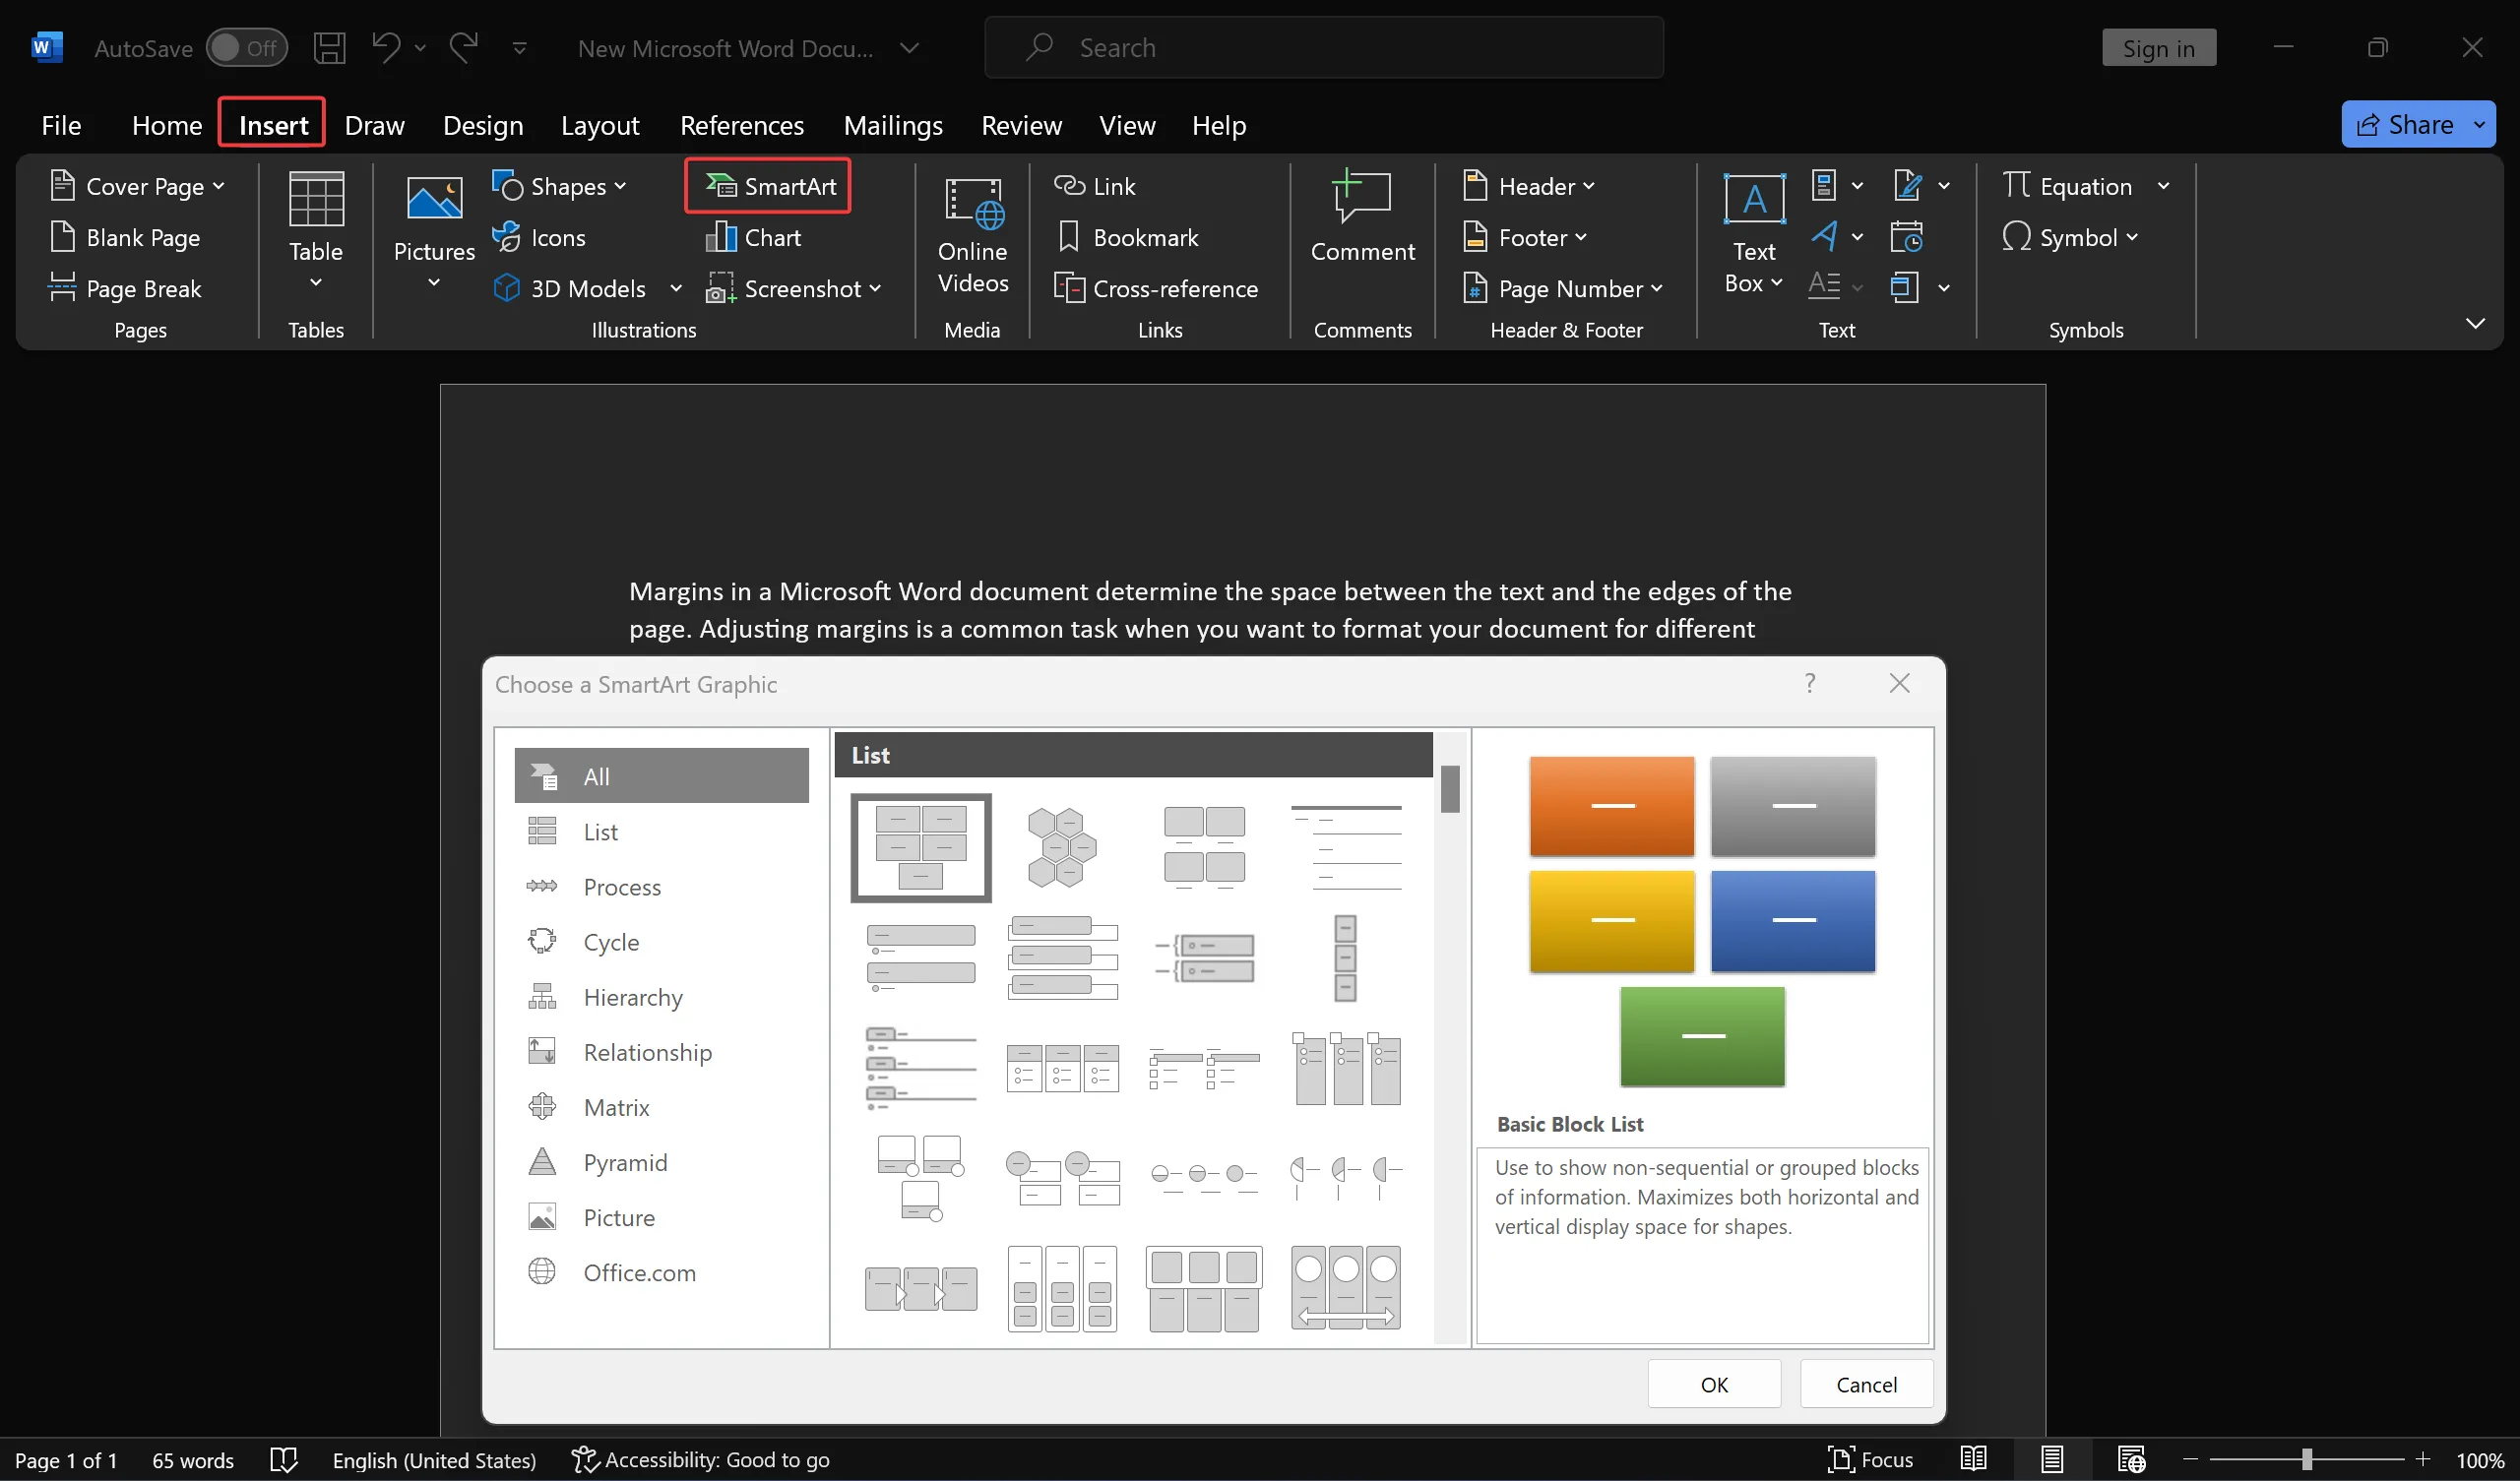
Step 4. In the “Illustrations” group, click on “SmartArt.” This will open the SmartArt Graphics dialog box.
Step 5. In the SmartArt Graphic dialog box, you’ll see a gallery of different SmartArt layouts organized into categories such as Lists, Processes, Cycles, Hierarchy, and more. Click on the category that best suits your needs, then select a specific SmartArt graphic by clicking on it.
Step 6. Once you’ve chosen your SmartArt graphic, click the “OK” button to insert it into your document.
How to Format SmartArt?
After inserting your SmartArt graphic, you’ll likely want to format it to match your document’s style and content. Here’s how to do that:-
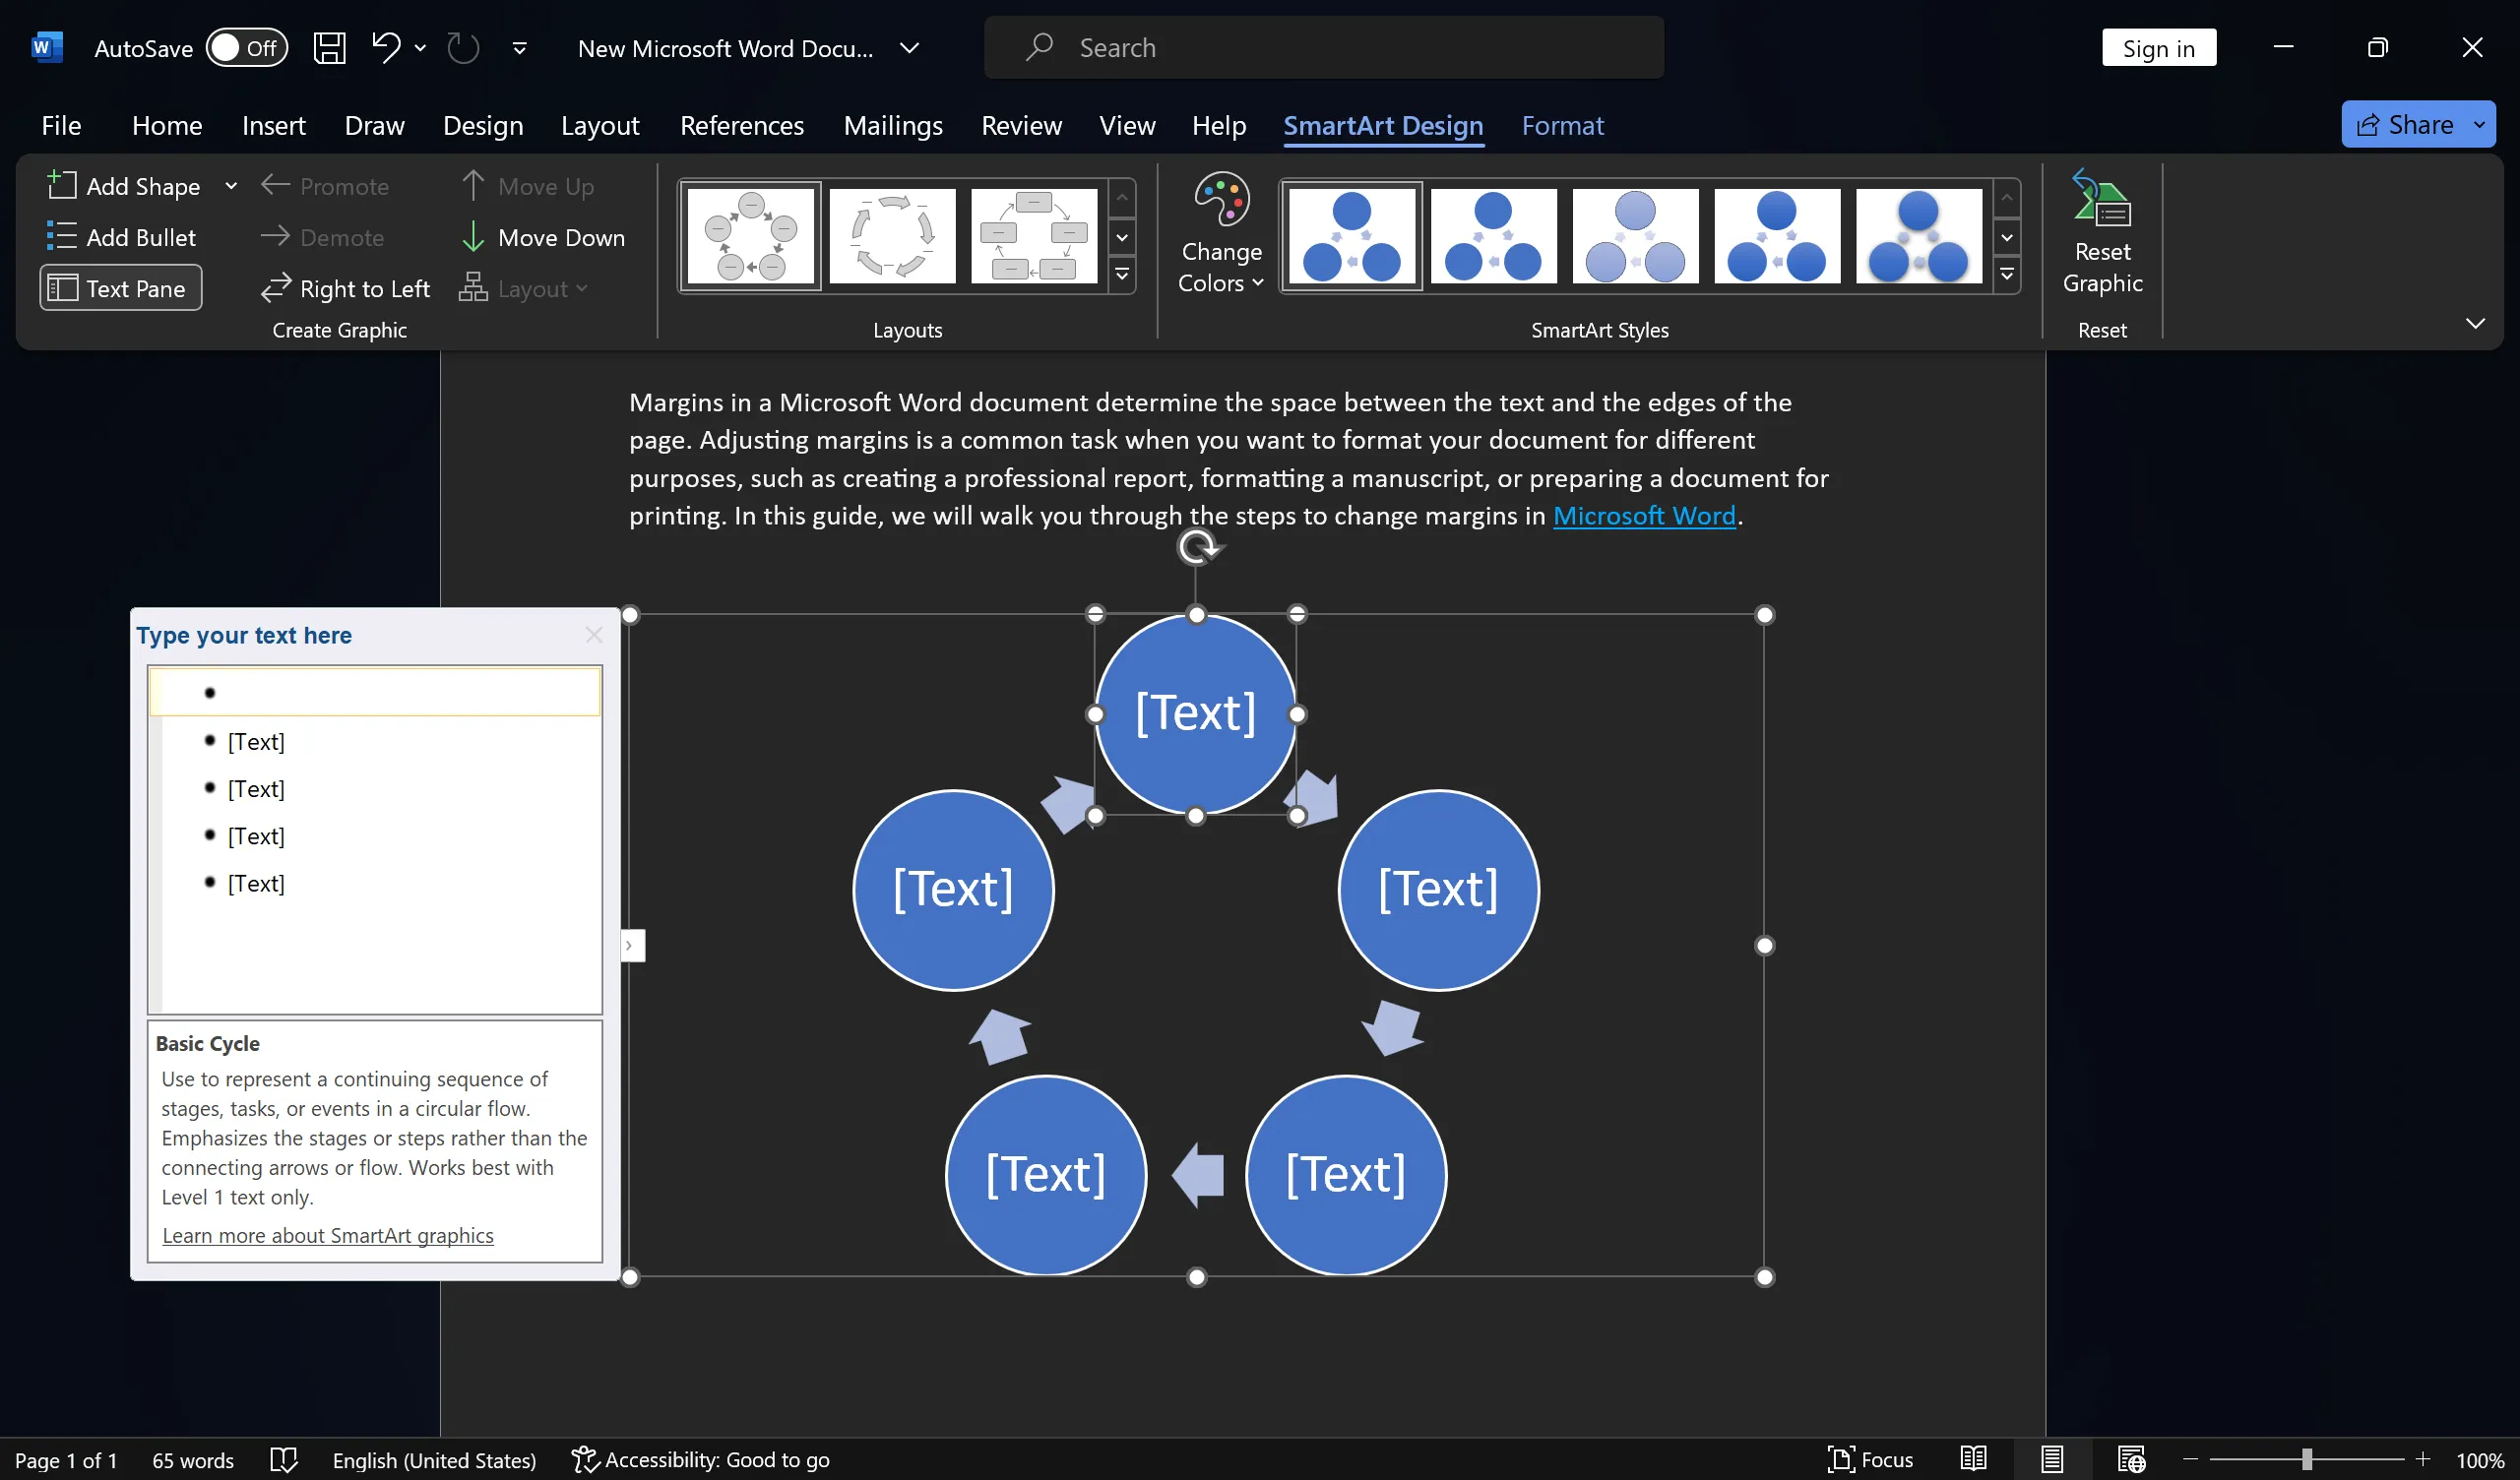
Step 1. Click on the SmartArt graphic within your document to select it. You’ll notice a “SmartArt Design” tab appear in the ribbon.
Step 2. In the “Layouts” group, you can choose a different layout for your SmartArt. This can help you rearrange the elements in your graphic to better fit your content.
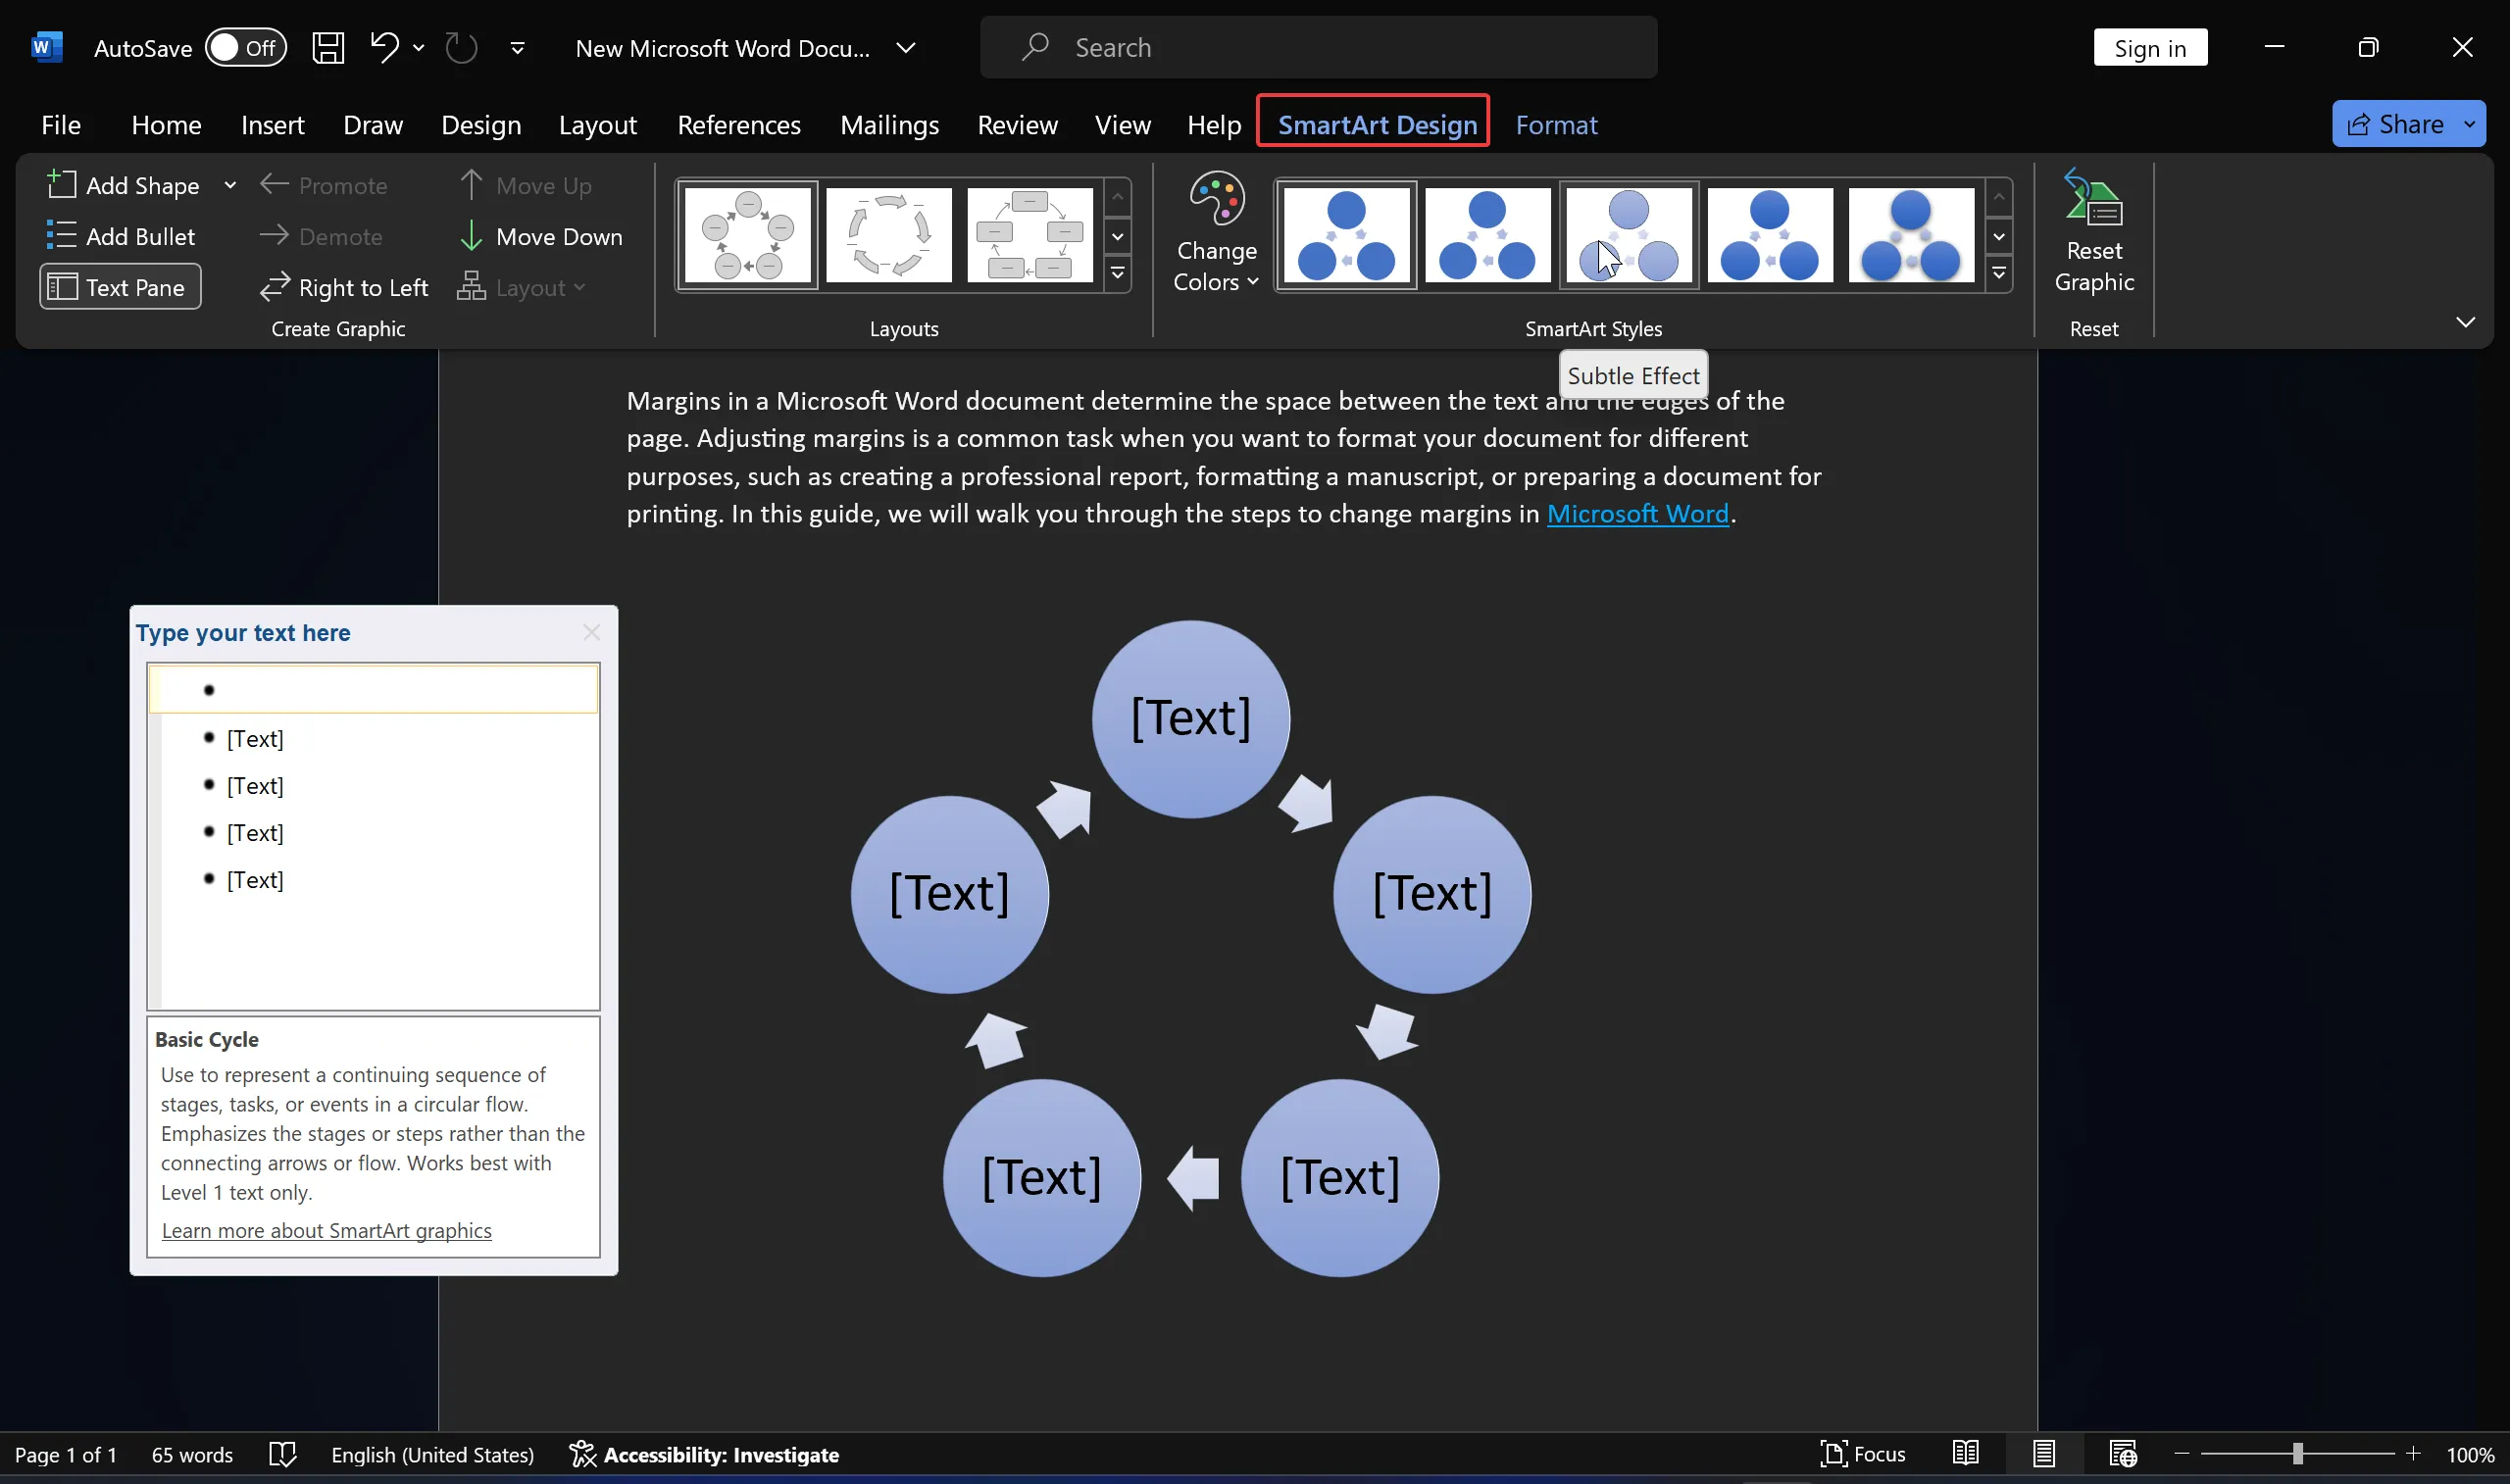
Step 3. In the “SmartArt Styles” group, you can choose from a variety of pre-defined styles to change the appearance of your SmartArt. Hover over different styles to see a live preview, then click to apply the one you like.
Step 4. You can further customize the colors of your SmartArt by clicking on the “Change Colors” button in the “SmartArt Styles” group. This allows you to select different color schemes for your graphic.
Step 5. If you want to change the individual colors and outlines, or add special effects to the shapes in your SmartArt, right-click on a shape within the graphic and choose “Format Shape.” This will open a dialog box where you can make detailed adjustments.
Step 6. To format the text within your SmartArt shapes, simply click inside a shape and use the formatting options in the Word ribbon of the “Home” tab, such as font size, color, and alignment.
Step 7. You can resize and move your SmartArt graphic just like any other object in Word. Click and drag the corners to resize, or click and drag the entire graphic to reposition it.
Step 8. To add or edit text within a SmartArt shape, simply click inside the shape and start typing. You can also copy and paste text from other parts of your document.
Step 9. To add or delete shapes in your SmartArt, right-click on a shape, and you’ll find options to add shapes before or after the selected shape, as well as options to delete shapes.
Step 10. For more advanced formatting options, you can switch to the “Format” tab after selecting the SmartArt. Here, you can further customize the appearance of your SmartArt, including shape fill, outline, effects, and more.
Step 11. If you’ve created a custom SmartArt graphic that you’d like to reuse in other documents, you can save it as a SmartArt graphic. Right-click on your SmartArt and choose “Save as Picture.” This will allow you to save it as an image file that you can insert into other documents.
Step 12. After formatting your SmartArt to your satisfaction, review your document to ensure it enhances your content and communicates your message effectively.
By following these steps, you can easily insert and format SmartArt in Microsoft Word to create visually appealing and informative graphics within your documents. Whether you’re working on a report, presentation, or any other type of document, SmartArt can help you convey complex information in a visually engaging way.
Remember to experiment with different SmartArt layouts and styles to find the one that best fits your document’s content and design. With practice, you’ll become proficient at using this powerful feature to enhance your Word documents.
Also Read: