Most Internet Service Providers (ISPs) grant users unlimited access to the web. However, if you have a limited internet bandwidth plan for each month, you should monitor your data usage on Windows 10. Windows 10 allows you to set limits to ensure you don’t go over your plan’s designated cap.
In this gearupwindows article, we will show you how to monitor the data usage and limit your data usage on Windows 10 PC.
How to Monitor Data Usage Using Windows 10 Task Manager?
To view your data usage for specific apps through the Windows Task Manager, do the following:-
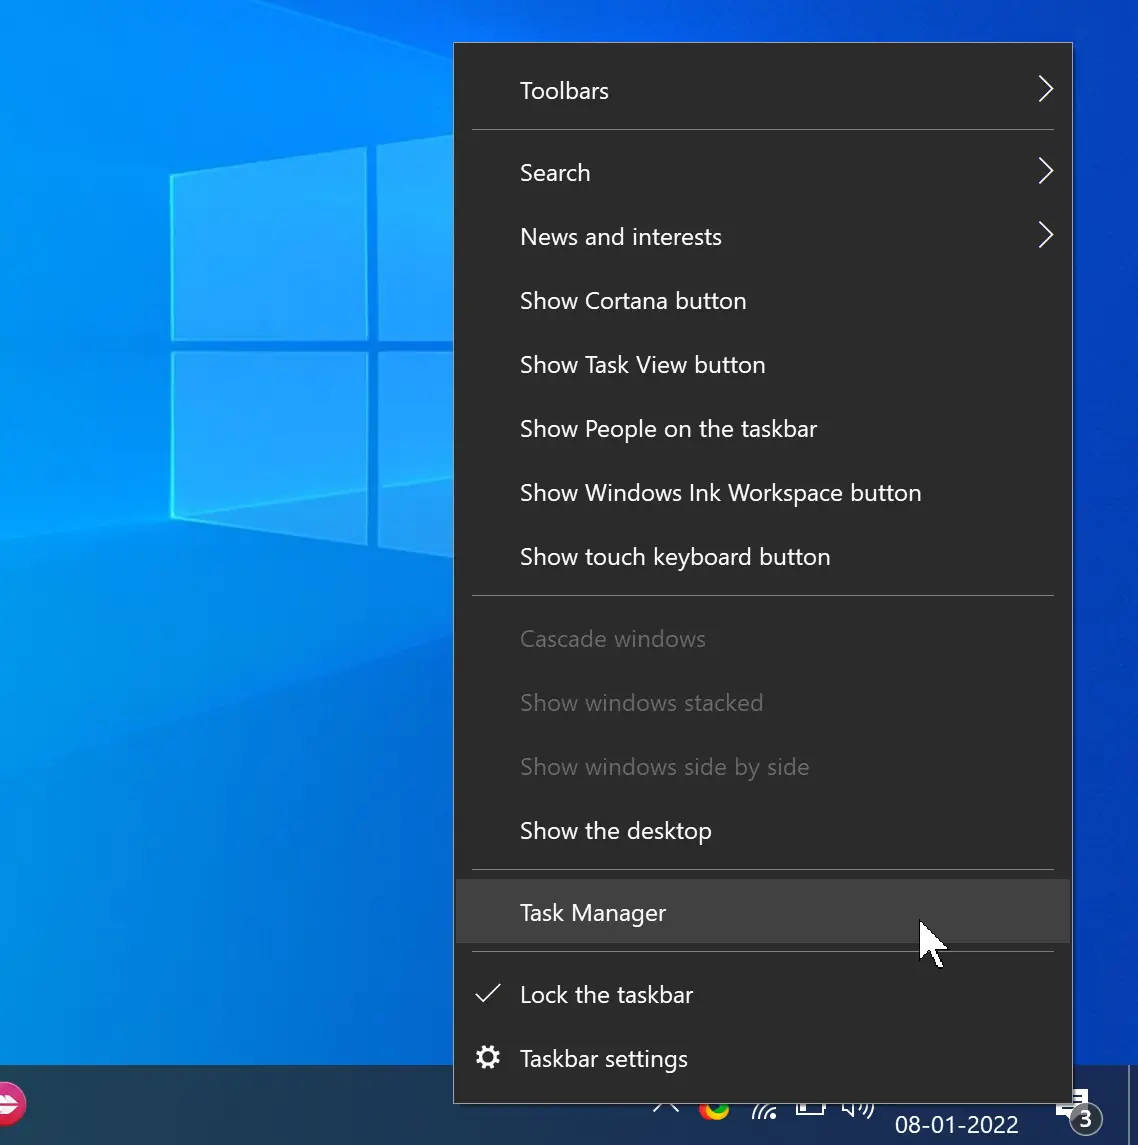
Step 1. First, open the Task Manager on your Windows 10 computer. For that, right-click on the blank space on the Windows taskbar and select Task Manager.
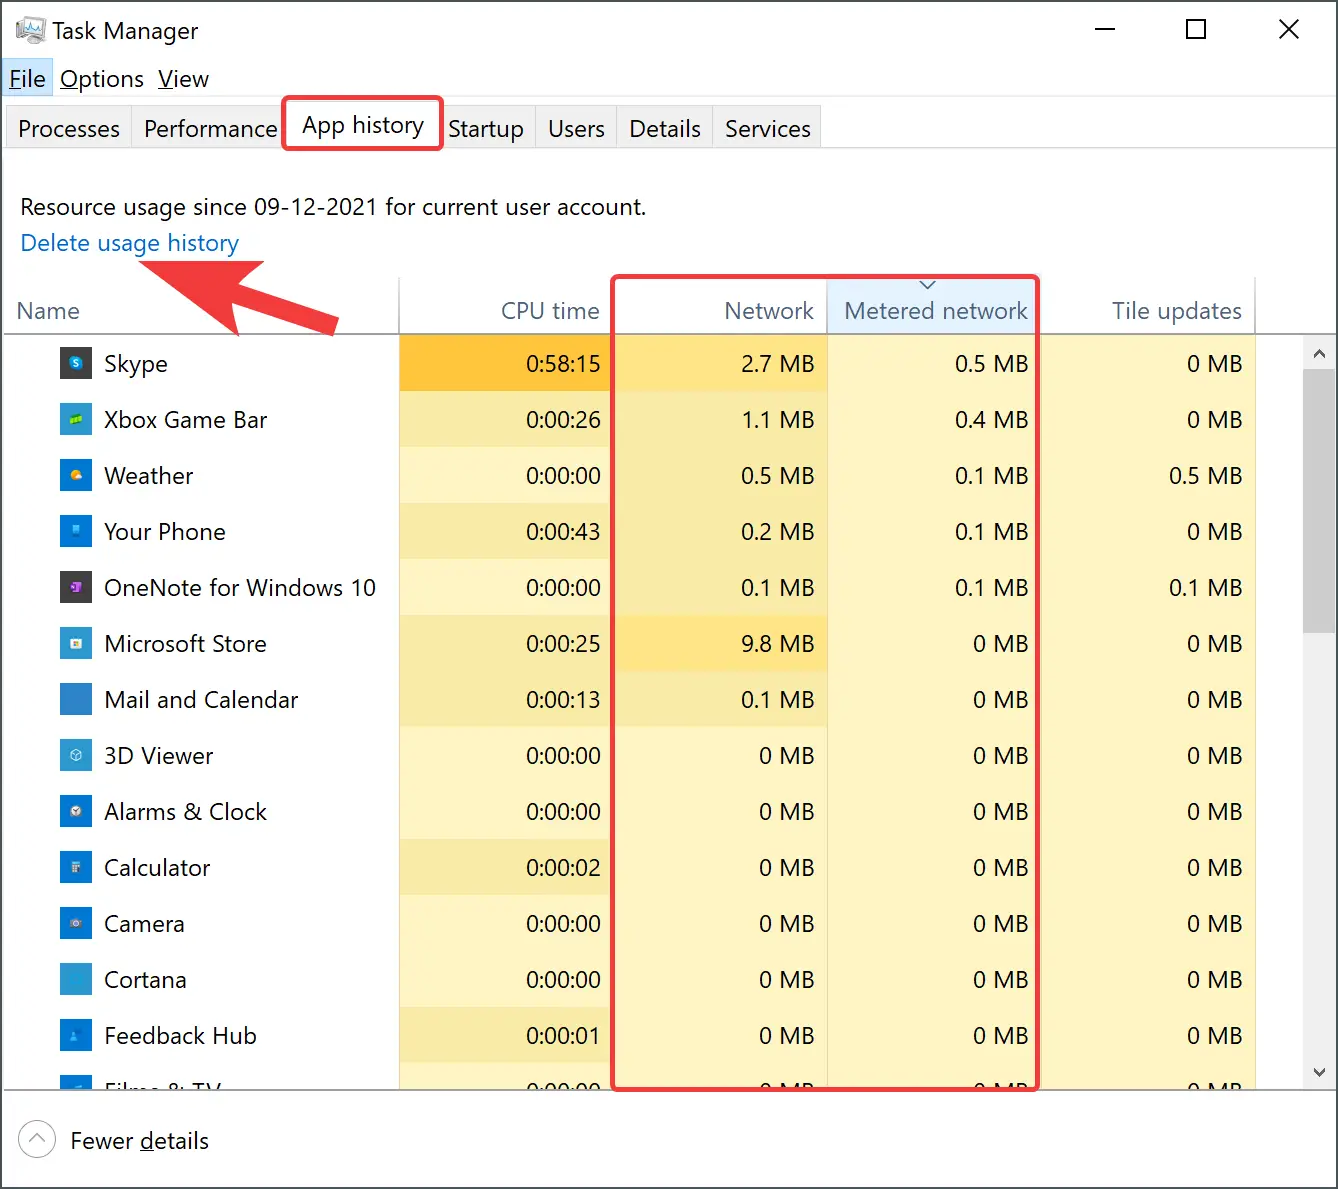
Step 2. In Task Manager, navigate to the App history tab.
Step 3. Here, you’ll see a list of your applications along with several columns. The Network column contains the actual data usage figures for each application, represented in megabytes (MB) or gigabytes (GB). If you have set data connection metered, you may be interested in the figures shown in the Metered network column.
Note: Windows shows the data in the App history tab for the last 30 days by default. Select the Delete usage history link to reset this counter and start new stats.
Note: All the applications may not appear in the Task Manager; hence, you must access Windows Settings to view data usage for all programs.
How to Monitor Data Usage in Windows 10 Settings?
To view or monitor data usage in Windows 10 using Settings, do the following:-
Step 1. First, open the Settings app.
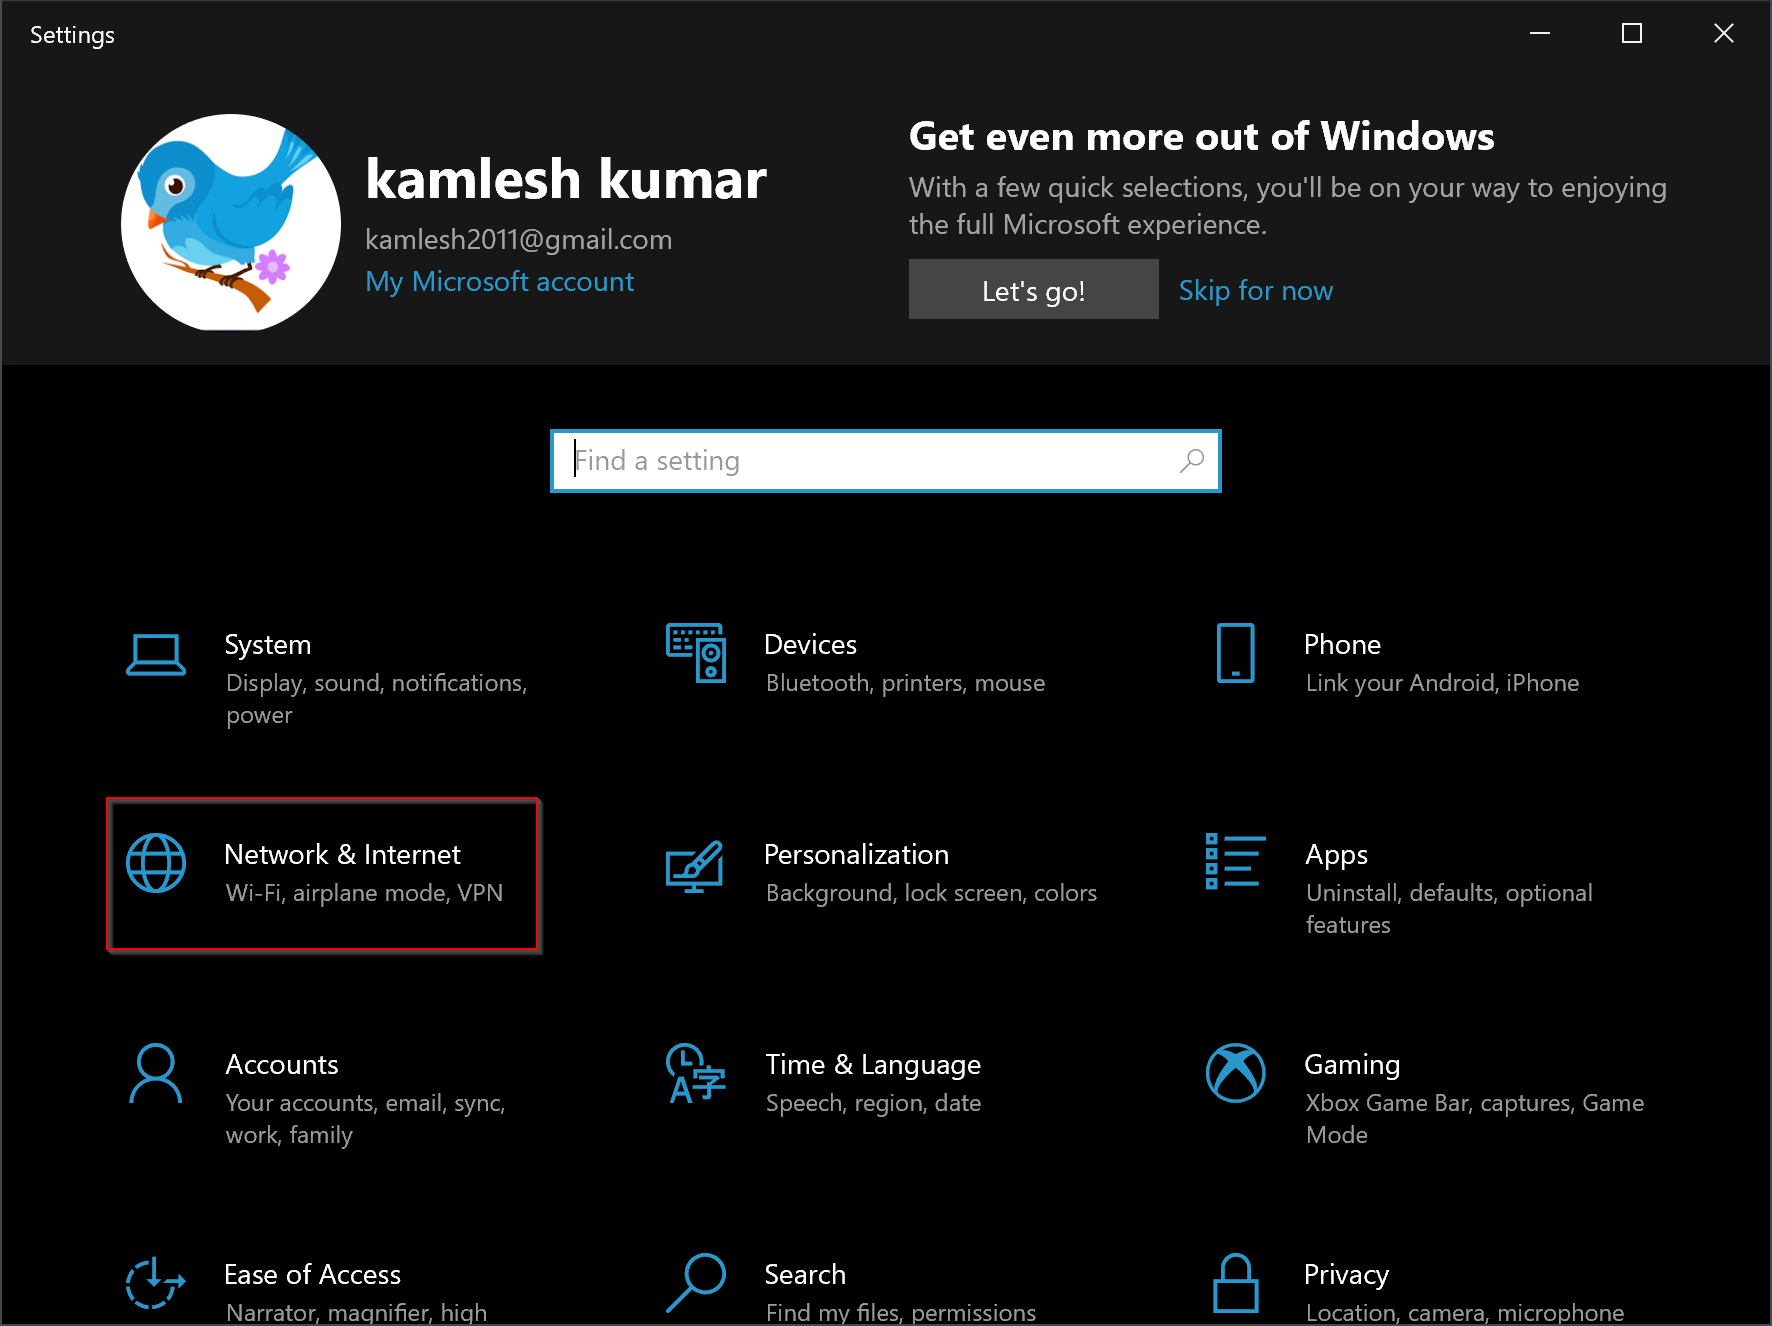
Step 2. Then, click Network & Internet.
Step 3. After that, select Status in the left pane.
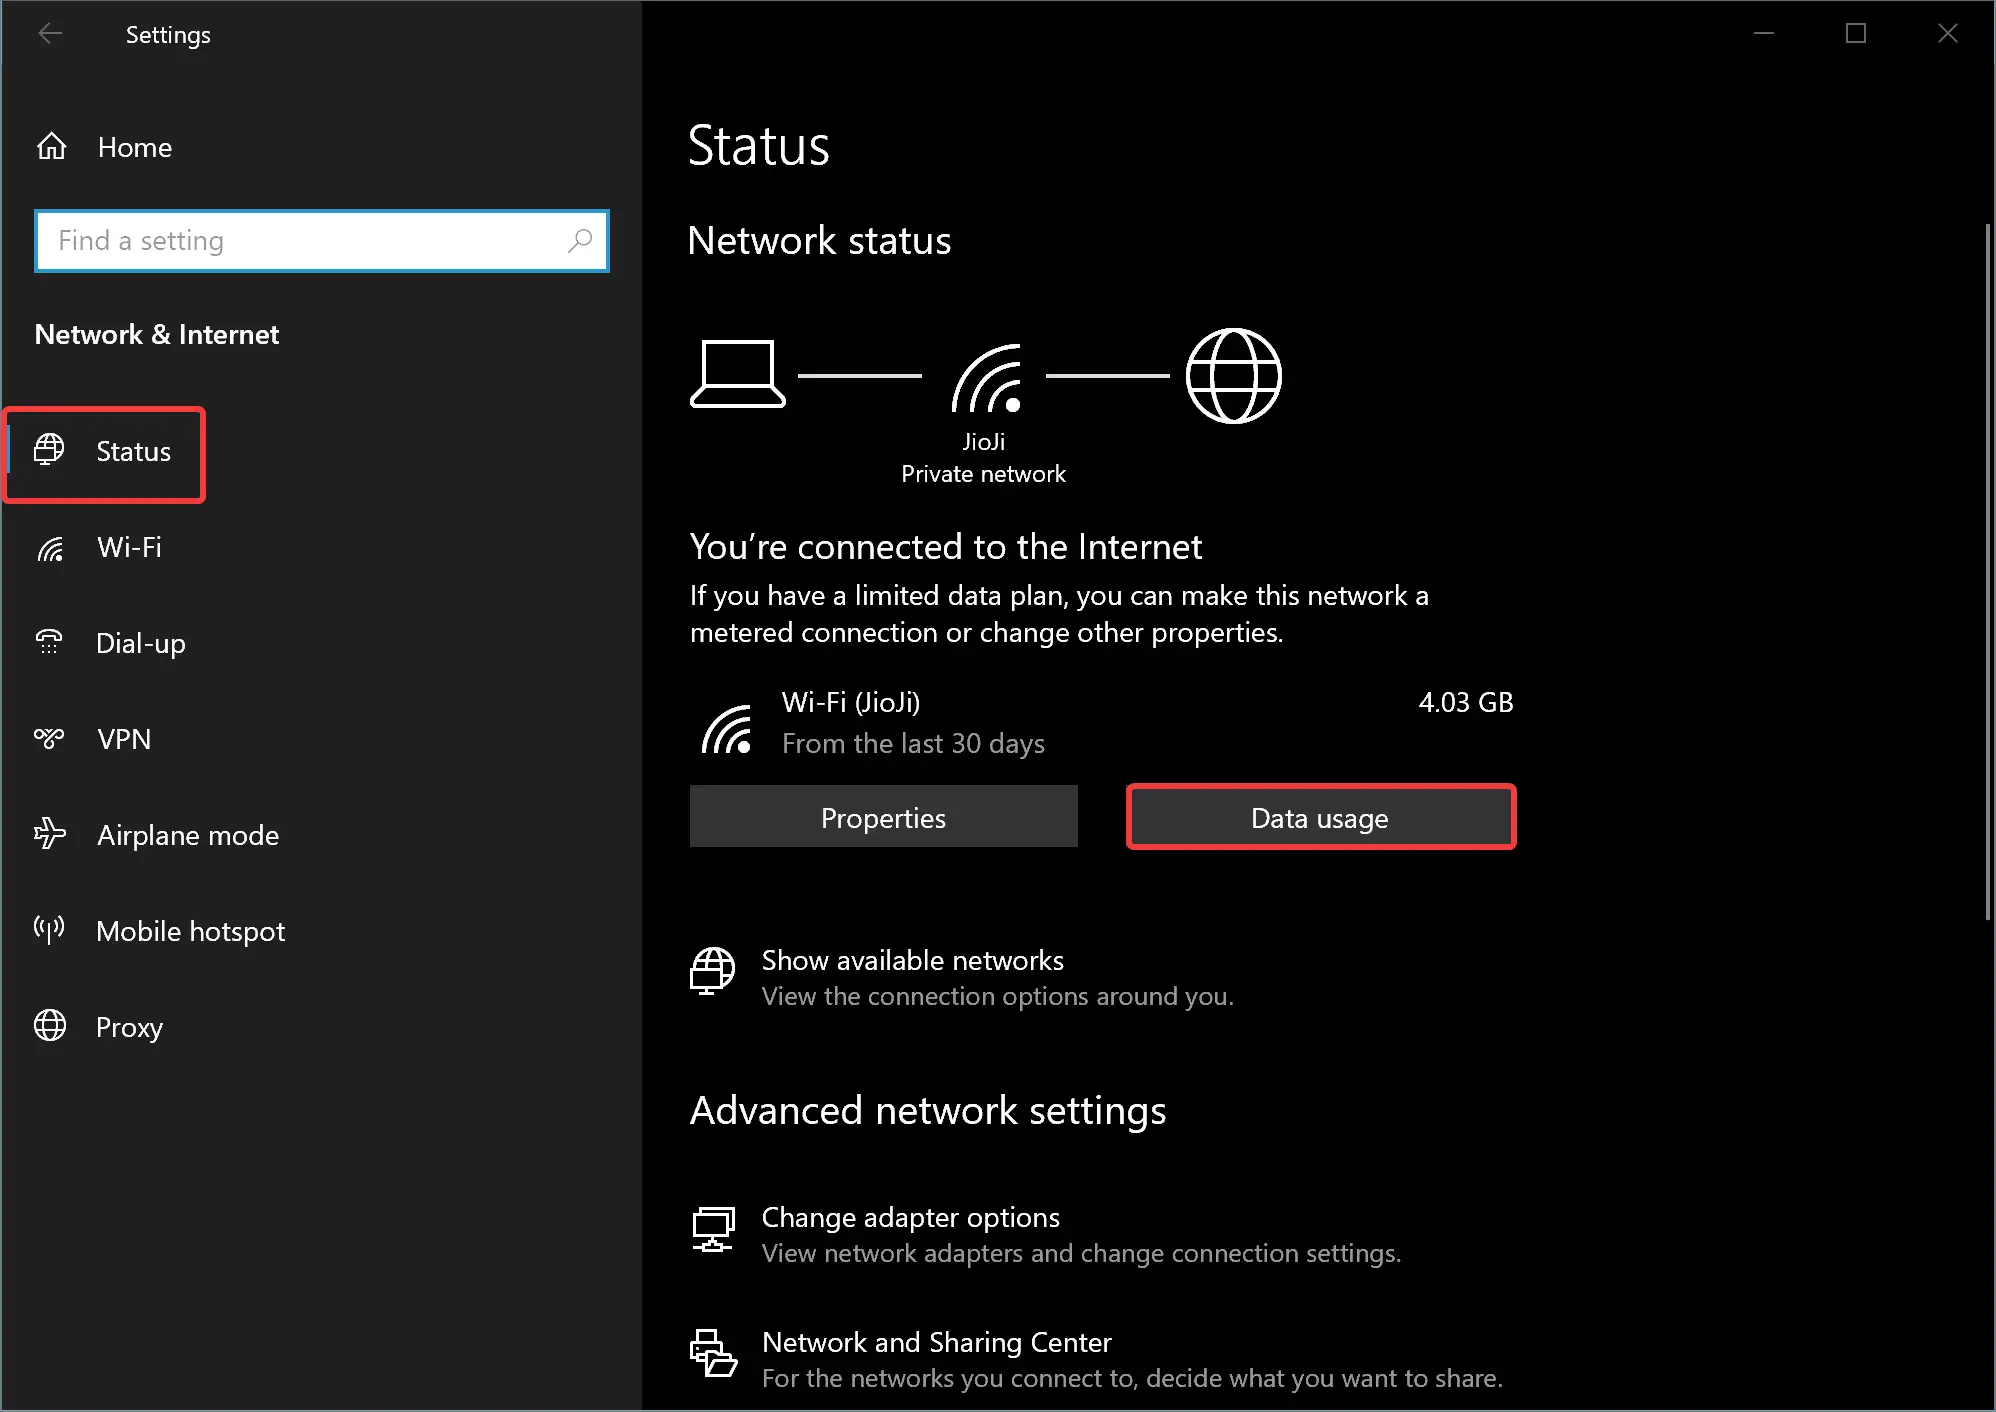
Step 4. Click on the Data usage button on the right-side pane.
Step 5. On the “Data usage” page, you can view which applications have used how much bandwidth in MB or GB.
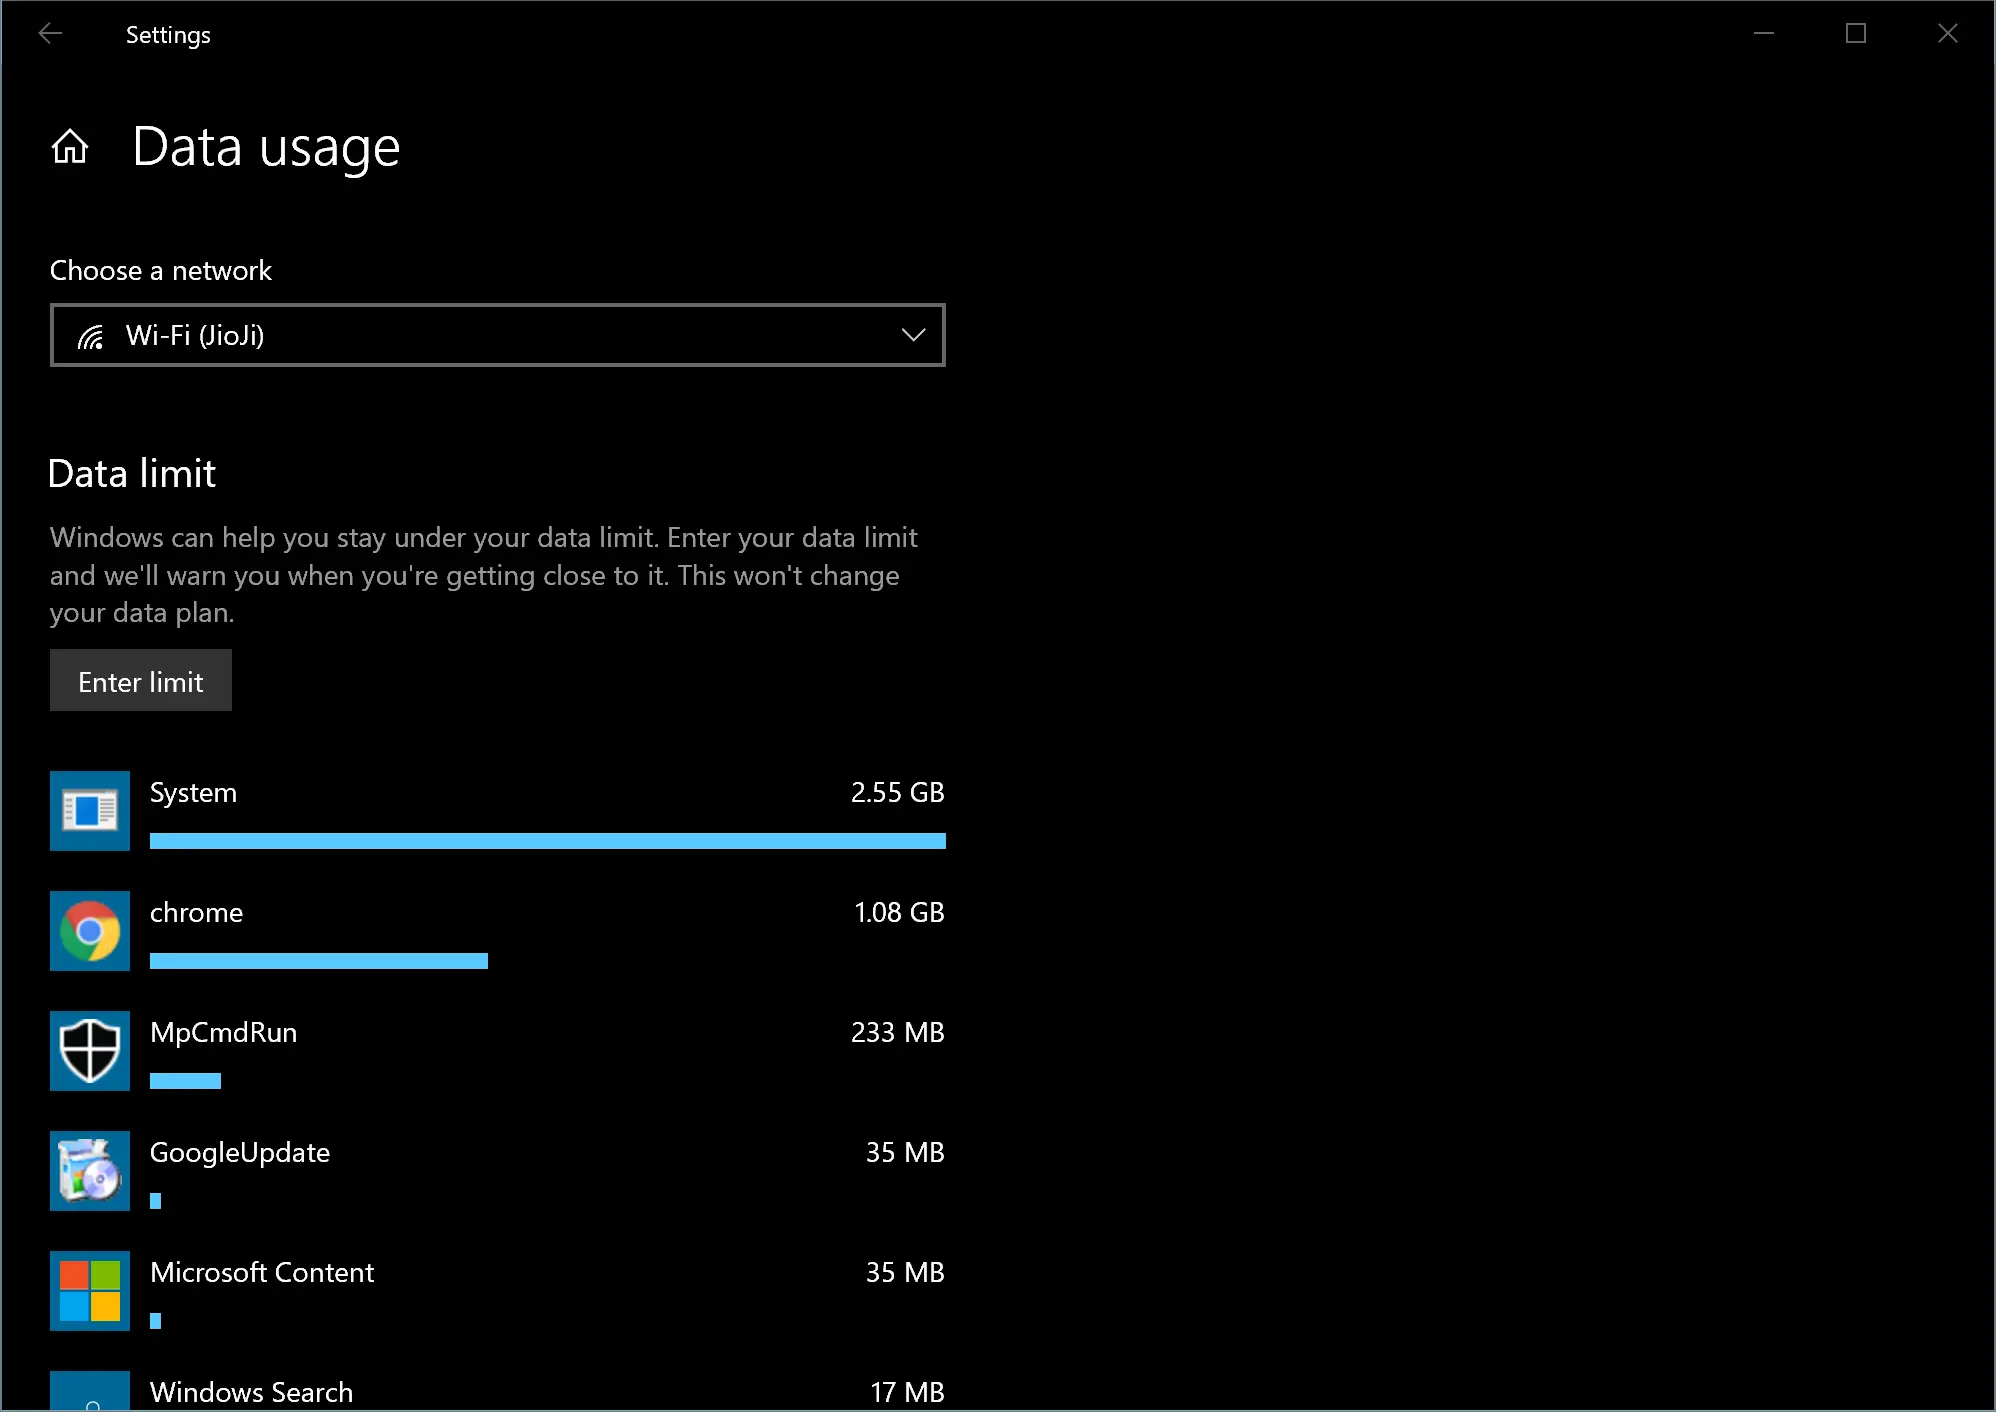
How to Limit Data Usage on Windows 10?
To set the data usage limit on Windows 10, use the following steps:-
Step 1. First, open the Settings app.
Step 2. Then, click Network & Internet.
Step 3. After that, select Status in the left pane.
Step 4. Click on the Data usage button on the right-side pane.
Step 5. Under the “Data limit” section, click the Enter limit button.
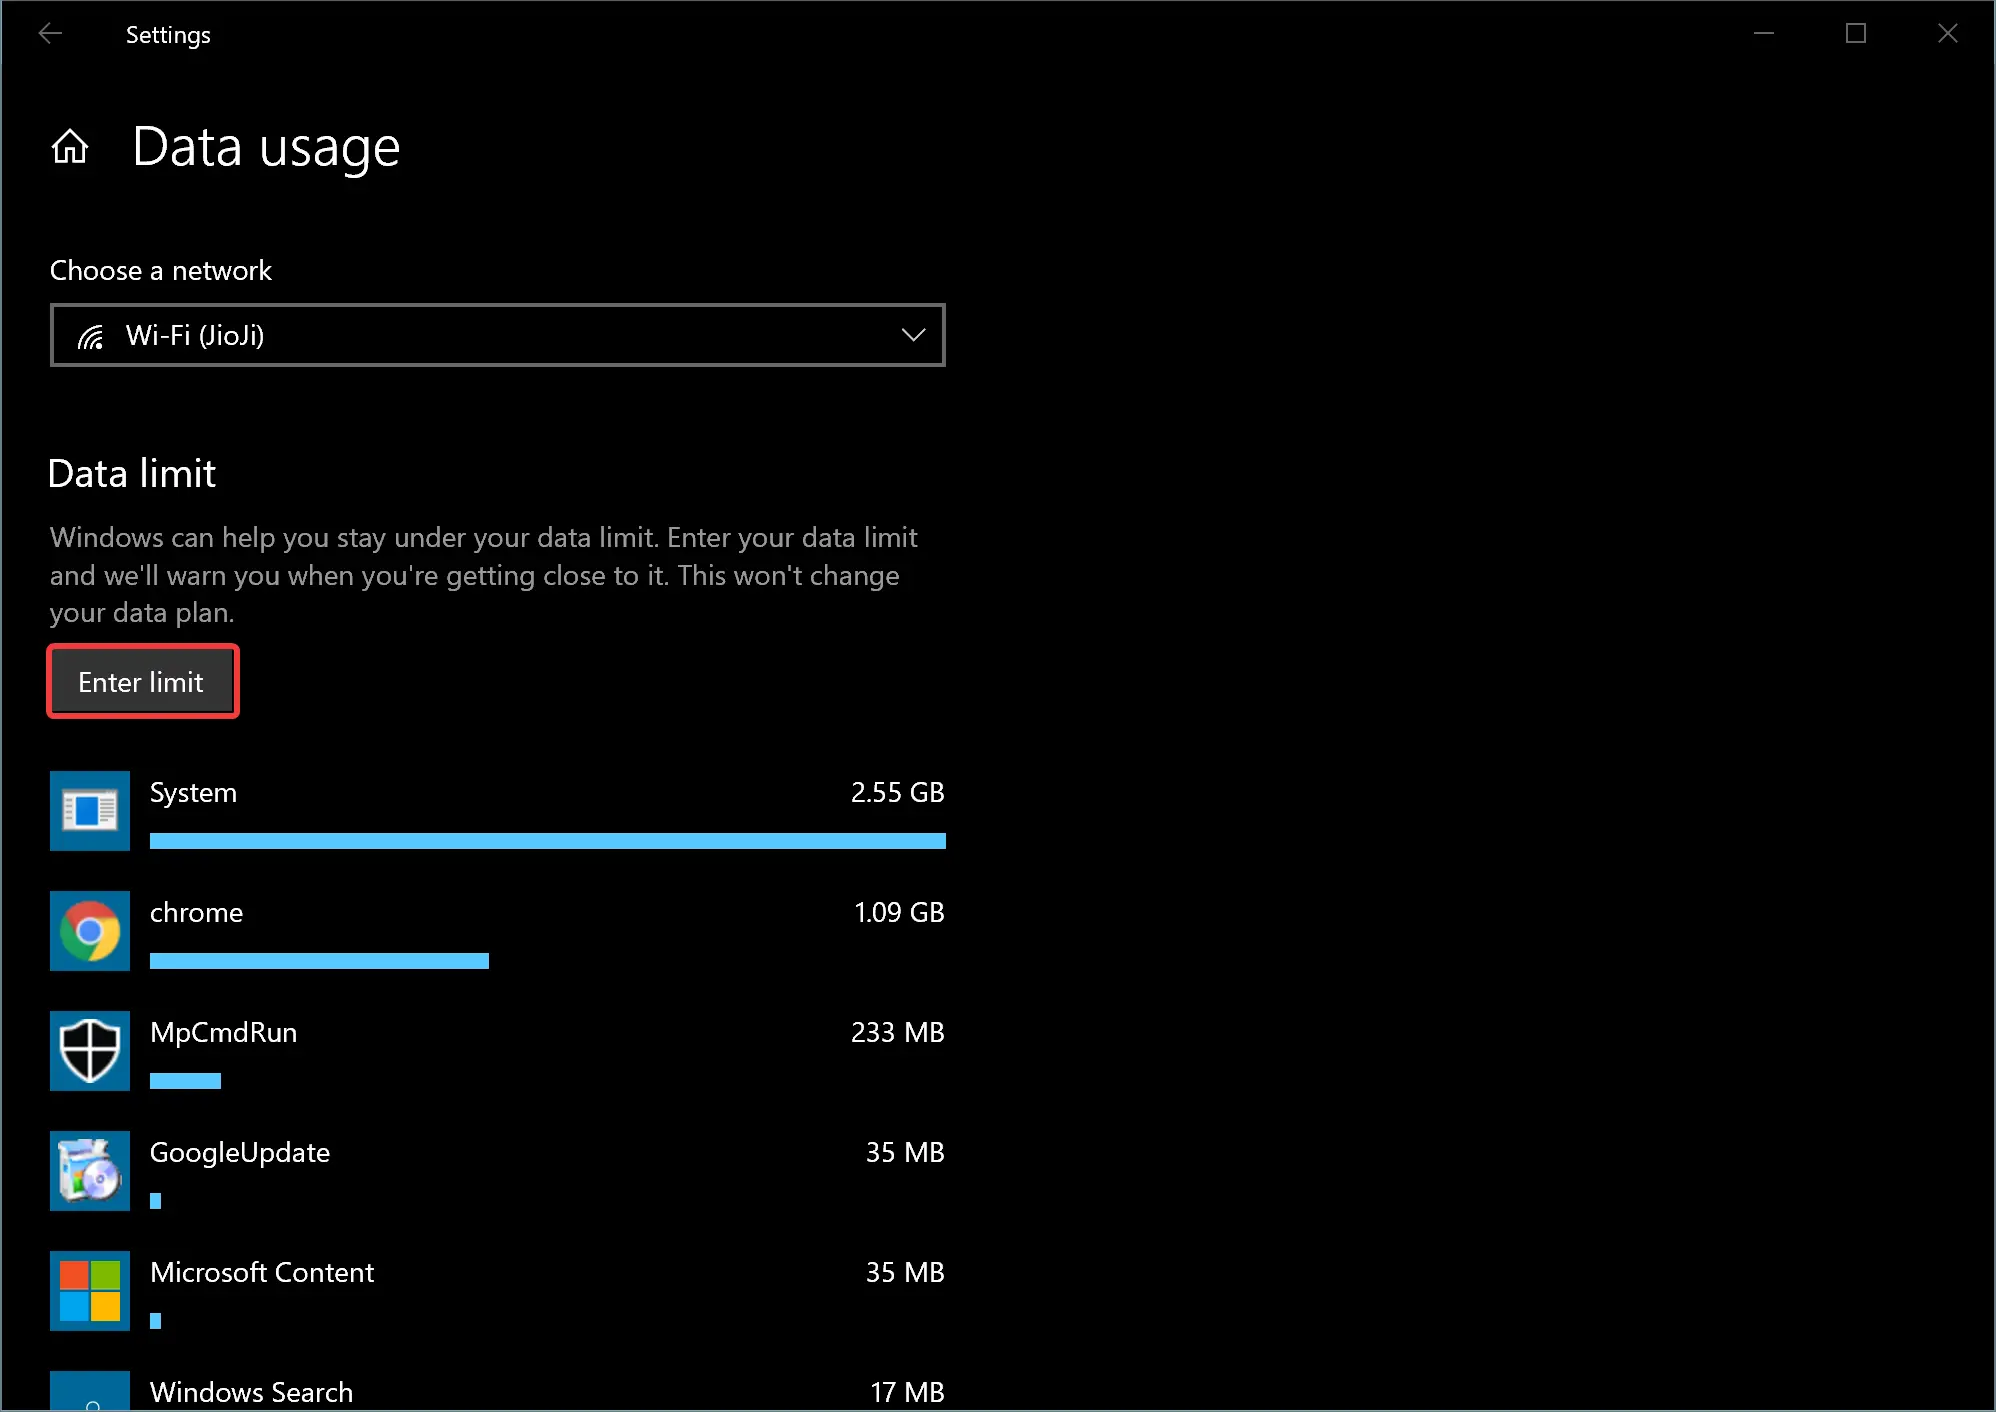
Step 7. In the “Set data limit” pop-up window, set a usage limit (in MB or GB) for a specific time interval (ideally corresponding with your billing cycle, Monthy). Then click the Save button.

How to Reset Data Usage on Windows 10?
To reset the data usage on Windows 10, use the following steps:-
Step 1. First, open the Settings app.
Step 2. Then, click Network & Internet.
Step 3. After that, select Status in the left pane.
Step 4. Click on the Data usage button on the right-side pane.
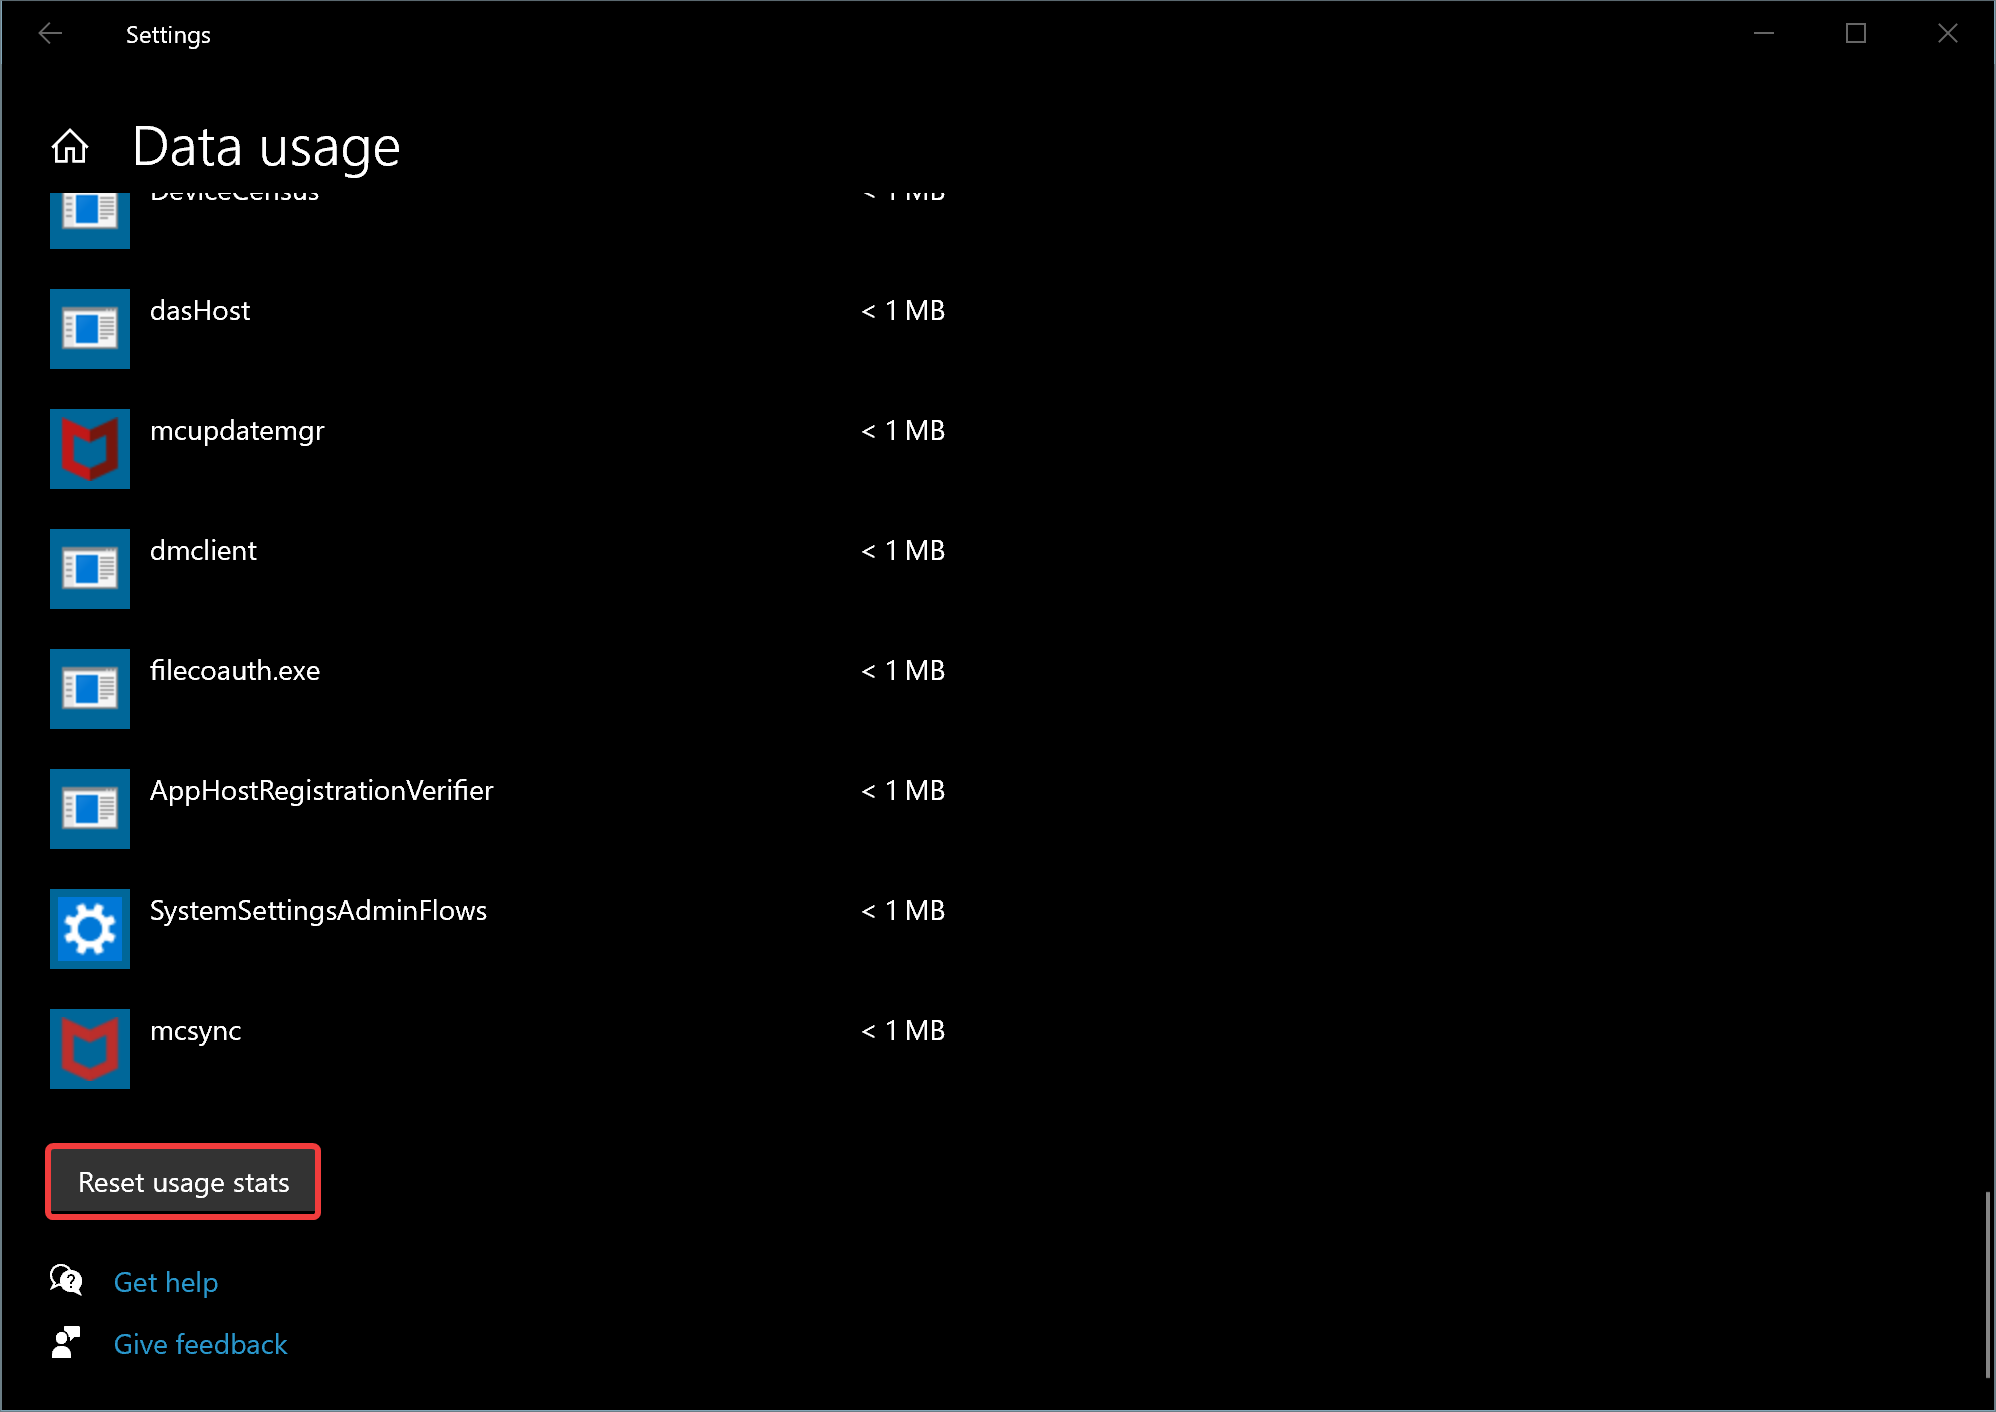
Step 5. On the “Data usage” page, scroll down to the bottom and then click the button Reset usage stats.
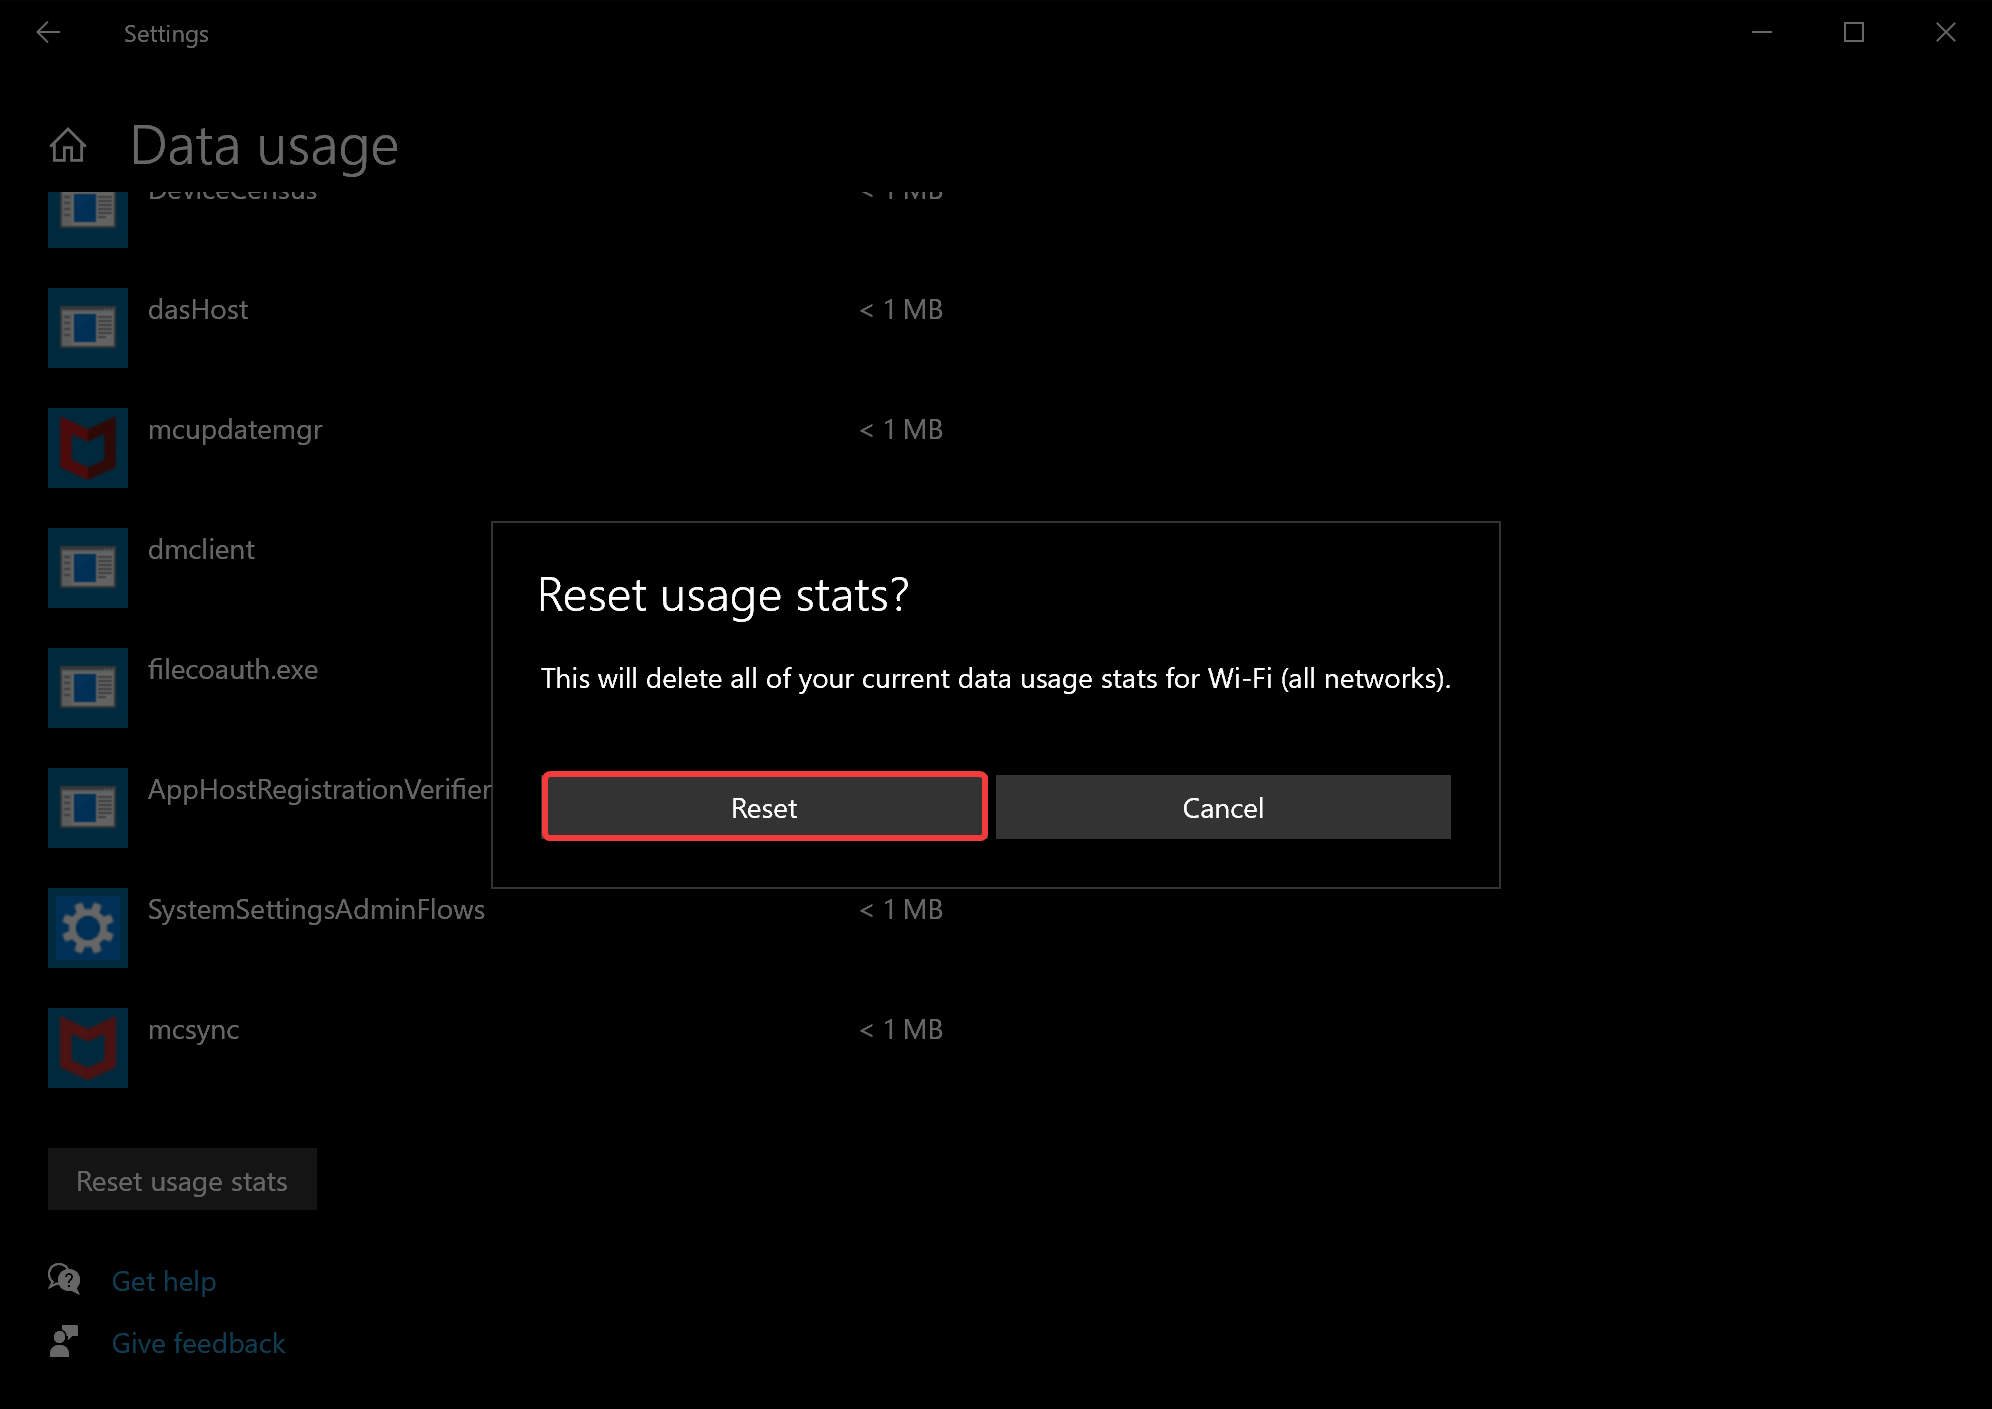
Step 6. Confirm the reset usage stats by clicking the Reset button.
Conclusion
In conclusion, monitoring and limiting data usage on Windows 10 can be crucial, especially for those with limited internet bandwidth plans. Windows 10 offers various ways to monitor data usage, such as through the Task Manager and Settings app. By setting data usage limits, users can avoid exceeding their plan’s designated cap and incurring additional charges. Resetting data usage is also simple and can be done through the Settings app. With these tools, Windows 10 users can efficiently manage their data usage and avoid any unexpected charges or overages.