By default, on Windows 10, the microphone and speaker both remain turned on. If you are searching for a way to mute the microphone but keep the speaker turned on, this post will help you do it.
If you want to turn off or mute the speaker only, there is a straightforward option: click the Volume icon in the system tray to mute the speaker, but there is no direct way to mute the microphone. In this post, we’ll show you at least three methods to mute or turn off the microphone in Windows 10 without silencing the speaker. By referring to this post, you will also learn the three ways to enable or turn on the microphone in Windows 10.
As said above, there are at least three ways through which you can turn Silent or Turn off the Microphone in Windows 10. These are the following:-
- Silent or Turn off the Microphone from System Tray
- Unmute or Turn on the Microphone from System Tray
- Mute or Turn off the Microphone using the Settings App
- Unmute or Turn on the Microphone using the Settings App
- Mute or Turn off the Microphone via a Third-Party App
- Unmute or Turn on the Microphone via a Third-Party App
How to Silent or Turn off the Microphone from System Tray?
To turn off or mute the Microphone from System Tray, perform the following steps:-
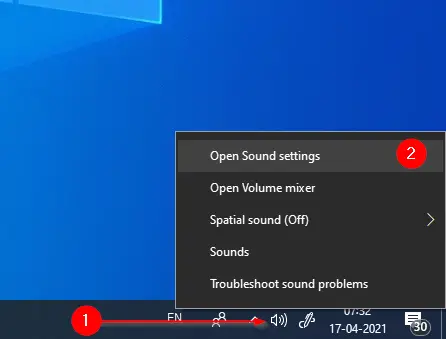
Step 1. Right-click on the Volume icon from the taskbar notification area and select the “Open Sound settings” option.
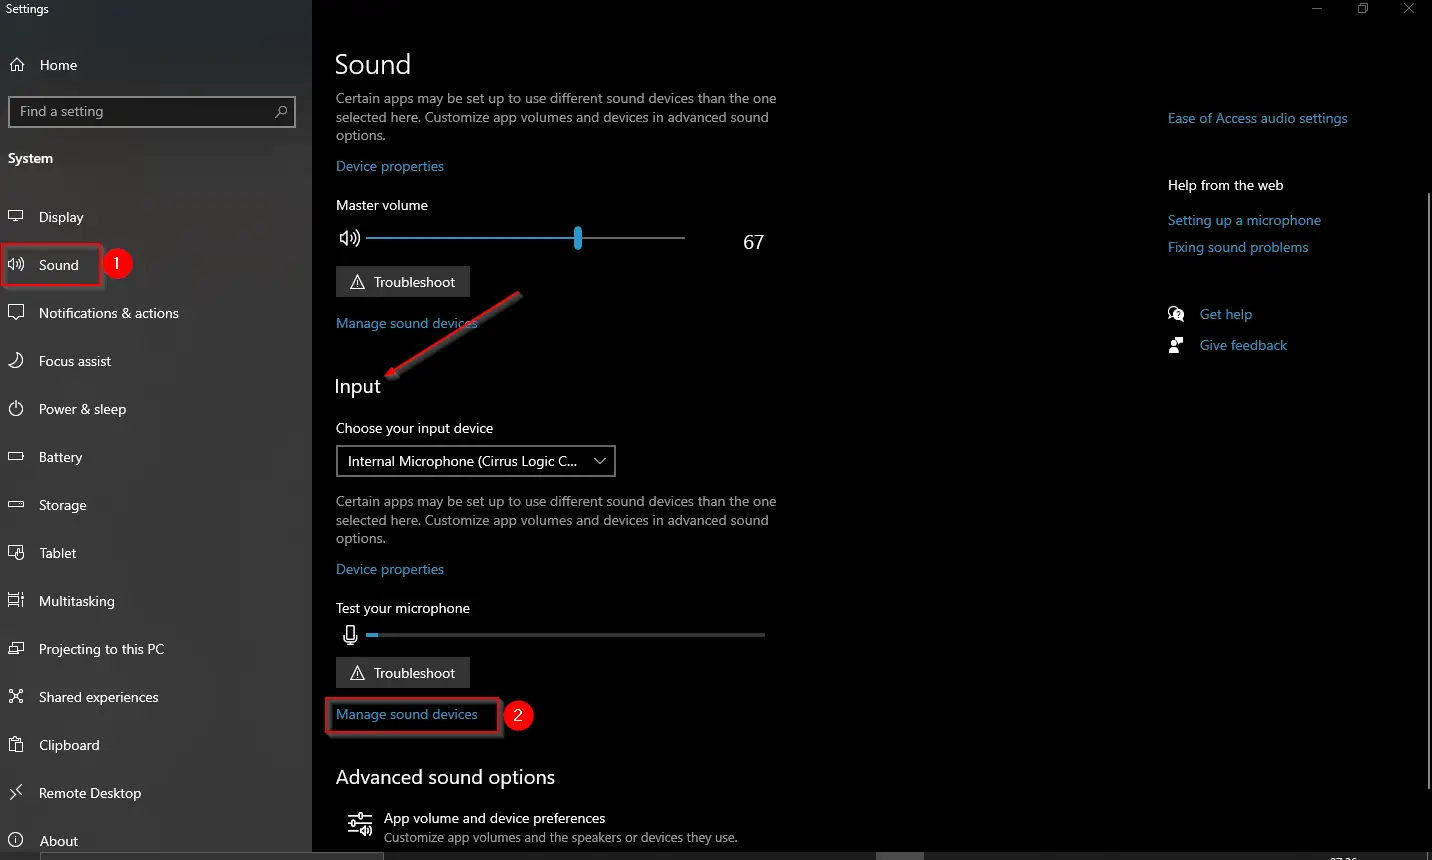
Step 2. The above action will open the Settings app, and you will land on the Sound page. On the right side pane of the Sound, scroll down to the Input section and click on the “Manage sound devices” link.
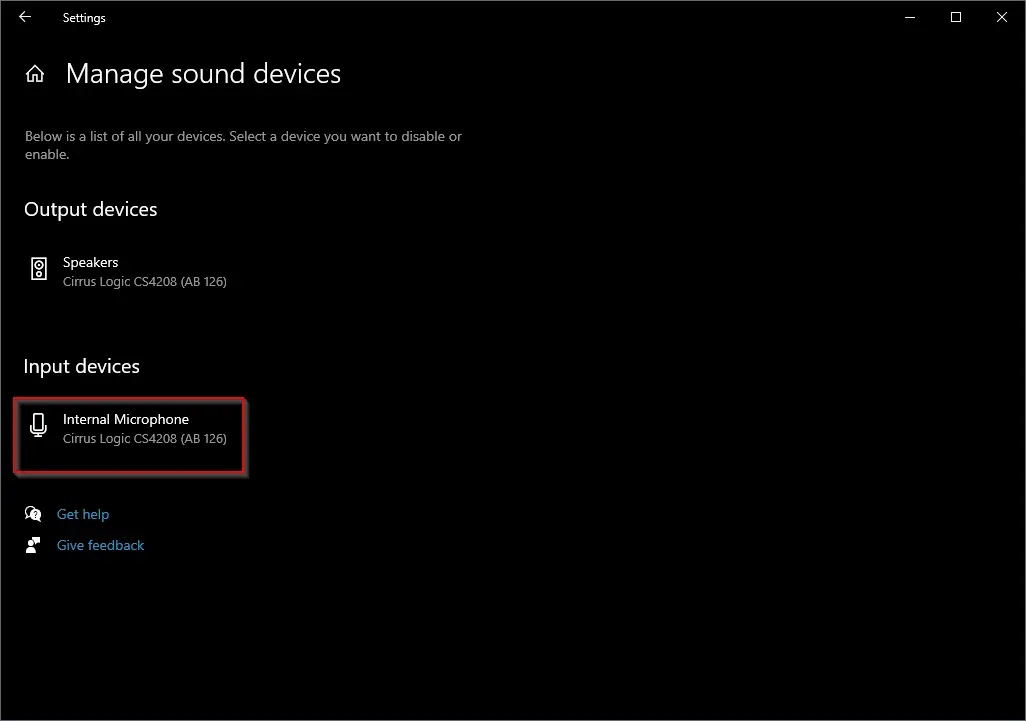
Step 3. “Manage sound devices” page opens. Under the “Input devices” section, click on the “Internal Microphone.”
Step 4. Click on the Disable button to mute or turn off the selected Microphone.
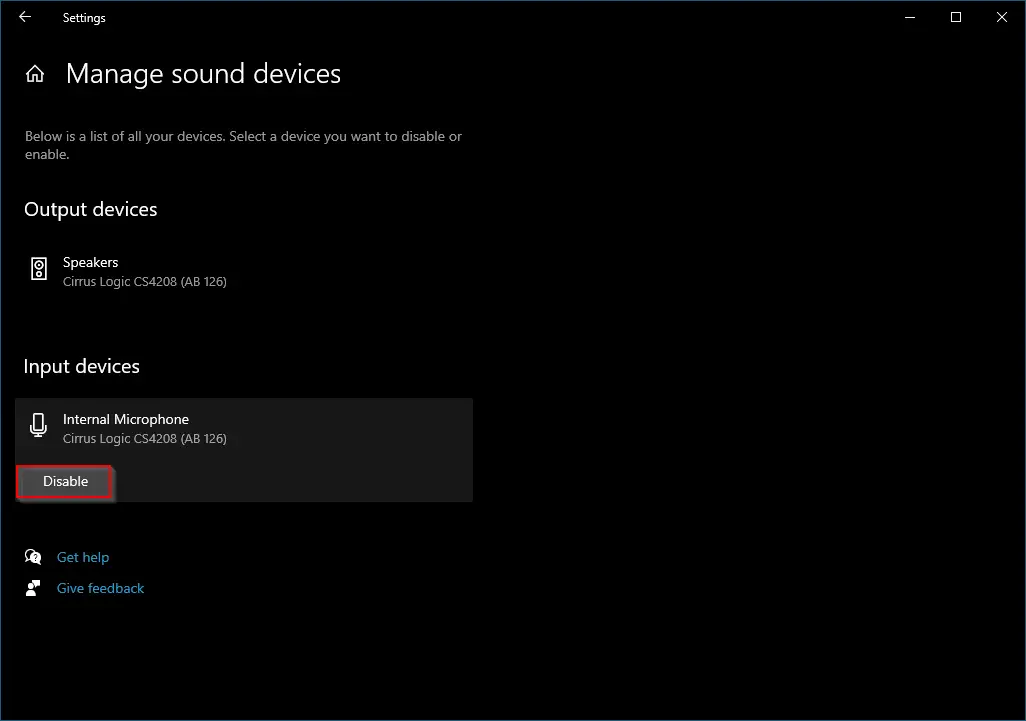
Once you complete the above steps, the selected microphone in Windows 10 will be muted or turned off.
How to Enable or Turn on the Microphone from System Tray?
To turn on or unmute the Microphone from System Tray, perform the following steps:-
Step 1. Right-click on the Volume icon from the taskbar notification area and select the “Open Sound settings” option.
Step 2. The above action will open the Settings app, and you will land on the Sound page. On the right side pane of the Sound, scroll down to the Input section and click on the “Manage sound devices” link.
Step 3. “Manage sound devices” page opens. Under the “Input devices” section, click on the “Internal Microphone.”
Step 4. Click on the Enable button to unmute or turn on the selected Microphone.
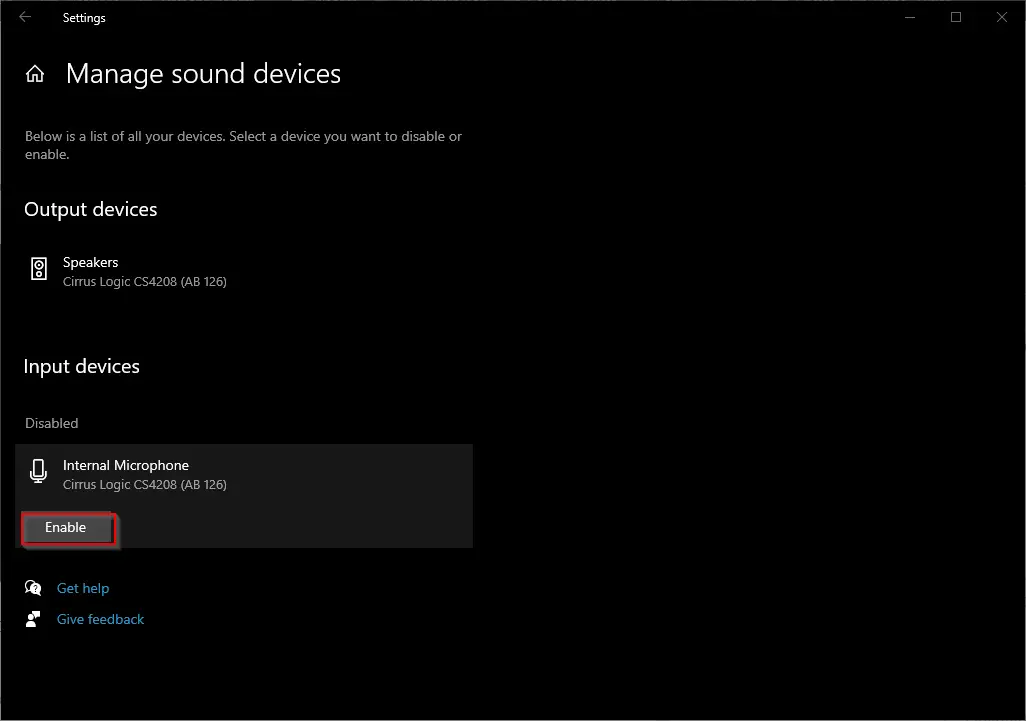
Once you complete the above steps, the selected microphone in Windows 10 will be unmuted or enabled.
How to Mute or Turn off the Microphone using Settings App?
To mute or turn off the Microphone using the Settings app on Windows 10, perform the following steps:-
Step 1. Press the Windows logo + I keyboard shortcut to launch the Settings app or open it with any other preferred method.
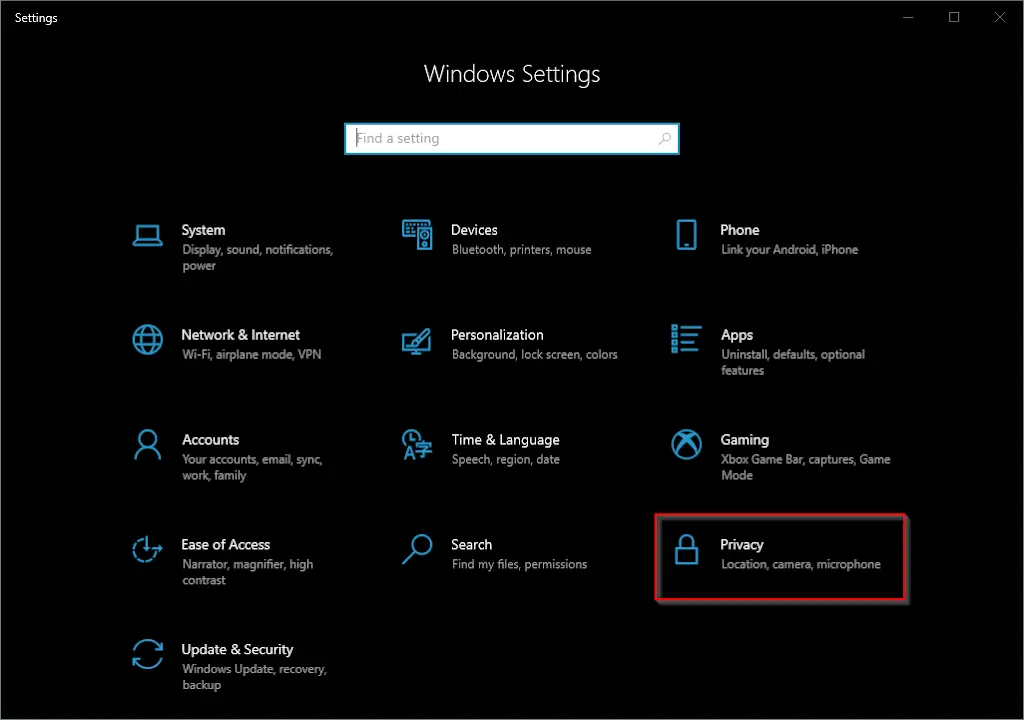
Step 2. In the Settings window that opens, click on the Privacy category.
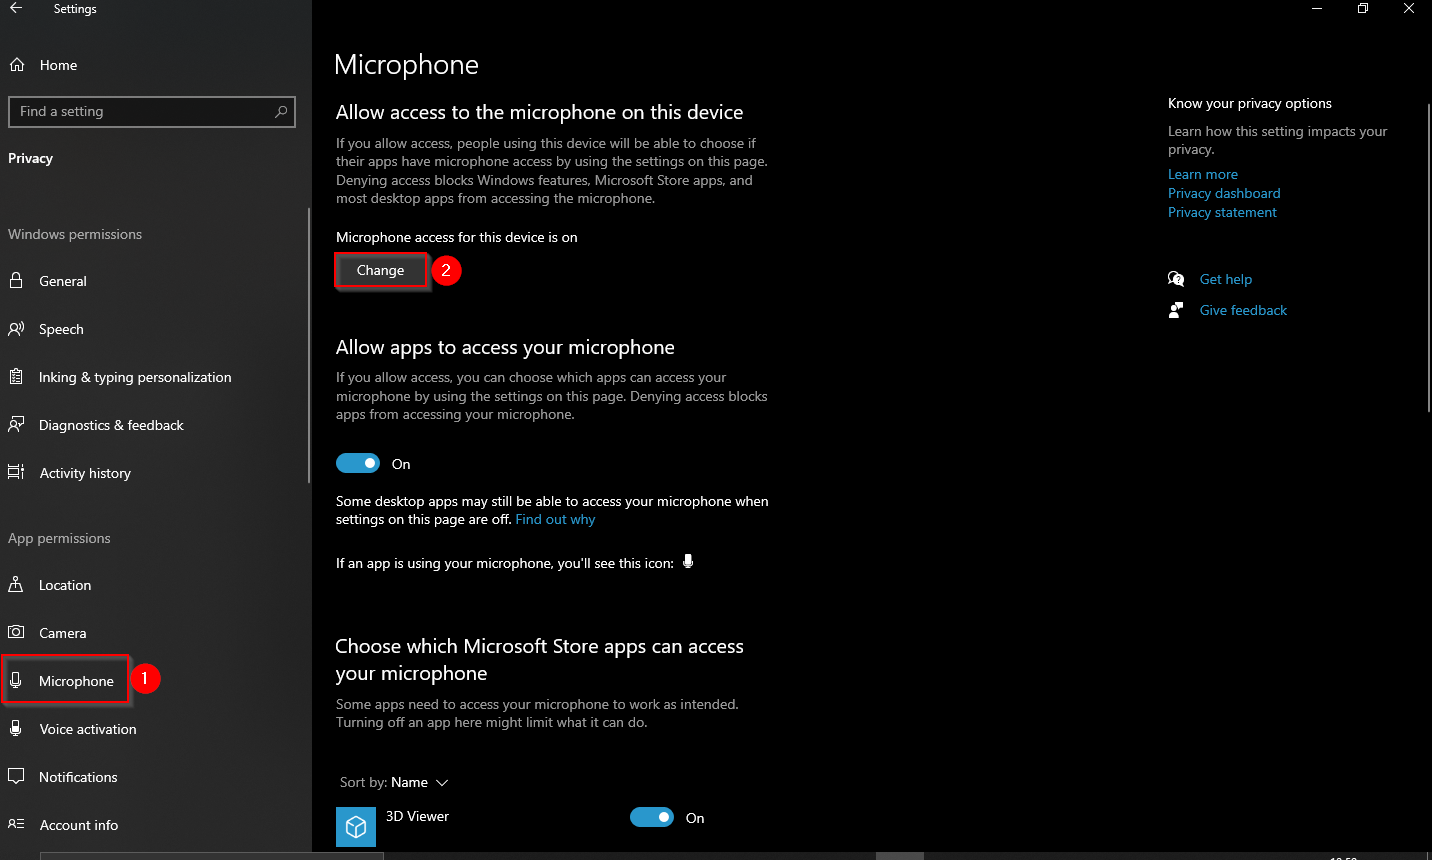
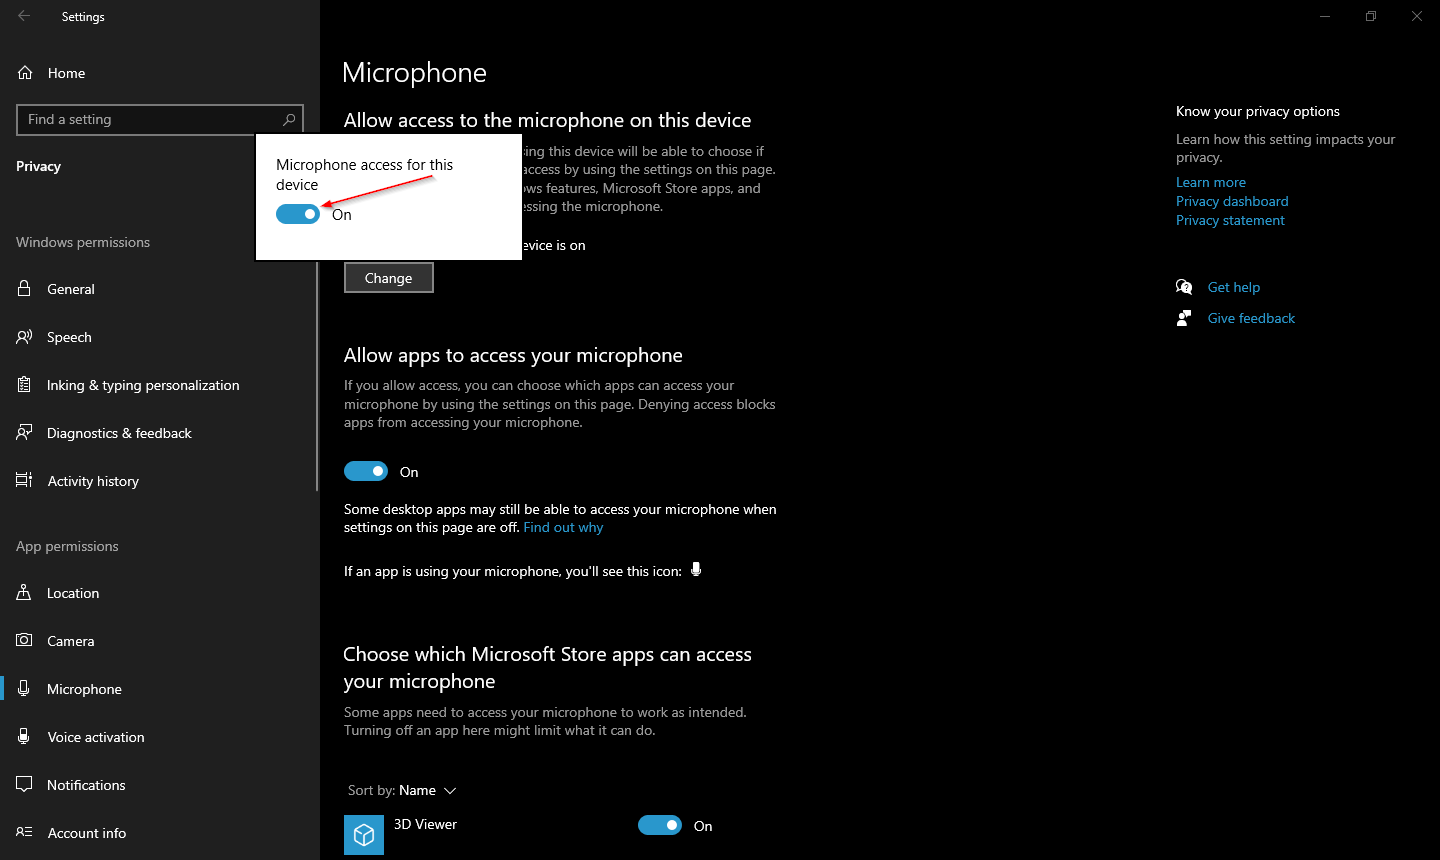
Step 3. From the left-hand side pane, click the Microphone entry. On the microphone’s right side, click on the Change button under “Allow access to the microphone on this device.”
Step 4. A popup will appear. In the popup, toggle the setting to Off to disable microphone access in Windows 10.
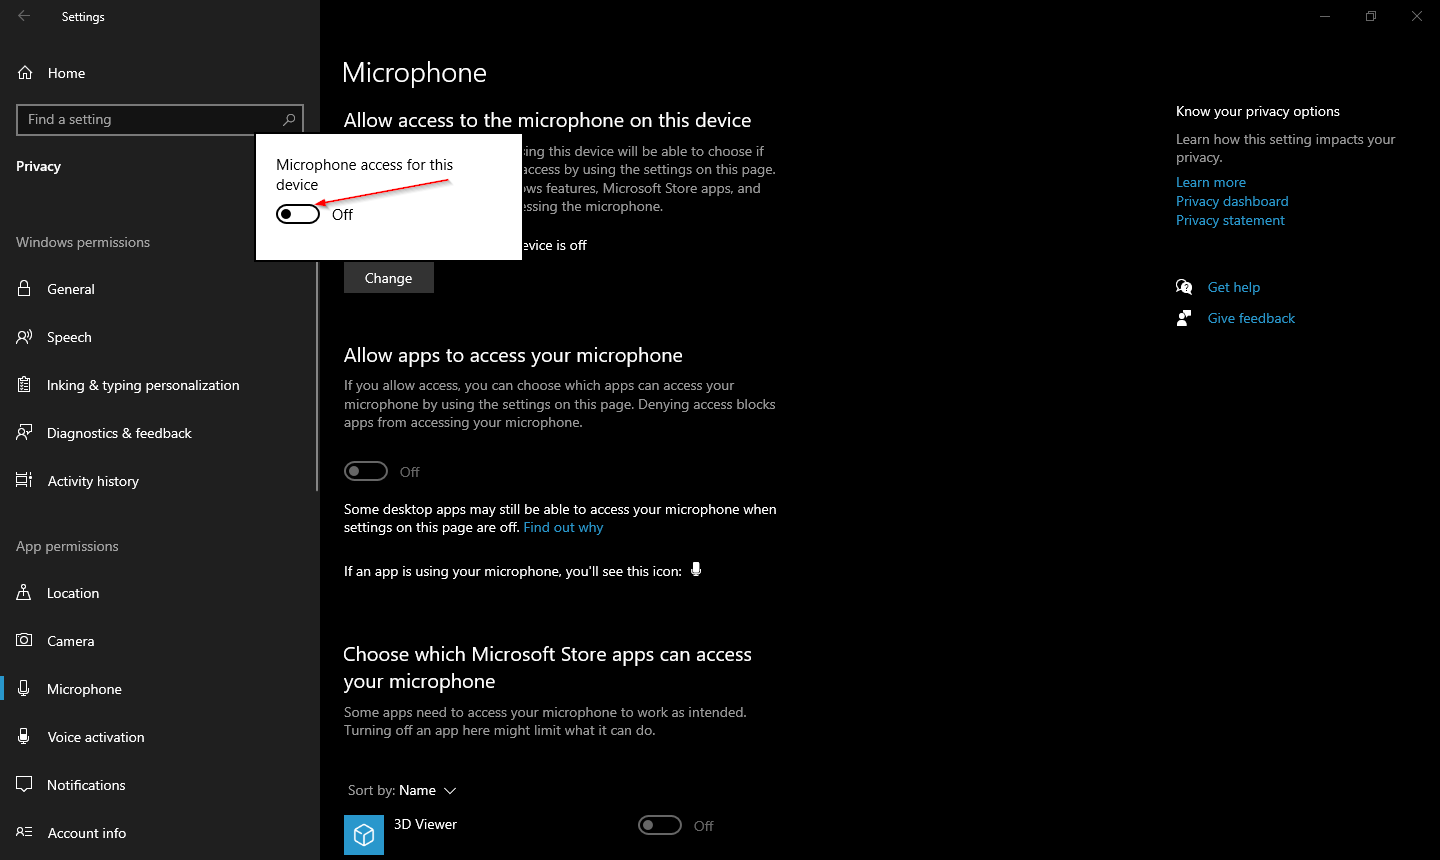
Once you complete the above steps from the Settings app, your Windows 10 Microphone will be muted or turned off.
How to Unmute or Turn on Microphone using Settings App?
To unmute or turn on the Microphone using the Settings app on Windows 10, perform the following steps:-
Step 1. Press the Windows logo + I keyboard shortcut to launch the Settings app or open it with any other preferred method.Step 2. In the Settings window that appears, click on the Privacy category.
Step 3. From the left-hand side pane, click the Microphone entry. On the Microphone’s right-hand side, click on the Change button under “Allow access to the microphone on this device.”
Step 4. A popup will appear. In the popup, toggle the setting to On to enable microphone access in Windows 10.
Once you complete the above steps from the Settings app, your Windows 10 Microphone will be unmuted or turned on.
How to Mute or Turn off Microphone via Third-Party App?
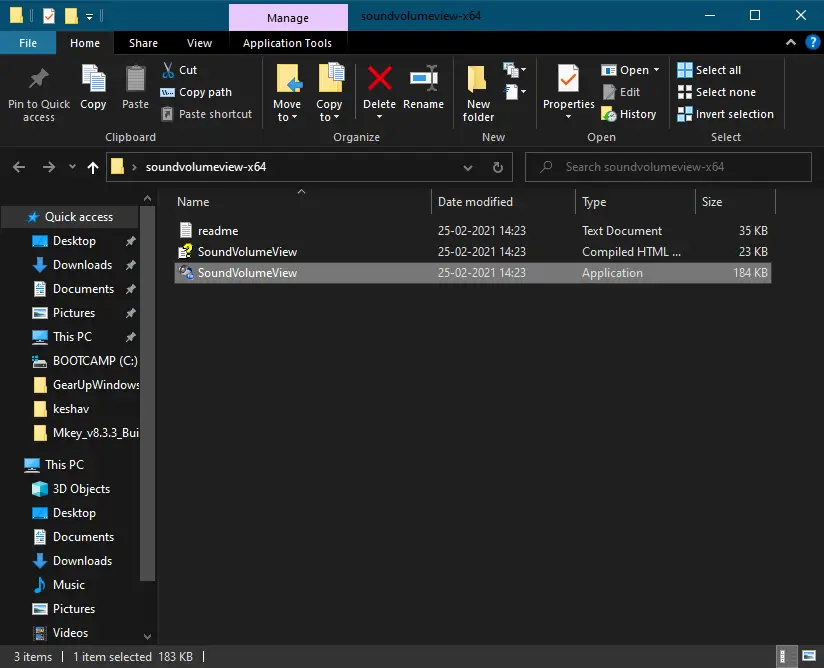
SoundVolumeView is a portable freeware application that lets you mute or unmute any sound device using Command Prompt and GUI (Graphical User Interface). Once you download this tool from the official website, extract it in a folder using WinRAR or any other tool.
Double-click on SoundVolumeView executable file to run it. It will list all sound devices available on your computer.
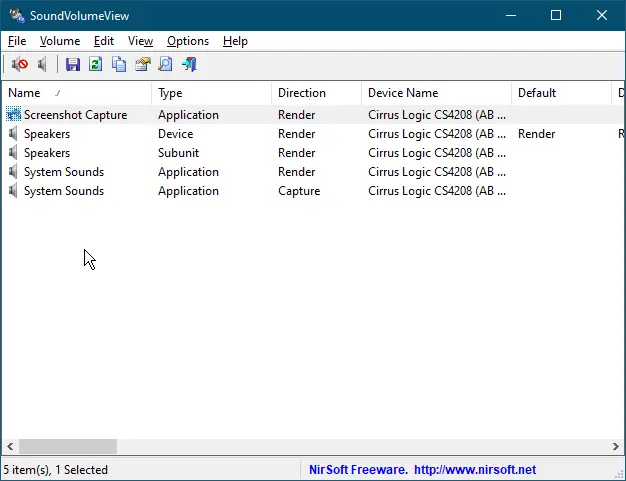
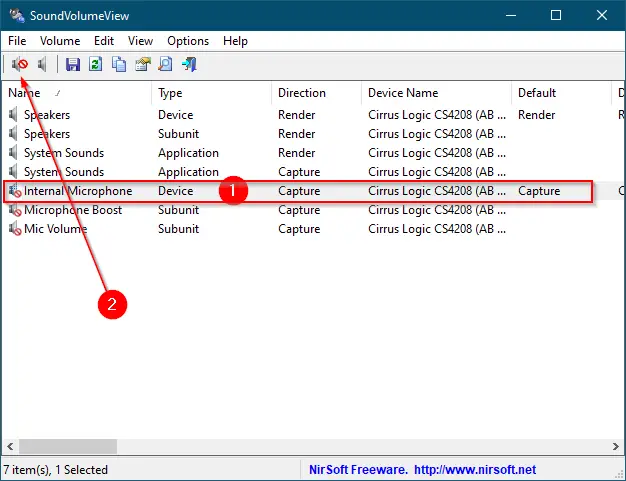
If you want to mute your microphone, select the Microphone device and click the Mute icon in the toolbar.
Once you complete the above steps, the Microphone will be muted on your Windows 10 PC.
How to Unmute or Turn On Microphone via a Third-Party App?
Launch the SoundVolumeView portable software, select the Microphone device entry, and perform a right-click. From the available right-click menu, select “Unmute Selected Items.”

Once you complete the above steps, you should enable or unmute the Microphone on your Windows 10 computer or laptop.
That’s all!!!
Conclusion
In conclusion, muting or turning off the microphone in Windows 10 can be a useful feature when you want to block out background noise or maintain privacy during calls. While there is a straightforward option to mute the speaker, there is no direct way to mute the microphone on its own. However, this post outlined at least three methods to mute or turn off the microphone in Windows 10 without silencing the speaker, as well as three ways to enable or turn on the microphone. These methods include using the system tray, settings app, or third-party app. By following the steps outlined in this post, you can easily control your microphone’s sound settings on Windows 10.